Archive for the ‘SIDES’ Category
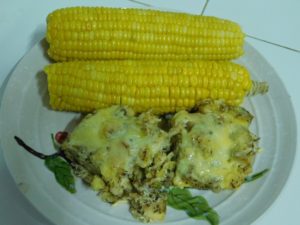
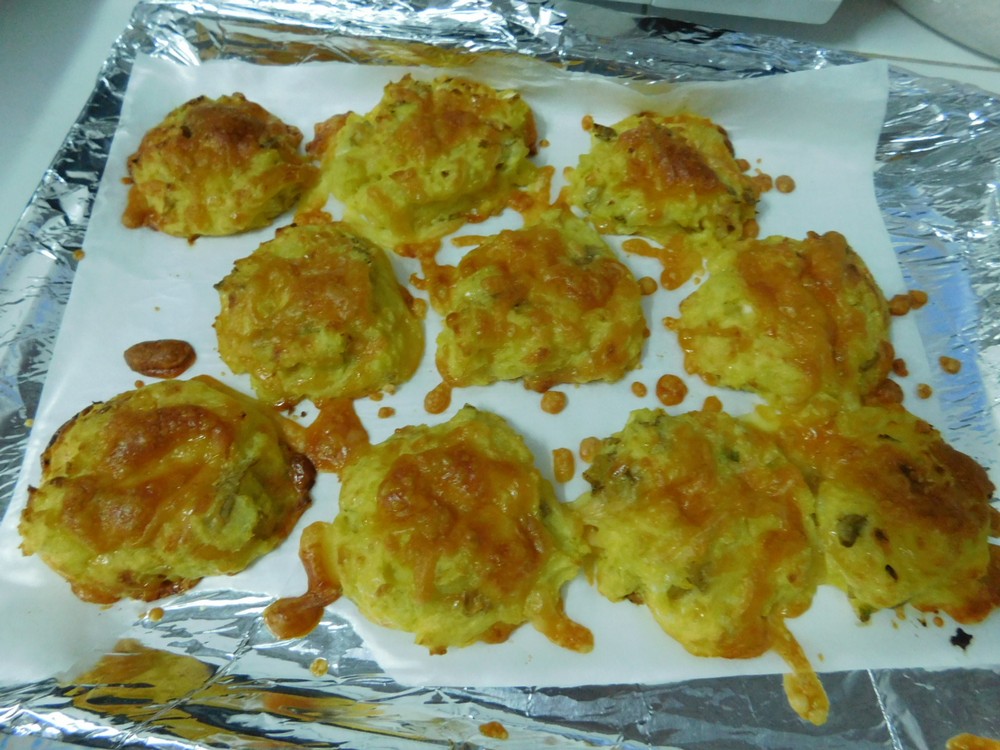
Mashed Potato Cheese Puffs
This is an excellent, and tasty, use for leftover mashed potatoes, which I always have when I make them as very few in the family like them. The bonus is I always have the other ingredients in the fridge. I made this on 3 Dec 2018, delicious and well liked by the family.
Ingredients
- 2 cups leftover mashed potatoes
- 1 egg
- 1 tablespoon flour
- 1 tablespoon spring onion, chopped, or chives
- 1 cup Cheddar cheese, shredded, plus more as needed
- salt and pepper, to taste
Instructions
- Preheat your oven to 180 C (350 F) and line a baking sheet with parchment paper.
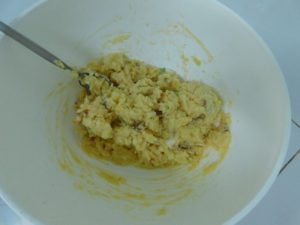
- Add all the ingredients to a mixing bowl and mix to combine.
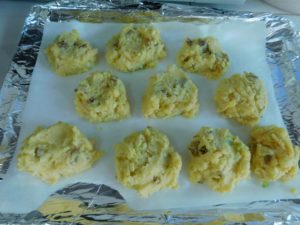
- Place mixture by heaping tablespoons on the parchment paper like you are making cookies.
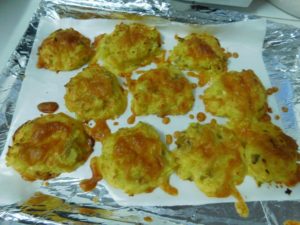
- Bake for 30 minutes, then sprinkle more Cheddar cheese on each potato puff and bake about another 10 minutes or until the cheese is melted and the puffs are golden brown.
- Remove from oven, allow to cool for a few minutes, serve as a side with any main dish. Enjoy.
Notes
Low cost per serving.
Recipe adapted from Just A Pinch Recipe Club, Monika Rosales, and the original recipe is here.
United States.
United States.
Stuffing Casserole
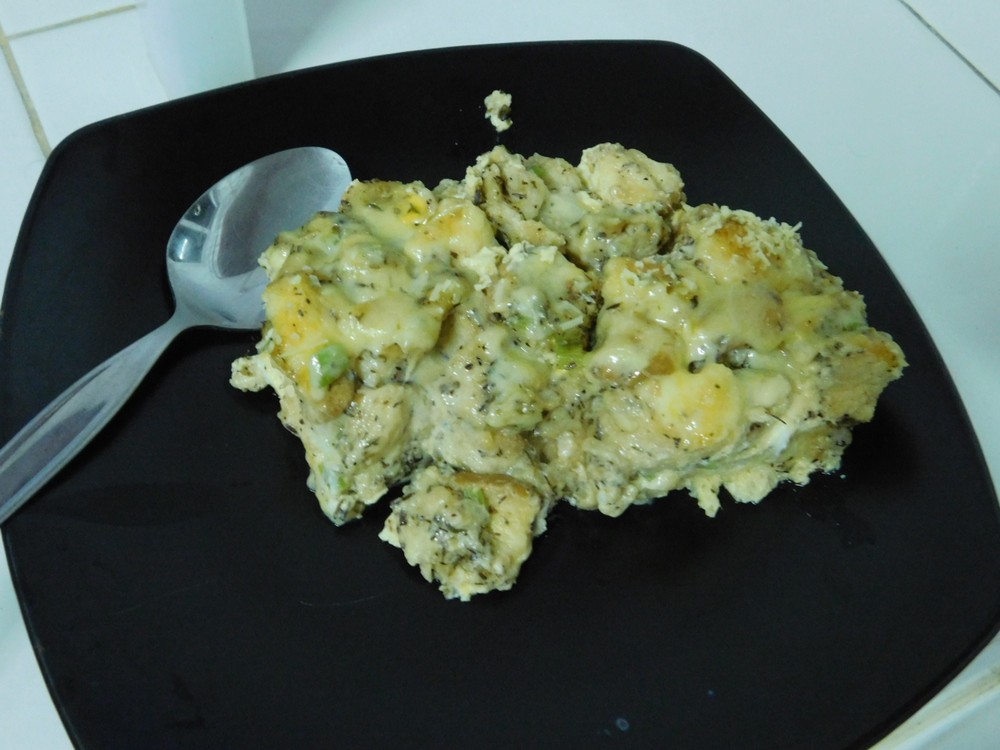
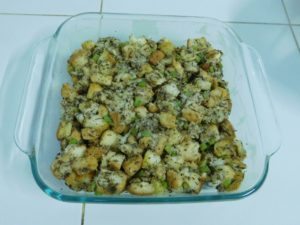
A wonderful twist on stuffing. I made this on 21 Nov 2018 and it is delicious. You can use left over stuffing from a previous meal, 3 cups, or you can make a box of Stove Top stuffing, which also makes 3 cups. Or in my case, I made homemade Stove Top stuffing (it's easy!) Link to the Shortcut is listed in the Recipe Notes section.
Ingredients
- 3 cups bread stuffing, (Shortcut)
- 1 cup milk
- 1/2 cup whipping cream, or evaporated milk
- 3 eggs
- 2/3 cup Parmesan cheese, grated
- 1/8 teaspoon salt
- black pepper, as desired
- 1/4 teaspoon dried sage
- 1/4 teaspoon dried oregano
Instructions
- For the stuffing, if you made a large batch previously and have 3 cups left over, you can use that. You can also prepare a box of Stove Top stuffing, which will also yield 3 cups. You can also use the shortcut listed below to make your own Stove Top stuffing.
- Preheat your oven to 180 C (350 F). Grease a 9x9 baking dish with butter. Add the stuffing to the dish.
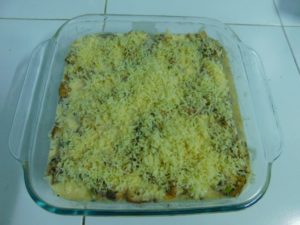
- In a mixing bowl, whisk together the remaining ingredients except the cheese. Pour over the stuffing, then sprinkle the cheese evenly over the top.
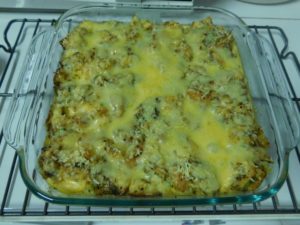
- Place in the oven and bake for 40-45 minutes or until the casserole is browned and set. To check the set, insert a toothpick in the center and when it comes out clean, it is set. Remove from the oven and let cool for a few minutes.
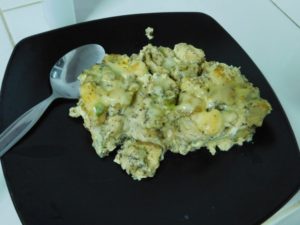
- Slice into 9 squares and serve as a side dish
- Or even as a filling dish on its own with a vegetable side dish.
Notes
Low cost.
Shortcut: Stove Top Stuffing.
Recipe adapted from Just A Pinch Recipe Club, Bonnie O, and the original recipe is here.
United States.
United States.
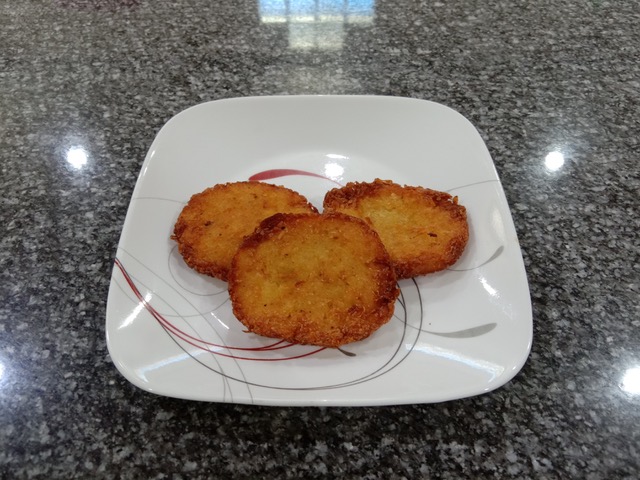
Mickey D's Hash Browns
This comes from a good friend in northeastern Thailand and as the name suggests, this is a basic copycat recipe, and it sounds really good. On my to make and taste list. A lot of the time is passive, actual prep time and cooking is rather quick. Link to the shortcut is listed in the Recipe Notes section.
Ingredients
- 300 grams potatoes, peeled, (10 oz)
- 3 cups water
- 1 tablespoon corn syrup, Shortcut
- salt and pepper, to taste
- 2 tablespoons rice flour
- 1 tablespoon corn flour
- 1 teaspoon onion powder
- coconut water, as stated in instructions
- cooking oil, as needed, for frying
Instructions
- Shred the potatoes with a large holed grater and place into ice water. Leave potatoes in the ice water for 1-2 hours. Drain the shredded potatoes from the ice water and squeeze out any water.
- Add 3 cups of water and the corn syrup to a saucepan, add a pinch of salt if desired. Bring to a boil. Add the shredded potatoes to the pot, boil for 4 minutes.
- While the potatoes are boiling, line a strainer with cheese cloth. Get another large bowl of ice water ready. After 4 minutes of boiling, remove from heat and pour into the strainer, bunch up the cheese cloth and place in the ice water and leave there for 5 minutes.
- Remove from the ice water and squeeze out all the water. Place the shredded potatoes in another bowl, add the rice and corn flours, onion powder, and salt and pepper as desired to taste. Use your hands and mix everything together.
- Using a 4 inch circular ring, like an egg ring, place 1/4 cup of the potato mixture into the ring and pack it down, remove the ring and use your hands to shape into an oval and flatten it down with the bottom of a plate. Place on a baking sheet lined with parchment paper. Repeat for remaining potatoes. Place baking sheet in the freezer for 2-3 hours or until the has browns are frozen hard.
- Heat about 1/2 inch of oil in a large pan to 180 C (350 F). When hot, add hash browns, without crowding the pan, and fry for about 2 minutes or until golden brown, turn hash browns over and fry until the other side is golden brown. Remove from pan and place on a wire rack to cool.
- Serve and enjoy, a perfect addition to a breakfast for dinner. One advantage is once you have them frozen, remove from the baking sheet and place in zip lock bags, then you have frozen hash browns available when you need them.
Notes
Low cost.
Used in Recipes Listed on this Site:
Recipe provide by good friend, Brian Colligan, Pleasures & Pastimes (which is a great resource for gardening seeds and other items). Thailand.
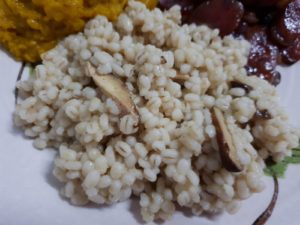
Barley with Shiitake Mushrooms & Sage
This is good, not great but good. certainly worth a try if you like barley. Overall good flavor but maybe I am more of a barley in a soup person.
Ingredients
- 1 cup dry pearl barley
- 2 tablespoons olive oil
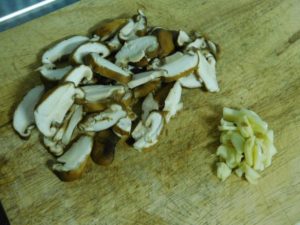
- 2 cloves garlic, smashed and minced
- 5 medium sage leaves, finely chopped (1 tablespoon), or 1/2 teaspoon ground sage
- 8-12 medium shiitake mushrooms, stems removed, caps sliced thin
- 1 tablespoon soy sauce
- 1 1/2 tablespoons lemon or lime juice
- water, as needed
Instructions
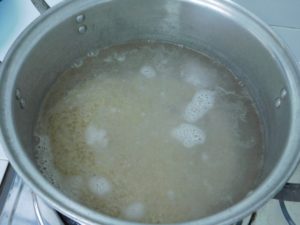
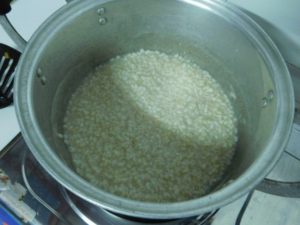
- Heat large pot with 8 cups (2 quarts) water and bring to a rolling boil. Add the barley and cook for 15-30 minutes or until tender, this time will depend on the age of the dry barley.
- When the barley is tender, drain and set aside.
- While the barley is cooking, lets get the mushrooms and garlic ready.
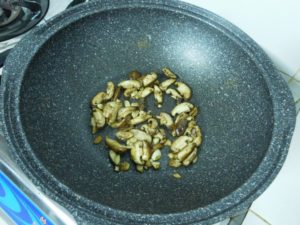
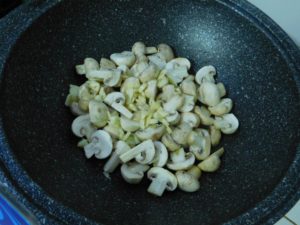
- Heat the oil in a large non stick pan, when hot add the garlic, after 1 minute add the sage and mushrooms. Saute until the mushrooms are starting to brown, stirring them often.
- When lightly browned, turn off the heat and stir in the soy sauce and lemon or lime juice, stir the mushrooms.
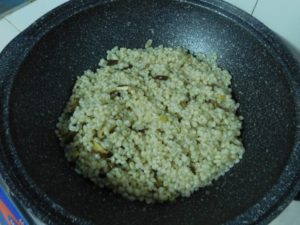
- Add the drained barley and stir until the mushrooms are mixed in and the liquid in the pan coats all the barley.
- Serve as a side dish with any meal.
Notes
Low cost.
Adapted from an internet recipe.
German Beets
This sounds good, on my to cook list. You can cook the beets with your preferred way, I will use a pressure cooker.
Ingredients
- 6-8 whole beets, medium size, cooked, Shortcut
- 2 tablespoons corn starch
- 2 tablespoons sugar
- 1 teaspoon salt
- ⅛ teaspoon black pepper
- 1⅓ cups water
- ½ cup white vinegar
Instructions
- To cook the beets, simply wash them, place in a large pot, cover with water, about 1-2 inches over and boil for 40-50 minutes. To preserve the color, add about 1 tablespoon of vinegar, and season with 1 teaspoon of salt. Cook until tender, drain, cool, and peel. OR use a pressure cooker, which is what I use, that instruction is listed in the Recipe Notes section below.
- Slice the beets, about ½ to ⅜ inch thick slices.
- Mix the corn starch, sugar, salt, and pepper in a pot or large sauce pan, slowly whisk in the water then mix in the vinegar.
- Heat on medium heat, stirring or whisking constantly until the mixture thickens and comes to a boil. Keep stirring and boil for 1 minute.
- Reduce heat to a simmer and add the beets. Simmer until the beets are heated through and hot.
- Serve as a side dish and enjoy.
Notes
Shortcut: Fresh Beets (Pressure Cooker).
Daikon Cakes
This sounds unusual, granted. A daikon is a Japanese radish, basically a white radish that is normally larger than carrots. The flavor raw is that of a red radish, when cooked it is of a mild carrot. I certainly look forward to making these! Consider this an Asian twist on potato cakes. Link to the shortcut is listed in the Recipe Notes section.
Ingredients
- 1 1/2 cups daikon, grated
- 2 teaspoons salt
- 1 clove garlic, smashed and minced
- 1/2 red onion, diced
- 1-2 egg, beaten
- 1/2 cup Italian bread crumbs, OR make from a shortcut
- 1/2 teaspoon black pepper
- 1/2 teaspoon paprika
- 1 teaspoon Sriracha Chili Garlic sauce
- cooking oil, as needed
Instructions
- Place the grated daikon in a large mixing bowl and sprinkle with the salt and mix. Cover and place in the fridge for 30 minutes.
- When the daikon is ready, pour the daikon into a colander and rinse the daikon well, then gently squeeze out any remaining water. Wipe out the mixing bowl and return the daikon to the bowl.
- To the daikon, add the garlic, onion, 1 egg, bread crumbs, pepper, paprika, and the Sriracha. Mix together with your hands. If the mixture does not stick together well, mix in another egg.
- Shape into 8 small patties and place them on a plate. Place the plate in the fridge for 30 minutes to firm them up.
- In a large non stick pan, add about 1/4 inch of cooking oil and heat on medium high temperature. When the oil is hot, add some patties, work in batches if needed.
- Fry the patties for about 3 minutes on each side or until nicely browned. Drain on paper towels.
- Serve as a side dish with dipping sauces of your choice, such as ketchup, sour cream, or Sriracha. Enjoy.
Notes
Brian's Restaurant Style Onion Rings
This is from a good friend who modified an internet recipe he found, his words, "They were crispy, not soggy, had good flavor and the family enjoyed them." This sounds like a winner. On my to cook list.
Ingredients
- 2-3 large sweet onions
- cooking oil, as needed
For Dredging
- 1 cup all purpose flour
- 1 teaspoon kosher salt
For Batter
- 1 cup all purpose flour
- 1 teaspoon kosher salt
- 1 tablespoon baking powder
- 1 teaspoon white pepper powder
- 1 cup beer
- 2 tablespoons cold water
Instructions
- Slice onions into 1/2 inch thick slices, break rings apart and sort by size, reserve the end pieces and small pieces for other use.
- In a zip lock bag, add the Dredging ingredients.
- In a bowl, add the dry Batter ingredients and mix together. Then mix in the beer and water.
- Using a stove top pot, add enough oil to have at least 3 inch depth in pot. A deep fryer can also be used. Heat oil to 190 C (375 F) using a probe thermometer. If you have a deep fryer, certainly use that.
- While the oil is heating, place onion rings in the bag with the flour and shake, the cheater way of dredging, work in batches if needed to coat all the rings in flour. The dredging allows the batter to adhere to rings.
- When the oil is at the correct temperature, one at a time, add a ring to the batter and coat well and place in the hot oil. Continue with rings in the batter and into the oil, but single layer only and do not overcrowd or let the rings touch while cooking.
- Using a chopstick or skewer, turn each ring over after frying 2 minutes or until golden brown, then cook another 1 minute or until golden brown, remove to a wire rack placed over a baking sheet to drain and cool.
- Continue until all the onion rings are cooked. Let rings cool 1 minute before serving.
- Serve with your favorite dipping sauce.
Notes
Low cost.
Recipe provide by good friend, Brian Colligan, Pleasures & Pastimes (which is a great resource for gardening seeds and other items).
Thailand.
Thailand.
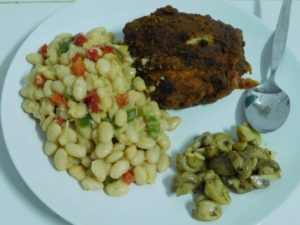
Spanish Garlic Mushrooms
Champinones Al Ajillo for the Spanish speaking folks. These are very good, can be a side dish or served as a hot appetizer or snack.
Ingredients
- 10 white button mushrooms, large, quartered
- 5 cloves garlic, smashed and minced
- 3 tablespoons olive oil
- 1 tablespoon lemon or lime juice
- 2 tablespoons dry sherry, or 1 tbsp apple cider vinegar + 1 tbsp water
- ¼ teaspoon smoked paprika
- salt and pepper, to taste
- ¼ teaspoon red chili flakes, optional
- 1 tablespoon fresh parsley leaves, chopped
Instructions
- Heat the oil in a non stick pan on medium high heat, when hot, add the mushrooms and saute for 2-3 minutes to start them browning.
- Add the remaining ingredients except for the parsley. Saute for another 5 minutes, basically stir frying.
- Remove the pan from the heat, stir in the parsley.
- Serve as a side, hot appetizer or snack. Enjoy.
Notes
Low cost, local grown button mushrooms for 35 Baht/110 grams, is about 25 cents per serving.
Variant: 1. Use Straw mushrooms halved instead of quartered.
Preparing Straw Mushrooms
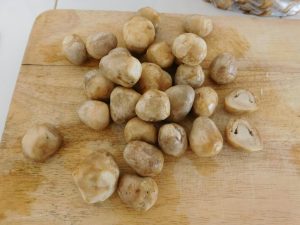
Straw mushrooms, according to Wikipedia, are the 3rd most consumed mushrooms in the world, rightfully so as it is an Asian mushroom. Is the US, Canada, and Europe, most straw mushrooms will be canned and there is some specialty farms that grow these as well. These mushrooms are normally sold fresh and what is termed, closed, meaning the cap has not emerged yet, so they look like just round or oblong balls. When the cap has emerged then they are termed as opened. I received 1 1/2 kilos (3 lbs) of these mushrooms from an inlaw, however, nearly all were the opened type, so this was a first for me to prepare these. But with the closed type, there is a proper way to prepare those as well. Opened do not have much market value, the closed are prized for stir frys and soups, however, neither type has long shelf life once harvested so markets will run out of these as well as restaurants. This mushroom also costs more than other mushrooms due to the short shelf life and excellent flavor.
Ingredients
- fresh Straw mushrooms, opened and or closed types
Instructions
Cleaning
- Normally when you buy these from a market the mushrooms are trimmed and free of any dirt or dark area where the ball of the mushroom came in contact with the straw (yes, they grow on a straw compost, hence the name). If you buy these direct from the grower, then just trim of any dark areas with a knife. Once trimmed, for the closed type, rinse under running water and shake off excess, for the opened type, very briefly rinse under running water and shake of excess water.
Opened Type
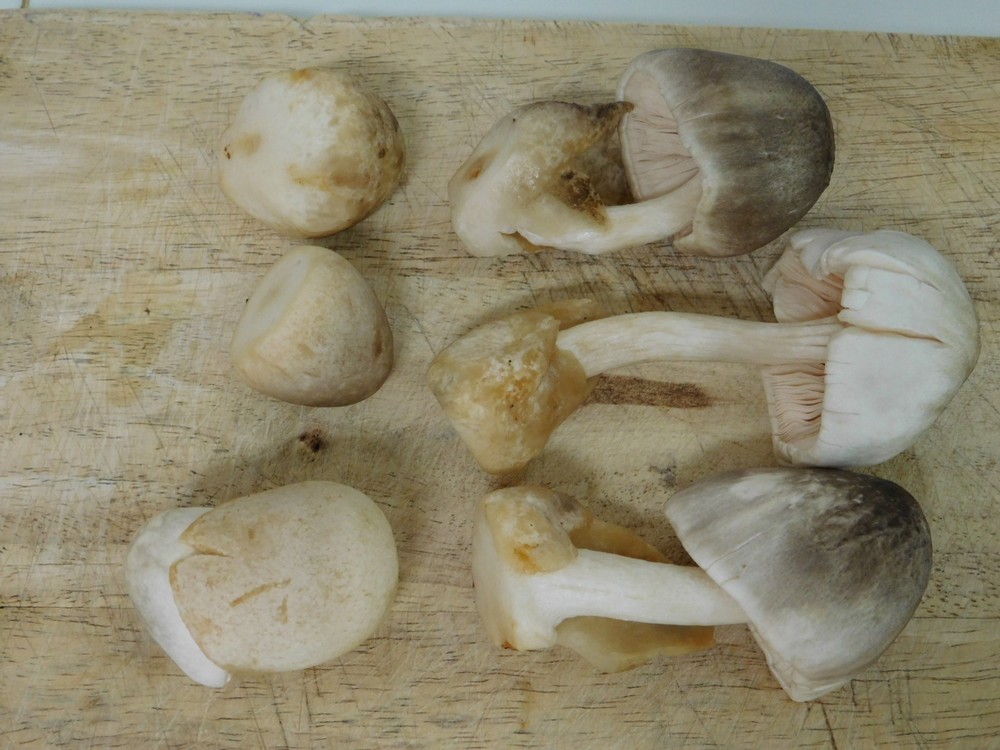
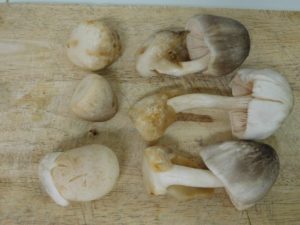
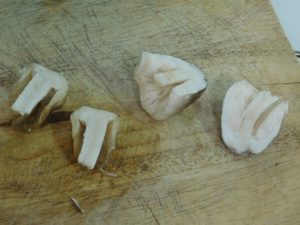
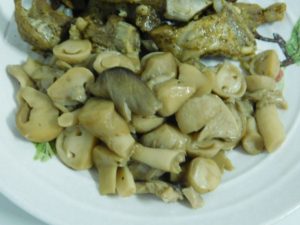
- The closed type of mushroom looks like a ball as the veil (the outer covering of the mushroom has not opened), leaving the cap and stem inside. To prepare these, simply look for a flat or cut side, then place that on the cutting board and slice only in half from the top to the bottom, the halved pieces are on the right in this photo. If you cut them crosswise, you can see they will just fall apart into different pieces. These are compact and dense mushrooms with excellent flavor. This form of mushroom does not have much water to release when cooking.
Closed Type
- The mushrooms on the left are closed (bottom one though has just opened), and on the right is the opened. The opened, the left side (the bottoms of the mushrooms) you can see the ball shape, parts of the veils (the covering over the mushroom in the closed type), the stems, and the caps. When these mushrooms open, it is just a day or two to look like these, so there is a lot of moisture in these as one would expect.
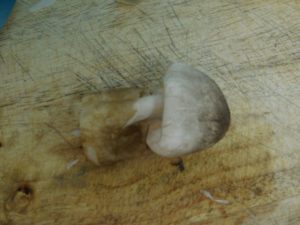
- To prepare this type, same principle applies, a lengthwise cut. First lay a opened mushroom on your cutting board.
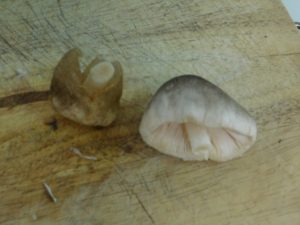
- Slice the mushroom in half, crosswise through the stem, giving you 2 pieces. If the stem is long, then cut crosswise above the ball (the bottom end) and at the cap, giving you 3 pieces.
- Now take the ball end and cut through the stem top to bottom, and the cap through the stem, giving you now 4 pieces. If you have a stem section from a mushroom with a long stem, no need to cut the stem, then you have 5 pieces. All the pieces, even the stem, are flavorful and tender.
- Use the mushrooms in recipes of your choice, keeping in mind, the opened type will give off lots of water as it is cooked.
Notes
I will give a price per kilo when buy these again.
Used in Recipes Listed on this Site:
- Teriyaki Straw Mushrooms, made it, GO-TO recipe.
Teriyaki Straw Mushrooms
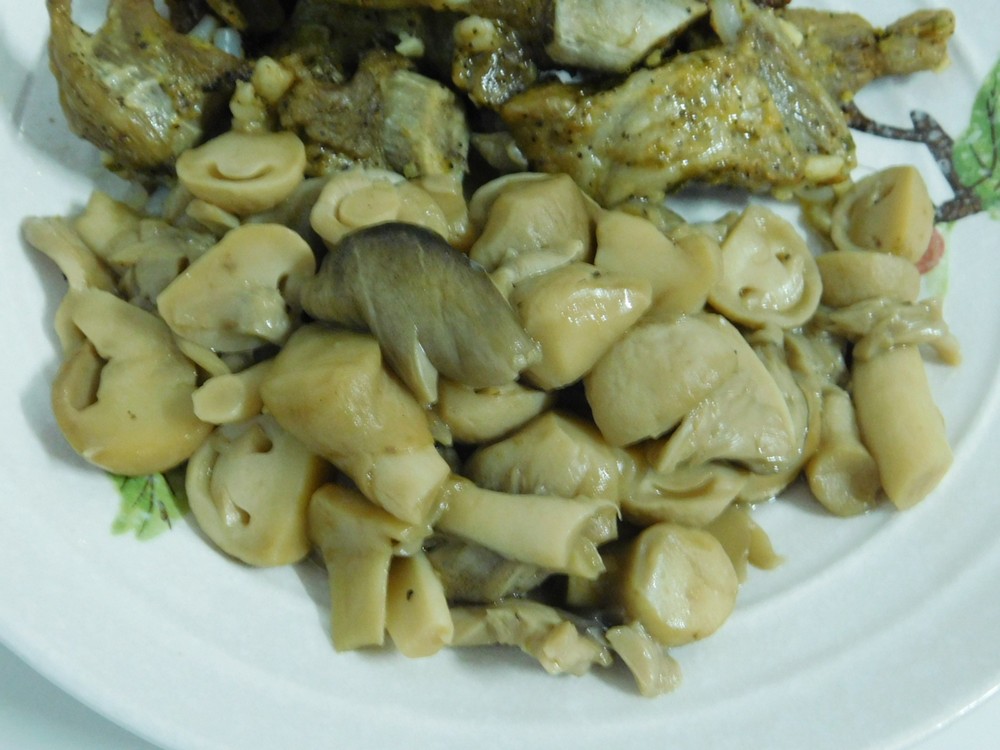
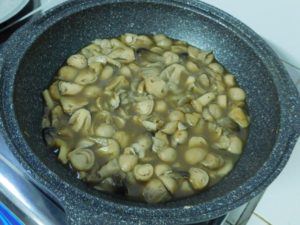
Straw mushrooms, according to Wikipedia, are the 3rd most consumed mushroom in the world. That is believable as they are Asian in origin. This recipe is based on what I received so I used them all as these mushrooms do not last long once they are harvested. Link to the Shortcut is listed in the Recipe Notes section.
Ingredients
- 1.2 kilos Straw mushrooms, this was the weight cleaned, (2 2/3 lbs)
- 1 cup Teriyaki sauce, (Shortcut)
- black pepper, as desired
Instructions
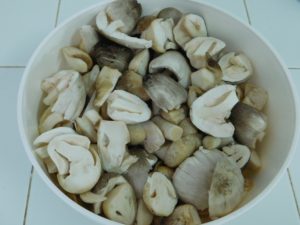
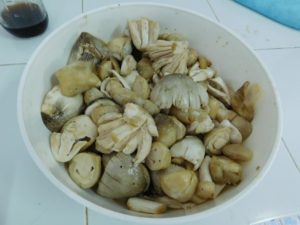
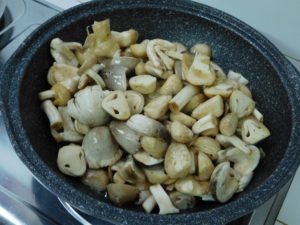
- Clean any dirt off the mushrooms and give a quick rinse, shake off any water. Slice closed mushroom in half lengthwise, and for open mushrooms, cut in half at the stem, then slice the two piece in half lengthwise through the stem. Place in a large mixing bowl.
- Add a good shake or two of black pepper then pour in about 1/2 cup teriyaki sauce (and I cannot stress enough to make your own as well). Give the mushrooms a mix with your hands, then let sit on the counter for 20-30 minutes.
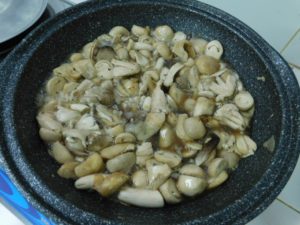
- Heat a non stick pan, no oil is needed. When the pan is hot, add the mushrooms, just pour the mushrooms and sauce that was not absorbed into the pan.
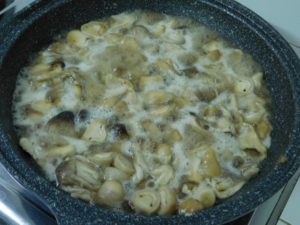
- Stir fry for a few minutes to get them all heated through and they will release their water and the teriyaki sauce.
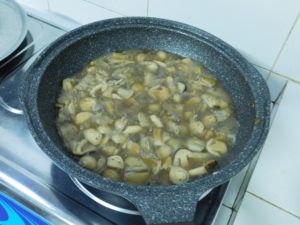
- Simmer on medium to medium low heat, stir often, the open mushrooms release a lot, and I mean a lot, of water.
- When most of the water is cooked off, add the remaining 1/2 cup of teriyaki sauce and stir that in.
- Continue simmering to reduce the liquid a bit more.
- Use a slotted spoon and spoon out the mushrooms to a serving dish or add as a side to plate, enjoy.
Notes
I need to get a cost per kilo for straw mushrooms so I can price this, as they are more expensive than the Japanese mushrooms. For now I will say low cost per serving.
Shortcuts: Teriyaki Sauce (照り焼きのたれ), Preparing Straw Mushrooms.
Common method to cook teriyaki mushrooms.
