Wild Rice (Pressure Cooker)

Wild Rice (Pressure Cooker)

Hip Pressure Cooking, Laura Pazzaglia, United States.
I have not used this recipe yet but will be making this in the next 1-2 months and will come back with a report on how that goes. I will use my 9 liter (9½ quart) stove top pressure cooker with a pressure of 12 psi (80 kPa), so this will work with a electric pressure cooker as well. Follow all safety precautions for your model of pressure cooker.
Prep Time 5 minutes
Cook Time 25 minutes
Total Time 30 minutes
Course Side
Cuisine American
Servings 3 cups cooked rice

Equipment

  • Pressure Cooker

Ingredients
  

  • 1 cup dry, wild rice
  • 3 cups water

Instructions
 

  • Rinse the wild rice and place in the pressure cooker. Add the water.
  • Place the lid on the pressure cooker and lock in place, add the weight to the lid. Place on high heat.
  • When the weight (jiggler) starts to vent pressure and move a little, reduce heat to low or medium low, but maintain the pressure venting and movement on the jiggler. Set your timer for 25 minutes.
  • When 25 minutes have passed, turn off the heat to the pressure cooker and move the cooker to an unused burner. Allow a natural pressure release, meaning you don't need to do anything, just let the pressure cooker cool until all pressure has vented, and the lid lock device indicates that zero pressure remains inside the cooker.
  • When no pressure is in the cooker, keep your face pointed generally away from the cooker and open the lid.
  • Drain any water. Fluff the rice, use as is as a side dish, add to soups, or even freeze for later use. Enjoy.

Notes

I will determine cost per serving after I make a batch and see how many cups dry I can get from a 1 lb bag. I will be bringing some wild rice from the US when I return to Thailand. Wild rice is available through Lazada for those in Thailand, at 650 Baht/500g. I will say high cost per serving for now and will revise that after I make it and determine cooked amounts.
Variant: 1. Use broth, or a mix of broth and water, as long as the amount is 3 cups total.
Black-eyed Peas (Pressure Cooker)

Black-eyed Peas (Pressure Cooker)

Hip Pressure Cooking, Laura Pazzaglia, United States.
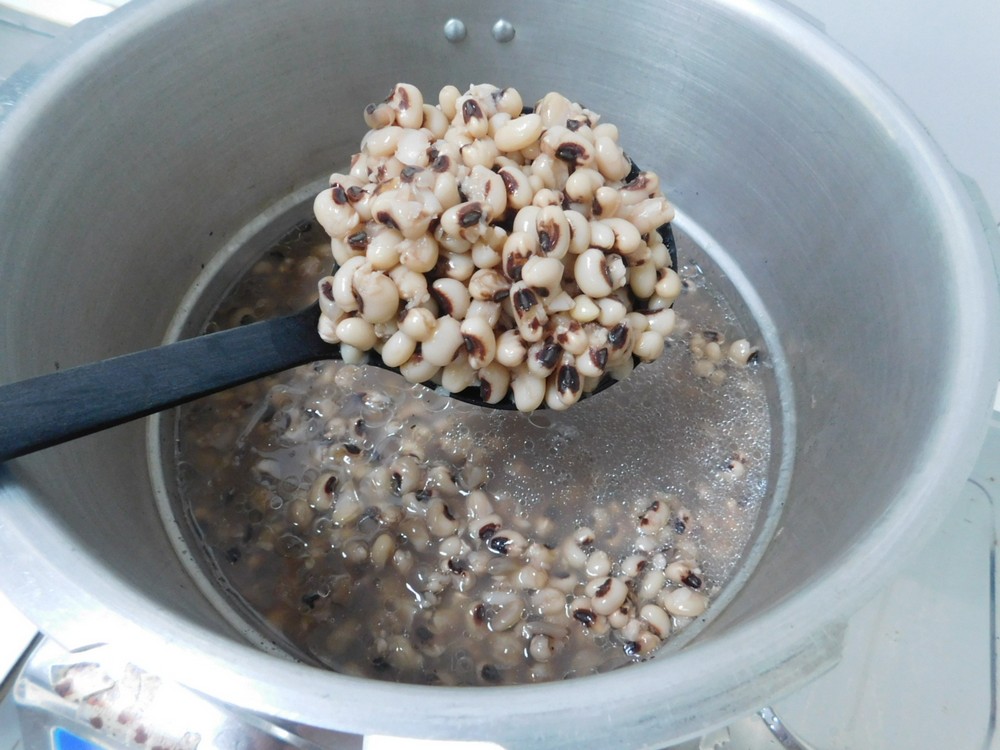
I made these on 16 Jan 2019 and I will say these are good beans! I used my 9 liter (9½ quart) stove top pressure cooker with 12 psi (80 kPa) pressure for these. Follow all safety precautions for your model of pressure cooker.
Prep Time 2 minutes
Cook Time 5 minutes
Passive Time 6 hours
Total Time 6 hours 7 minutes
Course Side
Cuisine American
Servings 8 servings

Equipment

  • Pressure Cooker

Ingredients
  

  • 500 grams dry black-eyed peas, soaked at least 6 hours, (1 lb)
  • 2 tablespoons cooking oil, very important
  • 8 cups water
  • salt and pepper, to taste

Instructions
 

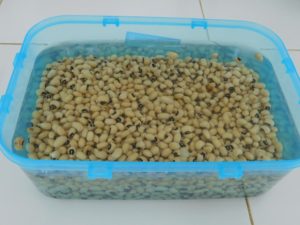
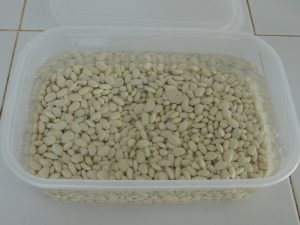
  • Rinse the beans and place in a large container, cover with 1-2 inches of water. Leave on the counter to soak for at least 6 hours. If soaking overnight, place in the fridge to prevent the beans from fermenting.
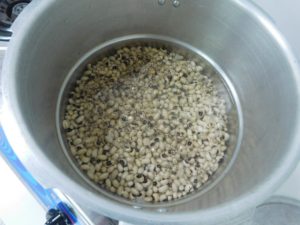
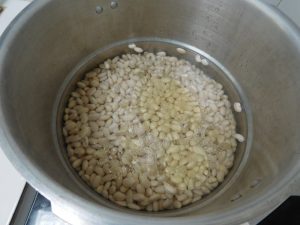
  • When you are ready to start cooking, drain and rinse the soaked beans. Place the beans, water, cooking oil, and salt and pepper as desired to your pressure cooker.
  • Place the lid on the pressure cooker, add the weight (jiggler). Turn the heat up to high. When the weight starts to move and release pressure, turn the heat to low or medium in order to maintain the jiggler moving and venting pressure (indicating you have full pressure.) Set your timer for 5 minutes.
  • When 5 minutes have passed, turn off the heat, and carefully move the pressure cooker to an unused burner and allow a natural release of pressure, basically, just let the pot sit there until you have indication of zero pressure, 15-20 minutes.
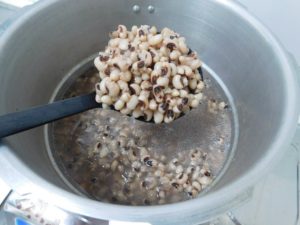
  • When the indication is zero pressure, pull off the weight (jiggler), then remove the lid. Drain the beans and use in any recipe calling for cooked beans. Or serve as is as a side dish. These beans are very tender. This bean broth is NOT recommended to save and use, I have tasted this broth, not what I would say is usable.

Notes

Used in Recipes Listed on this Site:
Cubed Potatoes (Pressure Cooker)

Cubed Potatoes (Pressure Cooker)

Adapted from an internet recipe.
To cook potatoes for a potato salad or other dishes needing cubed (bite size) potatoes. This will use either the steamer tray or basket that came with your pressure cooker or any steamer basket or trivet that will keep the potatoes above the water. This process cooks the potatoes with pressure and heat, they cannot get waterlogged or soggy like boiled potatoes. Only takes 4 minutes on high pressure and a natural release (I use a 9 liter (9½ quart) 12 psi (80 kPa) stove top pressure cooker, which is basically the same pressure as an electric model). Follow the safety precautions for your model of pressure cooker. I made this on 3 Jan 2019 for use in another recipe, perfect potatoes!
Prep Time 5 minutes
Cook Time 4 minutes
Total Time 19 minutes

Equipment

  • Pressure Cooker

Ingredients
  

  • 4 potatoes, see Step 1.
  • 2 cups water
  • 2 cloves garlic, smashed, optional
  • 1 bay leaf, optional

Instructions
 

  • I used 4 large potatoes (11 oz / 311 g each). Peeled or unpeeled is your choice. You can use less or more potatoes but do not go over the ⅔ full limit in your size of pressure cooker.
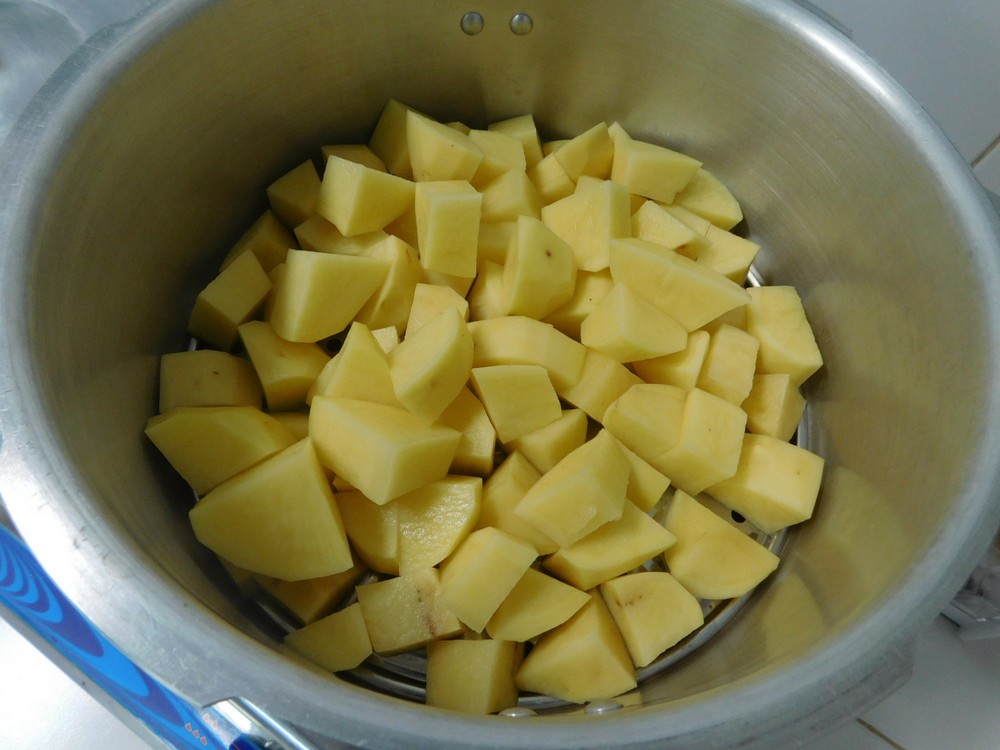
  • Scrub your potatoes for unpeeled, or peel, totally your preference. Cut the potatoes into bite size pieces, how I do this is cut a potato in half lengthwise through the widest section, lay each piece cut side down then make 1 or 2 cuts lengthwise, then cut crosswise to make bite size pieces. Takes about 3 seconds to cut up a potato this way. Make sure the pieces are not to small.
  • Add the water to your pressure cooker, add the bay leaf and garlic if using, insert the steamer tray or basket, add the potatoes to the tray or basket.
  • Place the lid on and lock, add the weight (the jiggler), turn on the heat to high. when the jiggler starts to move and vent pressure, indicating full pressure, start your timer for 4 minutes and reduce the heat to low or medium low to maintain full pressure. If you want a bit firmer potato pieces, set your timer for 3½ minutes.
  • When 4 minutes have passed, turn off the heat and move the pressure cooker to an unused burner to cool and release the pressure naturally, about 10-15 minutes.
  • When the pressure is fully released, open the lid.
  • Use the potatoes in any recipe calling for cooked cubed (bite size) pieces. I used these for a slow cooker recipe.

Notes

Used in Recipe Listed on this site:
Vegetable Broth (Pressure Cooker)

Vegetable Broth (Pressure Cooker)

Adapted from an internet recipe.
This takes 5 minutes on high pressure, that's it. This is the basic trinity, as I add the other variants, I will add them. I know a lot of stock/broth recipes call for ingredients in chunks, if you want the flavor from the ingredients, think sliced or chopped, sliced and chopped = more surface area. I use a stove top pressure cooker, 9 liters (9½ quarts) with 80 kPa (12 psi) pressure. Use all safety precautions for you model of pressure cooker.
Prep Time 15 minutes
Cook Time 5 minutes
Total Time 20 minutes
Servings 2 quarts broth

Equipment

  • Pressure Cooker

Ingredients
  

  • 4 medium onions, chopped
  • 6 medium carrots, peeled and sliced
  • 6 stalks celery, plus tops, chopped
  • 4 cloves garlic, smashed and chopped
  • 10 stalks parsley, chopped
  • 10 black peppercorns
  • ½ teaspoon salt
  • 2 quarts water, (8 cups)

Instructions
 

  • Add everything to your pressure cooker.
  • Add the lid and lock, place the weight on, bring to high heat. Once the jiggler starts to move and vent pressure (indicating full pressure), reduce the heat to low or medium low, just enough to maintain the jiggler moving and venting. Start your timer for 5 minutes.
  • Once 5 minutes is reached, turn off the heat and move the cooker to an unused burner for a natural release of pressure, meaning just let it set there until internal pressure in the vessel is zero, about 15-20 minutes. (The more liquid in a pressure cooker, the longer it takes to cool and release pressure.)
  • When you have indications of zero pressure inside the pot, pull off the weight, open the lid, and let it cool a little while, maybe an hour. This is just to prevent scalding if some splashes while straining it.
  • To strain the broth, line a colander with 1-2 layers of cheesecloth and place on another pot. Pour the contents of the pot into the strainer and allow to thoroughly drain. Discard (or compost) the contents of the strainer, and pour the broth into two quart jars.
  • Use as a base for soups, pasta, etc.

Notes

Variant: 1. Holy trinity vegetable broth (can't leave out the Cajuns), replace the carrots with green bell peppers, chopped.
Pumpkin (Pressure Cooker)

Pumpkin (Pressure Cooker)

Adapted from an internet recipe.
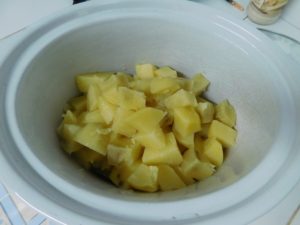
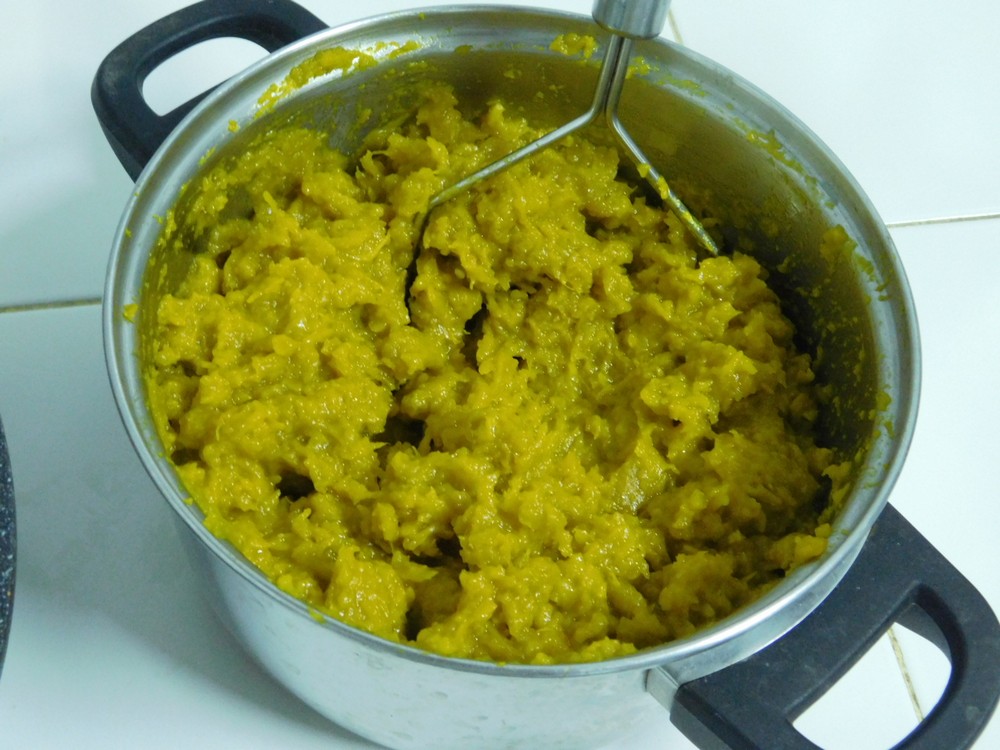
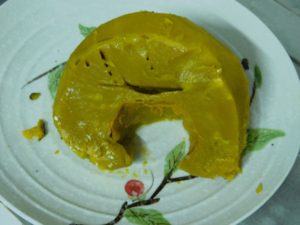
Pumpkins in Thailand are what I called winter squash growing up in Michigan. A orange pumpkin is a winter squash as well. I have used these to make pumpkin pies and got rave reviews for them. So this is a base recipe if you need pumpkin for a pie or simply as a side dish, which is what these photos will show. I use a 9 liter (9½ quart) stove top pressure cooker, follow your pressure cooker safety instructions at all times.
Prep Time 5 minutes
Cook Time 5 minutes
Total Time 10 minutes
Course Side
Cuisine American
Servings 6 servings

Equipment

  • Pressure Cooker

Ingredients
  

  • 1 kilo fresh pumpkin, (2 lb)
  • cups water

Instructions
 

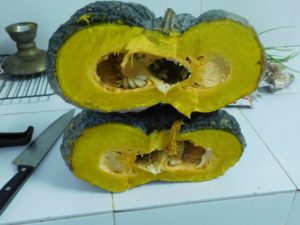
  • Our pumpkins here are a bit larger than large pressure cookers. This one I bought weighed in at about 3 kilos or about 6 lb, so obviously it is not going to fit. A note about that bad spot, think of a potato, if there is a bad spot, simple cut it off, same applies to squash.
  • First thing to do is cut the pumpkin in half, then you have something to work with.
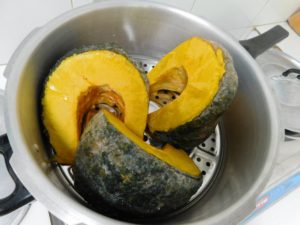
  • I wanted to the keep the pieces in the largest size I could to minimize the cutting through a hard pumpkin. These 3 pieces weighed about 1 kilo (2 lb). Place the pieces on a steamer rack if your pressure cooker has one or on a trivet.
  • Add the water, place the lid on the cooker and lock, add the weight and bring up to high heat. When the weight (jiggler) starts to move and vent pressure (indicating full pressure), turn the heat to low or medium low to just maintain the jiggler moving and venting. Start your timer for 5 minutes.
  • When 5 minutes have passed, turn off the heat and move the pressure cooker to an unused burner. Leave the cooker alone and let it drop pressure naturally on its own, about 10-15 minutes.
  • When you have indications of zero pressure in the vessel, remove the weight then the lid.
  • Use a large flat spatula or large tongs, or both and remove a piece of pumpkin to a plate. Use a knife to simple slice off the skin. Here is the first one done. Plate that in a separate smaller pot. Repeat with the other pieces.
  • Grab your potato masher and mash the pumpkin. I like to add a bit of butter as well when mashing if using as a side dish, no butter if mashing to use in pies.
  • Serve as a side dish, and of course, with butter on top.
  • Or use as an ingredient for pumpkin pies.
Black Beans (Pressure Cooker)

Black Beans (Pressure Cooker)

Hip Pressure Cooking, Laura Pazzaglia, United States.
This will basically make canned beans for use in recipes that call for them. If a recipe calls for 1 can of black beans drained or with liquid, one can is typically 1½ cups. If the recipe states with liquid, measure out the beans into a measuring cup and add liquid from the pressure cooker. I will be using my large 9 liter (9½ quart) 80 kPa (12 psi) stove top pressure cooker for this. Follow the safety precautions for your model of pressure cooker at all times.
Prep Time 5 minutes
Cook Time 6 minutes
Passive Time 6 hours
Total Time 6 hours 11 minutes
Servings 6 servings

Equipment

  • Pressure Cooker

Ingredients
  

  • 500 grams dry black beans, (1 lb)
  • 1 teaspoon salt, plus more to taste
  • 2 quarts water, (8 cups)
  • 2 tablespoons cooking oil, very important, do not skip this

Instructions
 

  • Rinse the black beans then place in a large bowl and cover with at least two inches of water. Let the beans soak on the counter top for at least 6 hours, or if soaking overnight, place in the refrigerator to prevent fermentation.
  • When you are ready to cook the beans, drain then rinse the soaked beans. Add the beans to your pressure cooker. Add in water, salt, and oil. The oil prevents foaming.
  • Place the lid on the pressure cooker and lock, add the weight (jiggler) and turn on the heat to high. When the jiggler starts to move and vent pressure, indicating full pressure, reduce heat to low or medium low, to keep the pressure venting and the jiggler moving. Start timing for 6 minutes.
  • When 6 minutes have passed, turn off the heat and move the pressure cooker to an unused burner. Allow a natural pressure release, meaning just let the pressure drop to zero without any actions from you. Takes about 10-20 minutes.
  • When you have indications that pressure is zero, normally a lid lock will drop, remove the weight then the lid. Scoop out beans with a large slotted spoon (don't forget to taste a few). Then they are ready to use in recipes of your choice calling for canned beans.

Notes

Used in Recipes Listed on this Site:
Quick Soaking Beans (Pressure Cooker)

Quick Soaking Beans (Pressure Cooker)

Hip Pressure Cooking, Laura Pazzaglia, United States.
I tested this method today and it is good. If you forgot to soak your beans for at least 6 hours (like I did today) I went to a trusted site for how to quick soak in the pressure cooker. I used my 9 liter (9½ quart) 80 kPa (12 psi) stove top pressure cooker. Follow the safety instructions for your model of pressure cooker.
5 from 1 vote
Prep Time 3 minutes
Cook Time 2 minutes
Total Time 5 minutes

Equipment

  • Pressure Cooker

Ingredients
  

  • dry beans
  • water
  • 1 teaspoon salt
  • 1 tablespoon cooking oil

Instructions
 

  • Rinse the beans and remove any debris, place the beans in your pressure cooker.
  • Add 4 cups of water for every 1 cup of dry beans.
  • Regardless if quick soaking 1 cup or many cups of beans, add just 1 teaspoon of salt and 1 tablespoon of oil. (The salt normally keeps the skins from splitting, and the oil to prevent foaming.)
  • Place the lid on the pressure cooker and add the weight (jiggler). Turn on high heat and bring to full pressure. When the jiggler indicates full pressure, start timing for 2 minutes and reduce the heat to low or medium low to maintain pressure release.
  • When 2 minutes have passed, turn off the heat and move the cooker to an unused burner.
  • Now we are going to do what is called a Normal pressure release, meaning you are going to tilt the weight (jiggler) to let off pressure. Put on an oven mitt, and gently tilt the weight to allow pressure to gently release (NEVER PULL THE WEIGHT OFF!!!), just tilt it slightly for about 10 seconds then let go. About 10 seconds later, repeat with tilting the weight. Do this until the lid lock releases (drops). (When you release the pressure in this manner, you are causing violent boiling inside the pot, which is speeding up the 'quick soaking.')
  • When the lid lock drops, remove the weight, remove the lid. Drain and rinse the beans, they may look wrinkly, that is fine.
  • Now your beans are ready to be cooked for a recipe that calls for 'soaked beans.'
Great Northern Beans (Pressure Cooker)

Great Northern Beans (Pressure Cooker)

Hip Pressure Cooking, Laura Pazzaglia, United States.
I use a lot of dry beans as canned is just expensive compared to what you get. 500 grams of dry beans cooked, makes a lot of canned beans for sure. And dry beans are so cheap. I use my 9 liter (9½ quart) 80 kPa (12 psi) stove top pressure cooker. Follow your pressure cooker safety instructions at all times. This is for using soaked beans.
5 from 1 vote
Prep Time 5 minutes
Cook Time 8 minutes
Passive Time 6 hours
Total Time 6 hours 13 minutes
Course Side

Equipment

  • Pressure Cooker

Ingredients
  

  • 500 grams dry Great Northern beans, (1 lb)
  • salt, as needed
  • water, as needed
  • 2 tablespoons cooking oil, very important

Instructions
 

  • Rinse the beans and remove any bad ones and any debris, place in a large bowl and cover with 2 inches of water. Add 2 tablespoons of salt and stir that in. Cover the bowl and let that sit for at least 6 hours.
  • After 6 hours, drain and rinse the beans. You can see how much the beans swelled.
  • Place the beans in your pressure cooker. Add 8 cups of water, 1 teaspoon of salt, and the 2 tablespoons of cooking oil, the oil keeps the beans from foaming so do not skip the oil.
  • Place the lid on the pot, add the weight (jiggler), and bring the heat up to high. When the jiggler starts moving and releasing pressure, start timing this for 8 minutes, and turn the heat down to low or medium low to maintain the jiggler moving and releasing pressure.
  • At 8 minutes, turn off the heat and move the pressure cooker to an unused burner and allow a natural release of pressure. When the pressure is released, open the lid, use beans as needed in other recipes.

Notes

Used in Recipes Listed on this Site:
Chickpeas (Pressure Cooker)

Chickpeas (Pressure Cooker)

Hip Pressure Cooking, Laura Pazzaglia, United States.
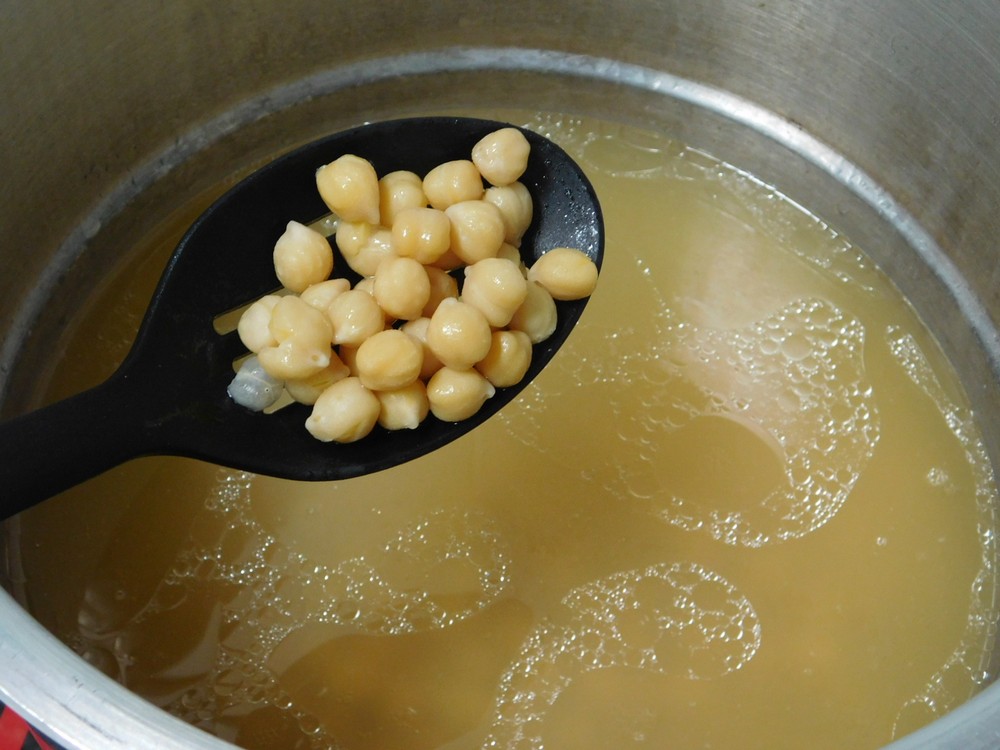
These came out 100% perfect. This is a quick way to cook chickpeas that have been soaked for at least 6 hours. Use in soups, salads, pasta salads, etc. I use my large 9 liter (9½ quart) 80 kPa (12 psi) stove top pressure cooker. Follow all safety precautions for your type of pressure cooker at all times. This will make about 2¾ cups cooked chickpeas and 1½ quarts of broth.
5 from 1 vote
Prep Time 5 minutes
Cook Time 13 minutes
Total Time 6 hours 18 minutes
Course Side

Equipment

  • Pressure Cooker

Ingredients
  

  • 1 cup dry chickpeas
  • water, as needed
  • salt, as desired
  • 2 tablespoons cooking oil, very important

Instructions
 

  • Rinse the dry chickpeas then place in a container. Add water to cover by an inch or two. Cover and place on the counter for at least 6 hours. If soaking overnight, then place in the fridge.
  • When ready to cook, drain and rinse the beans and place in your pressure cooker.
  • Add 8 cups of water, salt as desired, and the 2 tablespoons of cooking oil, this keeps the beans from foaming so do not skip the oil.
  • Place the lid on the pot, add the weight (the jiggler), and bring the heat up to high. When the jiggler starts moving and releasing pressure, start timing for 13 minutes, and turn the heat down to low or medium low to just maintain the jiggler moving and releasing pressure.
  • At 13 minutes, turn off the heat and move the pressure cooker to an unused burner and allow a natural release of pressure. When the pressure is released, open the lid, drain and use the chickpeas as needed in other recipes.

Notes

Variant: 1. If cooking more than 1 cup of dry but soaked chickpeas, you need water to cover the beans by 1-2 inches, keeping in mind you do not go over half full on the cooker, and DO NOT forget the oil!
Used in Recipes Listed on this Site:
Pork or Beef Bone Broth (Pressure Cooker)

Pork or Beef Bone Broth (Pressure Cooker)

Adapted from an internet recipe.
There is three aspects to this, the traditional trinity, holy trinity, and an Asian flavor, all will be described. Pork or beef bones you can use are cooked, as from ribs, pork chops, steaks, roasts, or fresh from Tesco, which sells pork and beef bones for specifically making bone broth. Using chicken bones is listed as a shortcut as the time is different, and is written as using whole chicken carcasses instead of leftover bones from cooking. Variants in the Recipe Notes section will describe information on using combinations of different bones. I will be using my large 9 liter (9½ quart) 80 kPa (12 psi) stove top pressure cooker. Follow all safety precautions for your model of pressure cooker.
5 from 1 vote
Prep Time 5 minutes
Cook Time 1 hour
Total Time 1 hour 5 minutes
Servings 2 quarts broth

Equipment

  • Pressure Cooker

Ingredients
  

For Seasoning, pick just one group to use

  • 1 gallon bag pork or beef bones, I will verify weight for fresh bones

Trinity

  • 1 carrot, chopped
  • 1 onion, chopped
  • 1 stalk import celery, chopped, plus the top
  • palmful black peppercorns

Holy Trinity (for the Cajuns)

  • 1 bell pepper, color up you, chopped
  • 1 onion, chopped
  • 1 stalk import celery, chopped
  • palmful black peppercorns

Asian

  • 3-4 spring onions, chopped, white and green parts
  • 1 thumb fresh ginger, as long as your thumb, sliced, no need to peel
  • 2-3 cloves garlic, smashed and peeled

Instructions
 

  • For the cooked bones, save each, pork or beef, in separate gallon size zip lock bags and place in the freezer until you have a gallon bag full. Another option is to use fresh pork or beef bones, they are available at Tesco in Thailand, I will determine what the weight of fresh bones is to a gallon bag.
  • Once you have the gallon size bag of bones, place them in your pressure cooker, frozen bones are ok, no need to thaw them.
  • Add the seasoning of your choice to the pressure cooker; Trinity, Holy Trinity, or Asian. Only use one type if this is your first go at this.
  • Add water to the pot to just cover the bones, start with pouring in 2 quarts of water, if there is bones sticking out of the water, rearrange bones or if already packed in there well, just add more to just cover them. Keep in mind the 2/3 full pot rule with your size of pressure cooker.
  • Place the lid on the pressure cooker and lock, place the weight, the jiggler, on the lid, place on high heat.
  • When the jiggler starts to move and vent pressure, start your timer for 60 minutes, and reduce heat to low or medium low heat to maintain the jiggler moving and pressure releasing.
  • When 60 minutes have passed, turn off the heat and move to an unused burner. Allow a natural release of pressure. Keep in mind, the more water you have in the pot, it takes longer to come up to pressure, and takes longer to release pressure.
  • Once you have indications that there is zero pressure in the cooker, Open the lid.
  • Allow the broth to cool slightly, then pour through a cheesecloth lined strainer. Discard the bones and seasonings used.
  • Pour the broth into quart jars if you plan on using within 3-5 days and place in the fridge when cooled to room temp. If wanting to use later, pour into ice cube trays and freeze for up to 3 months.

Notes

Low to zero cost.
Note about the bones: If using cooked bones, such as ribs, chops, steaks, roasts, those bones are already cut. If using fresh bones from Tesco or a local butcher, ask them to cut the whole bones for you into 2-4 pieces. If a shop cannot cut the bones you have 3 choices. 1. If you happen to have a meat saw at your disposal, use that. 2. Use a hacksaw with a new and sterilized blade. 3. Wrap the bones in cheesecloth and apply a few liberal blows with a hammer.
Shortcut: Chicken Stock (Pressure Cooker).
Variants: You ever go to a Chinese, Japanese, Vietnamese, or Thai noddles shop and find they have the best tasting broth with the noodles? Here's why, they use different combinations of bones to make the broth. Chicken, duck, and turkey bones have different flavors. 1. Try a combination of beef + one or two chicken bones. 2. Try a variation with pork + one or two chicken bones. 3. Try those combinations with duck and turkey bones.