Author Archive
Preparing Straw Mushrooms
Straw mushrooms, according to Wikipedia, are the 3rd most consumed mushrooms in the world, rightfully so as it is an Asian mushroom. Is the US, Canada, and Europe, most straw mushrooms will be canned and there is some specialty farms that grow these as well. These mushrooms are normally sold fresh and what is termed, closed, meaning the cap has not emerged yet, so they look like just round or oblong balls. When the cap has emerged then they are termed as opened. I received 1 1/2 kilos (3 lbs) of these mushrooms from an inlaw, however, nearly all were the opened type, so this was a first for me to prepare these. But with the closed type, there is a proper way to prepare those as well. Opened do not have much market value, the closed are prized for stir frys and soups, however, neither type has long shelf life once harvested so markets will run out of these as well as restaurants. This mushroom also costs more than other mushrooms due to the short shelf life and excellent flavor.
Ingredients
- fresh Straw mushrooms, opened and or closed types
Instructions
Cleaning
- Normally when you buy these from a market the mushrooms are trimmed and free of any dirt or dark area where the ball of the mushroom came in contact with the straw (yes, they grow on a straw compost, hence the name). If you buy these direct from the grower, then just trim of any dark areas with a knife. Once trimmed, for the closed type, rinse under running water and shake off excess, for the opened type, very briefly rinse under running water and shake of excess water.
Opened Type
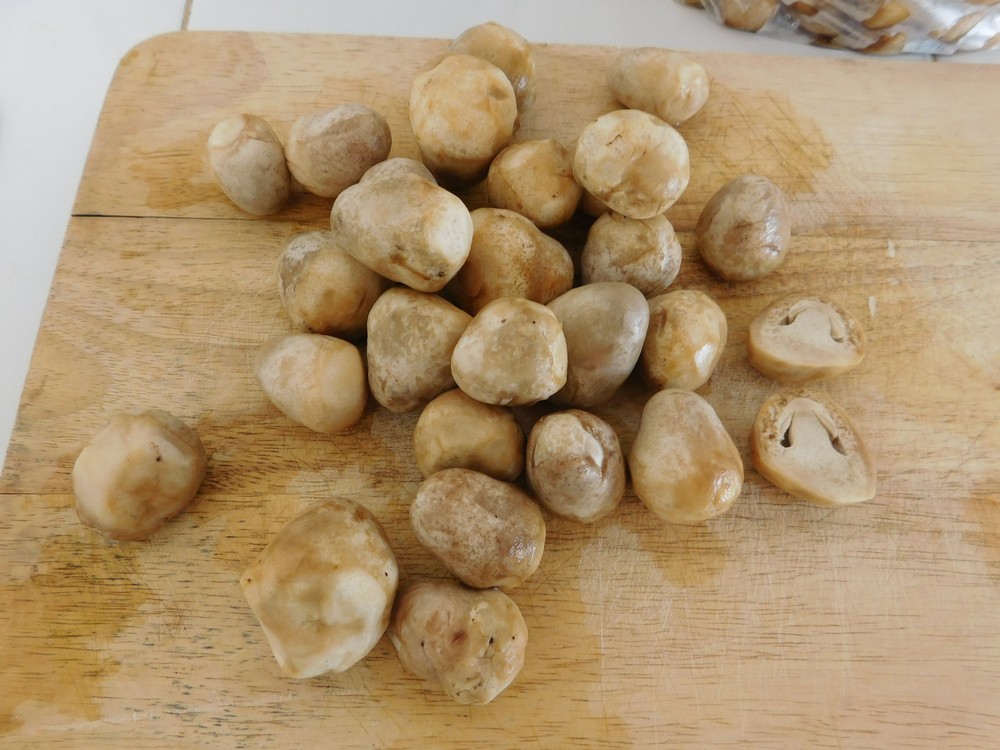
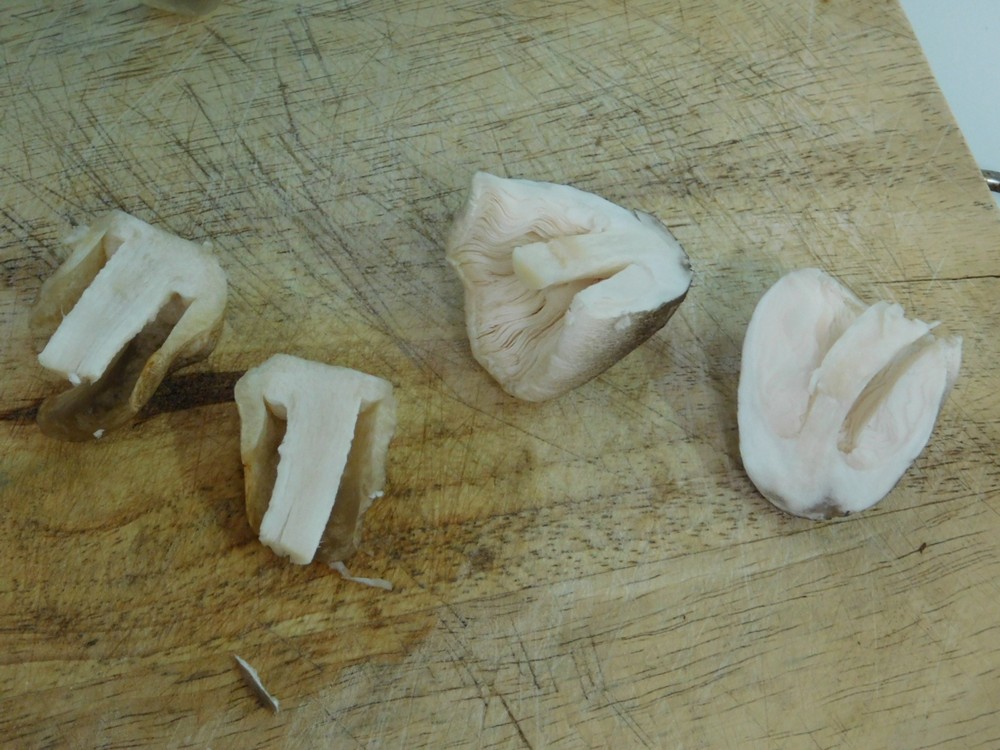
- The closed type of mushroom looks like a ball as the veil (the outer covering of the mushroom has not opened), leaving the cap and stem inside. To prepare these, simply look for a flat or cut side, then place that on the cutting board and slice only in half from the top to the bottom, the halved pieces are on the right in this photo. If you cut them crosswise, you can see they will just fall apart into different pieces. These are compact and dense mushrooms with excellent flavor. This form of mushroom does not have much water to release when cooking.
Closed Type
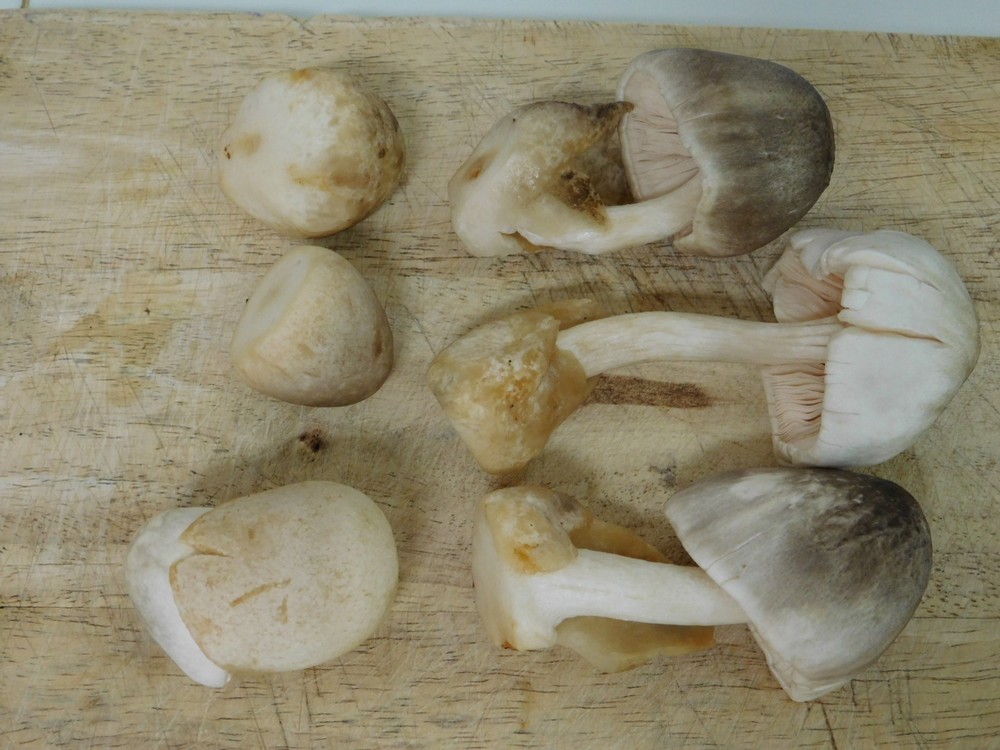
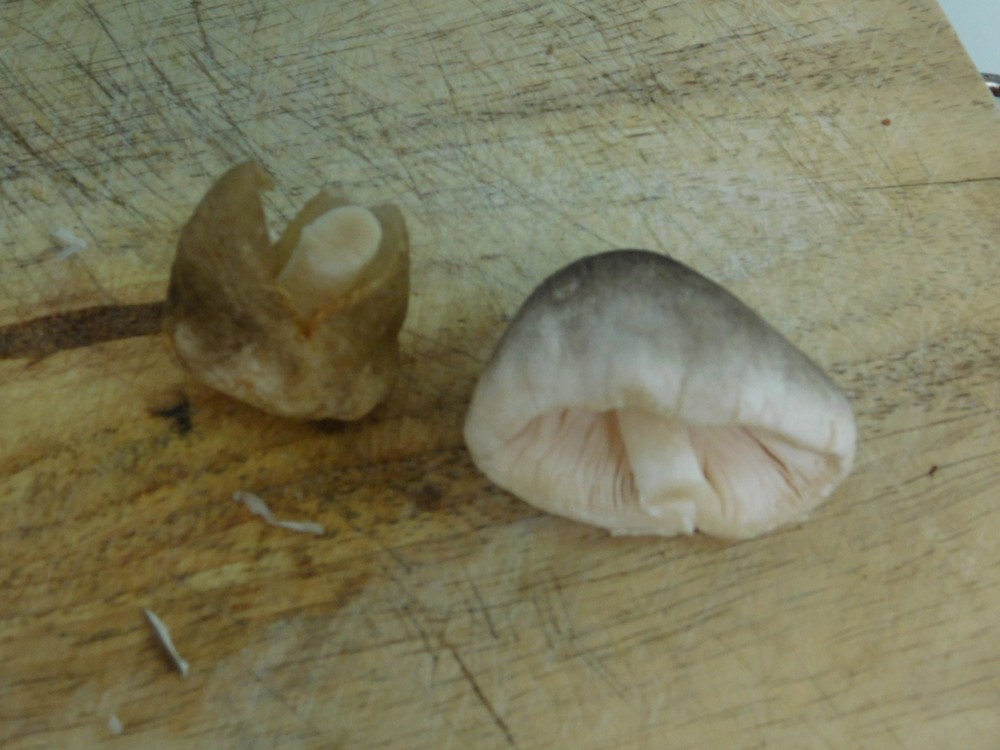
- The mushrooms on the left are closed (bottom one though has just opened), and on the right is the opened. The opened, the left side (the bottoms of the mushrooms) you can see the ball shape, parts of the veils (the covering over the mushroom in the closed type), the stems, and the caps. When these mushrooms open, it is just a day or two to look like these, so there is a lot of moisture in these as one would expect.
- To prepare this type, same principle applies, a lengthwise cut. First lay a opened mushroom on your cutting board.
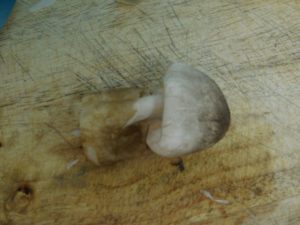
- Slice the mushroom in half, crosswise through the stem, giving you 2 pieces. If the stem is long, then cut crosswise above the ball (the bottom end) and at the cap, giving you 3 pieces.
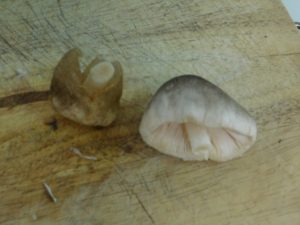
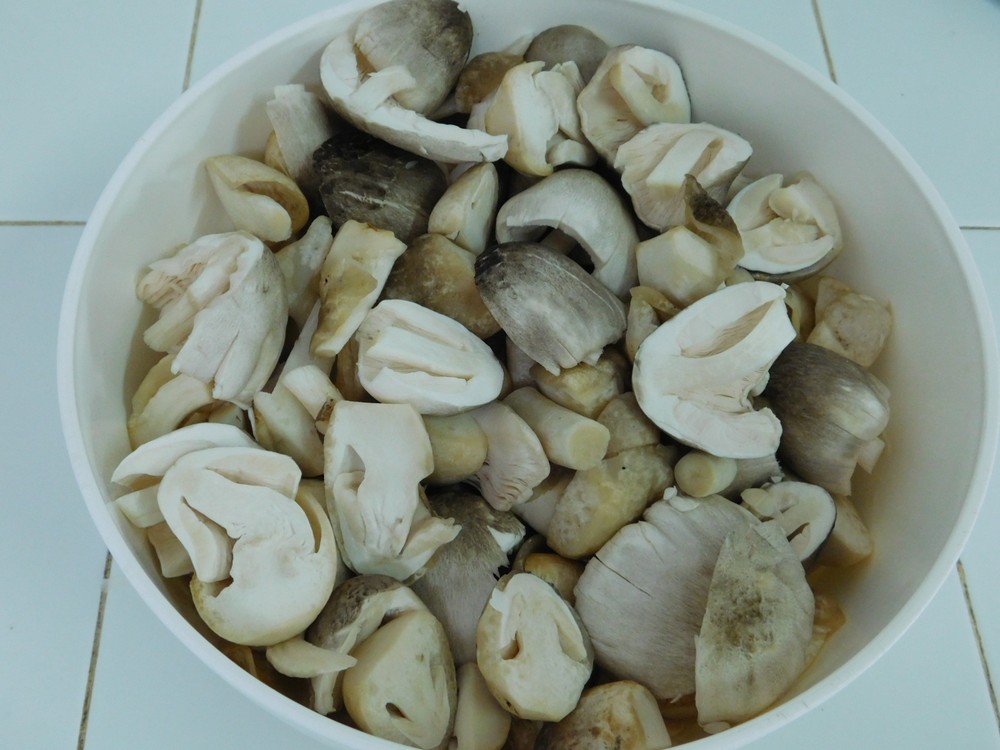
- Now take the ball end and cut through the stem top to bottom, and the cap through the stem, giving you now 4 pieces. If you have a stem section from a mushroom with a long stem, no need to cut the stem, then you have 5 pieces. All the pieces, even the stem, are flavorful and tender.
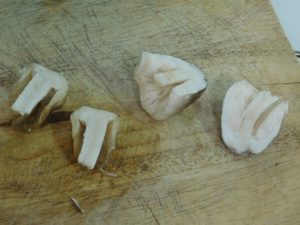
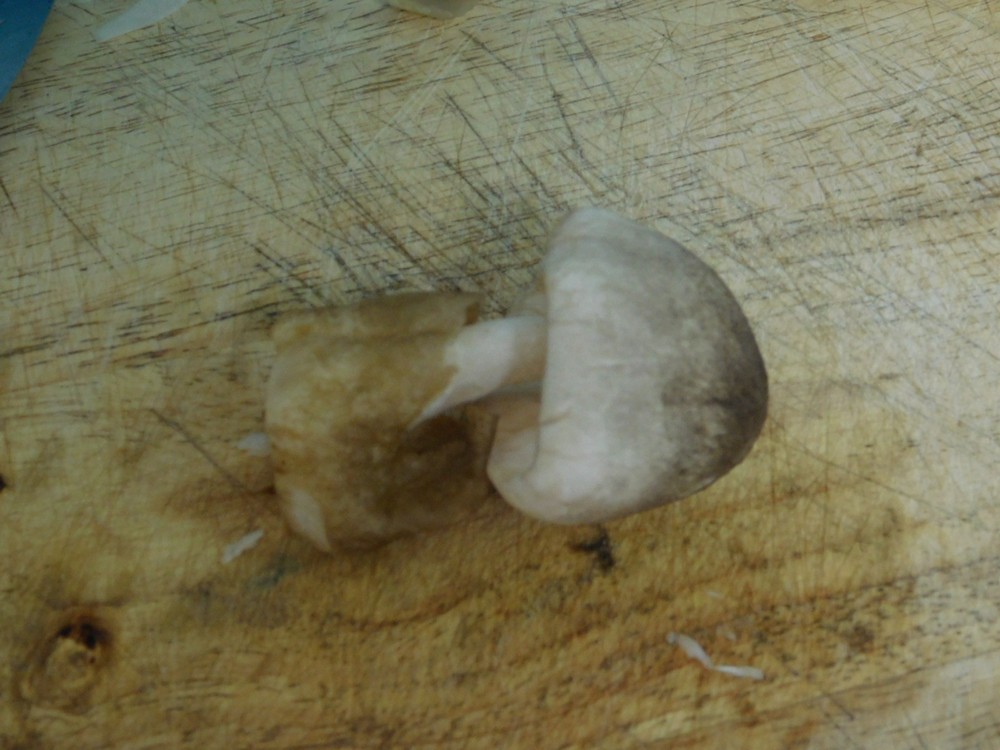
- Use the mushrooms in recipes of your choice, keeping in mind, the opened type will give off lots of water as it is cooked.
Notes
I will give a price per kilo when buy these again.
Used in Recipes Listed on this Site:
- Teriyaki Straw Mushrooms, made it, GO-TO recipe.
Teriyaki Straw Mushrooms
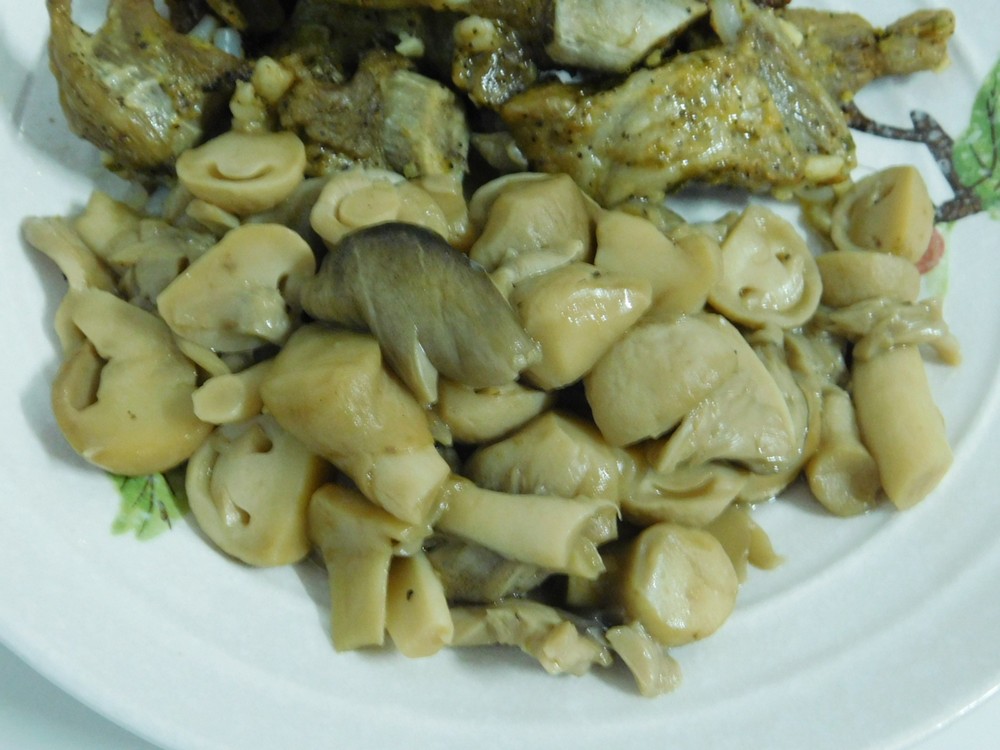
Straw mushrooms, according to Wikipedia, are the 3rd most consumed mushroom in the world. That is believable as they are Asian in origin. This recipe is based on what I received so I used them all as these mushrooms do not last long once they are harvested. Link to the Shortcut is listed in the Recipe Notes section.
Ingredients
- 1.2 kilos Straw mushrooms, this was the weight cleaned, (2 2/3 lbs)
- 1 cup Teriyaki sauce, (Shortcut)
- black pepper, as desired
Instructions
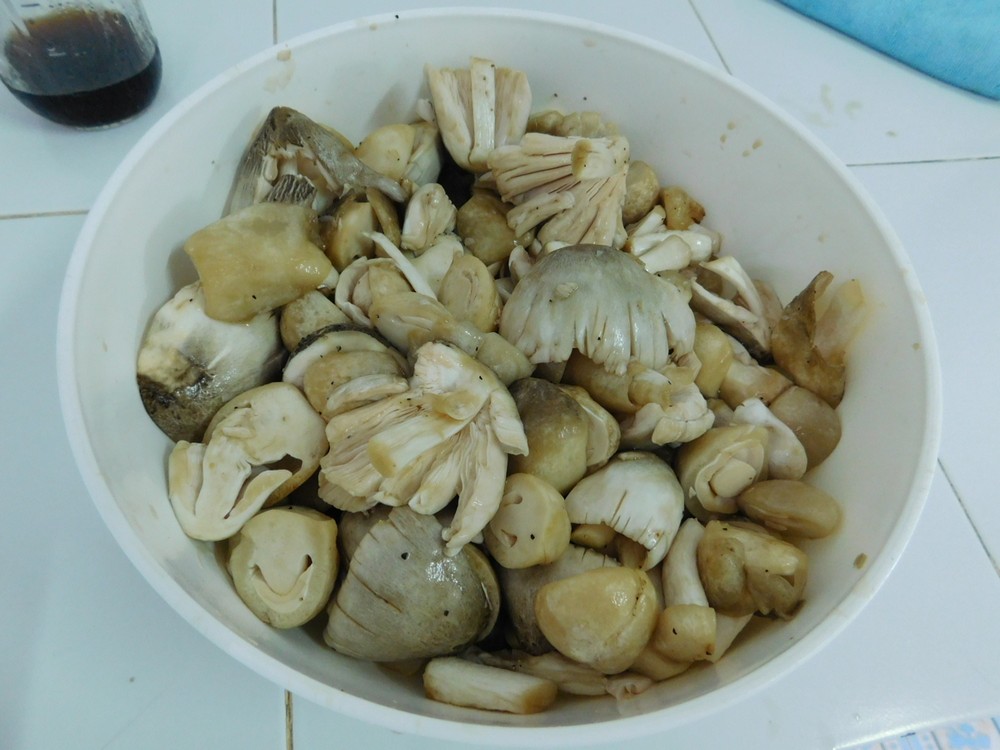
- Clean any dirt off the mushrooms and give a quick rinse, shake off any water. Slice closed mushroom in half lengthwise, and for open mushrooms, cut in half at the stem, then slice the two piece in half lengthwise through the stem. Place in a large mixing bowl.
- Add a good shake or two of black pepper then pour in about 1/2 cup teriyaki sauce (and I cannot stress enough to make your own as well). Give the mushrooms a mix with your hands, then let sit on the counter for 20-30 minutes.
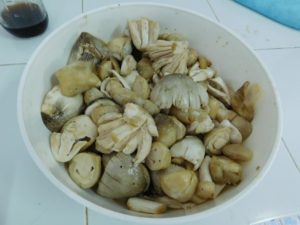
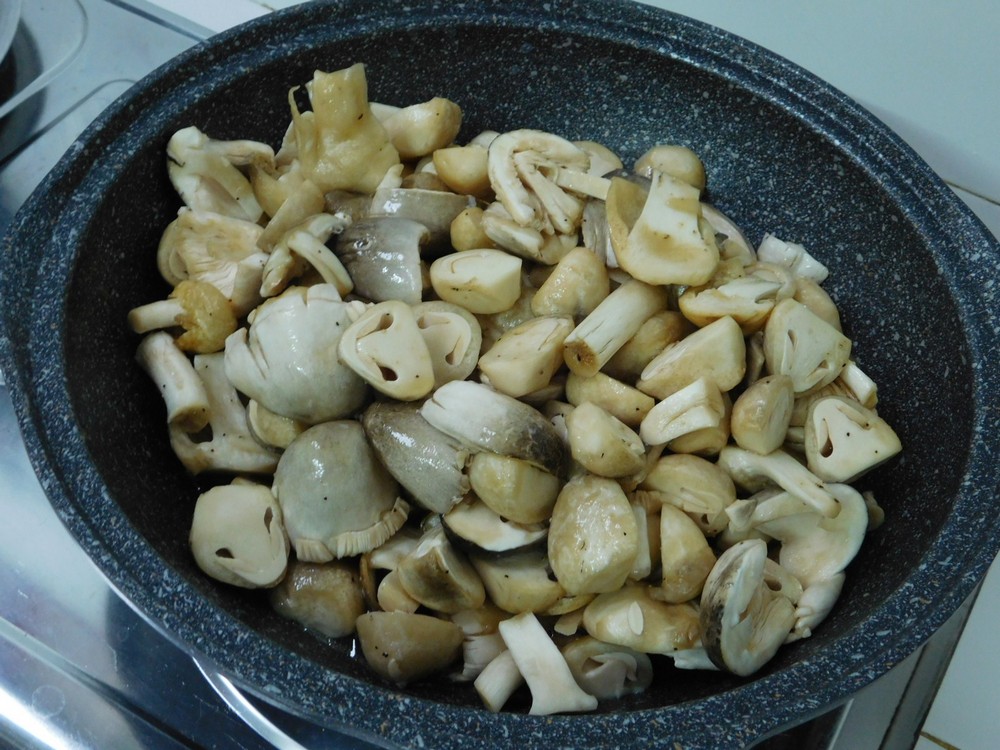
- Heat a non stick pan, no oil is needed. When the pan is hot, add the mushrooms, just pour the mushrooms and sauce that was not absorbed into the pan.
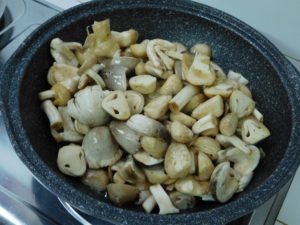
- Stir fry for a few minutes to get them all heated through and they will release their water and the teriyaki sauce.
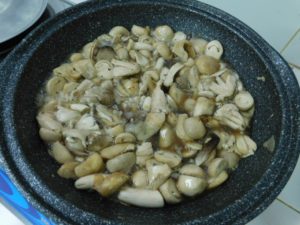
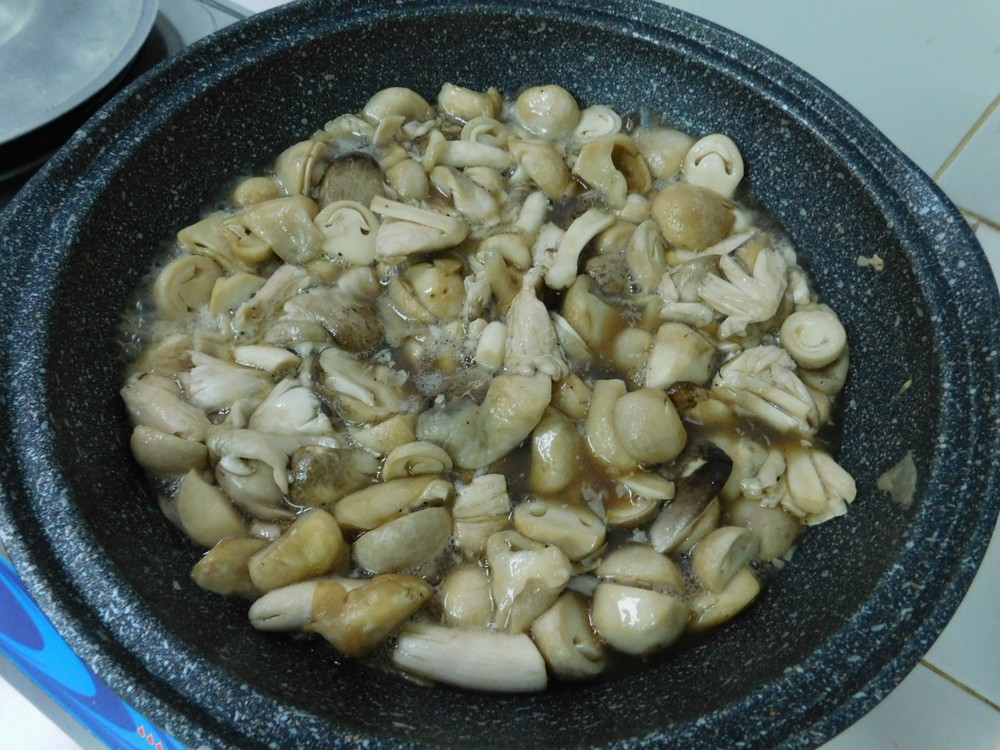
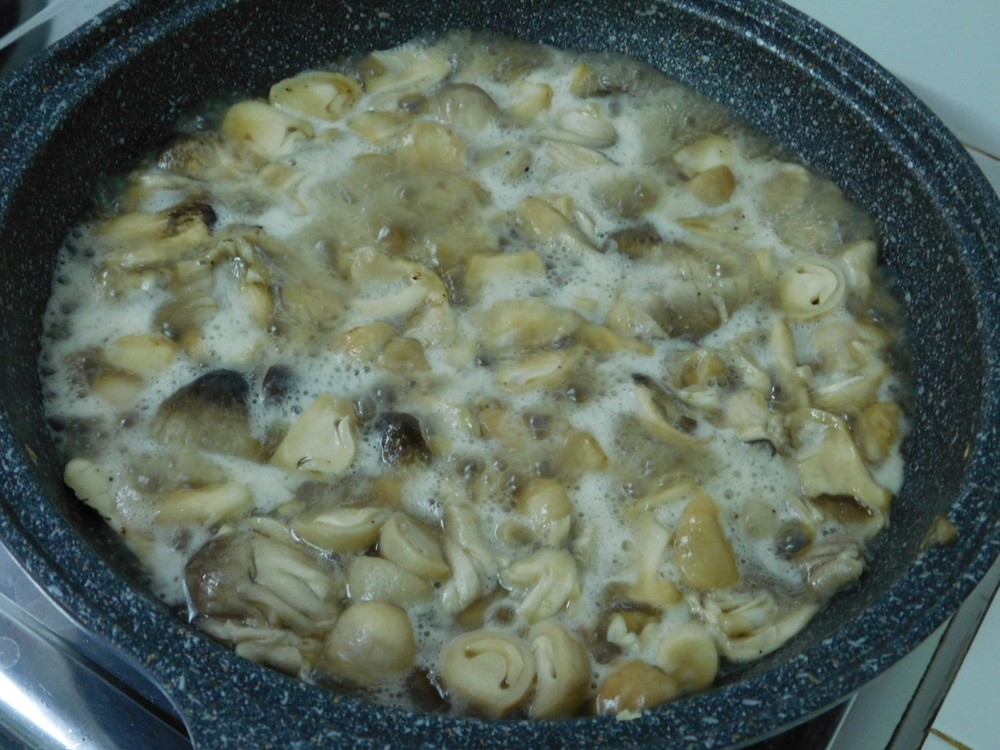
- Simmer on medium to medium low heat, stir often, the open mushrooms release a lot, and I mean a lot, of water.
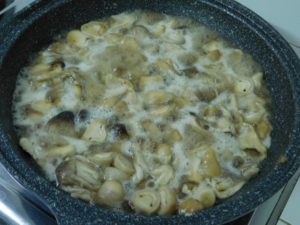
- When most of the water is cooked off, add the remaining 1/2 cup of teriyaki sauce and stir that in.
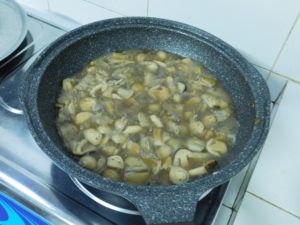
- Continue simmering to reduce the liquid a bit more.
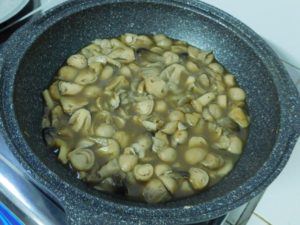
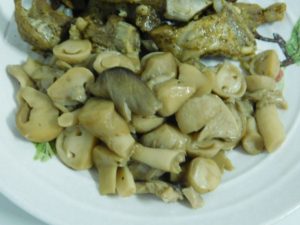
- Use a slotted spoon and spoon out the mushrooms to a serving dish or add as a side to plate, enjoy.
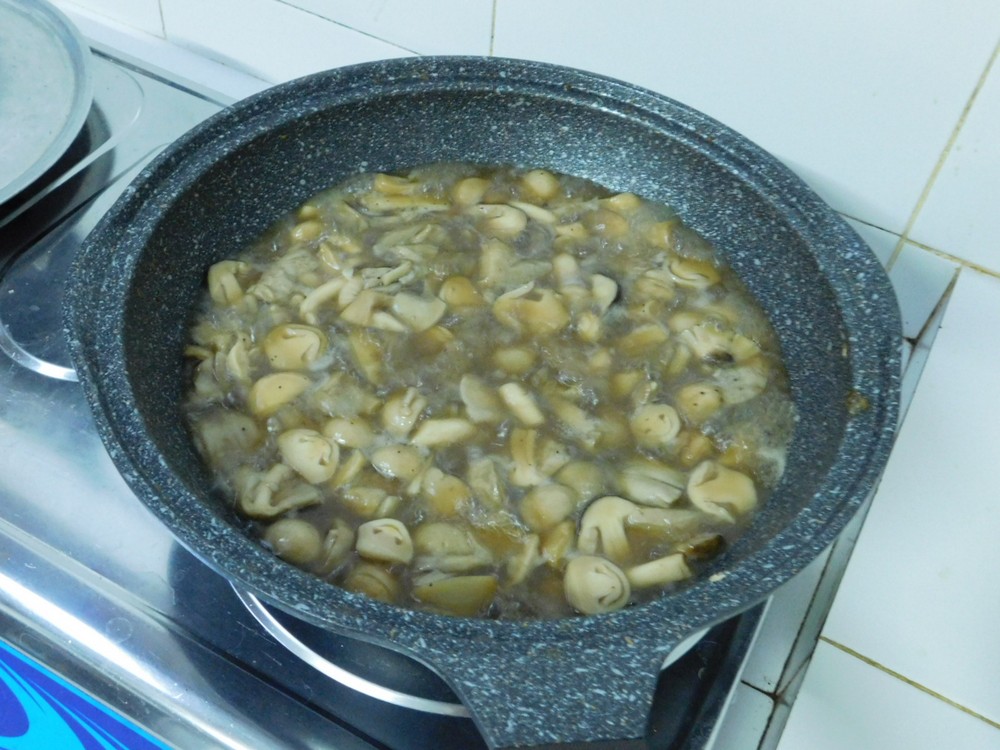
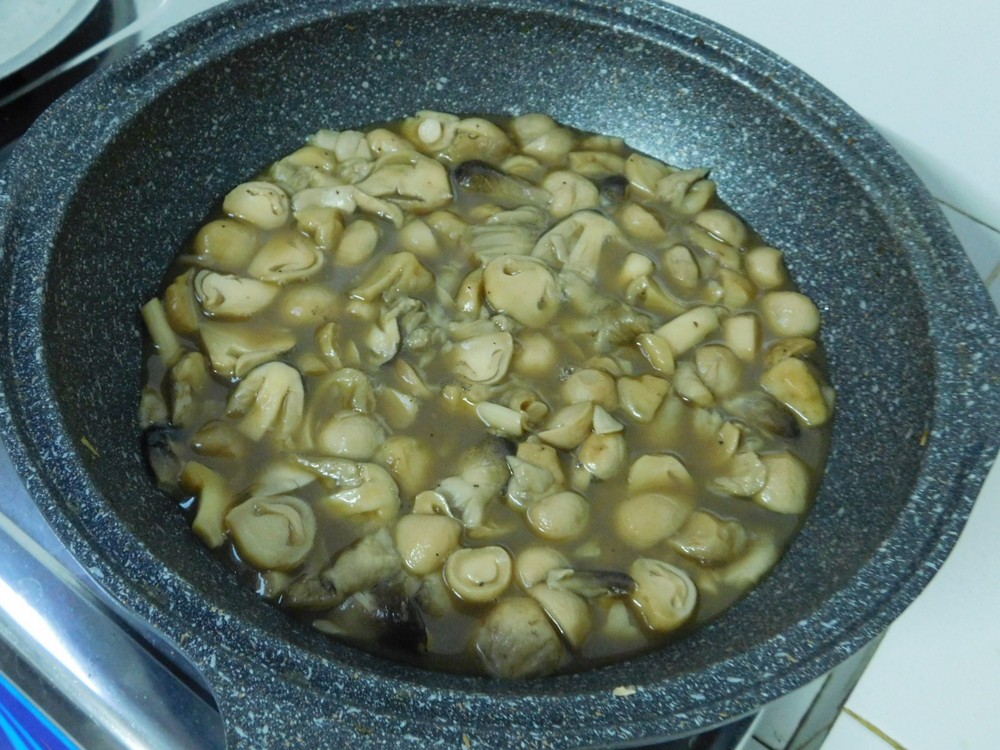
Notes
I need to get a cost per kilo for straw mushrooms so I can price this, as they are more expensive than the Japanese mushrooms. For now I will say low cost per serving.
Shortcuts: Teriyaki Sauce (照り焼きのたれ), Preparing Straw Mushrooms.
Common method to cook teriyaki mushrooms.

Chinese Pork Ribs (Pressure Cooker)
These are delicious and easy to make. I used my 9 liter (9½ quart) stove top pressure cooker with a pressure of 80 kPa (12 psi) for this, so an electric pressure cooker will be the same. Follow all safety precautions for your model of pressure cooker.
Equipment
- Pressure Cooker
- Steamer Tray
Ingredients
- 1½ kilos pork ribs, (2½-3 lb)
For the Marinade
- 2 tablespoons brown sugar
- 1 tablespoon sesame oil
- 1½ tablespoons light soy sauce
- 1½ teaspoons salt
- 1 teaspoon black pepper
- ¼ cup garlic cloves, smashed and minced
- ½ teaspoon ground ginger, or 1 tablespoon fresh grated
- 1 tablespoon Sriracha Chili Garlic sauce
- ½ cup spring onion, sliced, white and green parts
Additional Items
- 2 teaspoons corn starch
- 1 cup water
- spring onion, sliced, for garnish
- fresh cilantro, chopped, for garnish
Instructions
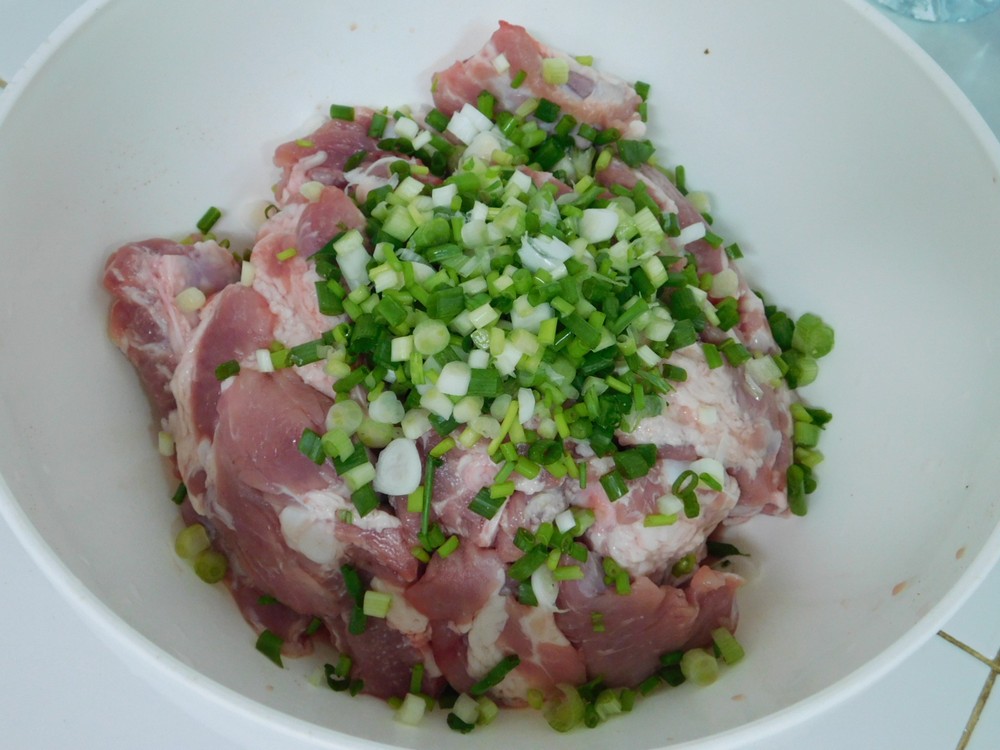
- Cut the ribs into 1 bone pieces. (I also started to add the spring onion and garlic.)
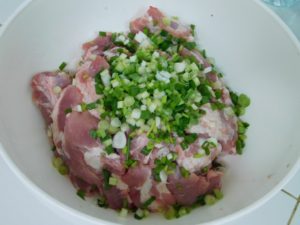
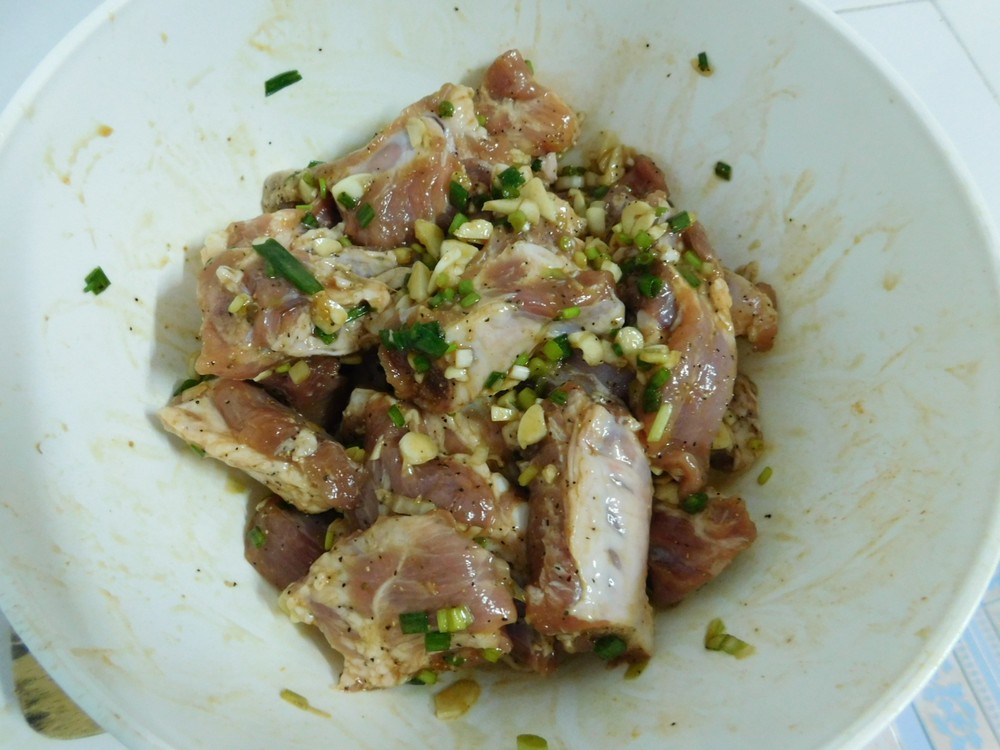
- In a large mixing bowl, add all the Marinade ingredients and mix together.
- Add the ribs to the marinade and mix to coat all pieces well. Marinate the ribs at room temp for 30 minutes.
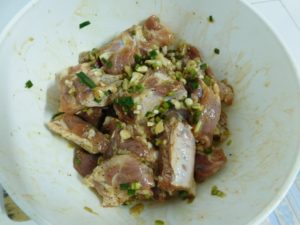
- After 30 minutes have passed, sprinkle on the corn starch and mix that into the mixture.
- Add 1 cup of water to your pressure cooker, place the steamer tray or trivet in the cooker, then add the contents of the mixing bowl (ribs and marinade) to the pressure cooker.
- Add the lid and lock, place the weight (jiggler) on the top, and place on high heat. When the jiggler starts to move and vent pressure (indicating full pressure), reduce heat to low or medium low, just enough heat to maintain full pressure. Set your timer for 15 minutes.
- When 15 minutes have passed, turn off the heat and move the cooker to an unused burner and allow a natural release of pressure, meaning you have to do nothing.
- When you have indications of zero pressure in the cooker, about 15-20 minutes after you removed it from the heat, remove the weight then remove the lid.
- Remove the ribs with tongs to a serving plate, drizzle some of the liquid over the ribs, sprinkle with spring onion and coriander as desired.
- Serve with rice on the side.

Notes
Low cost.
Pork Ribs (Pressure Cooker)
Tender ribs, short cooking time, win win. For this, I have included a simple rub but by all means, use your preferred rub if you like. For the BBQ sauce, totally optional to use or not use. No serving amount is given, this is a make what you want recipe. I will be using my 9 liter (9½ quart) stove top pressure cooker with 80 kPa (12 psi) pressure for this. Follow all safety precautions for your model of pressure cooker. Link to the Shortcut is listed in the Recipe Notes section.
Equipment
- Pressure Cooker
- Steamer Tray
- Oven / Broiler
Ingredients
- 2-3 racks pork ribs, (about 1½ kilo / 3 lb)
- 1 cup pork broth, or vegetable stock, or just water
- ½ teaspoon liquid smoke
- 4-5 cloves garlic, peeled and sliced
- 1 onion, sliced
- 6 tablespoons dry rub, listed, or use your own rub
- BBQ sauce, as needed, Shortcut
Basic Dry Rub
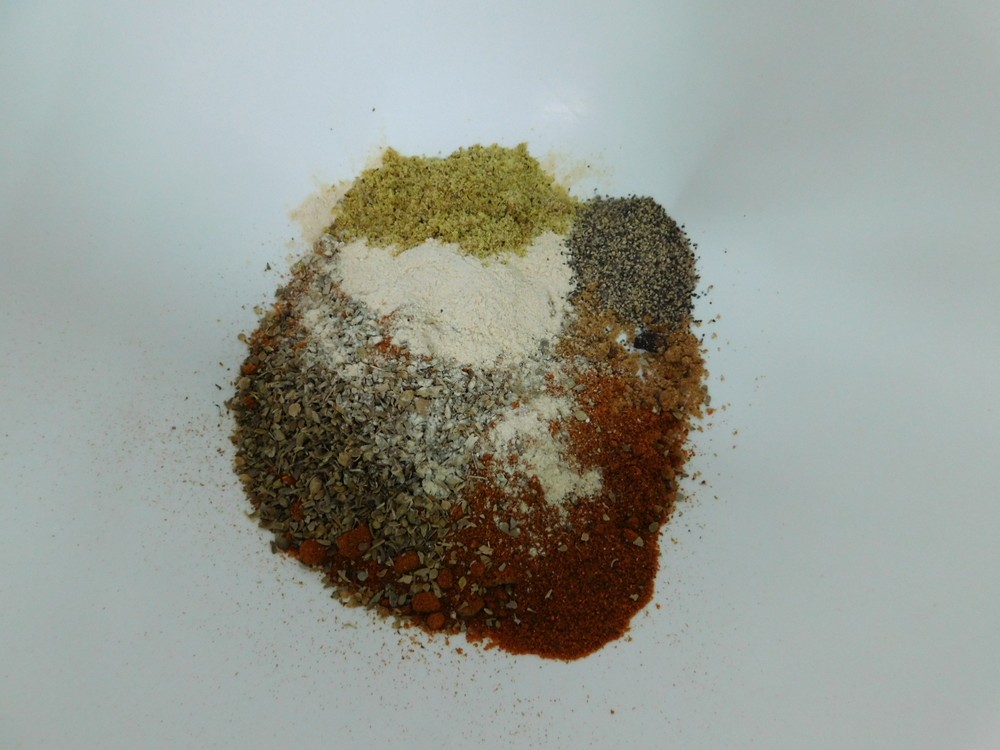
- 2 tablespoons paprika
- 1 teaspoon smoked paprika
- 2 tablespoons brown sugar
- 2 teaspoons garlic salt
- 2 teaspoons onion powder
- 1 teaspoon black pepper
- 2 teaspoons lemon pepper
- 2 teaspoons dried oregano
Instructions
- Mix together the Basic Dry Rub ingredients in a bowl and set aside.
- Add the broth and liquid smoke to your pressure cooker add the steamer rack if equipped or place a trivet in the pot. Goal is to keep the ribs above the liquid in the pot.
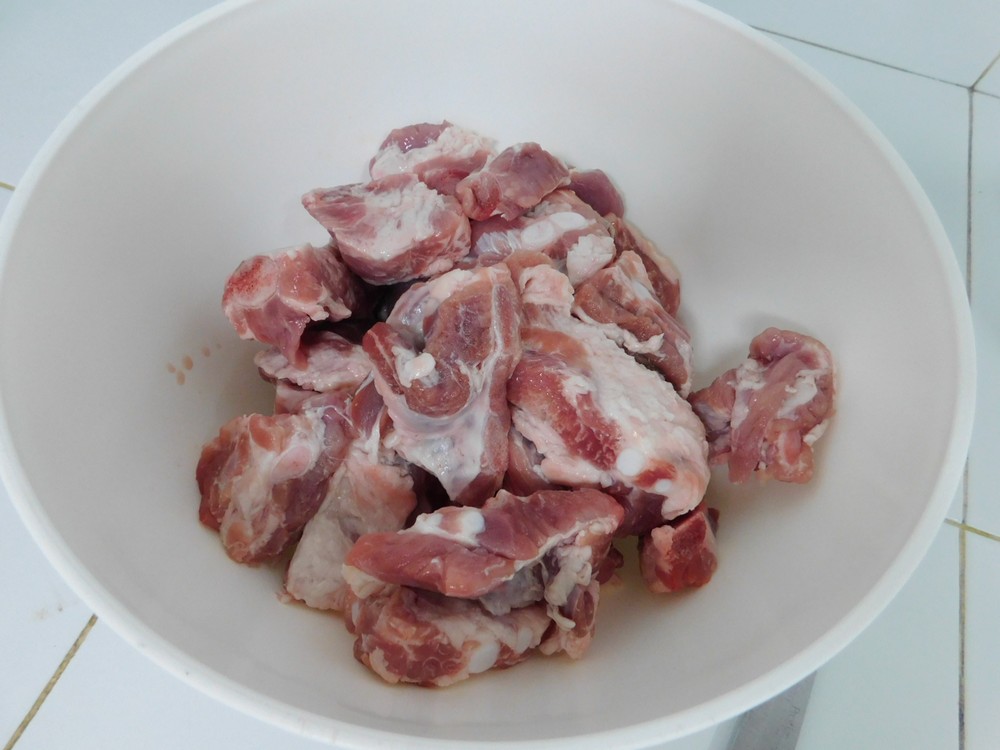
- Rinse and dry the racks, remove the silver membrane from the back. Cut racks into 1 bone pieces. (Tesco in town was out of the good ribs, just the racks with a lot of white bone was available.)
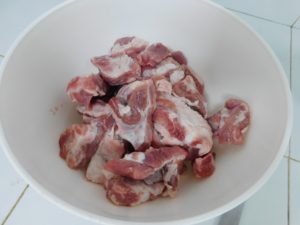
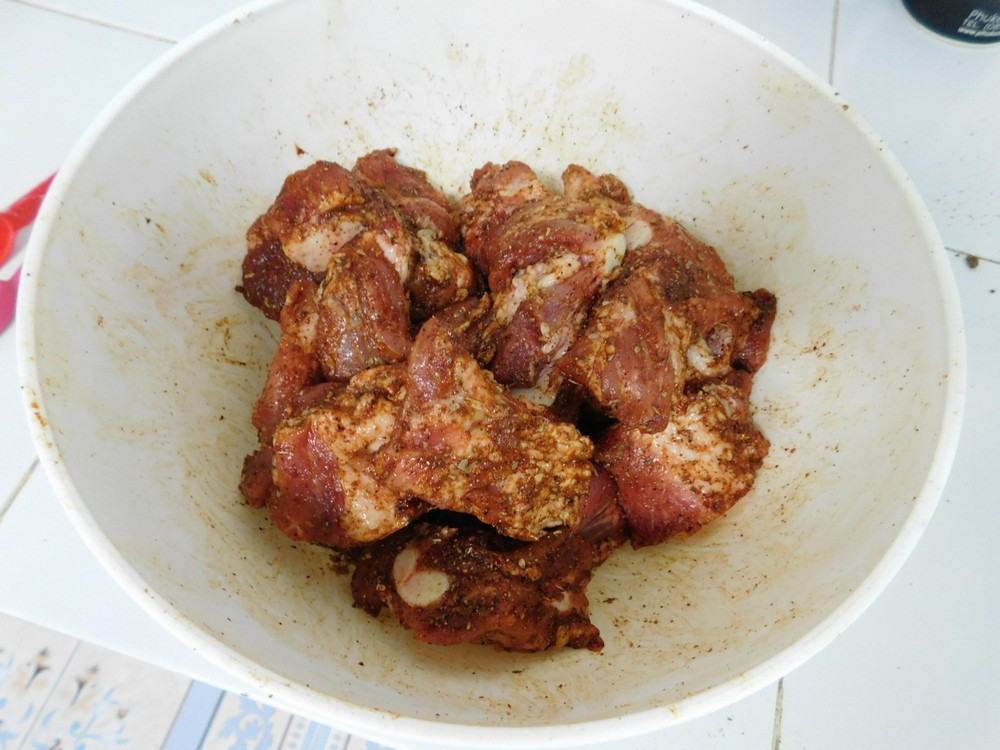
- Coat the rib sections with the dry rub you made.
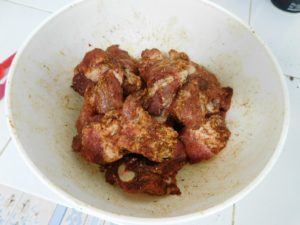
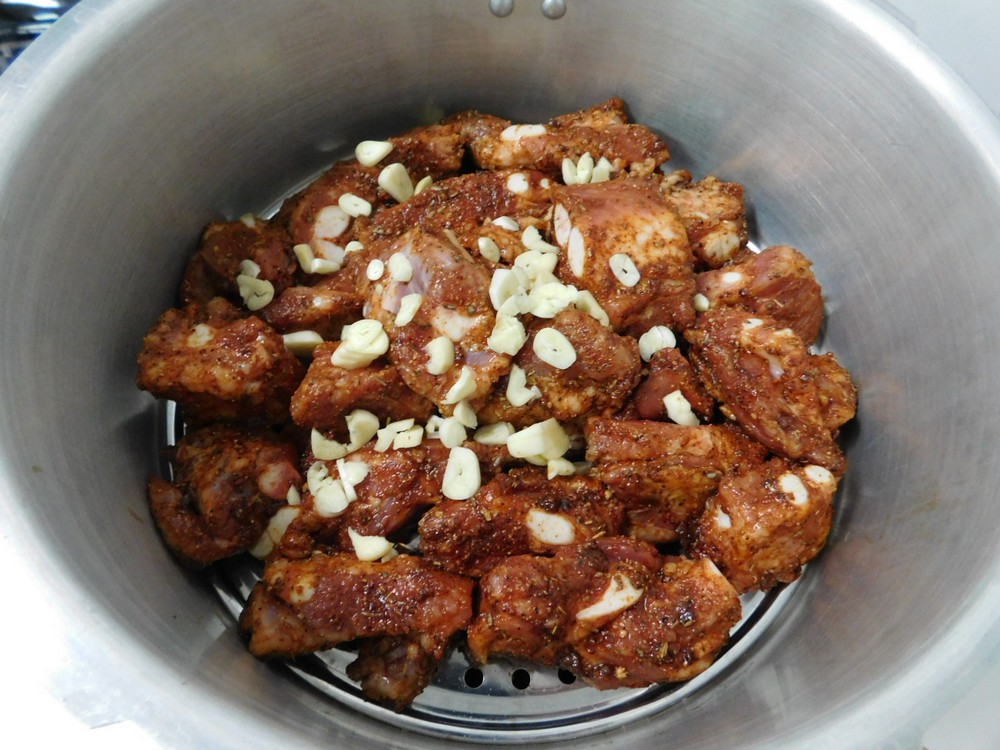
- Place the piece on the streamer rack and sprinkle with the onion and garlic. (I ran out of onion so just went with garlic.)
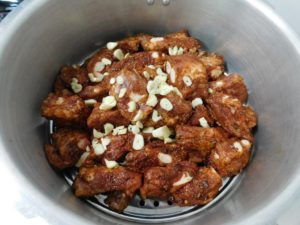
- Place the lid on the cooker and lock, add the weight (jiggler). Place on high heat until the jiggler starts to move and vent pressure. Reduce the heat to low or medium low, but maintain the jiggler moving, indicating full pressure. Set your timer for 15 minutes.
- When 15 minutes have passed, turn off the heat and move the cooker to an unused burner and allow a natural release of pressure, meaning hands off until you have indication the pressure is at zero inside the cooker, about 15-20 minutes.
- When indications show zero pressure in the cooker, pull off the weight then remove the lid.
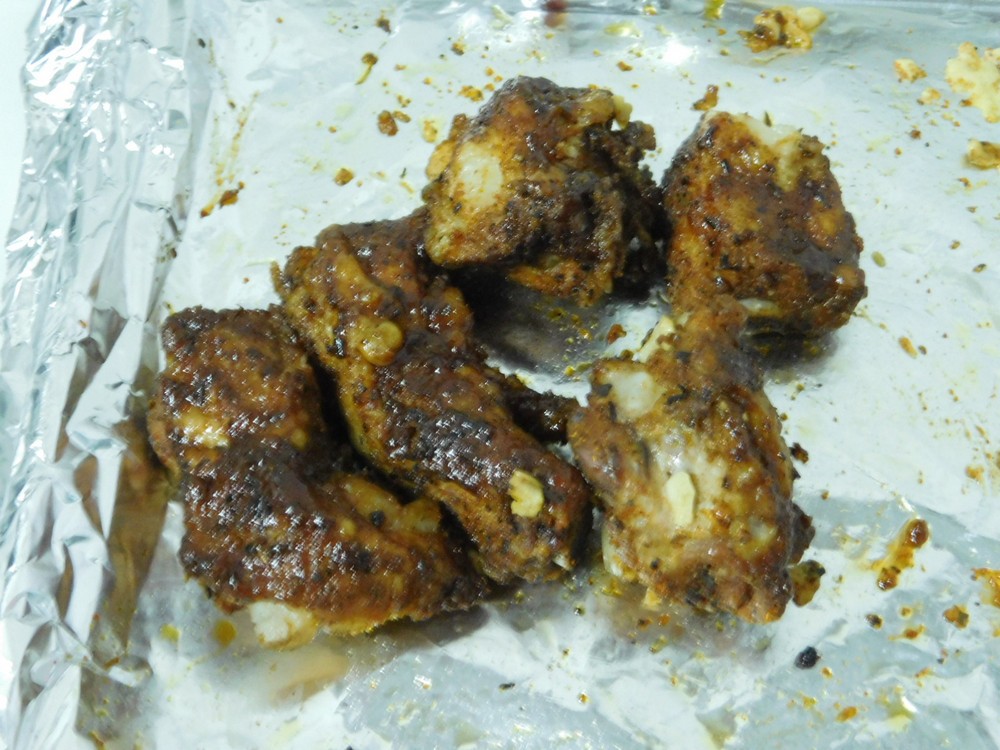
- Place the ribs on a foil lined baking sheet and brush with BBQ sauce of your choice or simply olive oil, then broil or if using a counter top oven, use the top coil on the highest setting, until the ribs are crisped and slightly charred.
- Serve and enjoy with sides of your choice.
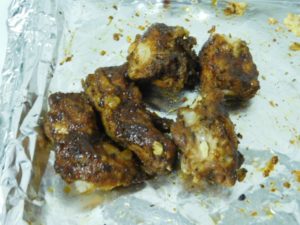
Notes
Low cost per serving.
Shortcuts: Basic BBQ Sauce, Brian's BBQ Sauce, Kansas City Style.
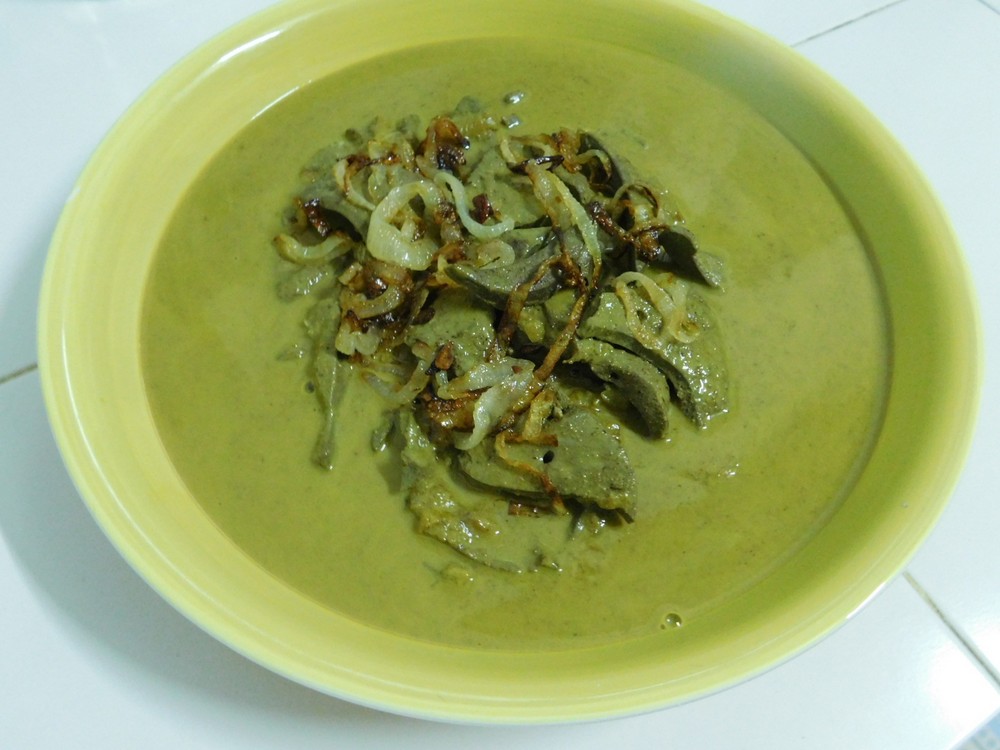
Indonesian Pork Liver
This is delicious, I liked the use of the turmeric with the liver here. The spices with the coconut milk make an excellent sauce.
Ingredients
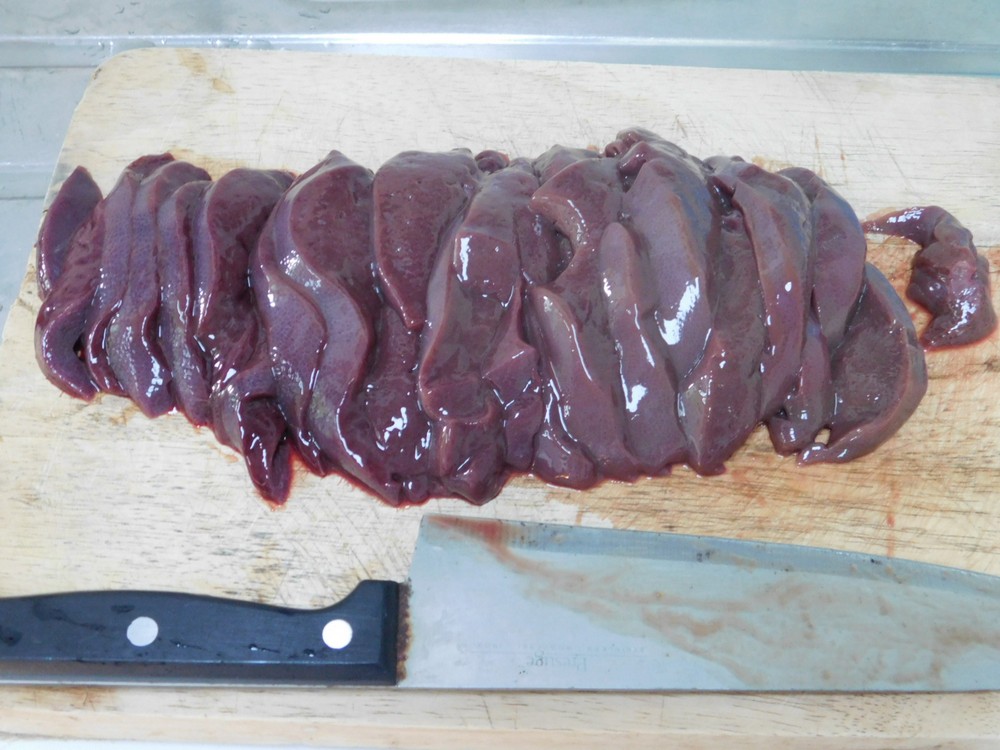
- 500 grams pork liver, cleaned, cut into thin strips, (1 lb)
- 1 tablespoon smooth peanut butter
- ½ teaspoon sea salt
- 1 cup coconut milk
- 175 grams onion, sliced into rings, (about 6 oz)
- 1 teaspoon ground coriander
- 1 clove garlic, smashed and minced
- ¼ teaspoon chili flakes
- 2 tablespoons cooking oil
- ¼ teaspoon ground turmeric
- 1 tablespoon soy sauce
Instructions
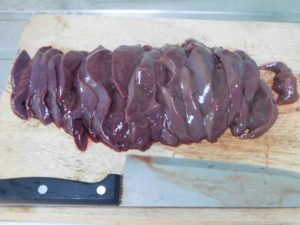
- Liver prepped.
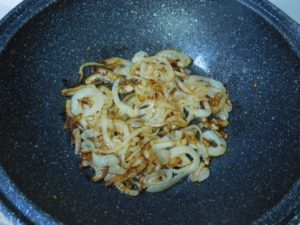
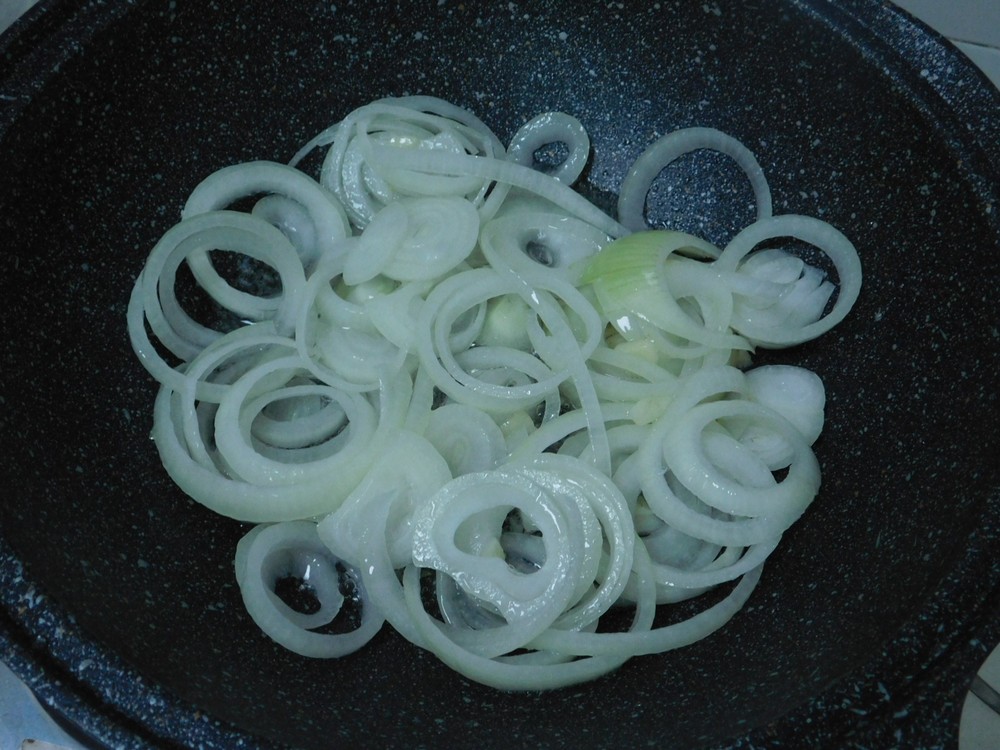
- Heat the oil in a large non stick pan on medium heat, when hot add the onion and garlic.

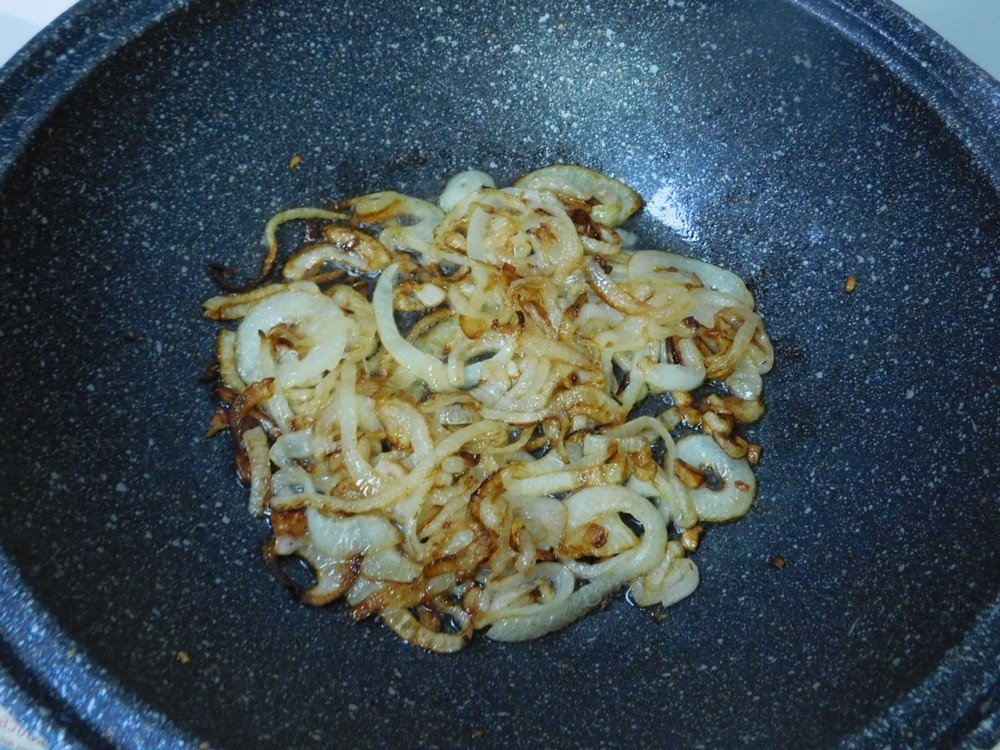
- Cook the onion, stirring often until nicely browned. Remove half of the onion to a bowl and set aside for garnish.
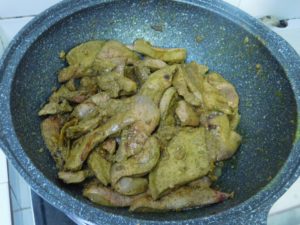
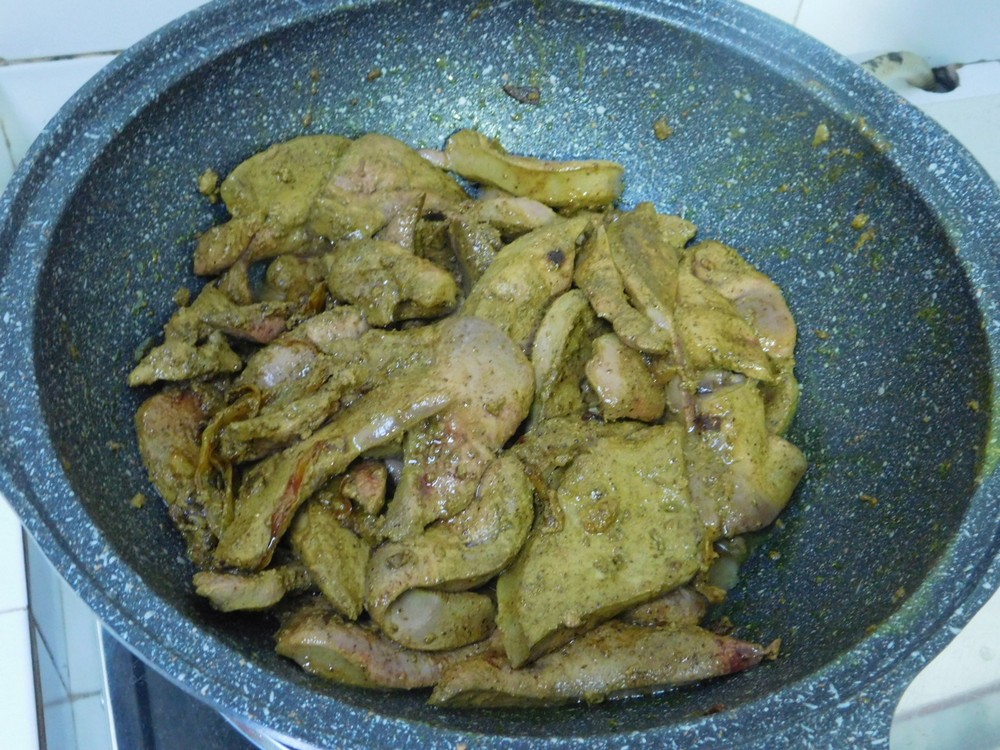
- Reduce heat to low, add the coriander, chili flakes, and turmeric and stir fry for 1 minute. Add the liver.

- Cook the liver and turn often.
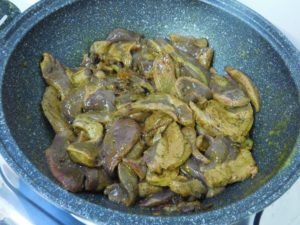
- Cook until just browned, a few pink spots are ok as this is cooked longer.
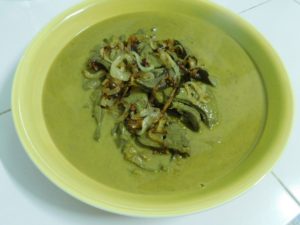
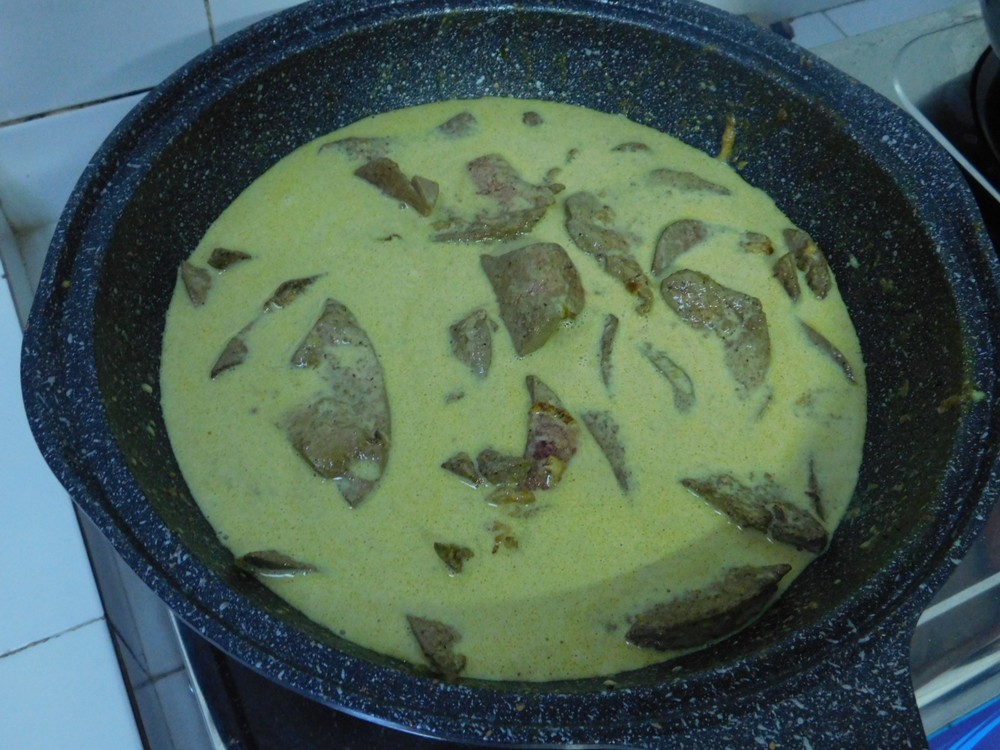
- Stir in the soy sauce, peanut butter, and salt. Stir in the coconut milk. Increase heat and bring to a boil. Then reduce heat to a low simmer, cover, and simmer 30 minutes, stirring occasionally.

- Pour onto a serving plate, garnish with saved fried onions.
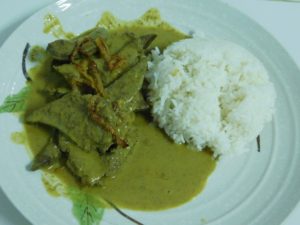
- Serve with rice on the side. Enjoy.



Notes
Low cost per serving.

German Style Chicken Livers
This sounds good, the addition of the apples and apple juice is interesting. I made this on 27 Sep 2018, perfect. Link to the Shortcut is listed in the Recipe Notes section.
Ingredients
- 500 grams chicken livers, cut in half and cleaned, (1 lb)
- 4 tablespoons clarified butter, divided, Shortcut
- 1 onion, diced
- 2 apples, peeled, cored, and sliced
- 1 tablespoon all purpose flour
- ½ teaspoon salt
- black pepper, to taste
- ½ teaspoon dried thyme, or 1½ tsp fresh chopped
- ¼ cup apple juice
- dash light soy sauce, optional
Instructions
- Add the flour, salt, and pepper as desired to a zip lock bag, and coat the liver with the flour. Set aside.
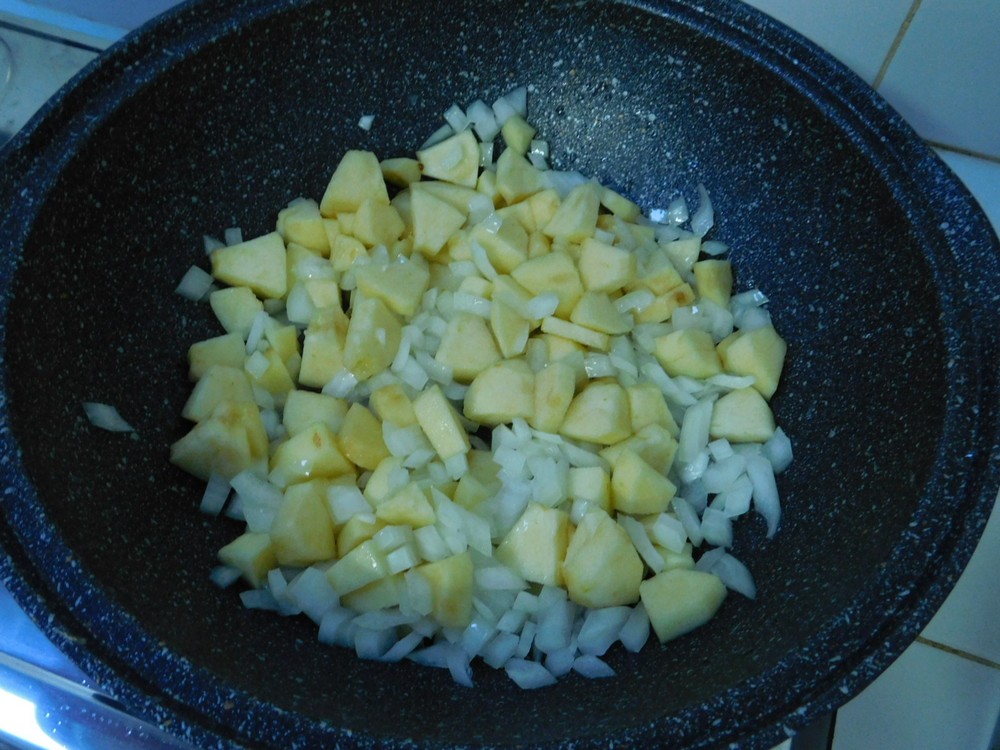
- Add 2 tablespoons of the butter to a large non stick pan on medium heat. When hot, add the onion and apple slices. Cover and cook until tender and lightly browned. Remove from the pan, wipe clean and return to heat.

- Heat the remaining 2 tablespoons of butter in the pan, when hot, add the flour coated livers.
- When they are browned on both sides, return the onion and apples to the pan and sprinkle in the thyme. Reduce heat
- Give it a stir, cover for 2-3 minutes, then add the apple juice. Stir to coat everything in the sauce. If the mixture is too pale for your liking, add a dash of soy sauce.
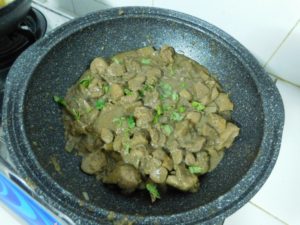
- Cook for 2 more minutes to reduce the liquid a bit.
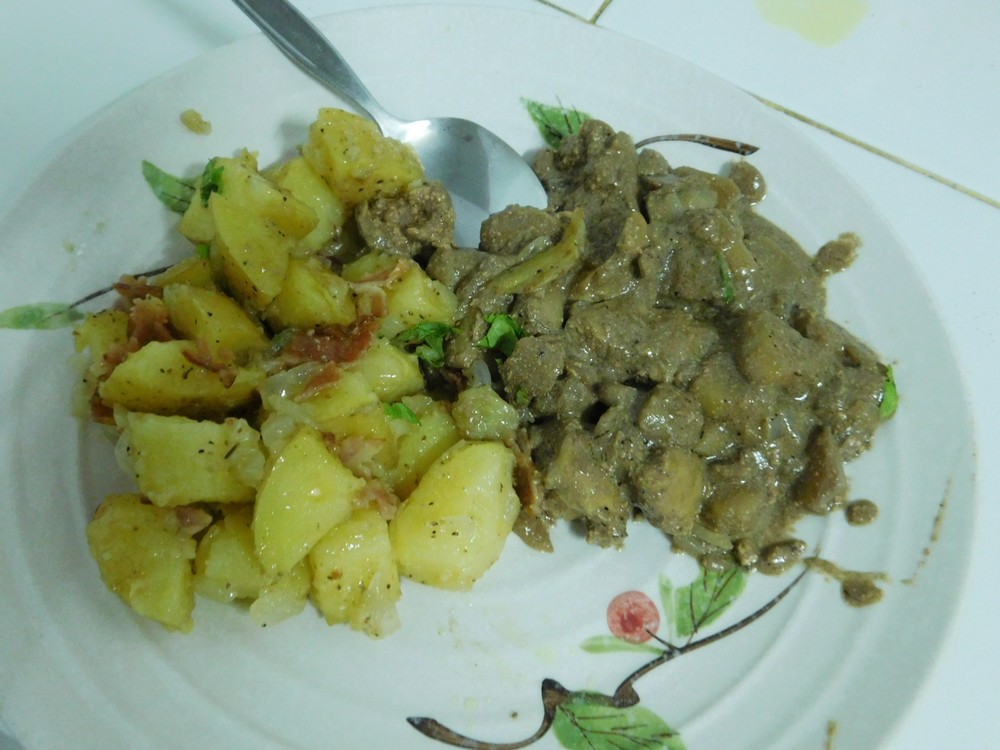
- Serve with cooked noodles, spätzle, mashed potatoes, or rice. Enjoy.
- Or better yet, serve with Hot German Potato Salad.
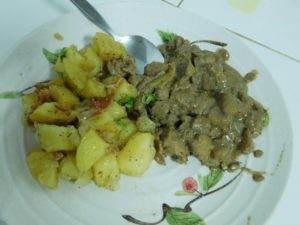
Notes
Low cost per serving.
Shortcut: Homemade Ghee (Clarified Butter).
Brian's Crispy Fried Chicken Wings
Brian states: "This is more a technique than a recipe. This is how I make super crispy wings. As far as the sauce, most any sauce can be applied after frying the wings. Limit the number of wing pieces in the oil to 6 as the temperature will drop. If using a deep fryer with several liters of oil, additional wings can be added depending on size of fryer." These do sound tasty!
Ingredients
- 2 kilos chicken wings, (4 lbs)
- 1 cup all purpose flour
- 3 tablespoons corn flour
- 1 1/2 cups water
- 1 quart vegetable oil, (4 cups)
Instructions
- In a large mixing bowl, add the flours and water, mix well to make a batter.
- Place 6 wings in the batter to coat them.
- Heat the oil in a large wok or pot, heat the oil, use a probe thermometer to monitor the temp, for this step you need 180 C (350 F) degree oil.
- When the oil reaches 180 C, add the 6 wings from the batter and set a timer for 7 minutes.
- At 7 minutes, remove the wings to a rack. Repeat until all the wings are cooked. Keep the wings in order of cooked from first to last.
- Now increase temperature of the oil to 190 C (375 F). When the oil is at temp, place the first 6 wings into the oil and fry for another 7 minutes.
- At the 7 minute mark, remove the wings to a rack and repeat with the next 6 wings, repeating this until all the wings are cooked.
- Get out your favorite sauce, and enjoy.
Notes
Low cost.
Recipe provide by good friend, Brian Colligan, Pleasures & Pastimes (which is a great resource for gardening seeds and other items).
Thailand.
Thailand.
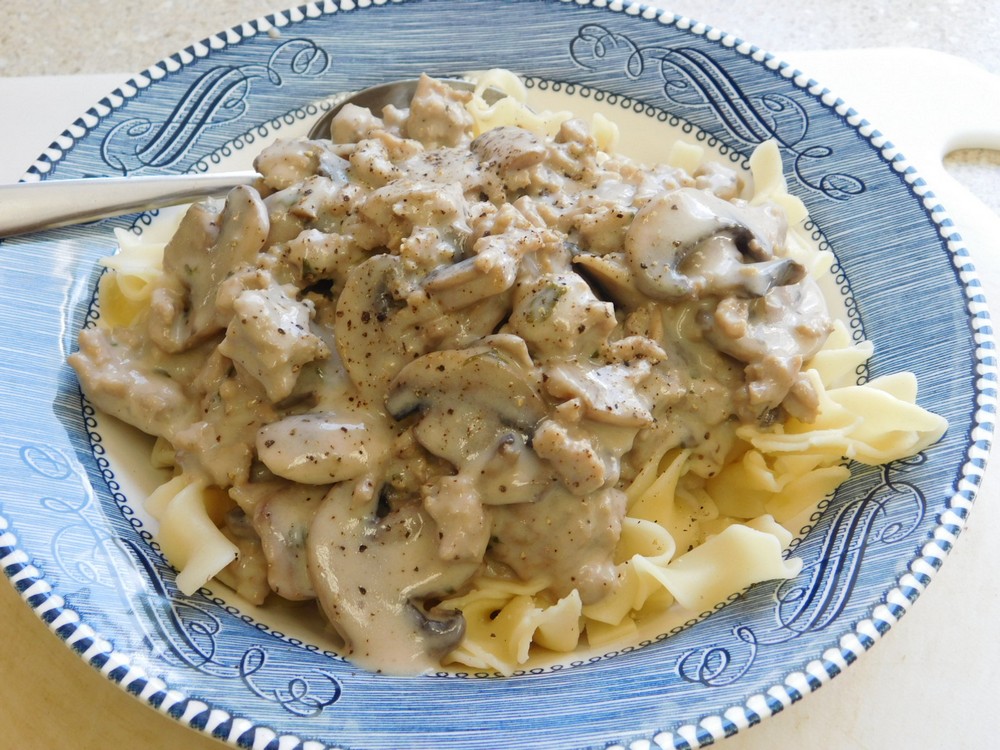
Ground Beef Stroganoff
Easy, and delicious! I made this on 15 Apr 2020 and was extremely pleased with the result, this is tasty and was enjoyed by the family. Highly recommended.
Ingredients
- 500 grams ground beef, or ground pork, (1 lb)
- 1 small onion, diced
- 1 clove garlic, smashed and minced
- 350 grams fresh button mushrooms, sliced, (¾ lb), or 1 can, drained and sliced
- 3 tablespoons all purpose flour
- 2 cups beef broth, fresh or from powder
- 2 teaspoons Worcestershire sauce
- ¾ cup sour cream,
- fresh parsley, chopped, to garnish
- salt and black pepper, as desired
- egg noodles, cooked, for serving
Optional - to thicken more
- cornstarch
- cold water
Instructions
- Heat a pot of salted water to boiling, then add egg noodles and cook until tender for the desired number of servings, once tender, drain and set aside. Feel free to use mashed potatoes in place of the egg noodles, your choice.
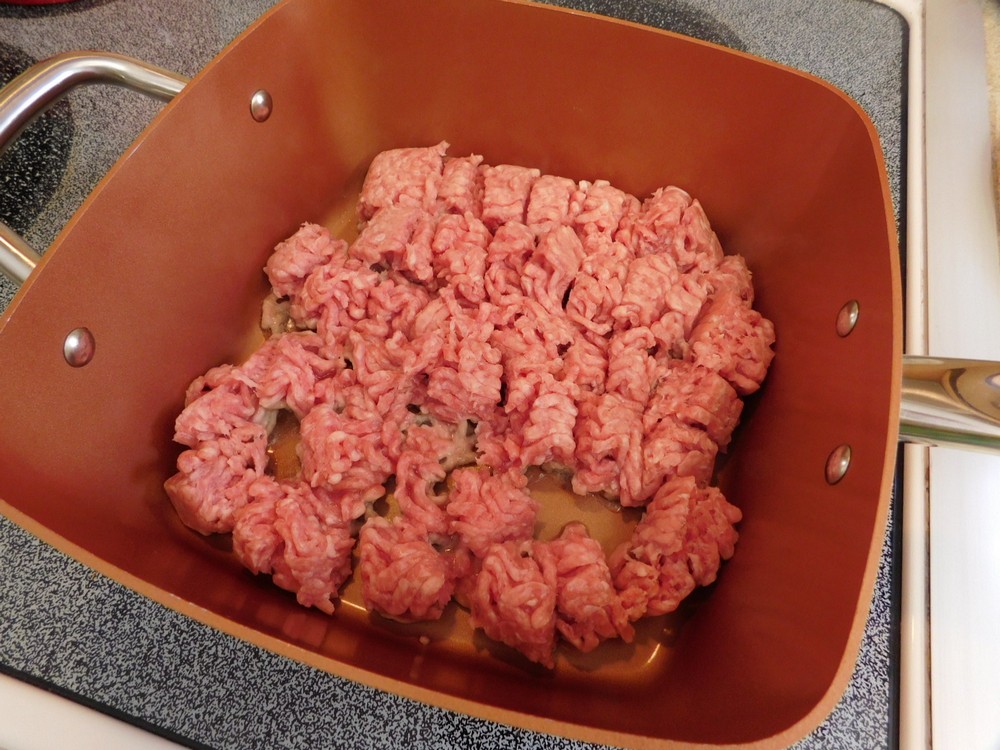
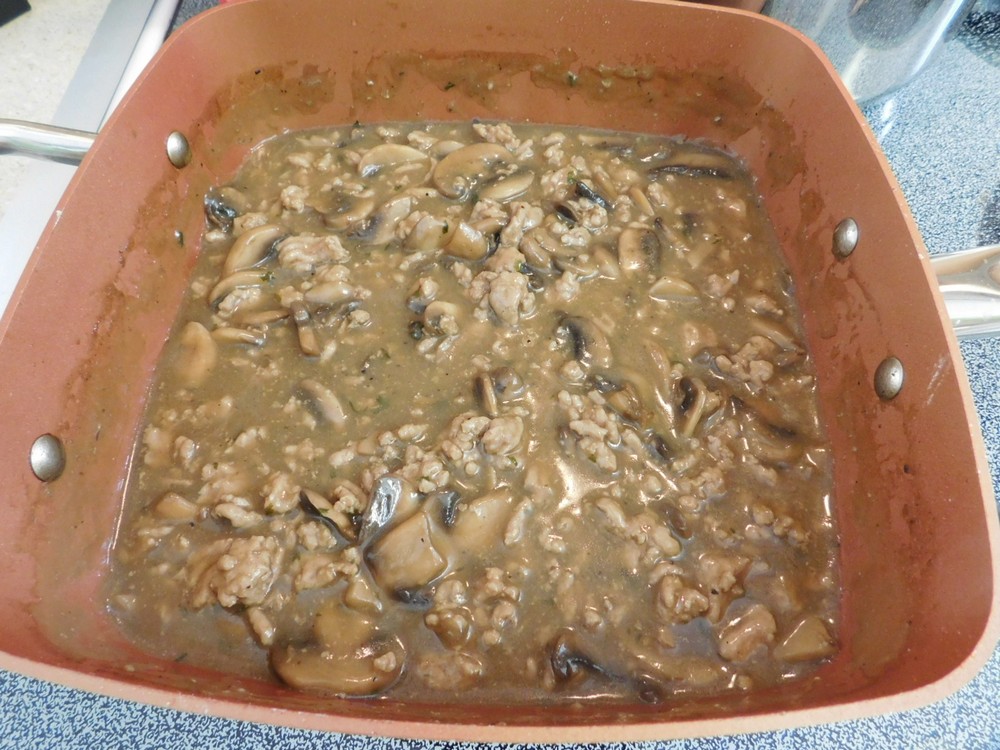
- While the noodles are cooking, heat a large non stick pan on medium heat and when hot, add the ground beef, onion, and garlic. Break up the meat a little, goal is a good chunky beef sauce. Cook the beef until no longer pink. Drain off any fat.
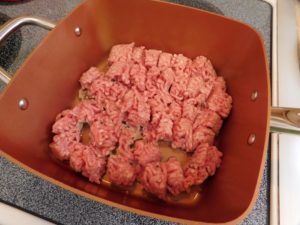
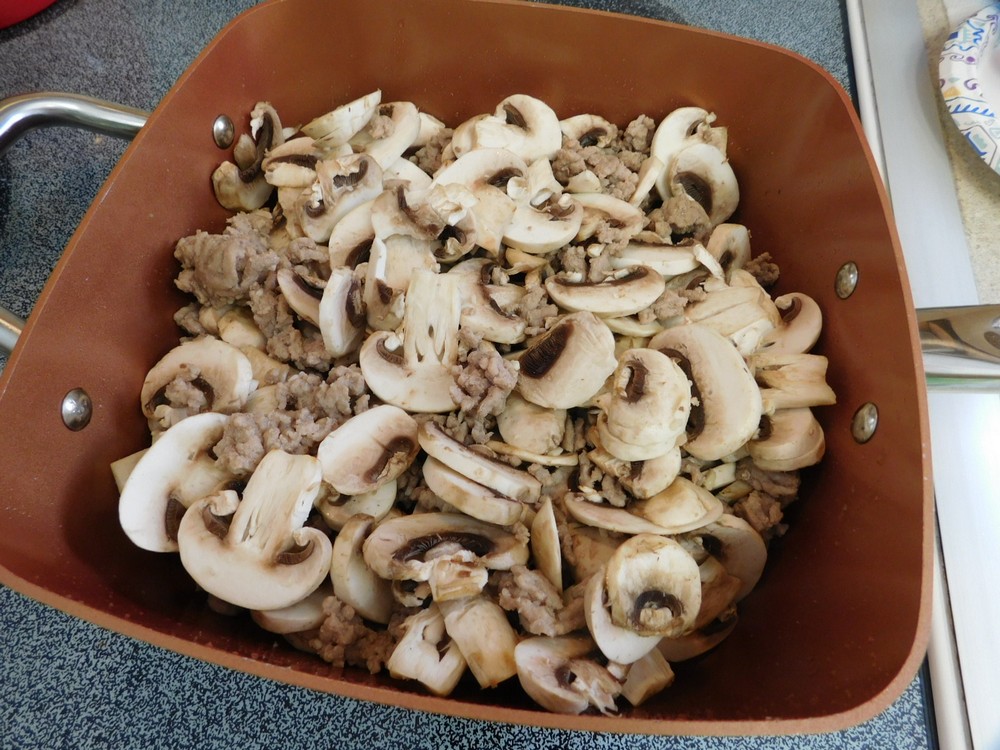
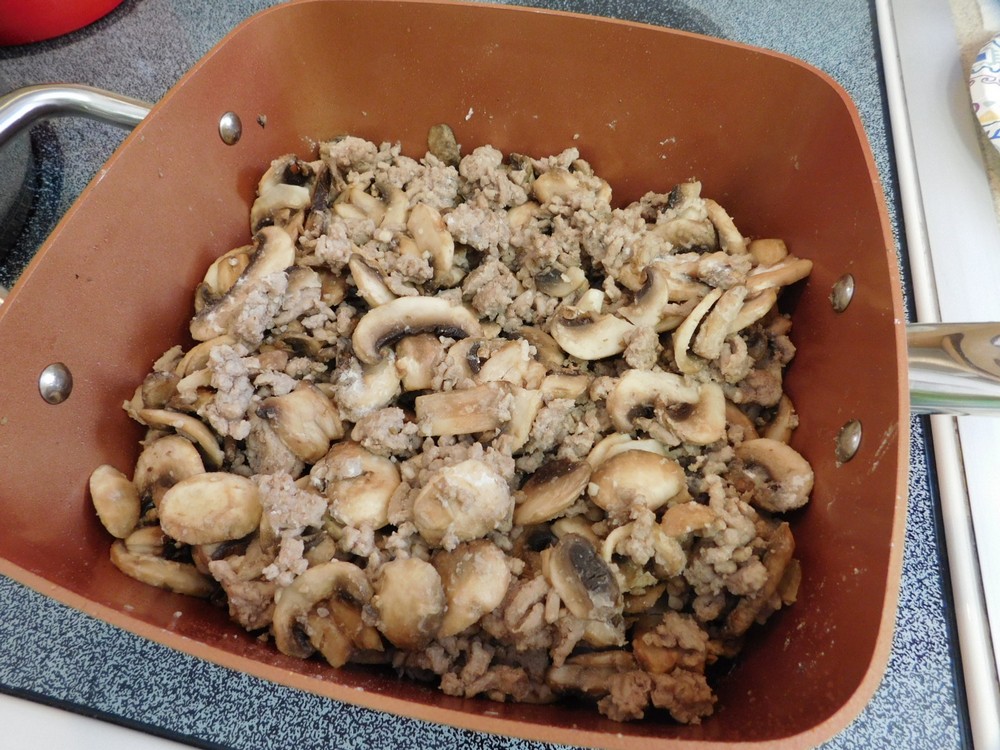
- Add the mushrooms to the pan and cook 3-4 minutes.
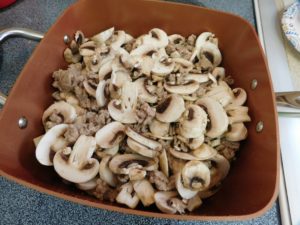
- Stir in the flour and cook 1 minute more.
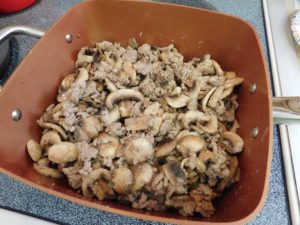
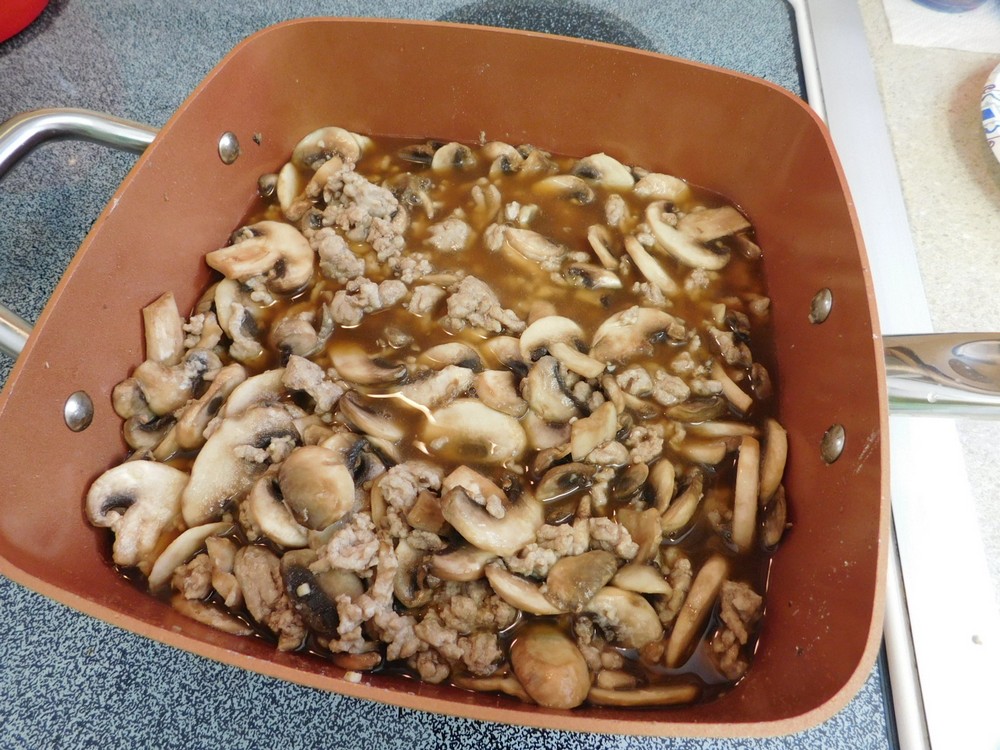
- Add the beef broth, Worcestershire sauce, and season with salt and pepper as desired.
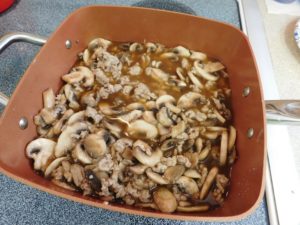
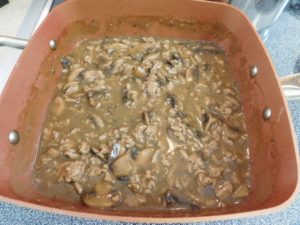
- Bring to a boil then reduce to a simmer. Simmer for 10-15 minutes. (To thicken the sauce more or to your desired consistency, make a slurry with equal parts cornstarch and cold water and stir into the sauce.)
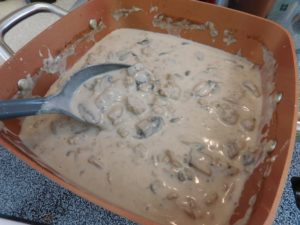
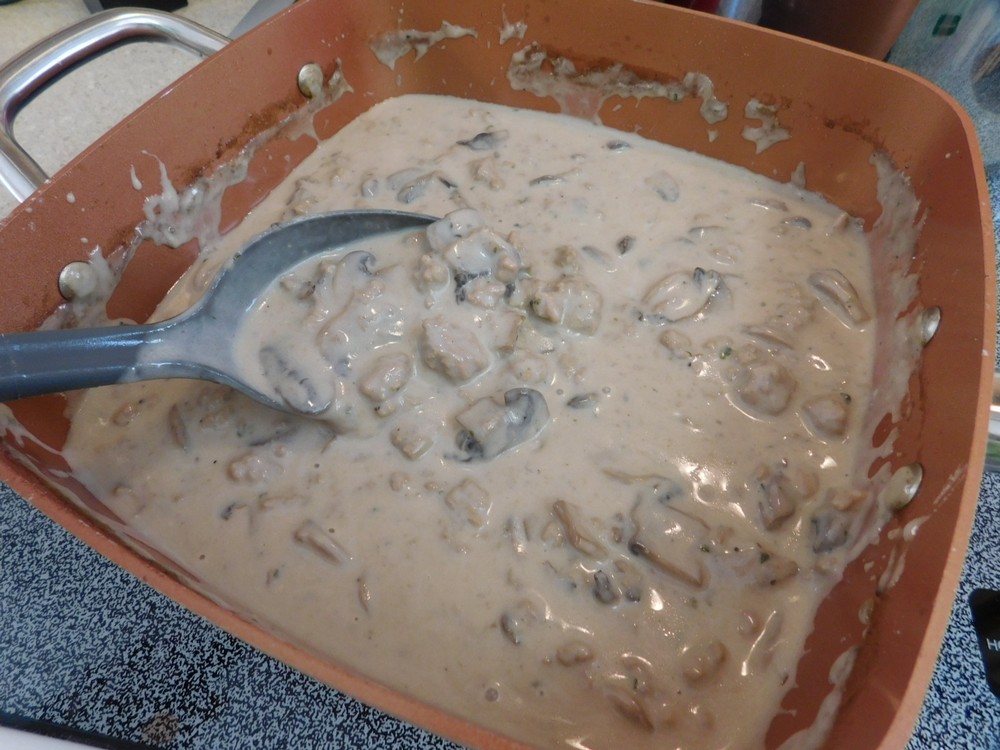
- Remove the pan from heat, stir in the sour cream and parsley if using.
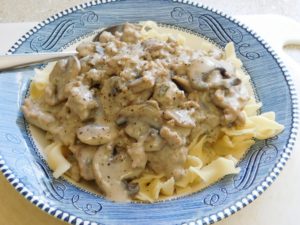
- Serve over the egg noodles or mashed potatoes if you wish. Enjoy.
Notes
Fair cost per serving depending on where the beef is sourced. I use local raised beef and grind myself for savings.
Variants: 1. Use 1 can of whole button mushrooms, drain and sliced in place of fresh mushrooms. 2. Add 1 can of cream of mushroom soup after adding the beef broth and stir into the mixture.
Salabat Tea (Pressure Cooker)
This is a Filipino ginger drink, often consumed when a person has a fever, sore throat, and when it is cold outside (not a chance of that happening here in Thailand except for the far north). This can be made on the stop top as well. Why a pressure cooker for this? Flavor! Keep the flavor in the tea and not evaporating off like on a stove top. Another reason is savings on energy consumption. Follow your pressure cooker safety guidelines at all times for your model of pressure cooker.
Equipment
- Pressure Cooker
Ingredients
- 3 cups water
- 4 1 inch pieces fresh ginger, thinly slice each piece
- 2 tablespoons brown sugar
Instructions
- Add the ingredients to your pressure cooker. Place the lid on and lock, add the weight (jiggler) to the lid, and place on high heat.
- When the jiggler starts to move and venting pressure (indicating full pressure), start your timer for 1 minute and reduce heat to low or medium low, just enough heat to keep the jiggler moving and venting pressure.
- When 1 minute has passed, turn off the heat and move the pressure cooker to an unused burner to cool and release pressure naturally.
- When you have indication that zero pressure remains inside the cooker, pull off the weight, then open the lid.
- Allow the tea to cool a bit then remove the ginger slices, pour into mugs, and enjoy (and hopefully feel better).
Notes
Variant: 1. For a slightly stronger flavor, cook on high pressure for 1½ - 2 minutes.
Adapted to a pressure cooker recipe by Lee Thayer, Thailand, and kitchen tested by Ryan Guo, Thailand.
Za’atar Roasted Potatoes
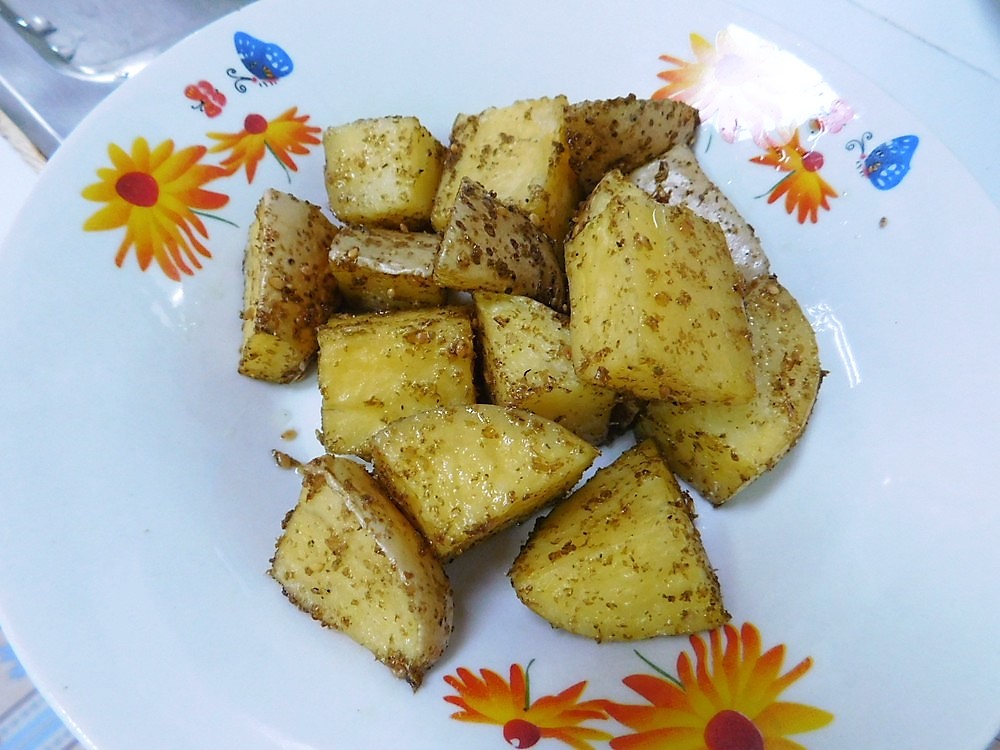
Excellent roasted potatoes, very nice flavor, and easy to prepare.
Ingredients
- 750 grams potatoes, (1 1/2 lbs)
- 3 tablespoons olive oil
- 1 teaspoon salt
- 2 tablespoons za'atar
- lemon or lime zest, as desired, for garnish
Instructions
- Preheat your oven to 200 C (400 F). Line a baking sheet with foil or parchment paper.
- Scrub the potatoes then cut into quarters or slice 1/2 inch rounds. Add the potatoes to a large mixing bowl.
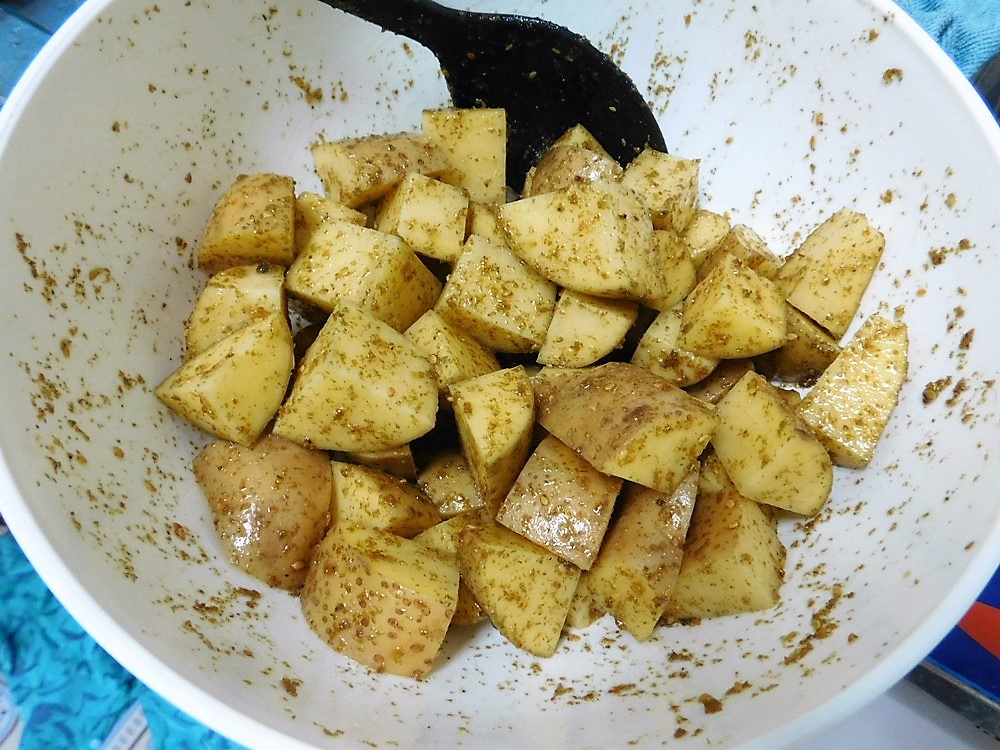
- To the mixing bowl, add the salt, za'atar, and olive oil. Toss the potatoes until they are evenly coated.
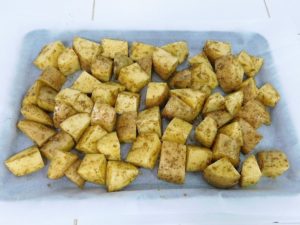
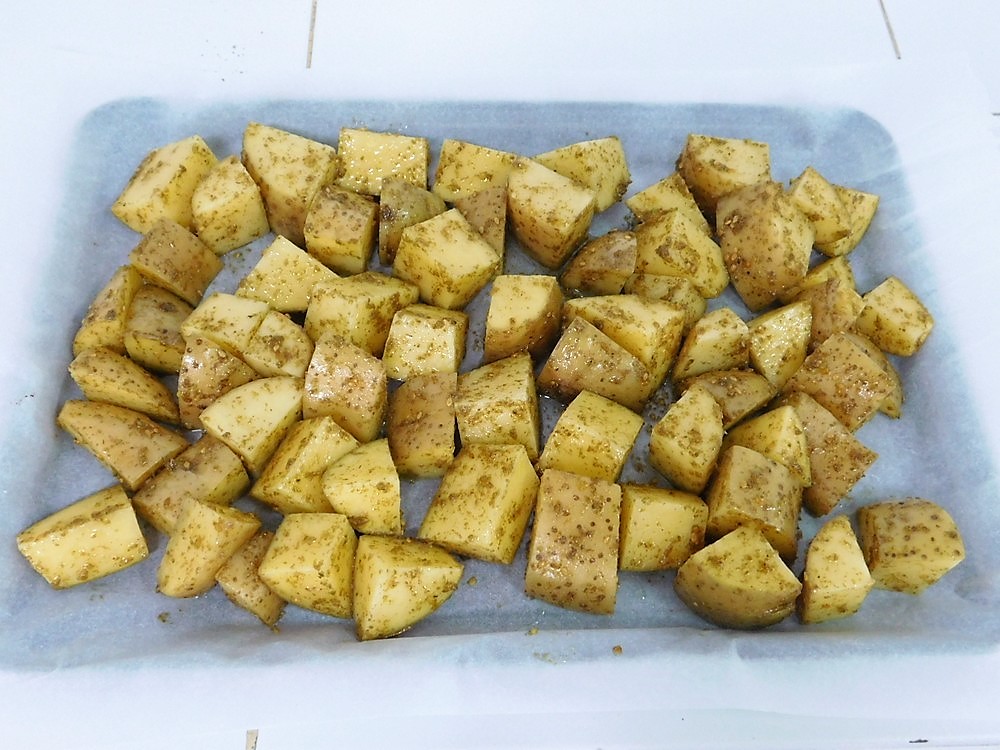
- Spread out the potatoes on your prepared baking sheet, bake for 35-45 minutes. You are looking for crispy and tender potatoes.
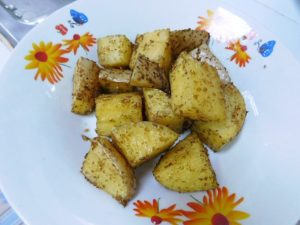
- Sprinkle some fresh lemon or lime zest on the potatoes, serve and enjoy.
Notes
Low cost.
Adapted from an internet recipe.