Author Archive
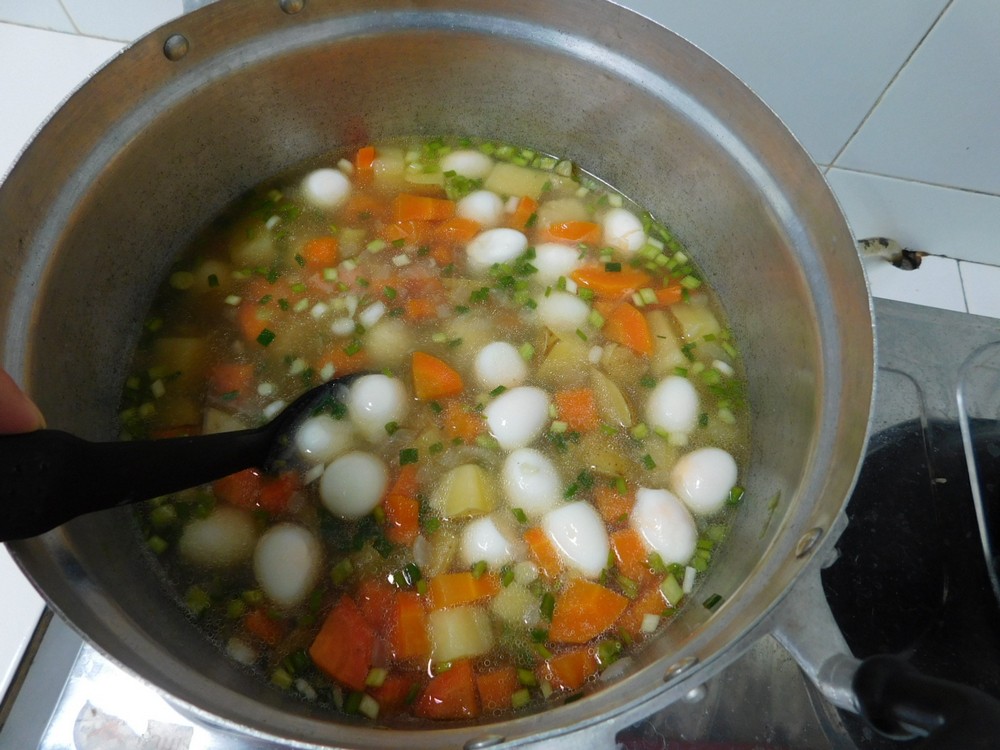
Quail Egg Potato Carrot Soup
This is a very good soup, and well liked by the family. Link to the Shortcut is listed in the Notes section.
Ingredients
- 30-40 hard boiled quail eggs, peeled, or canned, Shortcut
- 4 medium potatoes, diced
- 2 carrots, chopped or rangiri (see Notes)
- 2 quarts vegetable broth, fresh or from powder, (8 cups)
- 7-10 spring onions, sliced, white and green
- 6 shallots, sliced, or 1 purple onion
- 3 cloves garlic, minced
- 1 teaspoon salt
- ½ teaspoon black pepper
- 2 tablespoons olive oil
- fresh parsley, chopped, for garnish
Instructions
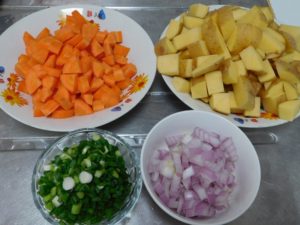
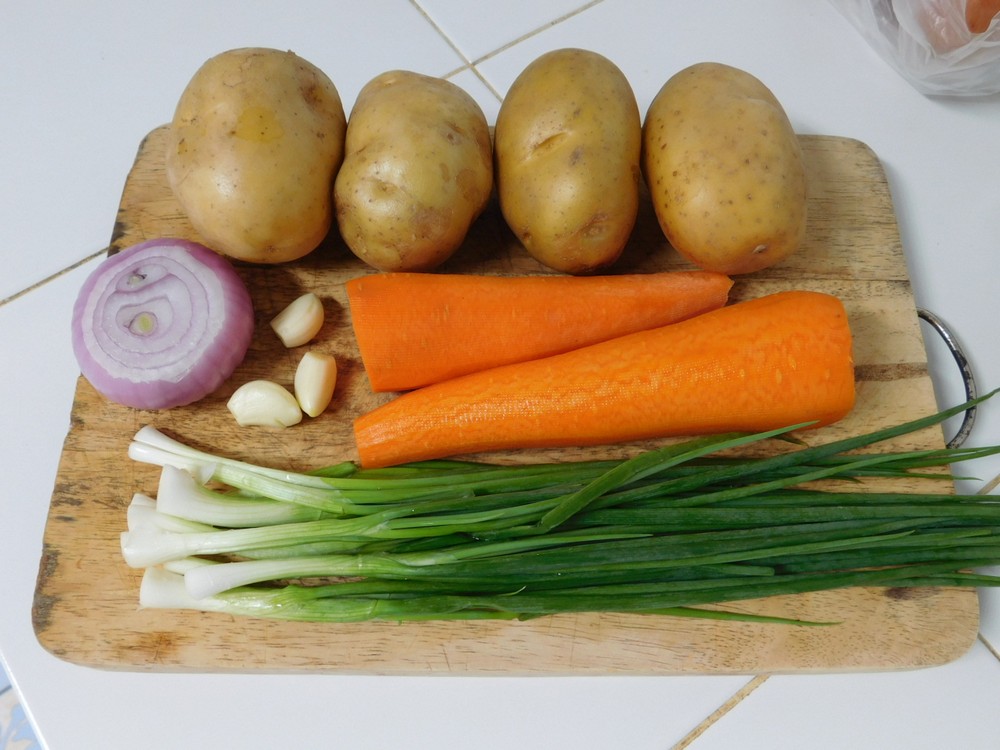
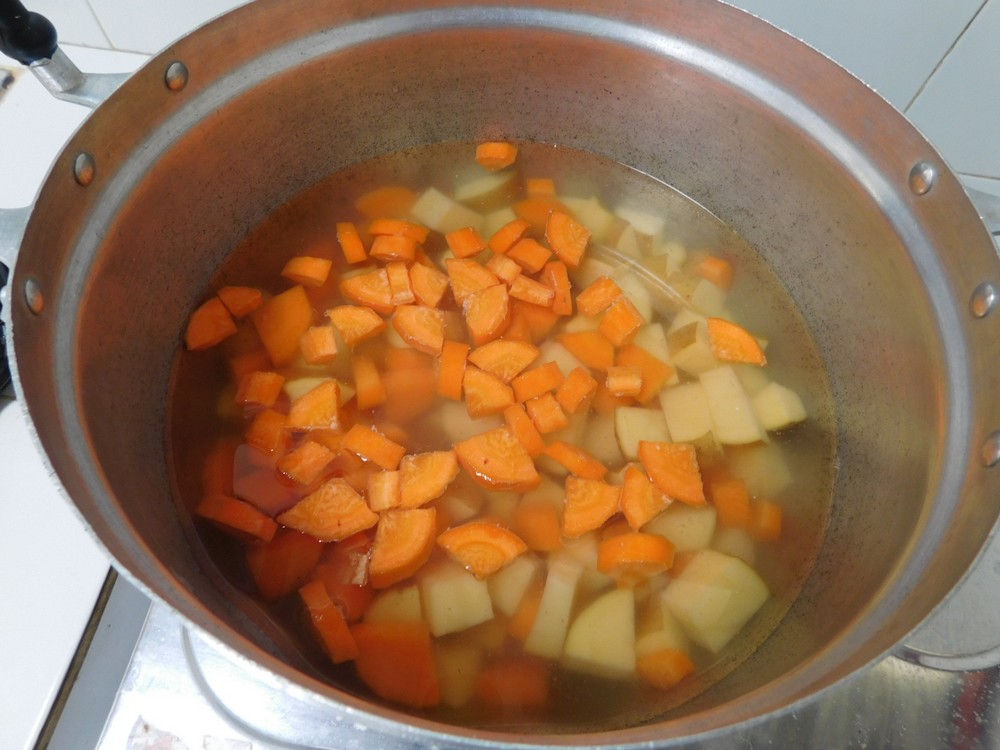
- Veggies ready.

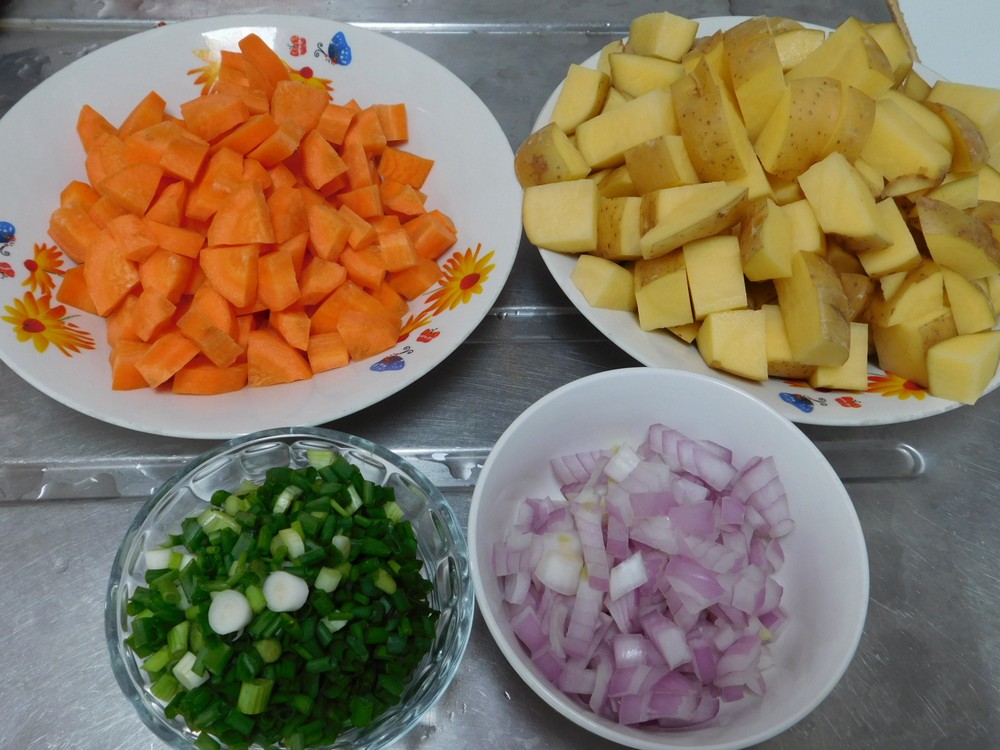
- Veggies prepped.
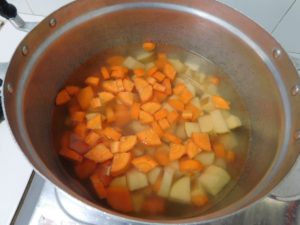
- Add the broth, potatoes, and carrots to a medium size pot and bring to a boil.
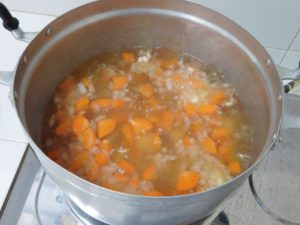
- While the pot is heating, heat the oil in a non stick pan on medium high heat, when hot, add the shallots and garlic. Saute for a few minutes until the shallots are translucent and tender.

- When the pot is boiling, add the shallots and garlic, reduce heat to a low boil and cook until the potatoes and carrots are tender, about 20 minutes.
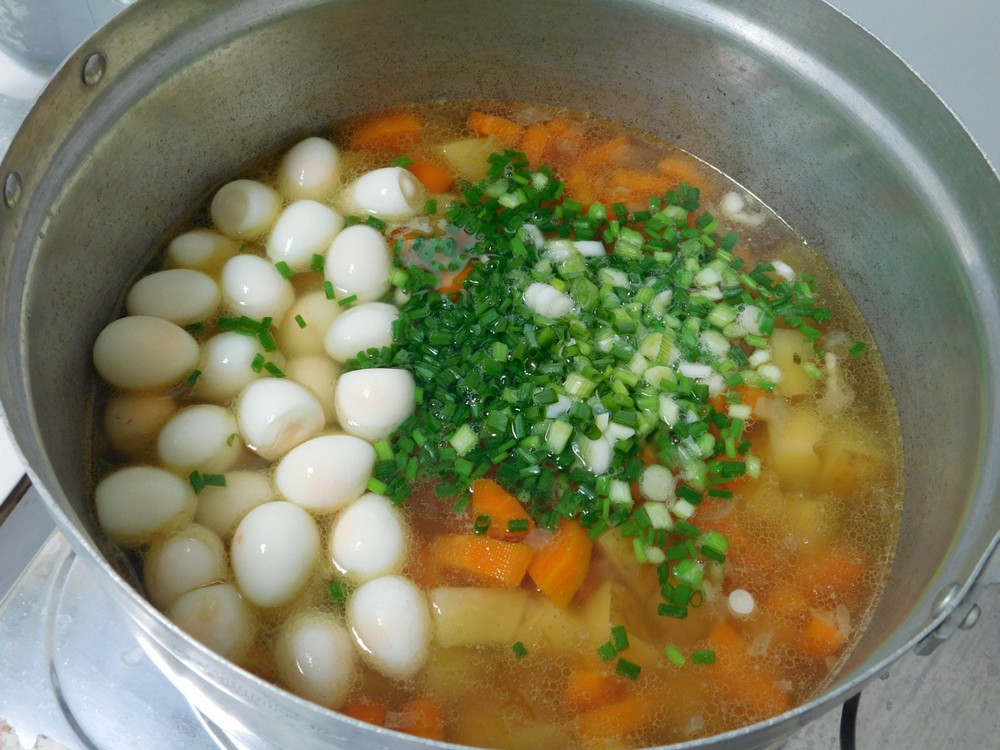
- When the potatoes and carrots are tender, add the quail eggs and spring onion and stir.
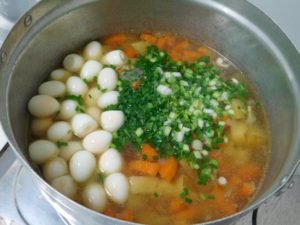
- Reduce heat to low and let the eggs warm through. Season with the salt and pepper.
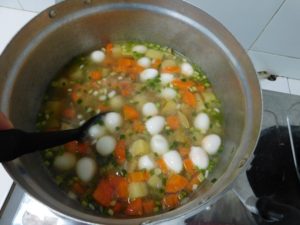
- Spoon into serving bowls, garnish with chopped parsley, serve and enjoy.


Notes
Low cost per serving.
Option for the carrots: Use a Japanese style of chopping carrots, called Rangiri, which is basically, cut a piece of the carrot off at an angle, then rotate the carrot ¼ turn, cut another piece off at an angle, repeat the turning and cutting. This makes for bite size pieces, and a larger surface area giving two uses, first, it absorbs more of the stock flavor, and second, it cooks faster with a larger surface area.
Shortcut: Perfect Hard Boiled Quail Eggs.
Variants: 1. Use mushroom or chicken stock in place of the vegetable broth. 2. Straw mushrooms, halved would be a great addition to this soup.

Marinated Cheese
This is really good, very mild flavor added by the herbs and garlic, tasty overall.
Ingredients
- 200-250 grams block cheese, (6-8 oz)
- 1 sprig fresh rosemary
- 1 sprig fresh thyme
- 2 small shallots, peeled and halved
- 3 cloves garlic, smashed and peeled
- 1 teaspoon white peppercorns
- extra virgin olive oil, as needed
- 1 pint mason jar, or a suitable size reused jar
Instructions
- For the cheese, Jarlsberg, Swiss, Gouda, Edam, Cheddar, and Mozzarella would be good choices. Cut the cheese into 3/4 to 1 inch cubes.
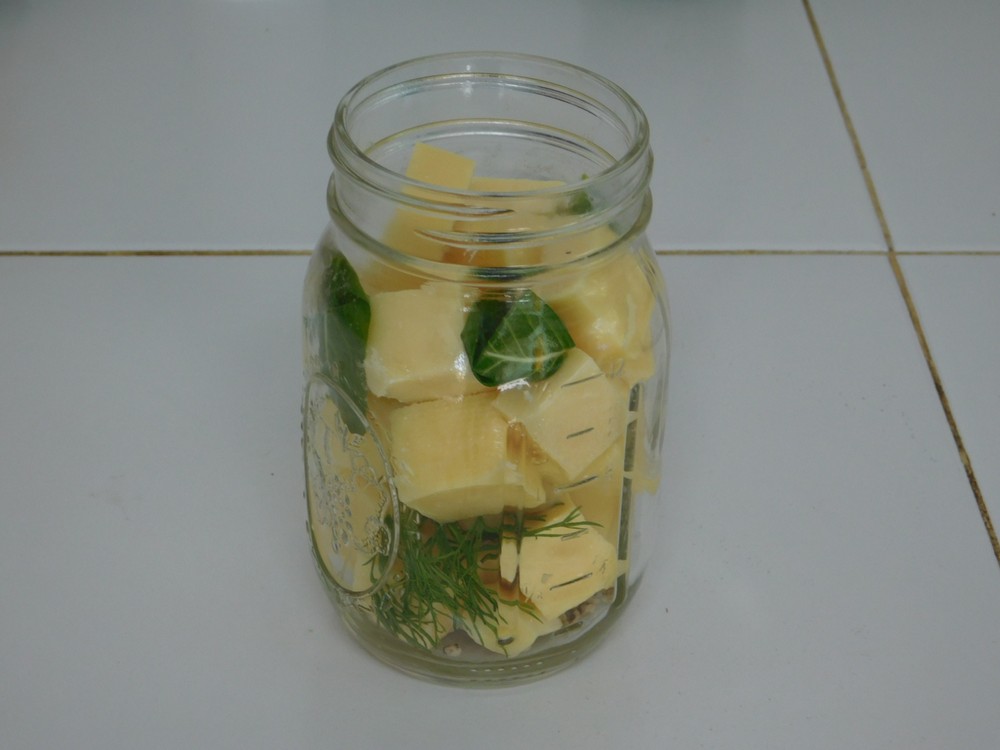
- Place the cheese, garlic, white peppercorns, shallots, thyme, and rosemary into the sterilized mason jar.
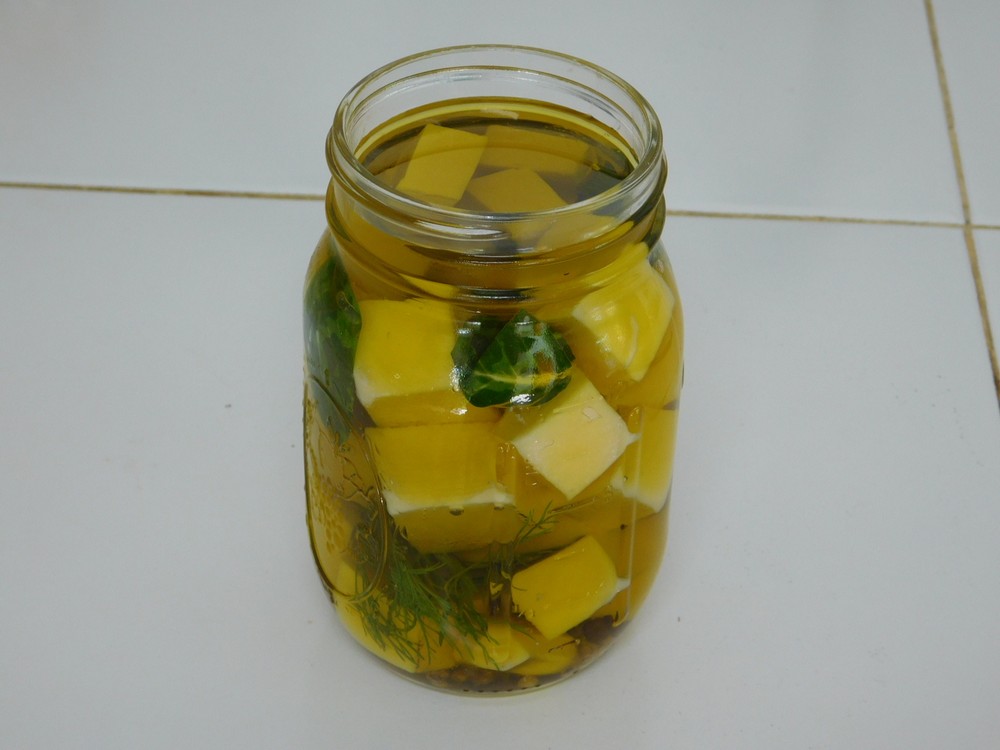
- Pour in olive oil to cover the cheese, but about ½ inch from the top.
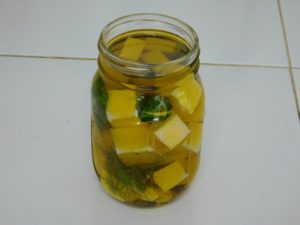
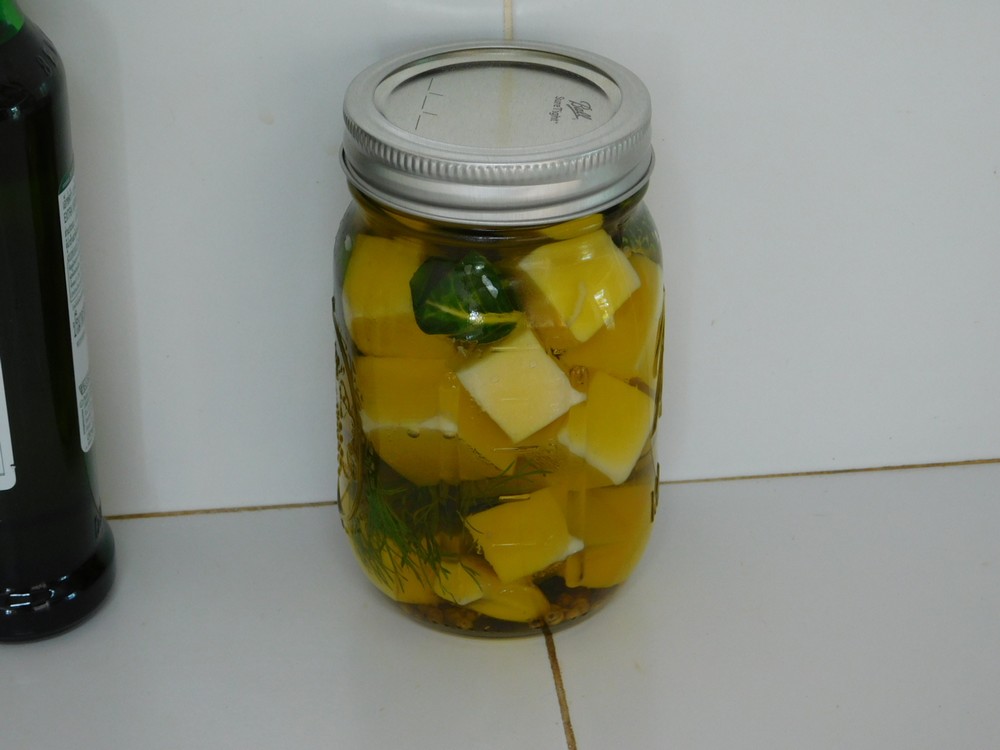
- Place the lid on the jar and leave on the counter top for at least 24 hours or as long as 2 weeks. Do NOT place in the fridge, leave it on the counter top at room temperature.
- Served with Green Olives and Salami speared on top.

- Served with Quail Eggs and Salami speared on top.


Notes
One block, 200-250 grams (about 6-8 oz) is about 180-200 Baht each. I need to determine how many appetizers I get out of one block.
Variants: 1. Replace the thyme and rosemary with dill and sweet basil leaves. 2. Serve as appetizers by spearing a green or black olive with a toothpick then spearing a cheese cube. 3. Fold up a slice of salami, spear that with a toothpick then spear a cheese cube. 4. Serve on butter crackers.
Idea adapted from several internet recipes.
German Beets
This sounds good, on my to cook list. You can cook the beets with your preferred way, I will use a pressure cooker.
Ingredients
- 6-8 whole beets, medium size, cooked, Shortcut
- 2 tablespoons corn starch
- 2 tablespoons sugar
- 1 teaspoon salt
- ⅛ teaspoon black pepper
- 1⅓ cups water
- ½ cup white vinegar
Instructions
- To cook the beets, simply wash them, place in a large pot, cover with water, about 1-2 inches over and boil for 40-50 minutes. To preserve the color, add about 1 tablespoon of vinegar, and season with 1 teaspoon of salt. Cook until tender, drain, cool, and peel. OR use a pressure cooker, which is what I use, that instruction is listed in the Recipe Notes section below.
- Slice the beets, about ½ to ⅜ inch thick slices.
- Mix the corn starch, sugar, salt, and pepper in a pot or large sauce pan, slowly whisk in the water then mix in the vinegar.
- Heat on medium heat, stirring or whisking constantly until the mixture thickens and comes to a boil. Keep stirring and boil for 1 minute.
- Reduce heat to a simmer and add the beets. Simmer until the beets are heated through and hot.
- Serve as a side dish and enjoy.
Notes
Shortcut: Fresh Beets (Pressure Cooker).
Daikon Cakes
This sounds unusual, granted. A daikon is a Japanese radish, basically a white radish that is normally larger than carrots. The flavor raw is that of a red radish, when cooked it is of a mild carrot. I certainly look forward to making these! Consider this an Asian twist on potato cakes. Link to the shortcut is listed in the Recipe Notes section.
Ingredients
- 1 1/2 cups daikon, grated
- 2 teaspoons salt
- 1 clove garlic, smashed and minced
- 1/2 red onion, diced
- 1-2 egg, beaten
- 1/2 cup Italian bread crumbs, OR make from a shortcut
- 1/2 teaspoon black pepper
- 1/2 teaspoon paprika
- 1 teaspoon Sriracha Chili Garlic sauce
- cooking oil, as needed
Instructions
- Place the grated daikon in a large mixing bowl and sprinkle with the salt and mix. Cover and place in the fridge for 30 minutes.
- When the daikon is ready, pour the daikon into a colander and rinse the daikon well, then gently squeeze out any remaining water. Wipe out the mixing bowl and return the daikon to the bowl.
- To the daikon, add the garlic, onion, 1 egg, bread crumbs, pepper, paprika, and the Sriracha. Mix together with your hands. If the mixture does not stick together well, mix in another egg.
- Shape into 8 small patties and place them on a plate. Place the plate in the fridge for 30 minutes to firm them up.
- In a large non stick pan, add about 1/4 inch of cooking oil and heat on medium high temperature. When the oil is hot, add some patties, work in batches if needed.
- Fry the patties for about 3 minutes on each side or until nicely browned. Drain on paper towels.
- Serve as a side dish with dipping sauces of your choice, such as ketchup, sour cream, or Sriracha. Enjoy.
Notes
Brian's Restaurant Style Onion Rings
This is from a good friend who modified an internet recipe he found, his words, "They were crispy, not soggy, had good flavor and the family enjoyed them." This sounds like a winner. On my to cook list.
Ingredients
- 2-3 large sweet onions
- cooking oil, as needed
For Dredging
- 1 cup all purpose flour
- 1 teaspoon kosher salt
For Batter
- 1 cup all purpose flour
- 1 teaspoon kosher salt
- 1 tablespoon baking powder
- 1 teaspoon white pepper powder
- 1 cup beer
- 2 tablespoons cold water
Instructions
- Slice onions into 1/2 inch thick slices, break rings apart and sort by size, reserve the end pieces and small pieces for other use.
- In a zip lock bag, add the Dredging ingredients.
- In a bowl, add the dry Batter ingredients and mix together. Then mix in the beer and water.
- Using a stove top pot, add enough oil to have at least 3 inch depth in pot. A deep fryer can also be used. Heat oil to 190 C (375 F) using a probe thermometer. If you have a deep fryer, certainly use that.
- While the oil is heating, place onion rings in the bag with the flour and shake, the cheater way of dredging, work in batches if needed to coat all the rings in flour. The dredging allows the batter to adhere to rings.
- When the oil is at the correct temperature, one at a time, add a ring to the batter and coat well and place in the hot oil. Continue with rings in the batter and into the oil, but single layer only and do not overcrowd or let the rings touch while cooking.
- Using a chopstick or skewer, turn each ring over after frying 2 minutes or until golden brown, then cook another 1 minute or until golden brown, remove to a wire rack placed over a baking sheet to drain and cool.
- Continue until all the onion rings are cooked. Let rings cool 1 minute before serving.
- Serve with your favorite dipping sauce.
Notes
Low cost.
Recipe provide by good friend, Brian Colligan, Pleasures & Pastimes (which is a great resource for gardening seeds and other items).
Thailand.
Thailand.

Seasoned Black-eyed Peas (Pressure Cooker)
I made these on 23 Sep 2018 and I must say, these are good beans! I used my 9 liter (9½ quart) stove top pressure cooker for these. Follow all safety precautions for your model of pressure cooker.
Equipment
- Pressure Cooker
Ingredients
- 500 grams dry black-eyed peas, soaked 6-8 hours, (1 lb)
- 250 grams bacon, chopped, (8 oz)
- 2 tablespoons olive oil
- 2 tablespoons butter
- 1 onion, diced
- 1 green bell pepper, diced
- 1 red bell peppper, diced
- 8 cups chicken stock, fresh or from powder
- 2 tablespoons apple cider vinegar
- 1 tablespoon Worcerstershire sauce
- 1 teaspoon ground cumin
- ½ teaspoon chili powder
- ½ teaspoon celery seed
- 2 teaspoons dried oregano
- ¼ teaspoon cayenne pepper
- salt and pepper, to taste
For Plain Black-eyed Peas
- 500 grams dry black-eyed peas, soaked 6-8 hours, (1 lb)
- 2 tablespoons olive oil, very important
- 8 cups water
- salt and pepper, to taste
Instructions
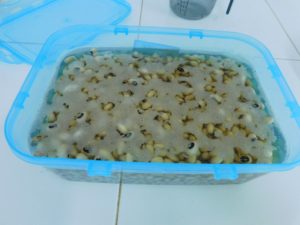
- Rinse the beans and place in a large container, cover with 1-2 inches of water. Leave on the counter to soak for 6 to 8 hours. If soaking overnight, place in the fridge to prevent the beans from fermenting.
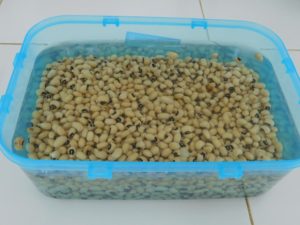
- When you are ready to start cooking, drain and rinse the soaked beans. Set the beans aside.
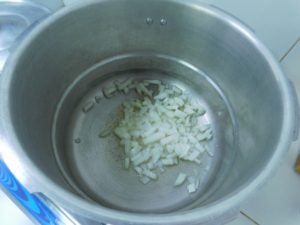
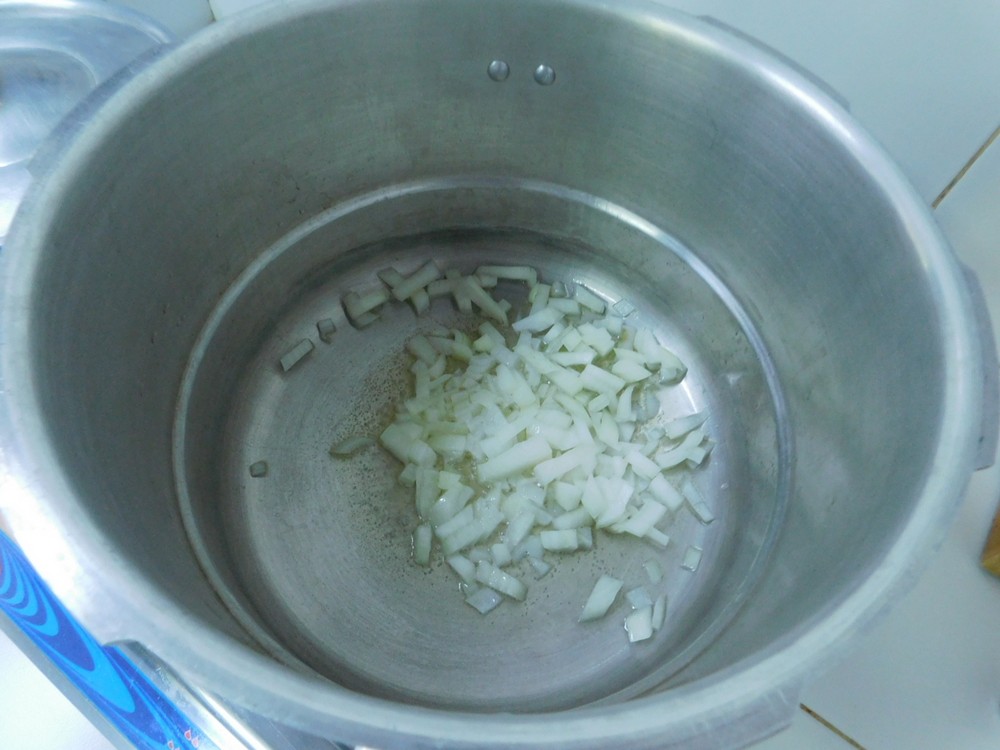
- Heat the oil and butter in your pressure cooker with the lid off, when hot, add the onion and saute for a few minutes.
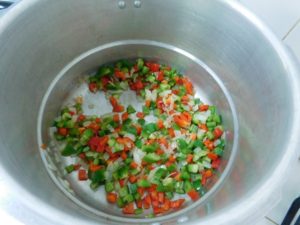
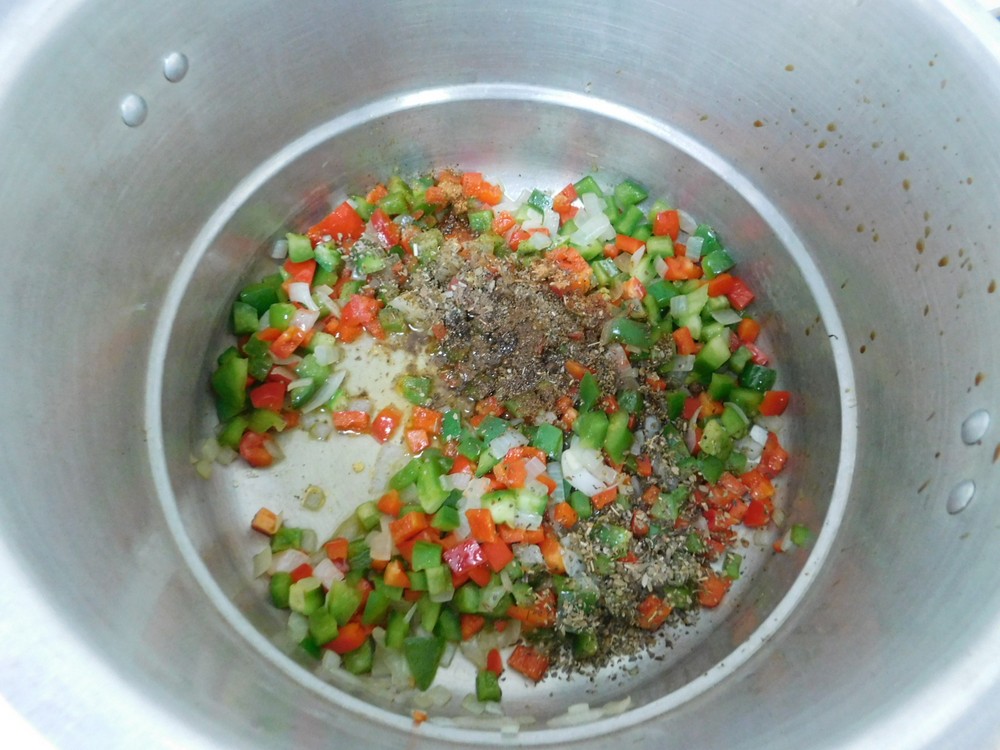
- Add the garlic and bell peppers, saute to just soften them, a minute is fine.
- Add the apple cider vinegar, Worcestershire sauce, cumin, chili powder, oregano, stir together.

- Add the chopped bacon and stir in.

- Add the chicken stock and beans, and stir together.
- Place the lid on the pressure cooker, add the weight (jiggler). Turn the heat up to high. When the weight starts to move and release pressure, turn the heat to low or medium in order to maintain the jiggler moving and venting pressure (indicating you have full pressure.) Set your timer for 5 minutes.
- When 5 minutes have passed, turn off the heat, and carefully move the pressure cooker to an unused burner and allow a natural release of pressure, basically, just let the pot sit there until you have indication of zero pressure, 15-20 minutes.
- When the indication is zero pressure, pull off the weight (jiggler), then remove the lid. Taste the beans and adjust seasoning with salt and pepper as desired.
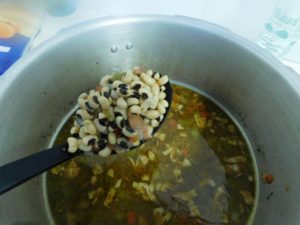
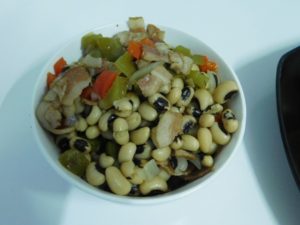
- Serve as a side dish.




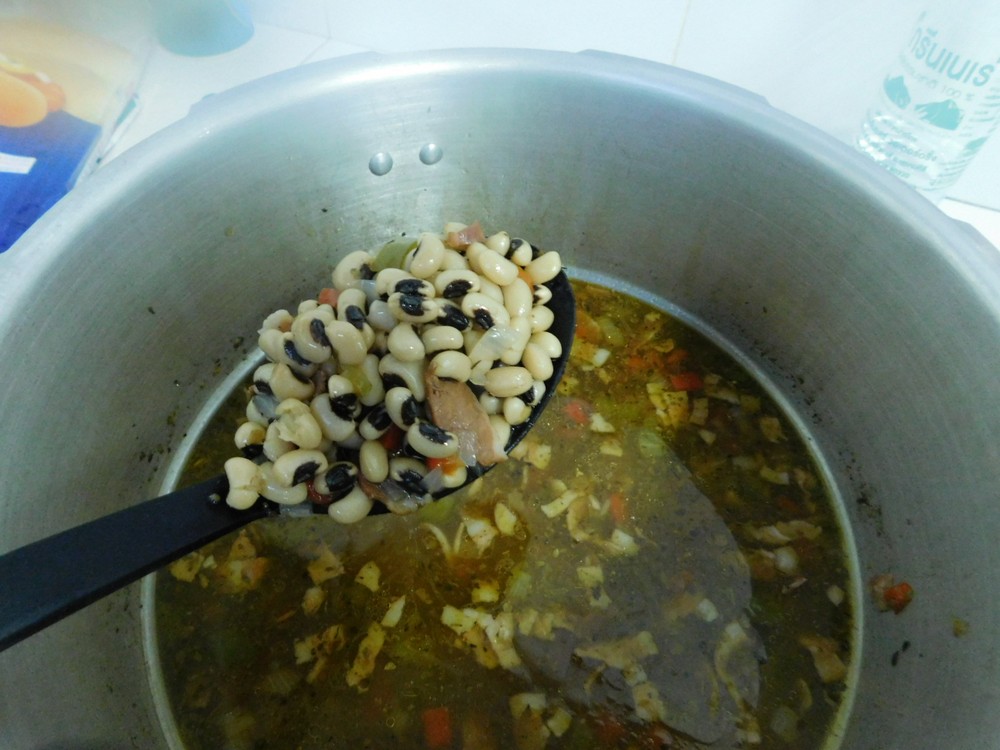
Notes

Spanish Garlic Mushrooms
Champinones Al Ajillo for the Spanish speaking folks. These are very good, can be a side dish or served as a hot appetizer or snack.
Ingredients
- 10 white button mushrooms, large, quartered
- 5 cloves garlic, smashed and minced
- 3 tablespoons olive oil
- 1 tablespoon lemon or lime juice
- 2 tablespoons dry sherry, or 1 tbsp apple cider vinegar + 1 tbsp water
- ¼ teaspoon smoked paprika
- salt and pepper, to taste
- ¼ teaspoon red chili flakes, optional
- 1 tablespoon fresh parsley leaves, chopped
Instructions
- Heat the oil in a non stick pan on medium high heat, when hot, add the mushrooms and saute for 2-3 minutes to start them browning.
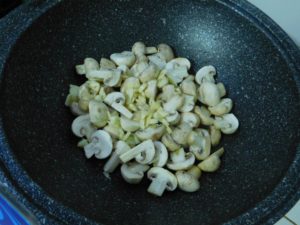
- Add the remaining ingredients except for the parsley. Saute for another 5 minutes, basically stir frying.
- Remove the pan from the heat, stir in the parsley.
- Serve as a side, hot appetizer or snack. Enjoy.
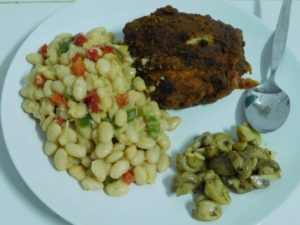

Notes
Low cost, local grown button mushrooms for 35 Baht/110 grams, is about 25 cents per serving.
Variant: 1. Use Straw mushrooms halved instead of quartered.
Three Bean Salad
This sounds really delicious and can be made any number of ways depending on the types of beans you use each type. I will make this with dry or fresh beans that I have cooked, feel to use canned beans if you like. If you would like to cook the beans from dry or fresh, those shortcuts are in the Recipe Notes section.
Ingredients
- 3/4 cup green beans, drained, or a 8 oz can drained, rinsed
- 3/4 cup red Kidney beans, drained, or a 8 oz can drained, rinsed
- 3/4 cup chickpeas, drained, or a 8 oz can drained, rinsed
For the Dressing
- 1 tablespoon Dijon mustard, optional
- 2 tablespoons red wine vinegar
- 1 tablespoon extra virgin olive oil
- 1 tablespoon white onion, grated
- 1 clove garlic, grated
- 1/8 teaspoon salt
- 1/4 teaspoon black pepper
Instructions
- In a large mixing, add all the Dressing ingredients and whisk together.
- Add the beans to the mixing bowl and mix with the dressing to coat all the beans.
- Cover the salad and place in the fridge for at least 4 hours or up to 24 hours.
- Before serving, leave the salad out at room temp for 20 minutes then mix the beans again, serve as a side dish.
Notes
Low cost.
Shortcuts: Green Beans (Pressure Cooker), Red Kidney Beans (Pressure Cooker), Chickpeas (Pressure Cooker).
Adapted from an internet recipe.
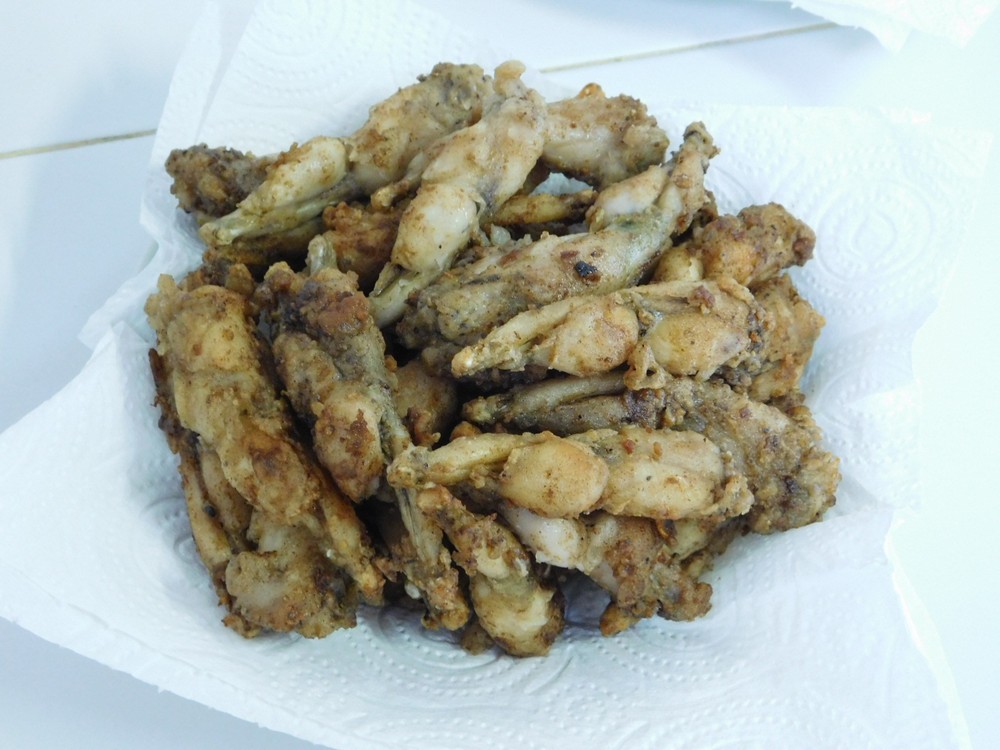
Simple Frog Legs II
This is my wife's way to cook frog legs, very simple method. The frogs we get are locally harvested here in the village, they are not big but they are delicious. We get whole, cleaned, skinned frogs, I use the legs, the rest of the frog goes to the family and they use those to make a spicy Thai dish. This is a low ingredient recipe that makes a great meal. This is a make as much as you want recipe.
Ingredients
- fresh frog legs
- chicken stock powder
- black pepper
- all purpose flour
- cooking oil
Instructions
- Rinse the legs and separate them, cut off the feet, and place them in a mixing bowl. We received 15 frogs, so we had 30 legs.

- Add chicken stock powder, about 1½ teaspoons is perfect, then sprinkle on some black pepper as desired.

- Stir the legs to cover them with the stock powder and pepper. Place in the fridge for 20-30 minutes.
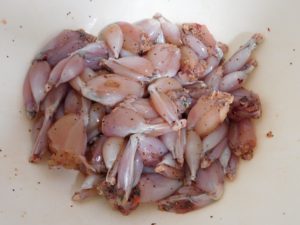
- Add some flour to a zip lock bag, ½ cup or so, add the legs, close and shake to coat them with flour.
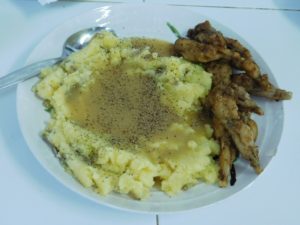
- Heat some oil in a non stick pan, when hot, add some legs in a single layer, and fry until golden brown, turning them as needed. Remove to paper towels to drain. Repeat until all the legs are cooked.

- Serve with sides of your choice. Enjoy.


Notes
I paid 300 Baht for the 15 frogs, and with the legs we cooked and the rest of the frogs cooked by the rest of the family, this provided about 10 servings. Plus I have some legs left over for dinner another day. This works out to about 90 cents per serving overall.
Sauerkraut
This is a homemade recipe for sauerkraut provided by a good friend in Thailand that likes to make items from scratch. Very important to weigh/measure the main items used, the cabbage and salt. The use of a digital scale is important. This is a lacto-fermented item, meaning this ferments on your counter top. I look forward to making this! This recipe requires exact measurements for the cabbage and salt, you need to follow this. The kilo to lb measurements are accurate for this.If you start with 3 heads of cabbage, you can make this in a ½ gallon mason jar, this recipe is based on 3 heads of cabbage, cored and sliced, then weigh it and adjust the salt and seasonings based on that. If you need help with how to figure out the ratio of cabbage and salt accurately, please let me know and I will certainly help you.
Equipment
- Mason Jar (½ gallon)
Ingredients
Basic Ingredients
- 1 kilo cabage, start with 3 heads, (2.20 lb)
- 20 grams salt, (4 teaspoons)
Additional, per 1 kilo (2.20 lb) of Cabbage
- 1 teaspoon caraway seeds
- 1 teaspoon mustard seeds
- 2 cloves garlic, smashed and finely minced
- ½ gallon mason jar, sterilized
Instructions
- Cut each head of cabbage in half and then cut the core out. Then cut the two pieces into smaller sections to ease the slicing.
- Thinly slice the cabbage to about ⅛ inch thick, the use of a mandolin would be perfect for uniform slices.
- Place the cabbage in a large mixing bowl and add ¼ of the salt needed. Use your hands to mix the salt into the cabbage. Then add a ¼ more of the salt and mix in, repeat this 2 more times until all of the salt is mixed in. Set the bowl aside for 30 minutes.
- After 30 minute, the cabbage will have wilted and reduced in volume and liquid accumulated in the bowl, perfectly normal.
- Now sprinkle in the caraway seeds, mustard seeds, and garlic. Use your hands and mix together well. Once again, set aside for 30 minutes.
- Now transfer the cabbage and liquid into the jar and allow at least 1 inch of space at the top of the jar. Making sure the cabbage is below the level of the liquid.
- Cover the jar with cheesecloth and secure with a rubber band or string. Write down the date you do this. Leave the jar on your counter top, (away from any cats, cats like to push things off counters).
- Check the jar each day to make sure the cabbage is covered with the liquid. If it is not, remove the cheesecloth and tamp down the cabbage. If additional brine is needed, mix 1 cup of water with 1 teaspoon of salt and add that as needed.
- Check the kraut each day for 7 days, adjusting as needed.
- On the 7th day, sample the kraut, you should have good kraut now, use in other recipes as directed. If the taste is good, you can ferment longer for a stronger flavor.
- You should now have ½ gallon of kraut.
Notes
Low cost.