Archive for the ‘SIDES’ Category
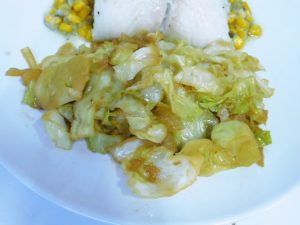
Fried Corn & Cabbage
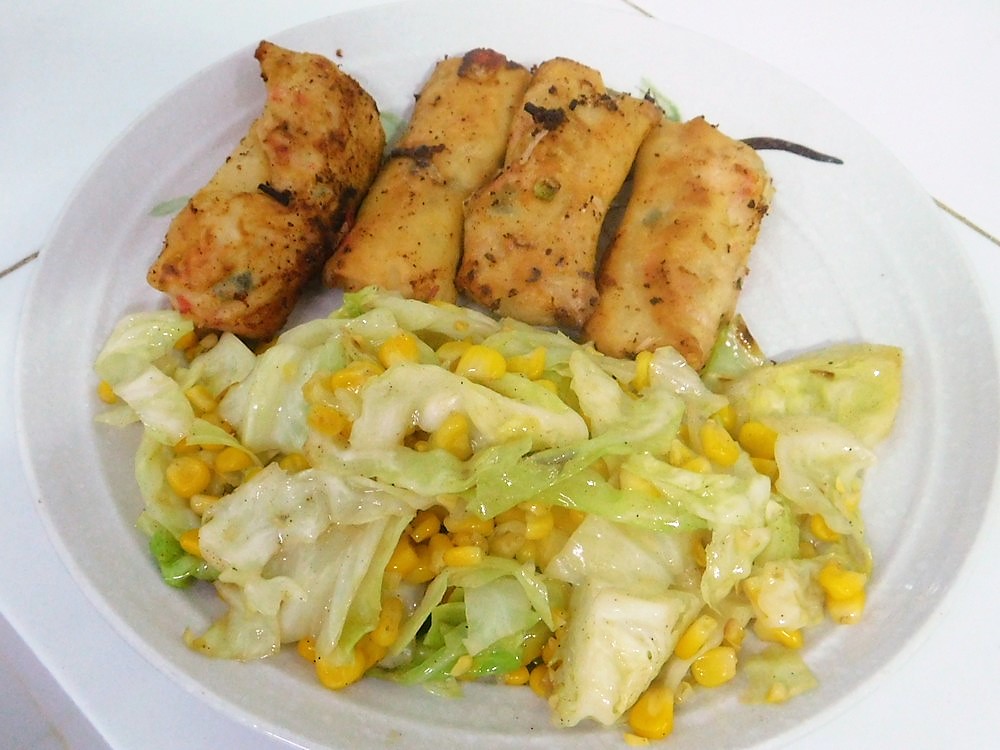
I had some cabbage in the fridge that needed to be used and some corn in the freezer, so I decided to cook them together since I do like fried corn as well as fried cabbage. This turned out very good!
Ingredients
- 1 head green cabbage, chopped
- 2 cups corn, fresh cooked, frozen, or canned will work
- 2-3 tablespoons bacon fat
- black and white pepper, as desired
Instructions
- Cut the stem off flush with the bottom of the cabbage, place stem side down, cut the cabbage in half then cut each half in half so you have 4 pieces. Cut the core out of each piece at an angle, then cut each piece into 1/2 inch slices, break up any pieces that do not fall apart. Now the cabbage is ready.
- For the corn, a few weeks earlier I bought some fresh sweet corn and pressure cooked that then cut the corn off the cobs, and froze it for later use. So I just thawed that out. If using canned corn, just drain it well before using.
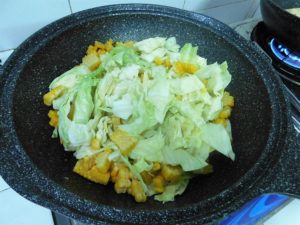
- Heat a large non stick pan with the bacon fat, when hot, add the cabbage and corn. Season with black pepper and use a spatula and mix the cabbage and corn together.
- Turn the cabbage occasionally, as the cabbage cooks down, taste and season with white pepper as desired.
- When the cabbage is nice and tender, serve as a side with any dish. Enjoy.
Notes
Low cost per serving.
Something I just threw together and it worked perfectly. Lee Thayer.
Thailand.
Thailand.
Sweet Ginger Soy Fried Cabbage
I love fried cabbage and this recipe is a great option from plain fried cabbage, and tasty.
Ingredients
- 1/2 head green cabbage
- 1 onion, brown or red
- 2 cloves garlic, smashed and chopped
- piece fresh garlic, 3/4 inch piece, grated, or 1 teaspoon ground
- 1 1/2 teaspoons butter
- 1 1/2 teaspoons cooking oil
For the Sauce
- 3 tablespoons light soy sauce
- 2 tablespoons honey
- 1 teaspoon dashi powder, optional
- 1 teaspoon warm water, if using dashi powder
Instructions
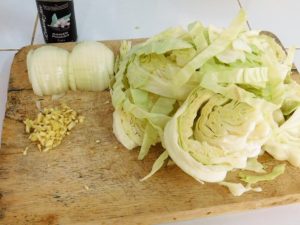
- Cut the head of cabbage in half, store one half in the fridge. Take the half you are going to use and lat flat on your cutting board, and cut in half again. remove the core by simply holding each piece up cutting downwards to remove the core section.
- Now slice the cabbage into 1/2 inch slices. and break it up a bit with your hands.
- Peel the onion, cut in half and slice each half. Grate the ginger. Peel and mince the garlic. (I ran out of fresh ginger so opted to use powdered, it works but fresh would have been much better.)
- Make the sauce by combining the soy sauce and honey in a small bowl. If using the dashing powder, first dissolve that in the warm water, then mix in the soy sauce and honey.
- Add the butter and oil to a large non stick pan and place on medium high heat, when hot, add the ginger and garlic and basically stir fry for 1 minute, just lightly browning it and not burning.
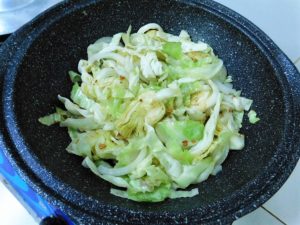
- Follow these steps closely as you are going to lightly char the cabbage. Add the cabbage to the pan and using a spatula, turn the cabbage to put most of the garlic and ginger on the top of the cabbage, then add the onion on top of the cabbage. Let the cabbage cook, do not turn or stir it, for 1-2 minutes, to let the cabbage lightly char.
- Now flip and stir the cabbage to mix the onions into the cabbage. When it is mixed well, once again, let it cook for 1-2 minutes with touching it, again to lightly char the cabbage.
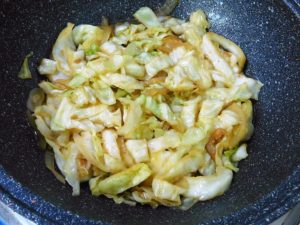
- Now drizzle in the sauce and mix into the cabbage and continue to cook the cabbage, stirring often for another 1 minute or until the cabbage is tender.
- Serve as a side with any dish, enjoy.
Notes
Low cost per serving.
Garlic Mushrooms
This sounds good and is on my list to make after I get some more button mushrooms.
Ingredients
- 250 grams fresh white button mushrooms
- 2 tablespoons extra light olive oil
- 2 tablespoons flat leaf parsley, chopped
- 3-4 cloves garlic, smashed and minced
- 1 1/2 - 2 tablespoons lemon or lime juice
- salt and lemon pepper, as desired
Instructions
- Give the mushrooms a quick rinse under running water and shake off the excess. Cut the stems off even with the caps, keep those stems handy, they get cooked as well. For large mushrooms, cut the caps in half.
- Heat the oil in a non stick pan on medium heat, when hot, add the garlic and saute until fragrant, about 30 seconds or so.
- Add the mushrooms, caps and stems, stir until the mushrooms have soaked up the oil. Turn the heat to low and saute the mushrooms until they release any any water.
- Add the lemon or lime juice and season as desired with salt and lemon pepper as desired. Increase the heat to medium and saute until nearly all the liquid is evaporated.
- Add the parsley and stir into the mushrooms, remove from heat.
- Serve as a side with any dish, enjoy.
Notes
Low cost per serving.
Adapted from an internet recipe.
Corn Tomato Salad
Sounds interesting as I have never heard of this before. On my to make and taste list. There is a Shortcut in the Recipe Notes if you want to pressure the corn.
Ingredients
- 6 ears corn, husked and cleaned
- 1 red bell pepper, diced
- 1/2 red onion, diced
- 1 medium tomato, diced
- 2 tablespoons extra virgin olive oil, or as desired
- 2 tablespoons balsamic vinegar, or as desired
- 1 tablespoon garlic, minced
- black pepper, as desired, to taste
Instructions
- Place the corn in a large and add water to cover, bring to a boil and cook for 5-10 minutes, until the corn is crisp yet tender. Drain and allow the corn to cool enough to handle, then cut the corn off the cobs and place the corn in a large mixing bowl. OR cook the corn in any manner you prefer. I will use my pressure cooker.
- In a large mixing bowl, add the remaining ingredients, except the black pepper, to the mixing bowl, and toss together. Taste and season with black pepper as desired.
- Cover and place in the fridge to chill for at least 30 minutes. When ready to serve, simply toss again. Serve with any main meal, like at a BBQ.
Notes
Russian Mushroom Julienne
This sounds like a wonderful way to prepare mushrooms. This can be an appetizer or a side dish. Link to the Shortcut is listed in the Notes section.
Equipment
- Oven
- Baking Pan (8x8 inch)
Ingredients
- 500 grams fresh white button mushrooms, thinly sliced
- ½ cup onion, thinly sliced
- 2 cloves garlic, smashed and minced
- 3 tablespoons butter, divided
- ¼ cup white wine
- 1 cup sour cream, Shortcut
- salt and pepper, as desired
- 1 cup Mozzarella Cheese, shredded
Instructions
- Quickly rinse the mushrooms, shake dry and place on paper towels then thinly slice.
- Prep the onion and gather the rest of the ingredients. Having all the ingredients on hand minimizes the chance of not using an ingredient.
- Preheat your oven to 190° C (375° F). Get out a 8x8 baking dish.
- Heat a large non stick pan on medium and melt 2 tablespoons of butter. Add the mushrooms, onion, and garlic.
- Saute until the mushrooms have reduce to half the quantity and let out their liquid.
- Pour the contents of the pan into a colander to drain the mushrooms.
- Return the same pan to medium heat and melt the remaining 1 tablespoon of butter then stir in the wine, stir and simmer for 2 minutes then stir in the sour cream and mix together. Taste and season with salt and pepper as desired. Add the mushrooms to the pan and stir into the sauce.
- Pour the contents of the pan into the baking dish. Sprinkle with cheese and place in the oven. Bake for 10 minutes or until the cheese is melted and just starting to lightly brown.
- Serve as a side dish with any meal or as an appetizer with toasted bread. Enjoy.
Notes
Shortcut: Sour Cream.
Fried Egg Tofu
This is a new one for me as I have only seen egg tofu used in is soups, so I look forward to testing this out.
Ingredients
- 2 small tubes egg tofu, 105-120 gram tubes, (3.5-4 oz)
- 1 tablespoon cooking oil
- 2 teaspoons cornstarch
- sweet chili sauce, as desired
- 1 spring onion, green part only, sliced
Instructions
- Cut off the end of the tofu tube that looks like a spout (that is actually where the tube is filled), gently squeeze the other end of the tube the tofu will slide right out. Cut into 1 inch thick slices, and slice a bit off the blunt end to make it flat as well. Repeat with the other tube.
- Place the slices on several paper towels to drain off some of the moisture. Leave on the paper towels for about 10 minutes. Then dry the side facing up with a paper towel, and dry the outer edge as well.
- Heat the oil in a non stick pan on medium high heat. Place the cornstarch in a small bowl, coat each slice on the flat sides with cornstarch.
- Add about 2 or so tablespoons of sweet chili sauce to a serving plate and spread it around a bit, sprinkle some of the sliced spring onion greens on top of the sauce.
- Fry the slices for 1-2 minutes on each side or until nicely browned.
- Place the slices on the serving tray, drizzle with additional sweet chili sauce, and sprinkle on the remaining spring onion greens.
- Serve as a appetizer or as a side dish.
Notes
Low cost per serving, one tube of egg tofu is about 10 Baht.
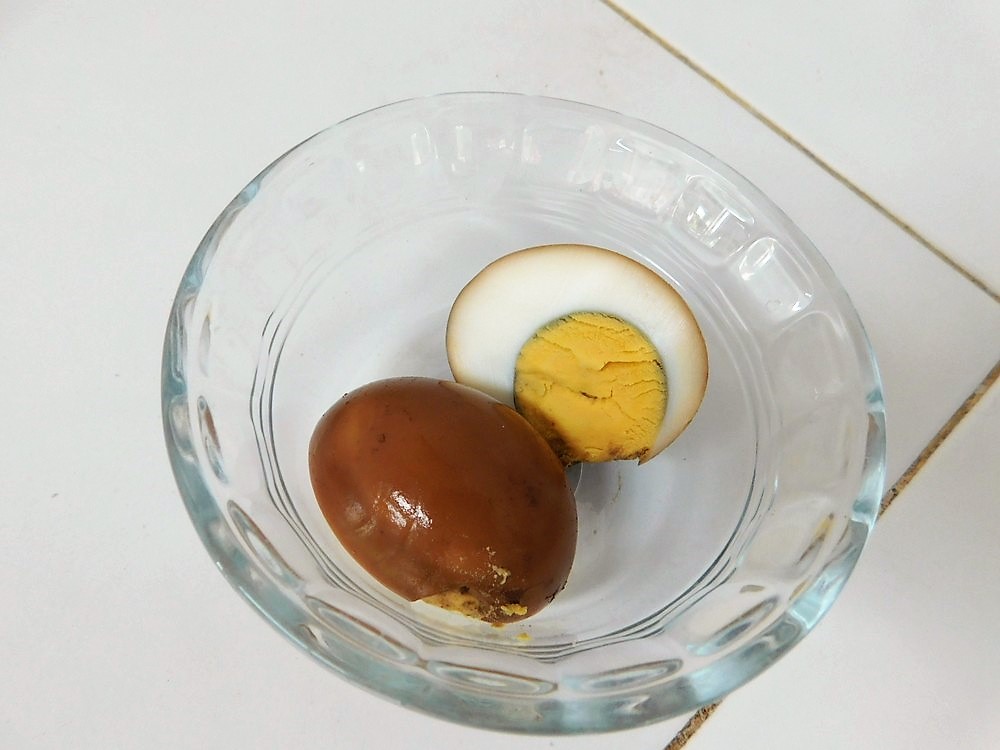
Herbal Eggs
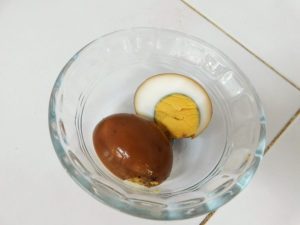
An excellent alternative to just plain hard boiled eggs. These turned out perfect, the family loved these. This recipe already assumes you have hard boiled eggs ready.
Ingredients
- 1 1/2 quarts water, (6 cups)
- 1 packet Bah Kut Teh, herbal seasoning
- 10 fresh Shiitake mushrooms
- 2 whole star anise
- 4 cloves, or 1/8 teaspoon ground
- 1 2 inch cinnamon stick
- 1 1/2 inches fresh ginger, peeled
- 1 head garlic, peeled
- 1 teaspoon cumin seeds, or 1 teaspoon ground cumin
- 1 teaspoon fennel seeds
- 1 tablespoon dark soy sauce
- 10 hard boiled eggs, peeled
- 2 tablespoons light soy sauce
- 2 tablespoons brown sugar, or cane sugar
Instructions
- Most everything ready, mushrooms were in the fridge.
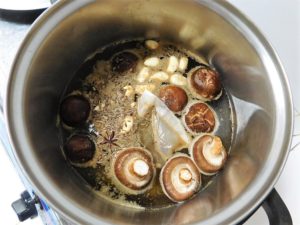
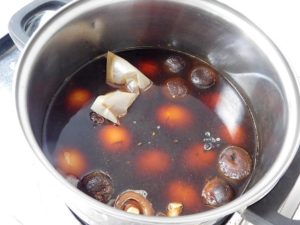
- In a large pot, add the first 10 ingredients, bring to a boil. reduce heat to a low boil and boil for 30 minutes.
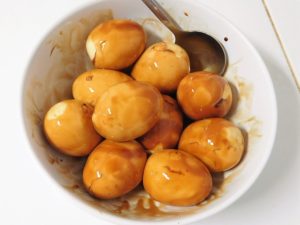
- Once you have the pot boiling, add the eggs to a mixing bowl and add the dark soy sauce, mix the eggs around to coat them and stain them evenly. Mix the eggs occasionally and set them aside while the pot is boiling.
- When 30 minutes have passed, add the brown sugar, light soy sauce, and the eggs along with the dark soy sauce from the mixing bowl. Bring to a boil then reduce to a simmer, simmer for 45 minutes.
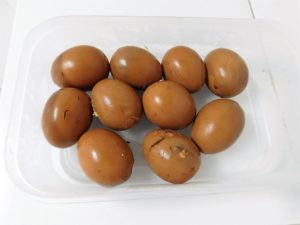
- Remove eggs and drain, allow to cool, then place in an airtight container and store in the fridge for up to 3 days.
- Enjoy as a snack or with a meal for lunch or dinner.
Notes
Low cost
Shortcut: Perfect Hard Boiled Chicken Eggs.
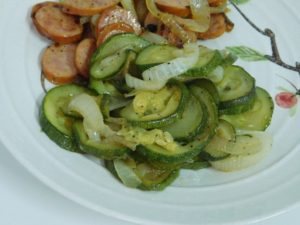
Fried Zucchini
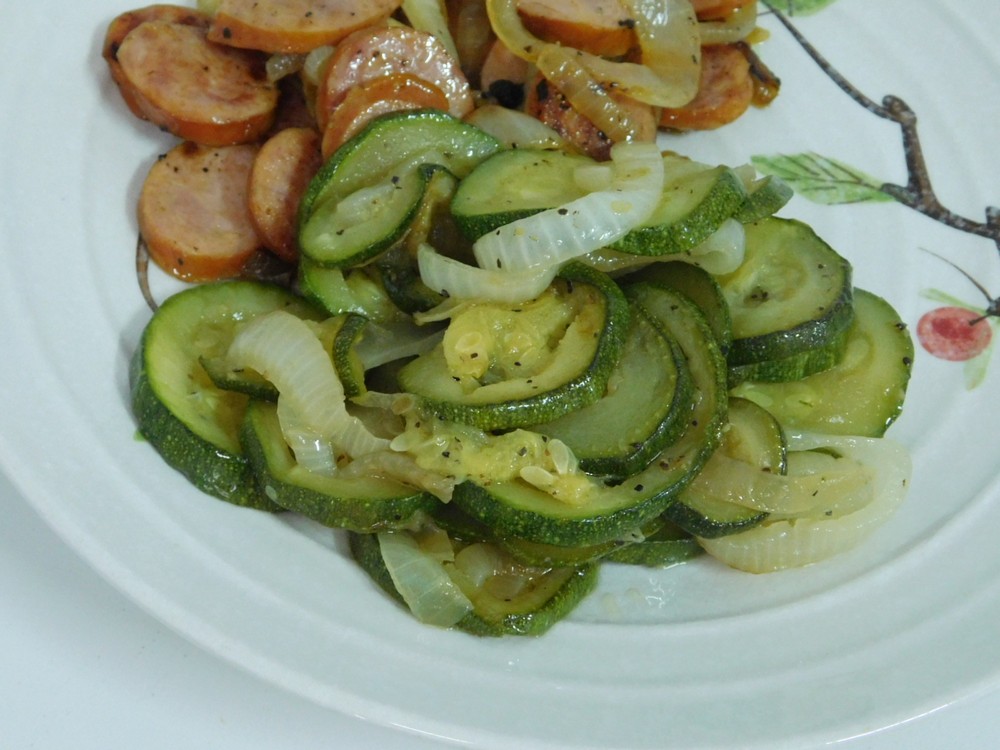
Yep, basic recipe, more or less for my own reference.
Ingredients
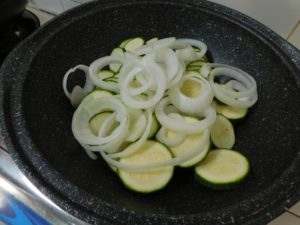
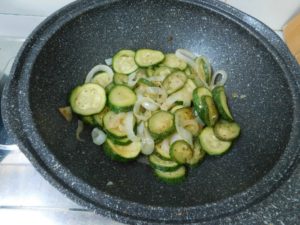
- 2 medium zucchini, sliced 1/4 inch thick or a bit thinner if you like
- 1 medium onion, sliced and separated into rings
- 1 tablespoon butter
- 1 tablespoon extra light olive oil
- black pepper, as desired
Instructions
Notes
Low cost per serving.
Variant: 1. Leave out the butter and you have a vegetarian dish.
Just something I remembered from my childhood, Lee Thayer.
Thailand.
Thailand.
Stir Fry Fixings in a Bag
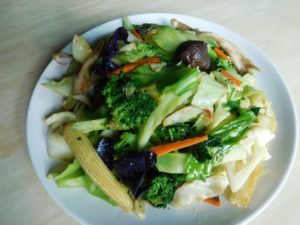
The advantages to buying these from the local markets is that the vegetables you need for a stir fry is already cut up, so instead of buying a whole cabbage and only needing part of it for a stir fry, the bag has the correct amount you need. Possibly less waste, and no room in the fridge needed as these are a buy on the day your are going to prepare. All you need is one bag, a few sauces, and a good arm. This can be a side dish or add some meat and you have a main dish. Each bag is only 25 Baht (78 cents) and you have 4 or 5 servings.
Ingredients
- 1 bag stir fry fixings
- oyster sauce, as desired
- mushroom sauce, as desired
- light soy sauce, as desired
- extra light olive oil, as needed
- water, as needed
Instructions
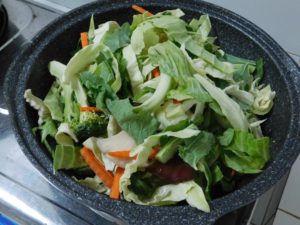
- A typical stir fry fixings in a bag will have chopped broccoli, cabbage, carrot, baby corn, and a few types of mushrooms, oyster and ear wood are common types used. Need a larger amount of stir fry when family is visiting? Use two bags and a larger pan or a wok would be preferred. Simply add the contents of the bag to a colander and give it a quick rinse.
- In a large non stick pan, or wok, heat 1-2 tablespoons of extra light olive oil, when hot, add the fixings (I used 2 bags), and stir fry...
- And stir fry, add a dash of each of the sauces, does not hurt to go heavy handed with the oyster sauce, and taste, if needed more salt, add another dash or so of light soy sauce.
- If the pan is drying out, add a bit of water, and keep stir frying, the water will help steam the veggies as well. When the carrot and broccoli are tender, and the liquid more or less evaporated, pour onto a serving tray and serve as a side with any meal.
To Add Meat
- Meat used is typically chicken or pork where I live, but beef can certainly be used. To prepare the meat, just slice into strips.
- Add the strips to the pan first and stir fry until just no longer pink, a bit of pink visible, no problem!
- Then just add the bag of fixings and continue as stated above.
Notes
Low cost per serving.
Commonly used throughout Thailand and Asia.
Photo of finished dish provided by my daughter, Samantha Thayer.
Thailand.
Photo of finished dish provided by my daughter, Samantha Thayer.
Thailand.
King Oyster Mushroom Spring Rolls
This original recipe is from my daughter, Samantha. We had some extra King Oyster mushrooms so Samantha suggested spring rolls, and here it is. A lot of time involved with making spring rolls is the prep work making the filling. These are excellent spring rolls.
Ingredients
- 2 cups King Oyster mushrooms, diced
- 1 cup spring onions, sliced, white and green parts
- ⅔ cup carrot, shredded
- 80 grams dry bean vermicelli, cooked, chopped, (2¾ oz)
- 1-2 dashes oyster sauce
- 1-2 dashes light soy sauce
- handful fresh Thai Basil leaves, chopped
- salt, to taste
- extra light olive oil, as needed
- vegetable oil, as needed
- spring roll wrappers, as needed, about 20-22, thawed,
- 1 tablespoon cornstarch
- 1-2 tablespoons water
Instructions
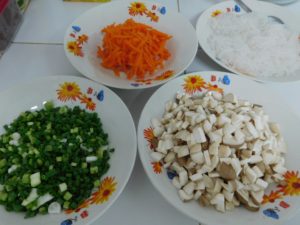
- Prep the mushrooms, spring onions, carrot, and heat a pot of water to boiling, add the noodles and cook until tender. Drain the noodles and chop. Here, everything is prepped. Now you can take your spring roll wrappers out of the freezer to thaw on the counter.
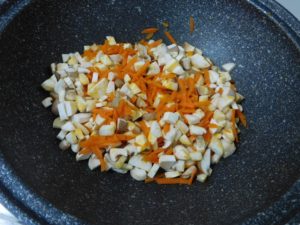
- Heat about a tablespoon of extra light olive oil in a non stick pan, when hot, add the carrot. Saute until soft, just a few minutes.
- Add the mushrooms to the pan and cook for a few minutes, stirring often. Goal is to soften the mushrooms, this type of mushroom does not release a lot of water so add a bit of extra light olive oil as needed. Saute for a few minutes to soften the mushrooms.
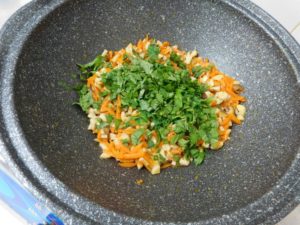
- Add the Thai basil and stir in, saute for a minute or two. The basil adds a depth of flavor and is not overpowering.
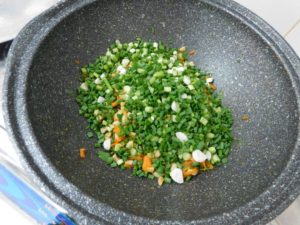
- When the basil is nicely wilted, add the spring onion and mix in. Add 1-2 dashes of soy sauce and oyster sauce and mix in, saute for just a minute or two. Remove from heat.
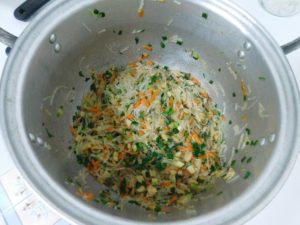
- Add the chopped vermicelli noodles to a large bowl or pot. Add mixture from the pan and mix together, taste and season with salt as desired. Set this aside to let it cool to room temp, about 1 hour.
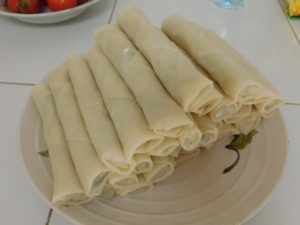
- When you are ready to roll the spring rolls, open the package of spring roll wrappers, if working by yourself, you need to keep them covered with a damp cloth to prevent them from drying out. Ideally, two people would be perfect. One person to pull off each wrapper and one to fill. If the sheets dry out, they will tear when pulling them apart. There is two textures on a sheet, one side is smooth, the other side is a more rough texture.
- Mix together the cornstarch and water in a small bowl, this is your glue.
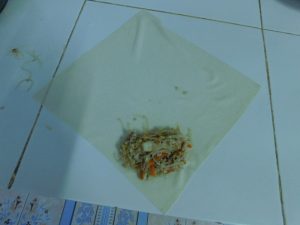
- Pull off one sheet and place smooth side down on a clean counter with one corner of the sheet facing you. Place a tablespoon or so of filling near the corner closest to you.
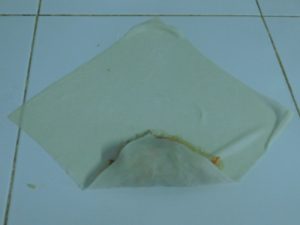
- Fold the bottom (the corner closest to you) up over the filling.
- Tightly roll away from you, the filling will spread some, that is fine. When the roll is just before the widest part of the pastry (left and right corners will be on the sides of the roll). Use your fingers and apply some glue to the two sides that are away from you, then fold the left and right sides towards the center. The roll should be about 5 inches long, and should look like an envelope.
- Continue to roll away from you and just pat the seam down with your fingers. There, you just made a spring roll. Repeat this process until all the filling is used.
- To fry these, heat about ½ inch of vegetable oil in a pan. When hot, add 5-6 spring rolls at a time and fry, turn often, until golden brown, These cook fast so keep an eye on them. Remove to paper towels to drain and fry the remaining rolls. Perfect color.
- Let cool for a few minutes then serve hot with a dipping sauce of your choice.
Notes
Low cost per serving.
