Archive for the ‘Eggs – Chicken’ Category
Dill Thai Omelet
Thai omelets are generally airy and fluffy cooked eggs, not folded over. This is quick and easy, served with rice on the side, a simple and filling meal for 4-6 people. The eggs are mixed into the fresh dill before going into the pan, and is a brilliant flavor. I seen my wife make this a few weeks ago, and she learned this from her sister.
Ingredients
- 4-5 eggs, chicken or duck
- handful fresh dill, chopped
- salt, as desired
- cooking oil, as needed
- fresh dill, for serving
- cooked rice, for serving
Instructions
- Put a wok or non stick pan on high heat and add about 1/2 cup of cooking oil. For a non stick with the rounded sides, a 10 inch pan is perfect and you want about 1/4 inch of oil on the bottom of the pan.
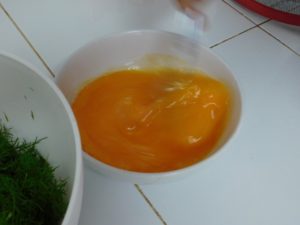
- The chopped dill in the bowl is for the omelet, the sprigs of dill are for serving. The eggs, farm fresh.
- While the pan is heating, break eggs into a bowl. Add the salt and beat with a fork until frothy. My wife is beating the eggs at light speed here.
- Pour the eggs into the bowl with the dill and mix together.
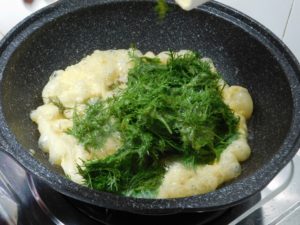
- When the oil just starts to smoke, turn the heat to low and quickly pour in the beaten eggs, it will fluff before your eyes. The dill will end up on the top, no worries.
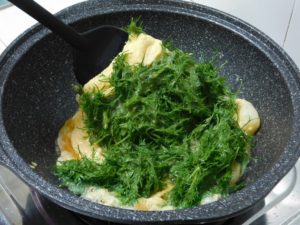
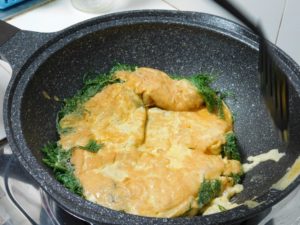
- Using a spatula, spread the dill out if it is clumped in the center, then lift the edges to get the liquid part of the eggs onto the pan, do this several times from all sides.
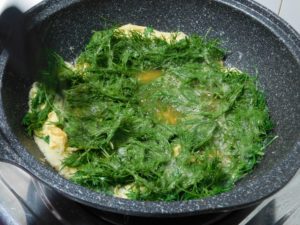
- The bottom is evened out, the dill is spread out, just cooking to set the egg.
- Keep checking the bottom and when getting nice and browned and set well (remember, from pouring into the pan to flipping takes only 45 seconds to a minute) flip the omelet over, 20-30 seconds later, the bottom should be browning nicely.
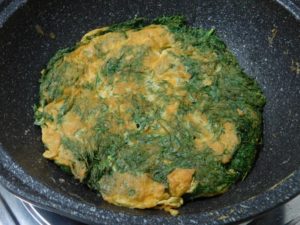
- When the bottom is browned, flip again to put the dill on the top.
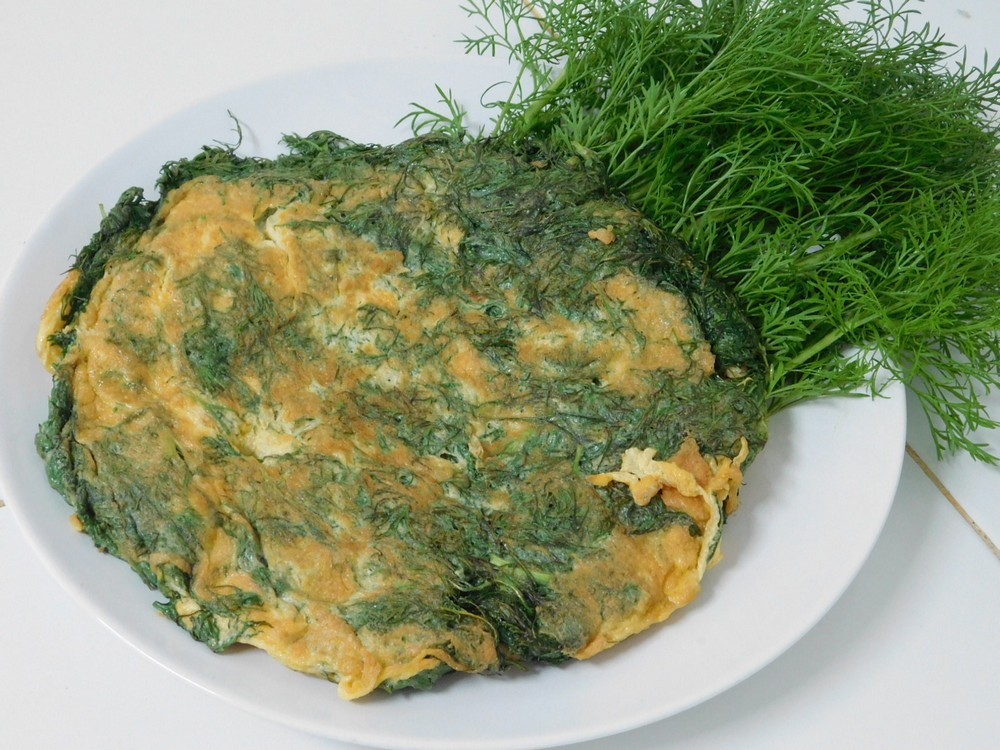
- Remove from the pan to a plate and serve with rice on the side. Here, this is garnished with fresh dill on the side as well.
Notes
Low cost.
Variants: 1. Add a few drops of lime juice or vinegar for a even more fluffier omelette.
Recipe provided by my wife's sister.
Thailand.
Thailand.
Shrimp Omelet
This is basically a Thai style omelet but without any folding, the filling is just mixed into the beaten eggs.
Ingredients
- 4 eggs, beaten
- 1 cup cooked small shrimp, peeled, deveined, tails removed
- 2-3 spring onions, chopped, white and green parts
- 1-2 tablespoons fresh cilantro, chopped
- white pepper powder, as desired
- cooking oil, as needed
Instructions
- For the shrimp, cook them with any method you prefer, such as steaming, boiling, or sauteing. If the shrimp you are using are sort of big, go ahead and chop them into 3/4 inch pieces. For these, I just dropped them into a small pot of boiling water, when they turn pink, drain and drop into cold water to stop the cooking process.
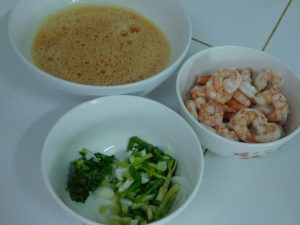
- Crack the eggs into a bowl and beat well, season with white pepper powder as desired. Get everything else chopped, here, everything ready.
- Heat a large non stick pan with a good splash of oil, hot but not smoking.
- When the oil is hot, add the shrimp, spring onion, and cilantro into the eggs and mix together.
- Pour the egg mixture all at once into the pan, it will puff as well.
- Use a spatula and lift up the sides to let the egg mixture run onto the hot pan. Cook until the bottom is set and golden brown.
- Flip the omelet over and cook until the bottom is now set.
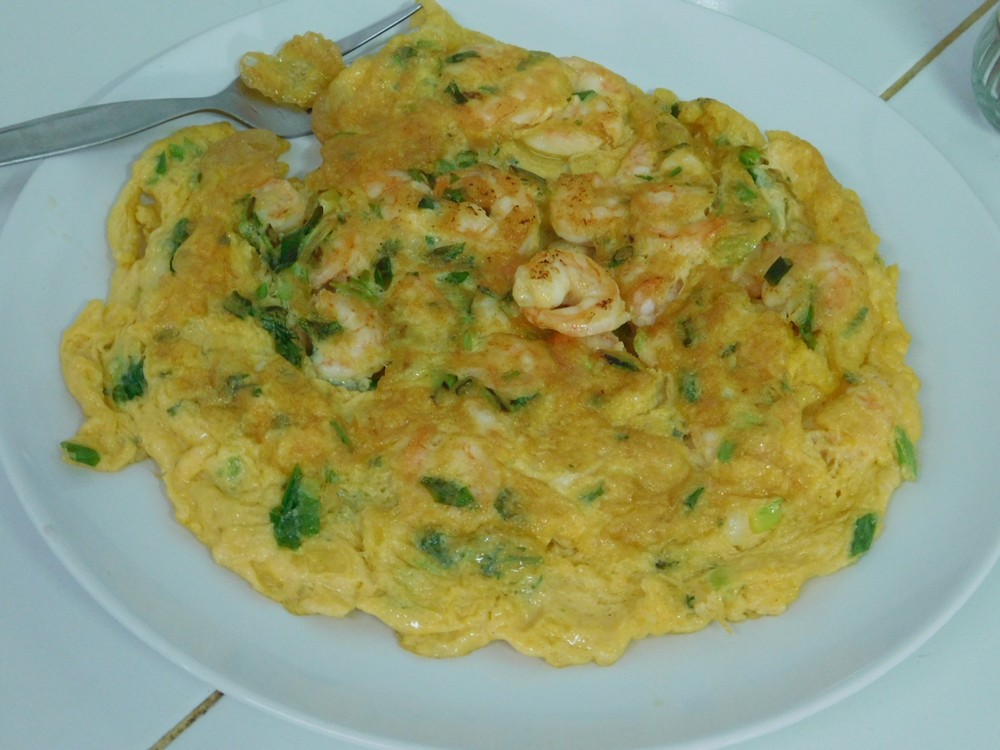
- Flip one more time and serve. This was my dinner last night, can also serve family style and just place the plate in the center of the table and everyone can dig in.
Notes
Low cost.
Common method to make a Thai Omelet.
Omurice (오므라이스)
This sounds good, and is a first for me to have Korean writing on the site as well, which is always cool to add the other languages. This is a fried rice dish inside an omelet. Originating in Japan then spread to other Asian countries. The main flavoring, ketchup.
Ingredients
- ½ medium onion, finely diced
- 1 spring onion, finely chopped
- 1 small carrot, finely chopped
- 120 grams ground pork, or beef, or chicken, or shrimp, (4 oz)
- 1 tablespoon soy sauce
- 1½ tablespoons ketchup, plus more for garnish
- salt and pepper
- olive oil, for frying
- 1¼ cups cooked rice, average ¾ cup per serving
- 4 eggs
Instructions
- Heat a large non stick skillet on medium heat with 2 tablespoons of oil, when hot, add the onion, spring onion, carrot, and pork. Stir fry until the pork is cooked through and the onion is soft, then stir in the soy sauce and season with salt and pepper as desired.
- Add the rice, stirring to break up any clumps until it is mixed well, then add the ketchup, taste, and season with salt and pepper as desired. Transfer to a bowl.
- Same pan, heat a small amount of olive oil, while the oil is heating, break two eggs into a small bowl, whisk with a fork and add a pinch of salt and pepper if desired. Add the eggs to the hot pan and swirl them around to cover the bottom of the pan.
- When the bottom is set and the top of the eggs are a bit runny, turn off the heat and spoon in half of the rice mixture down the center of the eggs.
- Fold over both sides and and slide the omelet to the side of the pan, then flip onto a plate. Repeat the process for the second omelet.
- Drizzle some ketchup on the top of each and serve.
Notes
Low cost.
Slow Cooker Breakfast Casserole II
This sounds like a great breakfast casserole, this use stale bread (think just cubed and toasted dry, instead of hash browns, so good, on my to cook list. Remember, breakfast dishes always make great dinner dishes as well. Link to the shortcut is listed in the Recipe Notes section.
Equipment
- Slow Cooker
Ingredients
- butter, as need to grease the slow cooker pot
- 12 eggs
- 2 cups milk
- 1 teaspoon mustard powder
- ¼ teaspoon salt
- ¼ teaspoon black pepper
- 8 slices bread, cubed and toasted
- 500 grams bulk breakfast sausage, OR make from a shortcut, (1 lb)
- 1½ cups Cheddar cheese, shredded
- 1 small onion, diced
- 1 red bell pepper, diced
Instructions
- Cook the breakfast sausage in a non stick pan until cooked through and fat drained.
- Grease with butter your slow cooker insert, bottom and sides.
- Crack the eggs into a large mixing bowl, whisk until well mixed and frothy is ok. Add the milk and mustard, and season with salt and pepper as desired, whisk to combine.
- Place the cubed dried bread in an even layer in your slow cooker, then add the sausage, cheese, onion, and bell pepper.
- Pour in the eggs, push down the other ingredients as needed.
- Cover and set your slow cooker to Low setting for 6 to 7 hours. Check at 5 hours to be on the safe side, the dish is done when the eggs are set and the top is golden brown.
- Spoon into bowls and add some nice toast and you have a meal, regardless of the time of day.
Notes
Low cost.
Shortcut: Breakfast Sausage.
Kai Yad Sai (Thai Stuffed Omelet)
These are very good! I enjoy these often when I go to other provinces. This recipe is for 4 omelets, normally when this is served, in Thailand, it is huge so think family style, meaning placed on the table and everyone helps themselves to it.
Ingredients
For the Eggs
- 6 eggs, chicken or duck
- ground white pepper, to taste
- 1/2 teaspoon fish sauce
For the Pork Filling
- 250 grams ground pork, (1/2 lb)
- 2 teaspoons fish sauce
- 1/2 cup roma tomatoes, finely chopped
- 1/2 cup long beans, finely chopped
- 4 small shallots, finely diced
- 2 teaspoons sugar
- 1/2 teaspoon soy sauce
- fresh cilantro, chopped, for garnish
- spring onion, sliced, for garnish
- ground white pepper, to taste
To Prepare
- cooking oil, as needed
Instructions
- In a mixing bowl, add the eggs, fish sauce, and season with white pepper to taste. Beat to combine.
- In a large non stick pan, heat a splash of oil on medium heat, when hot, add ground pork and us your spatula to break it up as it cooks.
- When the pork is nearly cooked through, add the fish sauce, tomatoes, long beans, shallots, sugar, soy sauce, and season with white pepper to taste. Cook until the long beans are good and tender then remove and cover.
- In another non stick pan, heat a splash of oil, when hot add 1/4 of the egg mixture and move the mixture around to cook the bottom and set the top mostly.
- Loosen the omelet from the pan then spoon on 1/4 of the pork mixture into the center. Fold over two opposite sides.
- Then fold over the two other sides to make a square.
- Place a small plate, upside down on the omelet and turn the pan over, leaving the omelet on the plate. Cut an X on the omelet to show the pork filling. Repeat for the remaining omelets.
- Serve.
Notes
Low cost.
Adapted from an internet recipe.
Roti John (Singapore Omelette Sandwich)
This is street food popular in Singapore and Malaysia, and it sounds very good. For this you can use baguettes or hot dog buns. When I make this, I may make the hot dog buns as well, I like a good challenge.
Ingredients
- 500 grams ground beef, (1 lb)
- 5 eggs, chicken or duck, beaten
- ½ cup shallots, finely diced
- 1 green chili, finely diced
- 1 teaspoon salt
- ¼ teaspoon black pepper
- 10 baguettes, or hot dog buns
- cooking oil, as needed
For Toppings & Sauce
- spring onions, sliced, white and green parts
- green chili, sliced
- tomato sauce
- sweet chili sauce
- Sriracha Chili Garlic sauce
- mayo
Instructions
- In a large mixing bowl, add the ground beef and mix in the eggs, then mix in the shallots, chili, salt, and pepper.
- Butterfly or split open the baguettes or hot dog buns, keeping them intact on on side.
- Heat a tablespoon of oil in a large non stick pan, when the pan is hot, spread some egg mixture on the cut sides of the baguettes and place cut side down in the pan, cook for about 2-3 minutes to set the egg and brown the beef (it is a thin layer so it cooks quickly), then flip over and cook the other side for about 1 minute.
- Serve with toppings and sauces as desired.
Notes
Low cost per serving.
Variant: 1. Use 2-3 cans sardines in olive oil, mashed in place of ground beef.
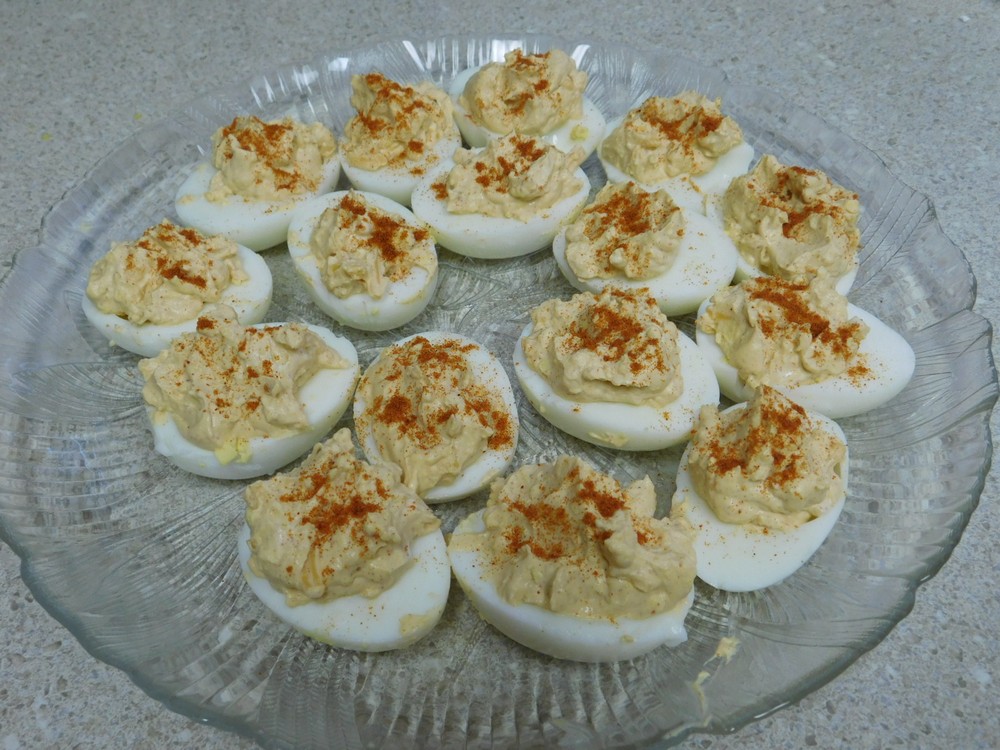
Mexican Deviled Eggs I
I like hard boiled eggs and I love deviled eggs, so this sounds really good. On my to make list. Although this is low cost, there is shortcuts for even greater savings. Links to the shortcuts are listed in the Recipe Notes section.
Ingredients
- 8 hard boiled eggs, chicken or duck, peeled, Shortcuts
- ⅓ cup mayo
- ½ cup Cheddar cheese, shredded
- 2 tablespoons sour cream, Shortcut
- 1 tablespoon chives, chopped, or spring onion
- 2 teaspoons taco seasoning mix, Shortcut
- fresh cilantro, finely chopped, for garnish
Instructions
- Cut the cooled and peeled eggs in half, remove the yolks to a medium mixing bowl and place the whites on a serving tray or plate.
- Mash the yolks with a fork then add the cheese, mayo, sour cream, chives (or spring onion), just 1½ teaspoons of the taco seasoning. Mix together.
- Spoon or pipe the mixture into the egg whites.
- Dust lightly with the remaining taco seasoning and sprinkle lightly with cilantro. Chill in the fridge until you serve. Enjoy.
Notes
Shortcuts: Perfect Hard Boiled Chicken Eggs, Perfect Hard Boiled Duck Eggs, Taco Seasoning Mix, Sour Cream.
Variant: 1. Use hard boiled quail eggs for tiny versions of this recipe.
Deviled Egg Salad
Sounds absolutely wonderful, on my to cook list.
Ingredients
- 12 hard boiled eggs, peeled, chopped
- 1/4 cup spring onion, sliced, green and white
- 1/2 cup celery, chopped
- 1/2 cup red bell pepper, diced
- 2 tablespoons Dijon mustard
- 1/3 cup mayo
- 1 tablespoon apple cider vinegar, or white wine vinegar
- 1/4 teaspoon tabasco sauce
- 1/2 teaspoon paprika
- 1/2 teaspoon black pepper
- 1/4 teaspoon salt
Instructions
- Place the prepared eggs, spring onion, celery, and bell pepper in a large mixing bowl and toss together.
- In a small bowl, mix together the mayo, mustard, Tabasco sauce, and the vinegar.
- Stir the dressing into the egg and veggies and season with paprika, salt, and pepper to taste. Refrigerate for several hours to chill it fully before serving.
Notes
Low cost.
This recipe for Deviled Egg Salad is from Simply Recipes.
Steamed Eggs (Rice Cooker)
I found this recipe on a friend's web site and decided to give this a try. I use a small rice cooker (1 liter) with a steamer tray, a steamer basket in a pot works equally as well. The size of the steamer basket, size of the eggs, if eggs are layered, and even elevation will play a role in the time to get perfect hard cooked eggs.
Equipment
- Rice Cooker
Ingredients
- 8-10 eggs, chicken, room temperature
- water, as needed
- ice, as needed
Instructions
- Add about 1 to 1½ inches of water to your rice cooker insert and add the steamer tray and cover, if using a pot with a steamer basket, add the basket then add water to where it just touches the bottom of the steamer basket then cover. Turn the rice cooker to Cook setting and for a pot, turn to medium to high heat. Get the water boiling and making steam.
- Remove the steamer tray and cover the pot, add the eggs to the steamer tray, place tray on the cooker, for a pot, remove from heat, add the eggs then put back on the heat. For a pot, adjust the heat needed to maintain a gentle boil.
- Set your timer for 6 minutes for soft cooked and 10 minutes for hard cooked with a slightly soft yolk center, or 12-15 minutes for fully cooked through yolks. (I used 15 minutes and the eggs were perfect). If you are using two layers of eggs, increase the time by 1 to 2 minutes. (My little rice cooker doing its thing.)
- Place a large bowl in the sink and fill will ice, then fill with water, when the time is up on the eggs, transfer the eggs with a slotted spoon into the ice water, as the ice melts, turn on the tap to keep the water running into the bowl for 5 to 10 minutes to cool the eggs.
- When the eggs are cooled, take each egg and crack all over and return to the water. Once all eggs are cracked, start peeling them under running water, rinse off any shell fragments, place in another bowl, cover, and refrigerate until used.
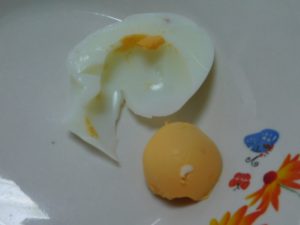
- I hard cooked 10, previous photo shows 9, here is number 10. I took the ugly egg, the white was broke, and sliced in half, and as you can see, absolutely no green from over cooking. The whites were perfect in taste, not rubbery at all. Yolk was perfect.
Notes
Low cost.
These can be used in any recipe calling for hard or soft boiled eggs.
Poached Eggs (Silicon Poacher)
I really like poached eggs, but I absolutely suck at making them by dropping in hot water so I bought some silicon egg poachers, easy to use.
Ingredients
- 4 chicken eggs
- 4 slices toast, buttered
- 4 silicon egg poachers
Instructions
- Heat a pot (with a lid) of water to simmering. Lightly grease each silicon cup with butter.
- Crack an egg into each cup. Once the water is at a nice simmer, place each silicon cup into the water, they float as well. Cover the pot and set a timer for 6 to 7 minutes depending on how you like your poached eggs.
- When the time is done, remove each cup from the water using a slotted spoon.
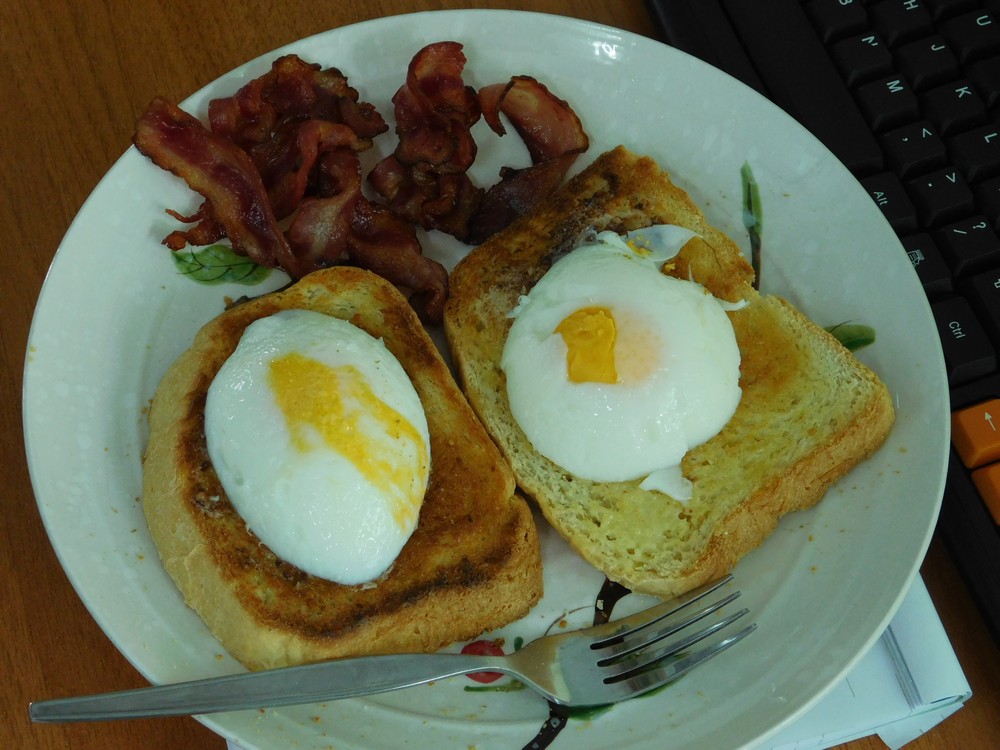
- Use a spoon to go around each egg to loosen them and scoop out each one onto a slice of toast.
- Serve with sides of your choice.
Notes
Low cost.
Adapted from an internet site regarding the use of silicon egg poachers.
