Author Archive
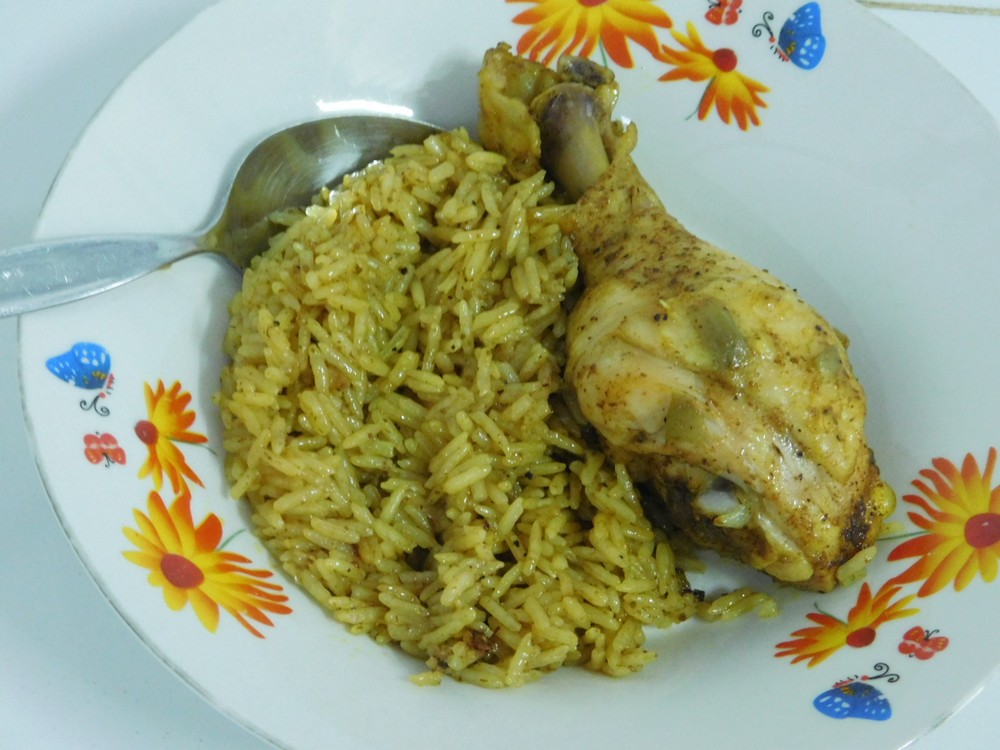
Chicken & Rice (Pressure Cooker)
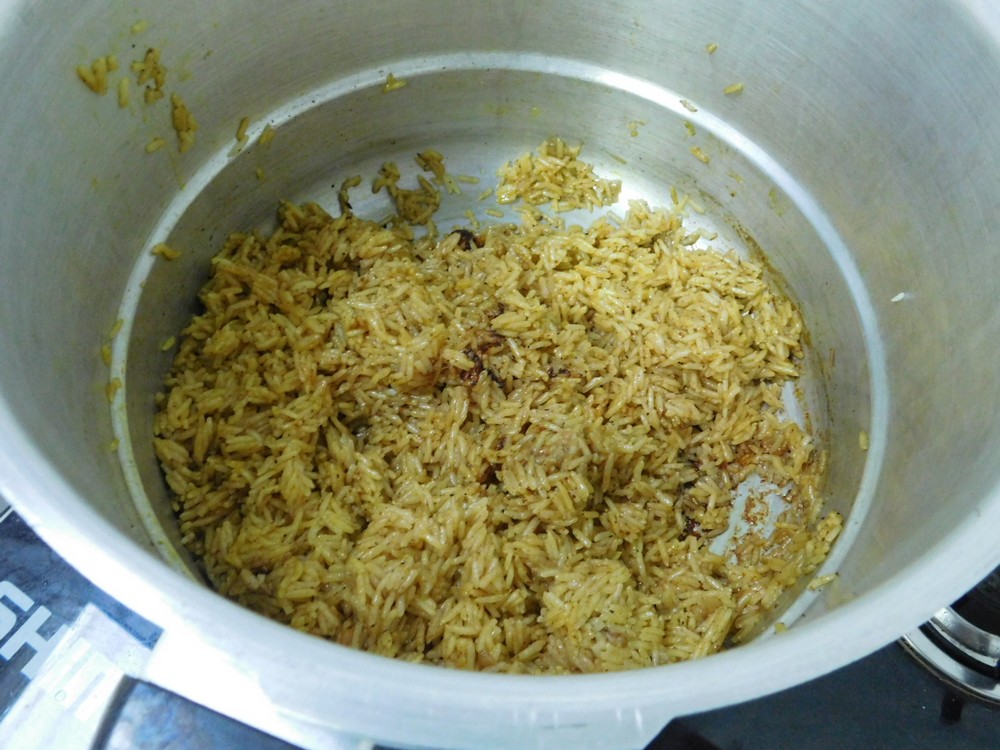
For clarification, this is not a one pot meal, two steps are involved in this so both the chicken, and the rice, come out perfect. You will need a 6 liter (6 quart) or larger pressure cooker for this, I will be using my 9 liter (9½ quart) stove top pressure cooker. This recipe comes from a very respected source on pressure cooking. I made this on 2 Aug 2018 and it is excellent! Follow the safety instructions for your model of pressure cooker at all times.
Equipment
- Pressure Cooker
- Oven
- Baking Sheet
Ingredients
For the Chicken
- 4 chicken quarters, separated into 8 pieces
- 1 tablespoon olive oil
- 1 onion, chopped, yellow or red is perfect
- 3 teaspoons tomato paste
- 1 clove garlic, smashed and minced
- 1 cup water
Spices Used
- 1 teaspoon ginger powder
- 1 teaspoon ground cardamom
- ½ teaspoon black pepper
- 2 teaspoons ground cumin
- 2 teaspoons ground coriander
- ¼ teaspoon ground turmeric
- 2 bay leaves
- 2 teaspoons salt
For the Rice
- 2 cups dry Jasmine rice, rinsed
- 2 cups cooking liquid, from the chicken
For Garnish
- cherry tomatoes, halved
- spring onion, sliced
Instructions
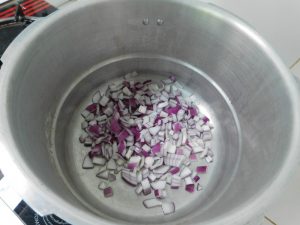
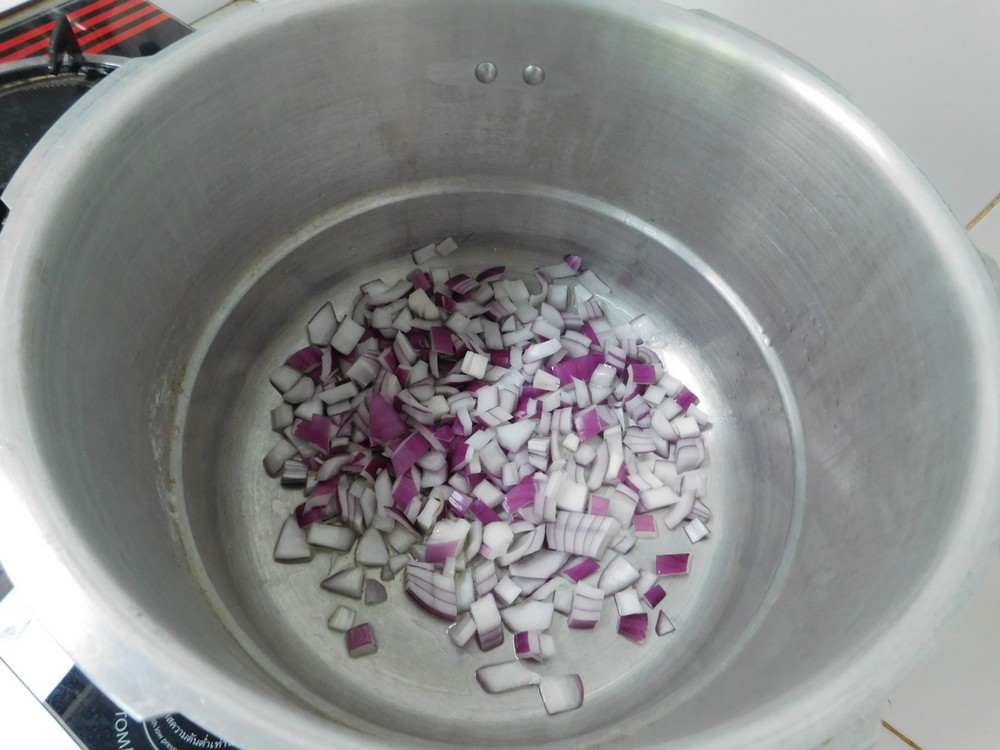
- Place your pressure cooker, lid off, on medium heat and add the oil, when hot, add the onion and saute until soft.
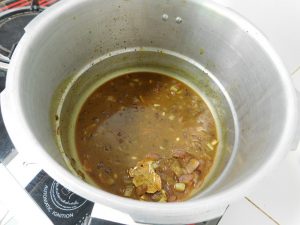
- Add the garlic and all of the Spices Used that are listed, and saute and mix for about 30 seconds, then add the water, tomato paste, and salt, and mix.
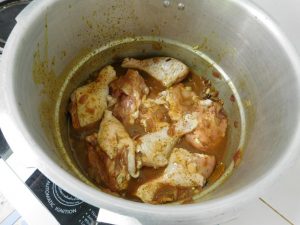
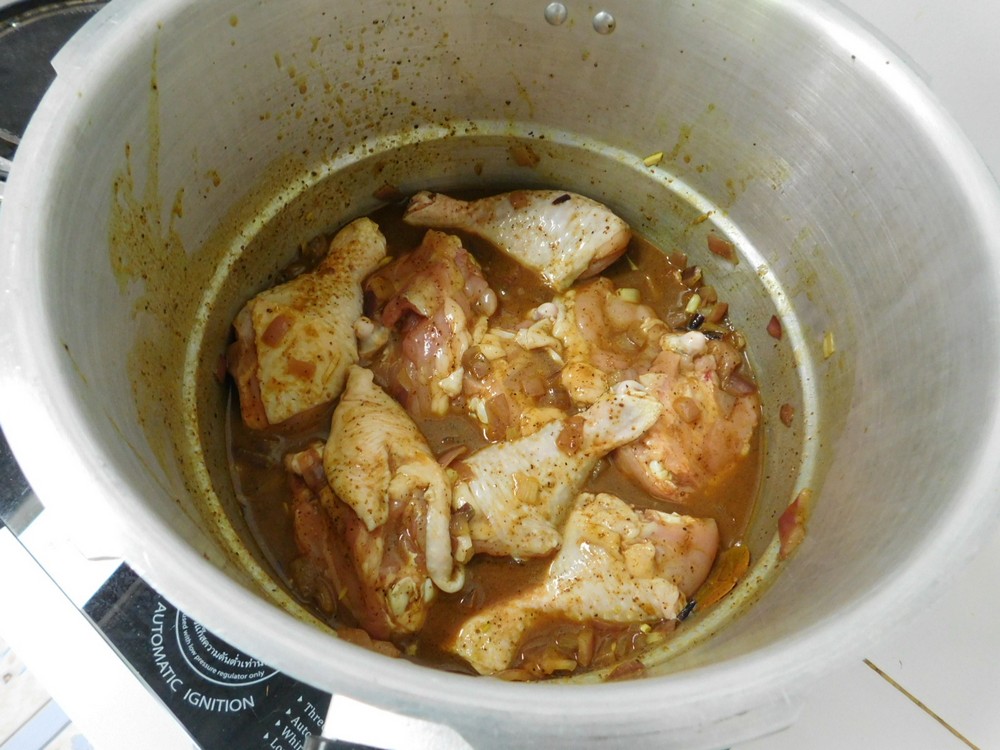
- Add the chicken and turn them to coat with the liquid.
- Place the lid on and lock, add the weight (jiggler), turn heat up to high. When the jigller is moving and venting pressure, start timing for 12 minutes.
- When 12 minutes have passed, turn off the heat, and move the pressure cooker to an unused burner. Let the pressure release naturally, about 10 minutes.
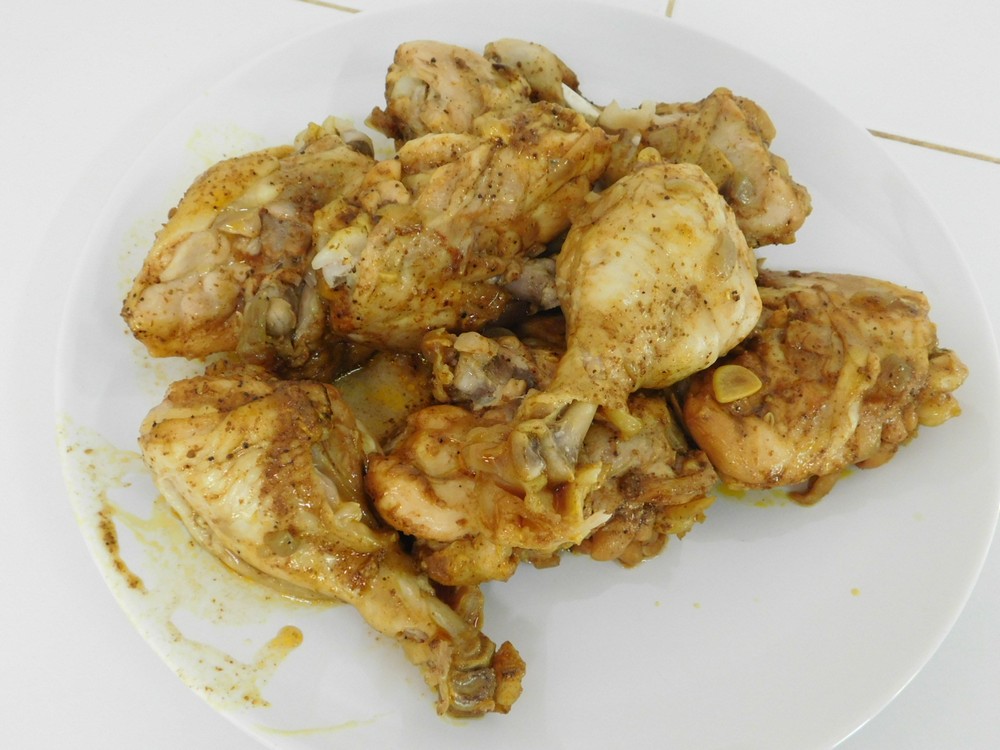
- When indications show no pressure in the pot, open the pot. Use a slotted spoon and remove the chicken to a plate and cover chicken with foil.

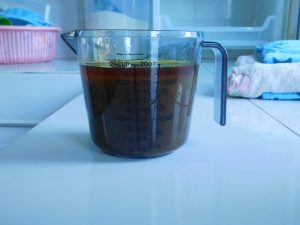
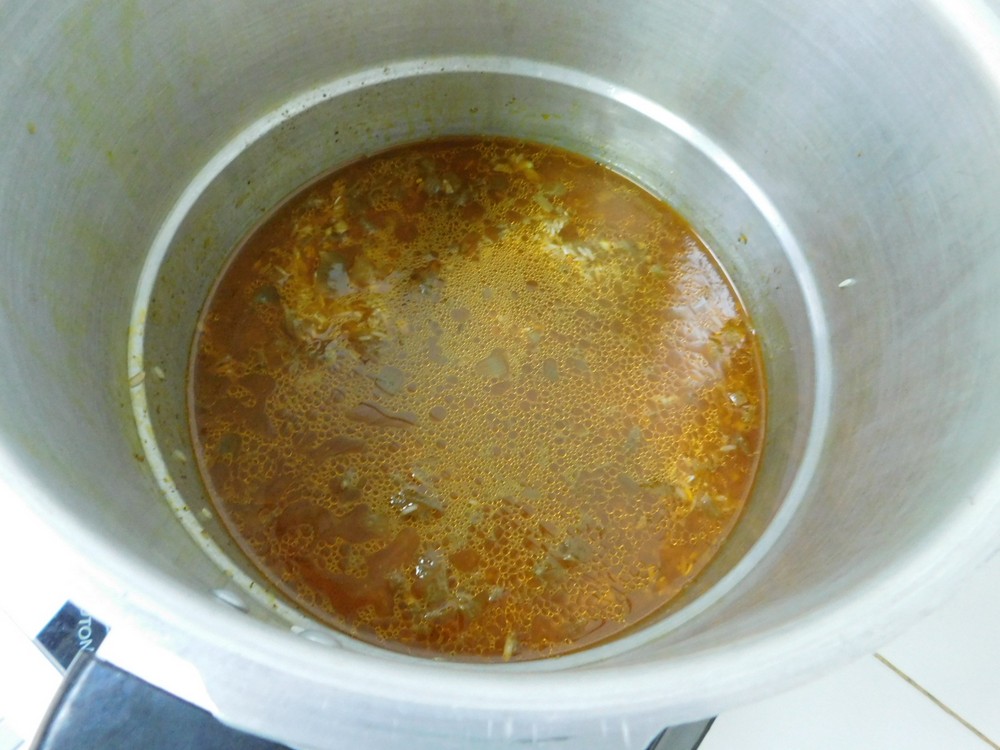
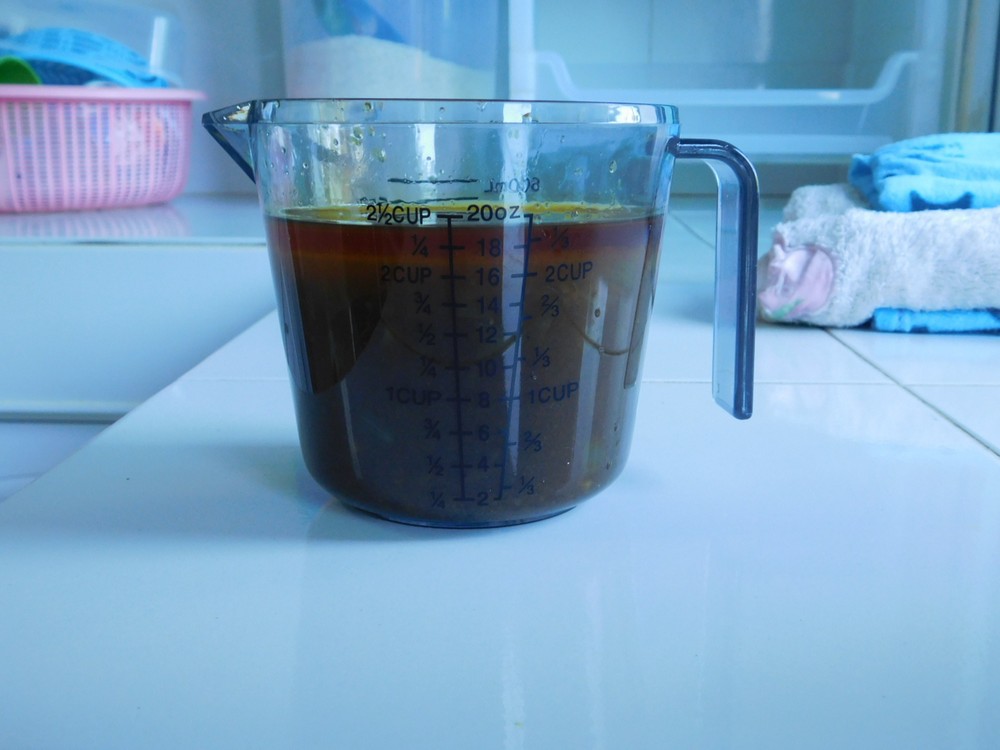
- Pour the liquid from the cooker into a heat proof container. Measure out 2 cups of liquid and place back into the pressure cooker. Add the rinsed rice to the pressure cooker, and mix together.
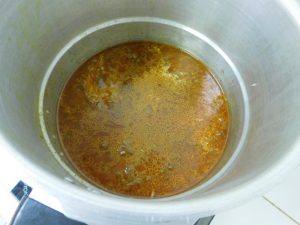
- A note about the liquid you are measuring, from the original author of this recipe: "the fat floats to the top, when measuring the 2 cups needed, measure to the liquid level, the fat level will be higher than the liquid, rice will not absorb the fat, only the water."
- Place the lid and weight, jiggler, on the pressure cooker. Bring to high heat, when you have movement and pressure release indicating full pressure, turn heat to low or medium low, but maintain the movement and pressure release. Start timing for 1 minute.
- When 1 minute has passed, turn off heat and move the pressure cooker to an unused burner and allow a natural release, about 10 minutes.
- While the rice is coming down in pressure, heat your broiler or for a counter top oven, the top coil to about 180° C (350° F). Place the chicken on a baking sheet lined with foil and place in oven, close to the broiler or top coil, until the chicken skin is nicely browned. Remove from broiler or oven.
- When the pressure is released from the cooker, open, place the rice on a serving tray, top with the chicken and garnish as desired with the tomatoes and spring onion.
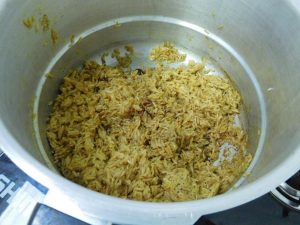
- Serve.


Notes
Low cost per serving.
Crème Fraîche
This is from a good friend of mine in north-eastern Thailand. Sour cream in Thailand is costly, so this is a great alternative.
Ingredients
- 1 liter heavy cream, or whipping cream, (1 quart)
- 3 tablespoons plain yogurt, NOT low fat yogurt
- 1 quart mason jar, optional but helpful
Instructions
- Wash and sterilize a 1 quart mason or a plastic container. Container has to be non-reactive, so no aluminum or copper containers.
- Add the cream to the jar, leaving about 1½ inches of space on the top. Add the yogurt and stir together.
- Cover with a coffee filter, cheesecloth, tea towel, etc, and secure with a rubber band. Leave the container on the counter for 1-2 days.
- Check each day to see if it has thickened. Should thicken in no more than 2 days, but normally in 1 day.
- Once thickened, remove the coffee filter, cheesecloth, etc. and cover with the regular container lid and refrigerate for 1 day, then it is ready to use. Enjoy as you would use sour cream.
Notes
Used in Recipes Listed on this Site:
Hard Cooked Eggs with Mustard
This is a must try for me, this is a change up from deviled eggs, no mayo used, and no mixing anything. Just 3 ingredients, 5 if you would like salt and pepper. This is a make what you need guide.
Ingredients
- 1 hard boiled egg, chicken
- 1 teaspoon whole grain Dijon Mustard
- 2-4 fresh dill stems, small, or 2-4 fresh parsley leaves
- salt and pepper, as desired
Instructions
- Cut the egg in half lengthwise, place on a serving dish, cut sides up.
- Spoon on 1/2 teaspoon mustard on each half.
- Top each egg with 1-2 pieces of dill or parsley.
- Serve as an appetizer, side, or snack.
Notes
White Beans & Sausage
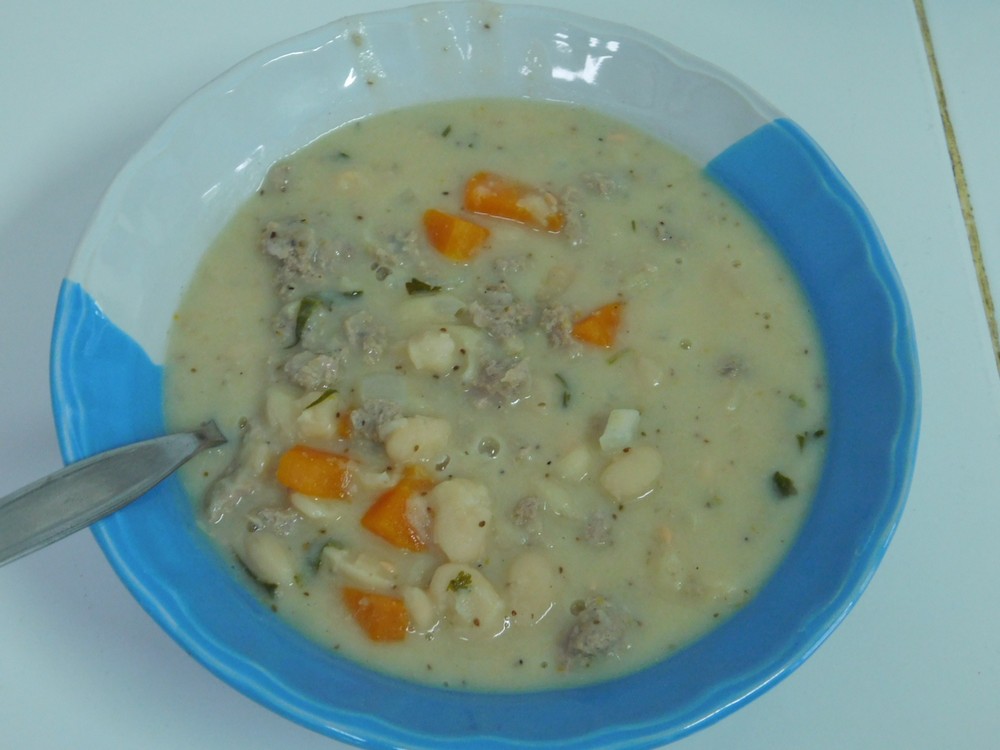
Sounds like a good thick soup, sausage used can be breakfast sausage or Italian. I will base this on using homemade sausage. I made this on 4 Aug 2018, excellent soup! Link to the shortcuts are listed in the Recipe Notes section.
Ingredients
- 500 grams dry Great Northern beans, OR make from a shortcut
- 500 grams bulk Italian sausage, or breakfast sausage, OR make from a shortcut
- 1 small onion, diced
- 4 stalks import celery, sliced
- 2 cups chicken broth, fresh or from powder
- 1 can condensed cream of celery soup, OR make from a shortcut
- salt and pepper, as desired
- dried basil, as desired
Instructions
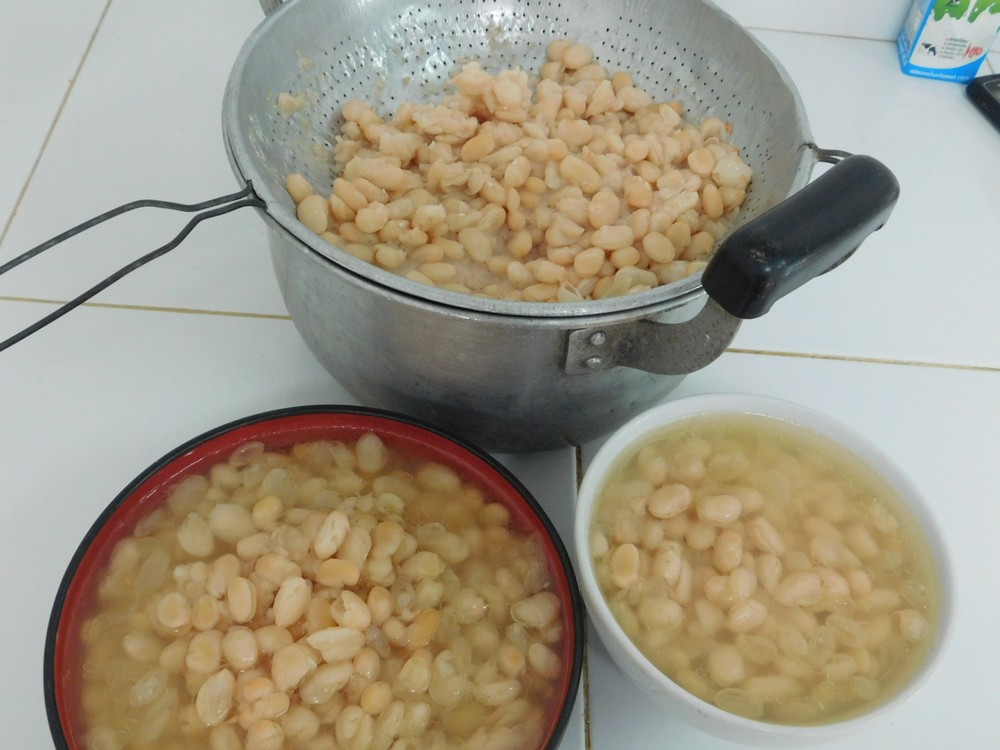
- First thing is to prepare the beans, use your preferred method or use the shortcut for my pressure cooker method. If you want to use CANNED beans, you need 4 regular size cans.
- For pressure cooked beans, place half in a bowl and add liquid from the pressure cooker to just cover those beans, drain the rest of the beans. (Just eye ball the amount with the liquid and drain the rest but reserve the liquid in case it is needed for the soup.) If using CANNED beans, drain two cans, and leave the liquid in the other two cans.
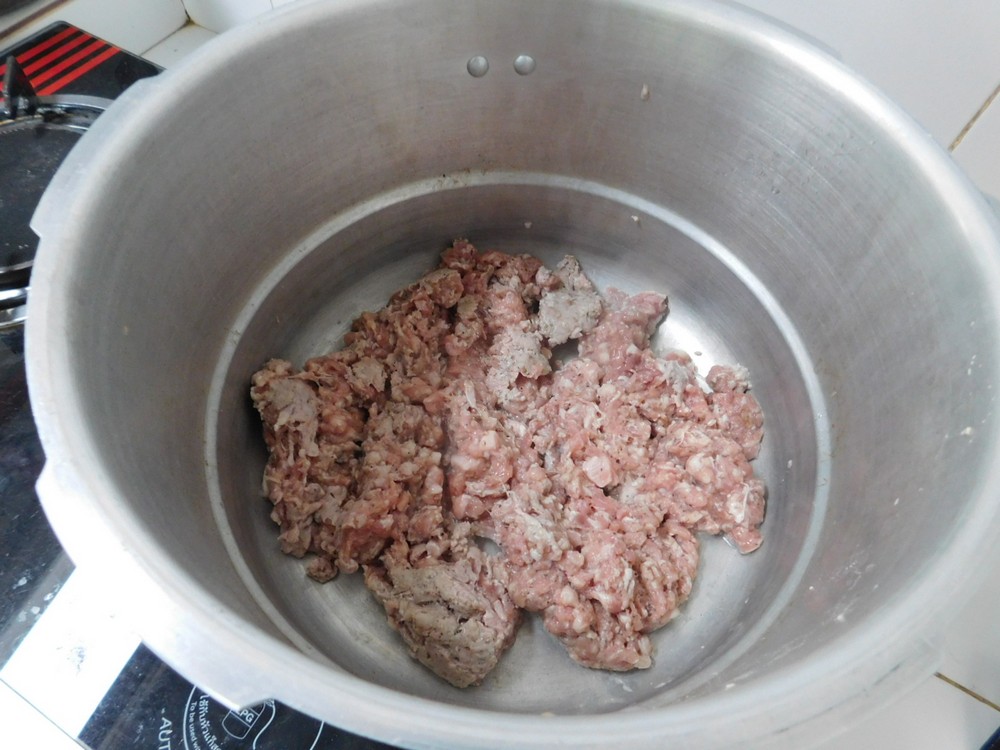
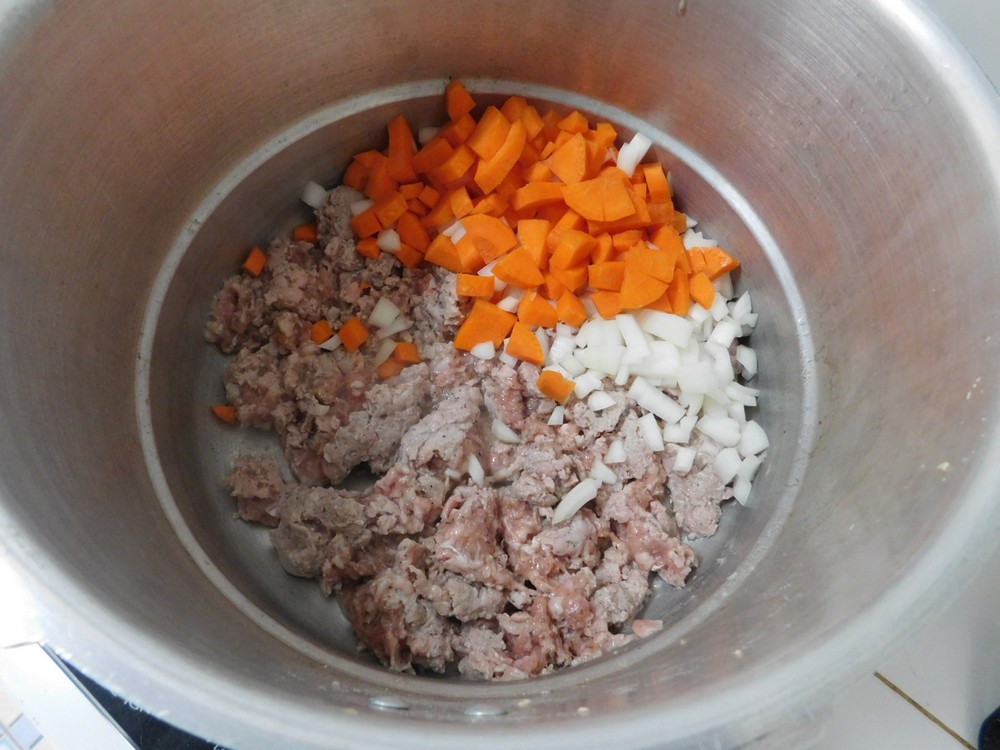
- Now we can start. In a large pot on medium heat, add the sausage and break it up as it cooks. Season with salt and pepper as desired.
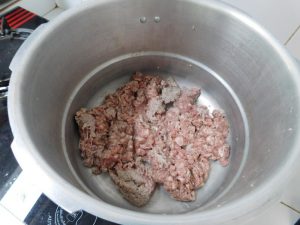
- As it is just starting to brown, add the onion and celery. Add dried basil as desired. When the sausage is just cooked through, pour off most, not all of the fat. (I did not have celery on hand so diced a carrot and a teaspoon of celery seed, which worked out very well.)
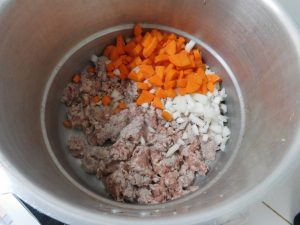
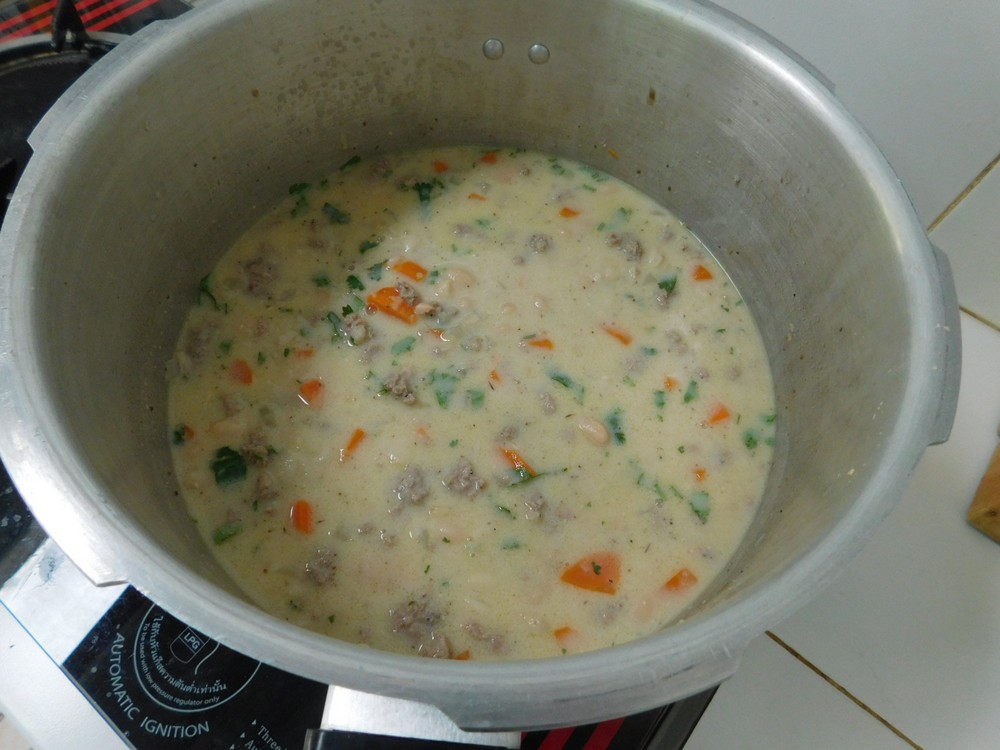
- Add the chicken broth, when the broth comes to a boil, add the condensed soup and stir in.
- Add the beans. Season with salt and pepper as desired, and bring to a boil. (I added some chopped cilantro for color and it gave the soup a nice flavor.)
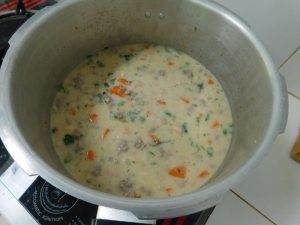
- Reduce heat to low, cover, and simmer for at least 30 minutes or up to 2 hours, stirring occasionally.
- The soup is ready at this point, if you want a thinner soup, stir in 1-2 cups broth or liquid from the beans.
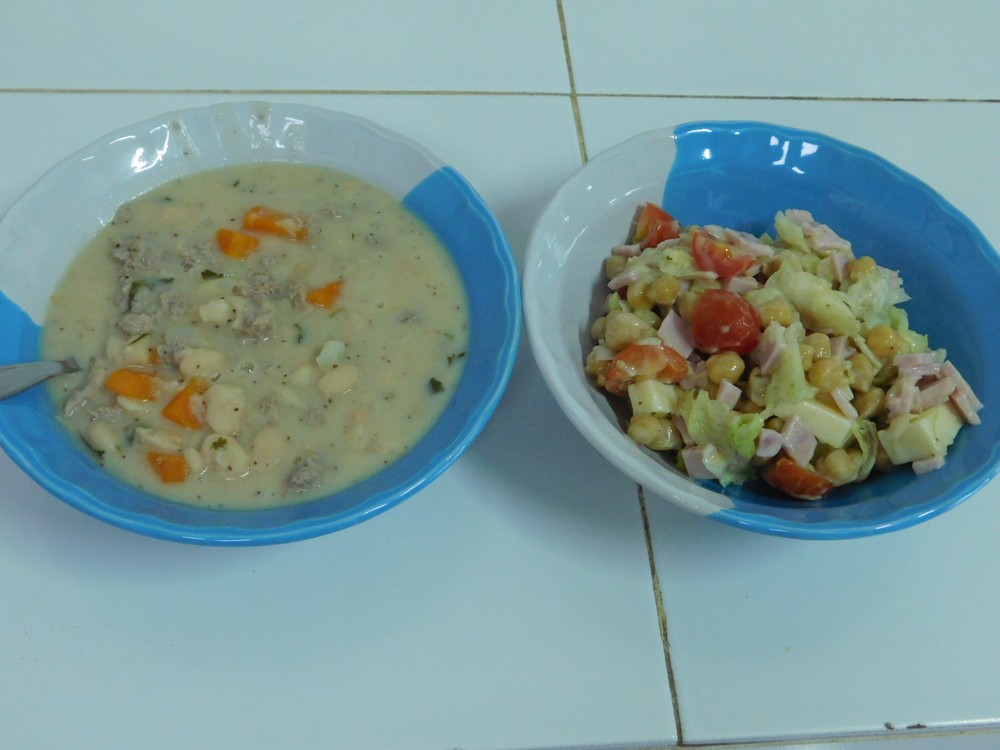
- Serve. Cornbread on the side would make this a perfect Southern meal.

- I went with a nice salad instead.

Notes
Pork costs 100 Baht/kilo, for 500 grams of homemade sausage, either Italian or Breakfast, this is low cost. For 6 servings (that is a lot of beans used), this is about 25 cents per serving.
Shortcuts: Great Northern Beans (Pressure Cooker), Italian Sausage, Breakfast Sausage, Chicken Broth, Condensed Cream of Celery Soup.
Variants: 1. No celery? Not a problem, dice up a carrot. 2. Add a teaspoon or so to taste, of celery seed (this may actually become my preferred way now since celery is hard to come by here). 3. Add some chopped cilantro or parsley for some color and flavor.
Adapted from an internet recipe.

Great Northern Beans (Pressure Cooker)
I use a lot of dry beans as canned is just expensive compared to what you get. 500 grams of dry beans cooked, makes a lot of canned beans for sure. And dry beans are so cheap. I use my 9 liter (9½ quart) 80 kPa (12 psi) stove top pressure cooker. Follow your pressure cooker safety instructions at all times. This is for using soaked beans.
Equipment
- Pressure Cooker
Ingredients
- 500 grams dry Great Northern beans, (1 lb)
- salt, as needed
- water, as needed
- 2 tablespoons cooking oil, very important
Instructions
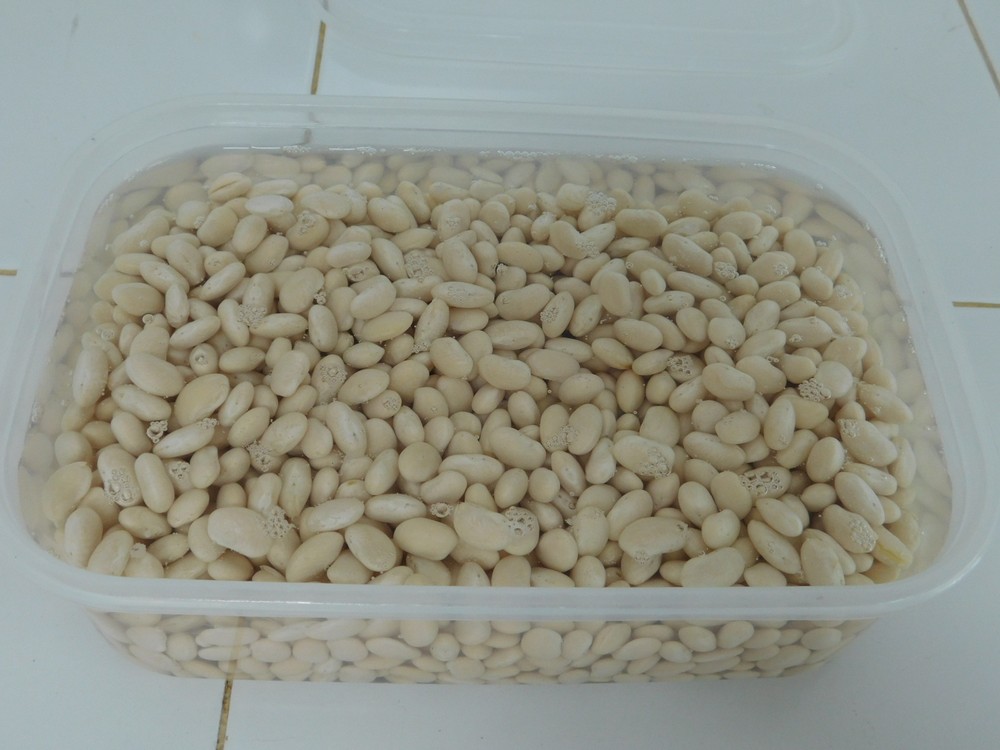
- Rinse the beans and remove any bad ones and any debris, place in a large bowl and cover with 2 inches of water. Add 2 tablespoons of salt and stir that in. Cover the bowl and let that sit for at least 6 hours.
- After 6 hours, drain and rinse the beans. You can see how much the beans swelled.

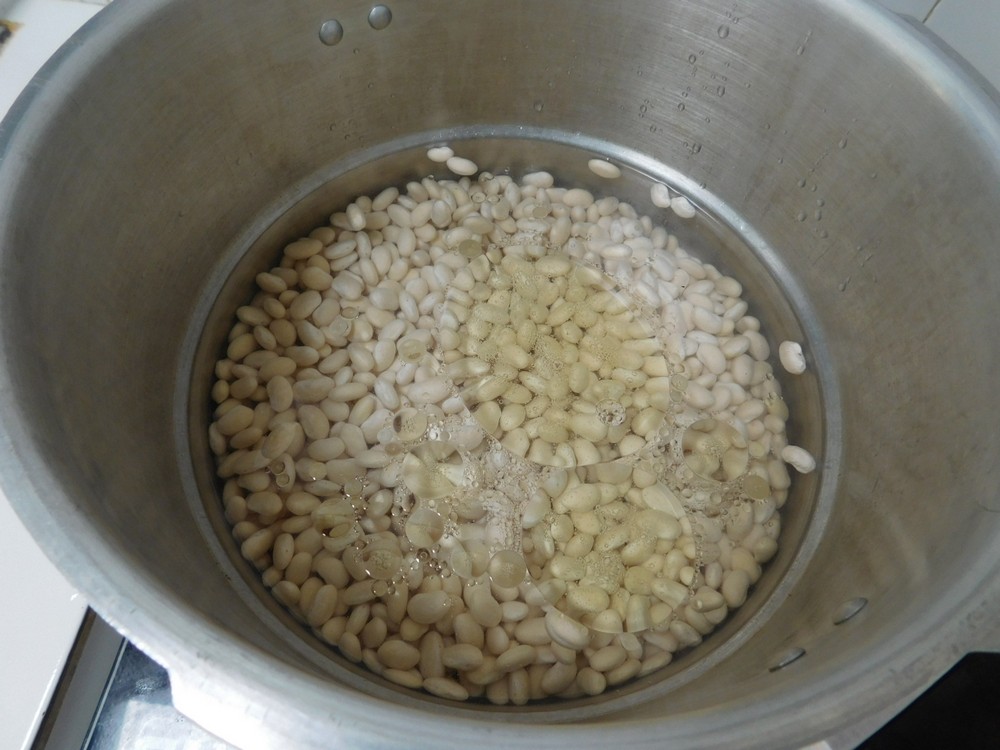
- Place the beans in your pressure cooker. Add 8 cups of water, 1 teaspoon of salt, and the 2 tablespoons of cooking oil, the oil keeps the beans from foaming so do not skip the oil.
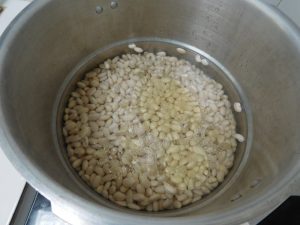
- Place the lid on the pot, add the weight (jiggler), and bring the heat up to high. When the jiggler starts moving and releasing pressure, start timing this for 8 minutes, and turn the heat down to low or medium low to maintain the jiggler moving and releasing pressure.
- At 8 minutes, turn off the heat and move the pressure cooker to an unused burner and allow a natural release of pressure. When the pressure is released, open the lid, use beans as needed in other recipes.


Notes
Used in Recipes Listed on this Site:
- Slow Cooker Baked Beans, made it, GO-TO recipe.
- Chicken Alphabet Soup, made it, GO-TO recipe.
- Beef Alphabet Soup.
- White Chicken Chili II, made it, GO-TO recipe.
- Best-Ever Beans & Sausage, made it, GO-TO recipe.
- Quick & Easy White Bean Salad.
- White Bean & Tuna Salad, made it, GO-TO recipe.
- One Pot Chickpeas & Pasta (Pasta e Ceci).
- Chicken & White Bean Stuffed Peppers.
- White Bean Hash.
- White Beans & Sausage, made it, GO-TO recipe.
Potato & Breakfast Sausage Skillet
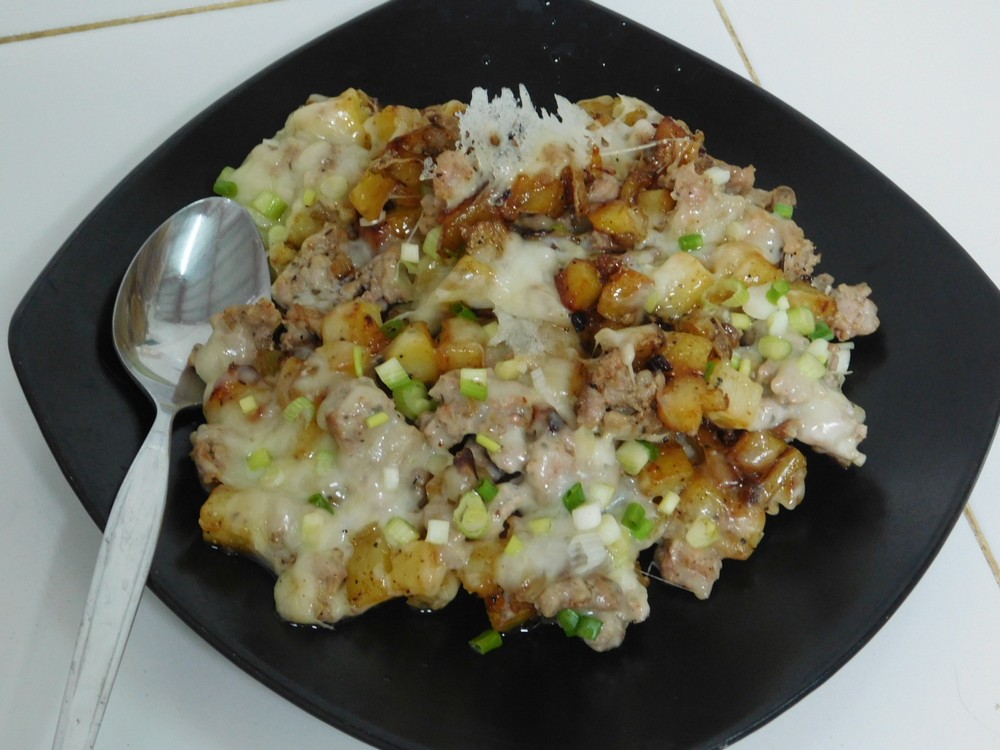
With cheese! Everything is better with cheese 🙂 This recipe/guide is wide open to variants you make. I based this using my homemade sausage, not store bought. Link to the shortcut is listed in the Recipe Notes section.
Ingredients
- 250 grams bulk breakfast sausage, OR make from a shortcut, (1/2 lb)
- 2 cups potatoes, diced 1/2 inch, skin on
- 1/2 onion, diced
- 2 teaspoons garlic powder
- 1/2 teaspoon salt
- 1 teaspoon black pepper
- 1 teaspoon chili powder, if using Thai chili powder, 1/4 teaspoon
- 1/2 cup cheese, shredded, Cheddar or Monterey Jack
- fresh spring onion, sliced for garnish, optional
Instructions
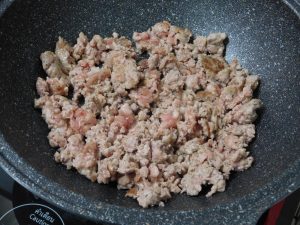
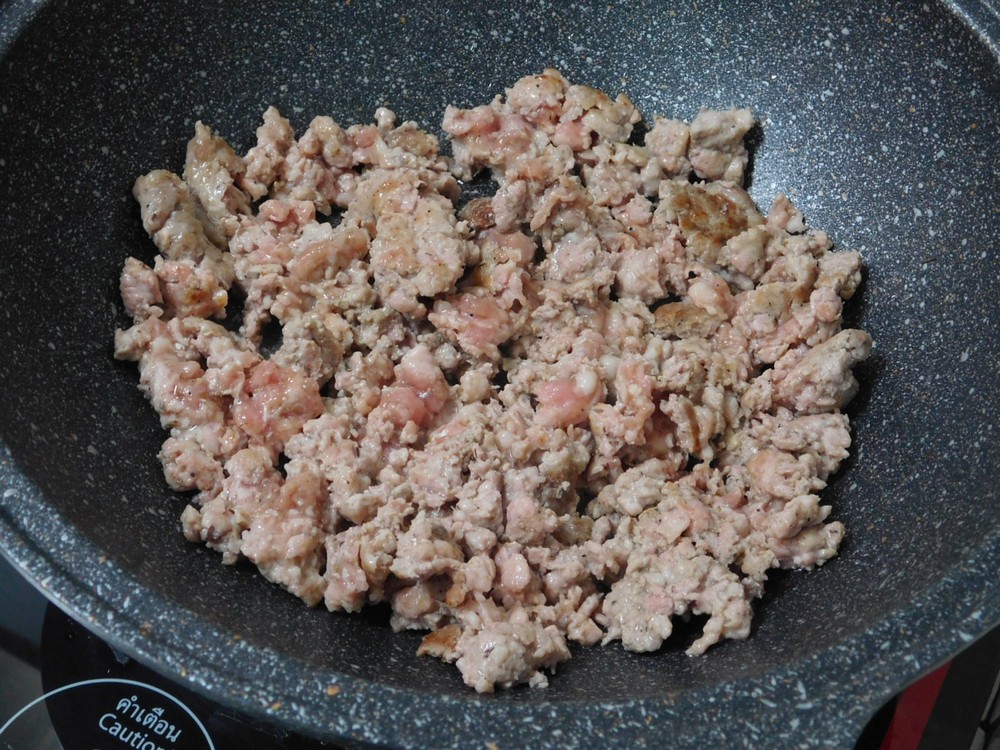
- Heat a large non stick pan on medium heat then crumble in the sausage and brown, brown and cook through. Remove the sausage to a bowl with paper towels to drain. Set aside.
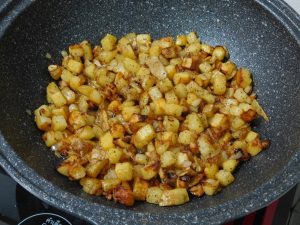
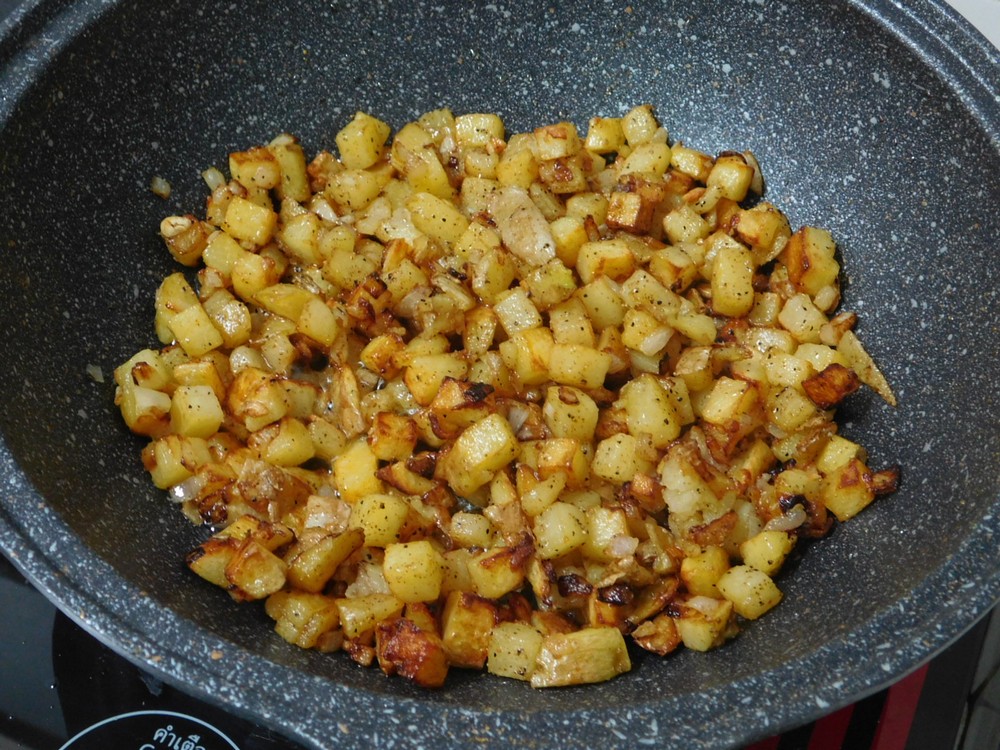
- Add the potatoes and onion to the same pan on medium heat, stir to coat with the sausage fat, season with salt, pepper, and garlic powder as desired. Stir again, reduce heat to low, cover the pan. Stir the potatoes every 5-10 minutes and brown them evenly.
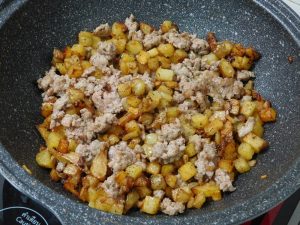
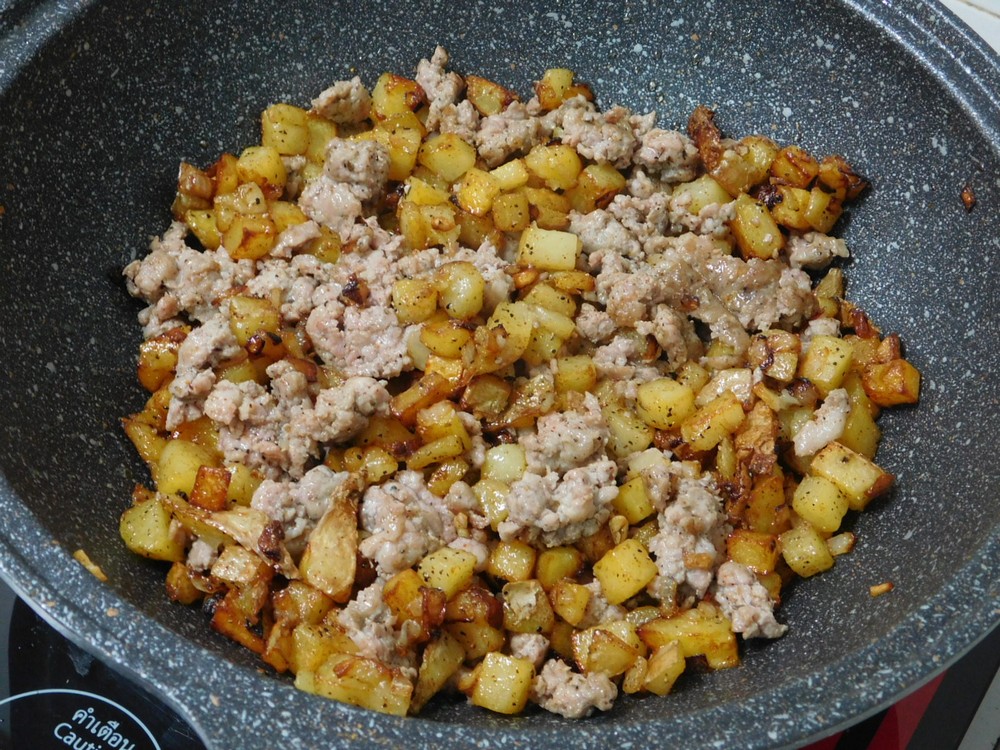
- When the potatoes are browned and tender, return the sausage back to the pan and stir into the potatoes.
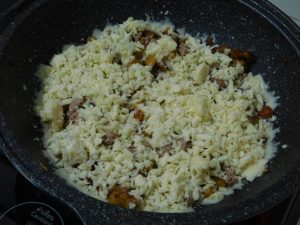
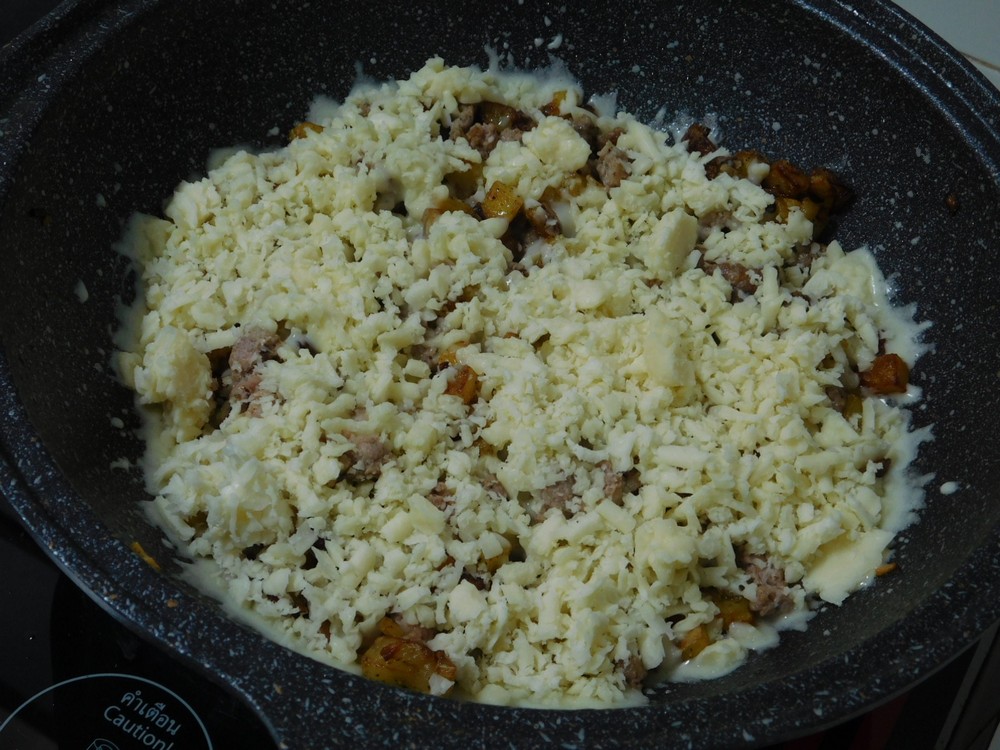
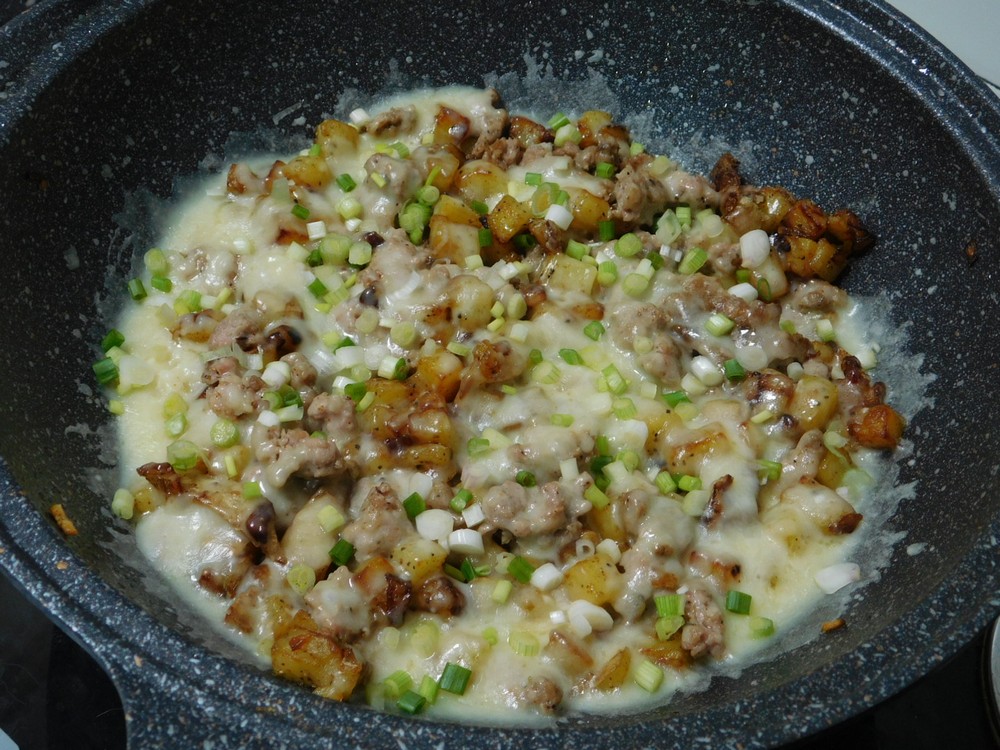
- Cover with the cheese, cover and let the cheese melt, about 2-3 minutes.
- Sprinkle with sliced spring onion if desired.

- Serve with buttered toast or sliced and fried tomatoes (I know, that part is very British but sounds like a good pairing with this.)

Notes
One kilo of pork is 100 Baht, 250 grams would be about 74 Baht, for 3 servings, certainly low cost.
Shortcut: Breakfast Sausage.
Variants: 1. After the cheese is just melted, mix that in, then make some indention's on the top and crack in an egg in each indention and place the cover on, cooking to set the whites and yolks still set. 2. Use diced ham or bacon in place of the sausage. 3. Use Italian sausage in place of breakfast sausage. 4. Add a diced red bell pepper.
Adapted from an internet recipe.
Eggs Goldenrod
Now I a make a very good Creamed Eggs, this recipes sounds equally good but is just a white sauce on top of chopped eggs, on buttered toast. This is an old school Southern US breakfast dish. On my to cook list. Links to the shortcuts are listed in the Recipe Notes section.
Ingredients
- 1/4 cup butter, 1/4 block, (1/2 stick)
- 1/4 cup all purpose flour
- 3 cups milk
- salt and pepper, as desired, to taste
- 6 hard boiled eggs, chicken
- 6-12 slices bread
- fresh chives, chopped, as desired
- butter, for the toast
- paprika, as needed
Instructions
- Cut the eggs in half, remove the yolks to a cutting board. Mince the yolks and set them aside. Chop the whites. Set aside, but do not mix them, keep them separate.
- In a medium sauce pan, melt the butter on medium heat, when melted, whisk in the flour, and continue to whisk until golden in color, 1-2 minutes.
- Whisk in the milk, still whisking, and bring to a low boil, keep whisking until the sauce thickens. Season with salt and pepper as desired. Stir in the egg whites, then remove from heat and set aside.
- Toast the bread, 1-2 slices per serving, after toasting, generously butter the toast. Arrange the toast on plates.
- Spoon the sauce over the toast (If the sauce is too thick, just reheat on low heat.), sprinkle with the egg yolks, top with chopped chives, a light sprinkling of paprika and black pepper.
- Serve with sides of your choice.
Notes
Low cost.
Shortcuts: Perfect Hard Boiled Chicken Eggs, Perfect Hard Boiled Duck Eggs.
Variant: 1. Use duck eggs in place of chicken eggs, but keep in mind the yolk is much richer in flavor, and you will get more yolk and less whites.
Adapted from an internet recipe.

Peanut Butter Pretzel Toffee Cookies
This recipe is my daughter Samantha's creation and is well liked by her and her friends and it comes highly recommended for cookie aficionados. Samantha has a unique way to make cookies, she scoops them out onto a large baking sheet, freezes them then places in containers. This way she can take out what she wants for the day in the morning, bakes them and goes to work with fresh baked cookies. How ingenious is that?
Equipment
- Electric Mixer
- Oven
- Baking Sheets
- Parchment Paper
Ingredients
- 2 cups all purpose flour
- 2 cups quick cooking rolled oats
- 2 teaspoons baking soda
- ½ teaspoon salt
- 1½ cups butter, softened, (1½ blocks / 3 sticks)
- 2 cups brown sugar, packed
- ½ cup white sugar
- 1⅓ cup peanut butter
- 2 eggs
- 2 teaspoons vanilla extract
- 1⅓ cup pretzels, coarsely crushed
- 1⅓ cup milk chocolate toffee bits, (8 oz / 226 g bag of Hershey's Heath bits)
- pretzels, broken, as needed for the top
- coarse sea salt, as needed, optional
Instructions
- Preheat your oven to 180° C (350° F), get out a baking sheet and leave ungreased, or line with parchment paper to make clean up easier.
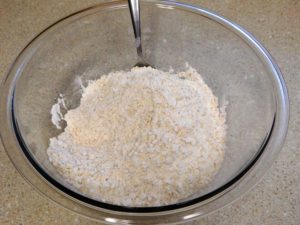
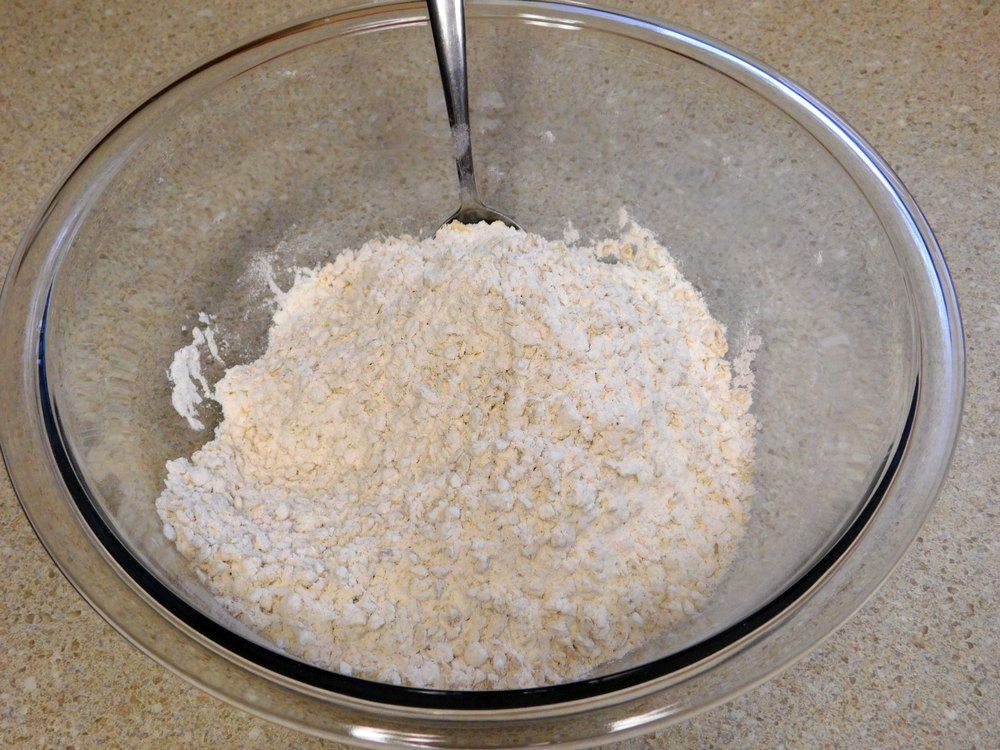
- In a mixing bowl, add the first 4 ingredients and mix together, then set aside.
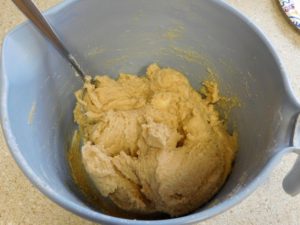
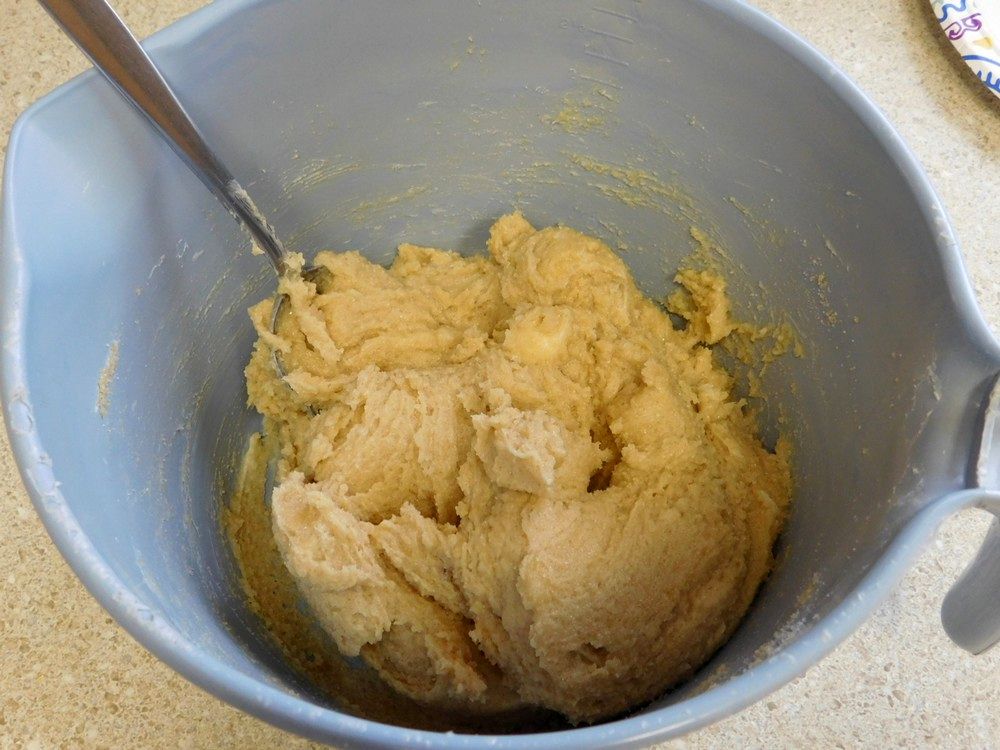
- In another mixing bowl, cream together the butter and sugar for 5 minutes.
- Then mix in the peanut butter, then mix in the eggs one at a time, and finally, mix in the vanilla.
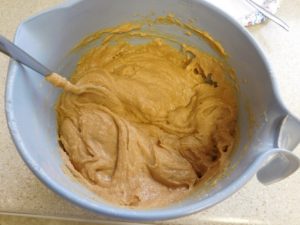
- Add about ⅓ of the dry flour mixture to the batter and gently mix in, then add another ⅓ and gently mix to combine, and finally, add the remaining flour to the batter and mix in.
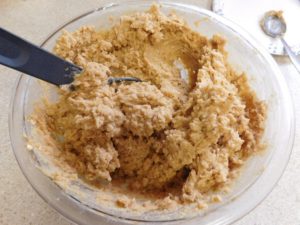
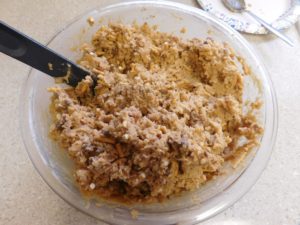
- Now mix in the pretzels and toffee bits.
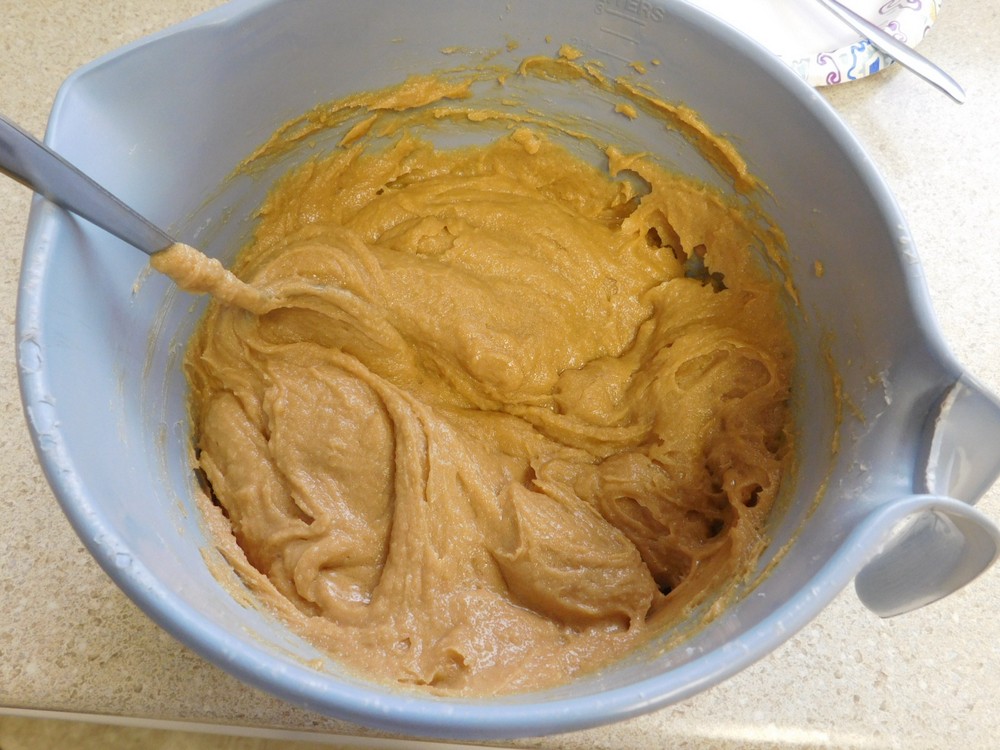
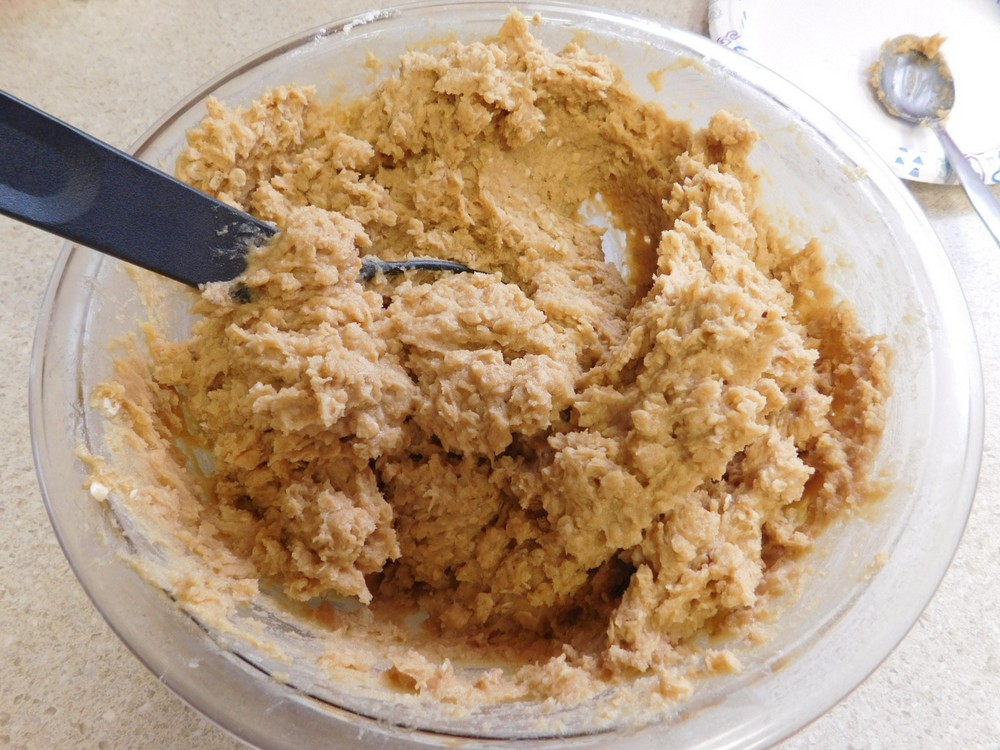
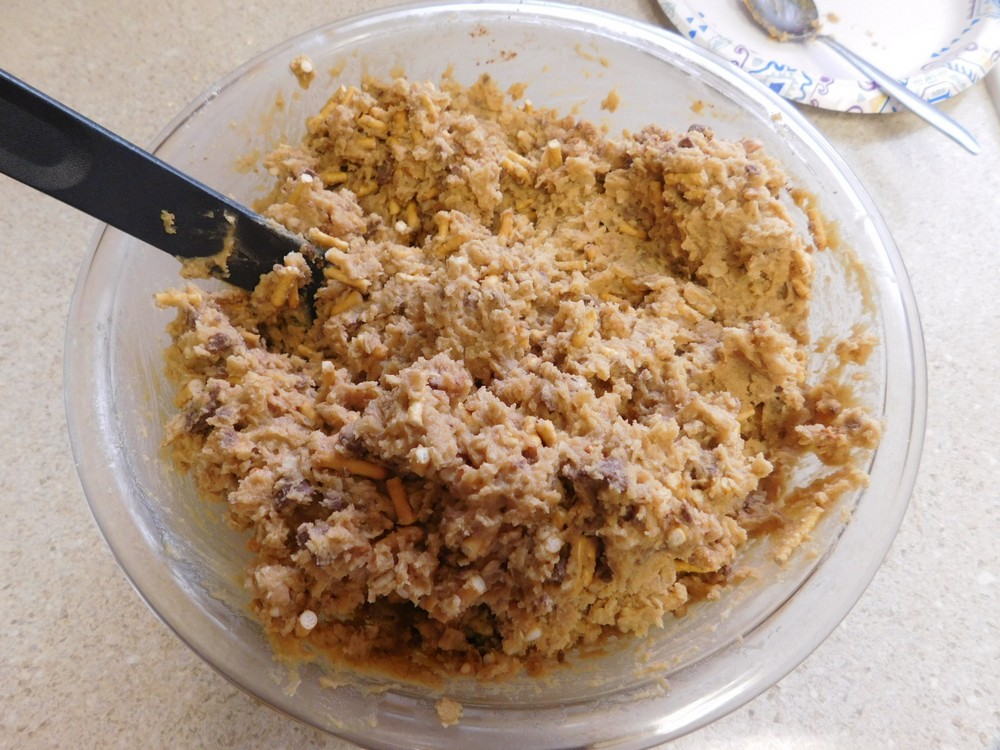
Bowl to Oven
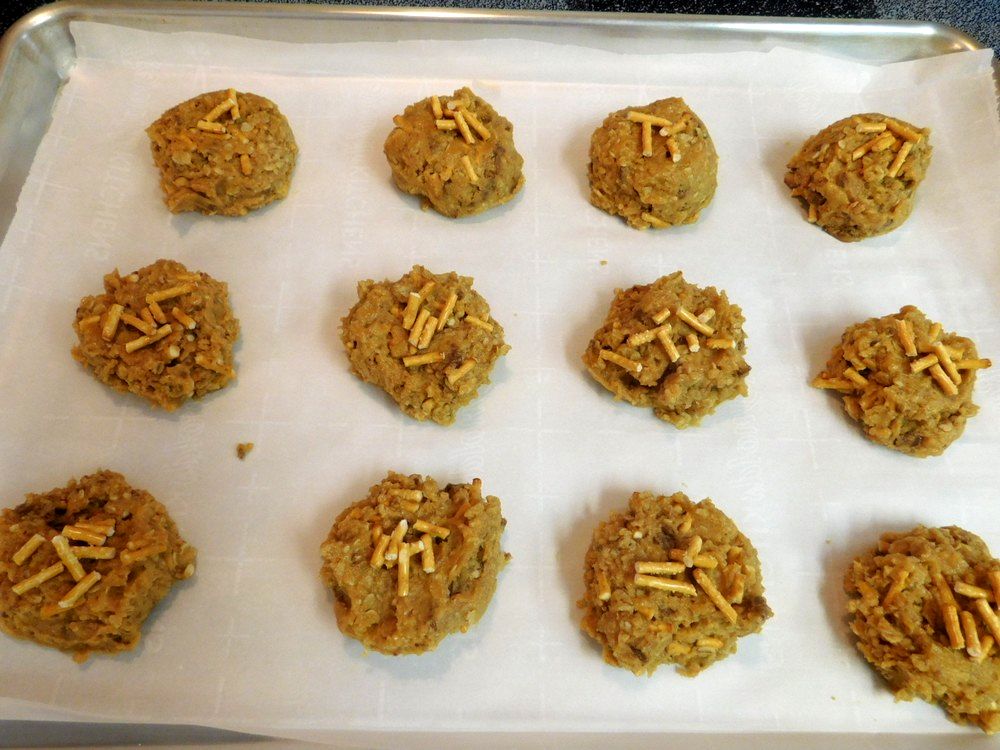
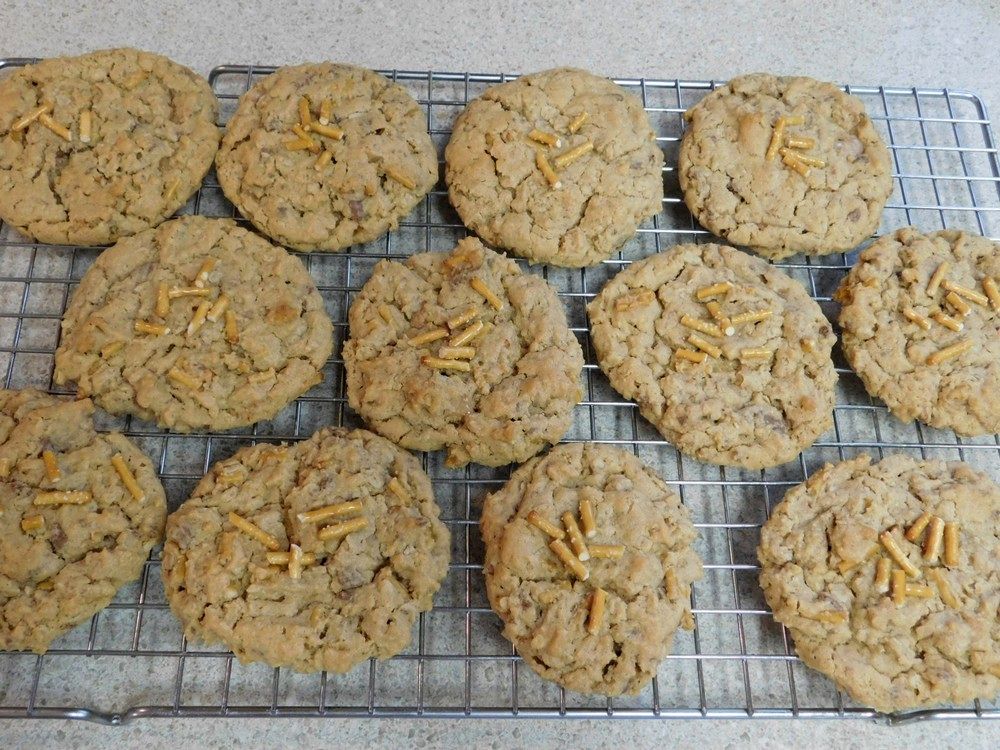
- Use a small ice cream scoop and scoop out onto a prepared baking sheet, placing cookies about 2 inches apart. Top each cookie with a few broken pretzel pieces and optionally, just a light sprinkle of coarse sea salt.
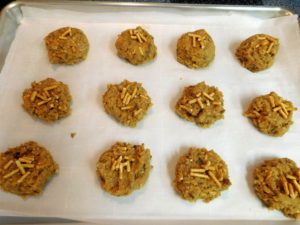
- Bake for 10-12 minutes. Remove from oven, allow to cool 5 minutes, then place on a wire rack to cool.

- Serve and enjoy.

Bowl to Freezer (Samantha's preferred way)
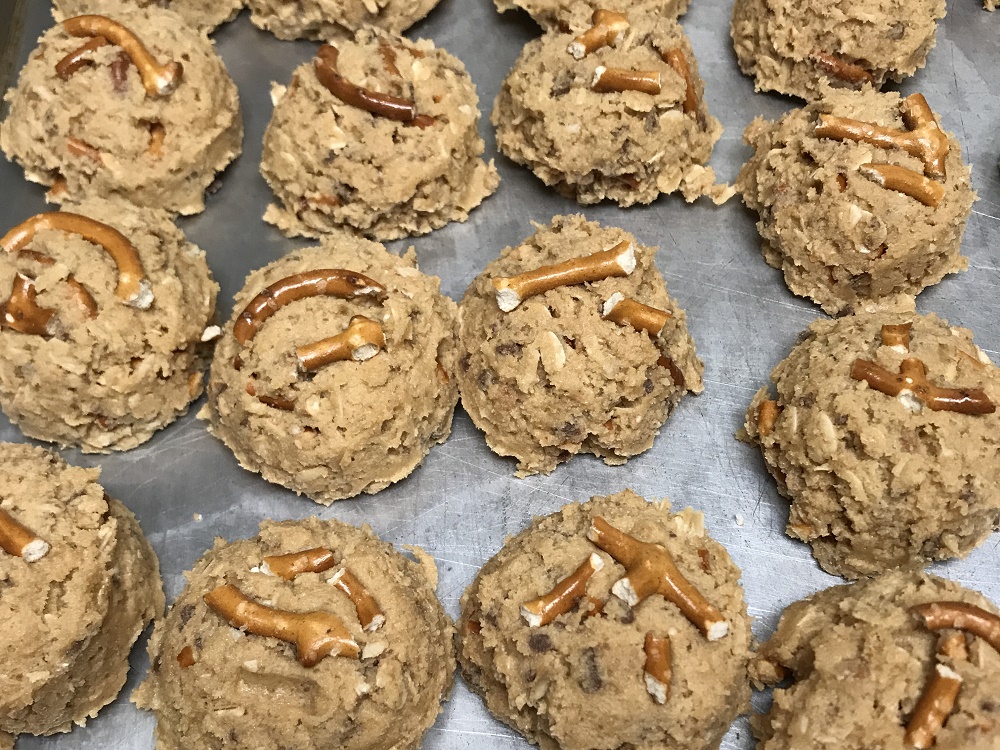
- Use a small ice cream scoop and scoop out onto a large ungreased baking sheet, placing cookies close together. Top each cookie with a few broken pretzel pieces and optionally, just a light sprinkle of coarse sea salt. (Photo provided by Samantha.)

- Plate the sheet in the freezer, once the cookies are frozen, place them in containers, label, and return to the freezer.
- When you want fresh baked cookies, preheat your oven to 180° C (350° F), remove cookies desired and place on a prepared cookie sheet about 2 inches apart and bake for 10-12 minutes. Remove from oven, allow to cool 5 minutes, then place on a wire rack to cool.
Notes
Variant: 1. Just use the entire 8 oz / 226 g bag of toffee bits, will be nearly 2 cups, works very well.
Oven Baked Chicken
This recipe comes from a good friend and is said to be excellent chicken with a nice crispy and crunchy crust. On my to cook list for sure!
Ingredients
- 1 whole chicken, cut up, or 8 pieces of your choice
- 3 eggs
- 2 tablespoons milk
- 1 1/2 cups panko breadcrumbs
- 1 cup corn flakes, crushed
- 1/2 cup cornmeal
- 1 1/2 cups all purpose flour
- 1 teaspoon garlic powder
- 1 teaspoon seasoning salt
- 1 teaspoon paprika
- 1 teaspoon black pepper
- olive oil, in a sprayer, or just use pats of butter
Instructions
- Preheat your oven to 190 C (375 F). Line a baking sheet with foil and lightly spray with olive oil.
- Make an assembly line in this order: Bowl 1, add the flour, garlic powder, salt, paprika, and black pepper and mix together. Bowl 2, add the eggs and beat with a fork. Bowl 3, add the crushed corn flakes, panko, and cornmeal, and mix together. Place the baking sheet to the right of bowl 3. Now you are ready.
- Dip a piece of chicken in the flour, then the egg, then the crumbs, then place on the baking sheet. Coating the chicken well with each step. Repeat with remaining chicken pieces.
- Spray the chicken with olive oil or just dot the top of each piece with a bit of butter.
- Bake for 45-55 minutes or until the juices run clear and the chicken is golden brown.
- Serve with sides of your choice, enjoy.
Notes
I will use four quarters, seperated, when I make this and will get a price when I buy them. For now I will say low cost.
Inspired by Spend With Pennies and the link to this recipe is here.
United States.
United States.

Stir Fried Pork Heart
An excellent method to cook pork hearts, great flavor contrast with Chinese sausage. I made this as written and it is a keeper.
Equipment
- Steamer
Ingredients
- 2 pork hearts
- 2 Chinese sausage, steamed, then sliced at an angle
- 1 carrot, diced
- 1 onion, diced
- 3 cloves garlic, minced
- 6 cherry tomatoes, halved
- 1 tablespoon olive oil
- 2 tablespoons butter
- 1 teaspoon salt
- dash Worcestershire sauce
Instructions
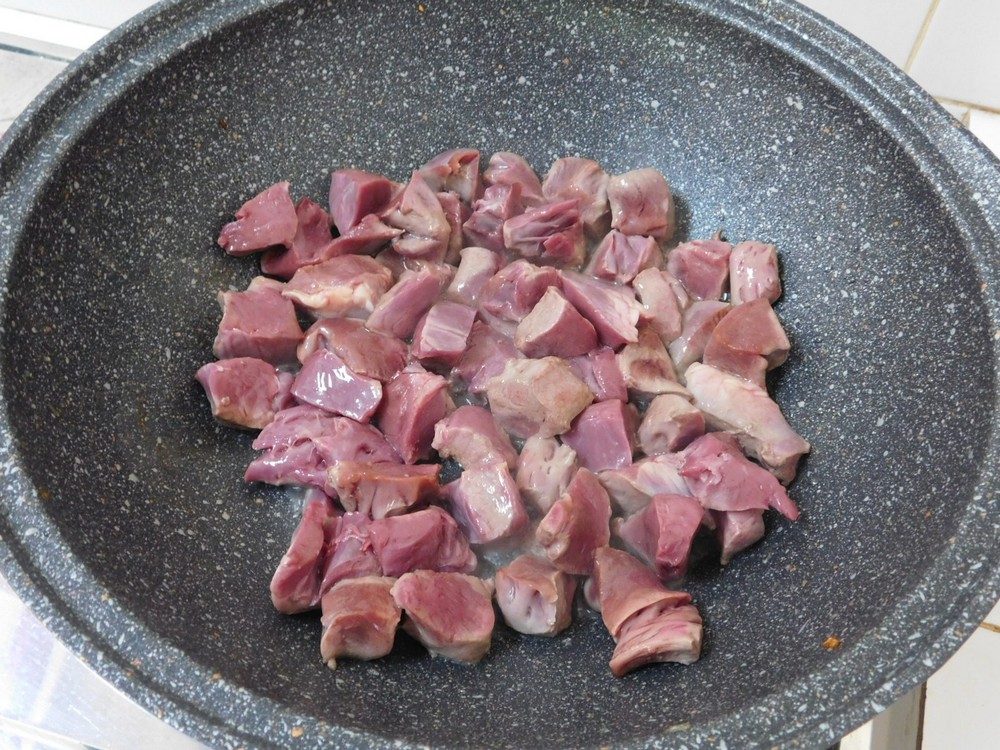
- Rinse the hearts, cut in half lengthwise, remove the stringy parts, the tubes, and any fat from the tops. Cube the hearts and set aside. Dice the vegetables. Here, everything is ready, but the sausage still needs to be steamed.
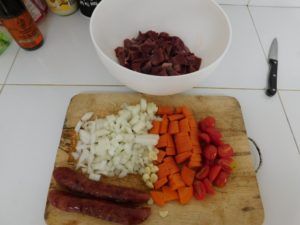
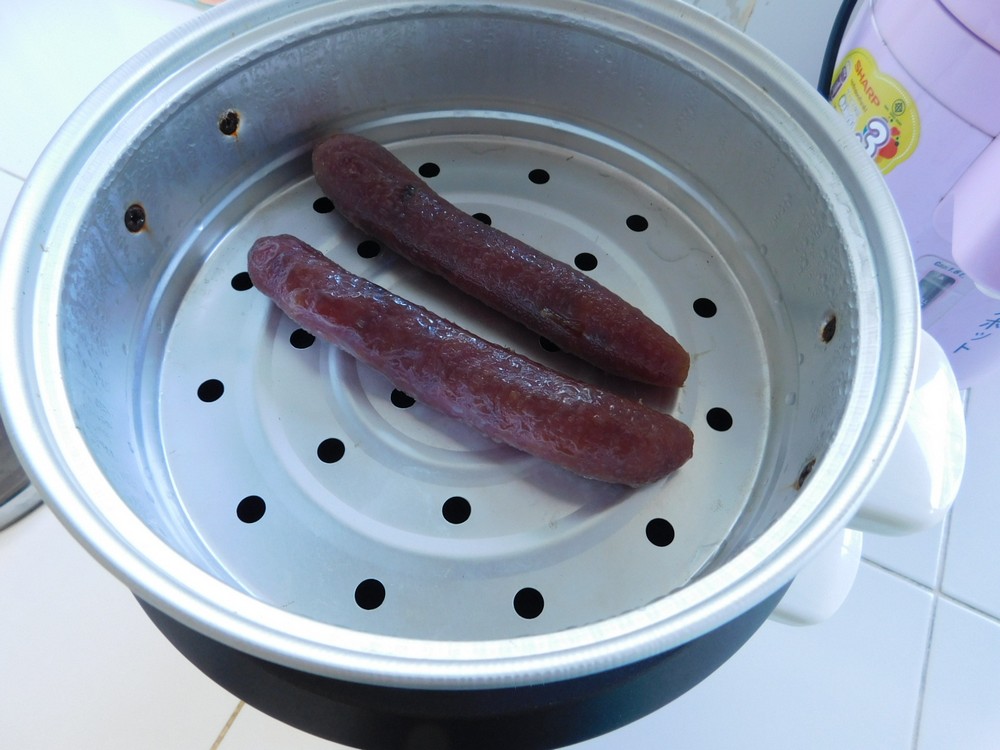
- A trick to perfectly cooked Chinese sausage is to steam it first. Chinese sausage is air dried and is generally quite hard, and uncooked. Prepare a steamer and steam the Chinese sausage for 5-10 minutes. Remove from the steamer and cut into thin slices at an angle, then it is ready to be stir fried as it is softened and already partially cooked from the steamer.
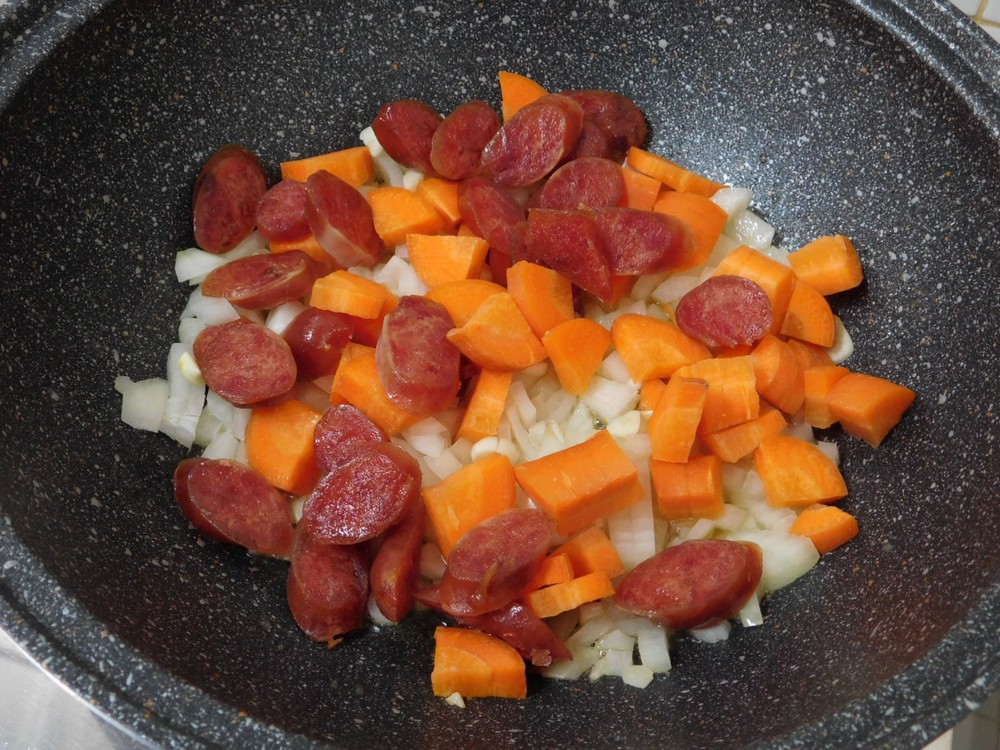
- Now heat a large non stick pan with the olive oil on low heat, when hot, add the onion, carrot, and sausage. Stir fry until the carrot is tender.

- Add the tomatoes and garlic and stir fry for another minute or two. Remove everything from the pan to a bowl.
- Add the butter to the same pan and bring the heat to medium. When the butter is melted, add the pork heart, season with salt and pepper as desired, and add the Worcestershire sauce. Stir fry for 3 minutes until no longer pink.

- Return the veggies back to the pan and stir fry with the heart for 1 minute.

- Serve with rice and enjoy.

Notes
Pork hearts cost about 98 Baht/kilo. I have no idea if this is 1 heart or 2 or 3, so when I see these in Tesco again I will pick up a few to see what the weight is. I will say low cost for now.
Shortcut: Pork Hearts 101.