Author Archive
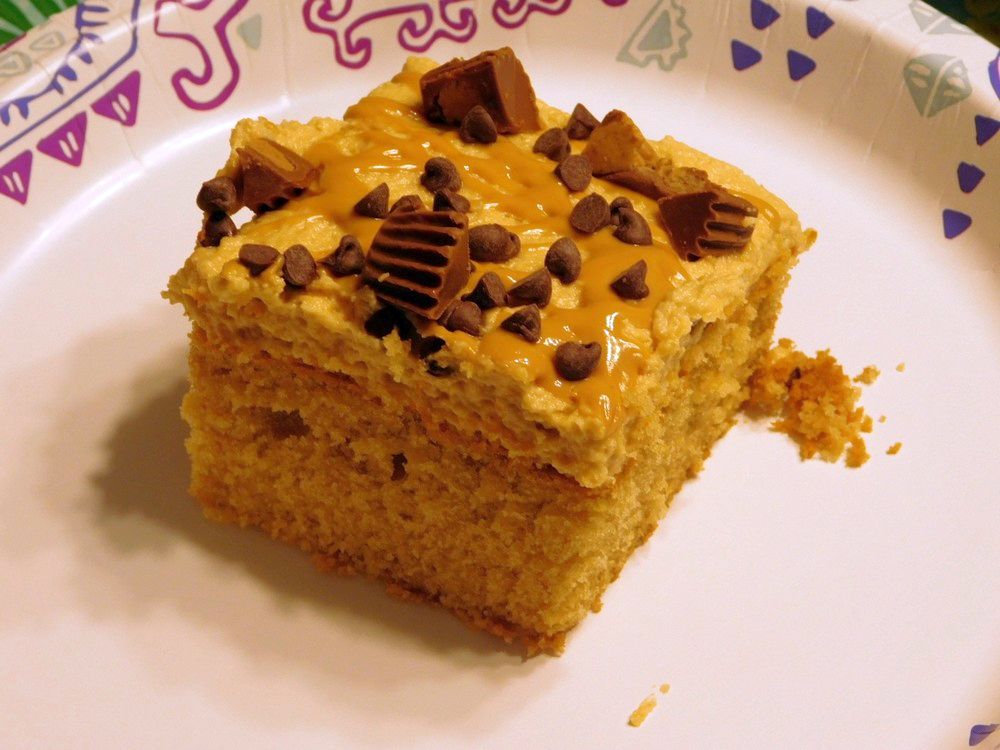
Peanut Butter Cake
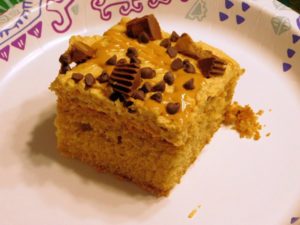
Excellent cake for those that love peanut butter, as the cake, the frosting, and the topping, are made with peanut butter, and this is delicious!
Ingredients
For the Cake
- 2 1/2 cups all purpose flour
- 2 teaspoons baking powder
- 1/4 teaspoon salt
- 3/4 cup butter, softened, (1 1/2 sticks)
- 1 cup brown sugar, loosely packed
- 1/2 cup sugar
- 3/4 cup peanut butter
- 1/2 cup sour cream
- 1 tablespoon vanilla extract
- 3 eggs
- 3/4 cup milk
For the Frosting
- 250 grams Cream cheese, softened, (8 oz block)
- 1/4 cup butter, softened, (1/2 stick)
- 1 1/4 cup peanut butter
- 2 cups powdered sugar
- 1 teaspoon vanilla extract
- 2 tablespoons heavy cream
- 1 pinch salt
For the Topping
- 1/2 cup peanut butter
- 1/2 cup Reese's, chopped
- 1/4 cup mini chocolate chips
Instructions
For the Cake
- Preheat your oven to 180 C (350 F), get out a 9x13 baking dish and grease it with butter or cooking spray.
- In a mixing bowl, whisk together the flour, baking soda, and salt.
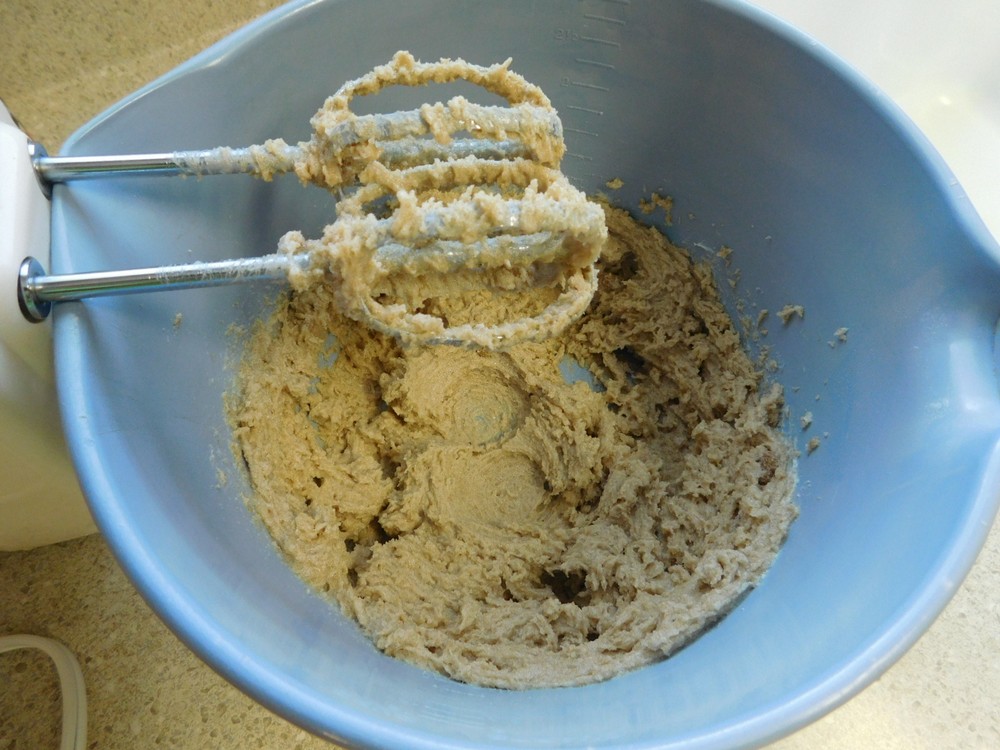
- In a large mixing bowl, mix together the butter and brown and white sugars with an electric mixer until light and fluffy.
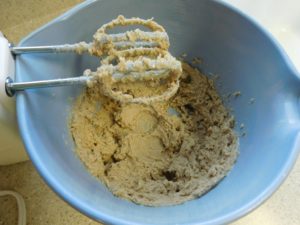
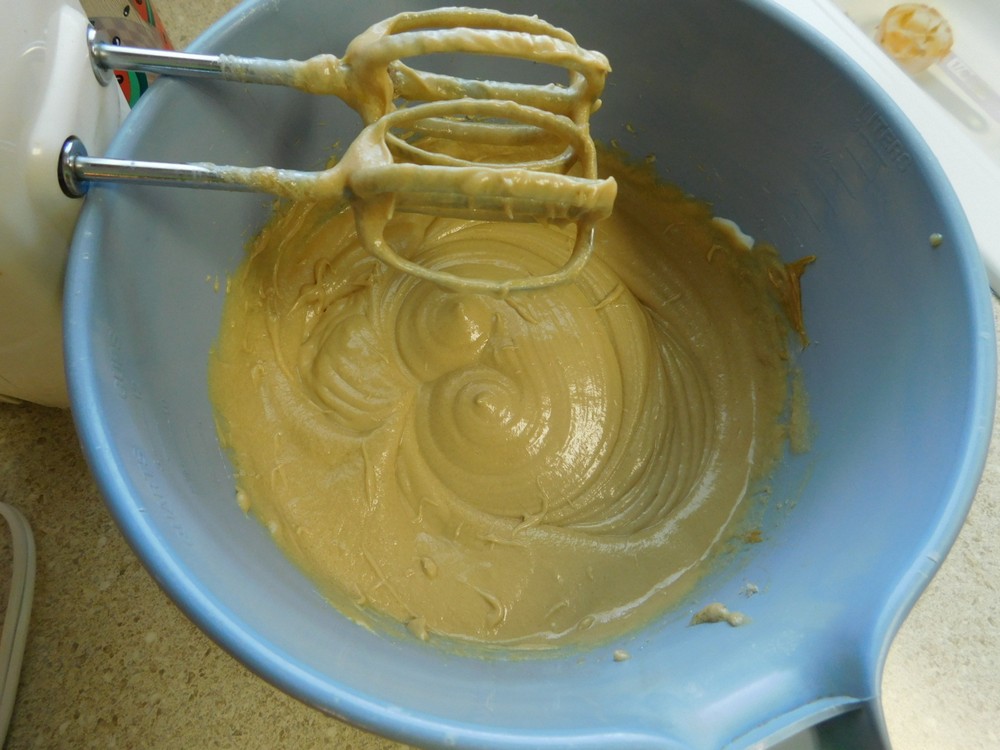
- Add the eggs one at a time while beating the mixture, then beat in the peanut butter, sour cream, and vanilla.
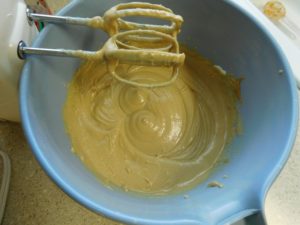
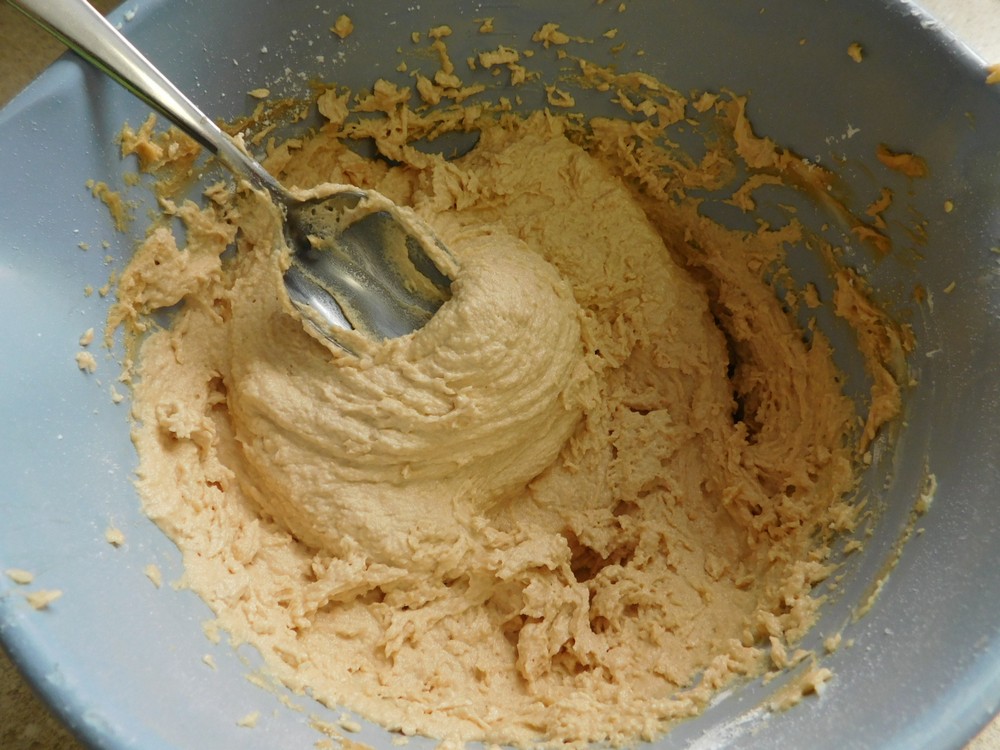
- Beat in half the dry ingredients from the other mixing bowl, beat until just mixed in.
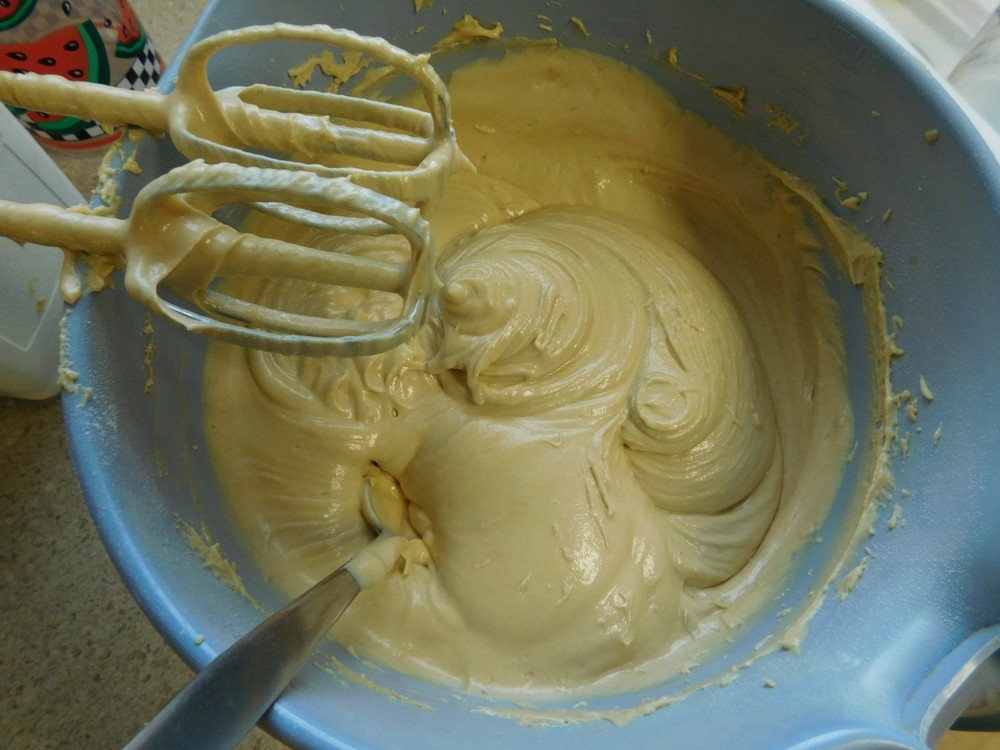
- Add the milk and beat until fully mixed. Add the remaining dry ingredients and beat until just mixed together.
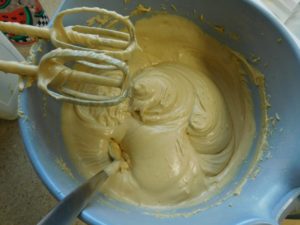
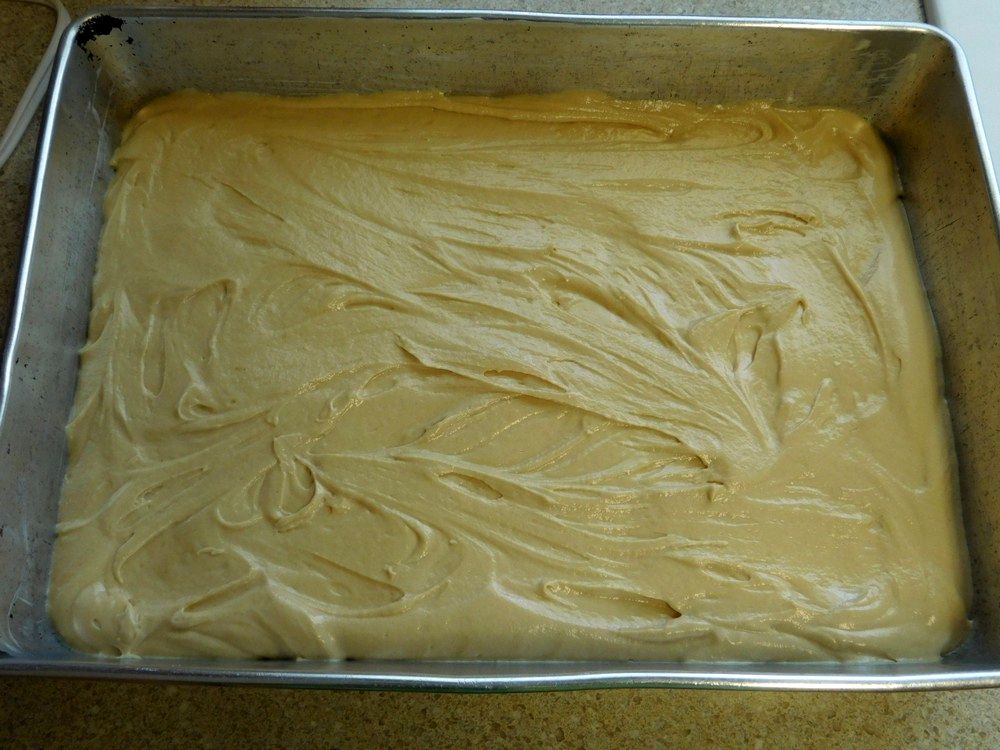
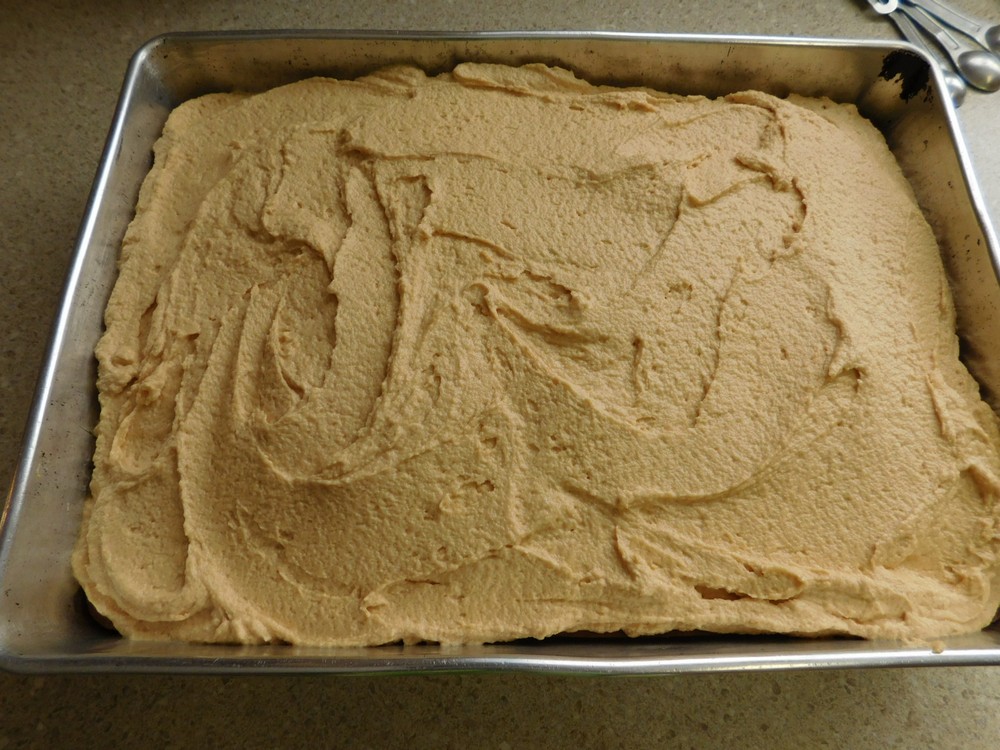
- Pour the batter into the prepared baking dish and spread out evenly. Bake for 35 minutes or until a toothpick inserted in the center comes out clean.
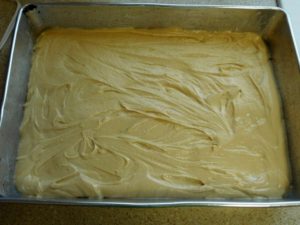
- Remove from the oven and place on a rack to cool completely.
For the Frosting
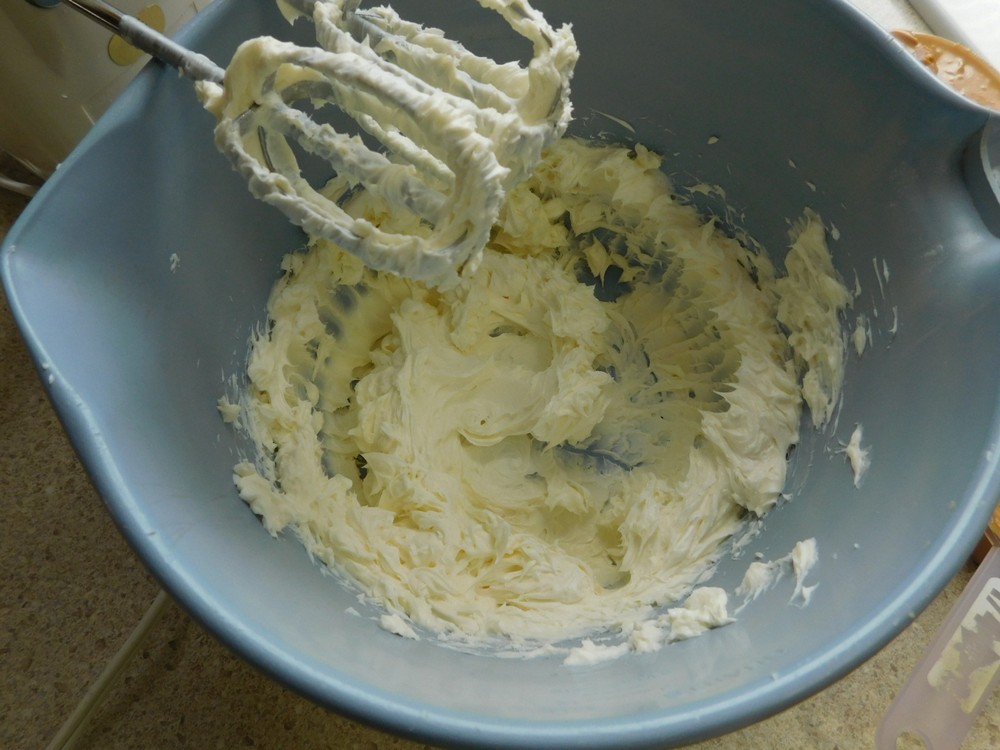
- When the cake is completely cooled, add the cream cheese and butter to a large mixing bowl and beat with an electric mixer until there is no more lumps.
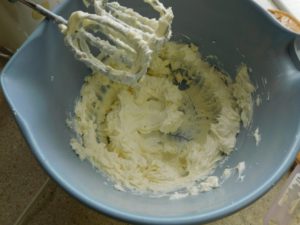
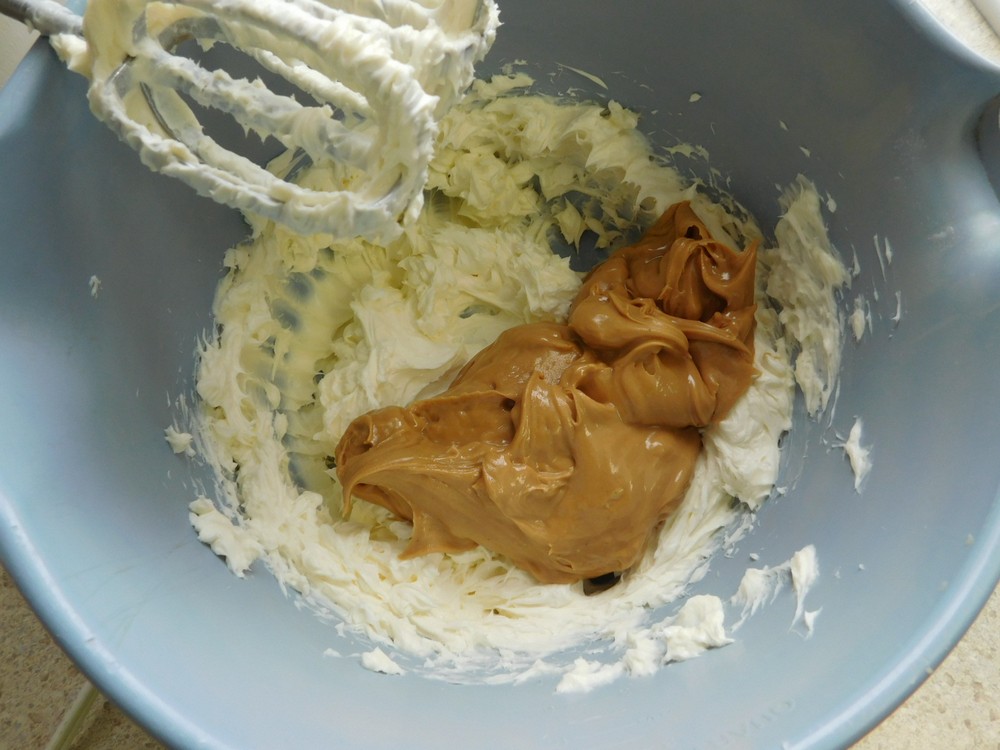
- Add the peanut butter.
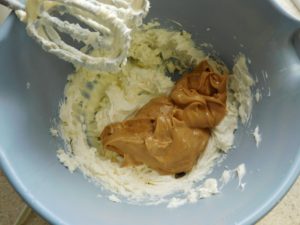
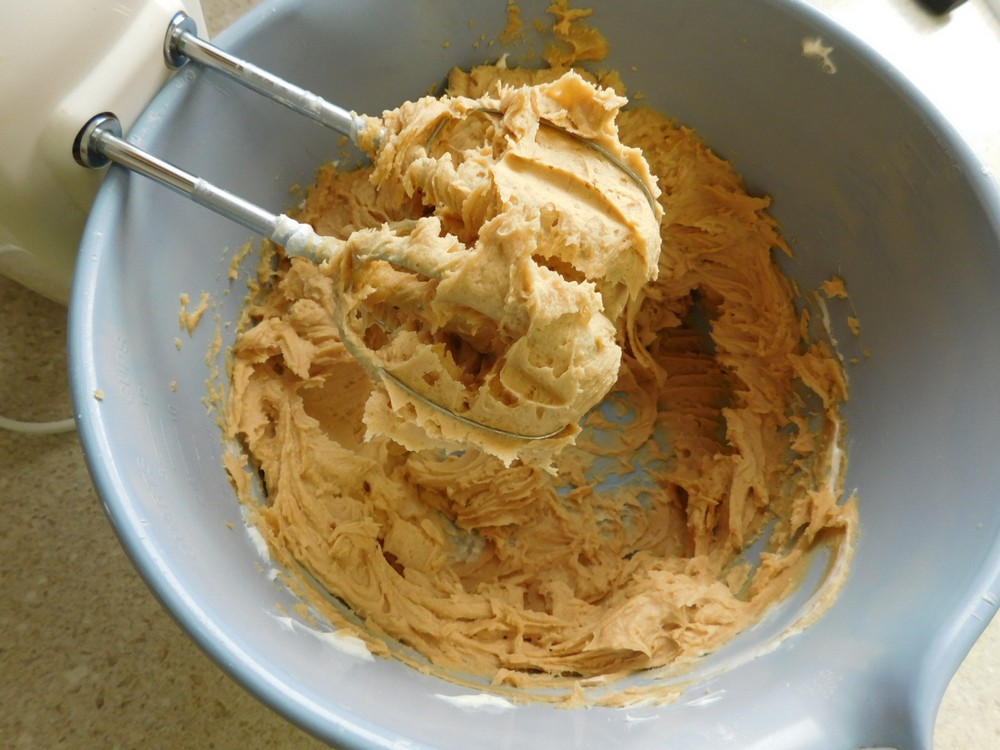
- Beat in the peanut butter until fluffy.
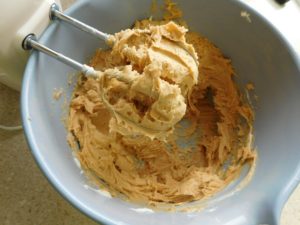
- Add the powdered sugar, vanilla, and salt and mix until combined. Add the cream and mix in until well combined.
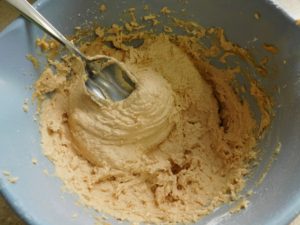
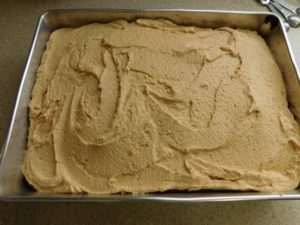
- Frost the cake.
For the Topping
- Melt the peanut butter (I used the microwave for 15 seconds, stirred, then another 15 minutes, perfect). Measure out the chopped Reese's (I used 10 mini Reese's and chopped those) and mini chocolate chips.
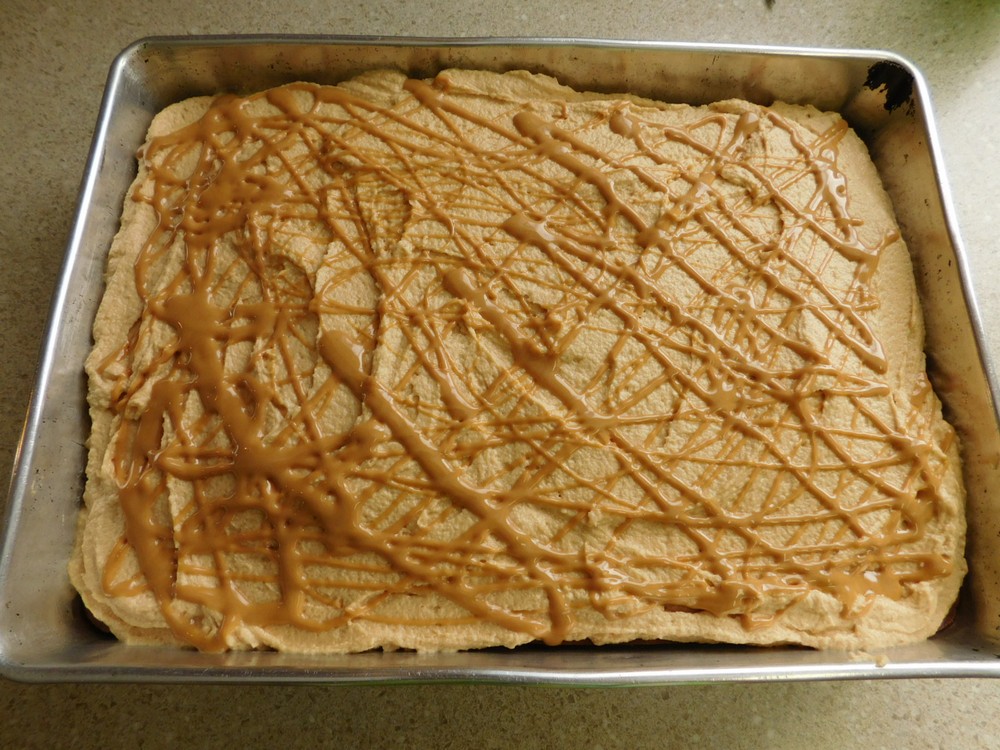
- Drizzle the cake with the melted peanut butter.

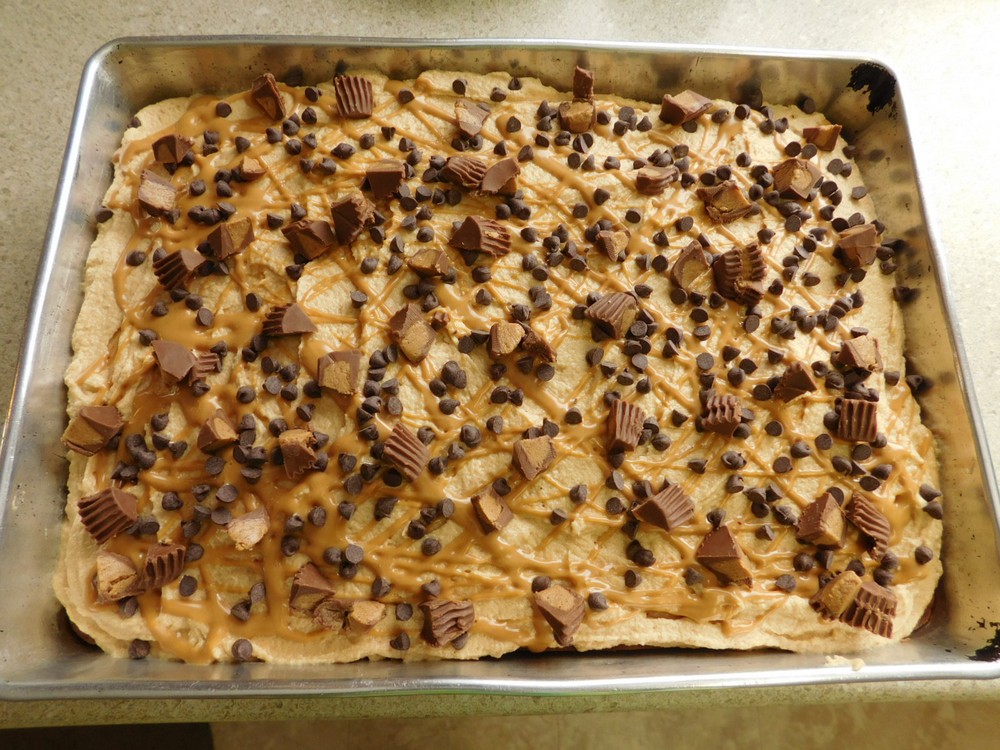
- Sprinkle with the Reese's and chocolate chips.
- Cut into squares, serve and enjoy.
Notes
Low cost per serving.
Adapted from an internet recipe.
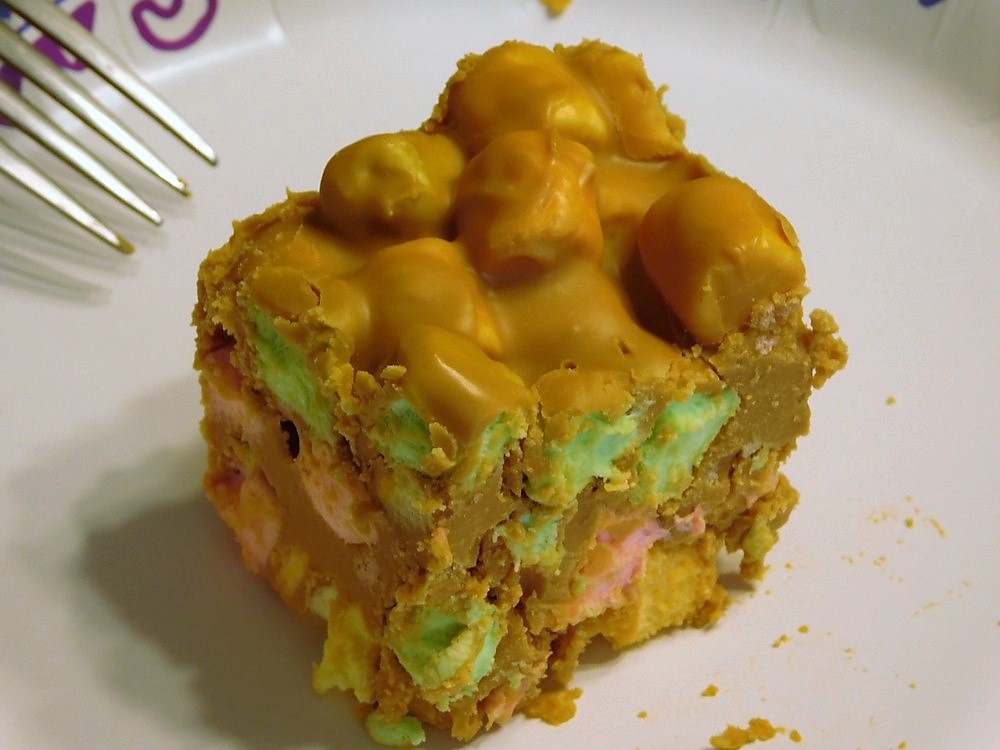
Peanut Butter Marshmallow Squares
Sounds good and easy. Made as written, highly recommended!
Ingredients
- 2 cups butterscotch chips, (10-11 oz bag)
- 1 cup peanut butter
- 1/4 cup butter
- 1/2 teaspoon vanilla extract
- 1 pinch salt
- 1 bag mini marshmallows, rainbow or white, (10 oz bag)
Instructions
- Grease a 8x8 baking dish with butter or cooking spray.
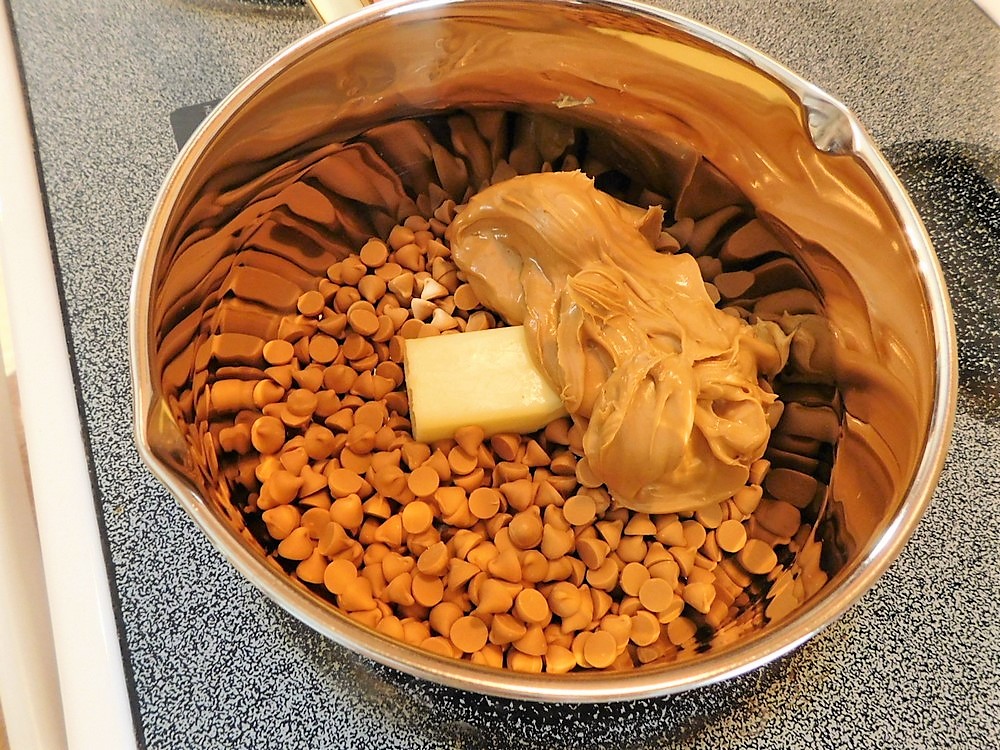
- In a medium suacepan on medium low heat, add the butter, peanut butter, and butterscotch chips.
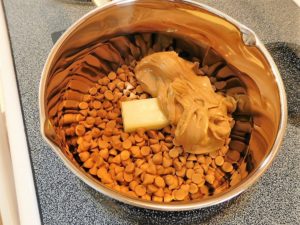
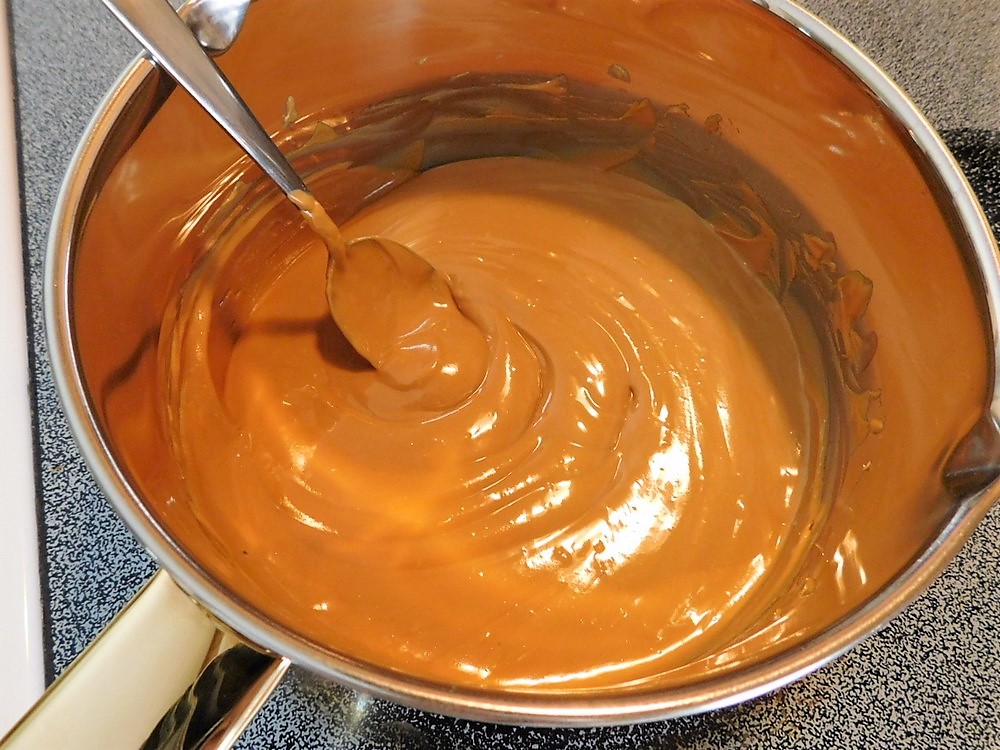
- Stir and let everything melt until smooth, remove from heat and stir in vanilla and a pinch of salt. Let this cool to room temperature.
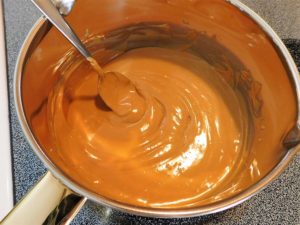
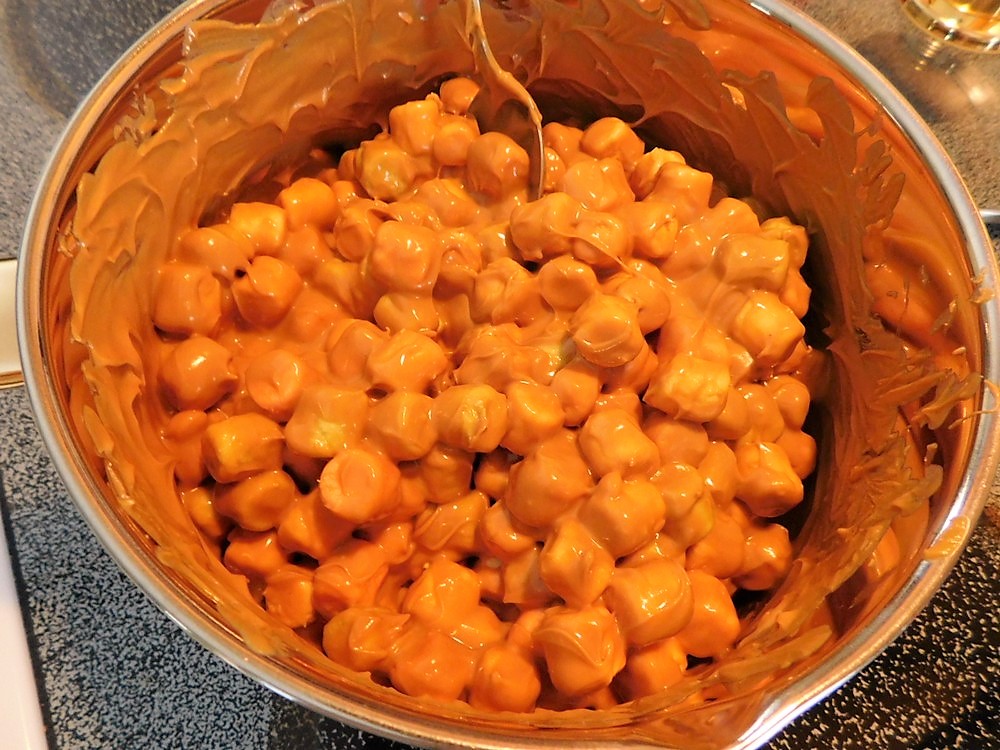
- When cooled, stir in the marshmallows.

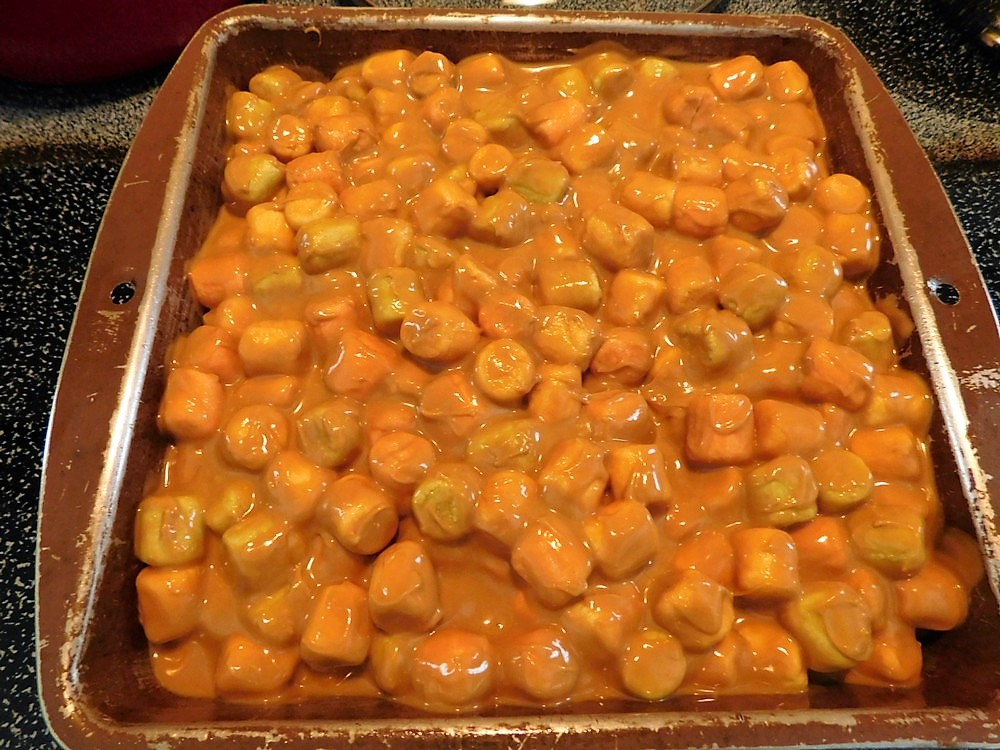
- Pour into the prepared baking dish and spread out evenly.
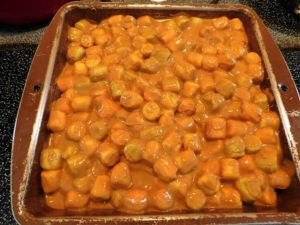
- Place in the fridge to cool and set. Cut into 2 inch squares, serve and enjoy.
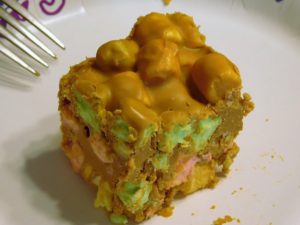
Notes
Low cost per serving.
Variant: 1. Replace the butterscotch chips with chocolate chips.
Adapted from an internet recipe.
Cherry Dessert Cake
I found this recipe on a can of cherries in water. One thing that stands out is a 8 oz boxed yellow cake mix, this would have to be a Jiffy brand 8-9 oz box mix, or you can make 1/2 the yellow cake mix I have listed on this site. Link to the shortcut is listed in the Recipe Notes section.
Ingredients
- 1 can tart cherries, in water, 15 oz / 425 g can
- 1/2 cup sugar
- 1 tablespoon corn starch
- 2 tablespoons butter
- 1 tablespoon lemon juice
- 1 box yellow cake mix, Jiffy brand, 8 or 9 oz box, Shortcut
- 1 egg
- 1/2 cup cold water
Instructions
- Preheat your oven to 180 C (350 F). Get out a 9x9 baking dish.
- Open and drain the cherries into a measuring cup. Set the cherries aside and keep that liquid handy for the next step.
- In a sauce pan, add the sugar and cornstarch, whisk to mix together. Whisk in the liquid from the cherries. Place on medium heat and whisk continuously until mixture comes to a boil and thickens.
- Remove from heat and stir in butter, lemon juice, and cherries. Set this aside.
- In a mixing bowl, add the Jiffy yellow cake mix, egg, and cold water, stir to mix together, then beat for 3-4 minutes with an electric mixer on medium or 5-6 minutes by hand.
- Pour the cherry mixture into the baking dish and spread out evenly.
- Spoon the cake mix over the cherry mixture.
- Bake for 35-40 minutes or until a toothpick inserted in the cake comes out clean. Remove from the oven and place on a rack to cool.
- Cut into squares and serve with whipped topping if desired, enjoy.
Notes
Low cost per serving.
Shortcut: Homemade Yellow Cake Mix.
Adapted from a recipe on a can of tart cherries.
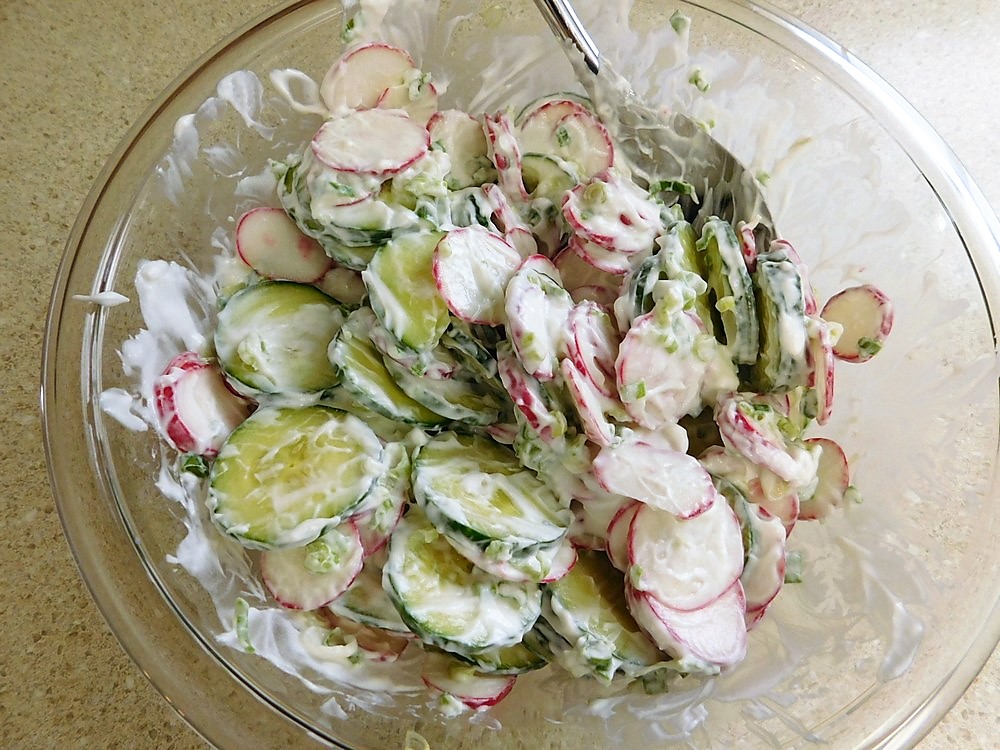
Cucumber Radish Salad
This is an excellent use of radishes and is a tasty side dish. Link to the shortcut is listed in the Recipe Notes section.
Ingredients
- 1 English cucumber, thinly sliced
- 20 red radishes, trimmed and thinly sliced
- ½ cup spring onion, or chives, thinly sliced
- ¾ cup sour cream, Shortcut
- ¾ teaspoon sea salt, or to taste
Instructions
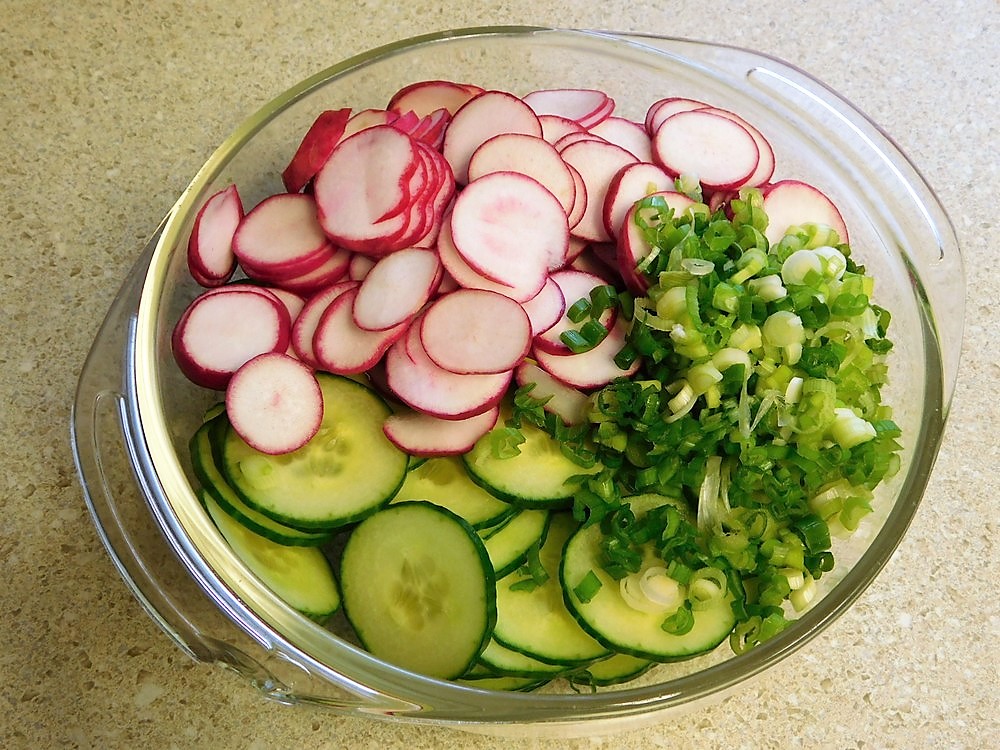
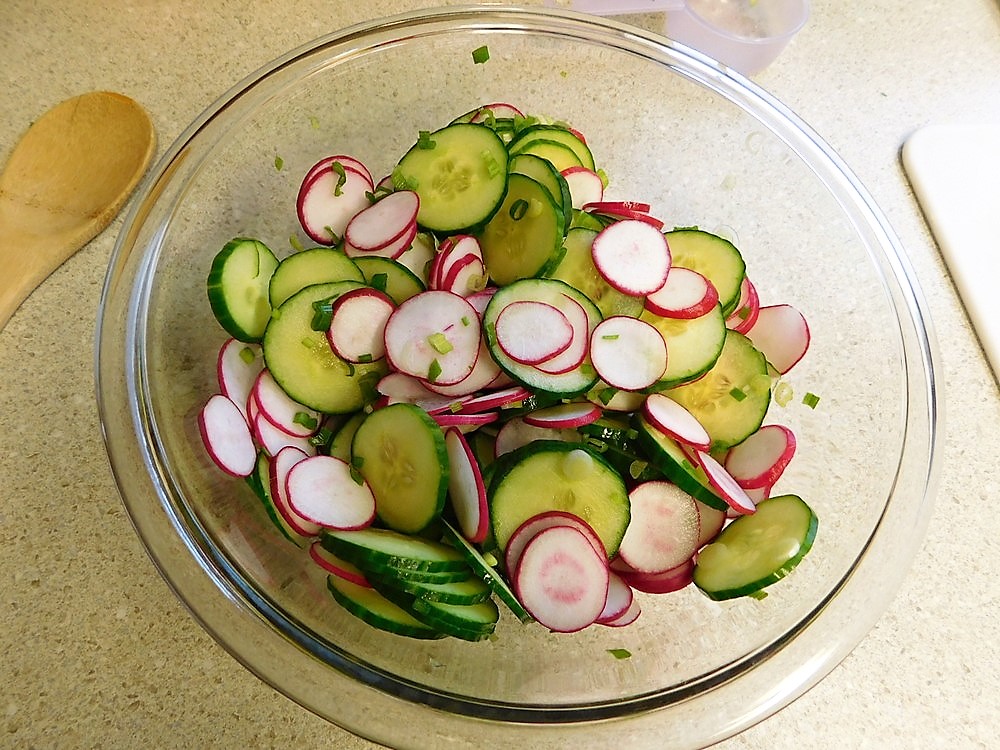
- Prep the cucumber, radishes, and spring onion and add to a mixing bowl.
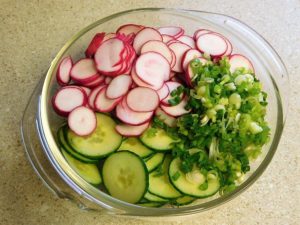
- Mix together the veggies, cover, and place in the fridge until you are ready to serve.
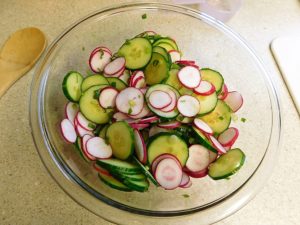
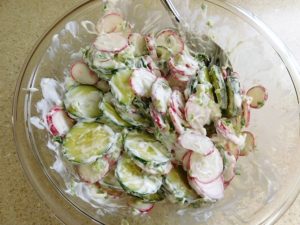
- Right before you serve, mix in the sour cream and season with sea salt as desired. Serve and enjoy.
Notes
Shortcut: Sour Cream.
Variants: 1. Use Greek yogurt in place of sour cream. 2. Use mayo (Kewpie mayo preferred) in place of sour cream.
Salmon Loaf II
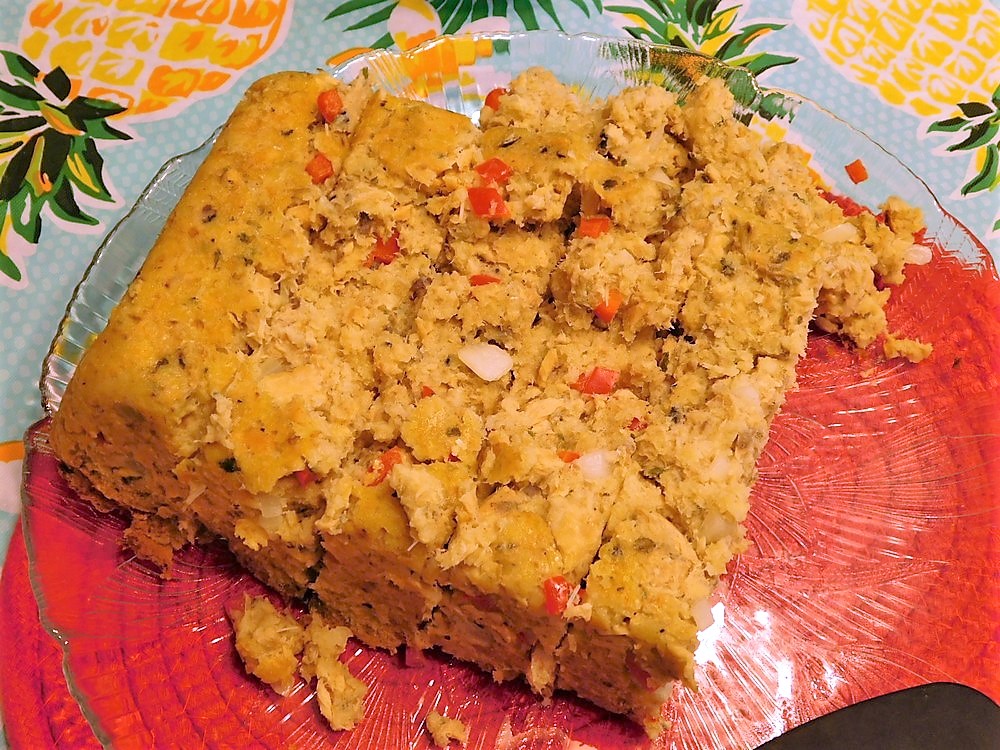
This is an excellent tasting salmon loaf. Common ingredients, goes together easily, and my family loved this.
Equipment
- Loaf Pan (5x9 inch)
- Oven
Ingredients
- 2 cans salmon, (15 oz / 420 g can each)
- 2 eggs
- 1½ cups salmon liquid, plus milk to make 1½ cups
- milk, as needed
- 3 cups coarse cracker crumbs, or panko
- 2 tablespoons lemon juice
- ¼ cup onion, finely diced
- ¼ cup red bell pepper, finely diced
- ¼ cup celery, finely diced
- ¼ teaspoon salt
- ¼ teaspoon lemon pepper
- ⅛ teaspoon dried dill
- 2 teaspoons dried parsley
Instructions
- Preheat your oven to 180° C (350° F). Grease a 9 x 5 loaf pan with butter and set it aside.
- Drain the liquid from the salmon cans into a measuring cup. Add milk to measuring cup until you have 1½ cups of liquid.
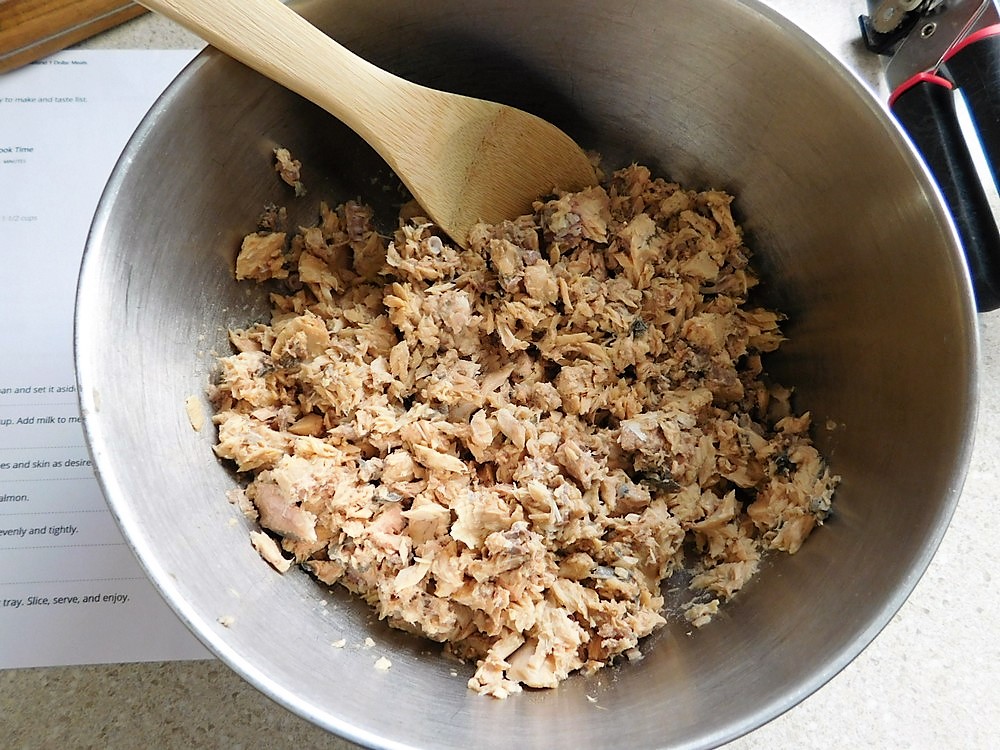
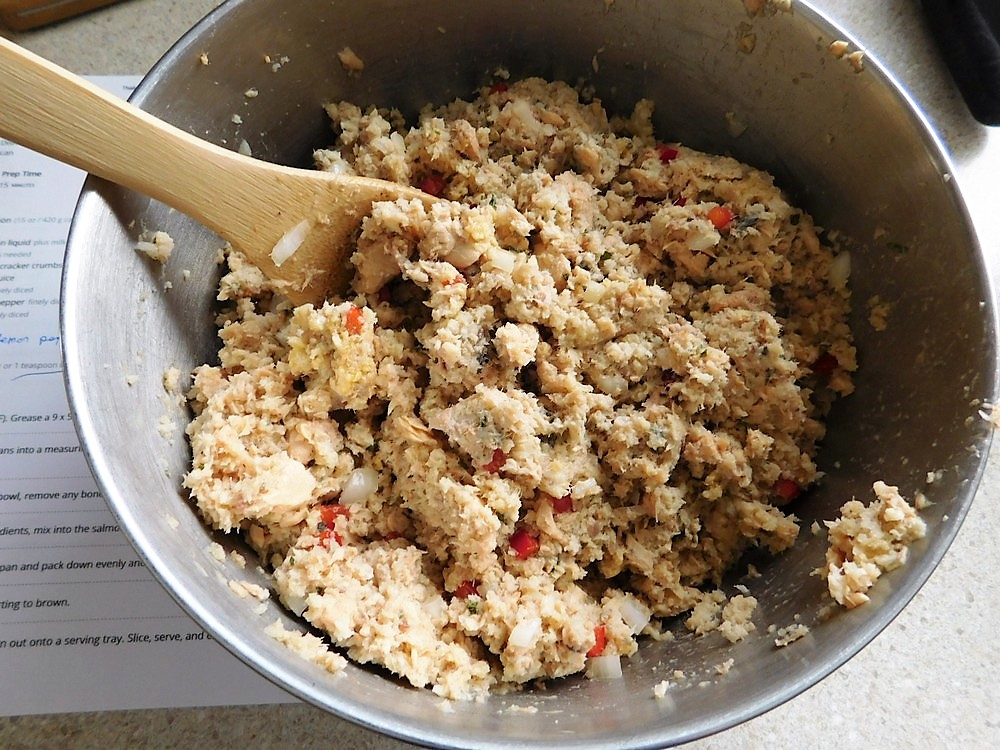
- Add the drained salmon to a mixing bowl, remove any bones and skin as desired and flake apart the salmon with a fork.
- To the mixing bowl, add all other ingredients, mix into the salmon.
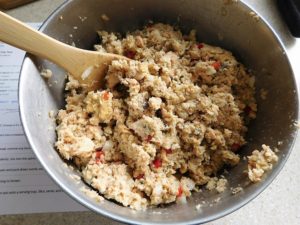
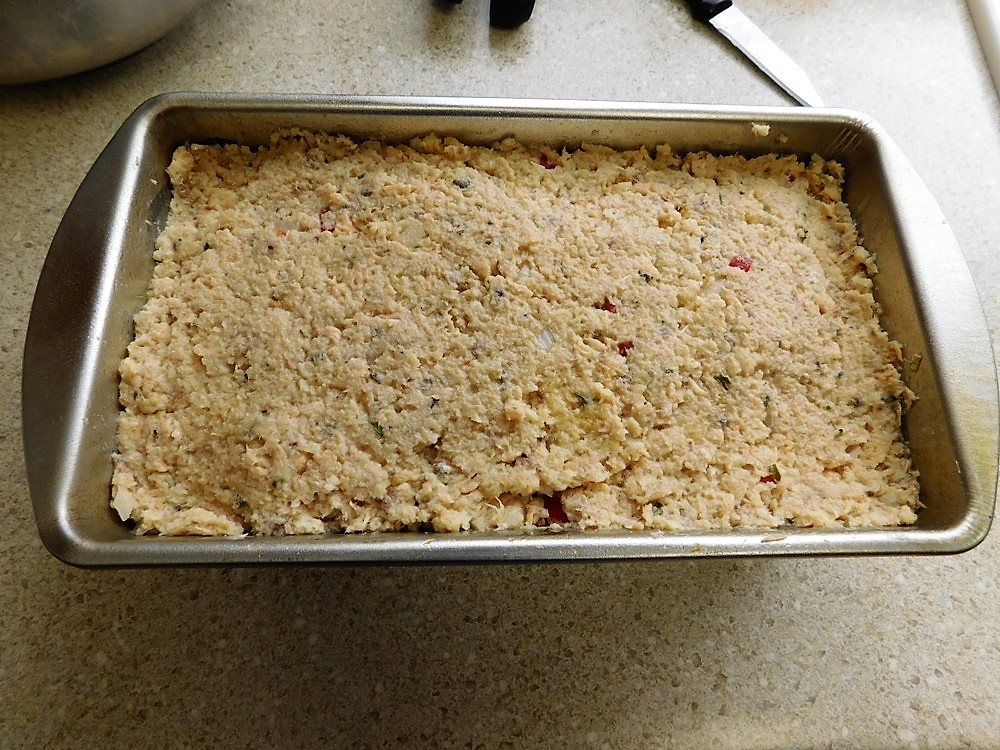
- Pour the mixture into the prepared loaf pan, spread the mixture out and pat it down evenly.
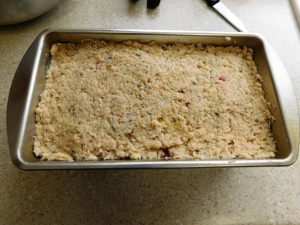
- Bake for 50 minutes.
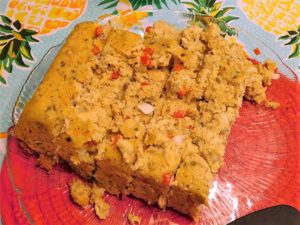
- Remove and place on a rack for 10 minutes to cool and firm up. Turn out onto a serving tray. Slice, serve, and enjoy.
Notes
I will price this when I get canned salmon again. For now I will say High cost per serving.
Variant: 1. Use fresh salmon that has been steamed and bones and skin removed.
Tart Cherry Pie
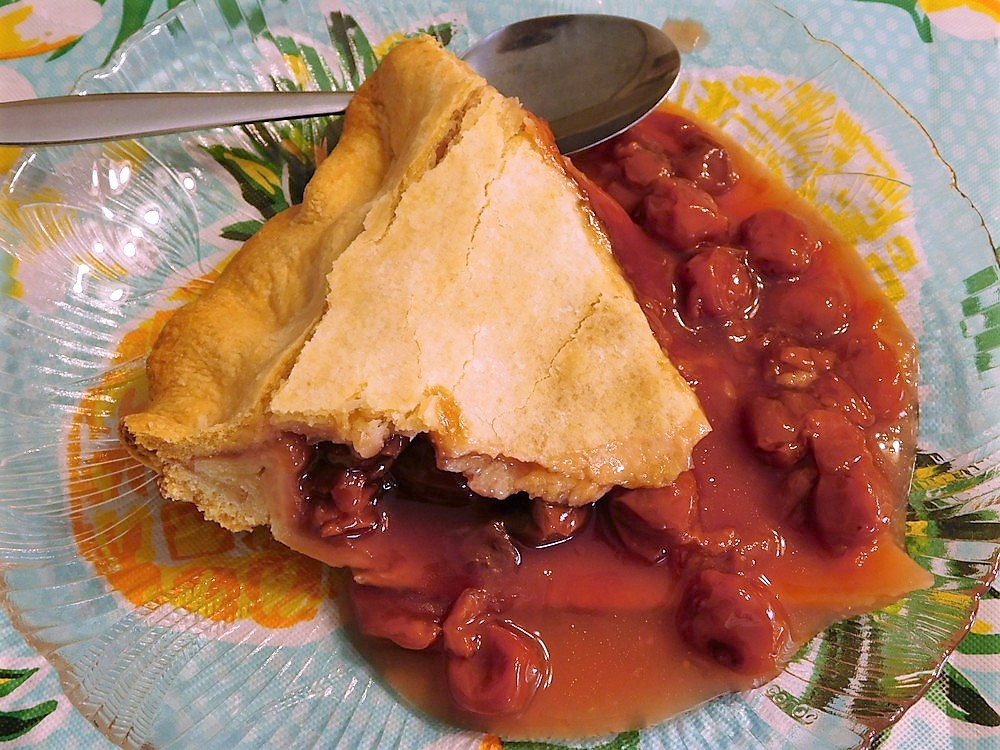
This recipe uses canned tart cherries in water, you are going to make the filling yourself. This is delicious pie, and how a cherry pie is supposed to taste, and no red food coloring used like in ready made pie filling.
Ingredients
- 2 pie crusts, ready made or homemade
- 2 cans tart cherries, in water, 15 oz / 425 g cans
- 1 cup cherry liquid, See step 2.
- 1 cup sugar
- 3 tablespoons cornstarch
- 1 tablespoon butter
- 1/4 teaspoon almond extract
- 1 egg, beaten
Instructions
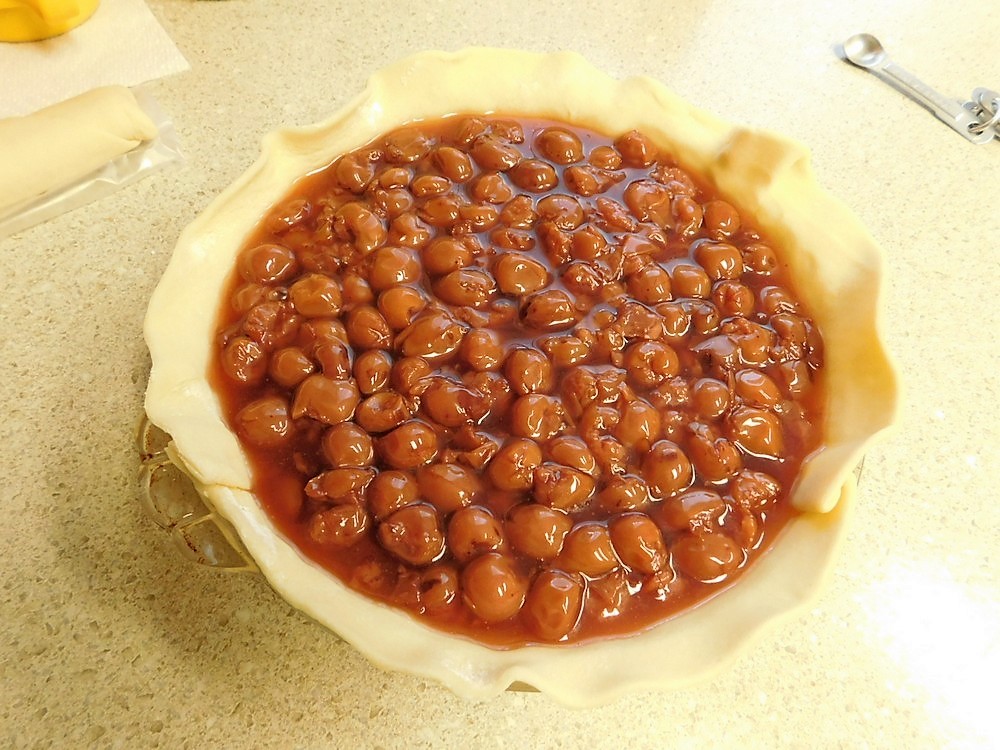
- Preheat your oven to 220 C (425 F), get out a pie dish. Line the pie dish with one sheet of pie crust dough.
- Drain the cherries and save 1 cup of liquid, discard the remaining liquid. (I got exactly 1 cup of liquid from both cans.) If both cans do not have 1 cup of liquid, just top up what you do get with water to make 1 cup.
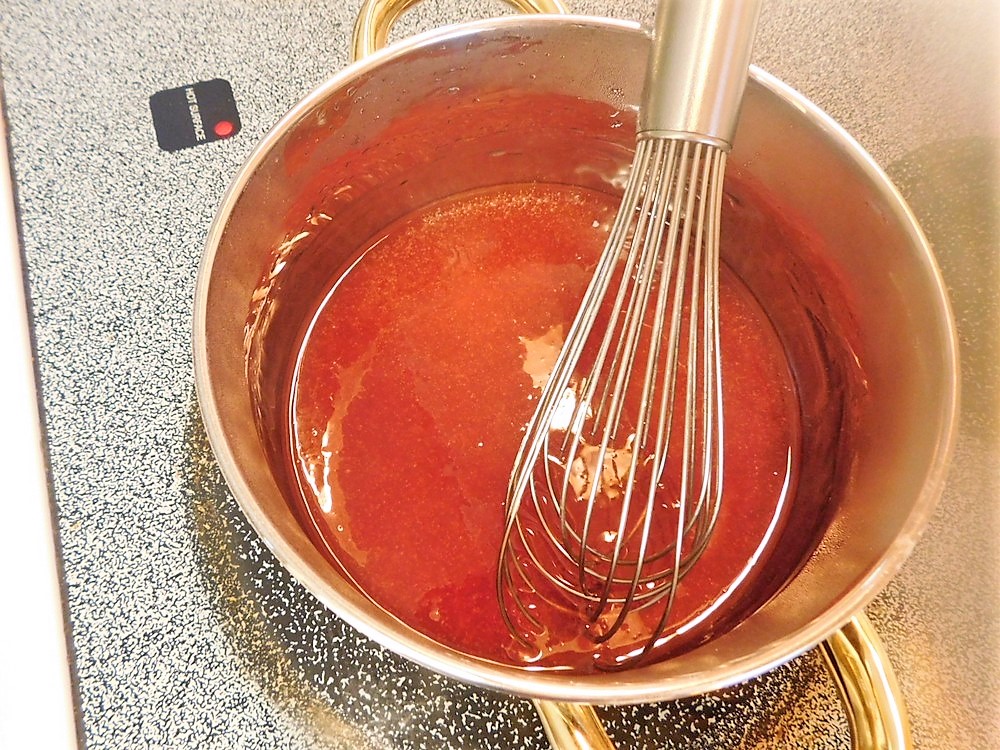
- In a saucepan, add the sugar and cornstarch and whisk together, slowly whisk in the reserved liquid from the cherries and mix until smooth.
- Place the saucepan on medium heat and stir continuously until the mixture starts to bubble. You will see a noticeable change when the mixture starts to bubble.
- Once it bubbles, continue stirring for 1 more minute until the mixture is thick and clear, remove from heat.
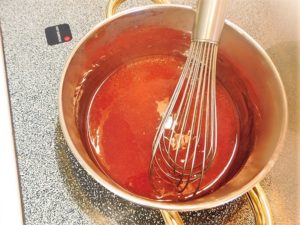
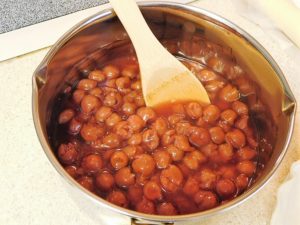
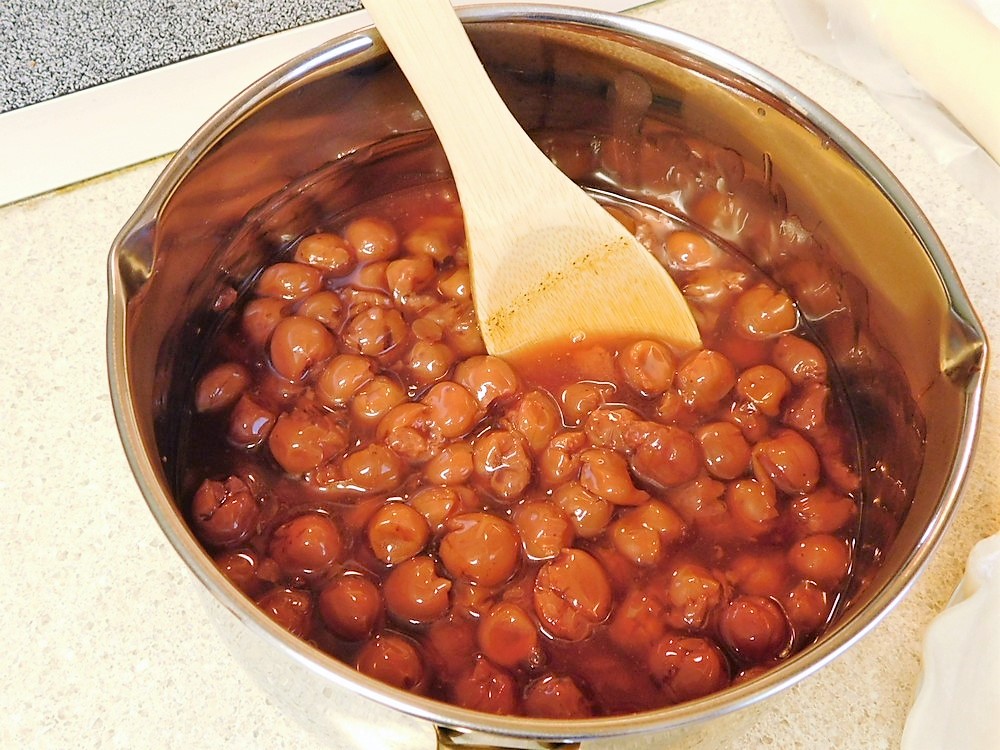
- Now stir in the butter, almond extract, and cherries, mix until combined.
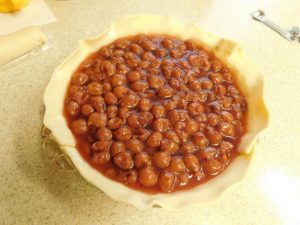
- Pour into the prepared pie dish.
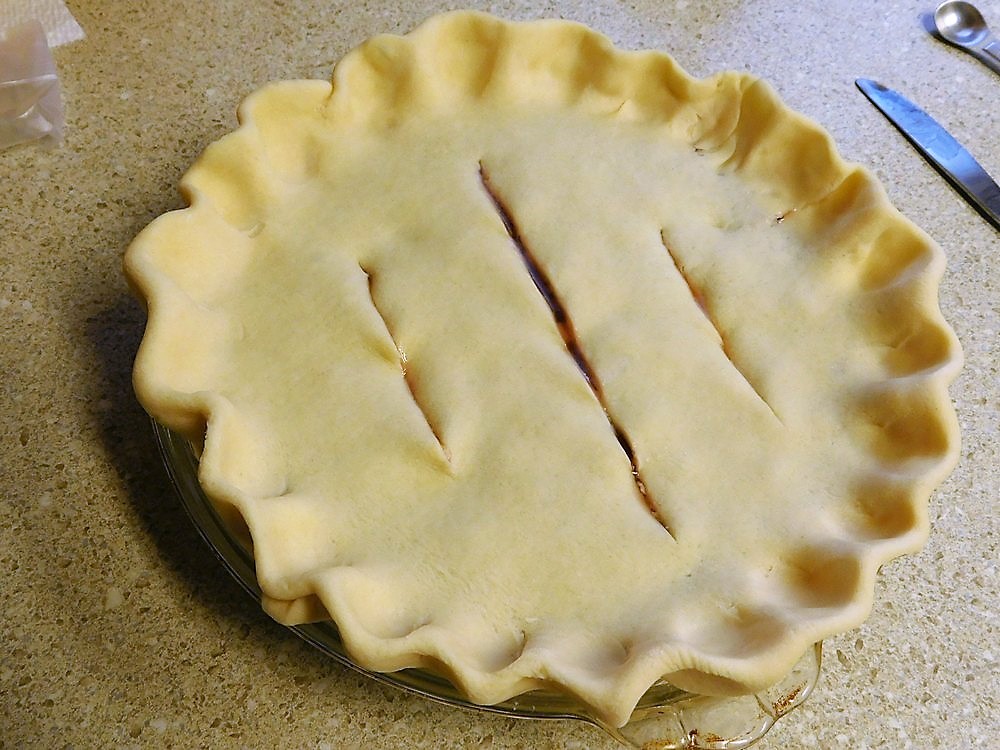
- Cover with the second crust and cut several slits to vent steam, or if adventurous, slice that crust up and make a lattice top on the pie. Brush the top crust with beaten egg.
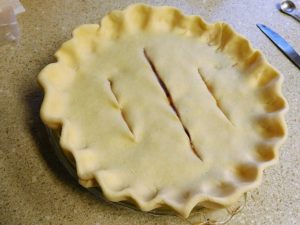
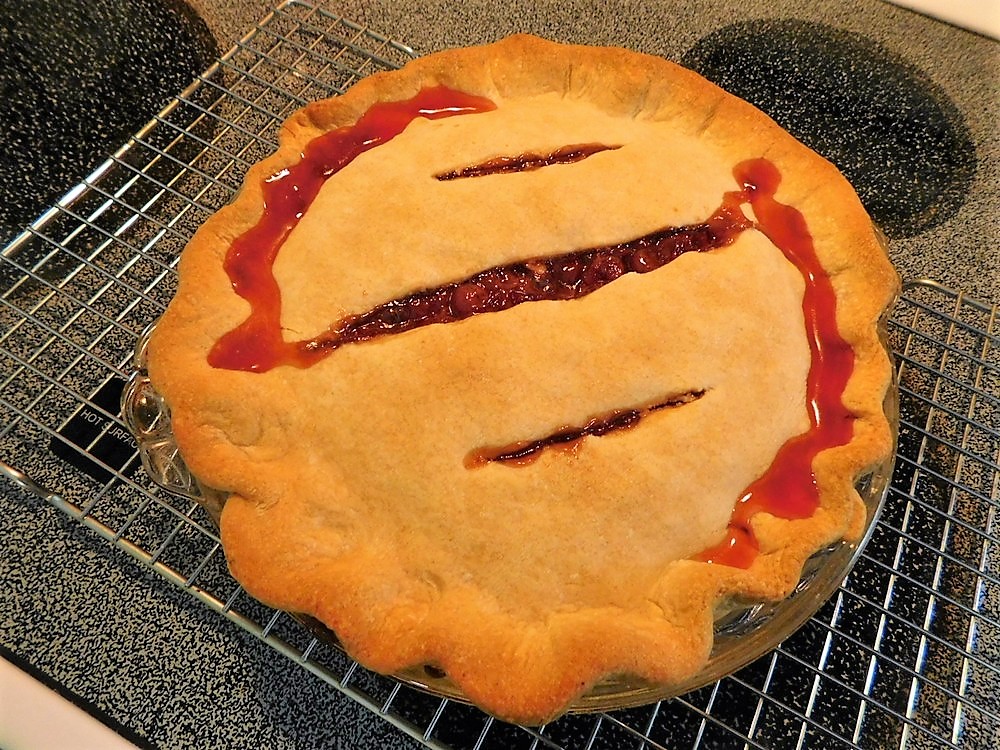
- Bake for 10 minutes then reduce the temp to 180 C (350 F) and bake for another 35 minutes or until golden brown.
- Remove to a rack to cool.
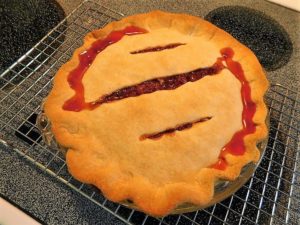
- Slice, serve, and enjoy. Sometimes this will come out very runny, and sometimes much drier, this time was runny, so just grab a spoon and enjoy, the flavor is still perfect regardless of the texture.


Notes
Since I am in the states for a while, a can of tart cherries in water runs about $3.40 in Walmart, so for 6 servings, this dessert would cost about $1.13 per serving.
Adapted from an internet recipe.
Peas & Corn
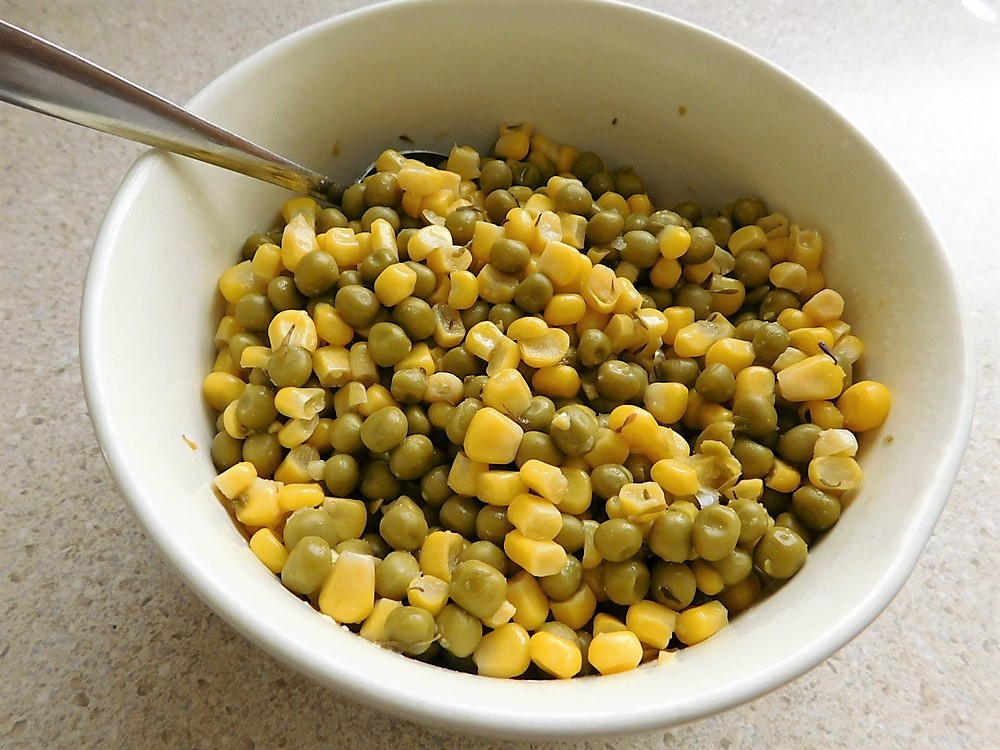
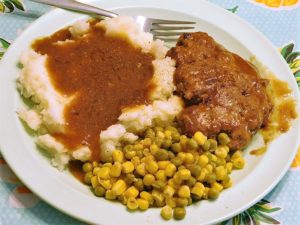
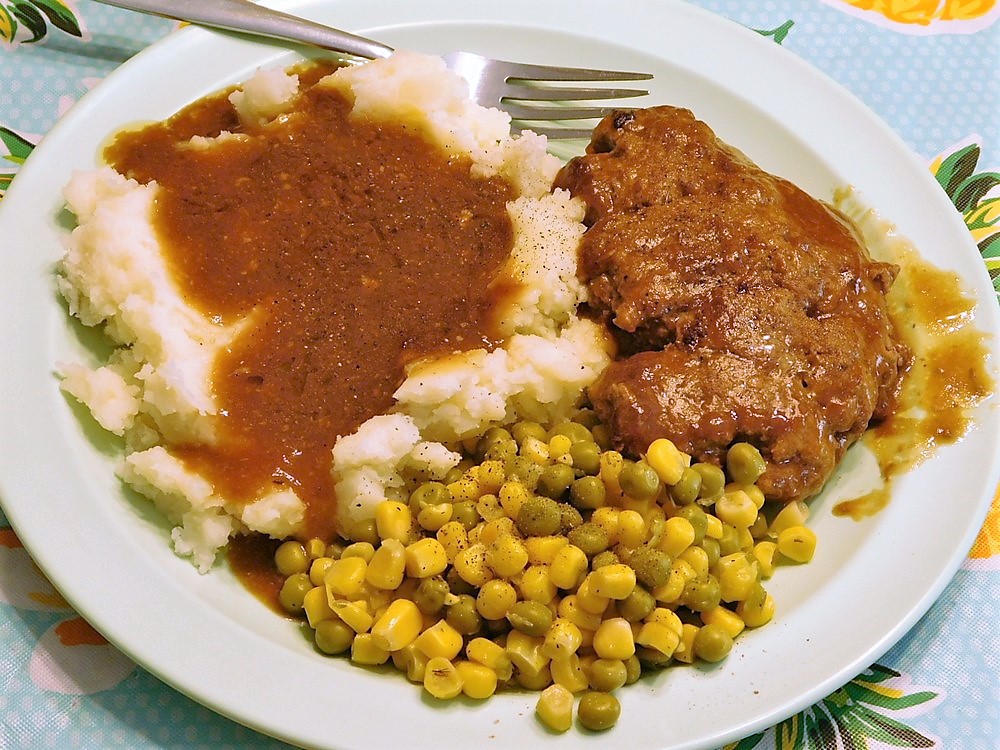
This is just a mix of the two most common side dishes and is seasoned with dried thyme. Frozen, canned, or fresh peas and corn may be used.
Ingredients
- 2 cups frozen peas, or fresh, or 1 can
- 2 cups frozen corn, or fresh, or 1 can
- 1/2 teaspoon dried thyme
- 1/4 teaspoon garlic salt
- 2 tablespoons butter
Instructions
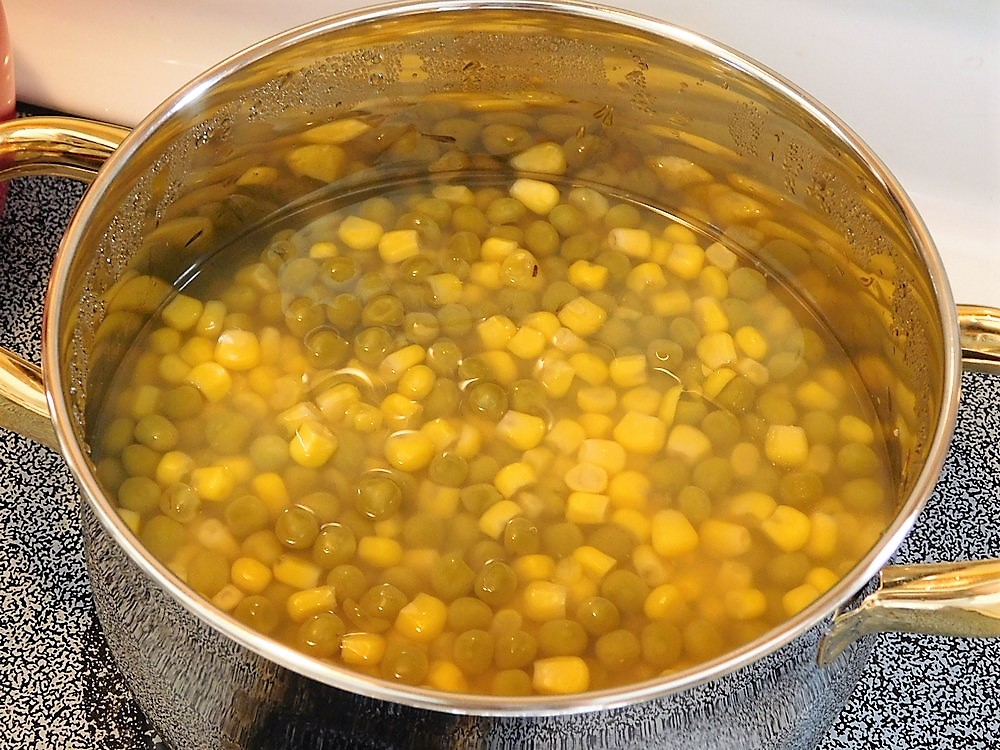
- Add the frozen or fresh peas and corn to a saucepan, along with the thyme, and add about 1 cup of water and set on medium heat to warm the vegetables through. If using canned items, just pour the contents of the cans into a saucepan.
- Once the peas and corn are piping hot, drain the liquid, then mix in the butter and garlic salt, mix until the butter is melted, then pour into a serving dish.
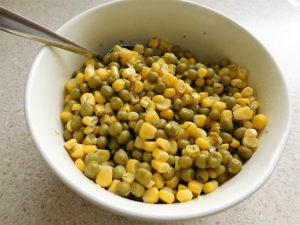
- Serve as a side with any dish and enjoy.
Notes
Adapted from an internet recipe.
Lo Mein
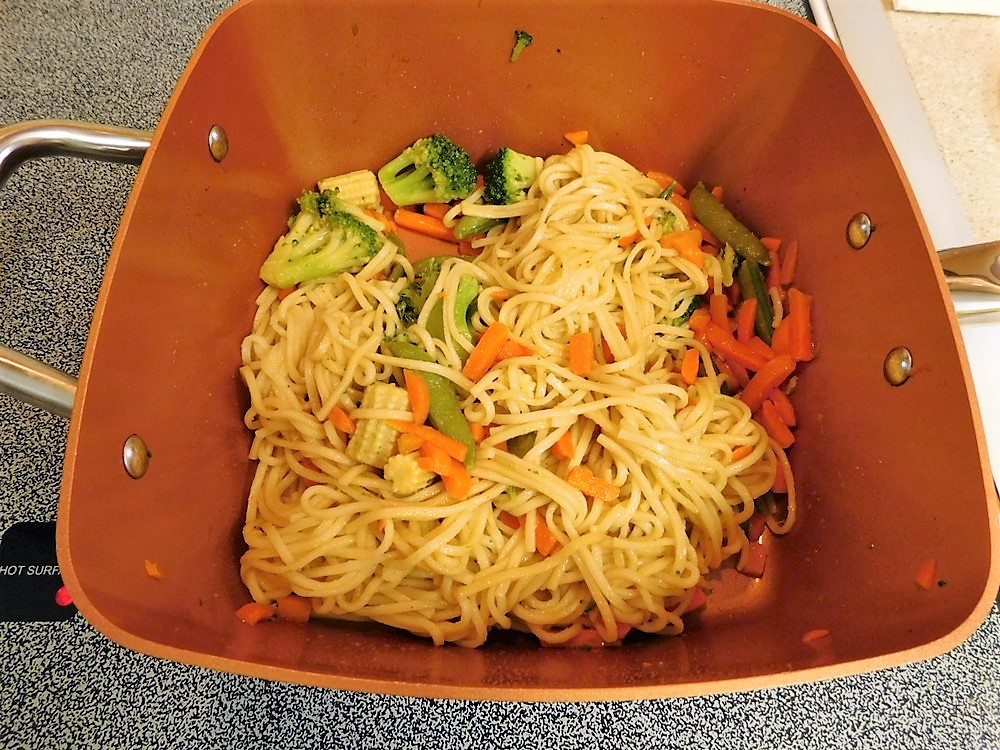
This is a Chinese dish and this recipe comes from a Chinese friend so this is the authentic way to prepare this. Lo mein can be made with pork, chicken, beef, or just veggies for a vegetarian version. I will state pork in this recipe. If you do not have lo mein noodles, ramen noodles work just as well. Two ways to prepare this, one way is the veggies and meat is served over the noodles, the other way is the noodles are mixed into the veggies and meat before serving.
Ingredients
- 200 grams lo mein noodles, (7 oz)
- 50 grams pork, sliced, (2 oz)
- 2 cloves garlic, smashed and minced
- 5-7 slices fresh ginger
- 1 spring onion, sliced
- 1 small red bell pepper, diced
- ½ cucumber, cut into strips
- 1 teaspoon light soy sauce
- 1 teaspoon dark soy sauce
- 1 tablespoon cooking oil
- 1 teaspoon sesame oil
- 1 teaspoon corn starch
- 1 teaspoon salt
Instructions
- In a small bowl, mix the pork with the corn starch and salt, set aside for 10 minutes. While the pork is marinating, get the rest of the items prepped.
- Heat the oil in a non stick pan, when hot, add the garlic, spring onion, and ginger. Stir fry for a few minutes until fragrant, then add the pork and bell pepper.
- Stir fry until the pork changes color and is no longer pink, then stir in both soy sauces, stir fry for 30 seconds, remove from heat and stir in the sesame oil. Cover and set aside.
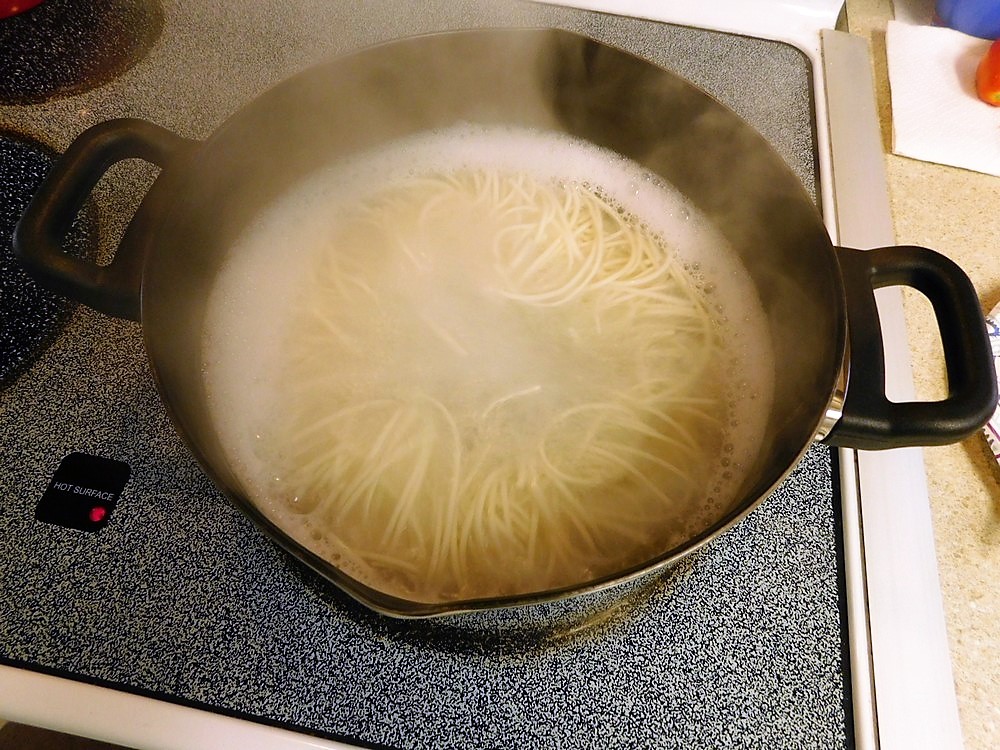
- Heat a pot of water to a boil, add the lo mein noodles and boil for 4-5 minutes or until tender, drain. Divide the noodles between 3 serving bowls.
- Divide the strips of cucumbers between the bowls, placing the cucumber on top of the noodles.
- Divide the stir fried pork between the bowls and spoon that over the cucumber strips. Serve and enjoy.
- Alternately, add the cooked noodles to the stir fried veggies and meat, toss to coat with the seasonings.
- Serve as a main dish or as a side.

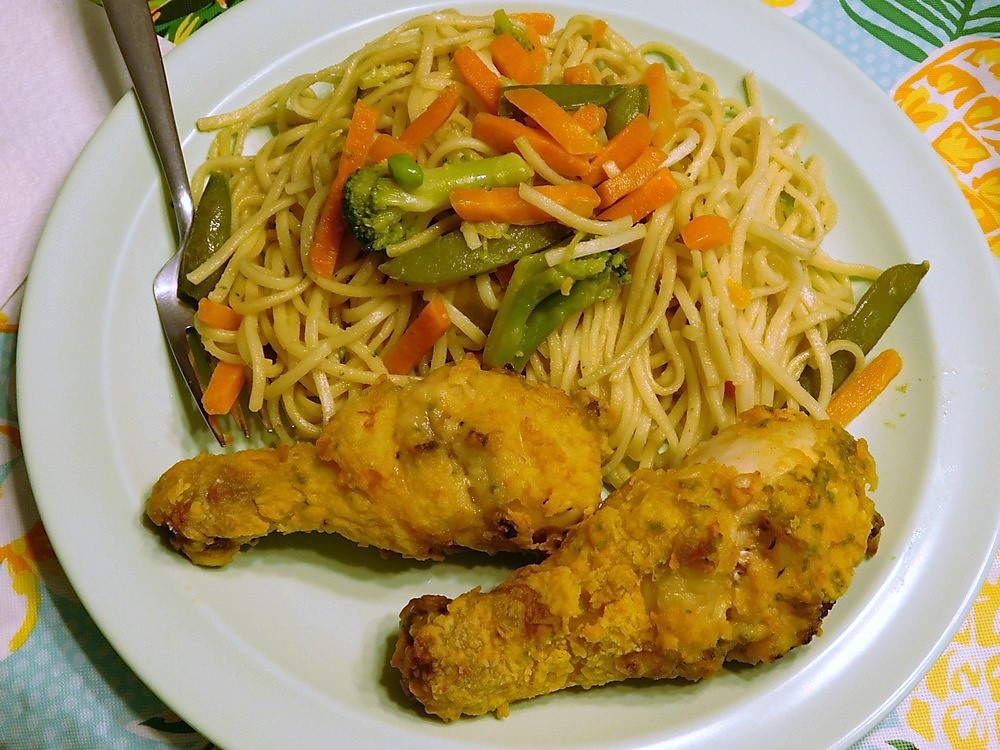
Notes
Low cost per serving.
Variant: 1. This can be prepared as written, meaning the veggies and meat is stir fried and served over the noodles, or you can add the noodles to the pan and stir fry those with the veggies and meat.
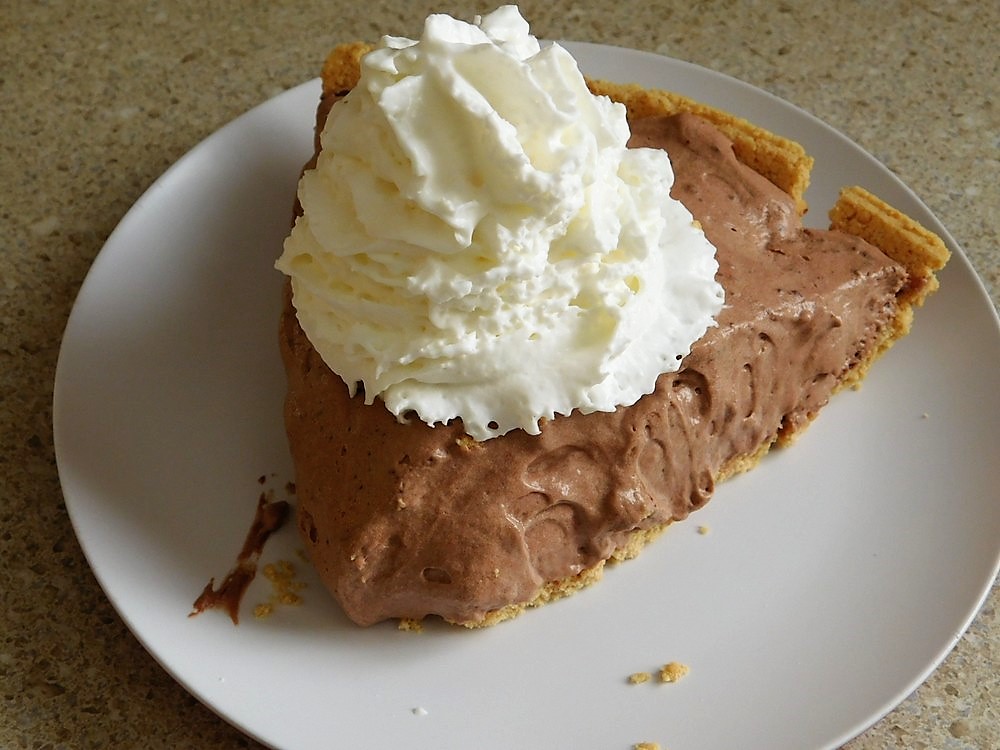
Mousse in a Minute Pie
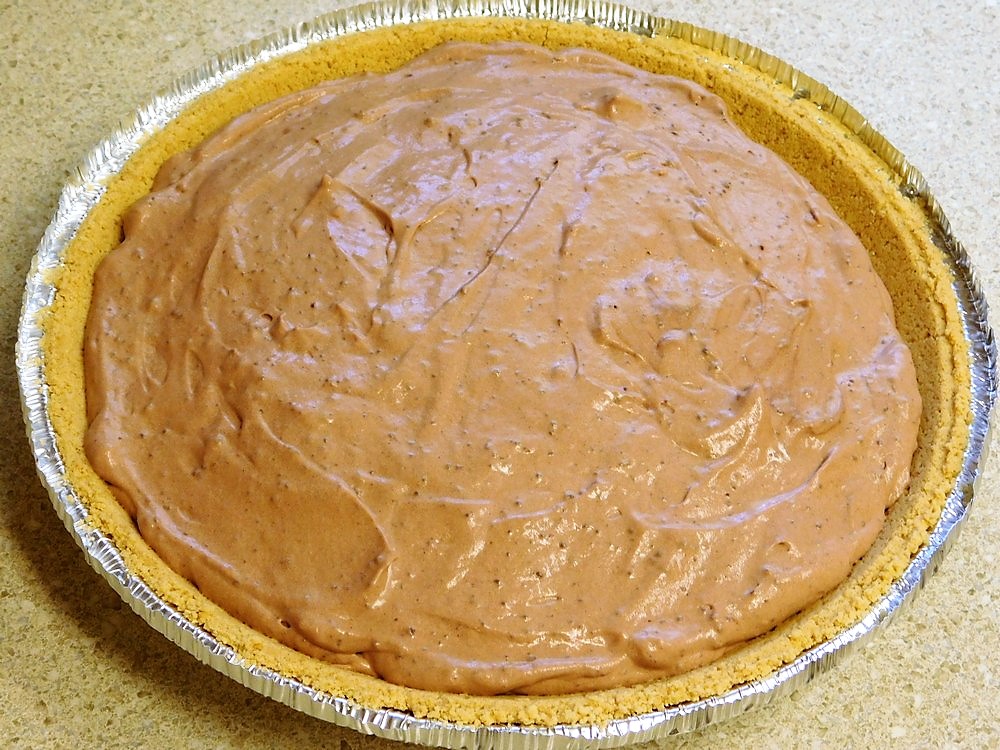
This recipe comes from my Mom and she originally got it from a Jello brand pudding box years ago. This is Mom's go to recipe for a quick no bake pie, and I remember these pies from 40+ years ago. My Mom prepared this on 24 Jul 2019 and I took the photos, flavor of the pudding used, chocolate.
Ingredients
- 1 box Jell-O Pudding mix, any flavor, large box (2.1 oz / 59 g)
- 1 package Cool-Whip topping, (8 oz / 226 g)
- 2 1/4 cups cold milk
- 1 graham cracker crust
- Cool-Whip topping, for topping if desired
Instructions
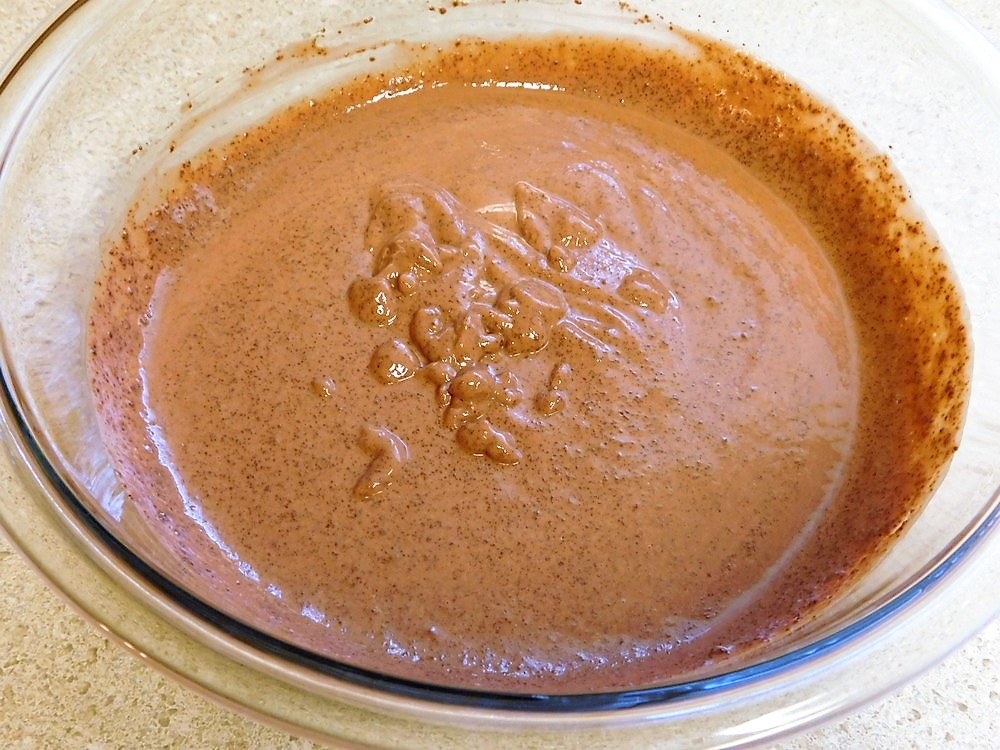
- Whisk together the pudding mix and milk in a large mixing bowl.
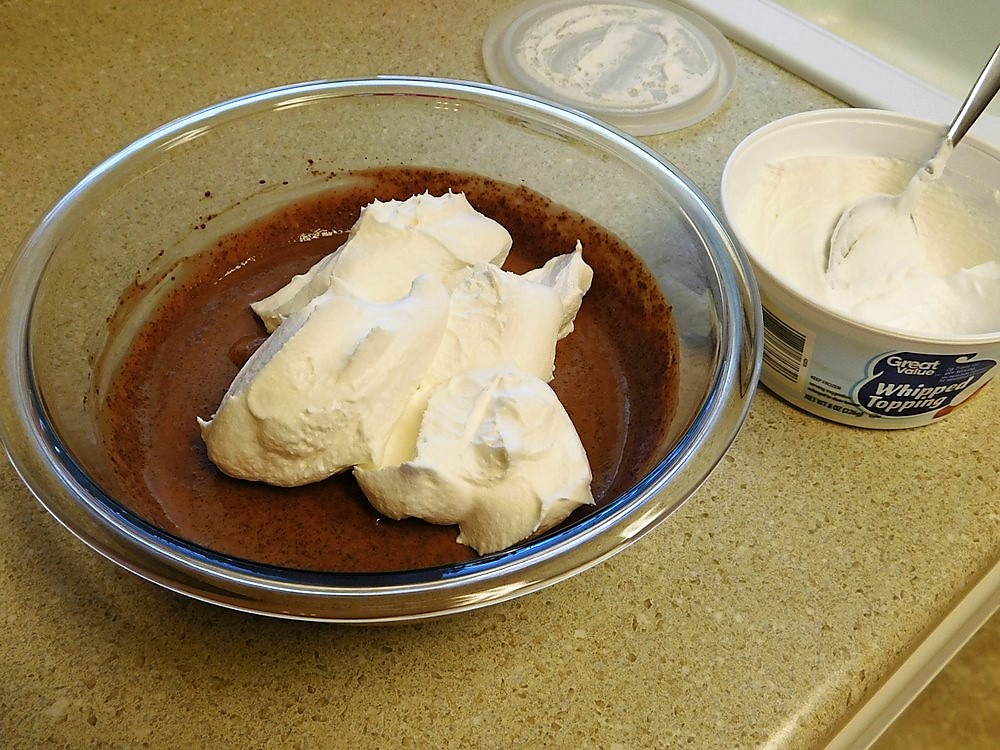
- Add the whipped topping to the mixing bowl, the entire 8 oz container of whipped topping will be used.
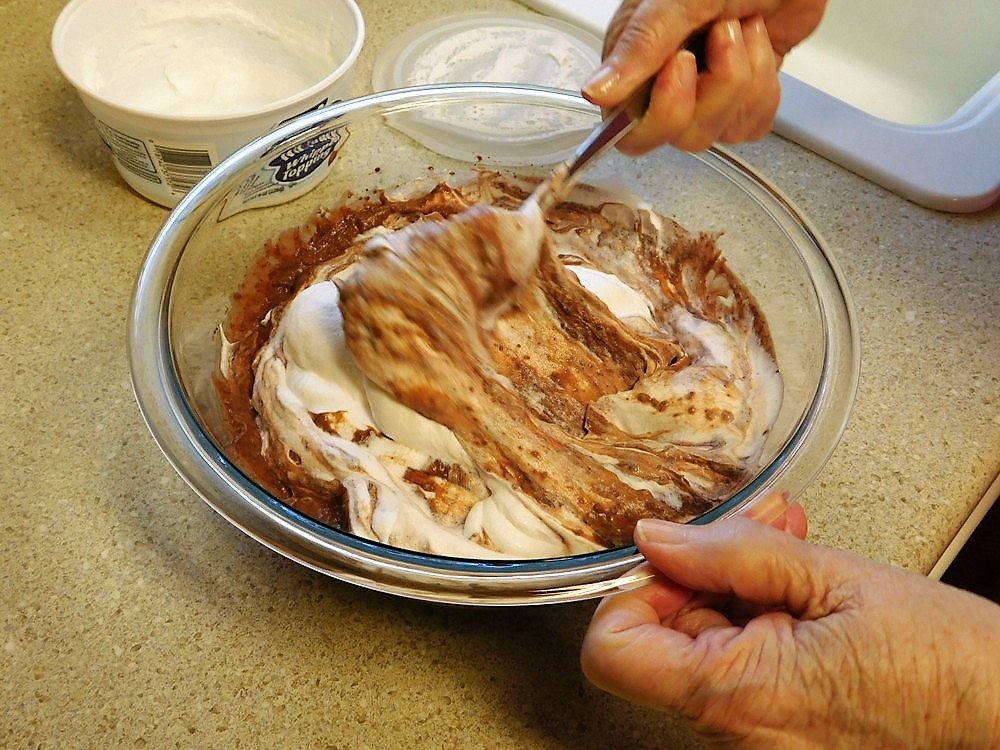
- Fold the the whipped topping into the pudding.
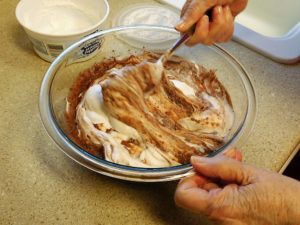
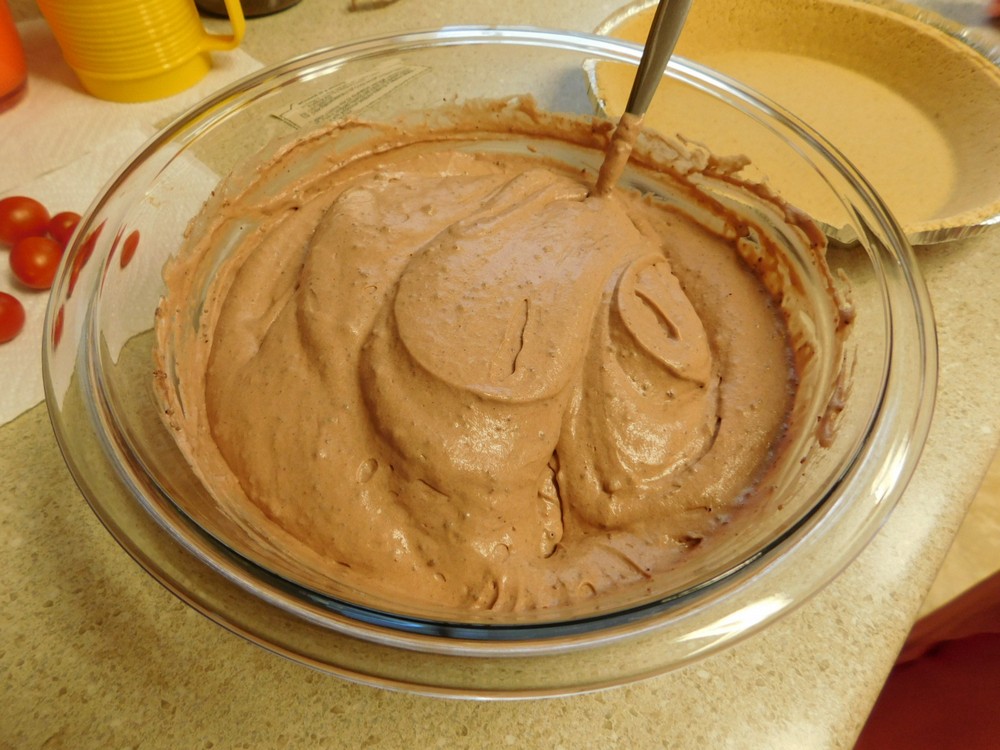
- Fold until evenly mixed.
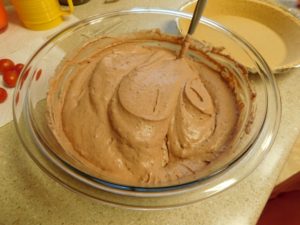
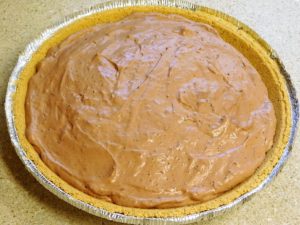
- Pour the mixture into pie crust. Place in the fridge until chilled and set.
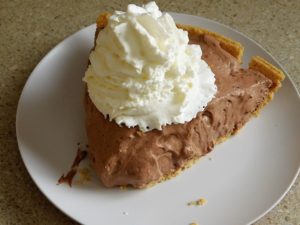
- Slice, plate, and top with additional whipped topping if desired, enjoy.
Notes
Low cost per serving.
Variant: 1. Chill a can of evaporated milk, open that and pour into a 4 cup measuring cup, then add cold milk until you have 2 1/4 cups and use that when mixing the pudding. 2. Feel free to use a pastry pie crust that has been baked first.
Provided by my Mom, Joanne Thayer, who got this from a Jell-O pudding nix box years ago.
United States.
United States.
Fried Bologna & Cheese Sandwich
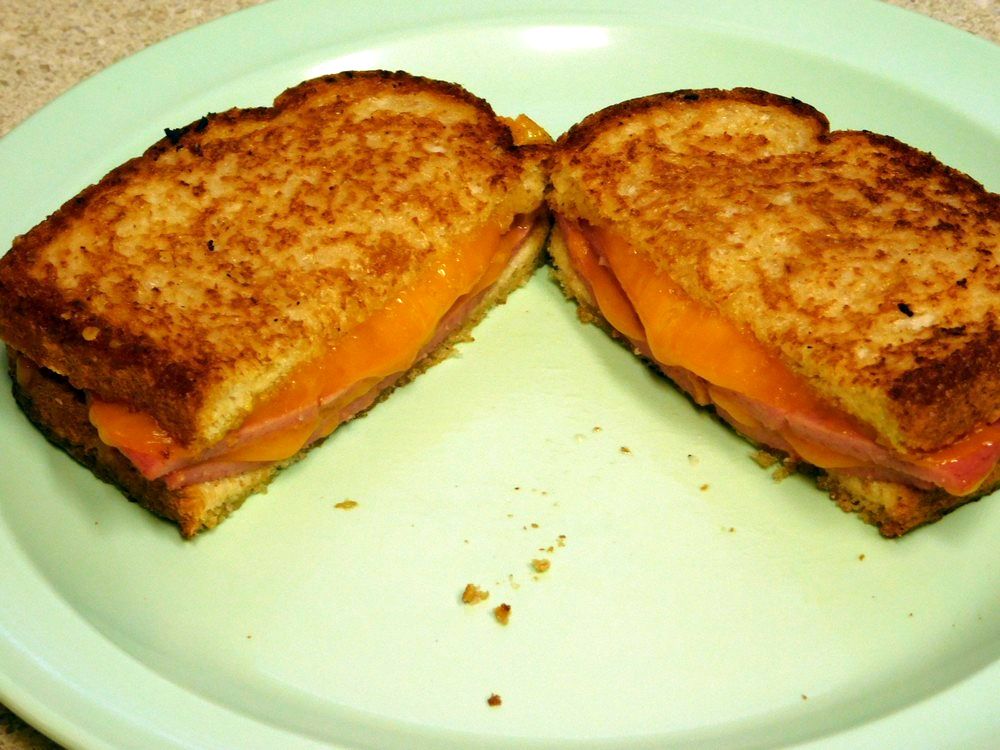
There is two ways to prepare this, non-grilled and grilled, and both ways are delicious. Un-Grilled is the classic way, and Grilled is just another step added.
Ingredients
- 2-4 slices bologna, deli thin slices or to your preference
- Sharp Cheddar cheese, shredded, as needed
- Monterey Jack cheese, shredded, as needed
- 2 slices bread, of your choice
- mayo, as needed
- extra light olive oil, as needed
- butter, as needed
Instructions
Un-Grilled
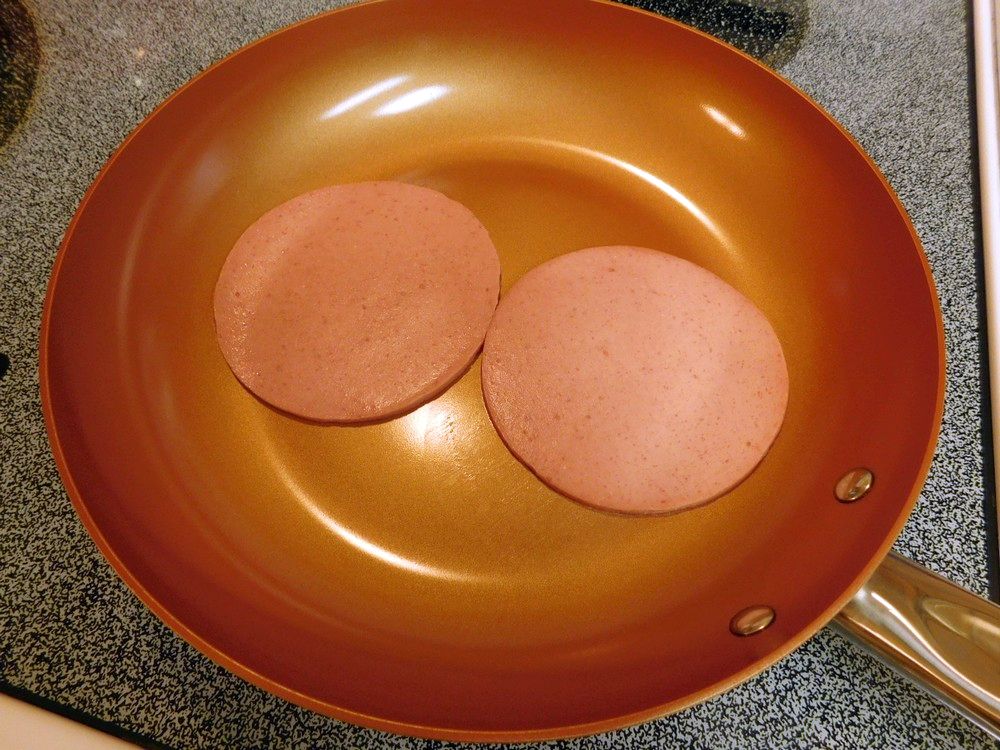
- Heat about 2 teaspoons of oil in a non stick pan, when hot, add the bologna and fry until heated through or all the way to crispy, then flip.
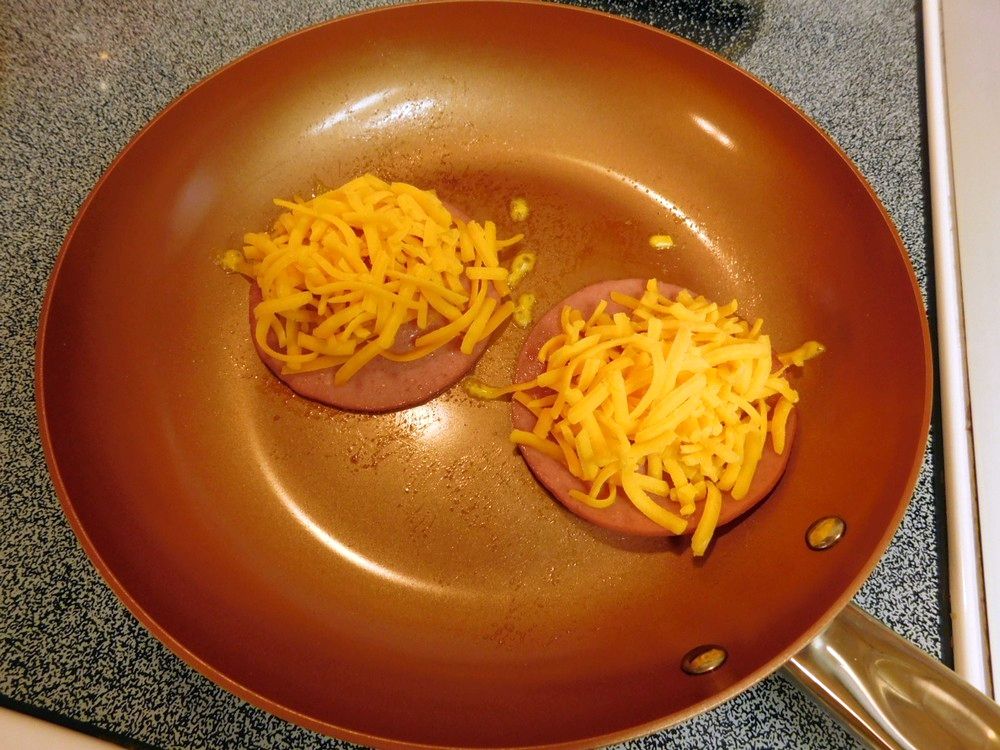
- Place a bit of each type of cheese on each slice of bologna and cover the pan with a lid until the cheese is melted.
- While the cheese is melting, spread some mayo on each slice of bread. After the cheese is melted, layer the bologna slices on a slice of bread with the mayo side up, then top with the other slice of bread, mayo side down.
- Slice the sandwich in half, and enjoy.
Grilled
- Heat about 2 teaspoons of oil in a non stick pan, when hot, add the bologna and fry until heated through or all the way to crispy, then flip.

- Place a bit of each type of cheese on each slice of bologna and cover the pan with a lid until the cheese is melted.

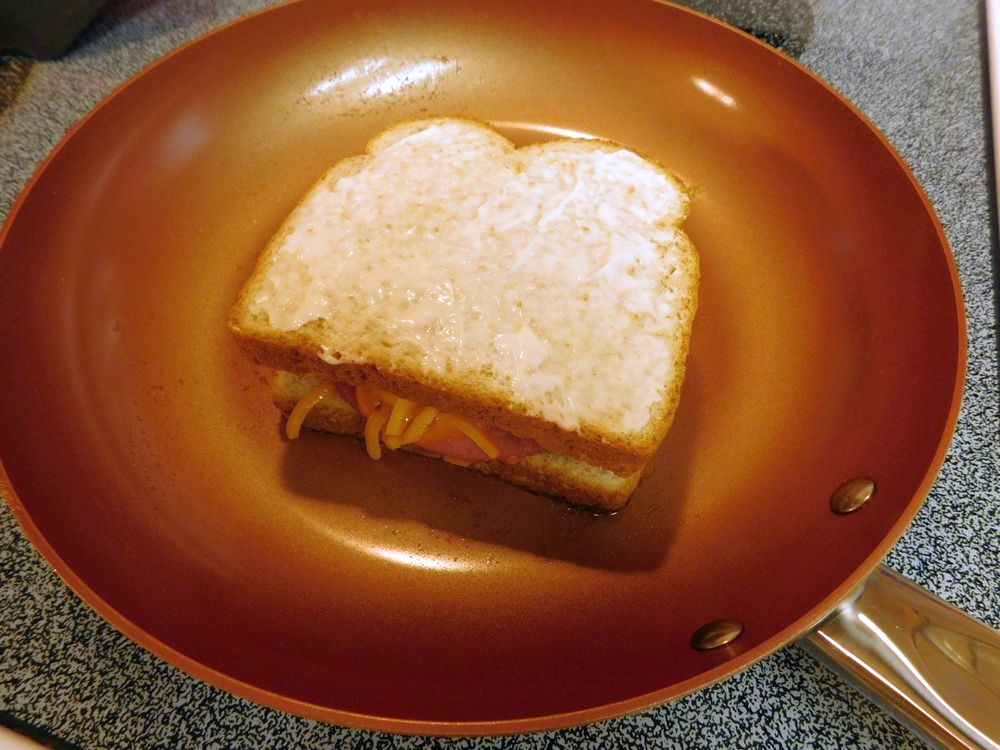
- While the cheese is melting, spread some butter or mayo on each slice of bread, place one slice butter or mayo side side down on parchment paper. After the cheese is melted on the bologna, layer the bologna slices on the slice of bread on the parchment, then top with the other slice of bread, butter or mayo side up.
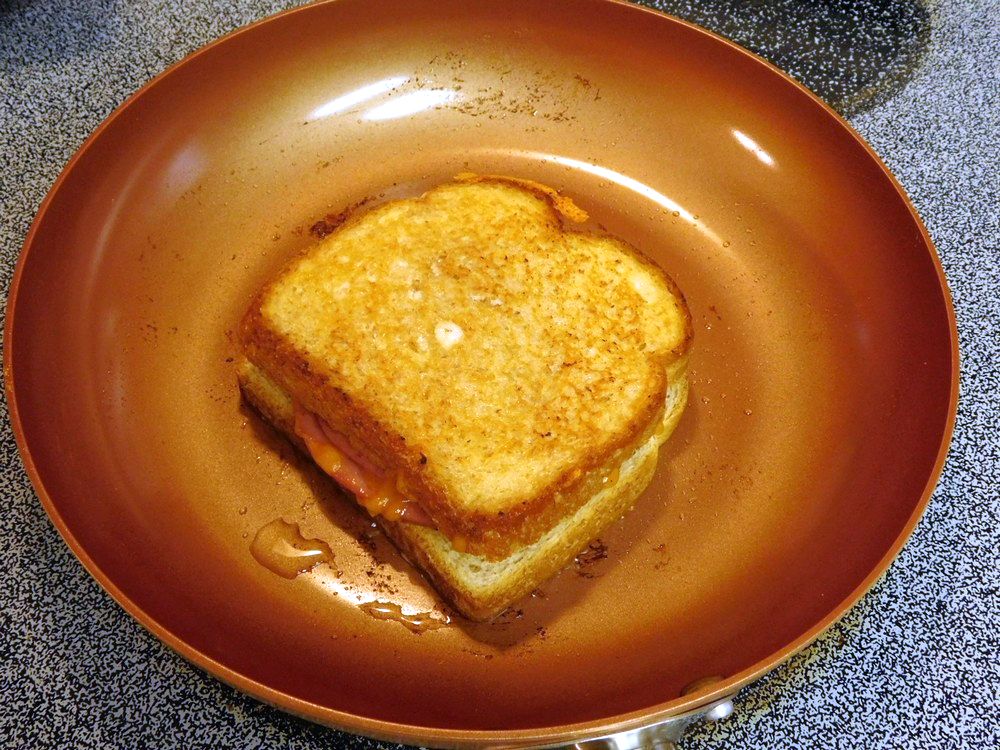
- Quickly wipe out the oil from the pan, return the pan to heat then pick up the sandwich and place in the hot pan. Cook until the bottom until it is golden brown.
- Then carefully flip the sandwich and cook until golden brown, remove from the pan.
- Slice in half and enjoy.

Notes
Low cost per sandwich.
Variants: 1. Use just one type of cheese if desired. 2. Use use in place of bologna.
Adapted from an internet recipe.