Archive for the ‘DESSERTS’ Category
Red Velvet Cake
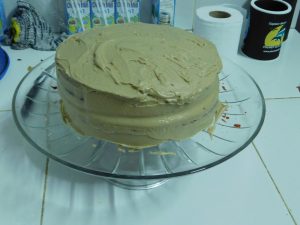
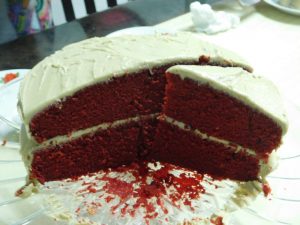
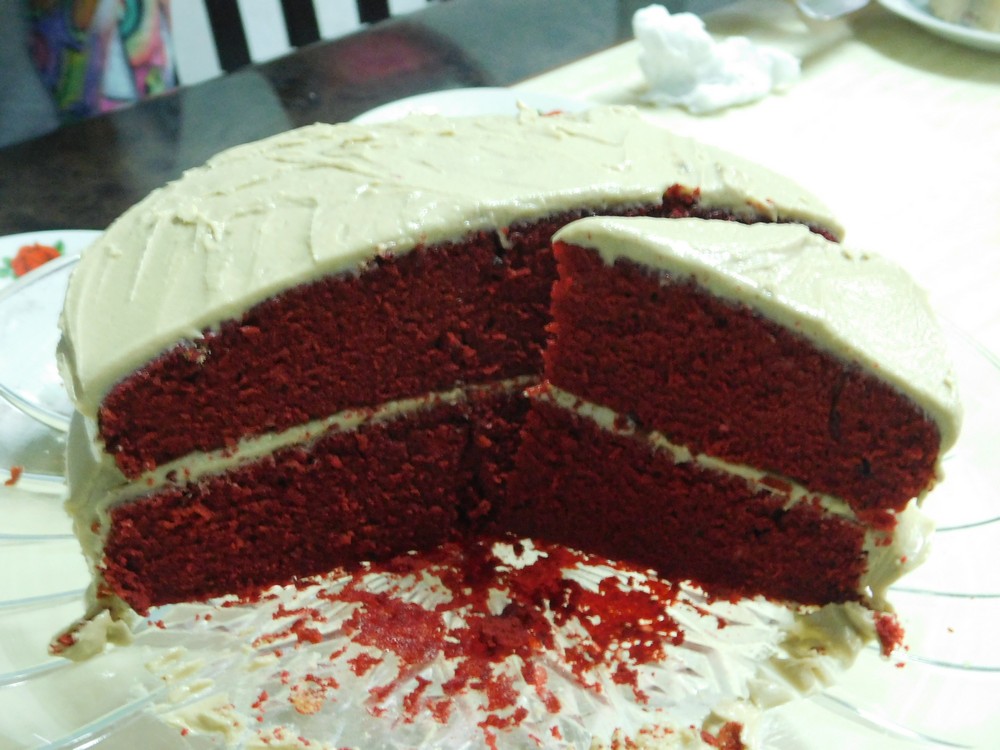
This was a new cake for me, and it is delicious. I used the shortcuts for the cake mix, buttermilk, and frosting. I made this on 14 Feb 2018, and it is delicious. Links to the shortcuts are listed in the Recipe Notes section.
Ingredients
- 1 yellow cake mix, OR make from a shortcut
- 3 eggs, chicken or duck
- 1/2 cup butter, room temperature
- 1 1/4 cups buttermilk, OR make from a shortcut
- 2 tablespoons cocoa powder
- 1 bottle red food coloring, 30 ml (1 oz)
- buttercream frosting, OR make from a shortcut
Instructions
- Preheat your oven to 180 C (350 F). Grease and flour two 8 inch rounds spring form pans.
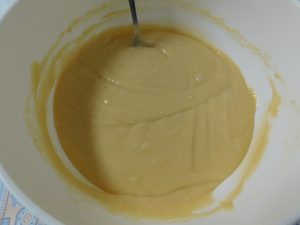
- Add the cake mix to mixing bowl, add the butter and work that into the flour. Crack the eggs into another bowl and whisk then pour the eggs into the flour and mix to combine. Slowly add the milk and mix just until the cake batter comes together, do not over work the batter or the result will not be a light and fluffy cake.
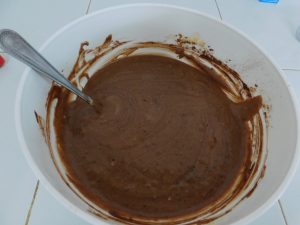
- Now add the cocoa powder and mix that in.
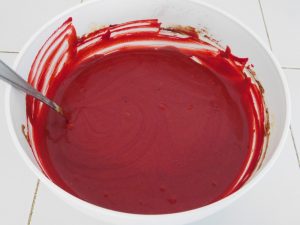
- Then mix in the bottle of red food coloring.
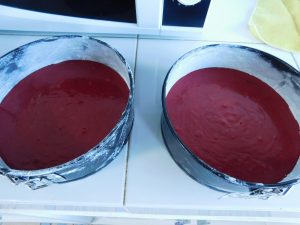
- Pour the batter equally into the two pans.
- Bake for 25-35 minutes or until a toothpick inserted in the center comes out clean. Remove from the oven and place the pans on a wire rack to cool for 10 minutes. After 10 minutes, remove the outer spring form and let the cakes completely cool.
- When the cakes are completely cool, use your favorite frosting to frost them or do as I did and use the buttercream shortcut.
- Slice and enjoy.
Notes
Low cost.
Shortcuts: Yellow Cake Mix, Buttermilk, Buttercream Frosting.
Adapted from many internet recipes.
Oreo Crust Cheesecake
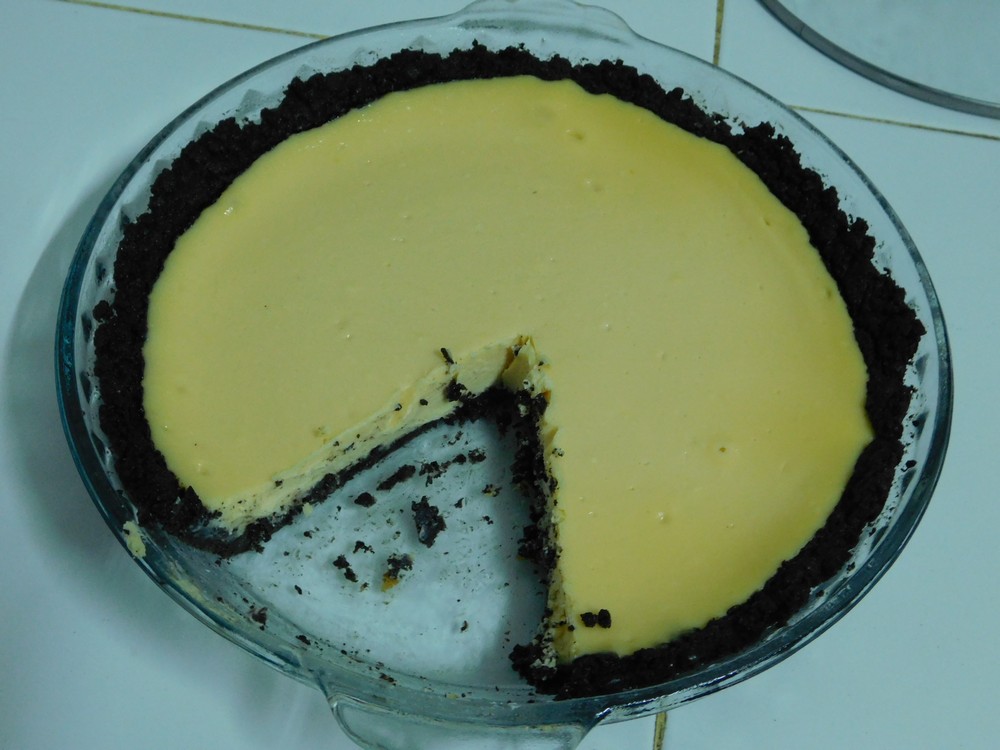
This is adapted from two recipes I found, but for the crust, feel free to use a store bought crust, oreo or graham cracker. I made this on 2 Feb 2018, easy and excellent flavor.
Ingredients
For the Crust
- 24 Oreo cookies
- 1/4 cup butter, melted
For the Filling
- 500 grams Cream cheese, two 250 gram (8 oz) blocks, room temp
- 2 eggs
- 2/3 cup sugar
- 1 teaspoon vanilla extract
Instructions
For the Crust
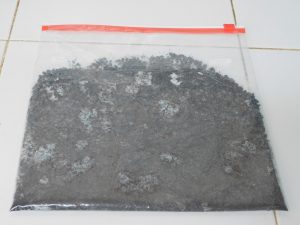
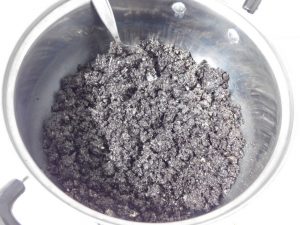
- Add the whole Oreo cookies, filling and all to a blender or food processor and process to make crumbs, or for old school, just place in a zip lock bag but do seal and crush with a rolling pin to a good fine consistency.
- Place the crumbs in a bowl and pour in the melted butter and mix to coat all the crumbs with the butter.
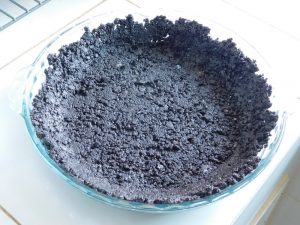
- Pour the breadcrumb mixture into your pie dish, firmly press it down firmly on the bottom and sides of the dish, I used a smooth flat bottomed bowl to help with this.
For the Filling
- Preheat your oven to 180 C (350 C).
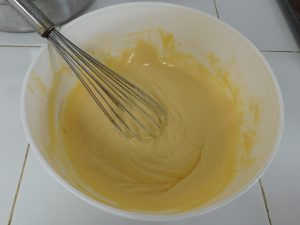
- With the cream cheese at room temperature, add the sugar, eggs, and vanilla. Mix until smooth with an electric mixer. Now I don't own an electric mixer, so I had to improvise just a bit. I used a potato masher to to get the cream cheese broken down and softened up with the eggs, once soft, I used a whisk to make a smooth batter. (People have been making cheesecakes before electric mixers and Kitchenaid appliances.)
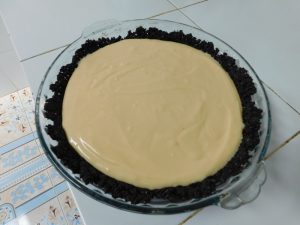
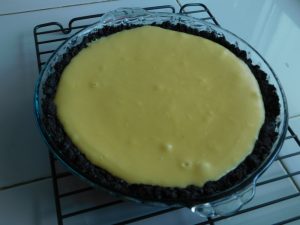
- Pour the batter into the prepared crust and smooth it out evenly.
- Place on the pie dish on a baking sheet and place in the oven and bake for 30 minutes. I checked it at 30 minutes and it was quite loose (jiggly) in the center so I continued for another 10 minutes. At the 40 minute mark, a solid cheesecake. Remove from the oven and place the dish on a rack to cool completely, then cover and refrigerate until use.
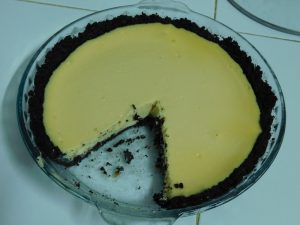
- First piece removed, the piece fell apart in places as I did not have the cookie crumbs evenly layered.
Notes
The Cream cheese will cost about 240 Baht for 2 250 gram packages. For 8 servings, this is about 89 cents per serving. Good value overall.
Variants: 1. Serve topped with a fruit filling such as blueberry, cherry, strawberry, etc. 2. Melt a bar of chocolate and mix that in before baking.
Adapted from several internet recipes.
Slow Cooker Peanut Clusters
Been a long time since I had peanut clusters, I need to change that. Makro in the city has a large baking supply section so I am making a list to pick up these ingredients. On my to make list.
Ingredients
- 1 kilo dry roasted peanuts, (34.5 oz)
- 900 grams vanilla almond bark, (32 oz)
- 340 grams semisweet chocolate chips, (12 oz)
- 115 grams baker's German chocolate, (4 oz)
- candy sprinkles, optional
Instructions
- Layer the ingredients in your slow in the order listed, except the sprinkles. Set the cooker to Low setting and cover, cook for 1 hour with no stirring.
- After the first hour, give the mixture a good stir to combine everything. Continue to cook on Low for another hour, giving a quick stir about every 15 to 20 minutes.
- Roll out a big sheet of parchment paper on your counter. At the end of the 2 hour mark, turn the cooker off and give the mixture another good stir.
- Use a 1 tablespoon scoop, like a small ice cream scoop and scoop out the mixture placing each scoop onto the parchment, allow some space between each cluster.
- Sprinkle with candy sprinkles if desired. Allow to cool completely. Enjoy.
Notes
I will price this once I obtain all the ingredients, for now I will say low cost.
Adapted from an internet recipe.
Peanut Butter Cookies II
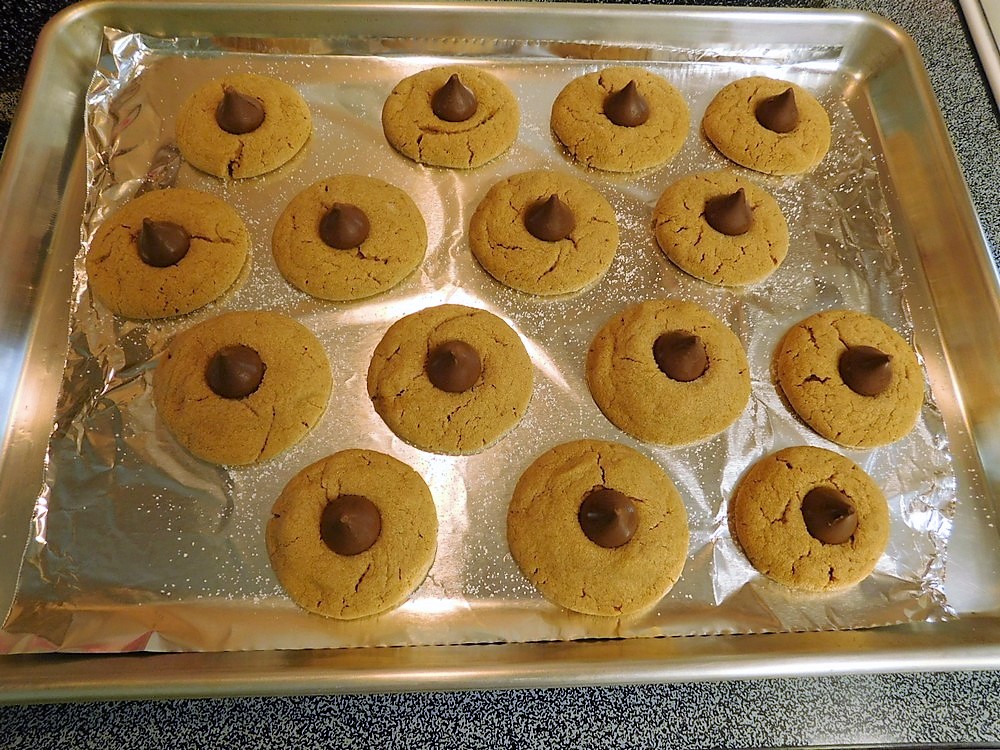
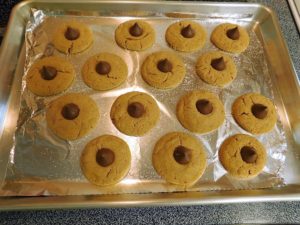
This is a no flour and a 3 or 4 ingredient recipe. I did use the brown sugar in addition to the white sugar, so 4 ingredients used, and I made Peanut Butter Blossoms with these, tasty.
Ingredients
For Classic Peanut Butter Cookies
- 1 cup peanut butter, honey roasted if you have that
- 1 cup sugar, or 1/2 cup sugar + 1/2 cup brown sugar packed
- 1 egg, chicken or duck
Needed for Peanut Butter Blossoms
- Hershey's Kisses, as needed, one per cookie
Instructions
- Preheat your oven to 180 C (350 F) and line a baking sheet with parchment paper or foil.
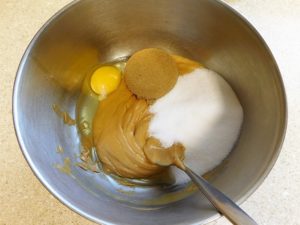
- In a mixing bowl, mix together everything until well combined. Place a few tablespoons of additional sugar in a separate small bowl.
- Scoop out by teaspoons and roll into balls, roll balls in sugar and place on the parchment or foil.
For Classic Peanut Butter Cookies
- Dip a fork into the bowl with the sugar and press each cookie down to make the classic crosswise fork pattern, dipping the fork in the sugar for each cookie.
For Peanut Butter Blossoms
- Remove the foil from Hershey Kisses as needed. Just bake the ball shapes, do not flatten. After removing from the oven, place a Hershey's Kiss on each cookie pressing it in slightly.
- Bake for 10-12 minutes, aim is just until golden brown around the edges. Remove from the oven and let the sheet cool for 5 minutes, then remove the cookies to a rack to cool.
- Enjoy.
Notes
Low cost.
Variants: 1. Mix in chocolate chips. 2. To make peanut butter blossoms, place a Hershey's kiss on top of each cookie right when they come out of the oven.
Adapted from an internet recipe.
Basic Applesauce (Slow Cooker)
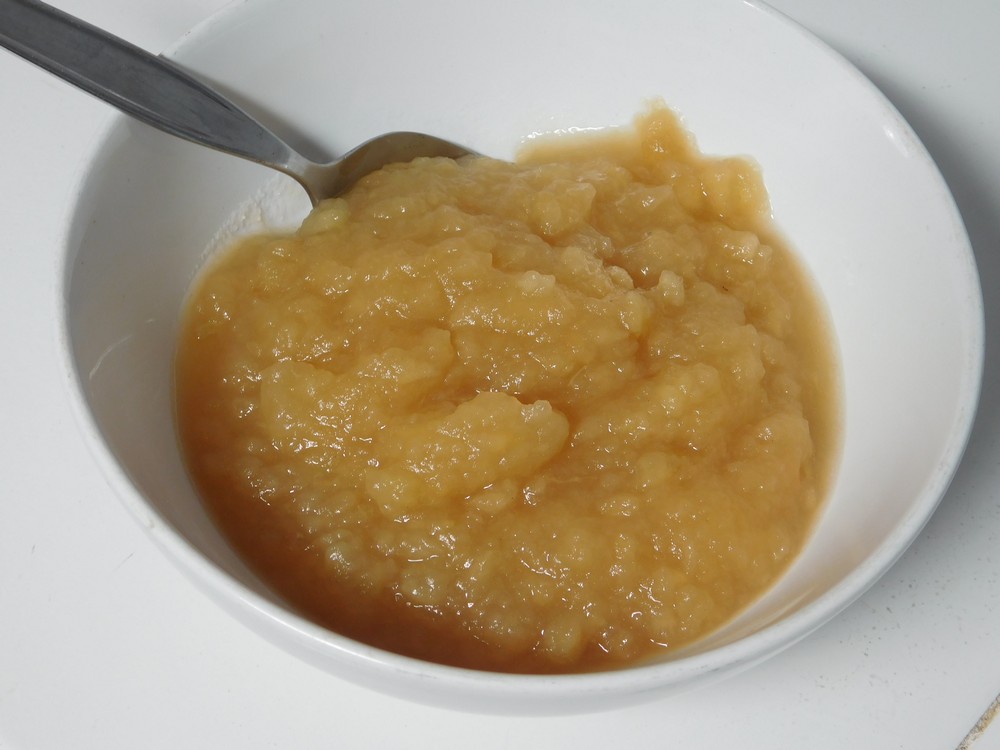
I have never made applesauce before so I researched and found this, basically peeled, cored, and sliced apples and cooked with a bit of water, and if desired, sugar and salt as well. I made this on 14 Dec 2017, and wow is this better than from a jar! I have changed this up to a slow cooker recipe, which is perfect for the controlled heat.
Equipment
- Slow Cooker
- Potato Masher
Ingredients
- 6 medium apples
- ½ cup water
- pinch salt, small pinch
- ½ cup sugar, optional, not really needed
Instructions
- Add the water and a pinch of salt to your slow cooker and set to High setting.
- Peel, core, cut the apples in quarters, and slice. Put the apple slices in the slow cooker.
- Cover and cook until the apples are soft. Stir about every 15 minutes, after 30 to 45 minutes, mash with a potato masher. Add sugar if desired depending on how sweet you would like this. Cook to melt the sugar in and cook down to a sauce.
- Cook for another 30 minutes on Low setting, and you have the best tasting applesauce ever. Serve as a dessert or use as an ingredient in baking.
Notes
Used in Recipes Listed on this Site:
- Pig Pickin' Cake, made it, GO-TO recipe.
- Red Hot Applesauce Jello, made it.
- Applesauce Cookies, made it, GO-TO recipe.
- Applesauce Pie, made it, GO-TO recipe.
Peanut Butter Sandwich Cookies
Sounds really good, and easy with minimal ingredients. On my to cook list.
Ingredients
For the Cookies
- 1 cup sugar
- 1 cup peanut butter
- 1 egg
For the Filling
- 1/4 cup butter, (1/2 stick)
- 1/4 cup peanut butter
- 1 cup powdered sugar
- 1-2 tablespoons milk
Instructions
- Preheat your oven to 180 C. Line a baking sheet with parchment paper.
- In a mixing bowl, add the sugar and egg and mix until creamy using an electric mixer. Add the peanut butter and mix together well.
- Form 1 inch balls of dough, a small ice cream scoop would be ideal, or just use two spoons. Place on the parchment paper, goal is 12 balls.
- Slightly flatten each ball with the back of a fork, then again at a 90 degree angle to make the crisscross pattern.
- Bake for 12 minutes, remove and let cool for 1-2 minutes on the sheet.
- Make the filling by adding the butter and peanut butter to a mixing bowl and beat with a electric mixer until smooth, slowly add in the powdered sugar and beat until smooth. Mix in the milk 1 tablespoon at a time to achieve the desired consistency.
- Spread a tablespoon of filling on the bottom side of a cookie, top with another cookie, bottom side on the filling. Repeat for the remaining cookies, serve.
Notes
Low cost.
Provided courtesy of good friend, Stephen Connell.
United States.
United States.
Fresh Pumpkin Pie
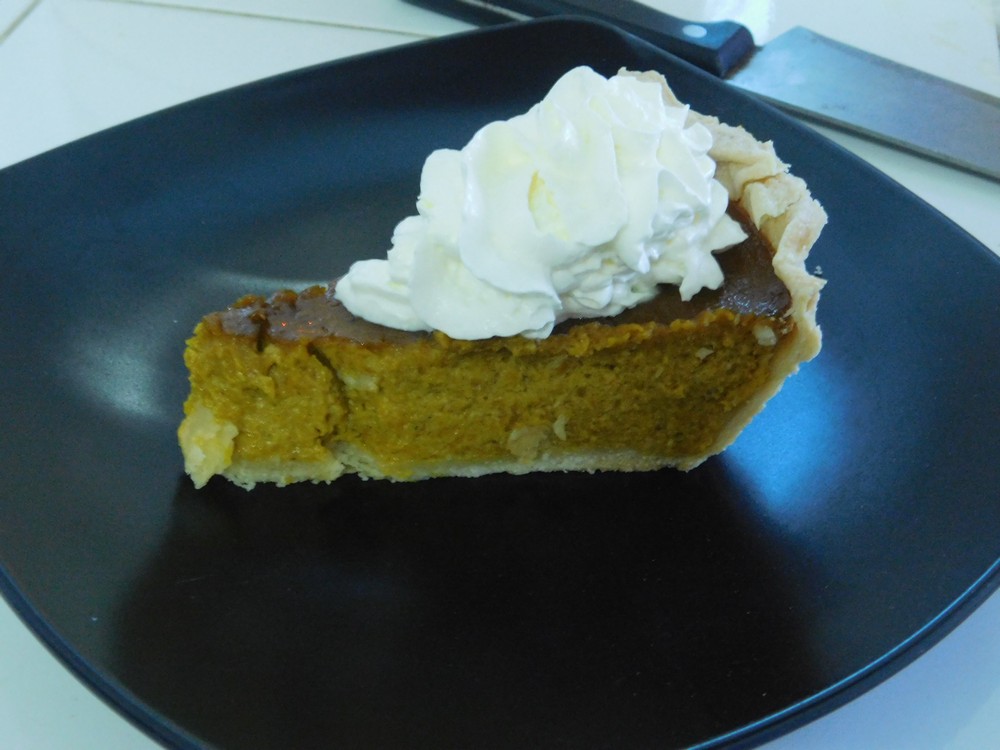
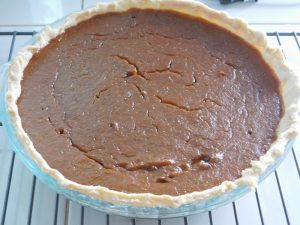
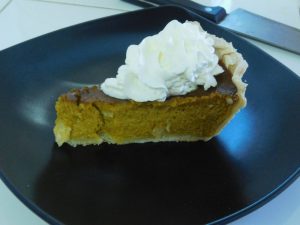
This is a from scratch pie, no canned pumpkin, for where I live, plenty of winter squash, which is a pumpkin, but depending on your location, feel free to use orange pumpkin, acorn squash, butternut, or Hubbard squash. I am really surprised I have not made this before as winter squash, called pumpkins here, is grown here locally and available everywhere. I made this on 16 Oct 2017 and it came out beyond all expectations, this was just perfect, very liked by the family, so much so, I was asked to make this again on 17 Oct. Most of the steps and photos is just to prepare the pumpkin, keep in mind, you are going to go from a whole pumpkin to making the mix, crust, and baking, this actually moves along quickly however.
Equipment
- Pie Dish (9 inch)
- Oven
Ingredients
- 750-800 grams fresh pumpkin, I used a large section from a large pumpkin, 26-28 oz)
For the Filling, after pumpkin is cooked
- 2 cups pumpkin, cooked, peeled, and mashed
- 1 can evaporated milk, (368 ml Thailand, 12 fl oz US)
- 2 eggs, beaten
- ¾ cup brown sugar, packed
- ¾ teaspoon ground cinnamon
- ¾ teaspoon ground ginger
- ¾ teaspoon ground nutmeg
- ½ teaspoon salt
For the Pie Crust
- 1⅓ cups all purpose flour
- ½ teaspoon salt
- ½ cup shortening, lard, or frozen butter that is shredded
- 3½ tablespoons cold water
Instructions
To Cook the Pumpkin
- First things first, you need to prepare then cook some pumpkin. If you have a preferred way, use that. Here are my steps I used. I bought a 3½ kilo (7 lb) pumpkin, yes, this is what is called a pumpkin here, not very attractive looking. I cut a section out, removed the seeds and weighed (I use a digital scale) and the piece was 770 g (27 oz).
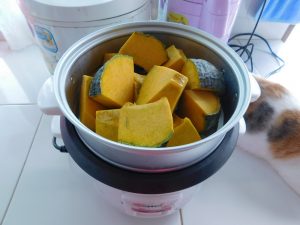
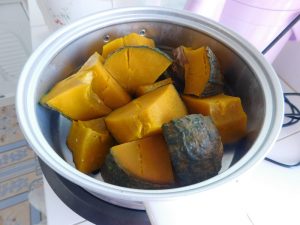
- Cut the piece into large chunks. I used my little rice cooker to steam this, place the chunks in the steamer basket, add water to the pot, set to Cook setting. Use your preferred way to steam the pumpkin.
- About 10-15 minutes to bring the water in the rice cooker to a boil, and about 15 minutes steaming the pumpkin, done. It is cooked when it easily pierces with a fork. Turn off the rice cooker, remove the steamer basket and let the pumpkin cool, about another 20-30 minutes.
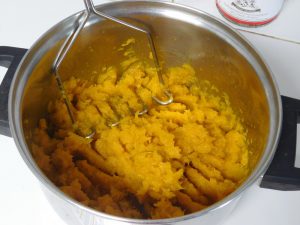
- Once the pumpkin has cooled, use a pairing knife and cut off all the green skin, it comes off very easily, takes 2 minutes if that. Place the trimmed pieces in a small pot. With a potato masher, fully mash the pumpkin well, takes just a minute or two, no need for a food processor or any other kitchen devices.
To Make the Filling
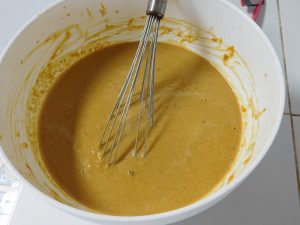
- Add the cooked and well mashed pumpkin to a large mixing bowl, add the rest of the Filling ingredients and mix well. I used a spoon at first then switched to a whisk, takes just a minute or two.
- Now is the time to preheat your oven to 200° C (390° F).
For the Crust
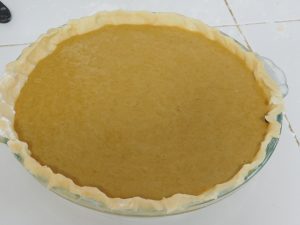
- Mix together the flour and salt from the Pie Crust ingredients, cut shortening, lard or butter, into the flour with a fork, add cold water 1 tablespoon at a time, mix until dough is moist enough to hold together. Shape into a ball and place on a floured work counter, roll to about 1/8 inch thick and larger than your pie dish. roll the dough on the rolling pin and transfer to the dish and unroll. Press the dough in, trim away excess, flute the edges.
Assemble the Pie
- Give the pumpkin another good stir, then pour into the prepared pie dish. As you can tell, I absolutely horrible at fluting a pie crust.
- When the oven is heated, bake for 40 minutes or until a knife inserted 1 inch from the edge comes out clean. Remove from oven, place on a rack, and allow to cool.
- Cut and top slices with whipped cream, serve and enjoy.
Notes
Variants: 1. Reduce sugar to ½ cup. 2. Use 1 can (15 oz / 425 g) of canned pumpkin in place of fresh pumpkin.
Pineapple Upside Down Cake
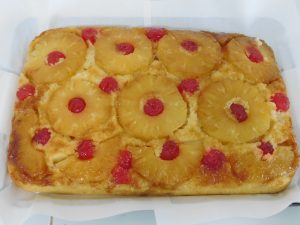
I made this using a shortcut yellow cake mix and fresh, not canned, pineapple. One pineapple, cleaned and sliced, provided 9 slices, perfect for a 9x13 pan. This does take longer to bake, I also cut back on the brown sugar from the original recipe. Link to the shortcut is listed in the Recipe Notes section.
Ingredients
- 1 yellow cake mix, OR make from a shortcut
- 1/2 cup butter, (1/2 block / 1 stick)
- 3/4 cup brown sugar, packed
- 1 fresh pineapple
- 1 jar maraschino cherries, stems removed, or glaced cherries
- eggs, butter or oil, as stated by the cake mix
Instructions
- For this cake I used the Yellow Cake Mix shortcut and the Yellow Cake Recipe also here on the site, links to those are in the Recipe Notes section. I used a fresh pineapple so no juice from a can, so I just made the yellow cake as it is stated on this site.
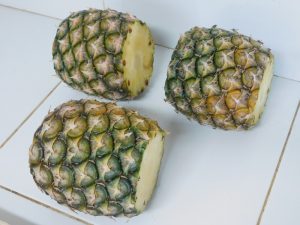
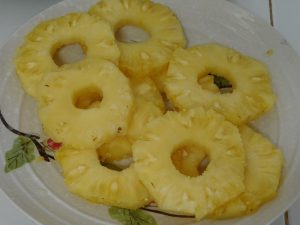
- First thing to do is prep the pineapple. Cut off the top and the bottom. Take the pineapple and stand it on its bottom, using a chef's knife, cut down the side to remove a strip of rind, follow the curve of the pineapple, continue to get all the rind off and and any of the dark spots as well. I used the pineapple in the foreground for this cake, the other two were just cut up for a plate of fruit to snack on.
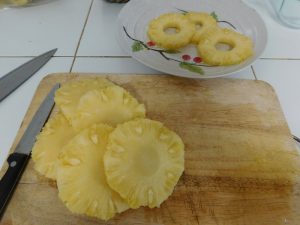
- Now turn the pineapple on its side and cut into slices about 1/4 inch thick or so. Once you have all the slices, lay a slice flat and use a pairing knife to cut the core out, very easy to do this.
- Pineapple is now prepped, takes all of 5 minutes from start to finished rings.
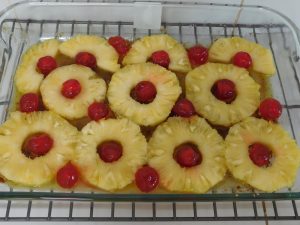
- Preheat your oven to 180 C (350 F). While it is heating, place the 1/4 cup of butter in the baking dish and put that in the oven to melt the butter. I used a 9x13 Pyrex dish. Once the butter is melted, takes just a few minutes, remove the dish from the oven, spread the butter evenly around the bottom of the dish then sprinkle the brown sugar evenly over the butter.
- Arrange the pineapple slices on the bottom of the pan, you can make any pattern you wish. Place a cherry in the center of each ring and in the open areas if desired.
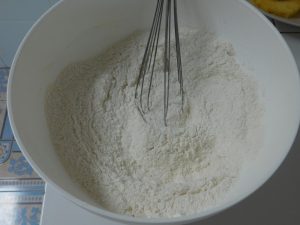
- Here is my Homemade Yellow Cake Mix, does not look much, it is just flour, sugar, baking powder, and salt. Link is listed in Recipe Notes.
- To the Yellow Cake Mix, you need to prepare the batter, that link is in the Recipe Notes section as well. To the Mix, you will need to add 3 eggs, 1/2 cup butter, softened, 1 1/4 cups of milk, 1 tablespoon vanilla extract. Mix by hand, no need to dirty up a electric mixer. Just mix until the batter comes together for a fluffy and moist cake.
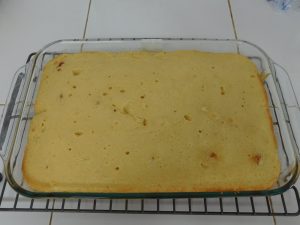
- Pour the batter into the pan to even cover the pineapple. Any butter that rises around the edges is perfectly fine and expected, just leave it as is, no mixing at this point, just place it in the oven for 25 to 40 minutes or until a toothpick inserted in the center comes out clean.
- Remove from the oven and run a butter knife around the edges, place a baking sheet over the cake and holding both the dish and baking sheet together, flip the cake over and leave the cake pan on the cake for about 5 minutes to allow the butter and brown sugar soak into the top.
- Remove the dish, let the cake cool for about 30 minutes, serve warm or cooled completely. Store leftovers in the fridge.
Notes
Old-Fashioned Sweet Cornbread Cake
Sounds really good and is an interest way to use cornmeal as I have never heard of this before. On my to cook list.
Ingredients
- 1 cup yellow cornmeal
- 3 cups all purpose flour
- 1 1/3 cups sugar
- 2 tablespoons baking powder
- 1 teaspoon salt
- 2/3 cup vegetable oil
- 1/3 cup butter, melted
- 2 tablespoons honey
- 4 eggs, beaten
- 2 1/2 cups milk
Instructions
- Preheat your oven to 180 C, and grease a 9x13 baking dish with butter.
- In a mixing bowl, stir together the dry ingredients, then add all of the liquid ingredients and stir just to moisten.
- Pour the batter into the baking dish and place in the oven and bake for 30 to 45 minutes or until the top is starting to brown and starting to show some cracks.
- Serve as a side, a dessert, breakfast, etc.
Notes
Low cost.
Sweet Eggs (Kai Wan - ไข่หวาน)
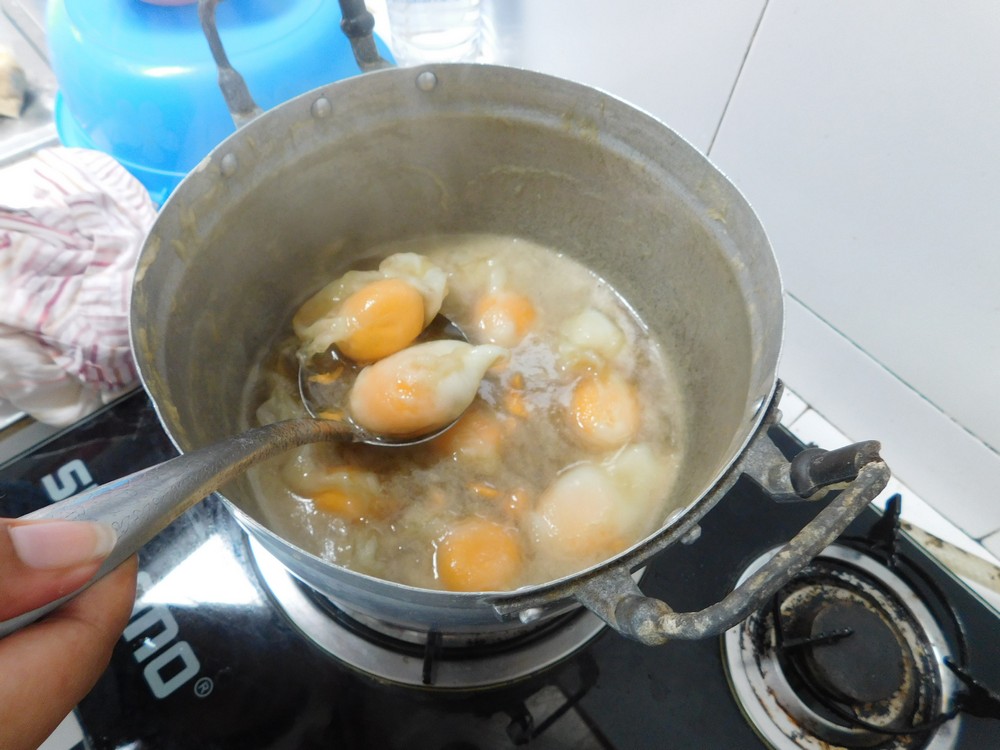
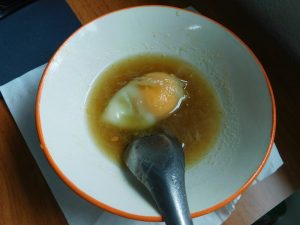
This is a Thai dessert, eggs cooked in water with brown cane sugar and a touch of ginger. Sweetness depends on how much sugar you use. I seen my step daughter cooking these on 18 July 2017 and got a few photos as well.
Ingredients
- brown cane sugar, 1/4 to 1 cup
- water, as needed
- eggs, as needed
- 1/2 inch ginger, optional
Instructions
- Add the sugar and the piece of ginger to a medium sized pot of water and bring to a boil. Once boiling, start cracking in eggs. I think the step daughter used 10 eggs in this.
- Reduce heat and simmer the eggs until the yolk is cooked through, stirring occasionally.
- Serve with some of the liquid from the pot. This served 6 people as a dessert at a lunchtime meal.
Notes
Low cost.
Watched my Step Daughter make this.
