Archive for the ‘5 Ingredients or Less’ Category
Cheesy Bean Enchilada Casserole
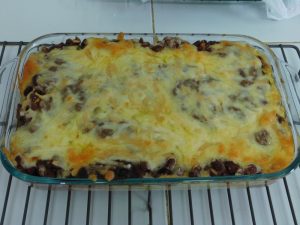
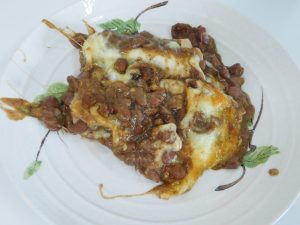
This is my own creation made on 21 Feb 2018, nothing special to look at but is tasty if one likes bean enchiladas. This recipes makes use of another recipe here on the site for the refried beans. Link to the shortcut is listed in the Recipe Notes section.
Ingredients
- 1 batch refried beans, shortcut listed below
- 4 large flour tortillas
- 3 cups Cheddar cheese, shredded, or a 4 cheese blend
- 1 packet enchilada sauce, OR make from a shortcut
Instructions
- Prepare the refried beans from the shortcut below, I don't know how many cups or cans this makes, I make mine in batches of 500 grams (1 lb) dry beans. These take 8 hours, so you can either start the beans really early or make the casserole the next day, which is what I did.
- Preheat your oven to 180 C (350 F). Prepare the enchilada sauce according to the package or shortcut instructions.
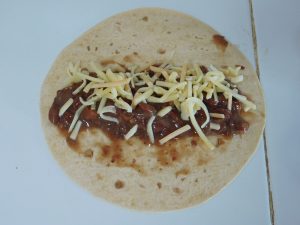
- Lay a tortilla on your work surface, spread some refried beans in the middle, top with some shredded cheese.
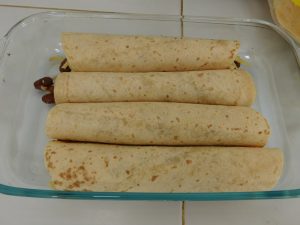
- Fold or roll up the tortilla and place seam side down in a 7x11 baking dish. Repeat with the remaining 3 tortillas.
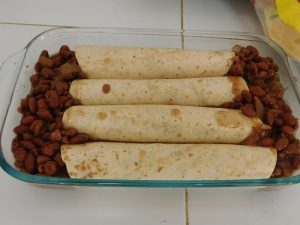
- Spoon some beans into each end of the dish.
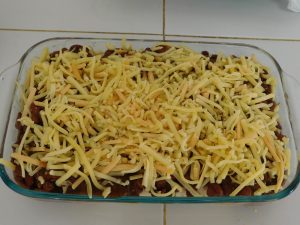
- Spoon the rest of the beans over the top of the enchiladas and spread out evenly. Pour on the enchilada sauce, then top with the remaining cheese.
- Bake for 20-30 minutes to warm through and brown the cheese.
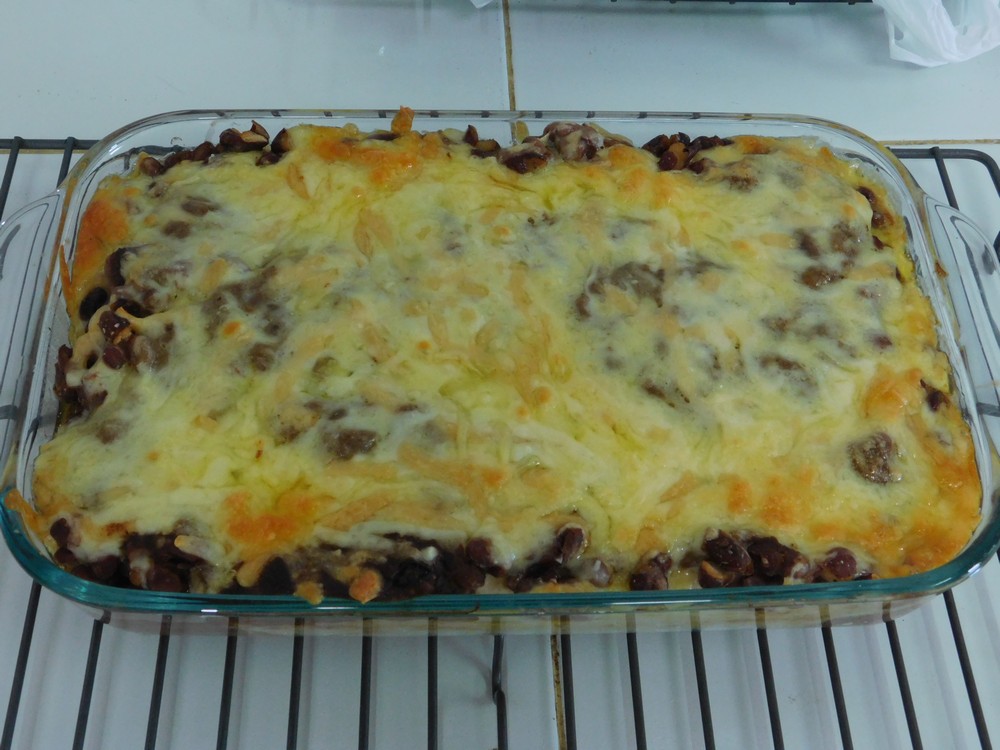
- Let casserole rest for a few minutes, then dig in and enjoy (see, I said it was nothing special to look at).
Notes
I will price this next time I get the cheese I used. For now I will say fair cost.
Shortcuts: Easy Refried Beans, Enchilada Sauce Mix.
My own creation, Lee Thayer.
Thailand.
Thailand.
Whole Duck (Pressure Cooker)
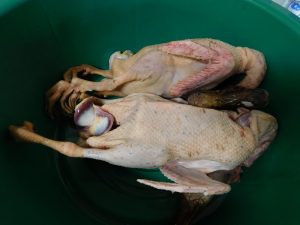
Using the same idea that the pressure cooker produced an outstanding juicy and tender chicken, my wife suggested using it for duck. We sent our brother in law to a local duck farm two days ago and he brought back 2 small ducks, yesterday, 18 Feb 2018, he slaughtered the ducks, plucked them, and sort of cleaned them, and delivered the two ducks to us. I did the final cleaning and prep for the pressure cooker. And oh my, what a tender and juicy duck as well, absolutely delicious! Follow the safety precautions for you type of pressure cooker. I use a 12 psi (80 kPa) 9 liter (9 1/2 quart) stove top pressure cooker.
Ingredients
- 2 small whole ducks
- 8 stalks lemon grass
- 2 handfuls lime leaves
- 1 large onion, chopped
Instructions
- For those in Asia, any fowl will have feet and head still attached.
- Prep the duck by cutting off the feet, head, and neck. Clean the inside and out with running water, clean the inside well. Make sure the heart and liver are removed as well, and clean the gizzard as well if that is not done.
- Beat the lemongrass with a pestle or meat tenderizer, make two bundles and tie each into an overhand knot, place a bundle in each duck, then place a handful of lime leaves in each duck.
- If using the feet, use a cleaver and chop off the toes, and if using the head, chop off bill, yes, I know that sounds weird. Wash the feet, heads, necks, and gizzards. These will go in the pressure cooker. For the hearts and livers, set those aside, those do not go in the pressure cooker. (I boiled the hearts and livers for a snack while cooking the ducks.)
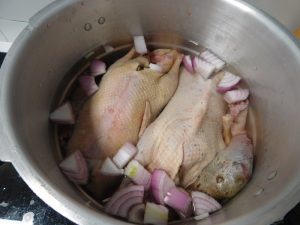
- Place the ducks in the pressure cooker along with the heads, necks, feet, and gizzards. Toss in the chopped onion. Add water as need, it does not need to cover the ducks, but keep the pot 2/3 or less full.
- Add the lid and lock in place, place weight (jiggler) on the top and turn on heat to high. Once the jiggler starts venting pressure and moving, start your time for 30 minutes.
- At 30 minutes, turn off the heat and move the pot to an unused burner and allow to release pressure naturally.
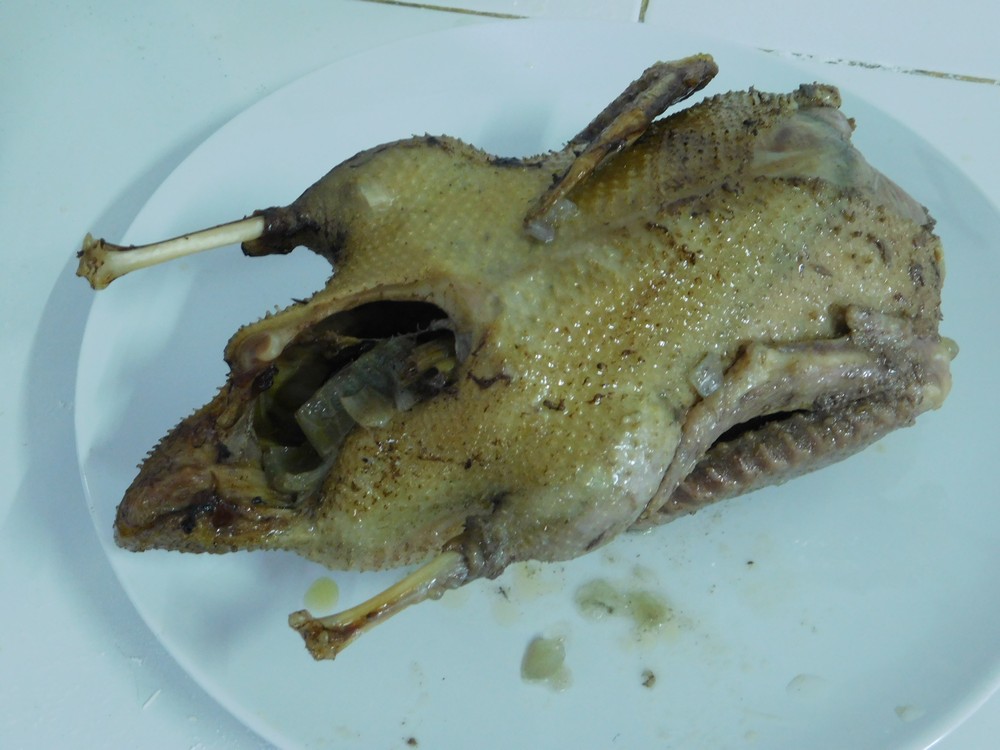
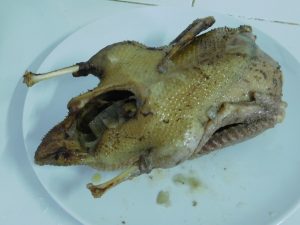
- One duck ready to serve. This was enjoyed with just a simple chili sauce for dipping and rice on the side. Figure 4 servings from one small duck.
Notes
Each small duck cost me 100 Baht, so 200 for both. for 8 servings, this is about 75 cents per serving, outstanding value for a very good meal!
Fresh Carrots (Pressure Cooker)
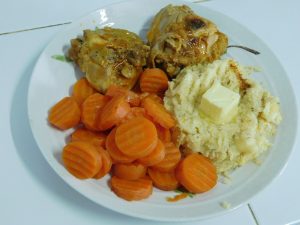
Since buying my stove top (old school) pressure cooker, I am using it often for flavorful mains and side dishes. A pressure cooker keeps the flavor in the foods you are cooking and does it in less time as well. This was a spur of the moment side dish I put together to use up some carrots in the fridge and to make a healthy side dish as well. Follow your pressure cooker safety instructions. Link to the Shortcut is listed in the Recipe Notes section.
Equipment
- Pressure Cooker
Ingredients
- 2-4 large carrots
- 2 cups chicken stock, fresh or from powder, Shortcut
- black pepper, to taste
Instructions
- Add the chicken stock to the pressure cooker.
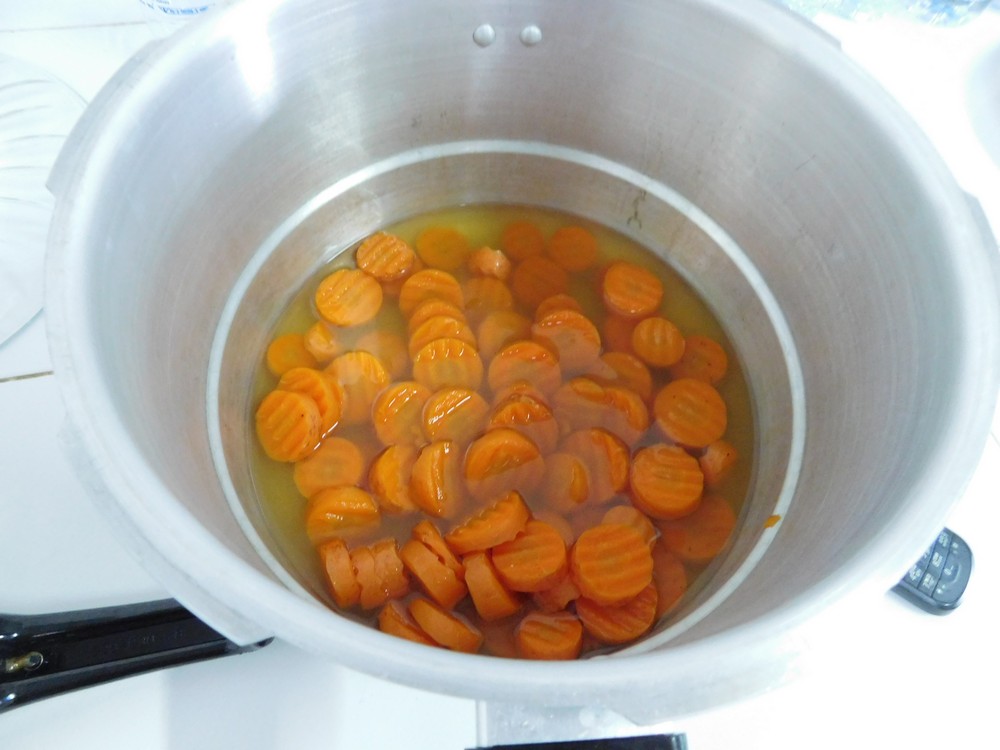
- Wash and slice the carrots about ¼ to ½ inch thick, you can peel them first if you like. Place in the pressure cooker. Sprinkle some black pepper in as desired.
- Cover and lock lid, turn heat to high to bring the pressure up to lock the lid and the jiggler starts moving and pressure is escaping, then turn the heat down to maintain movement on the jiggler. Start your time for 2 minutes.
- When 2 minutes have passed, turn off heat and move the cooker to an unused burner for a natural release of pressure, about 5-10 minutes. then open the lid when the pressure has released.
- Serve as a side with any dish.
Notes
Shortcut: Chicken Stock (Pressure Cooker).
Variant: 1. Although the chicken stock provides a nice flavor, you can certainly use an equal amount of water instead.
Used in Recipes Listed on this Site:
Red Kidney Beans (Pressure Cooker)
I use a lot of dry beans as canned is just expensive compared to what you get. 500 grams of dry beans cooked, makes a lot of canned beans for sure. And dry beans are so cheap. And since I recently bought a stove top pressure cooker, I decided to cook my kidney beans in that and this is a guide for me regarding the time needed. Follow your pressure cooker safety instructions at all times. I use a 9 liter (9½ quart) 80 kPa (12 psi) stovetop pressure cooker. I have edited the recipe for cooking with soaked beans and dry beans .
Equipment
- Pressure Cooker
Ingredients
- 500 grams dry kidney beans, (1 lb)
- salt, as needed
- water, as needed
- 2 tablespoons cooking oil, very important
Instructions
For Soaked Beans
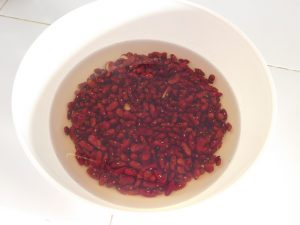
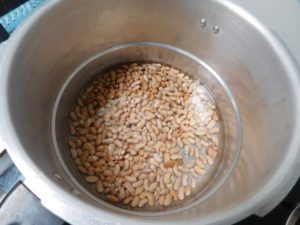
- Rinse the kidney beans and remove any bad ones and debris, place in a large bowl and cover with 2 inches of water. Add 2 tablespoons of salt and stir that in. Cover the bowl and let that sit for 6 hours. (These look a bit wrinkly, as I took the photo about an hour after I put them in the water.)
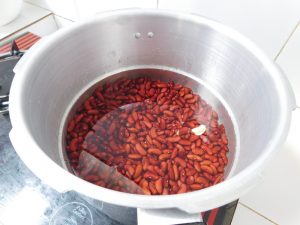
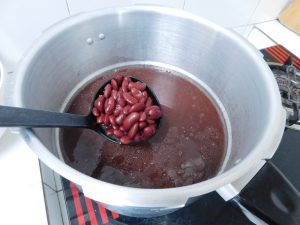
- After 6 hours, drain and rinse the beans and place in your pressure cooker. Add 9 cups of water, 1 teaspoon of salt, and the 2 tablespoons of cooking oil, this keeps the beans from foaming so do not skip the oil.
- Place the lid on the pot, add the weight (jiggler), and bring the heat up to high. When the jiggler starts moving and releasing pressure, start timing this for 8 minutes, and turn the heat down to just maintain the jiggler moving and releasing pressure.
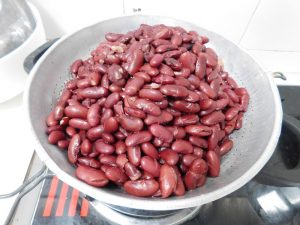
- At 8 minutes, turn off the heat and move the pressure cooker to an unused burner and allow a natural release of pressure. When the pressure is released, open the lid, use beans as needed in other recipes.
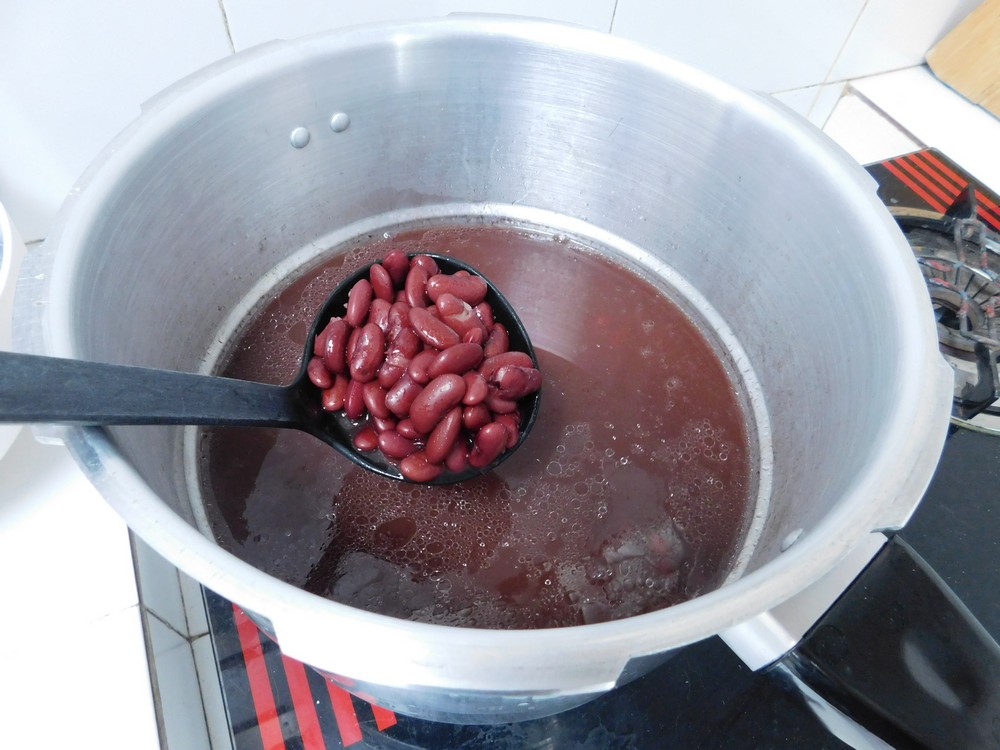
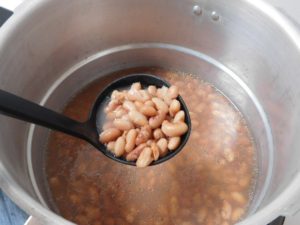
- Drained and ready for use in a recipe. (I will be making a pot of chili with these.)
For Dry Beans
- Rinse the dry beans and remove any bad ones and debris, and place in your pressure cooker. Add 12 cups of water, 1 teaspoon of salt, and 2 tablespoons of cooking oil, this keeps the beans from foaming so do not skip the oil.
- Place the lid on the pot, add the weight, and bring the heat up to high. When the jiggler starts moving and releasing pressure, start timing this for 27 minutes, and turn the heat down to just maintain the jiggler moving and releasing pressure.
- At 27 minutes, turn off the heat and move the pressure cooker to an unused burner and allow a natural release of pressure. When the pressure is released, open the lid, taste, drain, and use beans as needed in other recipes.
Notes
Used in Recipes Listed on this Site:
- Deluxe Kidney Bean Salad.
- Marinated Bean Relish.
- Calico Bean Bake.
- Lentil Chili.
- Best-Ever Beans & Sausage, made it, GO-TO recipe.
- Easy Taco Soup (Slow Cooker).
- Slow Simmered Kidney Beans (Slow Cooker).
- Three Bean Salad.
- Pasta Fagioli Kidney Bean.
- Taco Soup.
- Kidney Bean Salad, made it, GO-TO recipe.
- Slow Cooker Cowboy Casserole.
Boiled Cuttlefish
This is a Thai dish, and the cuttlefish is just rinsed and cooked whole. I have eaten these and they are very good.
Ingredients
- 1 kilo fresh cuttlefish, (2 lb)
- 5-6 shallots, peeled and smashed
- salt, as desired
Instructions
- Rinse the cuttlefish. Fill a pot about half full of water, add the shallots and bring to a boil.
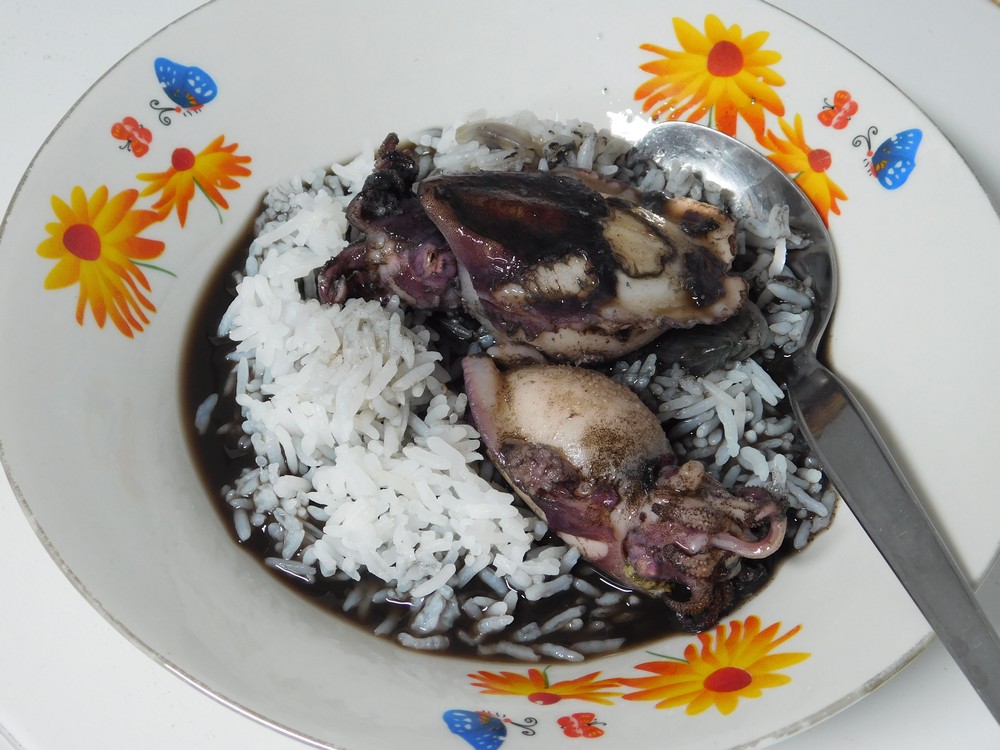
- When the water is boiling, add the cuttlefish. After about 5 minutes the cuttle bones come out (those are the white objects floating at the back of the pot, there is one in each cuttlefish) reduce heat to a simmer and cook for another 5 minutes or until tender. Taste the broth (it is black) and adjust taste with salt as desired.
- Typically served over rice with some broth.
Notes
The cuttlefish cost me 80 Baht/kilo. For 4 servings, this is about 60 cents per serving.
Microwave Baked Potatoes
I have not done this yet, but will soon. When I was growing up, we had a wood stove we cooked on, and it had an oven, I used to make the baked potatoes but inserted a large nail (very clean) into the potato, theory is that when the nail heats up it cooks the inside of the potato faster, seemed to work. This is on my to make list and soon. This is based on one potato per serving as a side.
Ingredients
- 1 large potato
- 1 tablespoon butter
- 3 tablespoons Cheddar cheese, shredded
- salt and pepper, to taste
- sour cream, to taste
Instructions
- Wash potato well to remove any dirt and grit, prick with a fork several times and place on a plate.
- Place in the microwave and 'nuke' the potato for 5 minutes on High power. Turn potato over and 'nuke' for another 5 minutes.
- Remove potato, cut nearly in half and spread apart, season with salt and pepper to your liking, mash just a bit with a fork, add the butter and 2 tablespoons of the cheese.
- Nuke again on High setting for 1 minute. Remove from the microwave and top with remaining cheese and sour cream to your liking, garnish with chopped chives or spring onion if desired.
Notes
Slow Cooker Peanut Clusters
Been a long time since I had peanut clusters, I need to change that. Makro in the city has a large baking supply section so I am making a list to pick up these ingredients. On my to make list.
Ingredients
- 1 kilo dry roasted peanuts, (34.5 oz)
- 900 grams vanilla almond bark, (32 oz)
- 340 grams semisweet chocolate chips, (12 oz)
- 115 grams baker's German chocolate, (4 oz)
- candy sprinkles, optional
Instructions
- Layer the ingredients in your slow in the order listed, except the sprinkles. Set the cooker to Low setting and cover, cook for 1 hour with no stirring.
- After the first hour, give the mixture a good stir to combine everything. Continue to cook on Low for another hour, giving a quick stir about every 15 to 20 minutes.
- Roll out a big sheet of parchment paper on your counter. At the end of the 2 hour mark, turn the cooker off and give the mixture another good stir.
- Use a 1 tablespoon scoop, like a small ice cream scoop and scoop out the mixture placing each scoop onto the parchment, allow some space between each cluster.
- Sprinkle with candy sprinkles if desired. Allow to cool completely. Enjoy.
Notes
I will price this once I obtain all the ingredients, for now I will say low cost.
Adapted from an internet recipe.
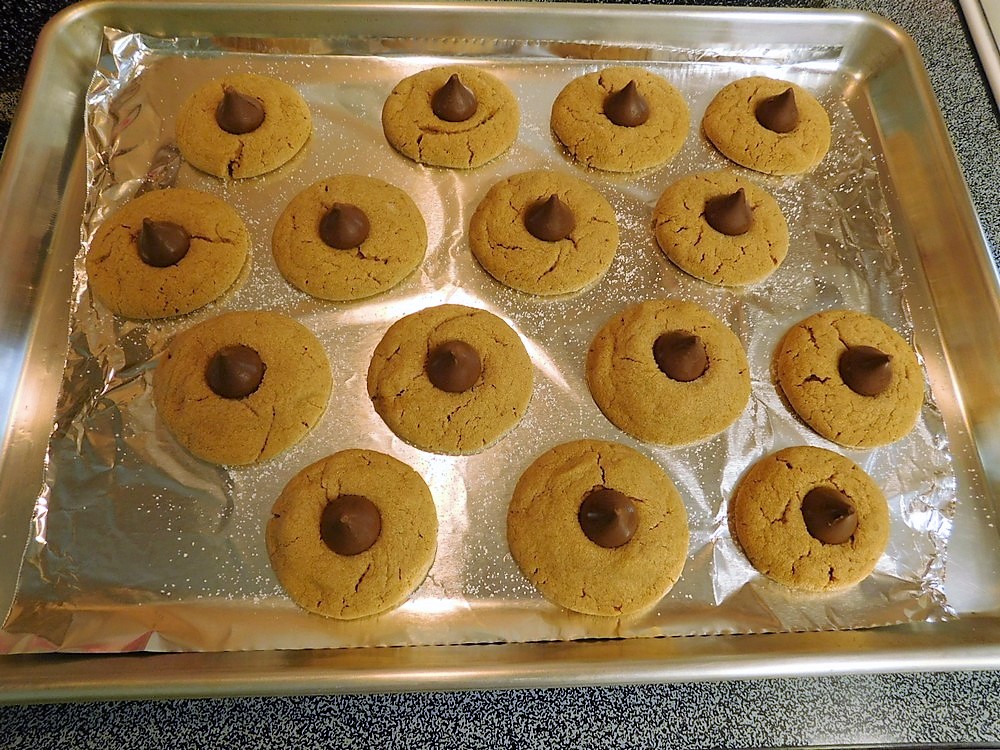
Peanut Butter Cookies II
This is a no flour and a 3 or 4 ingredient recipe. I did use the brown sugar in addition to the white sugar, so 4 ingredients used, and I made Peanut Butter Blossoms with these, tasty.
Ingredients
For Classic Peanut Butter Cookies
- 1 cup peanut butter, honey roasted if you have that
- 1 cup sugar, or 1/2 cup sugar + 1/2 cup brown sugar packed
- 1 egg, chicken or duck
Needed for Peanut Butter Blossoms
- Hershey's Kisses, as needed, one per cookie
Instructions
- Preheat your oven to 180 C (350 F) and line a baking sheet with parchment paper or foil.
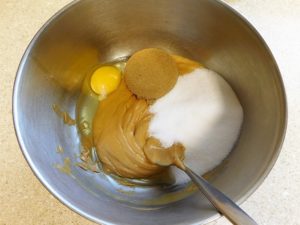
- In a mixing bowl, mix together everything until well combined. Place a few tablespoons of additional sugar in a separate small bowl.
- Scoop out by teaspoons and roll into balls, roll balls in sugar and place on the parchment or foil.
For Classic Peanut Butter Cookies
- Dip a fork into the bowl with the sugar and press each cookie down to make the classic crosswise fork pattern, dipping the fork in the sugar for each cookie.
For Peanut Butter Blossoms
- Remove the foil from Hershey Kisses as needed. Just bake the ball shapes, do not flatten. After removing from the oven, place a Hershey's Kiss on each cookie pressing it in slightly.
- Bake for 10-12 minutes, aim is just until golden brown around the edges. Remove from the oven and let the sheet cool for 5 minutes, then remove the cookies to a rack to cool.
- Enjoy.
Notes
Low cost.
Variants: 1. Mix in chocolate chips. 2. To make peanut butter blossoms, place a Hershey's kiss on top of each cookie right when they come out of the oven.
Adapted from an internet recipe.
Pinto Beans (Pressure Cooker)
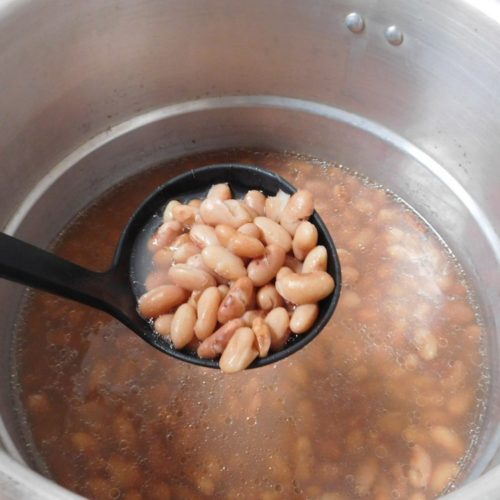
This recipe is for soaked as well as unsoaked beans. I used a stove top pressure cooker to make these on 28 Dec 2017, and I must say, the most flavorful pinto beans, I have ever eaten! No seasonings added, just beans, cooking oil, and water. I cooked the soaked beans on 20 Mar 2022, time is verified and delicious beans! Plus I took some photos. Follow all safety precautions for your pressure cooker.
Equipment
- Pressure Cooker
Ingredients
- 1 cup dry Pinto beans
- 4 cups water
- 1 tablespoon cooking oil
Instructions
- Rinse and drain the beans, remove any bad beans or debris.
For UNSOAKED Beans
- Add beans, water, and oil to your pressure cooker. Depending on the size of your pressure cooker, do not fill more than the halfway mark. Cover and lock the lid and turn on heat to high.
- When the jiggler starts making noise, indicating full pressure, reduce heat to maintain full pressure, start timing. 25 minutes if you like firm beans, and as long as 27 minutes for softer beans.
- Turn off the heat and move the cooker to an unused burner and do a natural release of pressure, just let the cooker sit until the lid lock drops indication no pressure. Carefully remove the jiggler keeping the top of the lid pointed away from you. When satisfied there is no pressure inside the cooker, unlock and remove the lid.
- Drain the beans and serve as a side dish or as an ingredient in another recipe.
For SOAKED Beans
- Add rinsed beans to a bowl and cover with 2 inches or so of water, let sit for at least 6 hours or overnight. For those readers in the tropics (myself included), place the beans in the fridge if soaking overnight or they may ferment on the counter top. I normally soak beans 6 hours then carry on with the recipe.
- Drain and rinse the beans. Add the beans, water, and oil to your pressure cooker. Depending on the size of your pressure cooker, do not fill more than the halfway mark. Cover and lock the lid and turn on heat to high.
- When the jiggler starts making noise, indicating full pressure, reduce heat to maintain full pressure, start timing. 25 minutes if you like firm beans, and as long as 27 minutes for softer beans.
- Turn off the heat and move the cooker to an unused burner and do a natural release of pressure, just let the cooker sit until the lid lock drops indication no pressure. Carefully remove the jiggler keeping the top of the lid pointed away from you. When satisfied there is no pressure inside the cooker, unlock and remove the lid.
- Drain the beans and serve as a side dish or as an ingredient in another recipe.
Notes
For a recipes that call can(s) (15 oz size) of beans, use a heaping half cup of dry beans for each can.
Used in Recipes Listed on this Site:
- Durango Chili.
- Beer-braised Chili.
- Bock BBQ Bean Salad.
- Pinto Bean Salsa Salad.
- Pinto Bean Salad.
- Best-Ever Beans & Sausage, made it, GO-TO recipe.
- Salmon & Three Bean Salad.
- Dorito Taco Salad, made it, GO-TO recipe.
- Cowboy Soup.
- Cajun Pinto Beans, made it, GO-TO recipe.
- Taco Soup.
- Beef & Bean Casserole.
Dill Pickle Dip
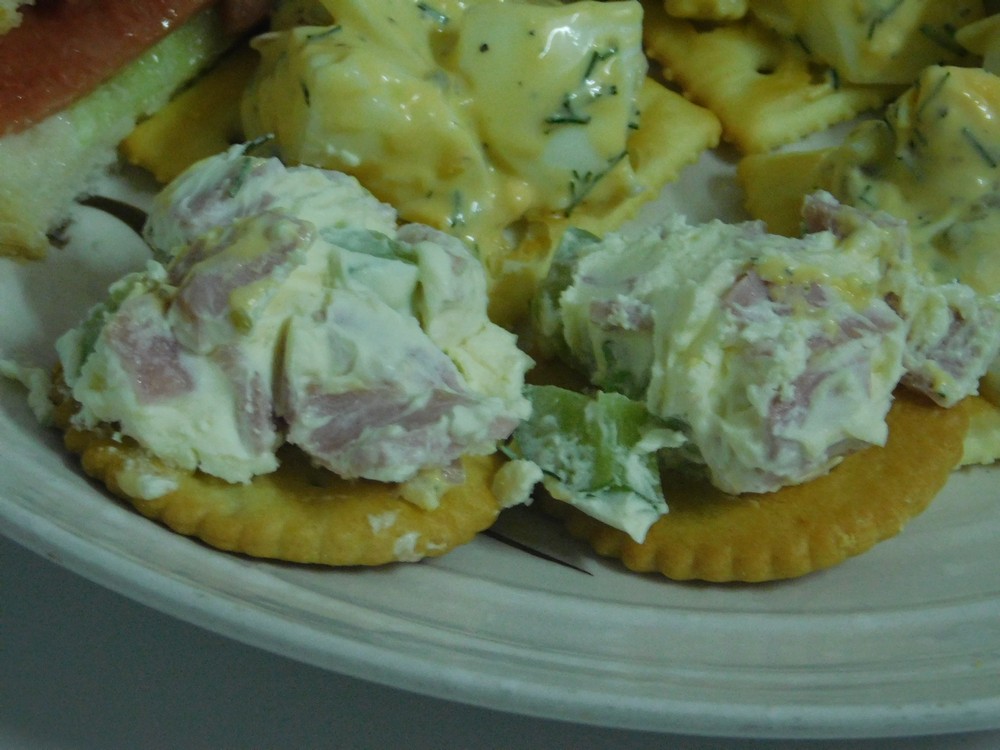
This recipe is from a friend, and it is excellent! On my Go-To list now!
Ingredients
- 500 grams Cream cheese, softened, two standard blocks, (16 oz)
- 500 grams dill pickles, chopped, OR make from a shortcut, (16 oz)
- splash pickle juice, to taste
- 250 grams thin sliced beef, chopped, (9 oz)
Instructions
Notes
I will price this when I make it to determine how many servings. I will say fair cost right now.
Shortcut: Quick Fridge Dill Pickles.
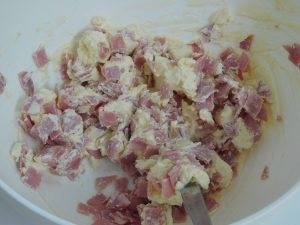
Variants: 1. Substitute thin sliced ham, smoked ham, or turkey for the beef. 2. Serve on toast. 3. Use as a filling in a sandwich (I can see myself doing that).
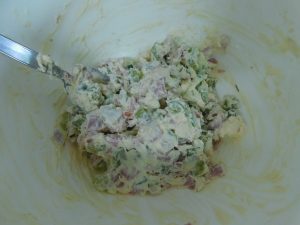
Recipe and photo provided by good friend, Amy Weckerly Shanks, and the original recipe is here.
