Archive for the ‘5 Ingredients or Less’ Category
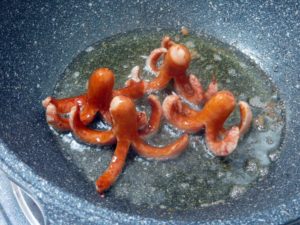
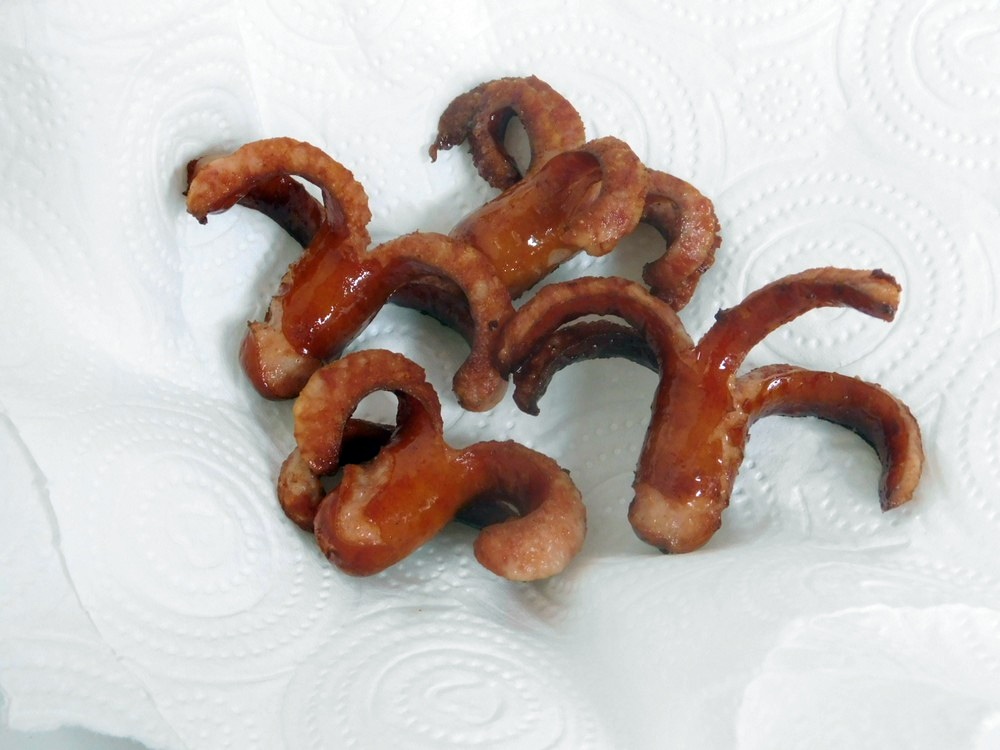
Tako (Octopus) Sausages
Now for the name, these are Japanese pork sausages, NOT octopus sausages, although octopus sausage does sound intriguing, but I don't think I will be making that. When I lived in Japan (13 years), I absolutely loved Japanese sausage. This comes from a good friend who is Japanese. These are typically made for bento (lunch) boxes, but for this, think of these as a side to a good pasta dish. Oddly enough, we buy these in local 7-11's in town, never seen them in the large grocery stores like Tesco or Tops in the city.
Ingredients
- 4-6 links Japanese sausage
- cooking oil, as needed
Instructions
- Japanese sausage is typically about 3 inches long in a natural sheep gut casing. To prep, first thing is to make a cut halfway down the sausage, straight through to the other side, this results in '2 legs'.
- Rotate the sausage 90 degrees, and make another cut through the sausage to the other side, this results in '4 legs'.
- Optionally, you cut each 'leg' in half, resulting in '8 legs' but I found 4 legs to be perfect. Now we can cook them.
- Heat some cooking oil in a non stick pan on medium heat, when hot, add the sausages, as the sausages cook, the 'legs' will open and curl.
- Cook until the sausage is cooked through, keep in mind these are raw pork sausages so they must me cooked through.
- Drain on paper towels, serve as a side with any pasta or rice dish or as a snack or appetizer. Enjoy.
Notes
One package of 4 Japanese sausage is about 42 Baht. Figuring 2 per serving, this is about an additional 66 cents per serving for a side dish, if serving with a pasta, the overall dish will be less than $1 per serving.
This recipe for Tako (Octopus) Sausage inspired by Just One Cookbook.
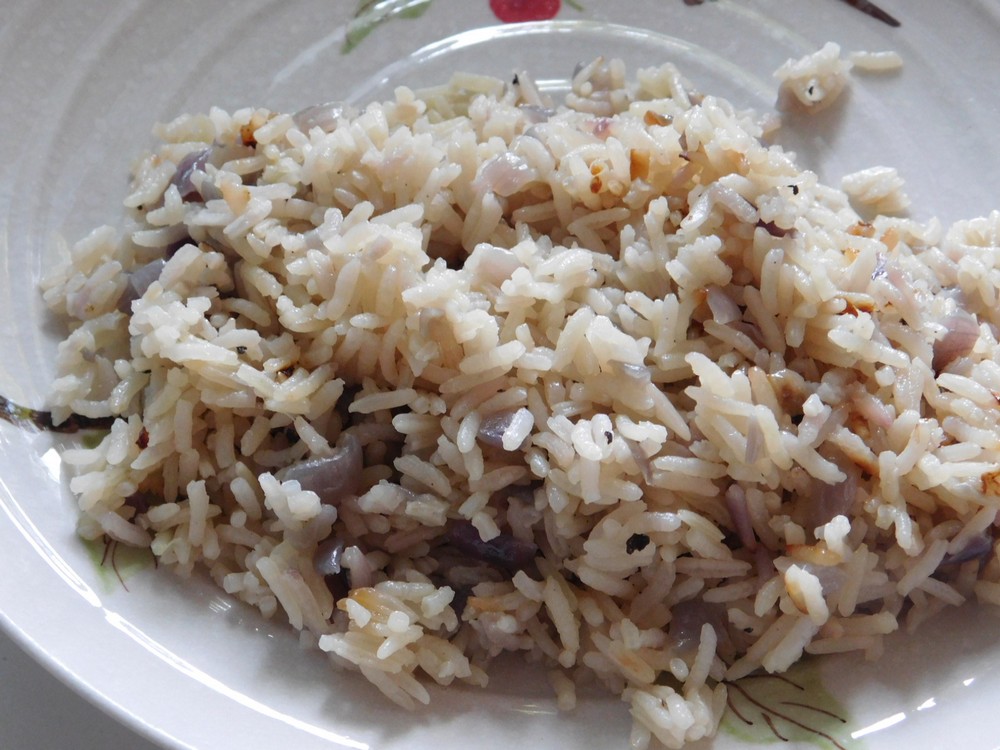
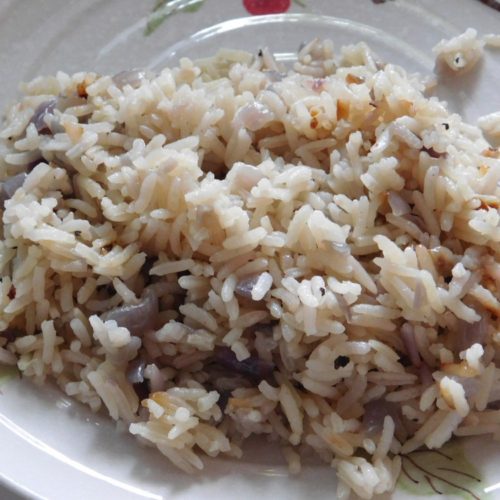
Onion Rice (Rice Cooker)
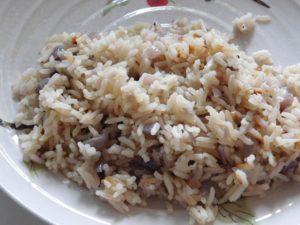
I made this on 27 Apr 2022, and it is so good, my wife and I enjoyed nearly the whole cooker! Easy and flavorful rice. I used my basic 1 liter (1 quart) Cook and Warm rice cooker. Link to the Shortcut is listed in the Recipe Notes section.
Equipment
- Rice Cooker
Ingredients
- 1 cup dry Jasmine rice
- 2 cups chicken broth, fresh or from powder, Shortcut
- 1 tablespoon olive oil, or vegetable oil
- 1 large red onion, diced, use two if they are small
- ¼ teaspoon black pepper
Instructions
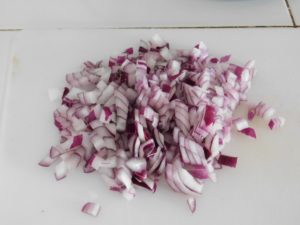
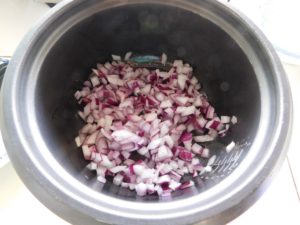
- Onion is prepped. I used two small onions as well.
- Add the oil to your rice cooker and set to the Cook setting to heat the oil, when hot, add the onion and cook, stirring often, until almost softened.
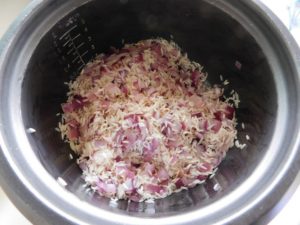
- Add the rice and stir to coat the rice with oil. Cook, stirring often, until the onion is tender and the rice is just starting to lightly brown.
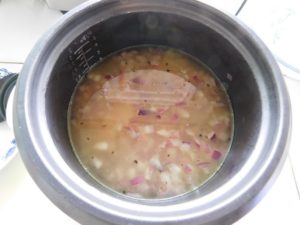
- Season with the pepper then stir in the chicken broth. Cover and let the Cook cycle complete, as indicated by the cooker switching to Warm setting.
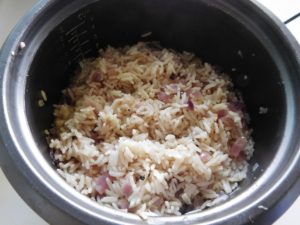
- Remove the cover and fluff with a rice paddle.
- Serve as a side with any main dish. Enjoy.
Notes
Shortcut: Chicken Broth (Pressure Cooker).
Rice with Herbes de Provence (Rice Cooker)
Yep, fancy name, it is French for the herb mixture. You can buy the dried herb mixture in grocery stores, but look for one that does not have lavender, that is an American addition, not the true French version, so skip the lavender. On my to make and taste list. This is a rice cooker recipe and I will use my basic 1 liter (1 quart) Cook and Warm rice cooker. Links to the Shortcuts are listed in the Notes section.
Equipment
- Rice Cooker
Ingredients
- 1 cup dry Jasmine rice, rinsed and drained
- 2 cups chicken stock, fresh or from powder, Shortcut
- 1½ teaspoons dried Herbs de Provence, preferably without lavender. Shortcut
- 1 pinch salt
- 1 pinch black pepper
Instructions
- Add all ingredients to your rice cooker, stir to mix together. Place the cover on and press the switch to Cook.
- When the cooker switches to Warm setting, remove the lid, fluff with a rice paddle.
- Serve as a side with any dish.
Notes
Shortcut: Chicken Stock (Pressure Cooker), Herbes de Provence.
Black-eyed Peas (Pressure Cooker)
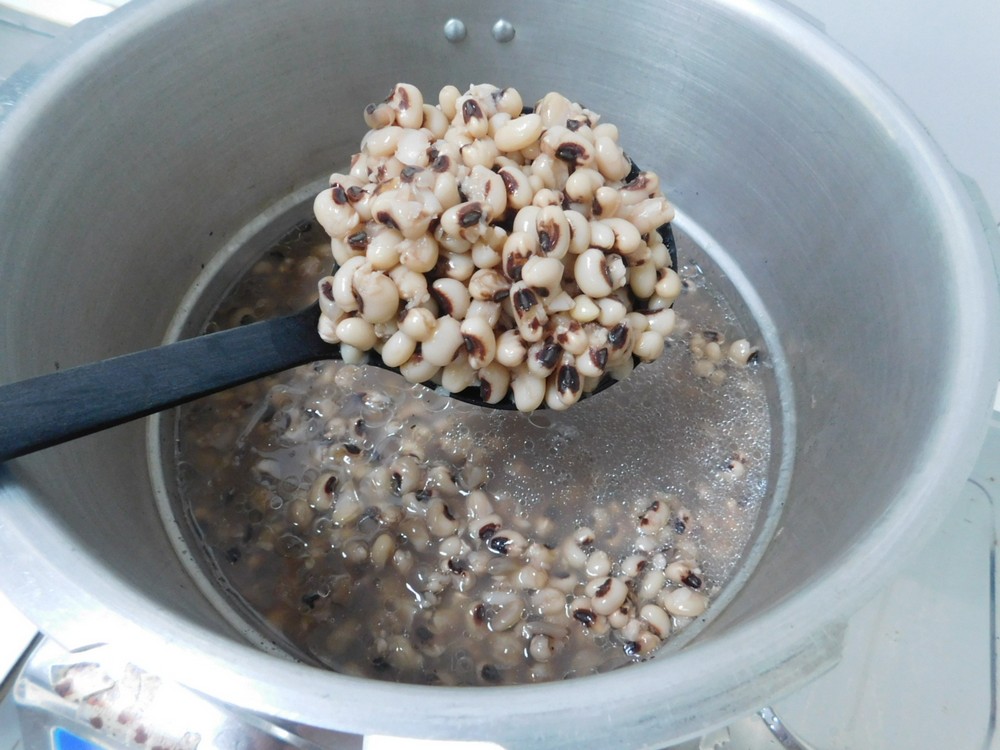
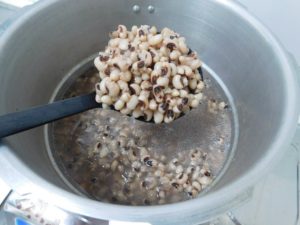
I made these on 16 Jan 2019 and I will say these are good beans! I used my 9 liter (9½ quart) stove top pressure cooker with 12 psi (80 kPa) pressure for these. Follow all safety precautions for your model of pressure cooker.
Equipment
- Pressure Cooker
Ingredients
- 500 grams dry black-eyed peas, soaked at least 6 hours, (1 lb)
- 2 tablespoons cooking oil, very important
- 8 cups water
- salt and pepper, to taste
Instructions
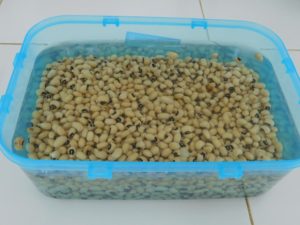
- Rinse the beans and place in a large container, cover with 1-2 inches of water. Leave on the counter to soak for at least 6 hours. If soaking overnight, place in the fridge to prevent the beans from fermenting.
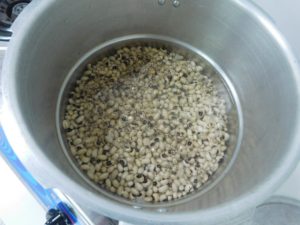
- When you are ready to start cooking, drain and rinse the soaked beans. Place the beans, water, cooking oil, and salt and pepper as desired to your pressure cooker.
- Place the lid on the pressure cooker, add the weight (jiggler). Turn the heat up to high. When the weight starts to move and release pressure, turn the heat to low or medium in order to maintain the jiggler moving and venting pressure (indicating you have full pressure.) Set your timer for 5 minutes.
- When 5 minutes have passed, turn off the heat, and carefully move the pressure cooker to an unused burner and allow a natural release of pressure, basically, just let the pot sit there until you have indication of zero pressure, 15-20 minutes.
- When the indication is zero pressure, pull off the weight (jiggler), then remove the lid. Drain the beans and use in any recipe calling for cooked beans. Or serve as is as a side dish. These beans are very tender. This bean broth is NOT recommended to save and use, I have tasted this broth, not what I would say is usable.
Notes
Used in Recipes Listed on this Site:
- Best-Ever Beans & Sausage, made it, GO-TO recipe.
Russian Red Radish Salad
This to me sounds very good, only 4 ingredients, and one you can make yourself as a shortcut. On my to make and taste list. Link to the Shortcut is listed in the Notes section.
Ingredients
- 1 bunch red radishes
- 1-2 spring onions, sliced, white and green parts
- salt, to taste, as desired
- sour cream, as needed, Shortcut
Instructions
- Trim both ends of the radishes, wash well to remove any grit. Dry with paper towels then cut in half lengthwise, then slice each piece into half moons, thickness is up to you. not to thick and not to thin. Add the sliced radishes to a mixing bowl. Slice the spring onions, add the white parts and some of the green to the mixing bowl, reserve some of the green parts for garnish.
- Add sour cream, say a spoonful at a time and mix into the radishes, goal is a creamy texture without the radishes dripping in sour cream. Taste and season with salt as desired.
- Sprinkle the salad with the remaining green part of the spring onion and serve immediately before the water from the radishes leach out. Enjoy.
Notes
Shortcut: Sour Cream.
Chicken Ritz Casserole
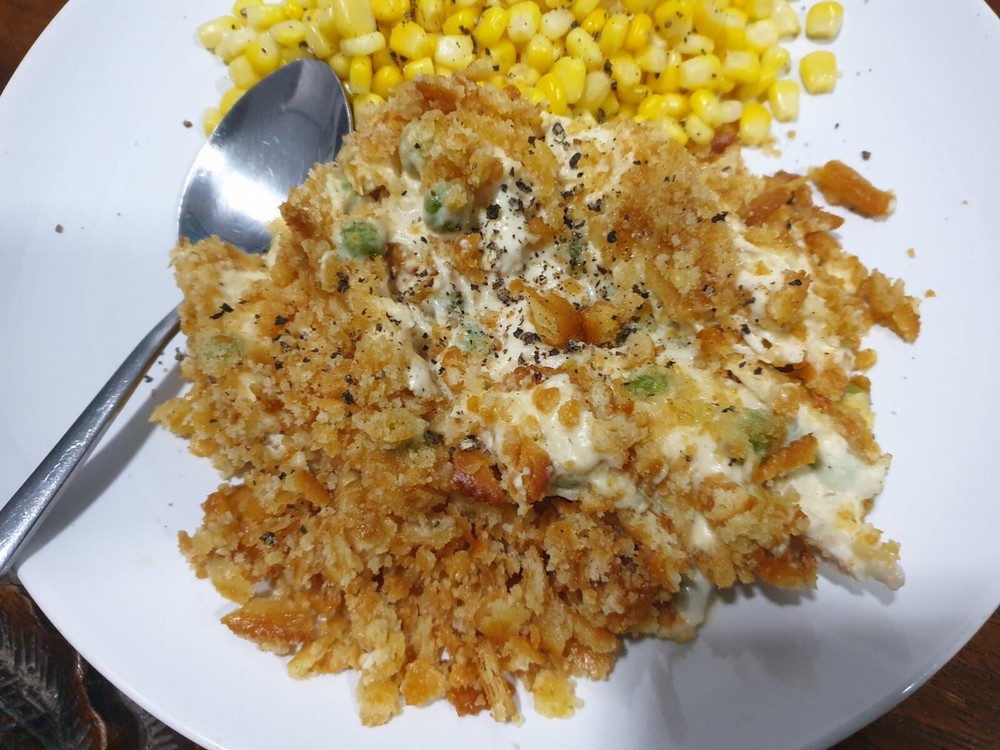
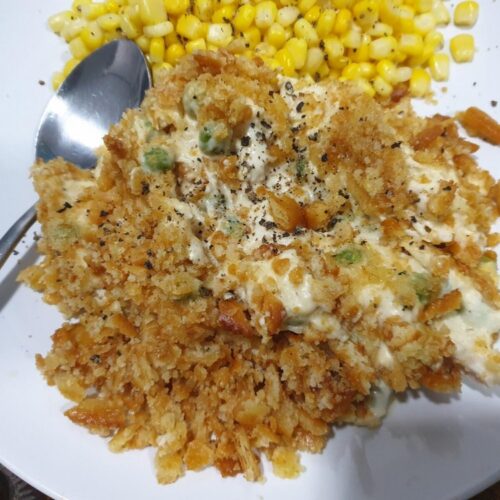
This is an old time classic comfort food that stretched the dollars by using the crackers as a filler, and it is delicious and filling! Now for folks in Thailand and probably all of Southeast Asia, Ritz crackers are here but imported and come with a higher cost, so use made in Thailand products such as Magic or Rosi, which are just butter crackers and taste exactly like Ritz, and cost less. The prep time will vary depending on if you are cooking the chicken for this now or using leftover cooked chicken. This casserole is wide open to modifications. There is several shortcuts for cost savings as well. Links to the Shortcuts are listed in the Notes section.
Equipment
- Baking Pan (9x13 inch)
- Oven
Ingredients
- 4 cups cooked chicken breasts, shredded, Shortcut
- 1 can condensed cream of chicken soup, or creamy chicken mushroom soup, Shortcut
- 1 cup sour cream, Shortcut
- 2 sleeves Ritz crackers, about 70, crushed
- ½ cup butter, melted, (½ standard block / 1 stick)
Instructions
- Preheat your oven to 180° C (350° F), lightly grease a 9x13 baking dish with butter or oil spray. Melt the ½ cup butter in a small sauce pan or microwave, then set that aside.
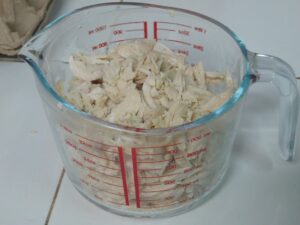
- For the chicken, you can use boiled, roasted, leftover chicken, or even rotisserie. Cook the chicken or use you preferred type. If using bone in, remove all the meat from the bones, discarding the bones and any skin and gristle. Shred and set aside. I used 3 chicken breasts that I pressure cooked, but feel free to use thighs, legs, or breasts or any combination.
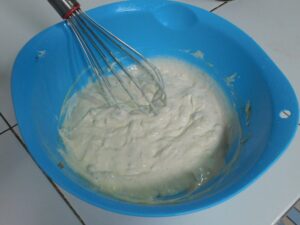
- In a large mixing bowl, whisk together the soup and sour cream.
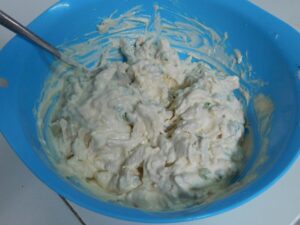
- Mix in the cooked and shredded chicken, and any vegetables if you are using. I added frozen peas.
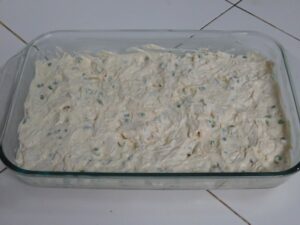
- Pour the chicken mixture into the baking dish and spread out evenly.
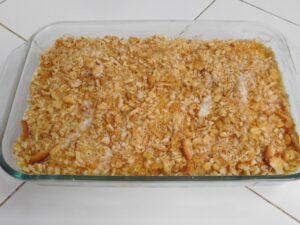
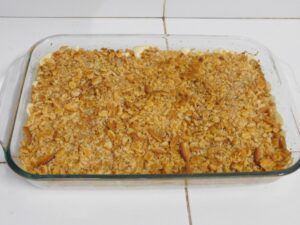
- Sprinkle the cracker crumbs over the casserole, then drizzle the crumbs with the melted butter.
- Bake for 25-30 minutes or until the crumbs are starting to turn golden brown and the casserole is hot and bubbly.
- Serve with a vegetable for a nice complete meal. Enjoy.
Notes
Low cost per serving using 3 chicken breasts.
Shortcuts: Chicken (Pressure Cooker) (this is a 2 for 1 recipe, you get cooked chicken for the recipe, and broth for use in another recipe, Condensed Cream of Chicken Soup, Sour Cream.
Variants: 1. Use a combination of breast and thigh meat. 2. Add some cooked egg noodles, say 250 grams (8 oz) but you will need to double the soup and sour cream. 3. Add 1 cup of peas or mixed vegetables to the meat mixture. 4. Add 1 cup sautéed mushrooms to the meat mixture.
Updated on 4 December 2023.
Cheater Mushroom Gravy
I call this 'cheater' because I use Lobo brand (Thai) gravy packets, there is western brand gravy packets here but those are about $2 each, the Thai brand I use, and it is good quality, is about 50 cents a packet. I like gravy and mashed potatoes, and I love a gravy with a lot of fresh mushrooms. This recipe is not rocket science or my creation, I am simply adding this for my own reference later.
Ingredients
- 2 packets beef gravy
- 225 grams fresh mushrooms, button, cremini, or Shiitake would be perfect, (8 oz)
- 1 tablespoon butter
- salt and pepper, as desired, to taste
Instructions
- Rinse the mushrooms (and for Shiitake also remove the stems) and slice them. Heat a non stick pan on medium heat with the butter, add the mushrooms and season as desired with salt and pepper. Saute, stirring and turn them often until all the water released from them has just evaporated. Remove the pan from heat and set aside.
- In a small sauce pan, prepare the gravy per the packet instructions, normally whisk in 1 cup of water for each packet and heat to boiling while whisking or stirring constantly until thickened.
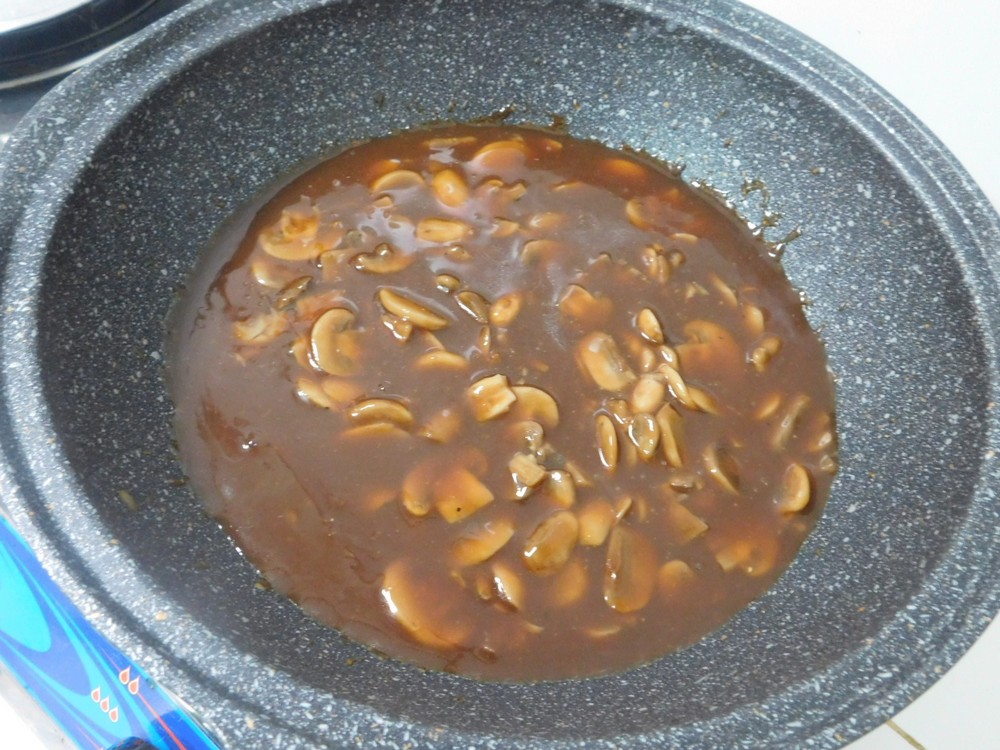
- When the gravy has thickened, remove that from heat and put the pan with the mushrooms back on the heat. Pour in the gravy and stir to mix, Heat until nice and hot, season with salt and pepper as desired. Serve over mashed potatoes.
Notes
Low cost.
Basic Fried Cabbage
When it comes to side dishes, I like easy and quick to prepare, and this dish fits right in. Four ingredients and 15 minutes or so of your time. Cabbage is readily available here as it is a common side dish, uncooked with many Thai dishes. Frying it interested by brother in law. A common ingredient, prepared a different way.
Ingredients
- 1 head green cabbage
- black pepper, as desired
- 1 tablespoon butter
- 1 tablespoon bacon fat
Instructions
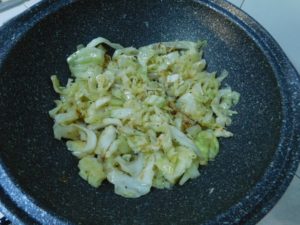
- Trim off the stem end just slightly, then quarter the head top down through the core, slice off each core piece, slice the 4 pieces into 1/2 inch slices.
- Heat a non stick pan on medium heat and add the butter and bacon fat, when hot, add the cabbage.
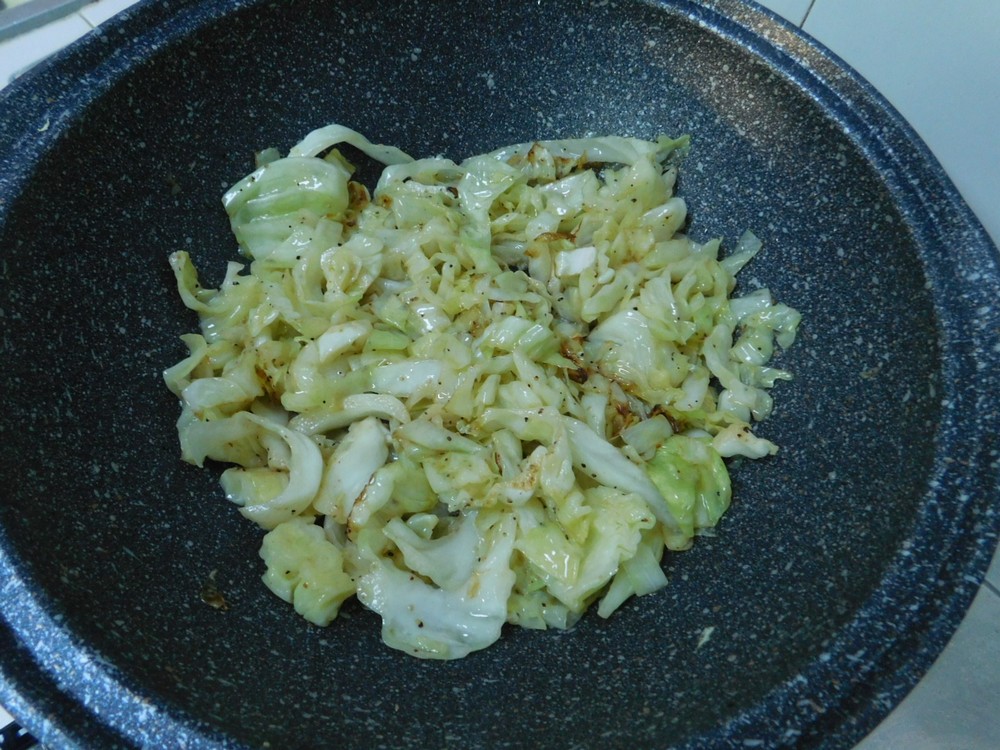
- Fry the cabbage, turning occasionally, until tender and just starting to brown. Done, perfect and simple side dish.
Notes
Low cost.
Just a stripped down version of fried cabbage without any extras.
Sauteed Red Radish
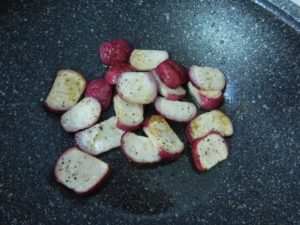
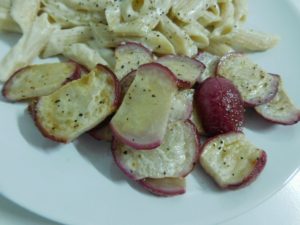
I have never heard of this until yesterday, and I happen to have red radishes in the fridge. I made these on 10 Jan 2019, very nice flavor and a perfect side dish. Four ingredients and 10-15 minutes of your time.
Ingredients
- 1 tablespoon butter
- 20 small red radishes
- salt and pepper, as desired, to taste
Instructions
- In Thailand, I have never seen small radishes, only large, tops are removed and they are sold 3-5 to a pack, they are large. Here I used a pack of 4 big ones, scrubbed and ends trimmed.
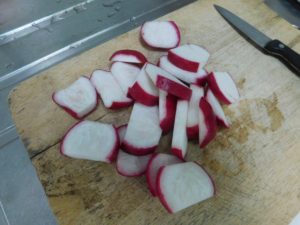
- For small radishes, simply slice in half from top to bottom. For large radishes, slice top to bottom into 3 to 5 pieces.
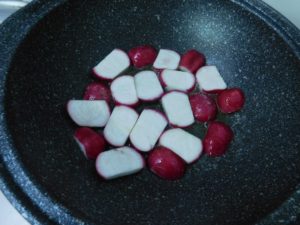
- Heat the butter on low heat, when hot, add the radishes cut down side for halved, and for the large ones, the two side pieces cut side down and the center pieces, just add to the pan. Season with salt and pepper as desired.
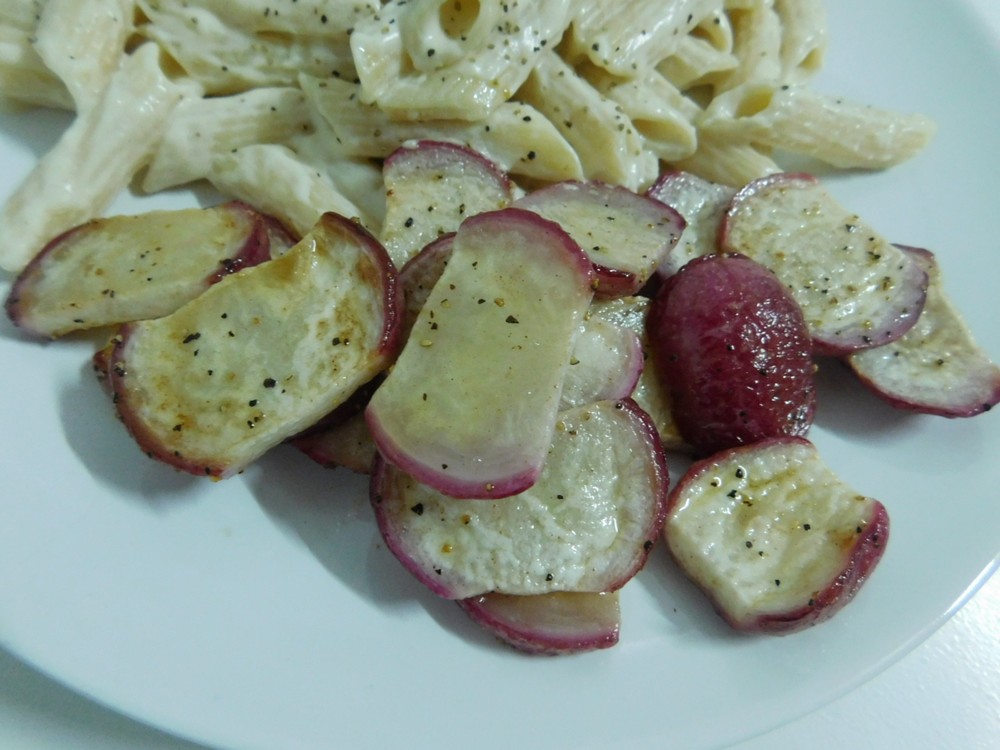
- Stir and toss occasionally until the radishes are starting to brown and softened.
- Serve as a side dish with any meal.
Notes
Low cost, and virtually free if you have red radishes in your garden.
Adapted from an internet recipe.
Cubed Potatoes (Pressure Cooker)
To cook potatoes for a potato salad or other dishes needing cubed (bite size) potatoes. This will use either the steamer tray or basket that came with your pressure cooker or any steamer basket or trivet that will keep the potatoes above the water. This process cooks the potatoes with pressure and heat, they cannot get waterlogged or soggy like boiled potatoes. Only takes 4 minutes on high pressure and a natural release (I use a 9 liter (9½ quart) 12 psi (80 kPa) stove top pressure cooker, which is basically the same pressure as an electric model). Follow the safety precautions for your model of pressure cooker. I made this on 3 Jan 2019 for use in another recipe, perfect potatoes!
Equipment
- Pressure Cooker
Ingredients
- 4 potatoes, see Step 1.
- 2 cups water
- 2 cloves garlic, smashed, optional
- 1 bay leaf, optional
Instructions
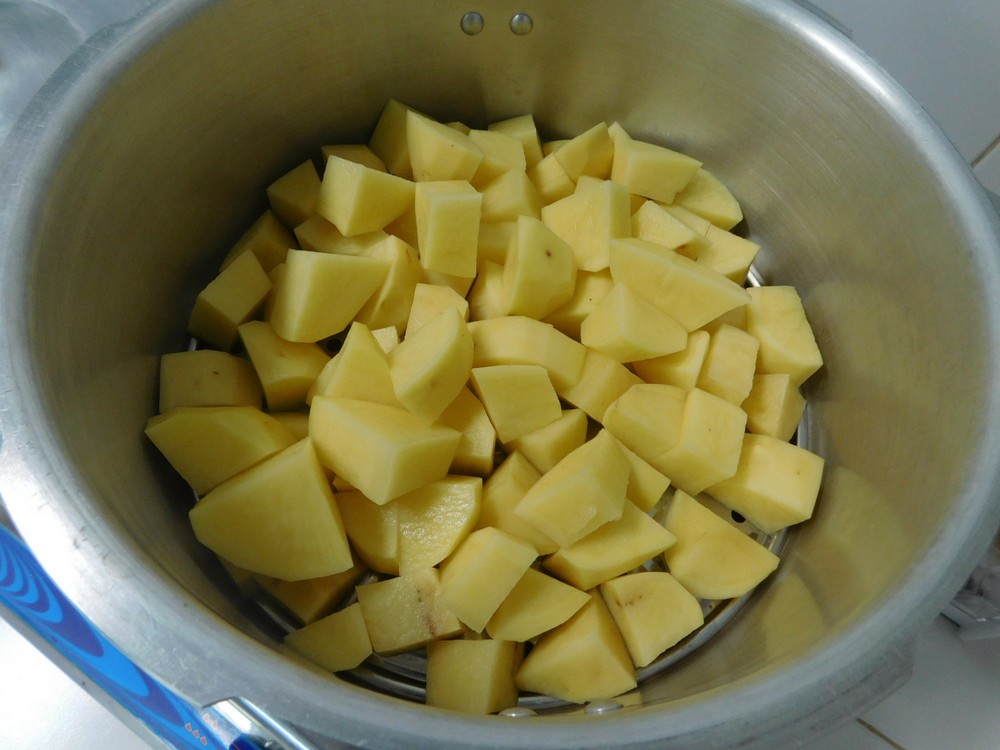
- I used 4 large potatoes (11 oz / 311 g each). Peeled or unpeeled is your choice. You can use less or more potatoes but do not go over the ⅔ full limit in your size of pressure cooker.
- Scrub your potatoes for unpeeled, or peel, totally your preference. Cut the potatoes into bite size pieces, how I do this is cut a potato in half lengthwise through the widest section, lay each piece cut side down then make 1 or 2 cuts lengthwise, then cut crosswise to make bite size pieces. Takes about 3 seconds to cut up a potato this way. Make sure the pieces are not to small.
- Add the water to your pressure cooker, add the bay leaf and garlic if using, insert the steamer tray or basket, add the potatoes to the tray or basket.
- Place the lid on and lock, add the weight (the jiggler), turn on the heat to high. when the jiggler starts to move and vent pressure, indicating full pressure, start your timer for 4 minutes and reduce the heat to low or medium low to maintain full pressure. If you want a bit firmer potato pieces, set your timer for 3½ minutes.
- When 4 minutes have passed, turn off the heat and move the pressure cooker to an unused burner to cool and release the pressure naturally, about 10-15 minutes.
- When the pressure is fully released, open the lid.
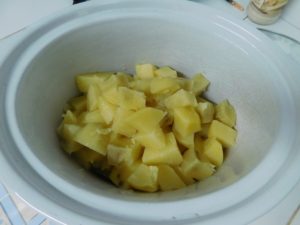
- Use the potatoes in any recipe calling for cooked cubed (bite size) pieces. I used these for a slow cooker recipe.
Notes
Used in Recipe Listed on this site:
- Potatoes in Alfredo Sauce, made it, GO-TO recipe.
