Archive for the ‘#1 Go-To Recipes’ Category
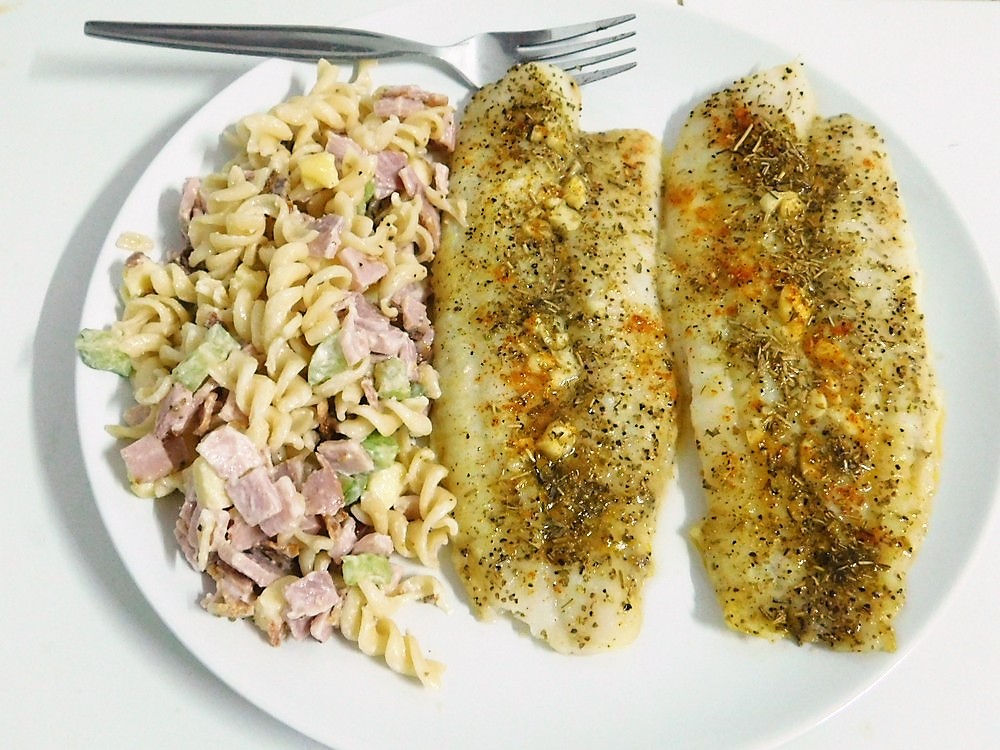
Baked Whitefish
I made this in 22 April 2018 and oh my, it is delicious! Any boneless whitefish fillets can be used, such as tilapia, barramundi, pangasius, ocean perch, haddock, cod, etc.
Ingredients
- 4 whitefish fillets, skinless, boneless, about 1 kilo, (2 lbs)
- lemon pepper, as desired
- salt, as desired
- paprika, as desired
- 3 tablespoons butter, melted
- 1/2 teaspoon lemon or lime juice
- 2 cloves garlic, smashed and minced
- 1 teaspoon dried parsley
- 1/2 teaspoon dried rosemary
Instructions
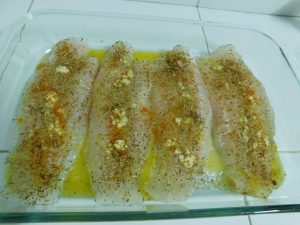
- Preheat your oven to 180 C (350 F) and lightly grease with butter a 9x13 baking dish.
- Rinse the fillets then pat them dry, arrange fillets in the baking dish and season with the salt and lemon pepper.
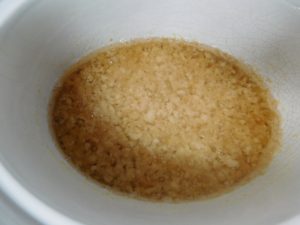
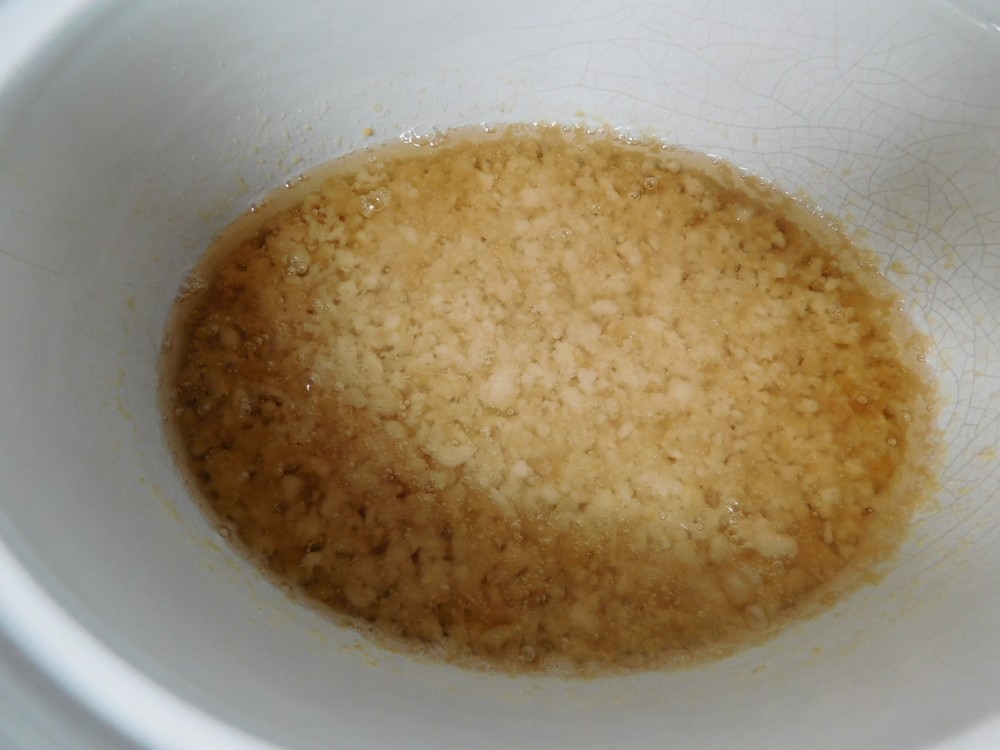
- In the small sauce pan you melted the butter in, mix in the lemon/lime juice, and the garlic. Brush this over the fillets in the baking dish.
- Sprinkle the fish with the parsley, rosemary, and paprika.
- Bake, uncovered, for 25 to 35 minutes or until the fish is cooked through and flakes easily with a fork.
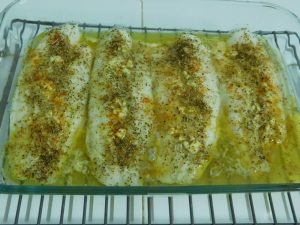
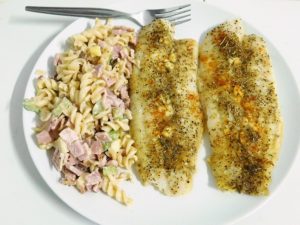
- Serve.


Notes
Just using Pangasius from Tesco at 86 Baht/kilo, for 4 servings, this is about 67 cents per serving.
Adapted from an internet recipe.
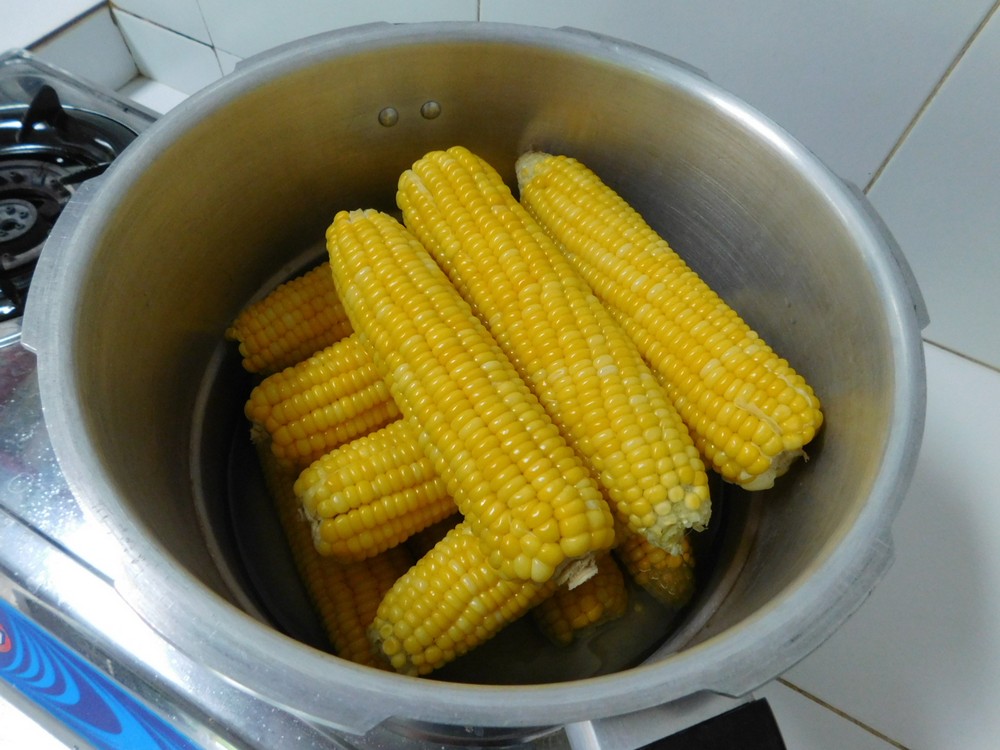
Fresh Corn I (Pressure Cooker)
I like corn on the cob, and when I was growing up, that was a favorite! Our family could put down some corn! This recipe uses milk and butter for more flavor infusing into the corn. This makes delicious corn! Follow all safety precautions for your pressure cooker.
Equipment
- Pressure Cooker
Ingredients
- 6-12 ears corn, shucked
- 1½ cups water
- ¾ cup milk
- 1½ tablespoons sugar
- 3 tablespoons butter
- ¾ teaspoon salt
Instructions
- Add the milk, water, sugar, and salt to your pressure cooker and stir to mix, add the butter and place the corn in as well making 2-3 layers that are crossed.

- Place the lid on the cooker and lock, place on high heat to bring to full pressure as indicated by the jiggler moving and venting pressure. Lower heat to maintain full pressure. Start timing for 1½ minutes.
- When 1½ minutes have passed, turn off the heat and move the cooker to an unused burner to cool and release pressure on its own. When the lock has dropped and zero pressure remains in the vessel, open and serve corn as a side dish, enjoy.


Notes
Used in Recipes Listed on this Site:

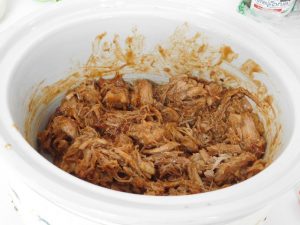
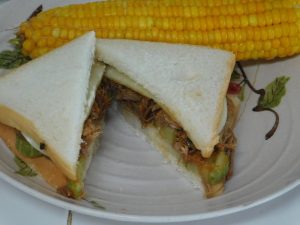
BBQ Pulled Pork Sandwiches (Pressure Cooker)
In keeping with my theme of making things from scratch, plenty of shortcuts here if you wish to use those for cost savings.
Ingredients
- pork shoulder, OR make from a shortcut
- BBQ sauce, OR make from a shortcut
- light rye bread, OR make from a shortcut
- onion, sliced
- dill pickle slices, OR make from a shortcut
- Provolone cheese, sliced
Instructions
- For tender and juicy pork, use of a pressure cooker is highly recommended. You can cook the pork anyway you prefer. There is a link in Recipe Notes for how I prepare pork shoulder/butt in a pressure cooker. Amount of pork is up to you, when I make this I use 1 1/2 kilos (3 lbs).

- After the pork is cooked, place on a cutting board and use two forks to shred it, then place the pork in your slow cooker and set to Low setting.
- Add BBQ sauce as needed to coat all the shredded pork. Leave the pork on Low for about 30 minutes to heat everything through.
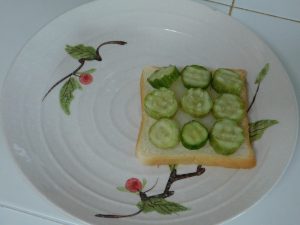
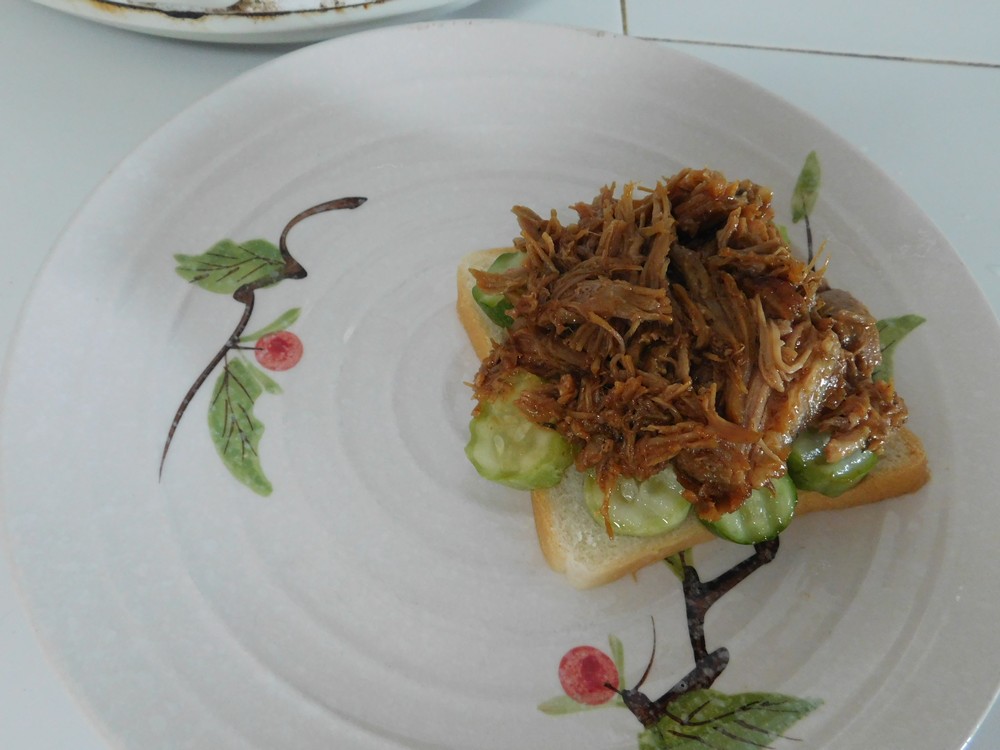
- When the pulled pork is good and hot, lay out a slice of rye bread, then add a slice of onion, as thick as you like it, add some pickle slices.
- Scoop on some hot BBQ pulled pork.

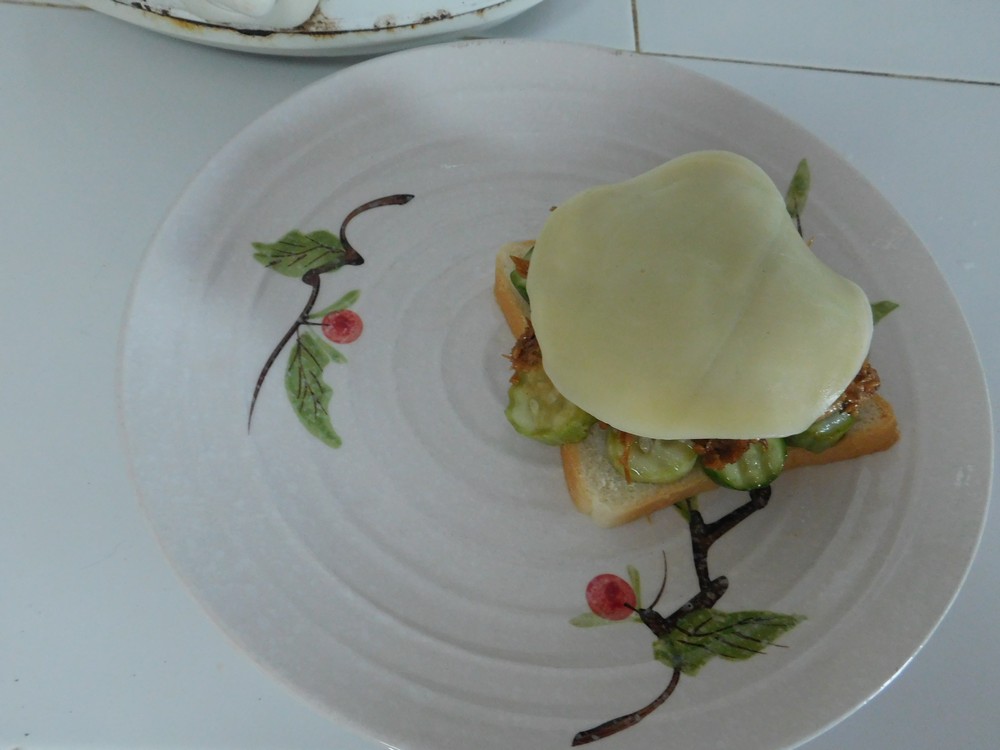
- Top that with sliced Provolone, as many slices as you like.
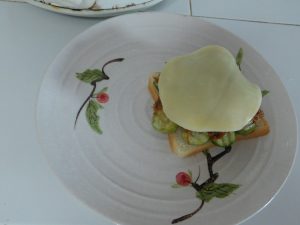
- Top with another slice of rye and enjoy. (Great photo except for the fly on the sandwich, oh well, it happens.)


Notes
Low cost, well under $1 per sandwich.
Shortcuts: Pork Shoulder/Butt (Pressure Cooker), Light Rye Bread, Fridge Pickles, BBQ Sauce.
Variants. 1. Use a cheese of your choice. 2. Use lettuce in place of the onion or in addition to the onion. 3. Leave out the pickles or replace with hot peppers. 4. Use sandwich rolls in place of rye bread, or use any bread you like.
Common type of sandwich.

Pork Shoulder/Butt (Pressure Cooker)
This produces fork tender and very juicy pork. No set quantity of pork shoulder/butt is needed, but observe the rule of NOT overfilling your pressure cooker more than ⅔ full. If meat is above the water, perfectly fine, you are cooking with heat and pressure, not boiling. I used my large 9 liter (9½ quart) stove top pressure cooker with 80 kPa (12 psi). Follow all safety precautions with your pressure cooker.
Equipment
- Pressure Cooker
Ingredients
- 1½ kilos pork shoulder, or butt, (3 lbs)
- water, as needed
Instructions
- The amount of pork shoulder/butt is not really important, I used 1½ kilo, main thing is the pressure cooker (for smaller pressure cookers) is no more than ⅔ full.
- Trim off any large thick pieces of fat, add the pork to your pressure cooker. Add about 1 to 1½ inches of water to the pressure.
- Place the lid on and lock, bring to high heat. When the jiggler starts moving and releasing pressure, turn the heat down but maintain the pressure release and jiggler moving (indicating full pressure). Start timing for 33 minutes.
- When 33 minutes have passed on full pressure, turn of the heat and move the pressure cooker to an unused burner to allow a natural release of pressure.
- When the pressure is released and it is safe to open your pressure cooker, go ahead and open, use the pork as needed in other recipes. Don't forget to try a piece first 🙂
- I prepared the pork should like this for BBQ pulled pork sandwiches, absolutely perfect tender and juicy pork.
Notes
For pork shoulder, figure about 100 Baht/kilo. For 1½ kilo, six servings, this is about 78 cents per serving. If you can source the pork locally, you could save even more.
Bologna Salad Sandwich Spread
An excellent sandwich spread. Two ways to prepare this; 1. using a grinder, 2. finely chopped, then you have many variants, which I did, so my review of the original recipe is not accurate, but the variants are tasty though. If you are familiar with a German Meat Salad, this is basically the chopped version.
Ingredients
- 4 hard boiled eggs, peeled
- 500 grams bologna, (1 lb)
- mayo, as needed
- sweet pickle relish, as needed
Instructions
Prep with a Meat Grinder
- Course chop the bologna and run through your meat grinder using the medium plate. Place in a large mixing bowl. This would be perfect for large bologna that is not sliced.
Prep with a Knife
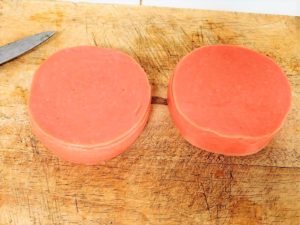
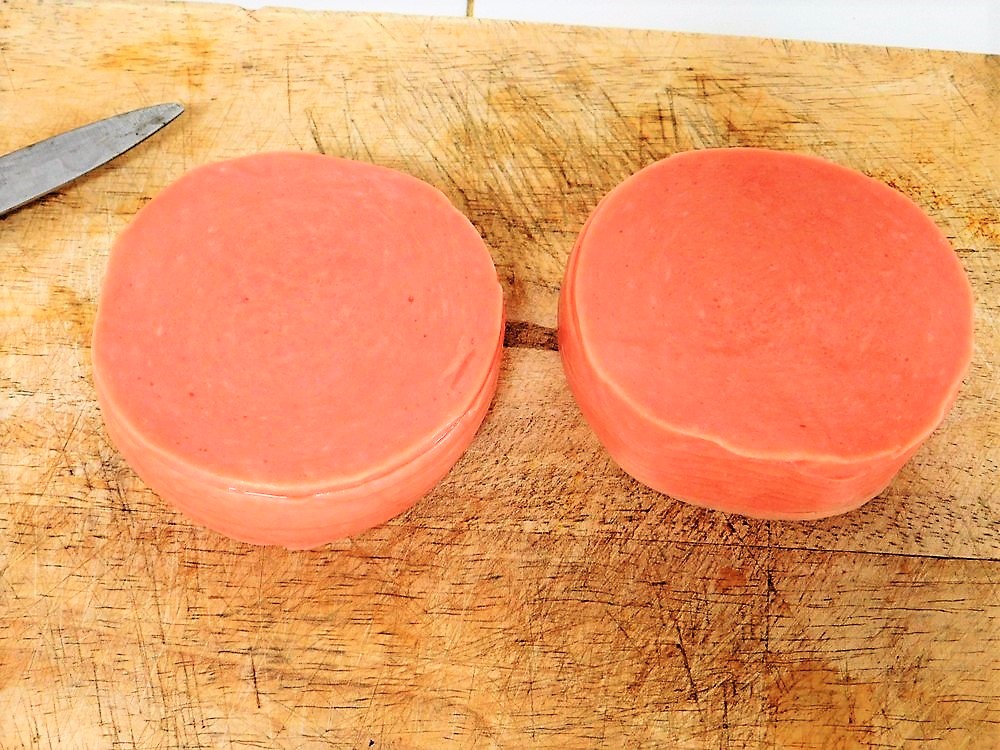
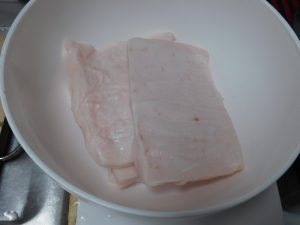
- Here is what I am working with, two stacks of sliced bologna, 200 grams each stack, so I am using just under 1 pound, about 14 oz, no harm there.
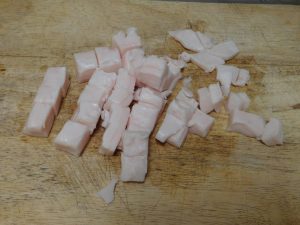
- Cut the stack into 1/4 inch strips.
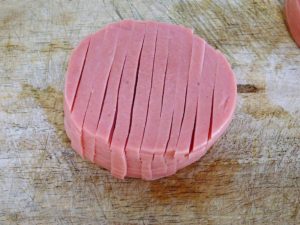
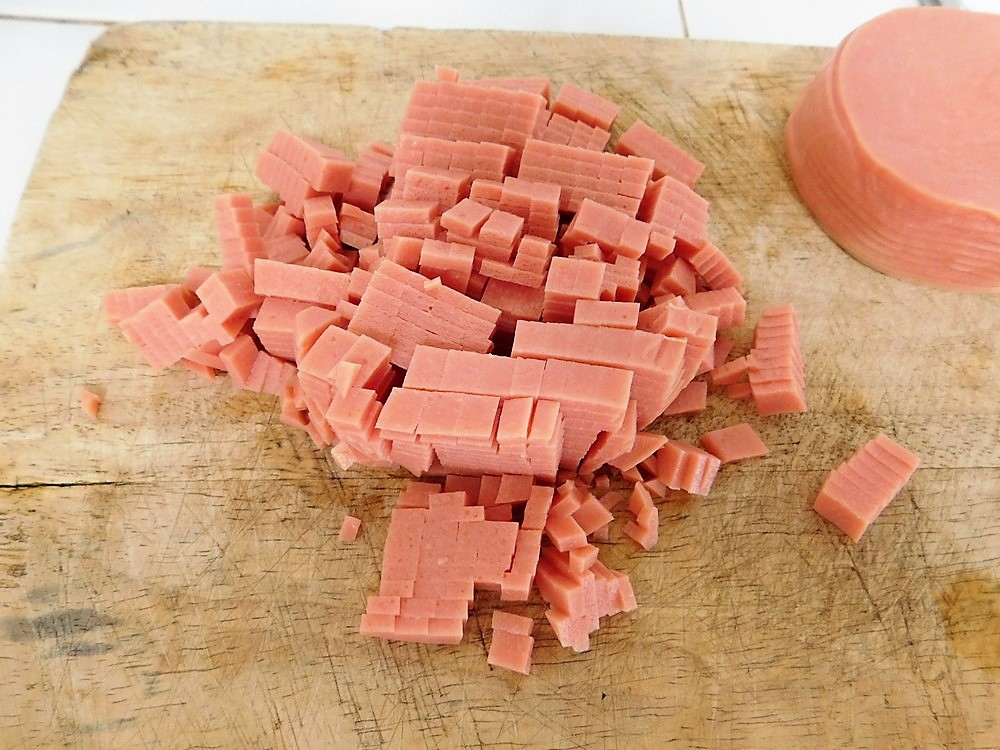
- Turn the stack 90 degrees and cut again into 1/4 inch strips to dice the bologna, place in a mixing bowl, repeat with the other stack.


Prepare the Salad
- To the mixing bowl, add about 1/4 cup of sweet pickle relish and about 1/2 cup of mayo. Mix into the bologna mixture, adding more mayo as needed to fully coat the mixture but not dripping with mayo either. Taste and add more relish as needed to taste.
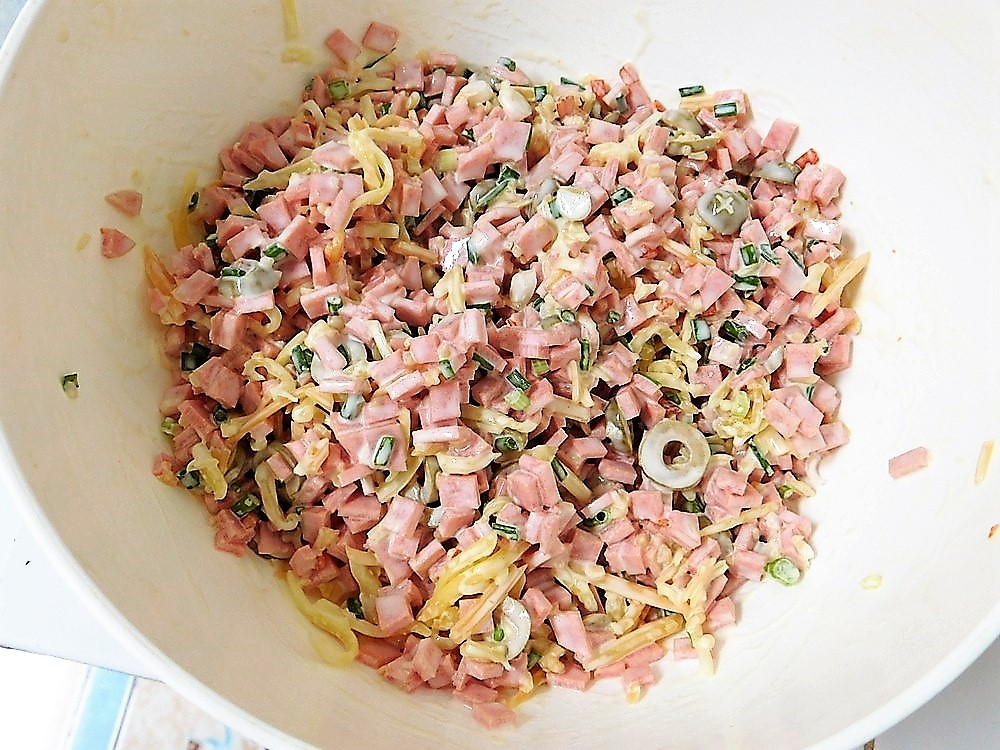
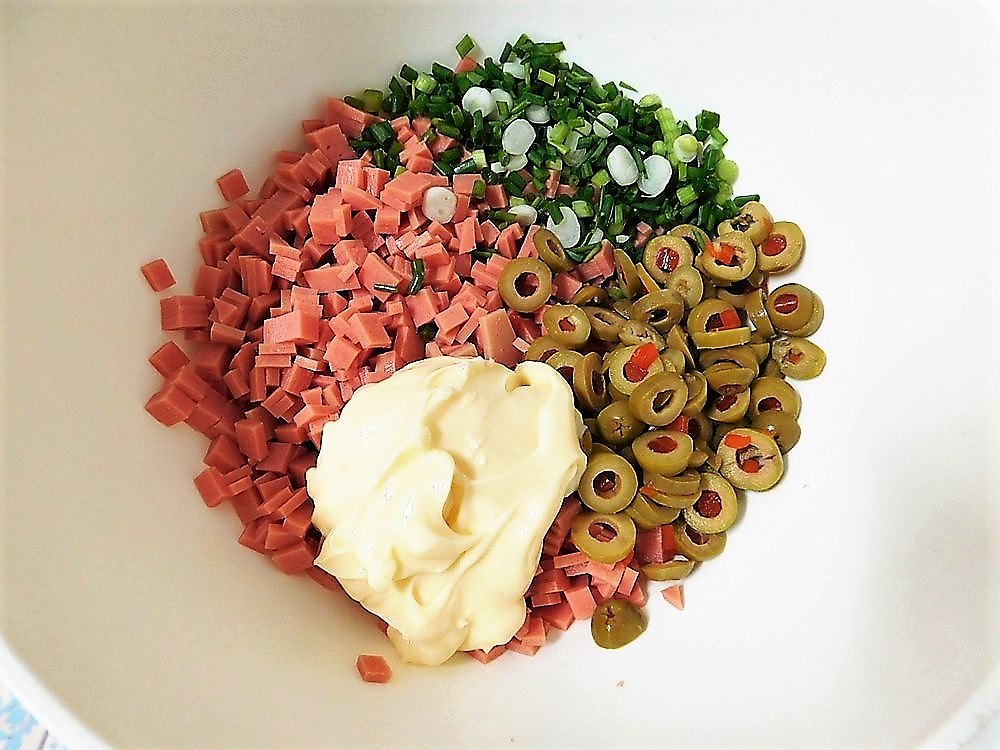
- I used some variants, so to the mixing bowl I add 4 sliced spring onions, 1/4 cup of green olives with pimentos, measure whole first then slice those, and 1/2 cup Japanese Kewpie mayo. Mixed that together and another squirt or two of Kewpie mayo.

- Then decided to go with another variant and added 150 grams (5 oz) of three blend shredded cheese, and mixed that in. When the salad spread is mixed and adjusted to taste, cover and place in the fridge for 2-3 hours to chill.

- Serve in a sandwich, spread on crackers, or just enjoy as is for a nice side salad.
Notes
Low cost per serving.
Variants: 1. Add 1 finely diced onion or 4-5 sliced spring onions. 2. Add some finely diced or ground ham or smoked ham. 3. Mix in some shredded cheese of your choice. 4. Use chopped green olives with pimentos in place of pickles. 5. For those in Thailand, use chili bologna in place of plain bologna if you desire a spicy version. 6. For those in Thailand, add some diced cha lua.
Adapted from an internet recipe.
Sardine Salad Sandwich
Very good, easy sandwich to make if you like sardines. Links to the shortcuts are listed in the Recipe Notes section.
Ingredients
- 1 tin sardines in olive oil, (120 g / 4¼ oz, Ayam or any brand), Shortcut
- 1 tablespoon mayo, and more for the bread
- 1 tablespoon pickles, chopped, Shortcut
- 4 slices bread
- 1 tomato, sliced
- lettuce leaves
- 1-2 hard boiled egg, sliced, Shortcut
- salt and pepper, to taste
Instructions
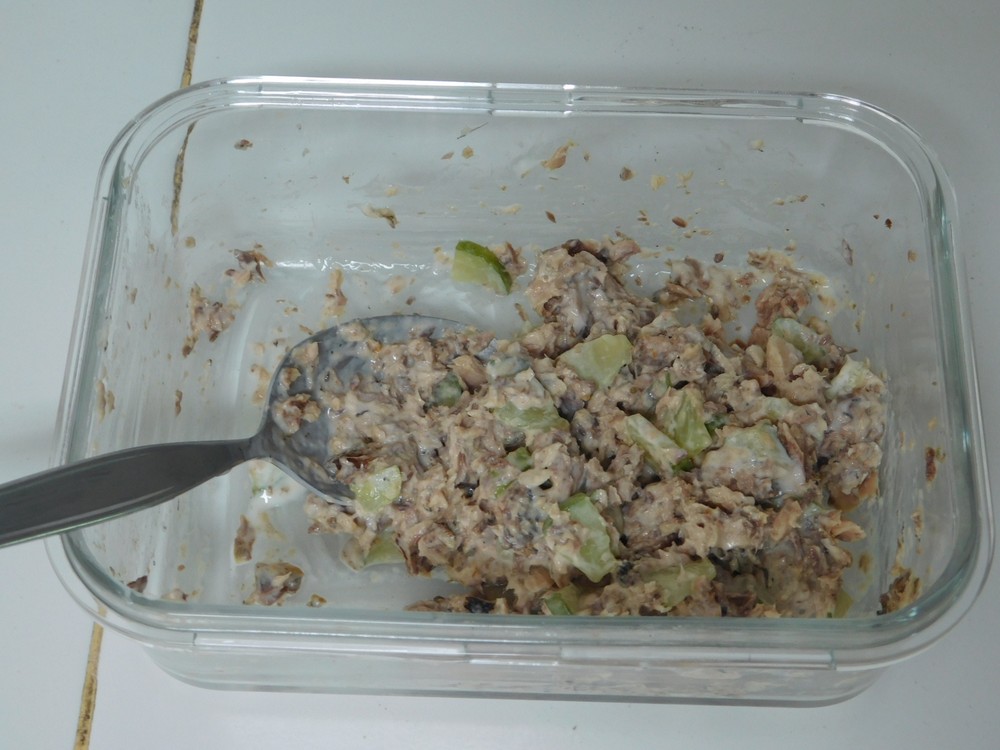
- Drain the sardines and place in a bowl, add the mayo and chopped pickle. Mix with a fork, mashing up the sardines. If using homemade sardines, use about 3 pieces.
- Lay out the 4 slices of bread, spread mayo on each slice. On 2 slices, add a layer of sliced tomato, divide sardine mixture on top of the tomato, top that with lettuce leaves, then add a layer of sliced egg, season with salt and pepper as desired. Top with a slice of bread, mayo side down. Cut in half and enjoy.
Notes
One tin of sardines in olive oil at Tesco is 59 Baht. For two sandwiches, 1 per serving, this is about 92 cents per serving.
Shortcuts: Fridge Pickles, Perfect Hard Boiled Chicken Eggs, Steamed Eggs, Sardines in Olive Oil.
Variant: 1. Use a good amount of softened cream cheese on the bread in place of the mayo.

Pork Dim Sum (Shao Mai / 烧卖)
Dim Sum is Chinese in origin, Cantonese, basically open faced wontons that are steamed not fried. There is 1,000s of types of dim sum. This is a very common type here in Thailand that is sold in the open markets.
Ingredients
- 500 grams ground pork, (1 lb)
- 1/2 cup spring onion, sliced, white and green parts
- 2 tablespoons soy sauce
- 1 1/2 teaspoons Shaoxing rice wine
- 1 teaspoon chicken stock powder
- 1 1/2 teaspoons sugar
- 25 wonton skins
- olive oil, as needed, for steaming
Instructions
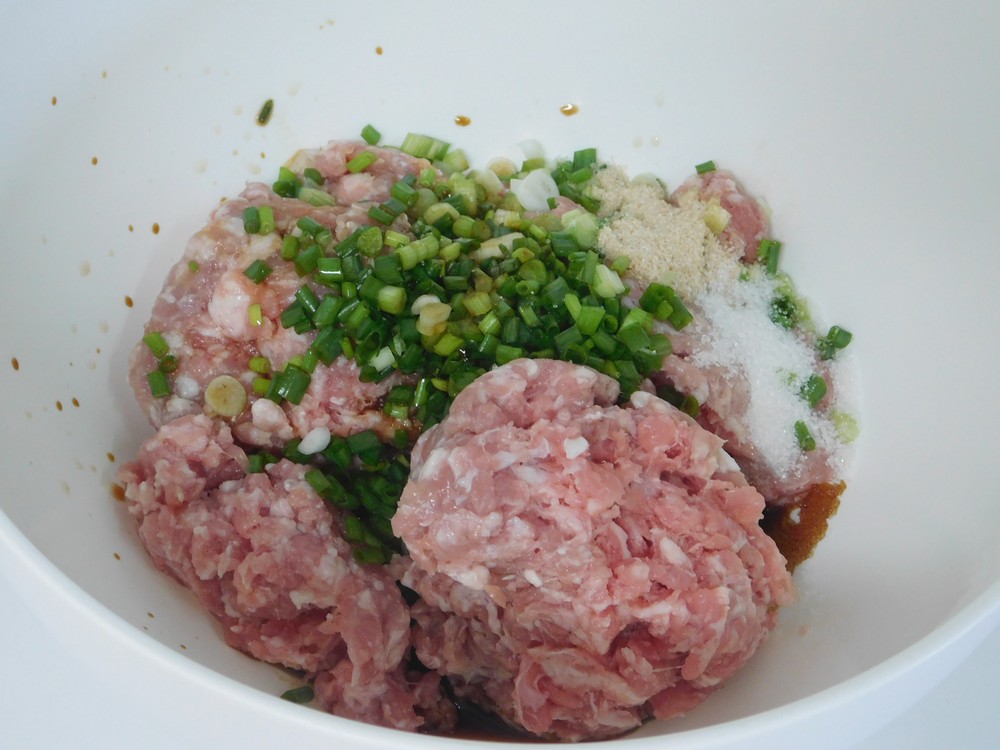
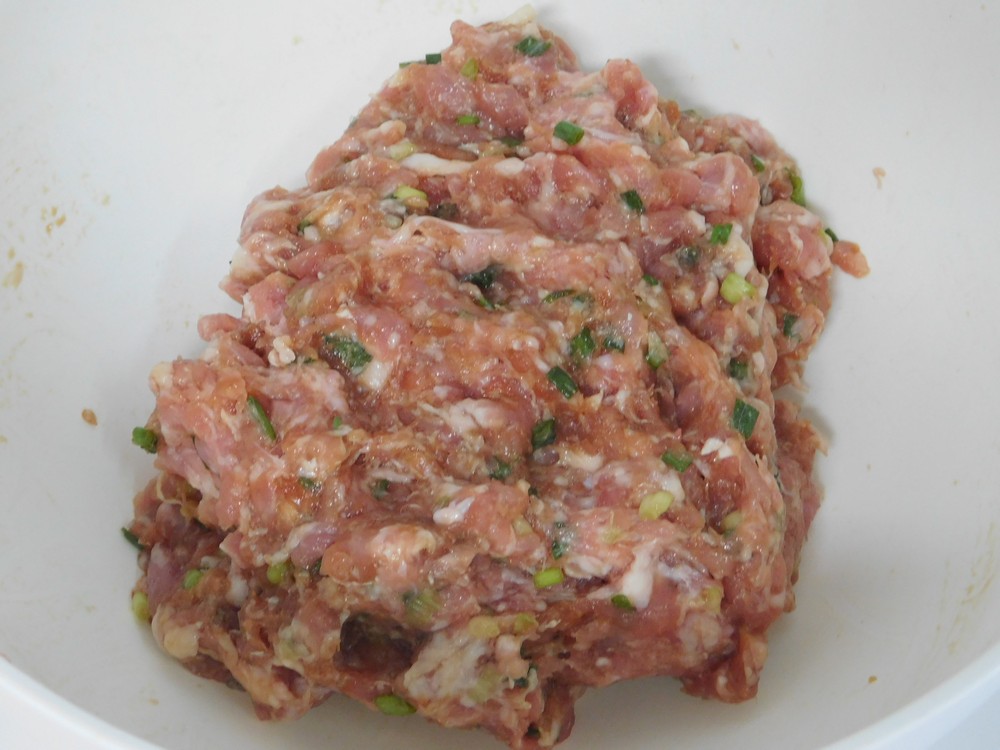
- In a mixing bowl, add all the ingredients except the olive oil and wonton wrappers.

- Use your hands to mix or a large sturdy spoon, it mixes together easily.

- Place a wonton skin on your work surface, add a small spoonful of the meat mixture into the center of the skin. Bunch up the sides and pick up the dim sum and shape so that it is cylindrical with the top open, and pack the pork in with a spoon as well. Set aside and repeat with the remaining skins. (I have not perfect how to pack these correctly, yet.)

- Heat your steamer (I use a rice cooker with a steamer tray) and lightly spray or rub the tray or steamer basket with olive oil. Place some dim sum in the steamer tray leaving space between them. Cover with a lid and steam for 8-10 minutes. You are steaming them, no need to worry about burning them 😉
- Remove the cooked dim sum to a plate, and repeat to cook the remaining dim sum.

- Serve with soy sauce for dipping if desired as an appetizer, side dish, or main dish.


Notes
Low cost.
Adapted from an internet recipe.

Steamed Eggs (Rice Cooker)
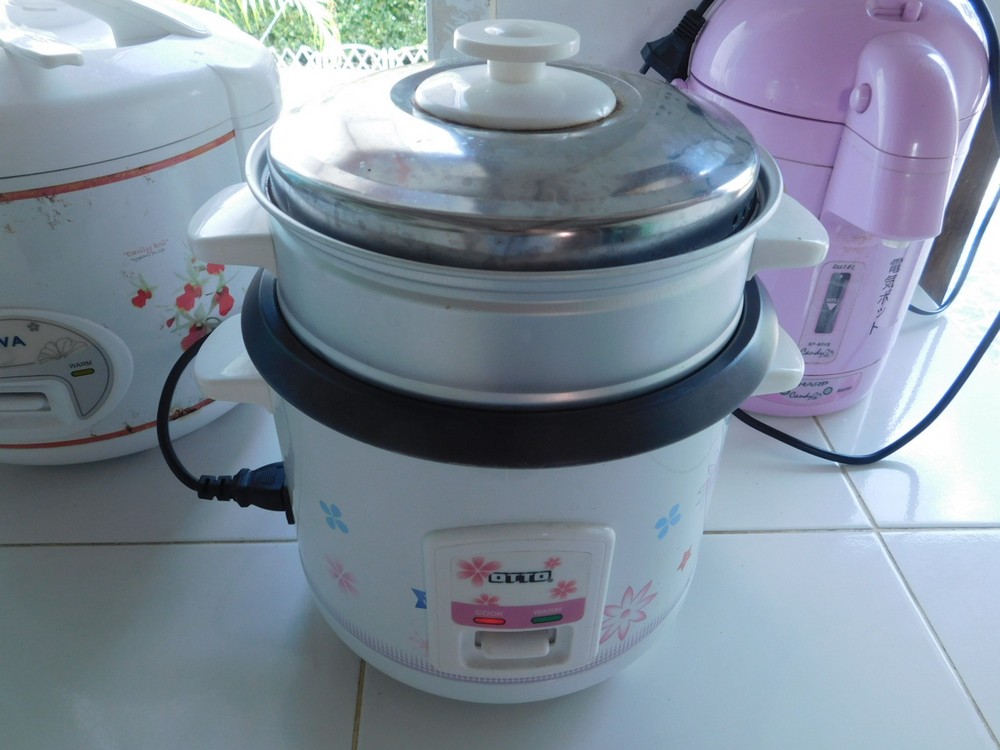
I found this recipe on a friend's web site and decided to give this a try. I use a small rice cooker (1 liter) with a steamer tray, a steamer basket in a pot works equally as well. The size of the steamer basket, size of the eggs, if eggs are layered, and even elevation will play a role in the time to get perfect hard cooked eggs.
Equipment
- Rice Cooker
Ingredients
- 8-10 eggs, chicken, room temperature
- water, as needed
- ice, as needed
Instructions
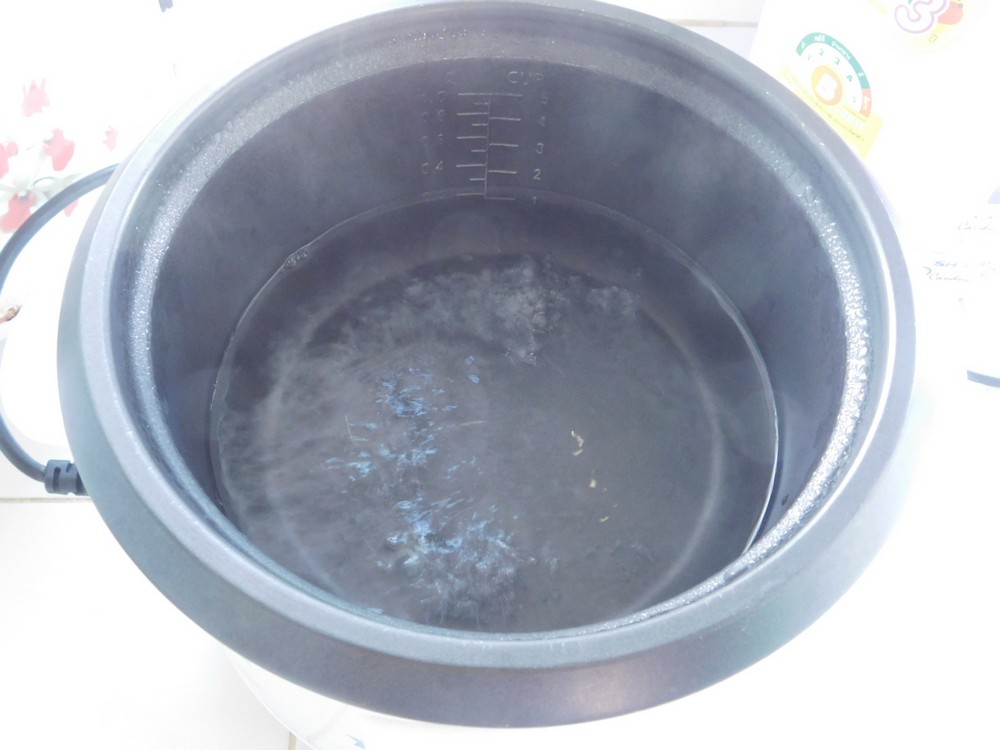
- Add about 1 to 1½ inches of water to your rice cooker insert and add the steamer tray and cover, if using a pot with a steamer basket, add the basket then add water to where it just touches the bottom of the steamer basket then cover. Turn the rice cooker to Cook setting and for a pot, turn to medium to high heat. Get the water boiling and making steam.

- Remove the steamer tray and cover the pot, add the eggs to the steamer tray, place tray on the cooker, for a pot, remove from heat, add the eggs then put back on the heat. For a pot, adjust the heat needed to maintain a gentle boil.

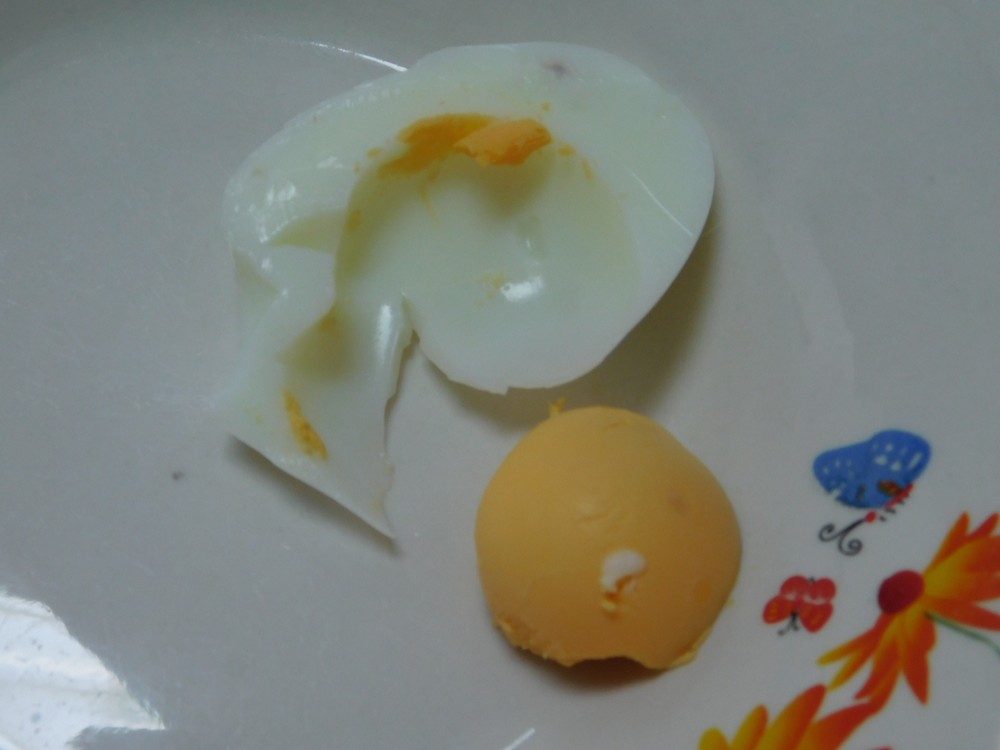
- Set your timer for 6 minutes for soft cooked and 10 minutes for hard cooked with a slightly soft yolk center, or 12-15 minutes for fully cooked through yolks. (I used 15 minutes and the eggs were perfect). If you are using two layers of eggs, increase the time by 1 to 2 minutes. (My little rice cooker doing its thing.)

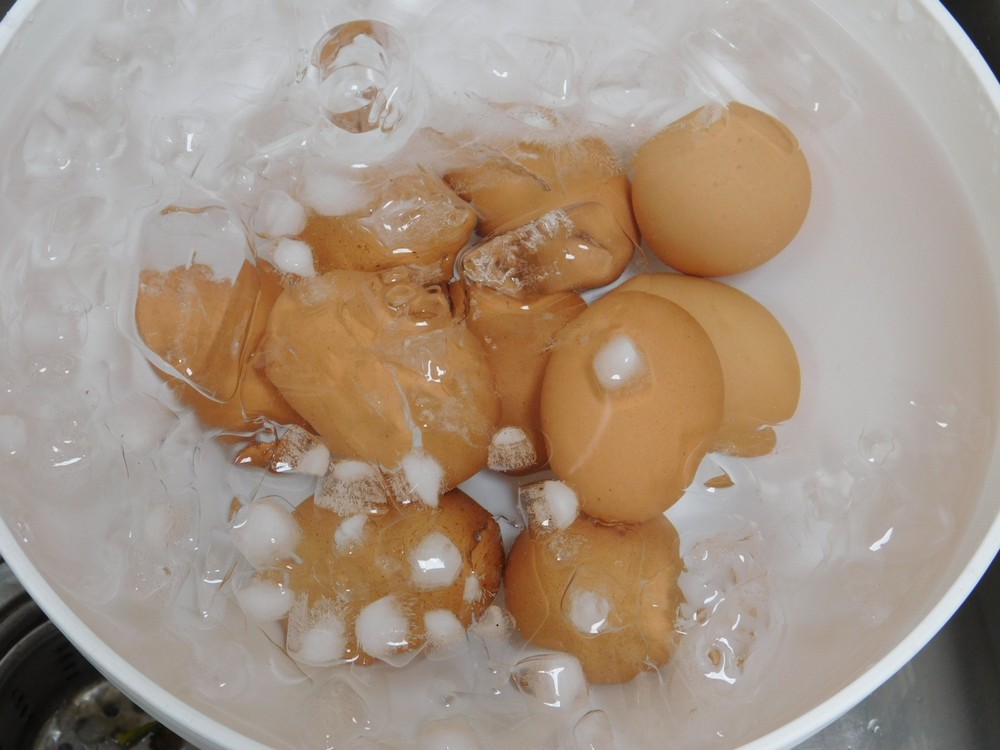
- Place a large bowl in the sink and fill will ice, then fill with water, when the time is up on the eggs, transfer the eggs with a slotted spoon into the ice water, as the ice melts, turn on the tap to keep the water running into the bowl for 5 to 10 minutes to cool the eggs.

- When the eggs are cooled, take each egg and crack all over and return to the water. Once all eggs are cracked, start peeling them under running water, rinse off any shell fragments, place in another bowl, cover, and refrigerate until used.

- I hard cooked 10, previous photo shows 9, here is number 10. I took the ugly egg, the white was broke, and sliced in half, and as you can see, absolutely no green from over cooking. The whites were perfect in taste, not rubbery at all. Yolk was perfect.


Notes
Low cost.
These can be used in any recipe calling for hard or soft boiled eggs.
Rendering Lard
Rendering pig fat produces lard, which a natural fat and is actually healthier than many vegetable oils. It has a high smoke point which makes it ideal for deep frying and is ideal for pastry making. I used to render bear fat when I was growing up and that, makes the best pastry, hands down. This process uses a slow cooker, perfect for the low heat and minimal chance of burning the lard. If you have ever made lard in a pot on the stove top, and burned it, you will understand why the slow cooker is the best option. The rule of thumb is 1 quart of lard is rendered from 1 kilo (2 lbs) of pig fat. I have two methods to prepare the fat listed, if you have an electric meat grinder, that option will save some time in the slow cooker.
Equipment
- Slow Cooker
- Meat Grinder optional
Ingredients
- 1 kilo pork fat, (2 lb)
- ¼ cup water
Instructions
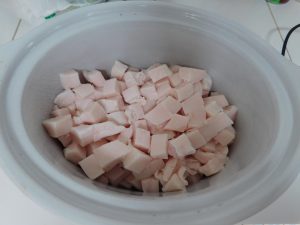
Cubed Fat
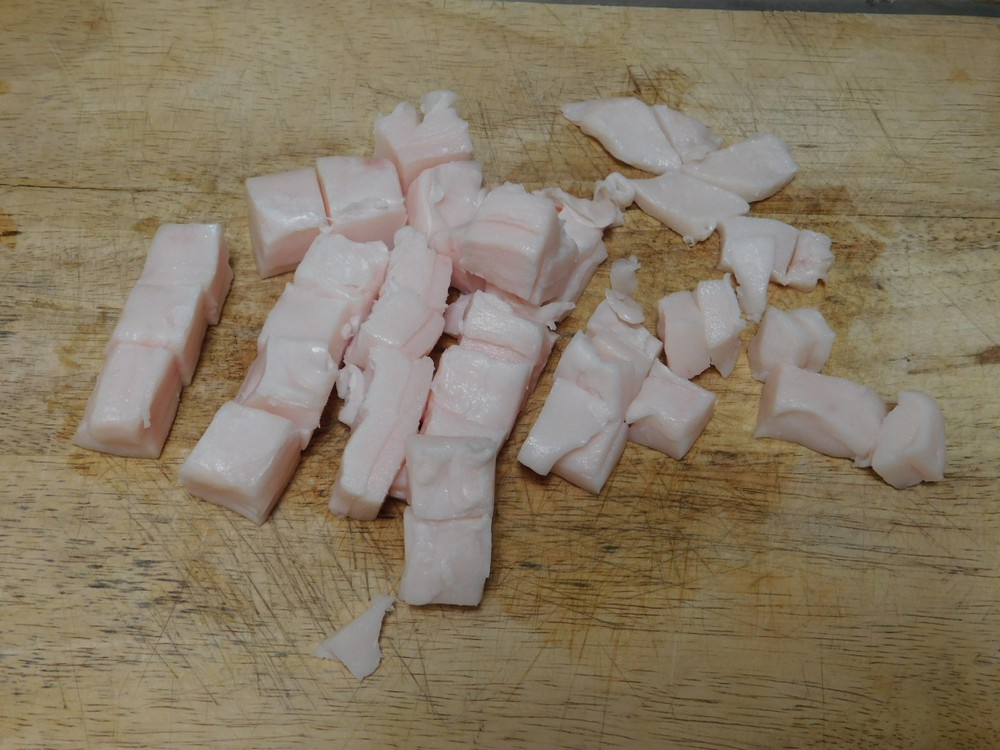
- Trim any large pieces of meat from the fat, does not have to be perfect, just remove the large bits. If you buy the fat at Tesco, it will be back fat and all be trimmed and in large pieces. In the US try and get leaf fat from a reputable farmer that has pasture raised pigs I bought 5 slabs at Tesco, about ¾ inch thick that came out to 1 kilo in weight.
- Dice the fat into ½ to ¾ inch pieces, smaller is better for this.
- Add the fat to your slow cooker and add a ¼ cup of water (the water evaporates off). Place the lid on the cooker and set the cooker to Low setting.
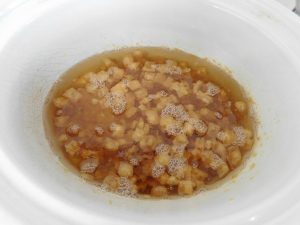
- After 1 hour, give the pot a stir and you will see some liquid in the pot, that is the fat being rendered.
- Continue to stir every hour until the fat is fully melted or is brown bits on the bottom of the pot that start to float again. At this point, the lard is ready. Mine was ready in 15 hours.
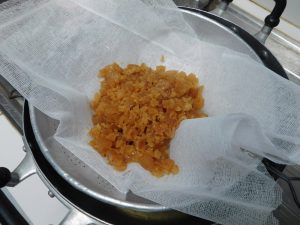
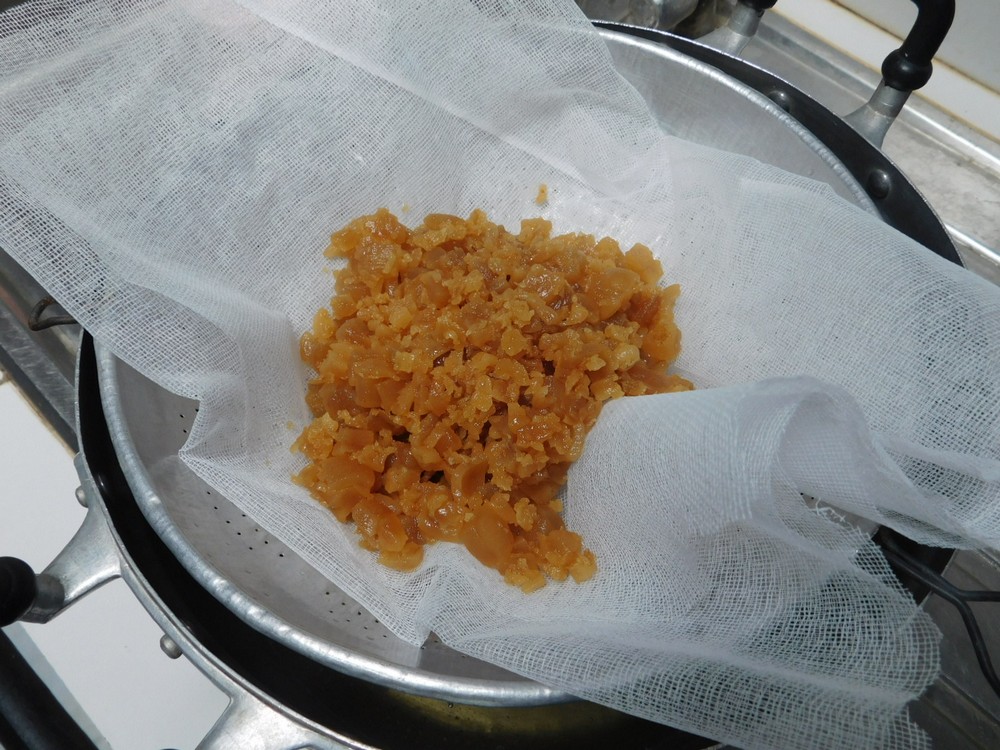
- Pour the lard through cheese cloth placed in a strainer, over a pot, Let the brown bits (crackling) drain for about 20 minutes or so. Remove the strainer and set aside with the cracklings.
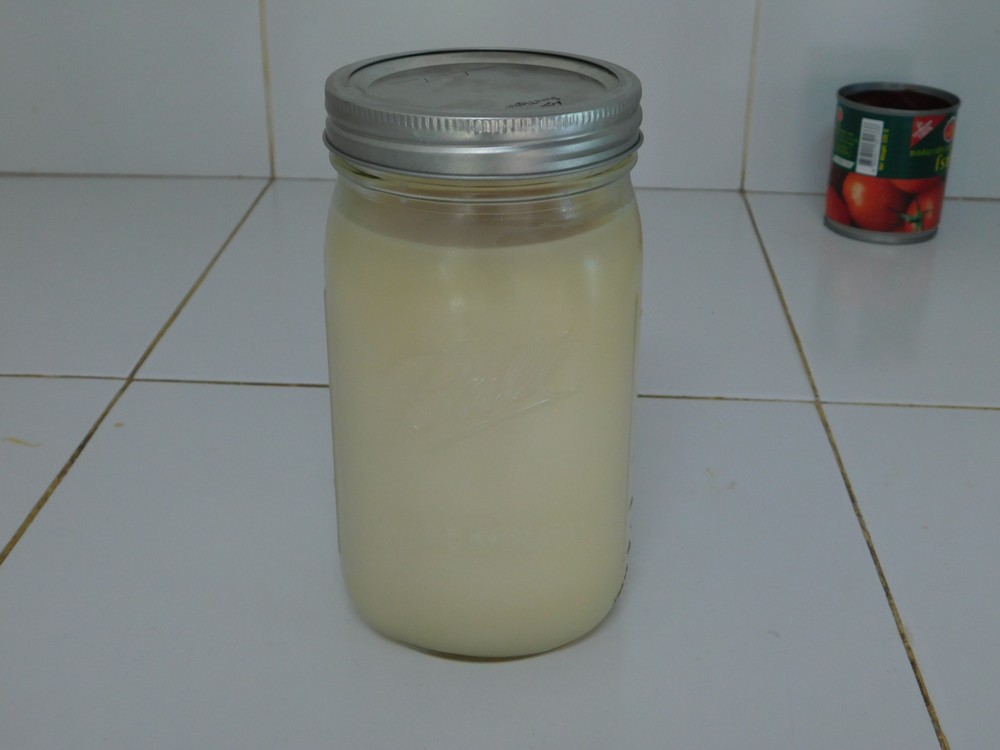
- Pour the lard into a quart jar and allow to cool on the counter uncovered. Once cooled, cover and store in the fridge until use.

- Cooled and solidified, perfect!

- Bonus item! Heat a non stick pan and when hot, dump the cracklings, the left over bits in the cheese cloth, into the pan, season with salt and herbs of your choice, fry until crispy, enjoy!


Coarse Ground Fat
- If you have an electric meat grinder, and a coarse plate, the coarse plate I have is called the wagon wheel. Assemble your grinder with clean sterile parts. Do not add the hopper tray, the try that fits on top of the feed tube, first, it is not needed, two, less to wash later.

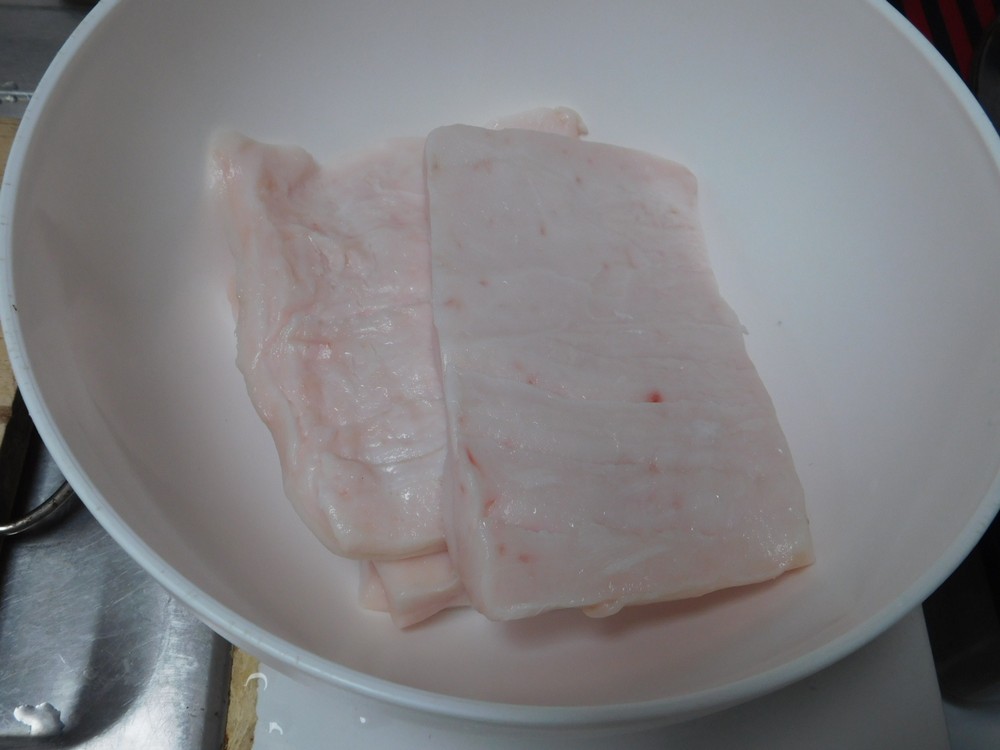
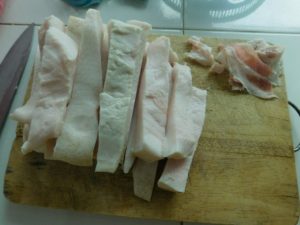
- To prepare the fat, you want is very cold, not frozen. Place the fat skin side up on a cutting board, cut into strips that are about ⅜ inch wide, once all the strips are cut, check each one for any meat tissue and trim that off. Be careful doing this as pieces will be very slippery. Here you can see the strips and the meat tissue I removed on the right.
- Place a bowl to catch the fat. For this method, you are not going to load up the hopper with a bunch fat, you are going to do this one strip at a strip at a time, as the grinder is grinding the skin as well, so we do not want to overwhelm the grinder or slow the motor. Turn the grinder on and drop in a fat strip, when that is coming out, drop in another. This actually goes quite fast.

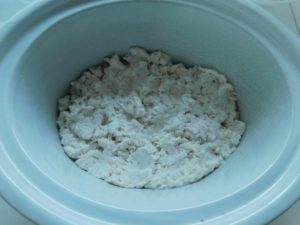
- Place the fat in your slow cooker. And proceed with adding the 1/4 cup of water and setting the cooker to Low.
- Stir every hour, the fat and skin will turn golden brown and the bits will sink to the bottom, when they start to float, the lard is ready. Mine was ready after 9 hours.
- Pour the lard through cheese cloth placed in a strainer, over a pot, Let the brown bits drain for about 20 minutes or so. Remove the strainer and discard the bits, they are so small, don't worry about using them.
- Pour the lard into a quart jar and allow to cool on the counter uncovered. Once cooled, cover and store in the fridge until use.


Notes
Low cost. I paid 70 Baht for 1 kilo of fat resulting in 1 quart (4 cups) of rendered, good quality lard, to use in frying and baking.
Used in Recipes Listed on this Site:
- Tamales.
- Fried Golden Pomfret Steaks, made it, GO-TO recipe.
- Potato & Chinese Sausage Hash, made it, GO-TO recipe.
- Fried Okra, made it, GO-TO recipe.
- Fried Oysters, made it, GO-TO recipe.
- Quail Egg Wontons, made it, GO-TO recipe.
- Cornmeal Whitefish II (Simplicity), made it, GO-TO recipe.
- Fried Oyster Mushrooms, made it, GO-TO recipe.

Fried Bologna Sandwich
I made these last night, have not had one in 12 years or so, true comfort food. Bologna is here, mainly just eaten as a snack item straight from the fridge. My wife very much enjoyed these. I did not make anything that is not here, just prepared it in a way the Thais are not accustomed to, the family really likes it when I use common items to make a "new" dish they have not had before. This is a nothing more than a guide, not a recipe. Keep in mind, Thai bologna is smaller diameter than in the US.
Ingredients
- 2 slices bread
- 5 slices bologna, plain, I used pork
- lettuce leaves, as needed
- cheese, sliced, as needed
- mayo, as needed
Optional Items
- tomato, sliced
- egg, fried
- hard boiled egg, sliced
- mustard, in place of the mayo
- cheese, sliced, any you like
- bologna, with chilies, very popular
- bologna, chicken
Instructions
- In a non stick pan, heat a tiny amount of olive oil and add the bologna slices, fry for a minute or two each side or until the edges are starting to brown.
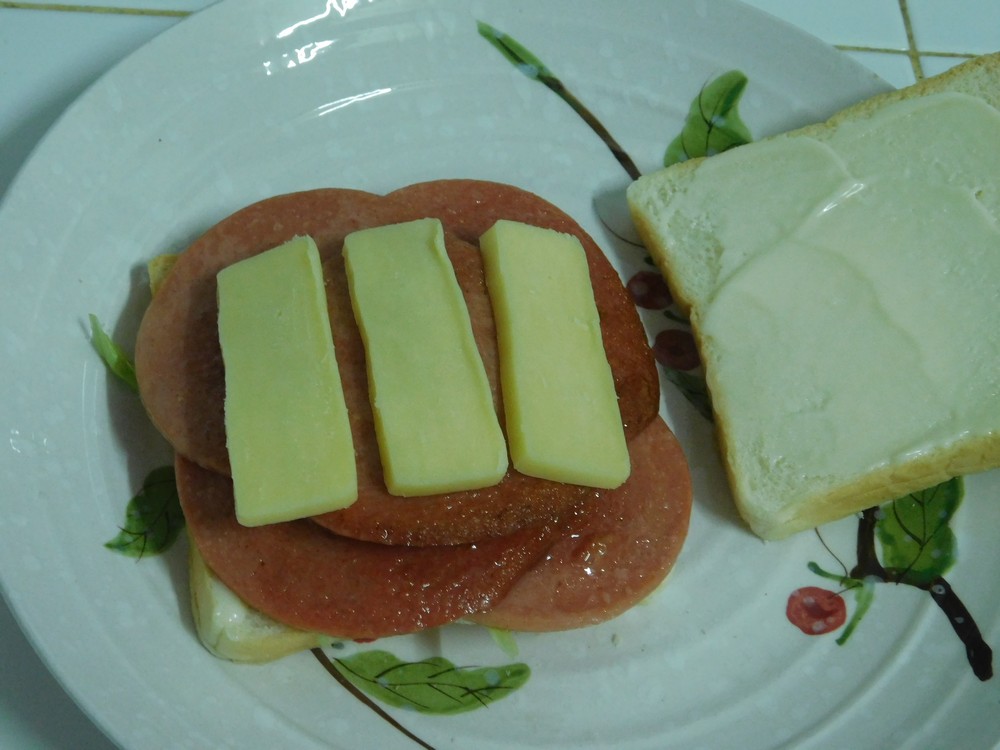
- Spread mayo on each slice of bread, add some lettuce to one slice, add the bologna slices on top of the lettuce, then add some cheese on top of the bologna. Top with the other slice of bread.

- Cut in half and enjoy.

Notes
A pack of 10 slices of bologna will cost about 79 Baht, for 2 sandwiches (2 servings), this is about $1.25 per serving. Other items used are minimal.
Commonly made sandwich.