Archive for the ‘#1 Go-To Recipes’ Category
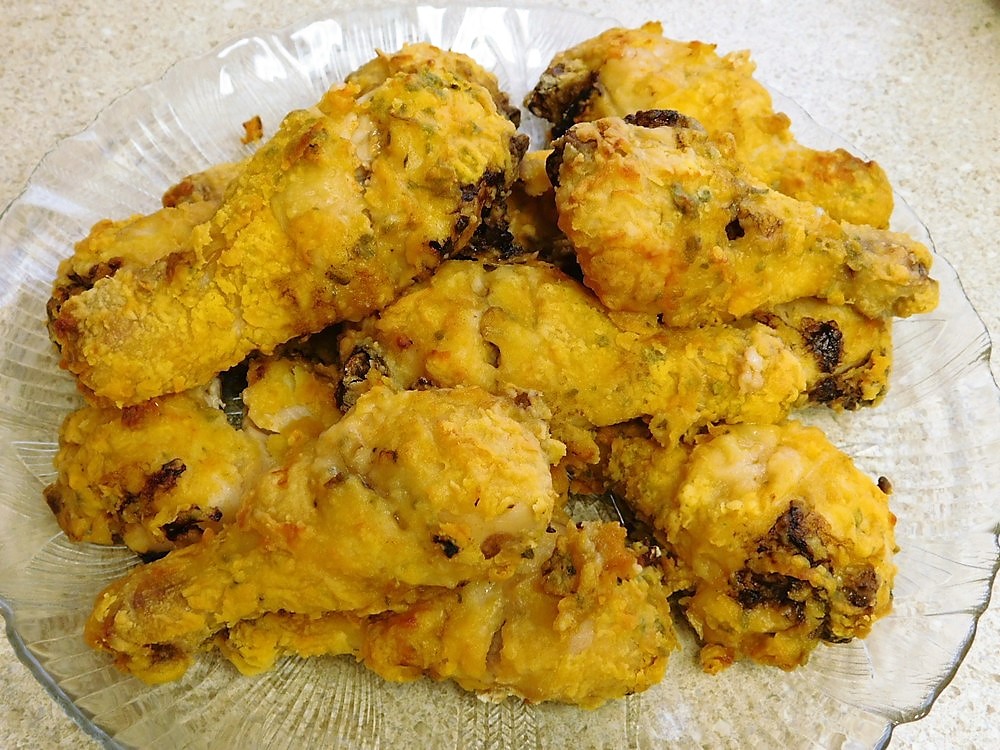
Baked Coconut Chicken
Good tasting chicken, subtle flavor of coconut, next time I make these I will make some shallow cuts on the chicken.
Equipment
- Oven
- Baking Sheet with Rack
Ingredients
For Marinating
- 5 chicken quarters
- ⅔ cup coconut milk
- 1½ teaspoons paprika
- 1 teaspoon lemon pepper
- 1 tablespoon dried parsley
- 1 teaspoon salt
For Baking
- ½ cup all purpose flour
- 1 teaspoon baking powder
- ¼ teaspoon baking soda
- extra light olive oil, as needed
Instructions
To Marinate the Chicken
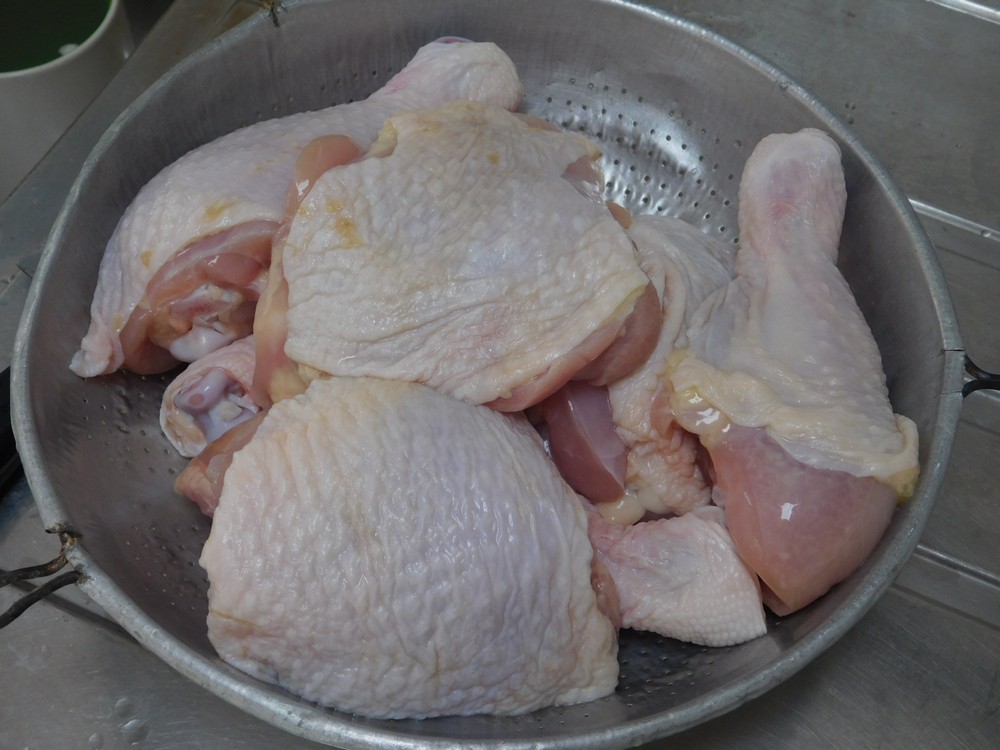
- Separate the quarters into legs and thighs (there is a line of fat to follow). Trim off and discard any excess fat. (I used 4 quarters)

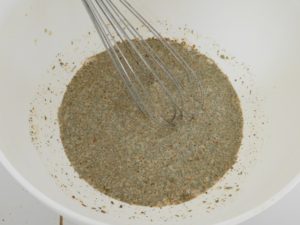
- In a mixing bowl, add the rest of the marinade ingredients, whisk together.
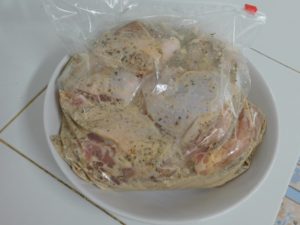
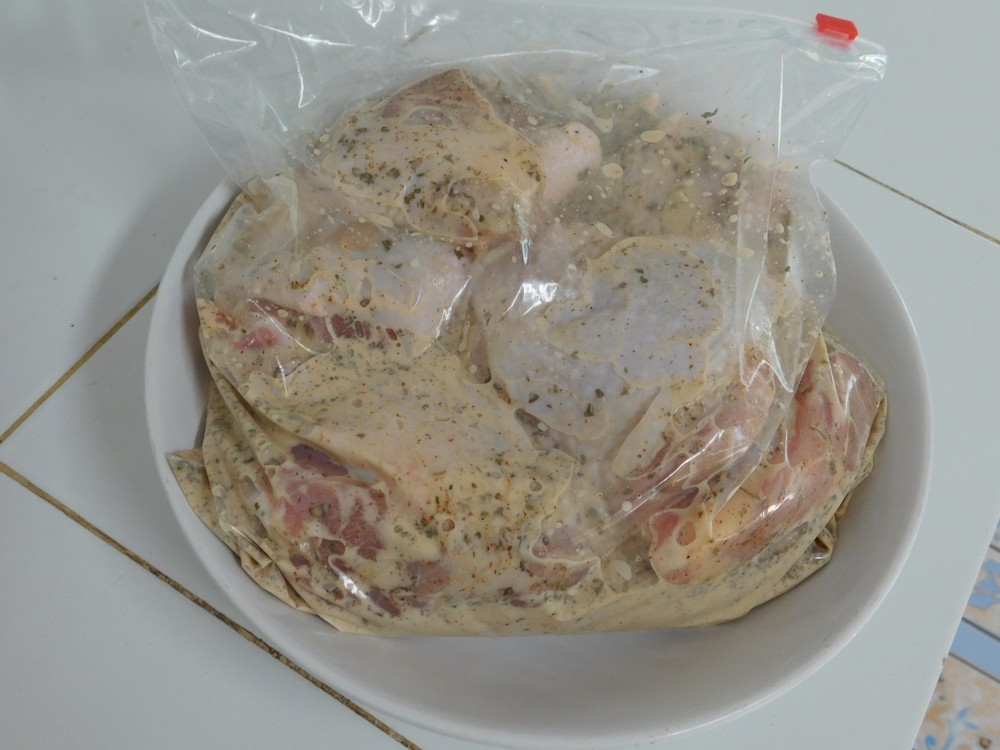
- Place the chicken pieces in a sturdy zip lock bag, then pour in the coconut mixture. Squeeze out as much air as you can and seal the bag. Squish the chicken around to get everything coated with the marinade. Place the bag on a plate and place in the fridge overnight.

To Bake the Chicken
- Remove chicken from the marinade and drain, discard the marinade.
- In a mixing bowl, add the flour, baking powder, and baking soda, and whisk together. Pour a little bit of extra light olive oil in a small bowl. Line a baking sheet with foil, lightly oil a baking rack and place the rack on the backing sheet.
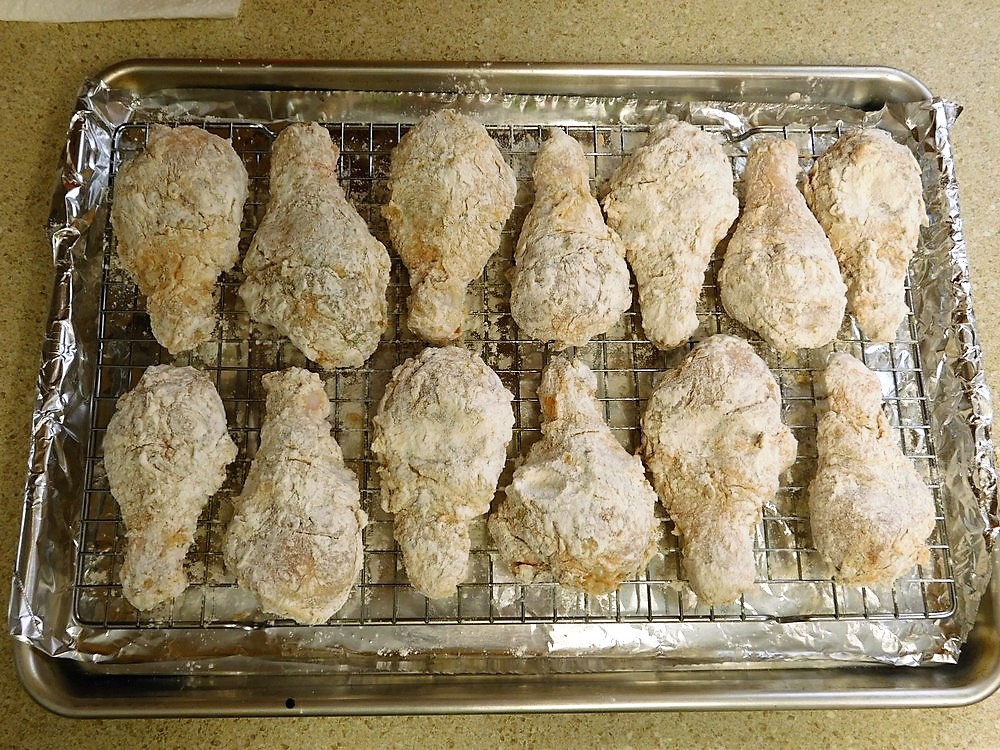
- Coat the chicken pieces in the flour mixture and place on the rack. Leave the chicken to rest for an hour.

- About 15 minutes before you are going to bake, preheat your oven to 200° C (390° F). Brush or spray the chicken with olive oil and place the baking sheet with the rack and chicken in the oven and bake for 25 minutes, turn the chicken pieces over and bake for another 25 minutes or until golden brown and crispy. To check if cooked through, sacrifice a thigh and cut into one to verify it is cooked through.

- Serve with sides of your choice.


Notes
Low cost. I used 4 chicken quarters on 3 Feb 2019, that was 1 1/2 kilos (quarters are larger than the already separated thighs and legs), for 49 Baht/kilo, for a total cost of 73 Baht. For 5 servings, this is about 46 cents per serving.
Variants: 1. Use all thighs or all legs. 2. Make cuts in the meat to allow the marinade to soak into the meat.
Whitefish Fillets (Pressure Cooker)
This recipe comes from a very reliable source regarding pressure cooker usage. I figured if a pressure cooker makes vegetables, beans, and meats more flavorful, why not fish, so I researched and found this. For this you need a 3 quart or larger pressure cooker, electric or stove top. I will be using my 9 liter (9½ quart), 12 psi (80 kPa) stove top pressure cooker. This will use a steamer tray or basket in your pressure cooker. Follow all safety precautions for your model of pressure cooker.
Ingredients
- 4 whitefish fillets, boneless, skinless
- 500 grams cherry tomatoes, cut in half lengthwise, or roma, sliced, (1 lb)
- salt and lemon pepper, as desired
- 1 bunch fresh thyme, or dried, as desired
- 2 tablespoons capers, drained
Instructions
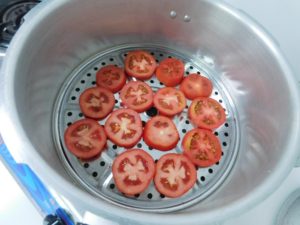
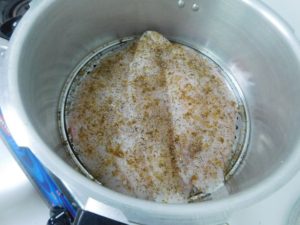
- Add 1½ cups of water to your pressure cooker. Add the steamer tray to your pressure cooker, or a steamer basket. For the basket, you can line that with parchment paper if desired.
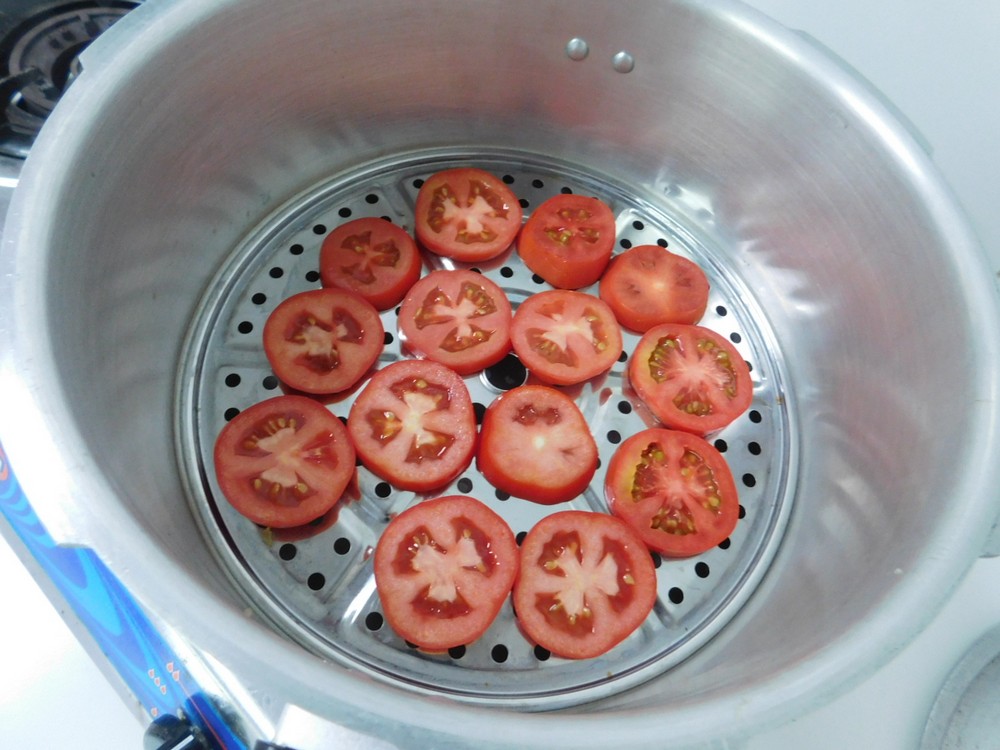
- Add a layer of cherry tomato halves or sliced roma tomatoes to the tray.
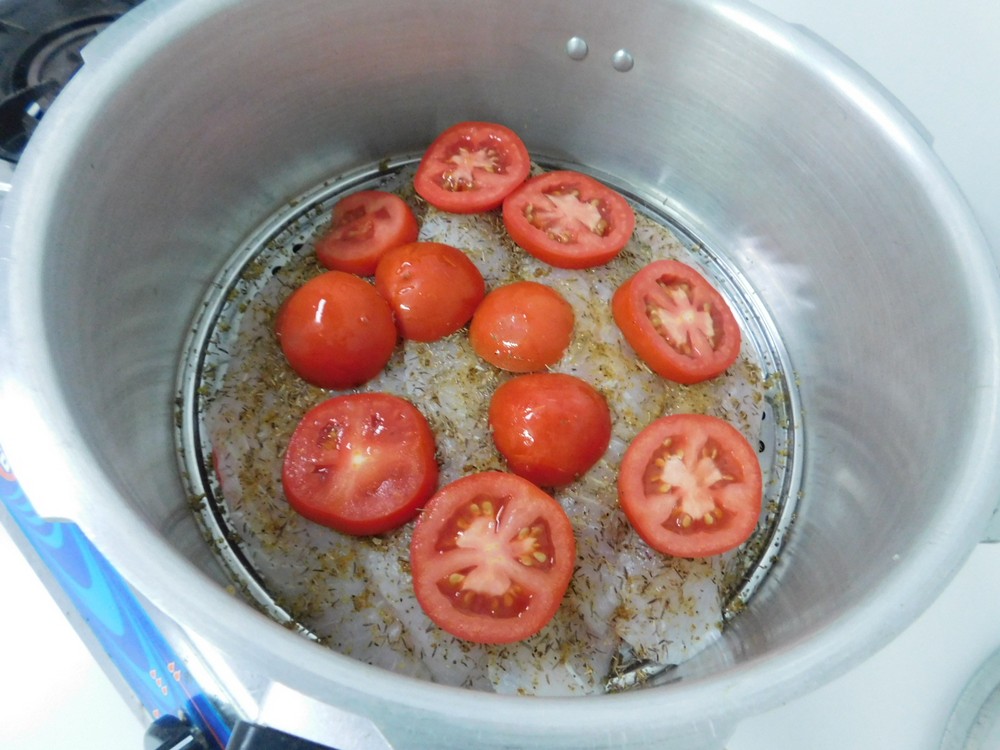
- Add the fillets, season with salt, lemon pepper, and thyme, as desired.
- Place more tomatoes on top of the fillets.


For Stove Top Pressure Cooker, 12 psi
- Place the lid on the pressure cooker and add the weight. Bring the heat up to high. When the weight (jiggler) starts to vent pressure, reduce heat to low or medium low to maintain pressure venting. Set your timer for 4 minutes.
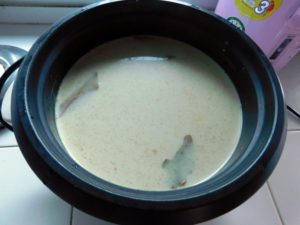
- When 4 minutes have passed, turn off the heat and move the pressure cooker to an unused burner. Now we are going to do a normal pressure release. DO NOT pull the weight off the lid!Grab an oven mitt and just tilt the weight to the side to vent pressure, hold for 10 seconds, then let go for 10 seconds, repeat until the pressure is completely vented and the lid lock has dropped. THEN remove the weight and then open the lid. Since the fish is not in water, there is zero chance of creating a rapid boil that would possibly tear the fish up.

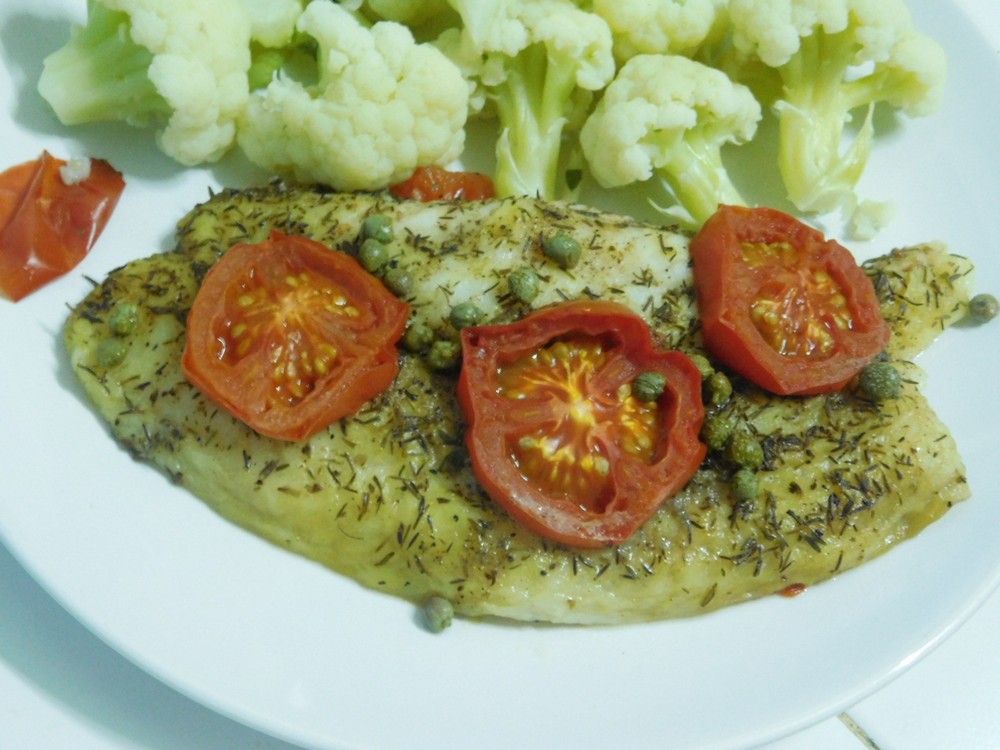
- Remove the fillets to plates, top with some of the tomatoes and sprinkle on the capers, add a drizzle of olive oil if desired, and salt and pepper as desired. Serve.


For Electric Pressure Cookers, with adjustable pressure settings
- For this type of pressure cooker, these are guidelines only, I have no experience using of these models, so use your best judgement. There is my disclaimer for these steps.
- Close the lid and turn the vent to sealing, and select Low pressure. Set your timer for 7 minutes, 8 for thick fillets. When the time is reached, do a normal pressure release, I assume you turn a lever to vent. When you have indication of zero pressure in the cooker, open the lid.
- Remove the fillets to plates, top with some of the tomatoes and sprinkle on the capers, add a drizzle of olive oil if desired, and salt as desired. Serve.
Notes
Low cost, 4 pangasius are about 96 Baht for 4 fillets. For 4 servings, this is about 75 cents per serving.

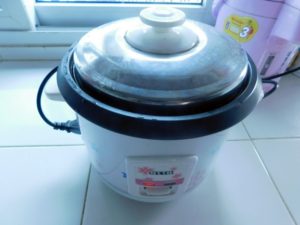
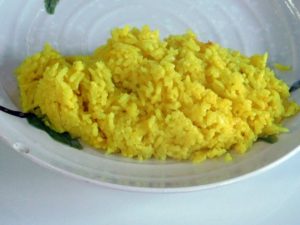
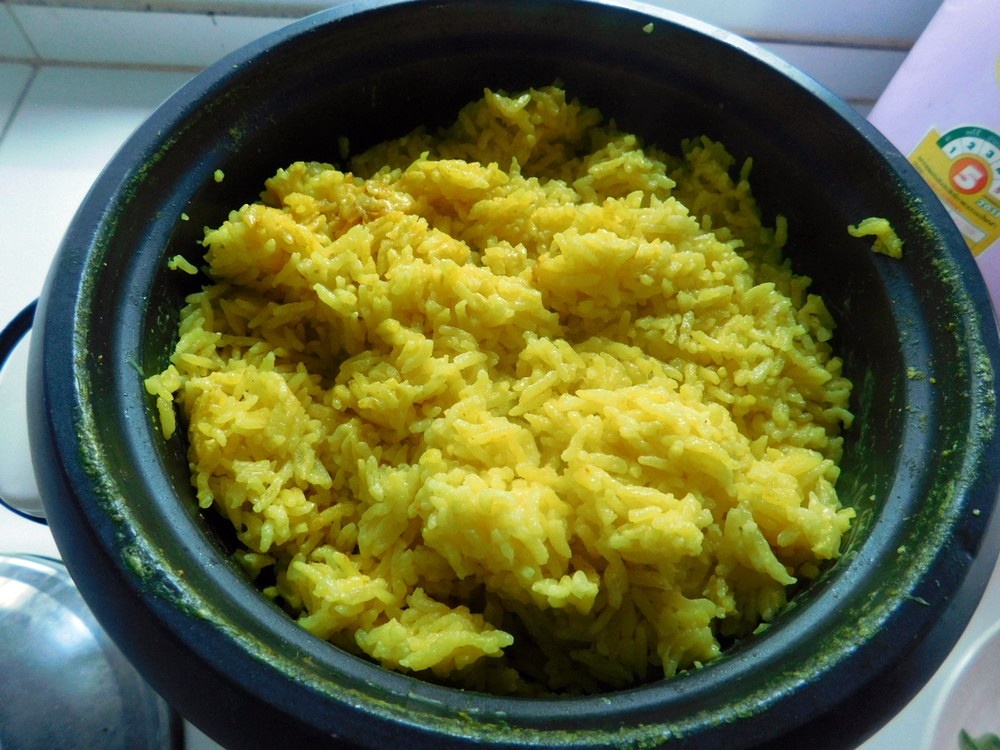
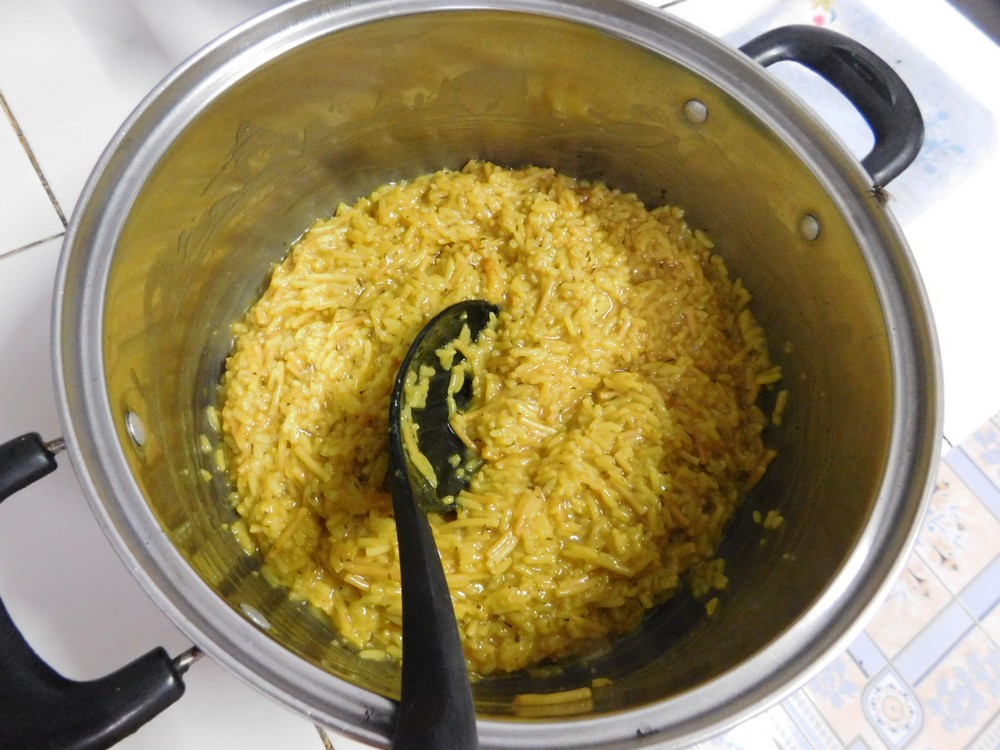
Indonesian Turmeric Rice (Rice Cooker)
This is an excellent seasoned rice dish, I and the family loved this. I will be using my trusted and simple, Cook / Warm rice cooker for this.
Equipment
- Rice Cooker
Ingredients
- 2 cups dry long grain rice, rinsed
- 1½ cups coconut milk
- 1½ cups water
- 1 tablespoon ground turmeric
- 2 pandan leaves, knotted. if available
- 1 stalk lemon grass, pounded and knotted, or 1 teaspoon ground lemon grass
- 2 bay leaves
- 2 teaspoons salt
Instructions
- Place everything in your rice cooker and stir together.
- Cover and set the rice cooker to the Cook setting. Rice cooker doing its thing.
- When cooker switches to Warm setting, fluff the rice with a rice paddle.

- Serve as a side dish with a main dish of your choice.


Mushroom & Clove Spaghetti
I love mushrooms and spaghetti, so this sounds like a win win. I made this on 2 Feb 2019, and I was pleasantly surprised, this is very delicious, Even my wife liked this dish. This is not like a typical spaghetti with a tomato sauce, this is not drenched in sauce. The clove is a subtle flavor but very nice.
Ingredients
- 250 grams dry spaghetti, (8 oz)
- ¼ cup butter, (½ stick / ¼ block)
- 1 tablespoon all purpose flour
- 1 red onion, diced
- 3 whole cloves, or ¼ teaspoon ground cloves
- 1½ teaspoons ground coriander
- 4 cloves garlic, smashed and minced
- ½ teaspoon black pepper
- 200 grams button mushrooms, sliced, (7 oz)
- 1½ tablespoons tomato paste
- 1 tablsspoon light soy sauce
- fresh spring onion, chopped, for garnish
Instructions
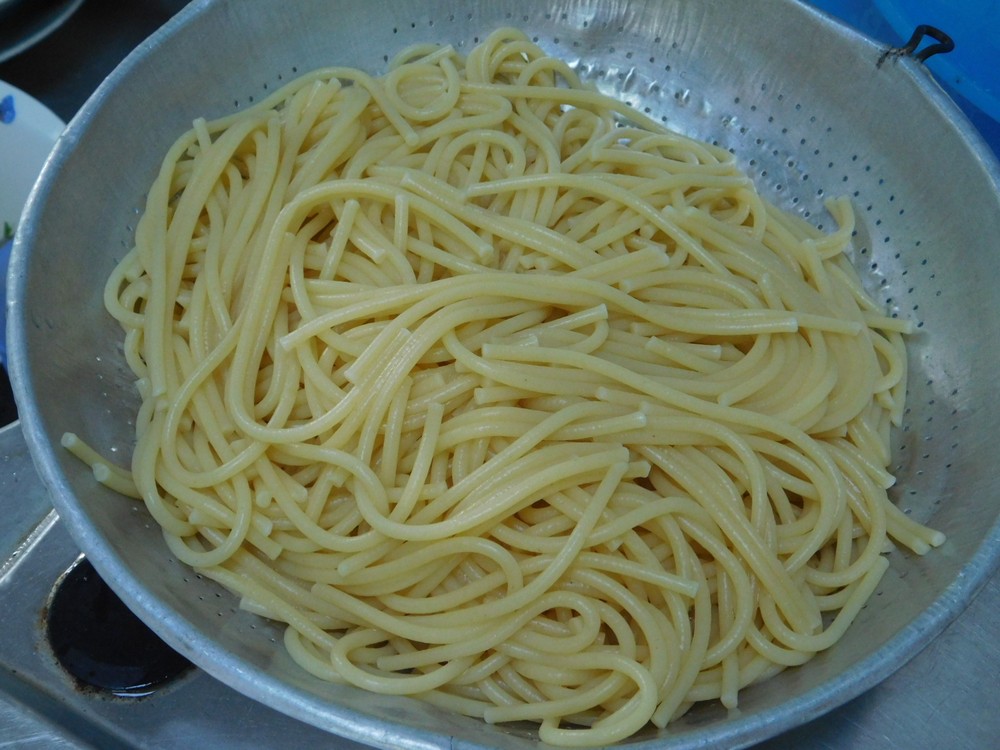
- Heat a pot of salted water and bring to a boil, add the pasta and cook until tender. Drain and run under cold water. Set aside.

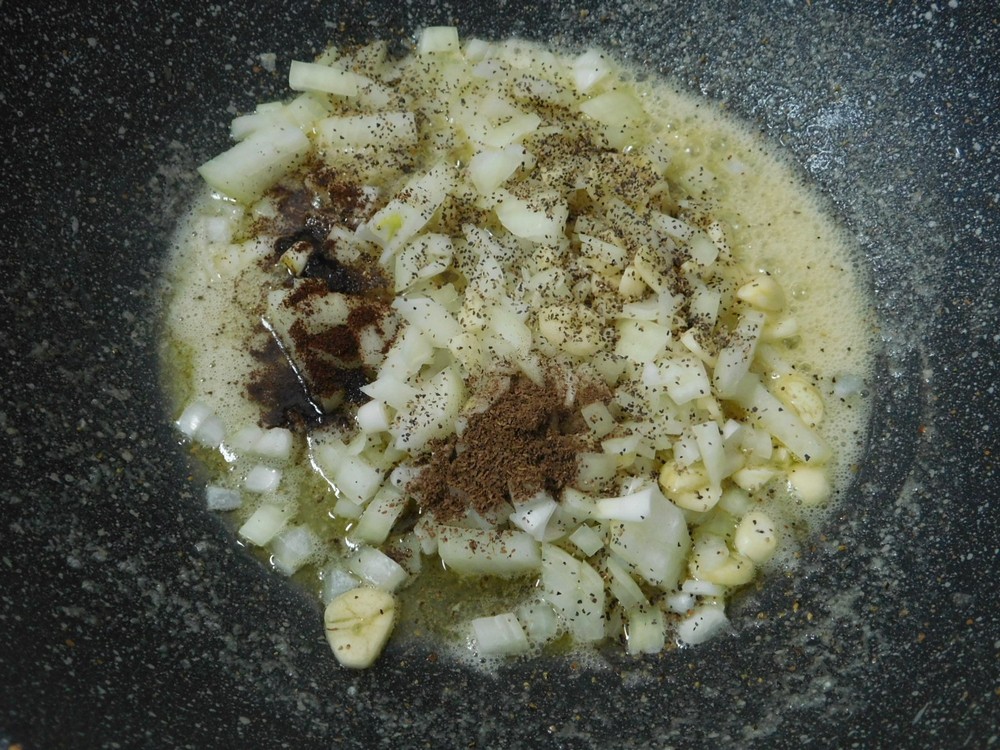
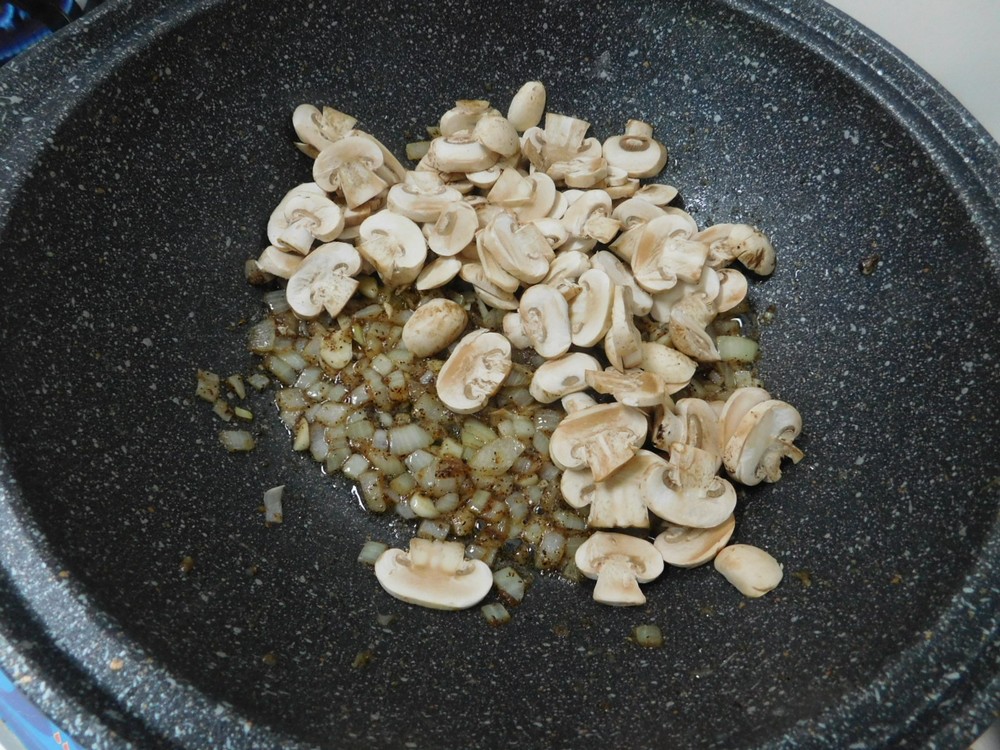
- While the pasta is cooking, go ahead and start cooking the rest. Melt the butter in a large non stick pan on low heat, when completely melted, whisk in the flour until mixed together, then add the onion, cloves, coriander, black pepper, and garlic.

- Stir until the onion is soft and garlic is fragrant. The kitchen will have a wonderful aroma.

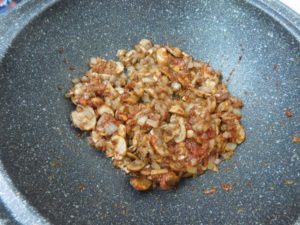
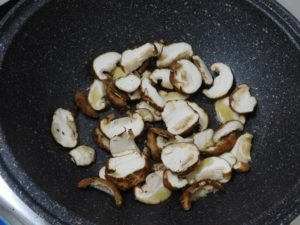
- Add the mushrooms and tomato paste. I got snap happy with the camera and took this before adding the tomato paste.
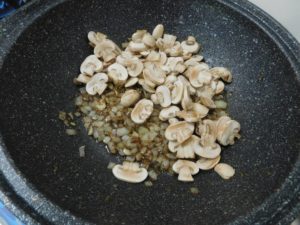
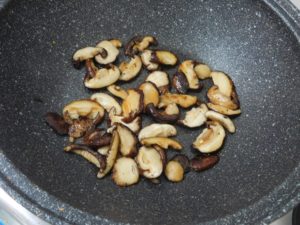
- Saute for 4-5 minutes or until the mushrooms are nice and tender. You will not get a lot of liquid from this, this a dry sauce.
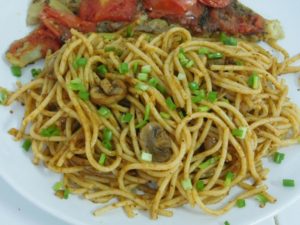
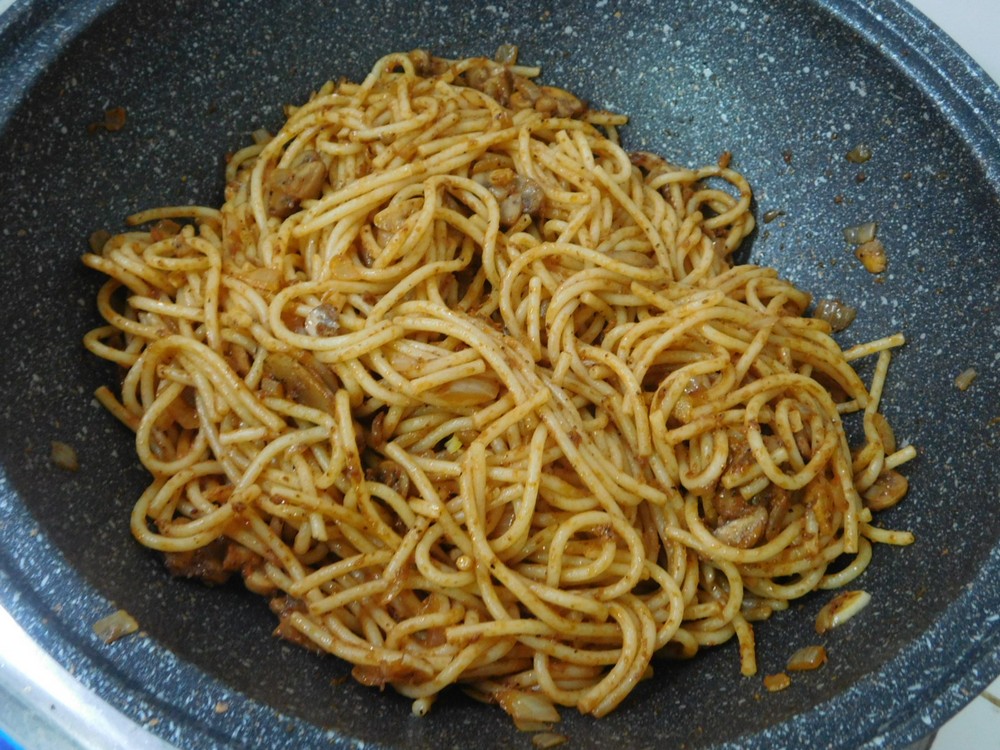
- Add the spaghetti and soy sauce, and mix with the mushroom mixture. Saute for 1-2 minutes to heat the pasta through.

- Place pasta on plates, garnish with chopped spring onion if desired, serve with sides of your choice, enjoy.


Notes
Low cost per serving.
Variants: 1. Add blanched spinach. 2. Add smoked ham sliced into strips (highly recommended).
Variant 1 provided by Mike Early, United States.
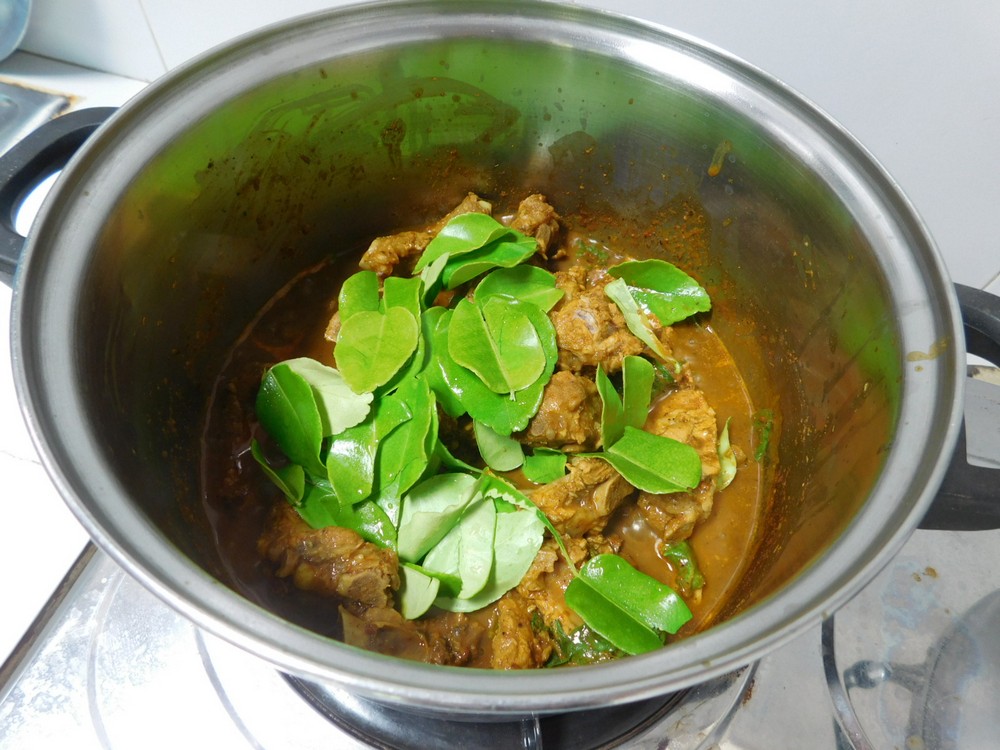
Pork Rib Curry II
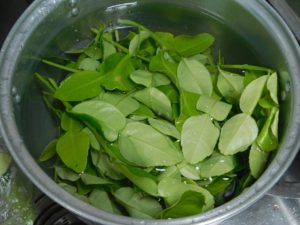
This is another version of pork rib curry, this will use young kaffir lime leaves, they have to be the tender ones as they are eaten. Many ways to prepare this each time to make it different and by regional areas as well. This is a spicy version.
Ingredients
- 1 kilo pork ribs, (2 lbs)
- 2-3 handfuls young kaffir lime leaves
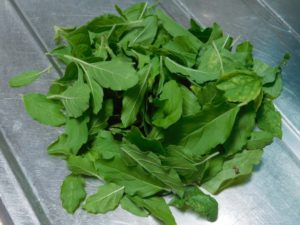
- 1-2 handfuls Thai basil leaves
- 1/4 cup red chili paste
- 2 tablespoons shrimp paste
- pork broth, as needed, you make this during the cooking
- salt, to taste, as desired
Instructions
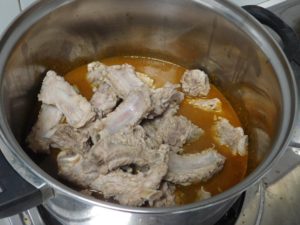
- Rinse the strip of ribs and cut between each bone.

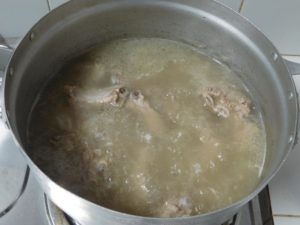
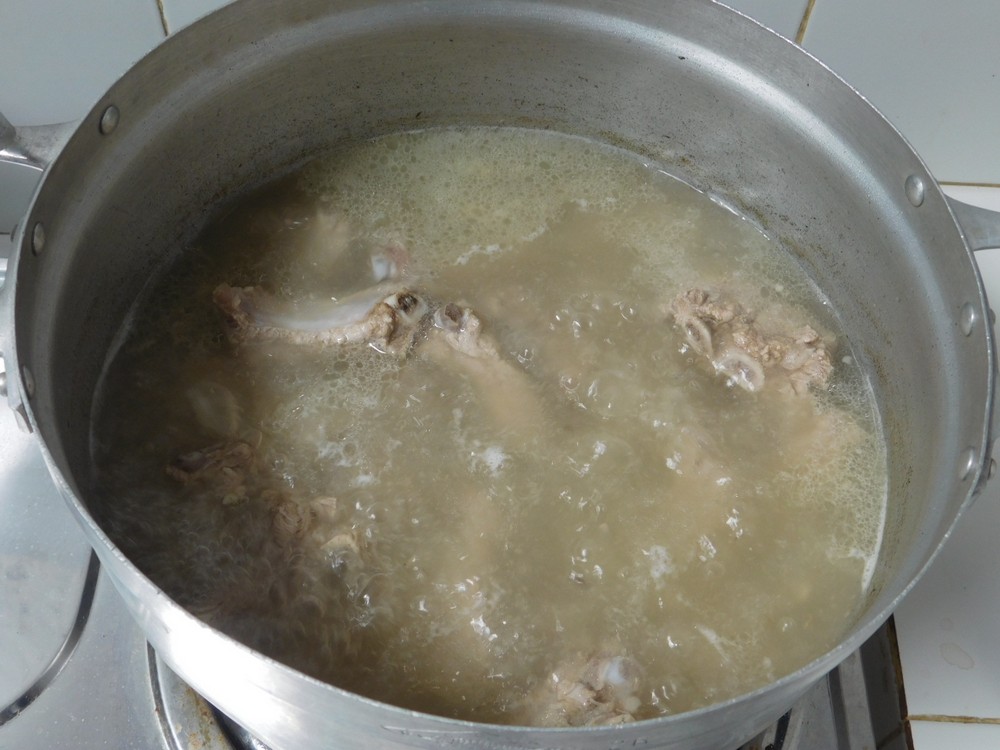
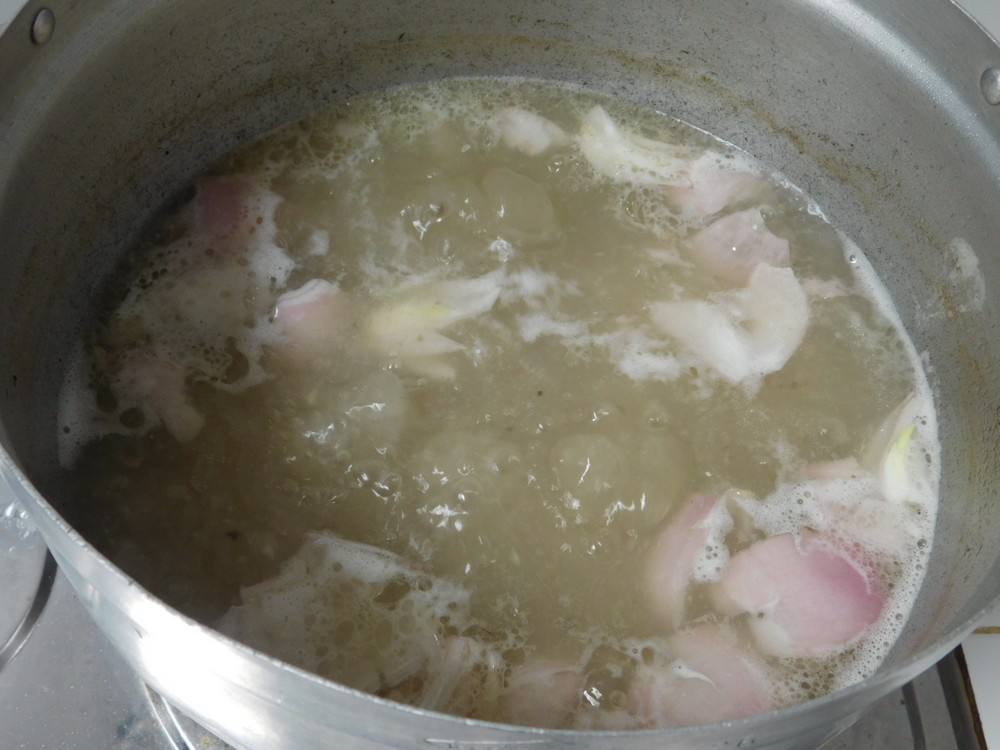
- Place ribs in a pot and cover with about 2 inches of water and bring to a boil then reduce heat to a low boil. Cook the ribs for about 30 to 40 minutes. Use a large spoon and skim off any foam. You are making a basic pork broth and the ribs will be nice and tender.
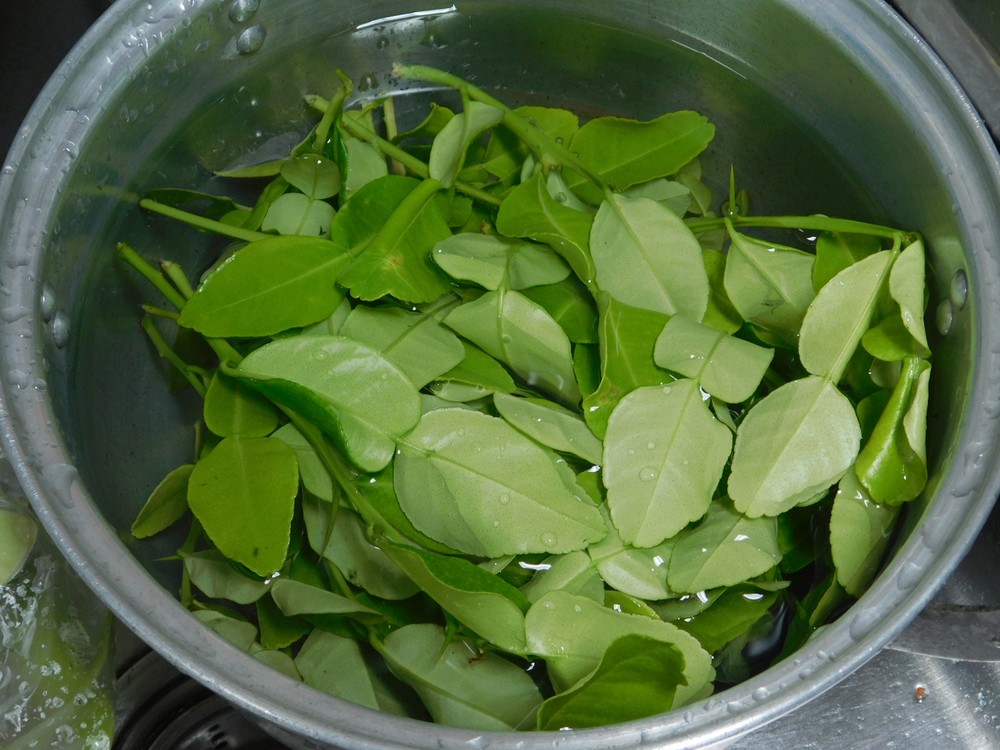
- While the ribs are cooking, prep the kaffir lime leaves, rinse them, makes sure all are tender, and just roughly tear them up.
- Pull the basil leaves from the stems, rinse, and squeeze out the excess water.
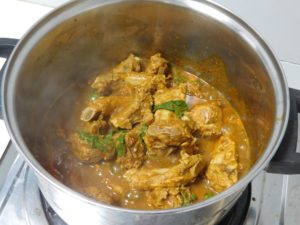
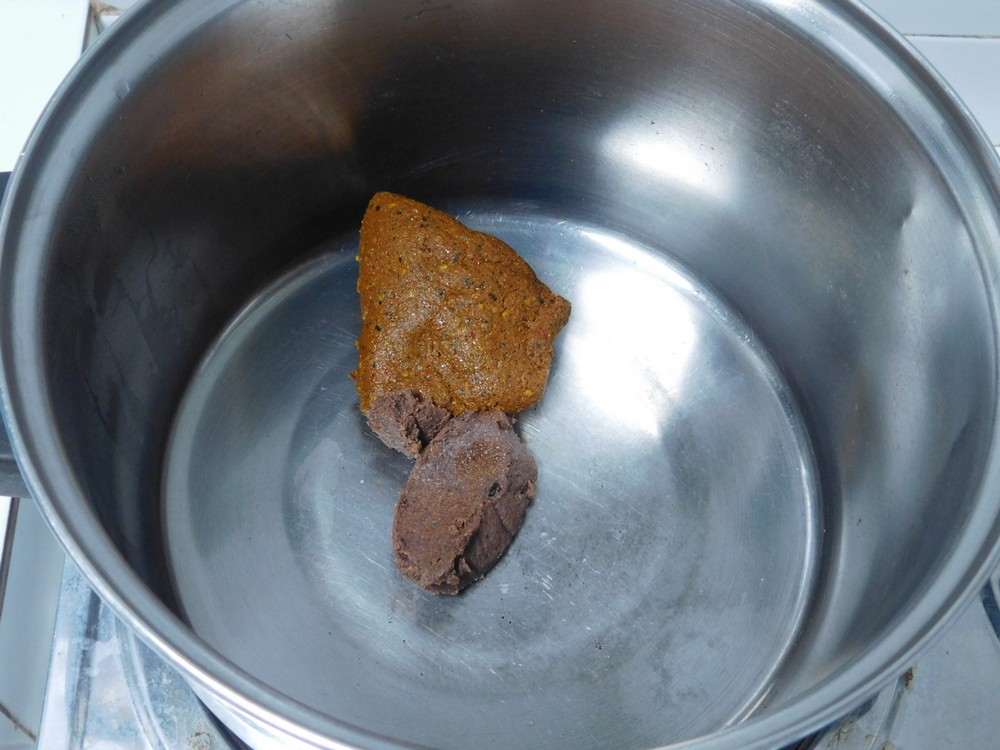
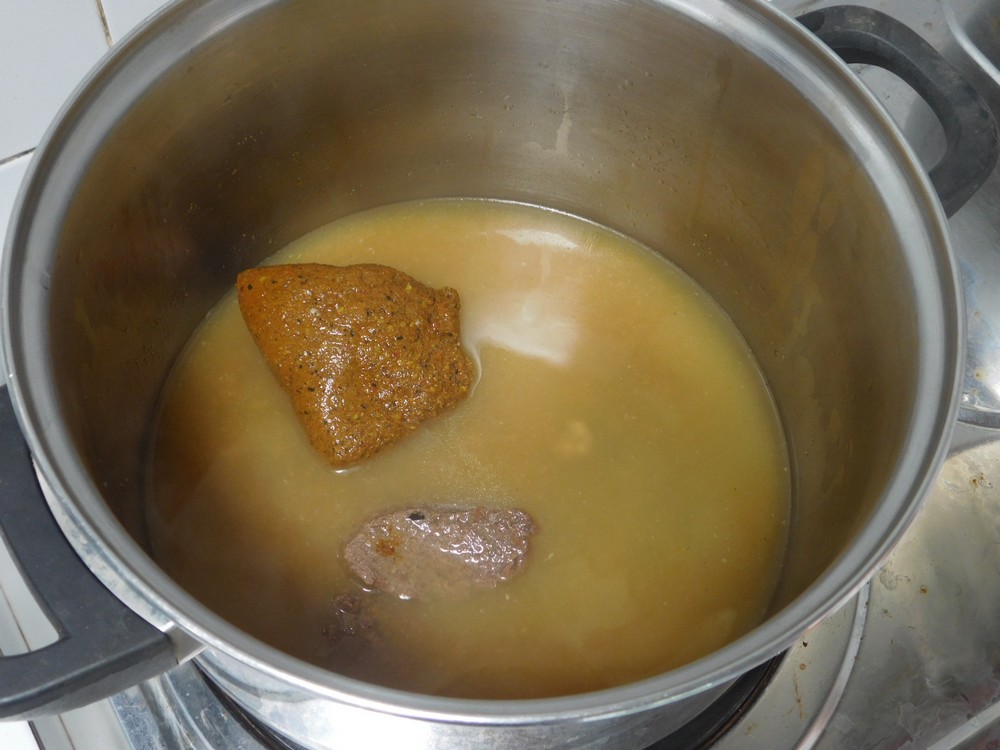
- When the ribs have cooked 30-40 minutes and are good and tender, you can turn them off. Place another pot on the stove, add the red chili paste and shrimp paste.

- Now ladle in some of the pork broth from the cooked ribs, about 1 1/2 to 2 cups.

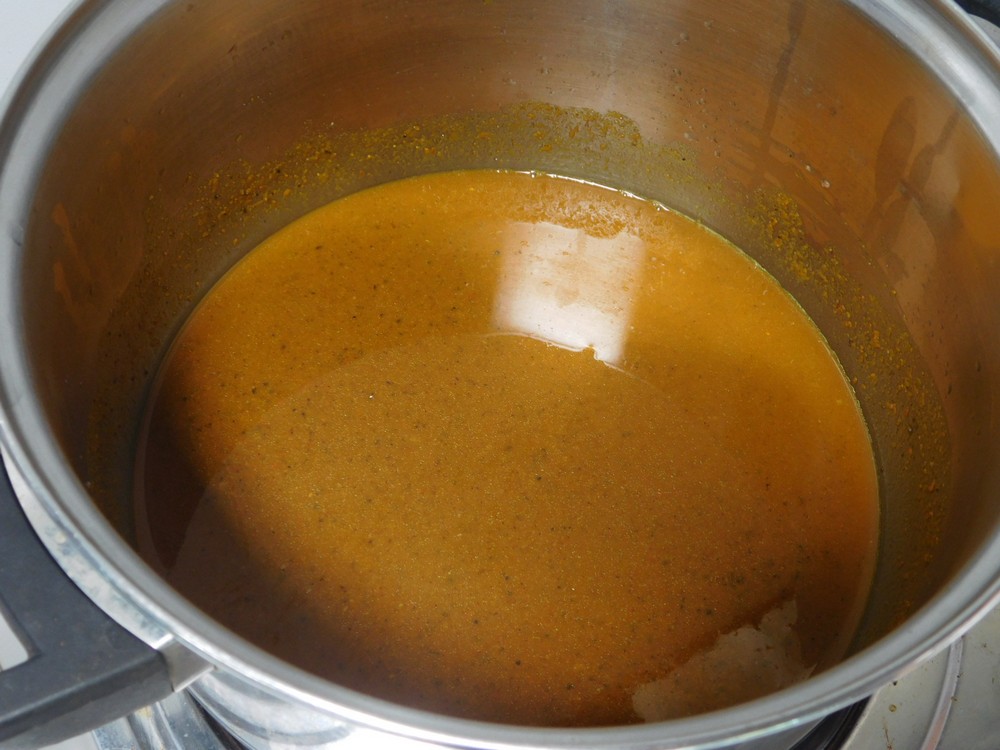
- Stir and mash the pastes into the broth until you get a nice smooth curry. There, you just made a standard red Thai curry.

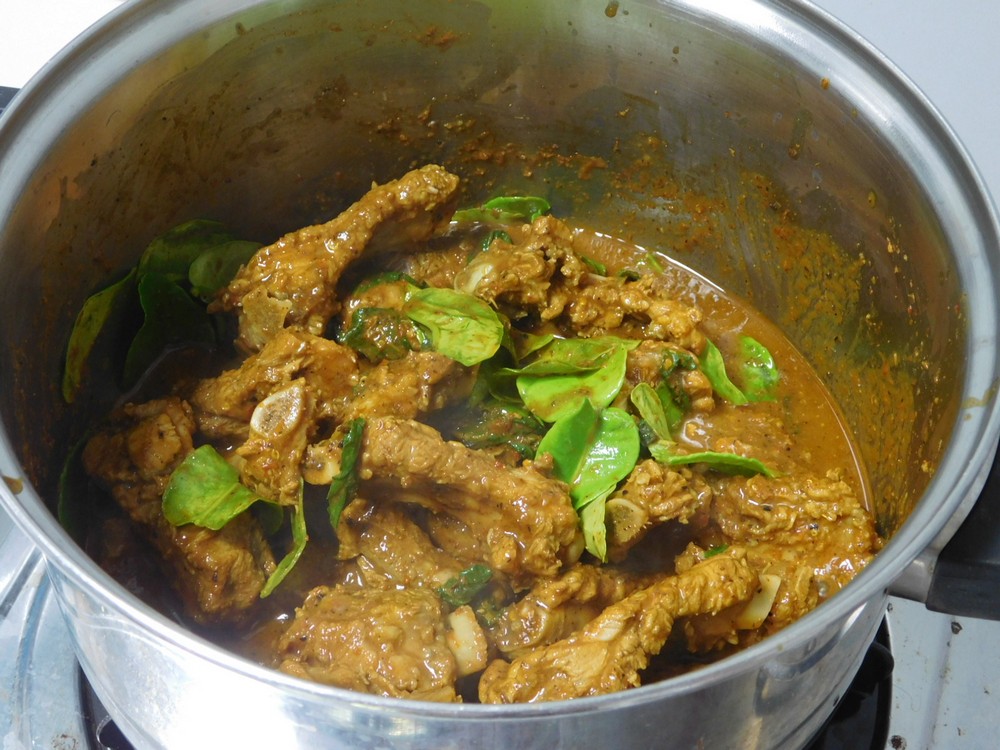
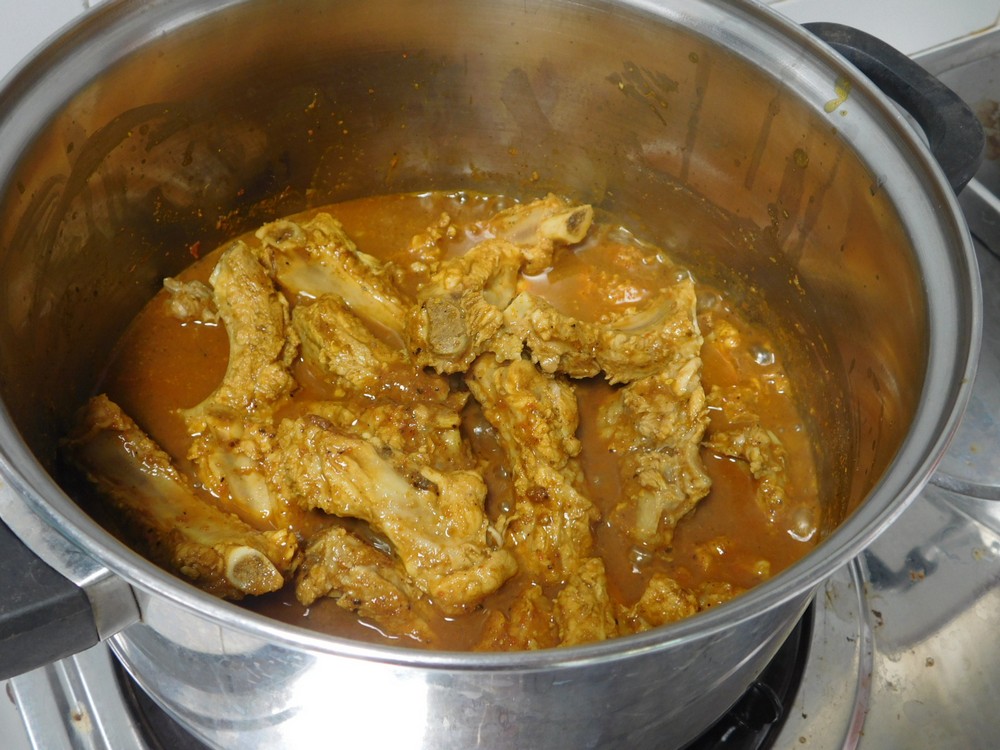
- Use a slotted spoon and scoop out the ribs from the first pot and place into the curry.
- Stir the ribs into the curry, and turn the heat on to bring to a low boil.

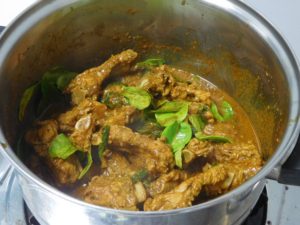
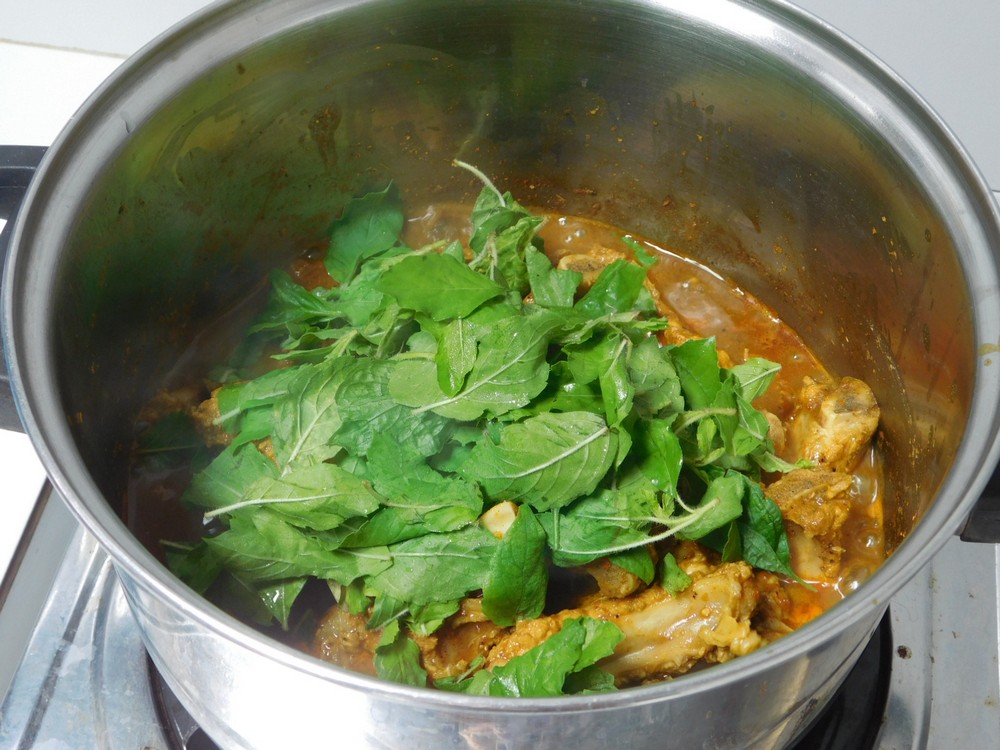
- Add the Thai basil.

- Stir and let the basil completely wilt and mix into the curry.
- Add the kaffir lime leaves.

- Stir the lime leaves in, turn off the heat, and pour into a large serving dish, serve family style with plenty of rice.


Notes
Low cost per serving.
Recipe provided and cooked by my wife, Rrayada Thayer.
Thailand.
Thailand.

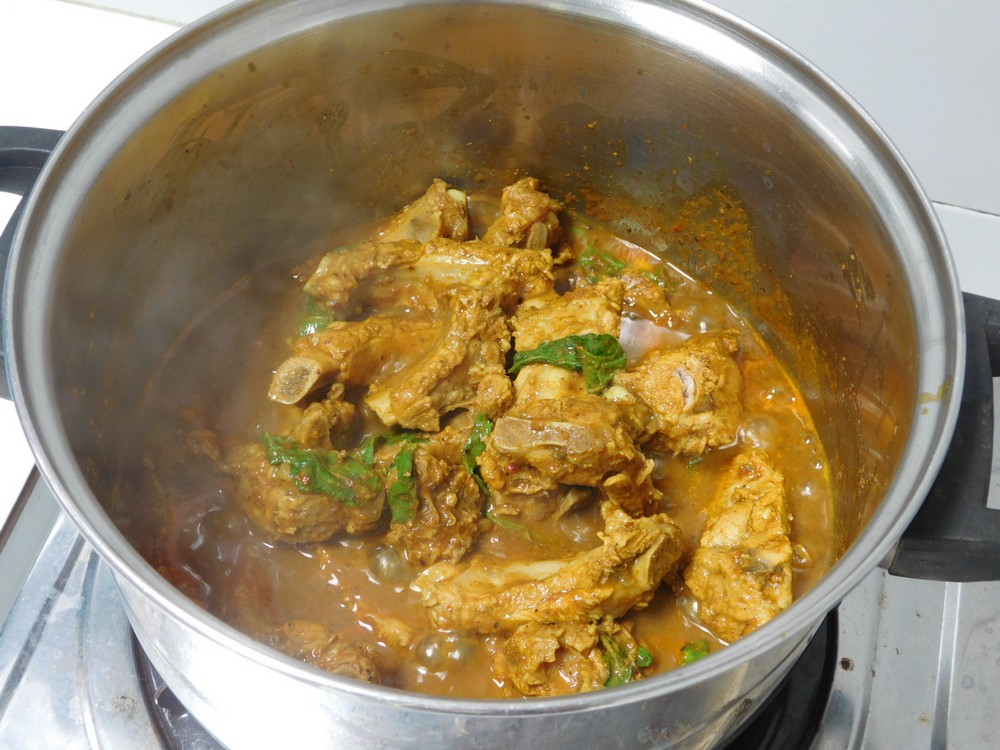
Pork Rib Soup with Winter Melon
This is a Thai, non spicy soup, that is common in the rural areas due to the melon being very common and low cost. It is delicious yet so simple to make. There is many ways to make pork rib soup, this one uses winter melon. The melon, called Fock in Thai, is often grown in peoples yards, and readily available in local markets for low cost, so the only items to purchase are large shallots and pork ribs.
Ingredients
- 1 kilo pork ribs, (2 lbs)
- 1 large winter melon
- 2 large shallots
- salt, to taste, as desired
Instructions
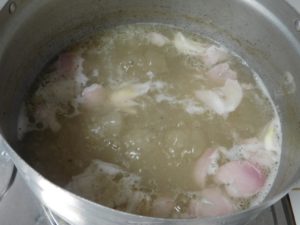
- Rinse the strip of ribs and cut between each bone.
- Place ribs in a pot and cover with about 2 inches of water and bring to a boil then reduce heat to a low boil. Cook the ribs for about 30 to 40 minutes. Use a large spoon and skim off any foam. You are making a basic pork broth and the ribs will be nice and tender.
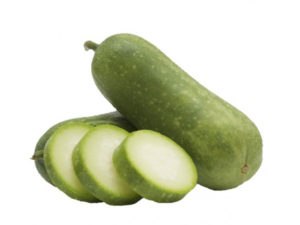
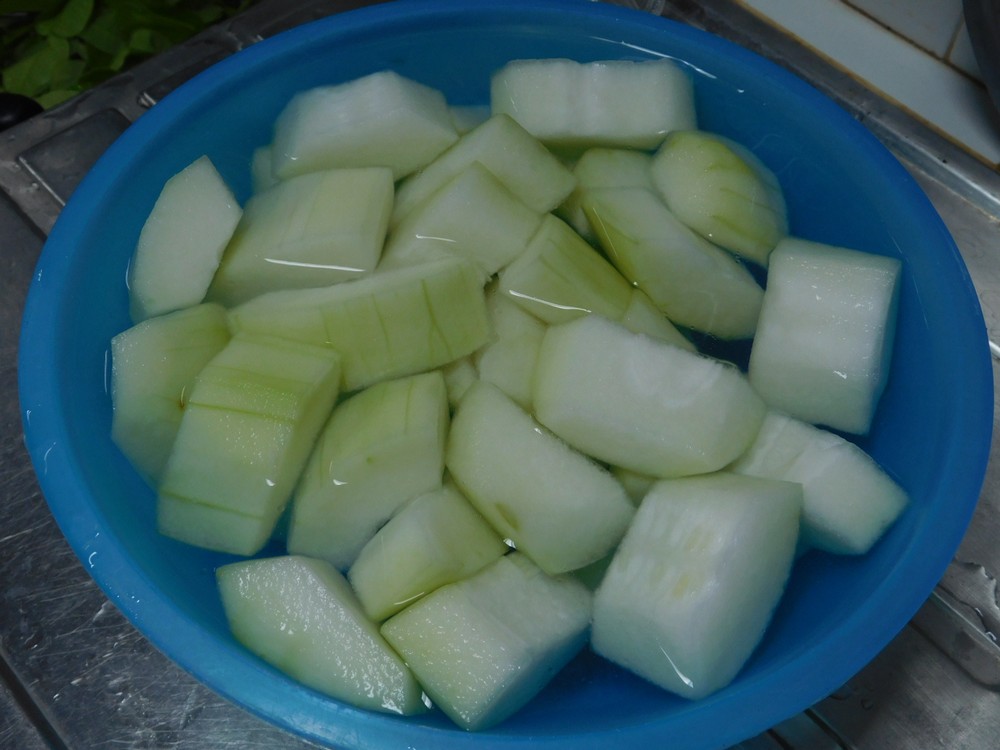
- While the ribs are cooking, prep the winter melon by peeling it first. slice off each end. Cut the melon in half lengthwise, use a spoon and scrape out the seeds, then cut each half into 2-3 long slices as well. Chop the long slices into about 1 inch pieces.

- This is what a winter melon looks like, you will want to peel it before you cut it apart. Winter melon is also known as wax melon and ash gourd.
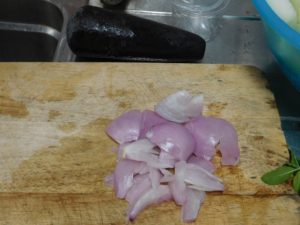
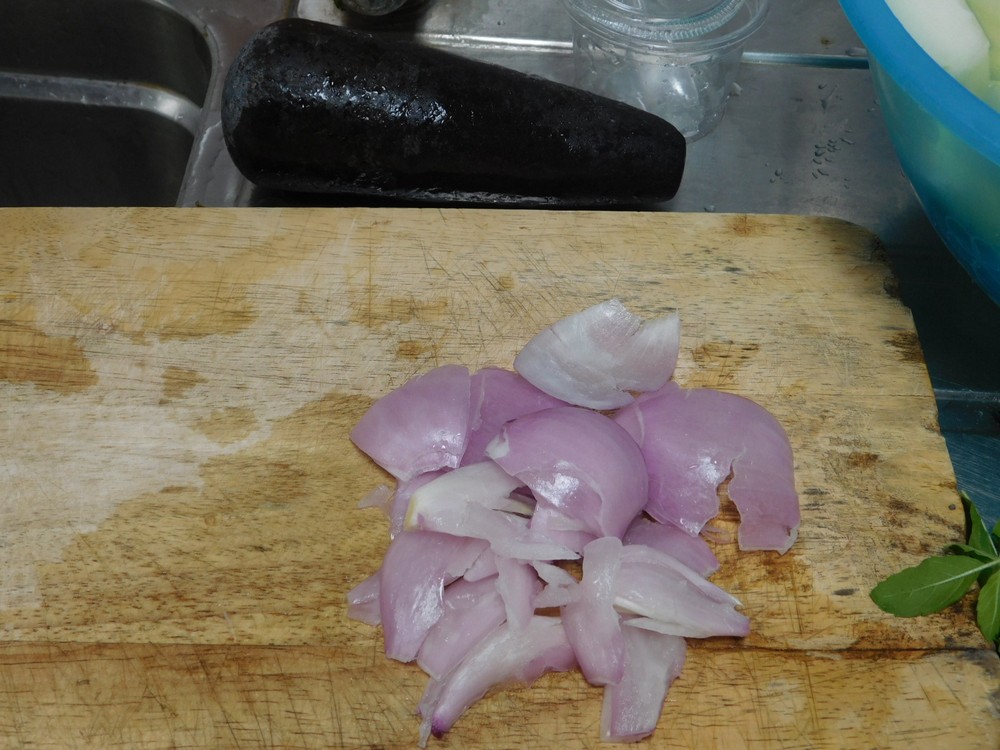
- Prep the large shallots, trim of each end, peel, then quarter. Use a heavy pestle, rolling pin, or meat tenderizer and smash the quarters, this does two things, releases the liquid in the shallots, and keeps the pieces large, as a diced shallot would simply disappear in the soup during cooking. This photo shows our tool of choice for this, a 3 lb granite pestle.
- Add the shallot to the pot between 30 and 40 minutes into cooking, leave on a low boil for another 5-10 minutes. Taste the broth and season with salt as desired.
- Add the winter melon and cook on a low boil for about 20 minutes or until the melon is tender. Taste the broth and season with salt as desired.
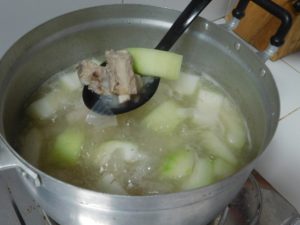
- Typically served family style in a large serving bowl in the center of the table, and people have a bowl of rice, they scoop out some ribs, melon, and broth over their rice.

Notes
Low cost per serving.
Recipe provided and cooked by my wife, Rrayada Thayer.
Thailand.
Thailand.
BJ's Rice A Roni
There is two procedures here, one for boxed rice a roni, and one for homemade rice a roni. Where I live the boxed version is pricey, but the homemade is so easy! Gravy with rice was a staple in the Navy when I served. I made this on 1 Dec 2021, I and the family absolutely loved this! Highly recommended. Links to the Shortcuts are listed in the Recipe Notes section.
Ingredients
For the boxed Rice A Roni
- 1 tablespoon butter
- 1 package Rice-A-Roni
- 2 cups chicken gravy, homemade or from a packet, Shortcut
- 1 cup water
For the Homemade Rice A Roni
- 1 recipe homemade rice a roni, Shortcut
- 2 cups chicken gravy, homemade or from a packet, Shortcut
Instructions
For the Boxed Rice A Roni
- Melt the butter in a large non stick pan, when hot, add the package of rice a roni, not the seasoning packet, saute until the pasta is golden brown.
- Add the water and seasoning packet, and simmer for 2-3 minutes.
- Add the gravy and stir in, bring to a boil, then cover and remove the pan from heat.
- Let the pan sit for 5 minutes, covered, no peaking.
- Serve as a side dish with any meal.
For the Homemade Rice A Roni
- Prepare the rice a roni per the recipe instructions, either the skillet method or the rice cooker method.
- Just before the rice a roni is done cooking, prepare the gravy, either from homemade or from a packet.
- When the rice a roni is done, add the gravy and stir in.

- Serve as a side dish with any meal.
Notes
Low cost (for Thailand) if making the Rice A Roni from homemade and I prefer to use the rice cooker method.
Shortcuts: Chicken Gravy, Beef Gravy, Copycat Rice A Roni, Rice A Roni (Rice Cooker).
Variants: 1. Add cooked mushrooms, garlic, onion, ginger, diced bell pepper, chopped spring onion, parsley, chopped broccoli, etc. 2. Add 2 cups of cooked and shredded chicken. 3. Add a good shake of black pepper. 4. Use beef gravy.
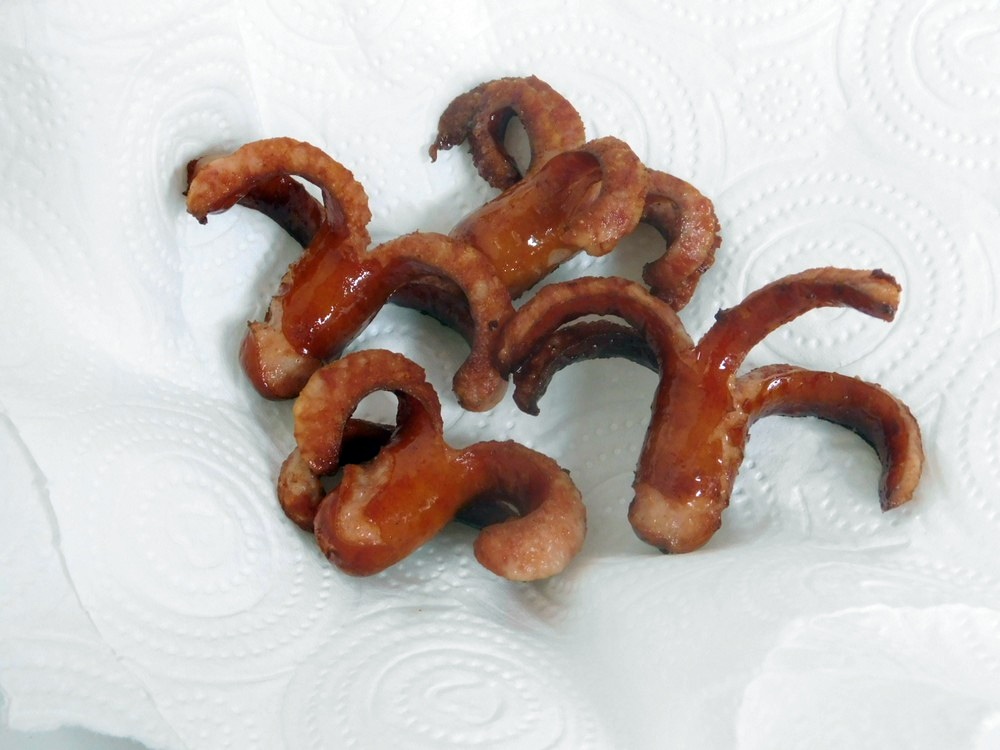
Tako (Octopus) Sausages
Now for the name, these are Japanese pork sausages, NOT octopus sausages, although octopus sausage does sound intriguing, but I don't think I will be making that. When I lived in Japan (13 years), I absolutely loved Japanese sausage. This comes from a good friend who is Japanese. These are typically made for bento (lunch) boxes, but for this, think of these as a side to a good pasta dish. Oddly enough, we buy these in local 7-11's in town, never seen them in the large grocery stores like Tesco or Tops in the city.
Ingredients
- 4-6 links Japanese sausage
- cooking oil, as needed
Instructions
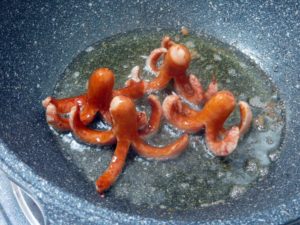
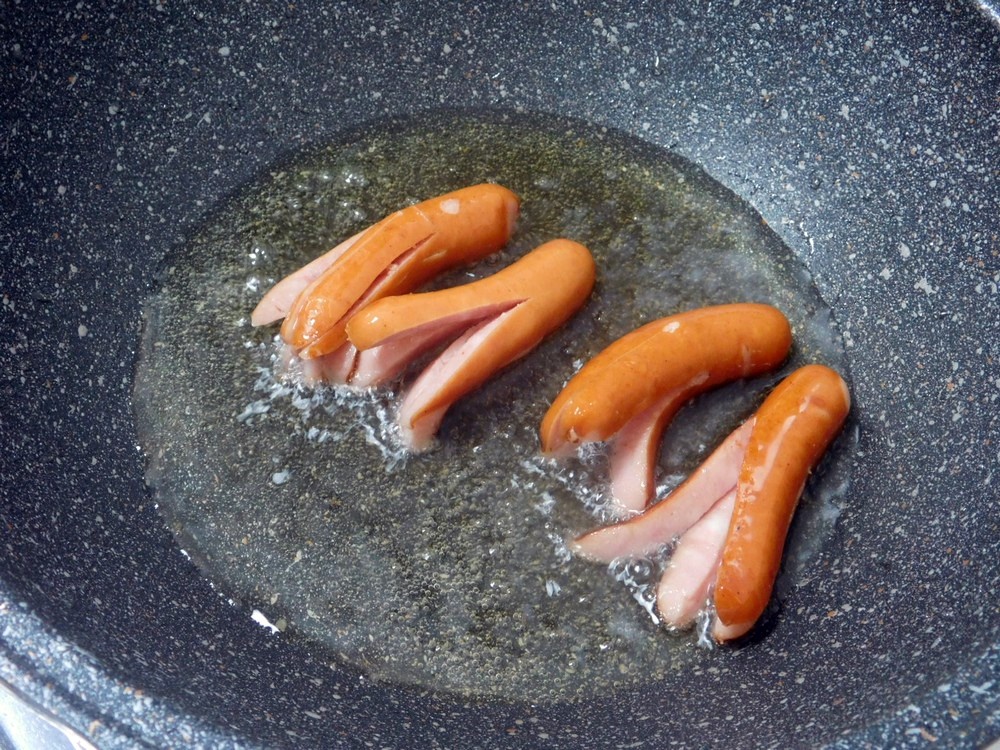
- Japanese sausage is typically about 3 inches long in a natural sheep gut casing. To prep, first thing is to make a cut halfway down the sausage, straight through to the other side, this results in '2 legs'.
- Rotate the sausage 90 degrees, and make another cut through the sausage to the other side, this results in '4 legs'.
- Optionally, you cut each 'leg' in half, resulting in '8 legs' but I found 4 legs to be perfect. Now we can cook them.
- Heat some cooking oil in a non stick pan on medium heat, when hot, add the sausages, as the sausages cook, the 'legs' will open and curl.

- Cook until the sausage is cooked through, keep in mind these are raw pork sausages so they must me cooked through.
- Drain on paper towels, serve as a side with any pasta or rice dish or as a snack or appetizer. Enjoy.


Notes
One package of 4 Japanese sausage is about 42 Baht. Figuring 2 per serving, this is about an additional 66 cents per serving for a side dish, if serving with a pasta, the overall dish will be less than $1 per serving.
This recipe for Tako (Octopus) Sausage inspired by Just One Cookbook.

Pasta Stuffed Bell Peppers
I came up with this on a whim, as I like pasta, and I had bell peppers in the fridge as well as some Shiitake mushrooms that just wanted to be used in something. So here is what I came up with, and they are delicious. The pasta base is Parmesan Mac & Cheese with the addition of sauteed Shiitake mushrooms and diced bell pepper.
Ingredients
- 80 grams fresh Shiitake mushrooms, stems removed
- 4 bell peppers, your choice of colors
- 250 grams dry spiral pasta, or any small pasta
- 1/4 cup unsalted butter, (1/2 stick)
- 1/2 cup milk
- 125 grams Parmesan cheese, store bought shredded is fine, (4 1/2 oz)
- salt and pepper, to taste, as desired
- olive oil, as needed
- 200 grams Mozzarella Cheese, shredded, for topping, (7 oz)
Instructions
- Heat a pot of salted water to boiling, then add the pasta and cook until almost tender. Reserve a cup of pasta water then drain the pasta. Preheat your oven to 180 C (350 F). Get out a 7x11 baking dish.
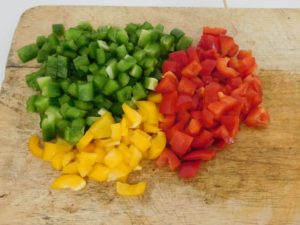
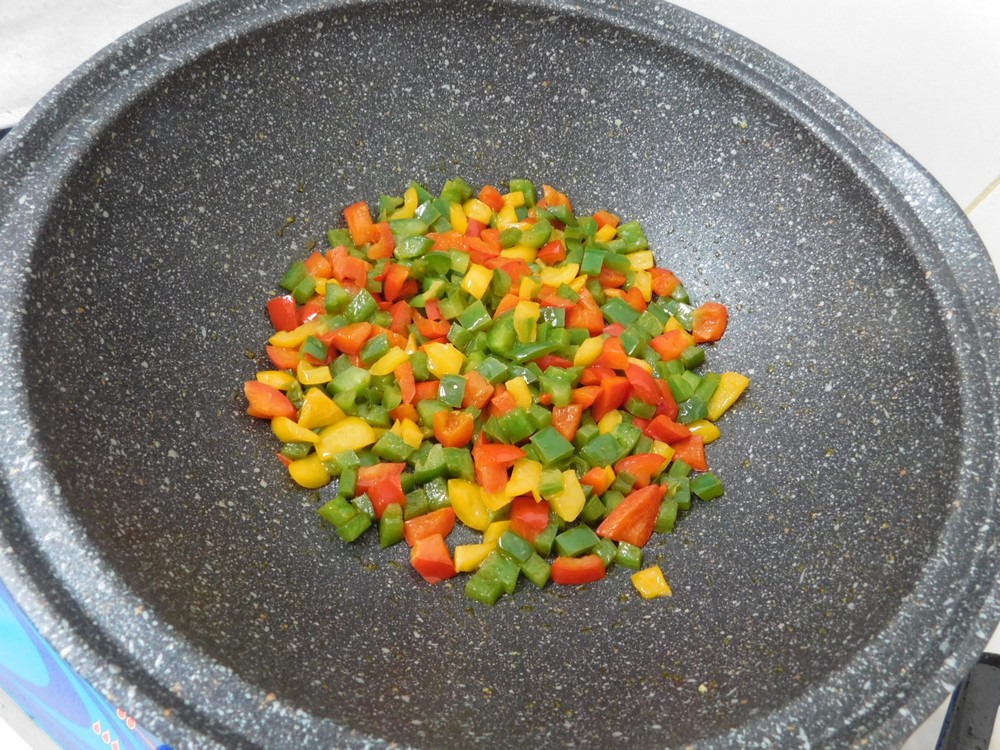
- While the pasta is cooking, cut the tops off of the peppers, remove the stems and dice the tops. (I had an extra half a green bell pepper in the fridge so I diced that along with the tops.)
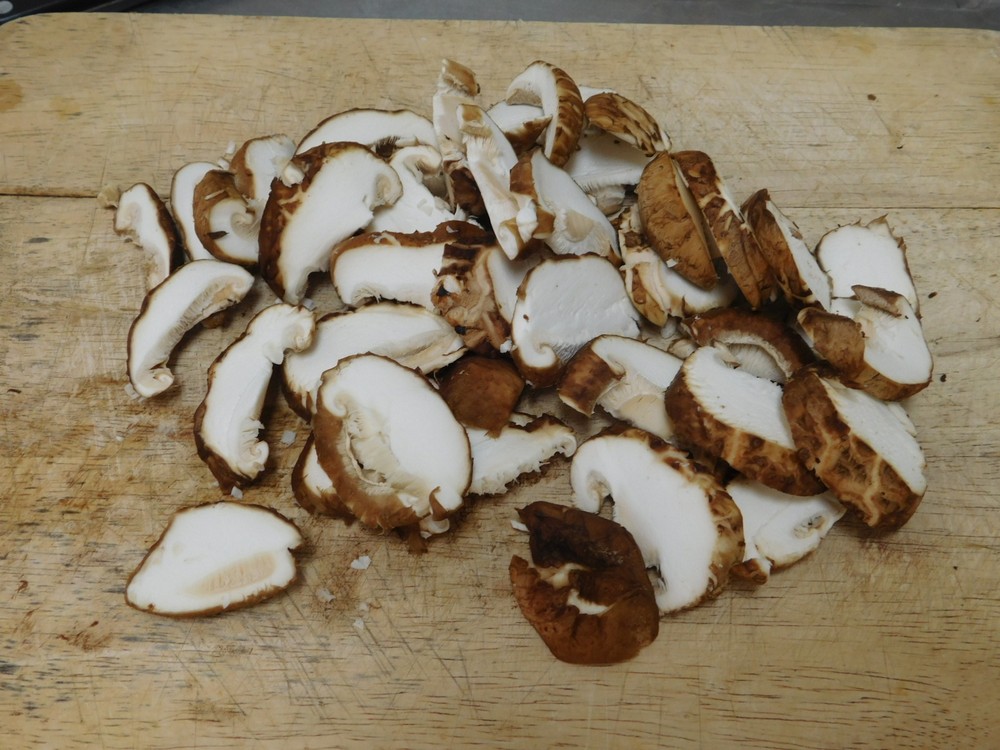
- Slice the mushrooms at a 45 degree angle, a technique called Sogigiri in Japanese, this provides a larger flat cut for even cooking.
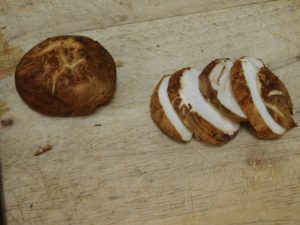
- All the mushrooms sliced. I think there was 9 in the pack.

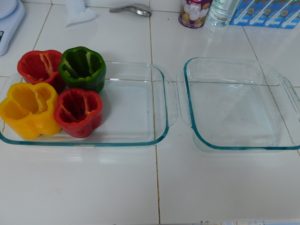
- Place the peppers standing up in the baking dish. If a pepper does not stand up quite right, slice a bit off the longest lobe on the bottom so the pepper stands upright, if you sliced off part of a lobe and mad a hole in the bottom, no worries, take the piece you sliced off and put that on the inside to cover the hole. (I was going to use a 9x9 dish but that would not have enough room for the extra pasta so I switched to a 7x11 dish.)
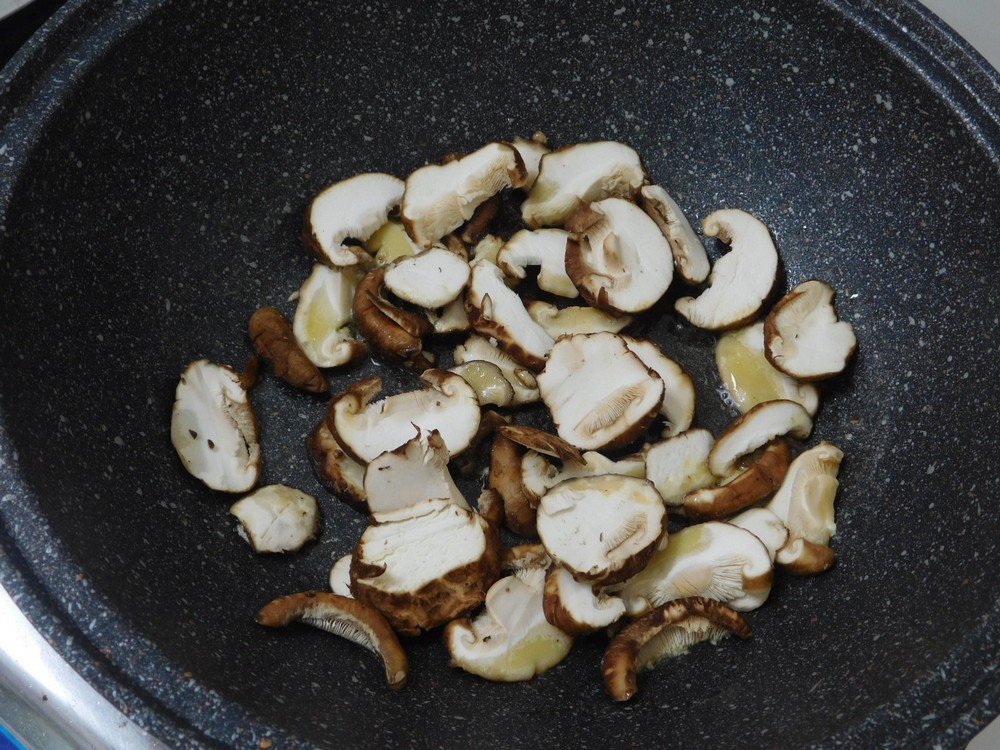
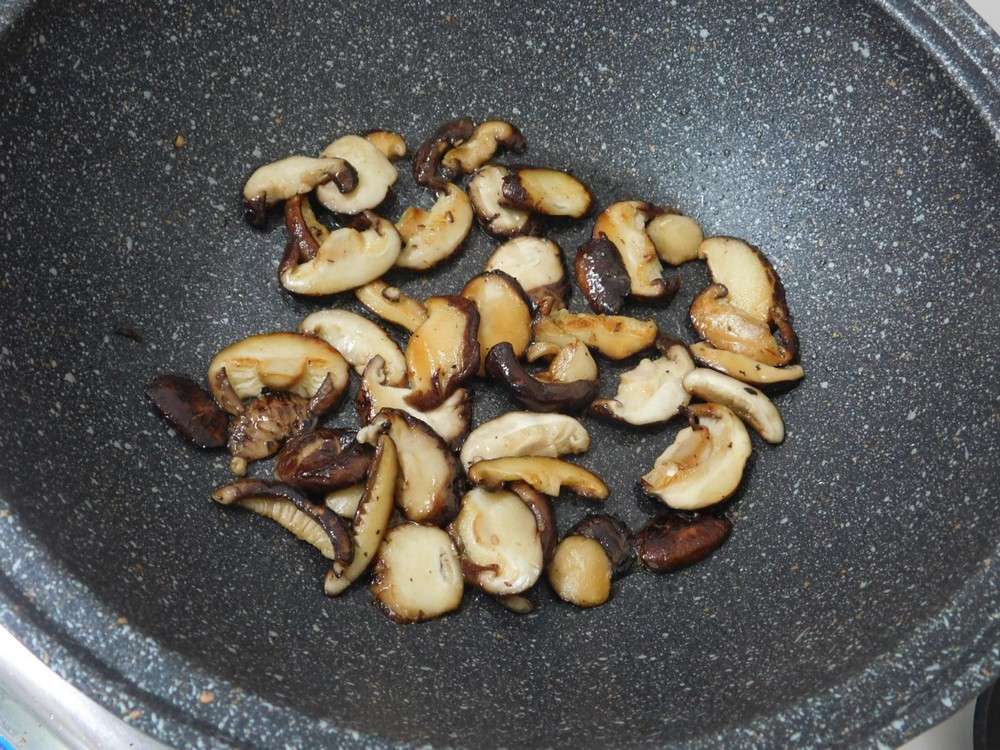
- Heat a tablespoon or two of olive oil in a large non stick pan on medium heat. When hot, add the the mushrooms.
- Saute the mushrooms until the water they let out is evaporated. Remove the mushrooms to a bowl and set them aside.
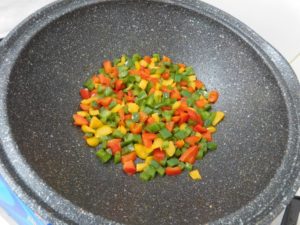
- Same pan, add another tablespoon of olive oil and add the diced peppers, saute until tender. Remove them to a bowl and set them aside.
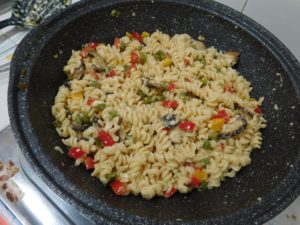
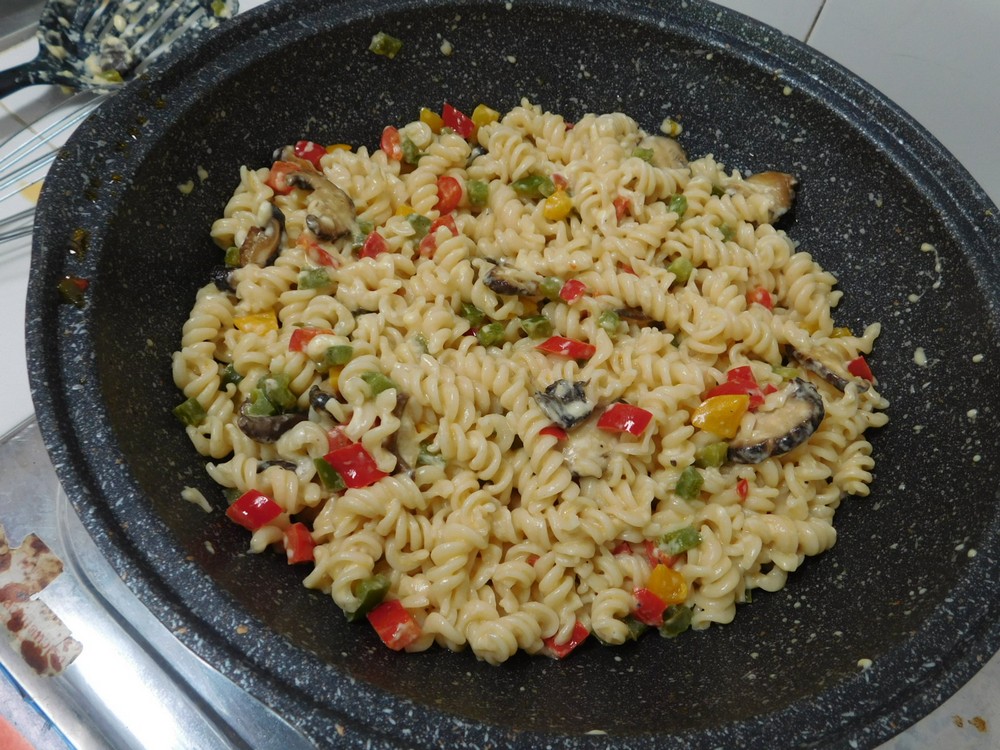
- Same pan, add the butter and let that full melt, then whisk in the milk and season with black pepper as desired. When the milk is at a simmer, whisk in the Parmesan cheese. When the sauce is smooth, add the drained pasta and mix into the sauce. If the sauce is too thick, add some pasta water, a tablespoon at a time and mix in. Season with black pepper as desired. Remove from heat. (Yes, I know, my method is completely backwards as to how this is supposed to be done.)
- Add the mushrooms and the diced bell peppers and mix together. (The pasta at this point is actually quite good on its own.)
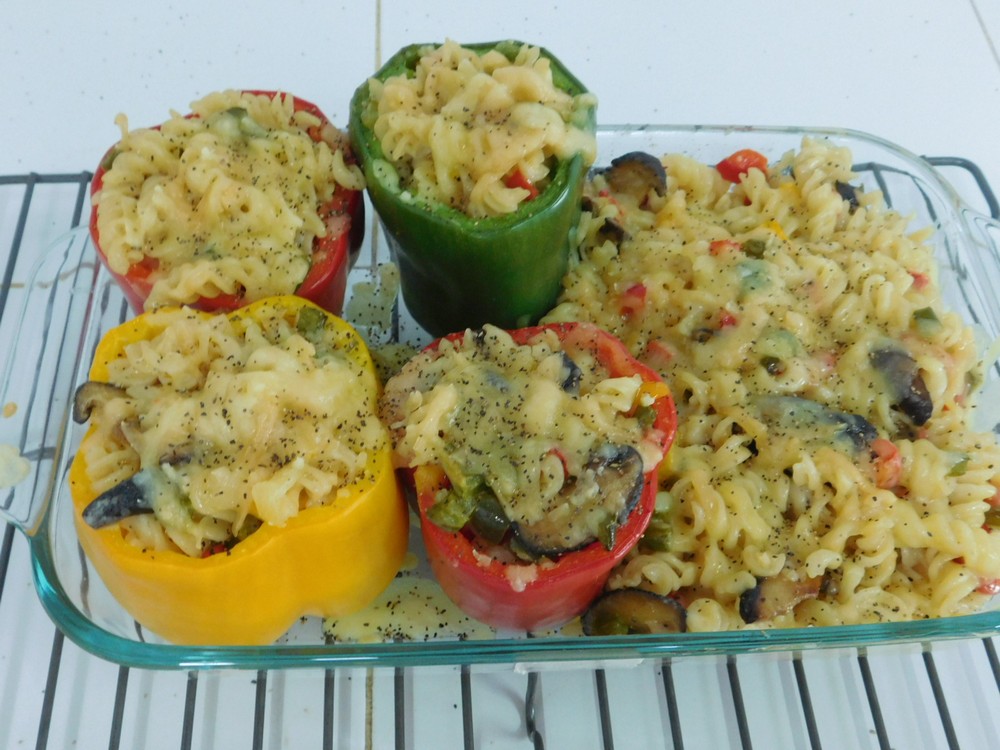
- Using a spoon, fill each pepper with pasta, rounded at the top is perfect and add the rest of the pasta to the dish as well. Place in the oven and back for about 30-40 minutes, depending on how crisp you like the peppers.

- Remove from the oven, sprinkle the Mozzarella cheese on the tops of the peppers and any additional pasta in the dish, place back in the oven for 5-10 minutes to melt the cheese.

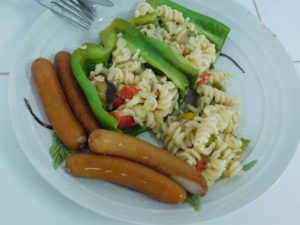
- To serve, place a pepper on a plate, slice in half and enjoy as is or with sausage. (I just happened to have Japanese sausage in the fridge so I used that.) Enjoy.


Notes
The cheese is the costly part here, at Parmesan at 192 Baht per 125 grams, and Mozzarella at 181 Baht for 200 grams. For 4 servings, this is about $2.92 per serving.
I just threw this together, Lee Thayer.
Thailand.
Thailand.

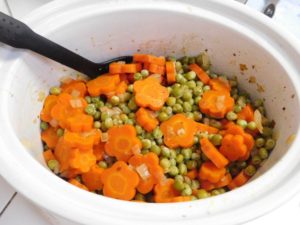
Honey Butter Peas & Carrots (Slow Cooker)
Peas and carrots just go well together for a side dish, they always have. This recipe will dress them up a bit and let the flavors blend in a slow cooker.
Equipment
- Slow Cooker (3½+ quart)
Ingredients
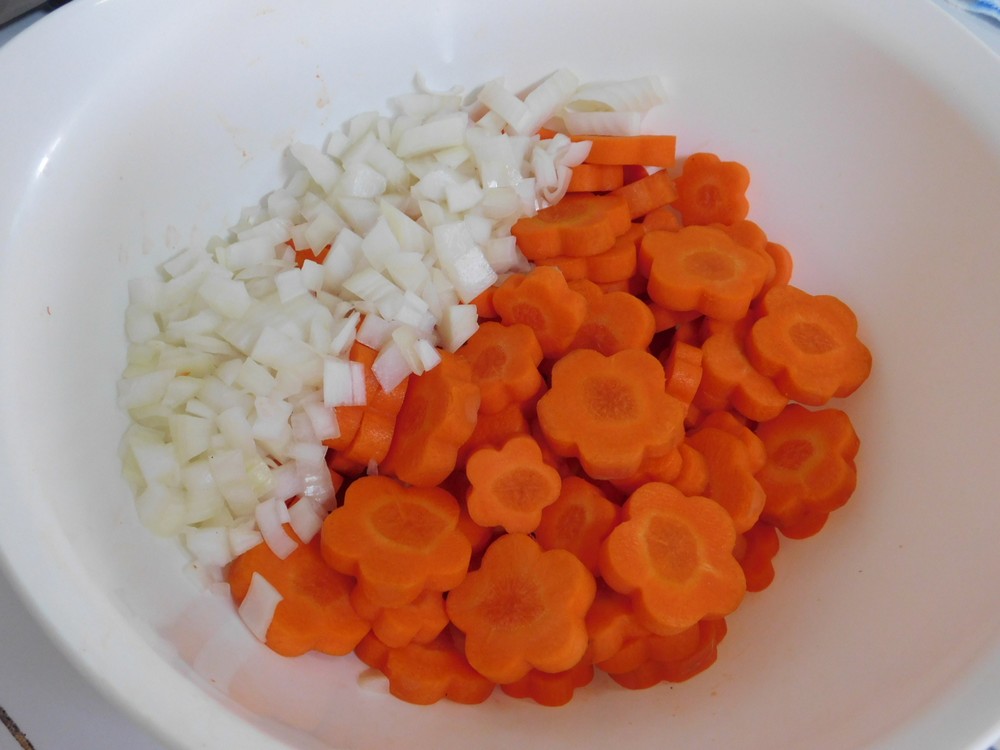
- 500 grams fresh carrots, peeled, sliced, (1 lb)
- 1 large onion, diced
- ¼ cup water
- ¼ cup honey
- 4 cloves garlic, minced
- 1 teaspoon salt
- ½ teaspoon dried marjoram
- ⅛ teaspoon white pepper powder
- ¼ cup butter, cubed
- 500 grams frozen peas, cooked for 5-10 minutes on the stove top then drained, (1 lb)
Instructions
- Carrots and onion prepped. (I went the fancy route and cut each slice into shapes with a cutter.)

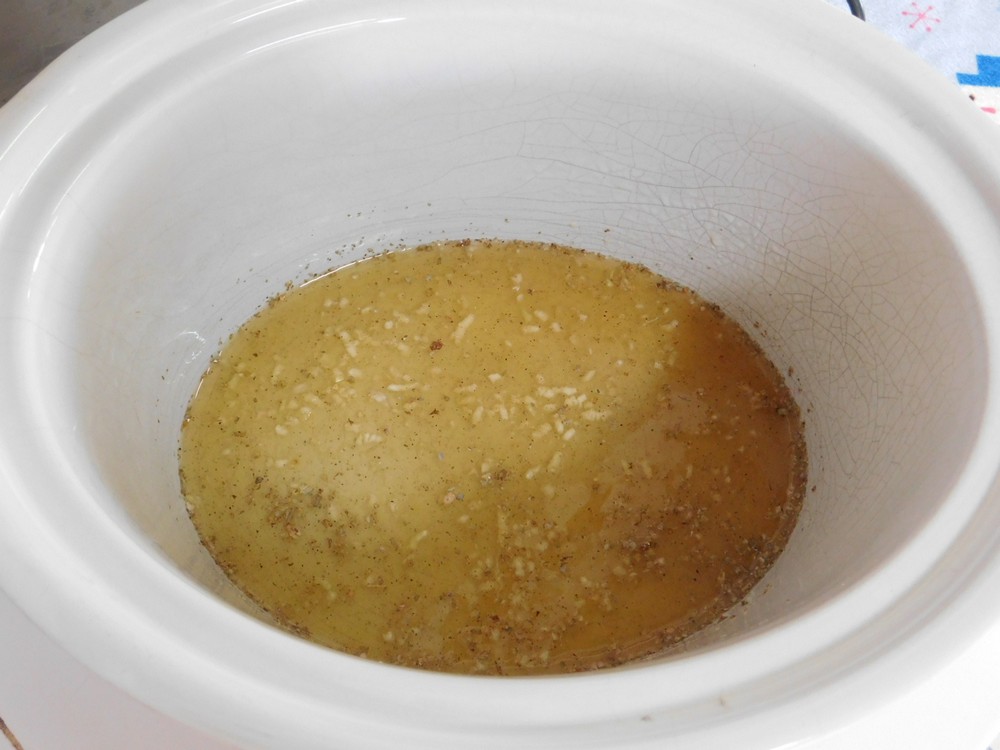
- To your slow cooker, add the onion, water, honey, garlic, salt, marjoram, and white pepper. Stir together.
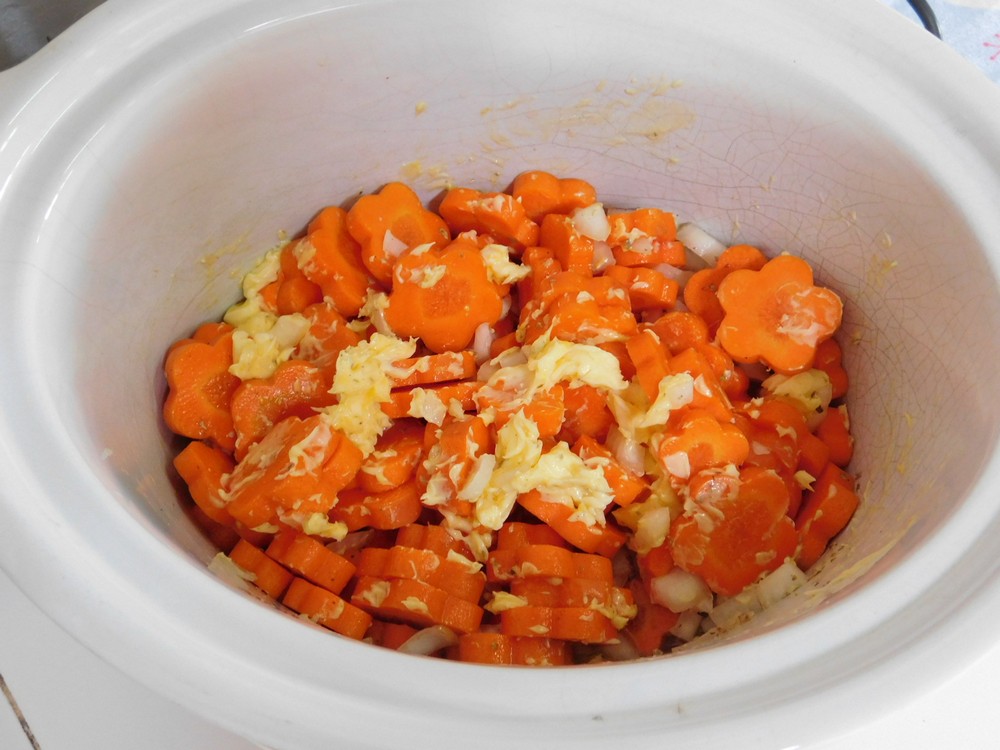
- Add the carrots and cubed butter. Stir to combine. Cover and set to Low setting and allow to cook for 3 hours. (I cubed the butter first, by the time I added it, it was very soft, no problem however.)

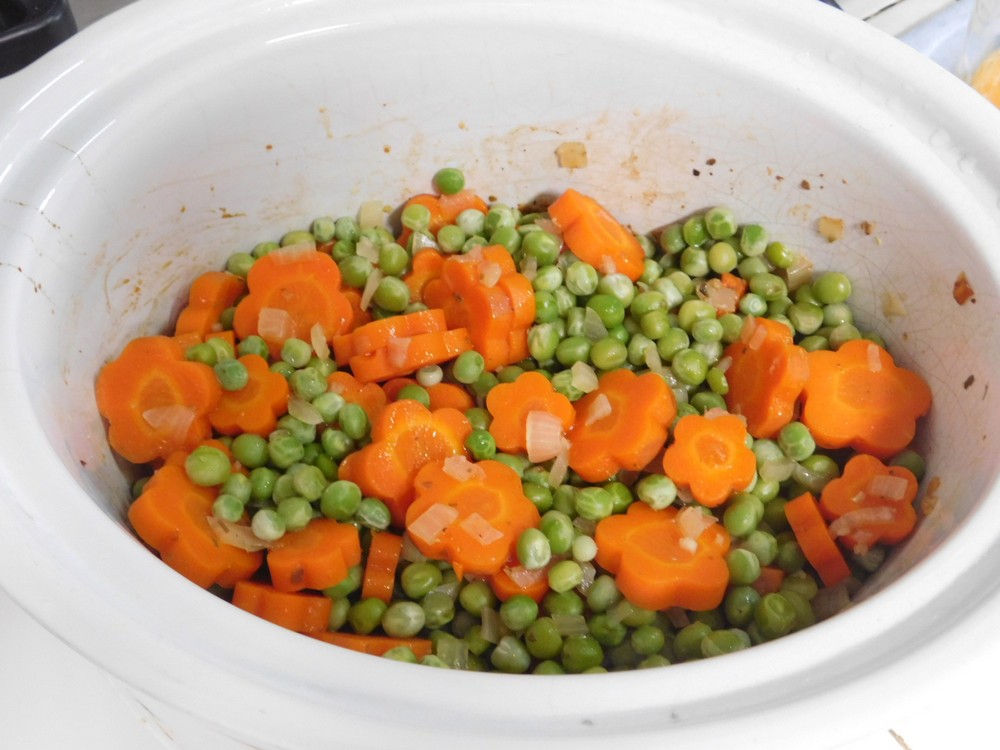
- Check the carrots for tenderness at 3 hours and if tender or very near tender, stir in the drained peas.

- Cover and cook for 30 minutes more. If the carrots are not tender, allow to cook for another hour, then add the peas.
- Serve as a side dish with any meal.