Archive for the ‘#1 Go-To Recipes’ Category
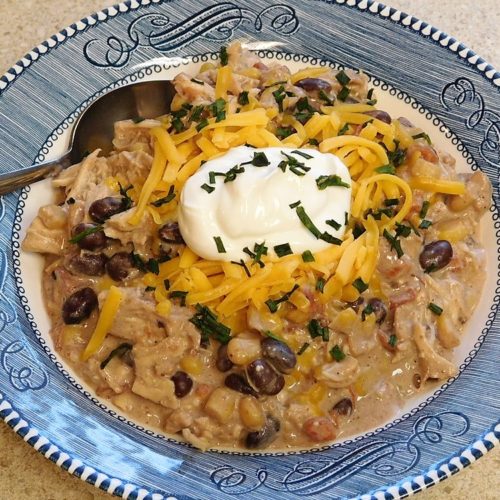
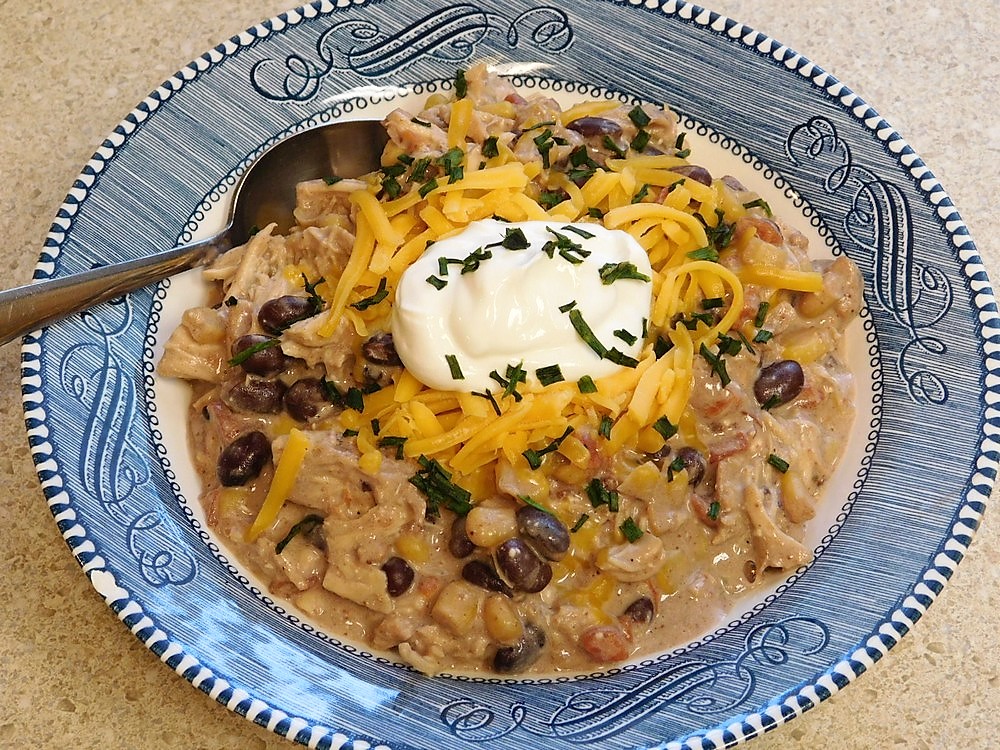
Crockpot Cream Cheese Chicken Chili
This recipe is from a friend on social media and it is excellent chili! Link to the Shortcut is listed in the Recipe Notes section.
Equipment
- Slow Cooker
Ingredients
- 2 chicken breasts, boneless, skinless
- 1 package cream cheese, cut into quarters, (8 oz / 226 g)
- 1 packet ranch dressing mix, Shortcut
- 1 teaspoon ground cumin
- 1½ teaspoons chili powder, or as desired
- 1 teaspoon onion powder
- 1 can whole kernel corn, undrained, (15 oz / 425 g)
- 1 can Rotel tomatoes and chilies, undrained, (10 oz / 283 g)
- 1 can black beans, undrained, (15 oz / 425 g)
Instructions
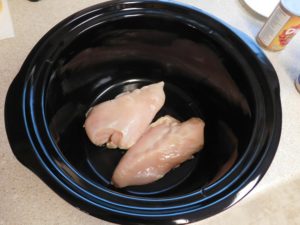
- Place the chicken in the bottom of your slow cooker.
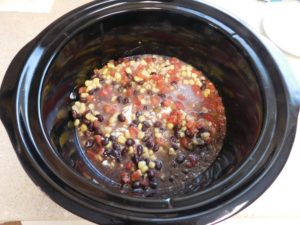
- add the rest of the ingredients.
- Stir together. Cover and set to Low setting for 6 hours, quickly stir after about 3 hours to mix in the cream cheese.
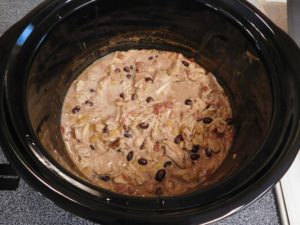
- Remove chicken breast to a cutting board, shred or dice, return to the pot and stir in.
- Cover and cook for another 15 minutes. Stir to mix everything together.
- Serve and enjoy. Feel free to use chili toppings as you desire.
Notes
Fair cost per serving based on the Rotel, but I am looking at making a shortcut for that and I will update the recipe with that shortcut.
Shortcut: Ranch Dressing Mix.
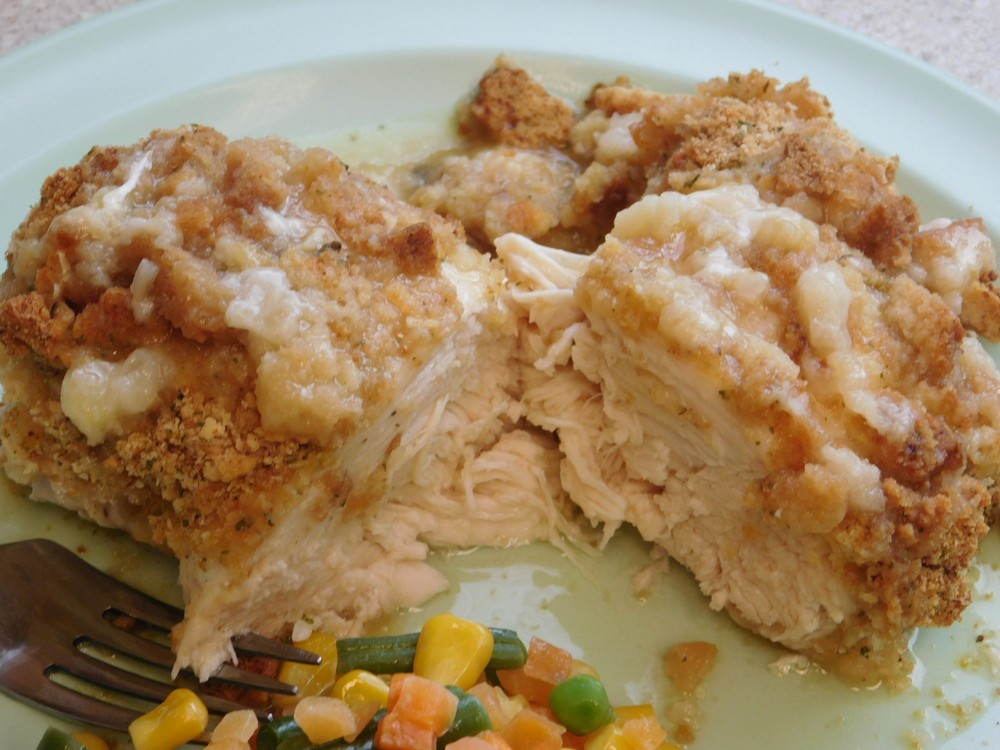
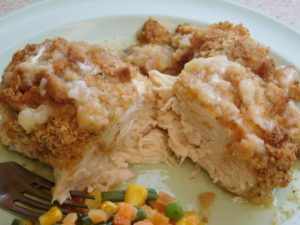
Creamy Swiss Chicken Bake
This recipe comes from a social media friend. And it is truly delicious! Only 5 ingredients and quick to put together. Links to the Shortcuts are listed in the Recipe Notes section.
Equipment
- Oven
- Baking Pan (9x13 inch)
Ingredients
- 6 chicken breasts, boneless, skinless
- 6 slices Swiss cheese
- 1 can condensed cream of chicken soup, (10½ oz / 298 g), Shortcut
- 1 cup Chardonnay
- 1 box herbed stuffing mix, (6 oz / 170 g), Shortcut
Instructions
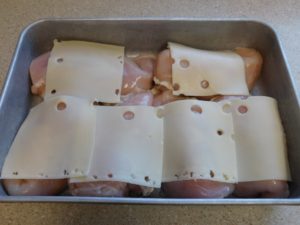
- Preheat your oven to 180° C (350° F), get out a 9x13 inch baking pan, and grease with butter or non stick spray. Arrange chicken breasts in pan.
- Place a slice of cheese on each chicken breast.
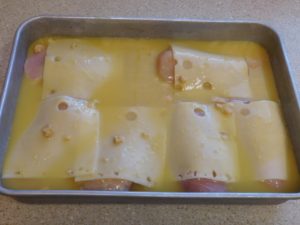
- In a small mixing bowl, add the soup and wine, whisk together. Pour mixture over the chicken.
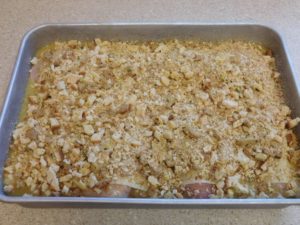
- Sprinkle with the stuffing mix.
- Cover and bake for 40 minutes, then remove cover and continue baking for 20 more minutes or until the stuffing is browned and toasted. Test a piece of chicken for doneness, if using a thermometer, target temp is 74° C (165° F). I baked these for 1½ hours as I was using some large chicken breasts.
- Serve with sides of your choice, and don't forget to spoon the sauce and stuffing over the chicken, enjoy.
Notes
Low cost per serving.
Shortcuts: Condensed Cream of Chicken Soup, Stuffing Mix.
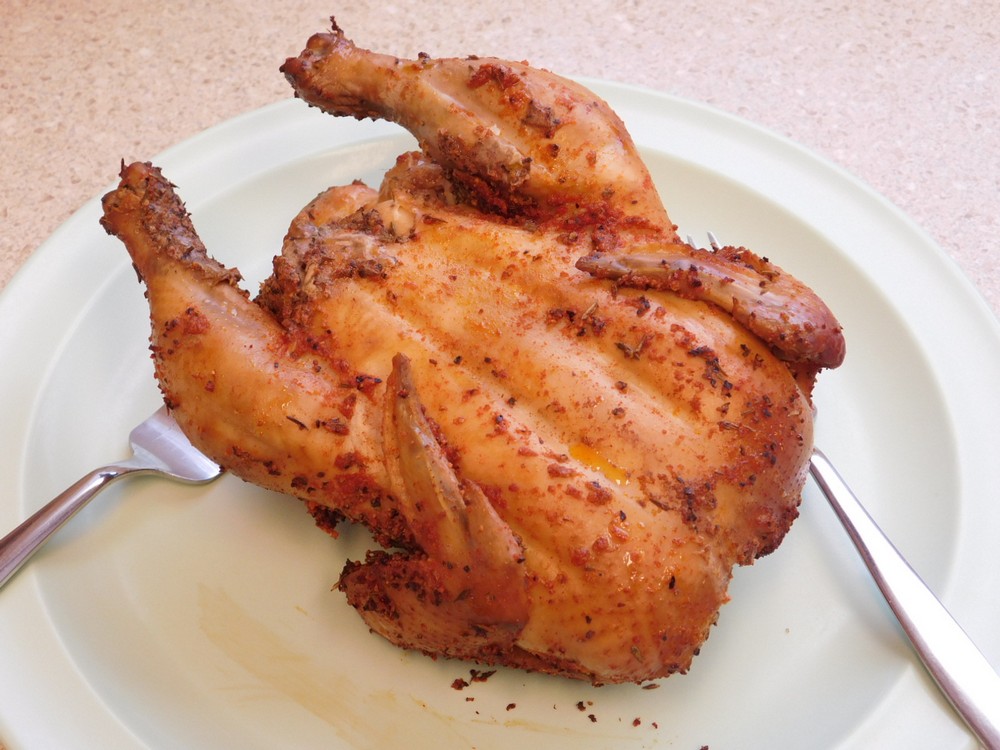
Smoked Cornish Game Hens
My Dad recently purchased a smoker, so I figured a great way to help break it in is to smoke some Cornish game hens. I found a few recipes and settled on tailoring the one here. I made these on 15 Sep 2021, and they are absolutely delicious hens!
Equipment
- Smoker
Ingredients
- 4 Cornish game hens, whole, thawed
For the Brine - this is for 1 container for 2 hens
- 2 quarts water, (8 cups)
- ½ cup kosher salt
- ½ cup brown sugar, packed
For the Rub - this is for 4 hens.
- 1 tablespoon garlic powder
- 1 tablespoon onion powder
- 1 tablespoon salt, table or kosher works fine
- 2 tablespoons black pepper
- 1 tablespoon dried thyme
- 2 tablespoons smoked paprika
Instructions
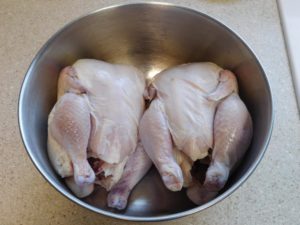
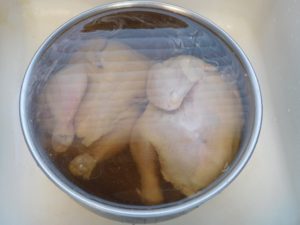
- Rinse the thawed hens inside and out, remove giblets if they come with those. Cut off any excess has around the cavity opening. This is 2 of the 4 hens I used, I was checking the size of the mixing bowl to brine them.
- For the brine, I used a 3 quart mixing bowl that held 2 hens. To the empty container, add the water, salt, and brown sugar listed for the Brine and stir until the salt and sugar are dissolved, add 2 hens to the brine. Repeat with the second bowl and the brine ingredients as listed. Let hens brine for 2 hours.
- While the hens are brining, add the Rub ingredients to a bowl and mix together. Set aside until the hens are brined.
- About 20-30 minutes before the time is up for the brining, preheat your smoker to 225° F (110° C), use wood chips of your choice, I used apple wood chips.
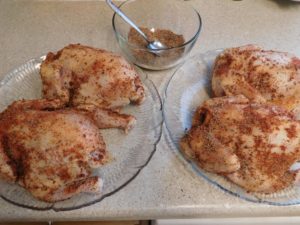
- Remove the hens from the brine and rinse under running water. Pat dry with paper towels place breast side up on a tray. Rub all over with the dry rub mix you prepared, turn hens over and rub the backside, place hens breast side down on a tray.
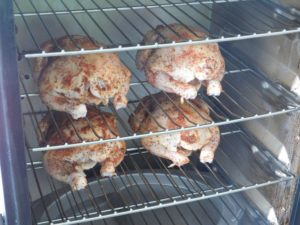
- Place the hens in the smoker, breast side down, exactly as they were sitting on the tray.
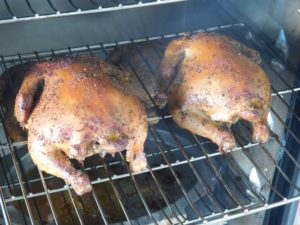
- Smoke for 1½ to 2 hours, checking the internal temp of a hen at 1½ hours, target temp is 74° C (165° F), continue smoking for another 30 minutes if the temp is below the target.
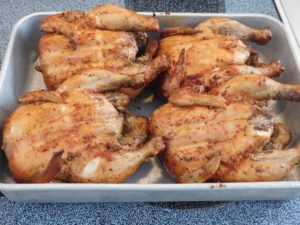
- Carefully remove the hens from the smoker and place in a baking pan, let hens rest for 5-10 minutes.
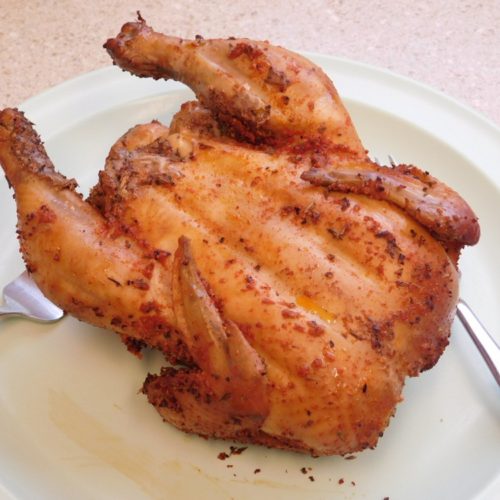
- Place a hen, breast side up for presentation, on each serving plate. Serve with sides of your choice, and enjoy.
Deviled Ham Deviled Eggs
This is a twist on a recipe from a 1961 cookbook and I tailored it to just the deviled eggs, and they are excellent. Link to the Shortcuts are listed in the Notes section.
Ingredients
- 6 hard boiled eggs, peeled, Shortcut
- 3 tablespoons mayo
- 1 tablespoon red onion, finely diced, brown onion also works
- 1 teaspoon prepared mustard
- ½ teaspoon Worcestershire sauce
- salt and black pepper, as desired
- 1 can deviled ham, (4¼ oz / 120 g), Shortcut
- paprika, as needed
Instructions
- Cut eggs in half lengthwise, place whites on a plate, and place the yolks in a bowl.
- To the yolks, add the mayo, onion, mustard, Worcestershire sauce. Mix together. Taste and season with salt and pepper as desired. Mix in ½ of the deviled ham.
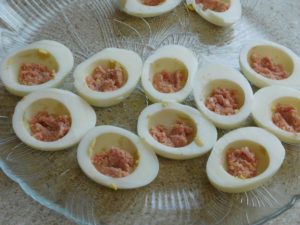
- From the ham still in the can, spoon a little into the bottom of each egg white, using about ½ of the ham that is remaining in the can.
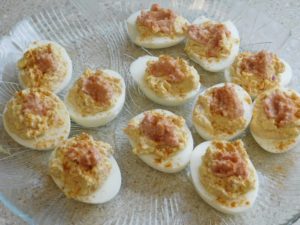
- Spoon the yolk mixture into the whites using all of the mixture. Make a small depression on the top of the filling in each egg with the tip of a spoon.
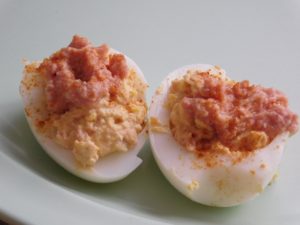
- Now use the remaining ham in the can and place a small amount on top of each egg. Sprinkle with paprika for garnish. Cover and place in the fridge for about 1 hours to chill before serving.
- Serve and enjoy.
Notes
Pumpkin Brownies
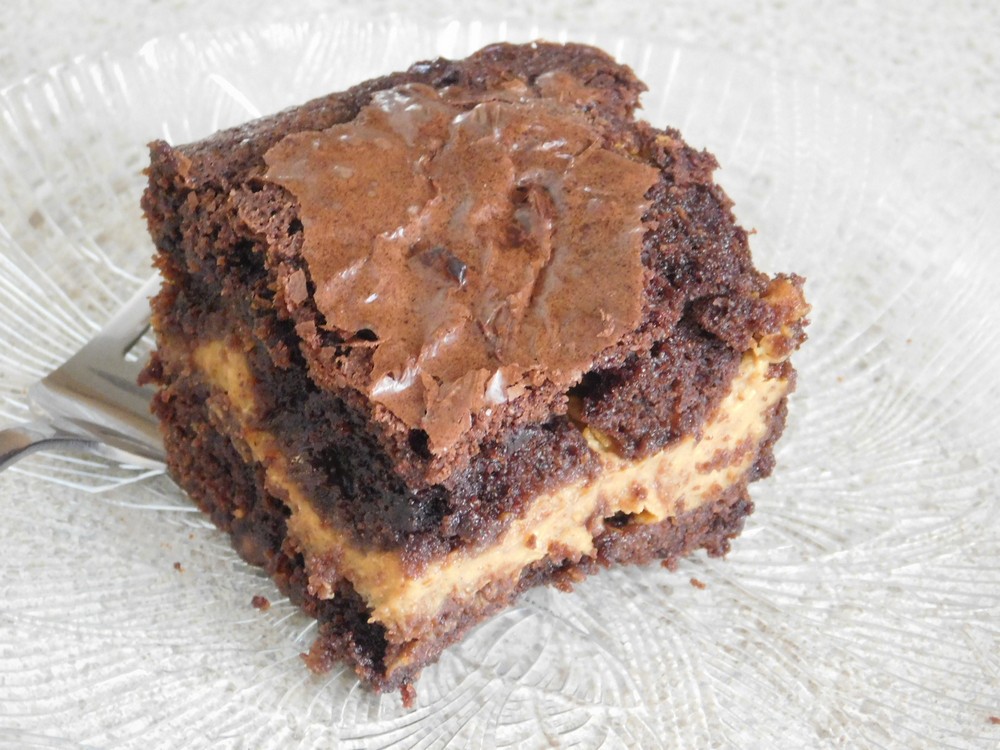
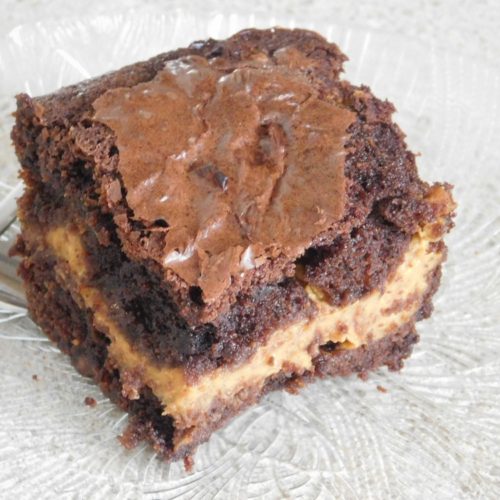
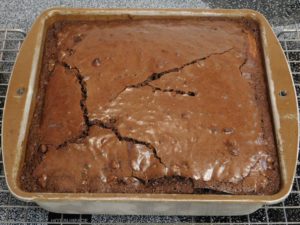
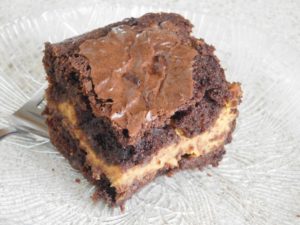
This recipe comes from a social media friend. I made this on 7 Sep 2021, and these are excellent! I made these exactly as written using a Great Value brand brownie mix and prepared this an an 8x8 inch pan. Hands down, these are delicious! Link to the Shortcut is listed in the Recipe Notes section.
Equipment
- Electric Mixer
- Oven
- Baking Pan
Ingredients
- 1 box brownie mix, of your choice, and ingredients listed on brownie box to prepare the mix
- ½ can pumpkin, (15 oz / 425 g, use just ½ of the can)
- 170 grams cream cheese, softened, (6 oz)
- 3 tablespoons sugar
- 1 tablespoon pumpkin pie spice, Shortcut
- ½ cup chocolate chips
Instructions
- Preheat your oven to what the box of brownie mix states.
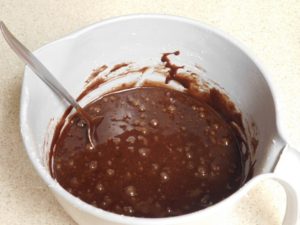
- Make the brownie mix in a mixing bowl, using the ingredients called for on the box and the box instructions. Mix in the chocolate chips.
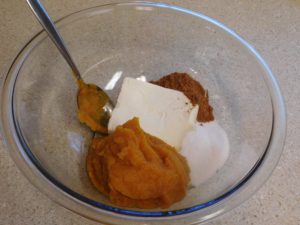
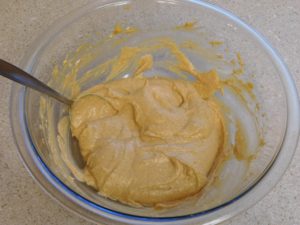
- In another mixing bowl, add the cream cheese, pumpkin, sugar, and pumpkin pie spice. Use an electric mixer to mix until smooth and well blended.
- Use an electric mixer to mix until smooth and very well blended. Don't let the spoon fool you, I used that to clean down the side of the bowl, you will need an electric mixer for this.
- For the baking pan, depends on what the brownie mix recommends, 9x13 or 8x8 inches seem fairly standard, but do make a note of the baking time for the size pan you use. Grease the pan with butter or cooking spray.
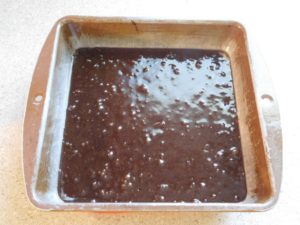
- Pour half the brownie batter into the prepared pan and spread out evenly.
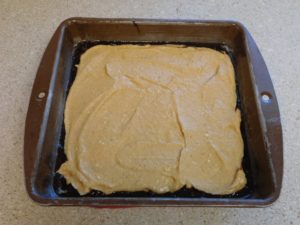
- Add the pumpkin to the pan, spreading evenly over the brownie batter.
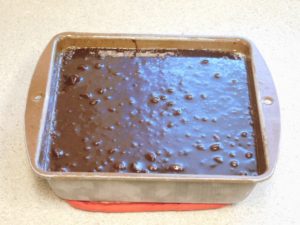
- Add the remaining brownie batter to the pan, spreading evenly over the pumpkin.
- Bake the brownies, adding 10 minutes to the time stated on the brownie box instructions, this is due to increased thickness. To check for doneness, insert a fork in the center and if it comes out clean, it is done, if there is batter on the tines, continue baking, checking every 5-8 minutes until done. The fork method for testing works perfectly!
- Let brownies cool completely, cut into squares, serve, and enjoy.
Notes
Shortcut: Pumpkin Pie Spice.
Corn Casserole
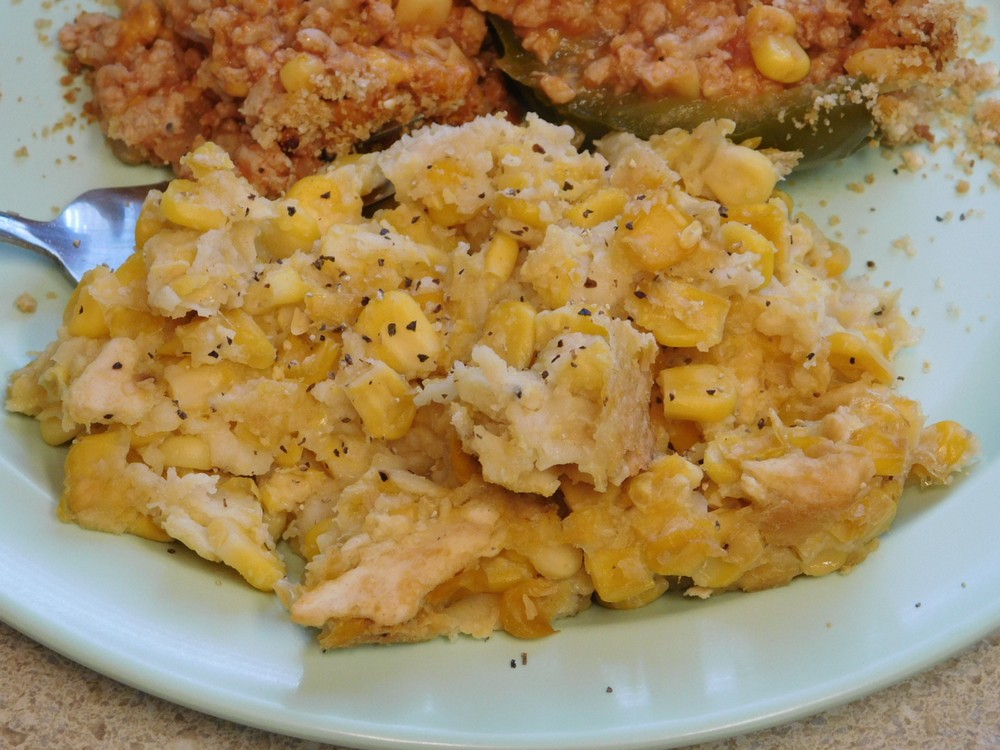
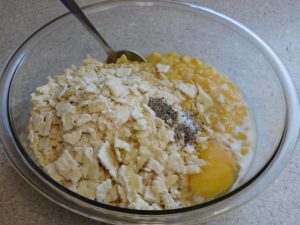
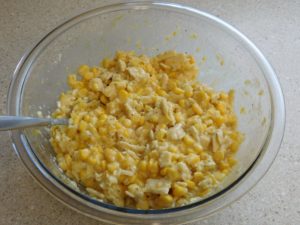
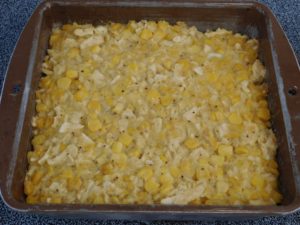
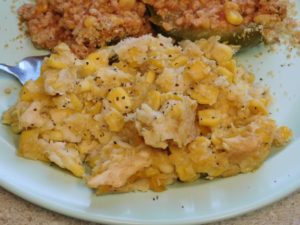
I found this recipe on Instagram, made it on 10 Sep 2021, and my family loved this! Very easy to put together and excellent flavor. This will be a regular, and I will also test this with the variant, which is using fiesta corn. I did cut the recipe in half and a 8x8 inch baking pan is perfect for this.
Equipment
- Oven
- Baking Pan (9x13 inch)
Ingredients
- 2 cans whole kernel corn, (15 oz / 425 g each)
- 2 cans cream style corn, (15 oz / 425 g each)
- 2 sleeves saltine crackers, crushed
- 1 egg
- ¾ cup milk
- 1 tablespoon sugar
- 1 teaspoon black pepper
- 1 tablespoon butter, melted
Instructions
- Preheat your oven to 180° C (350° F), Get out a 9x13 inch baking pan and grease with butter or cooking spray. Use an 8x8 inch baking pan if making half the recipe.
- In a large mixing bowl, add all ingredients. If making half the recipe, use 1 egg as stated.
- Mix together.
- Pour mixture into the prepared baking pan.
- Bake for 30 minutes.
- Serve as a side dish, enjoy.
Notes
Variant: 1. Use fiesta corn in place of the whole kernel corn.
Moist Zucchini Cookies
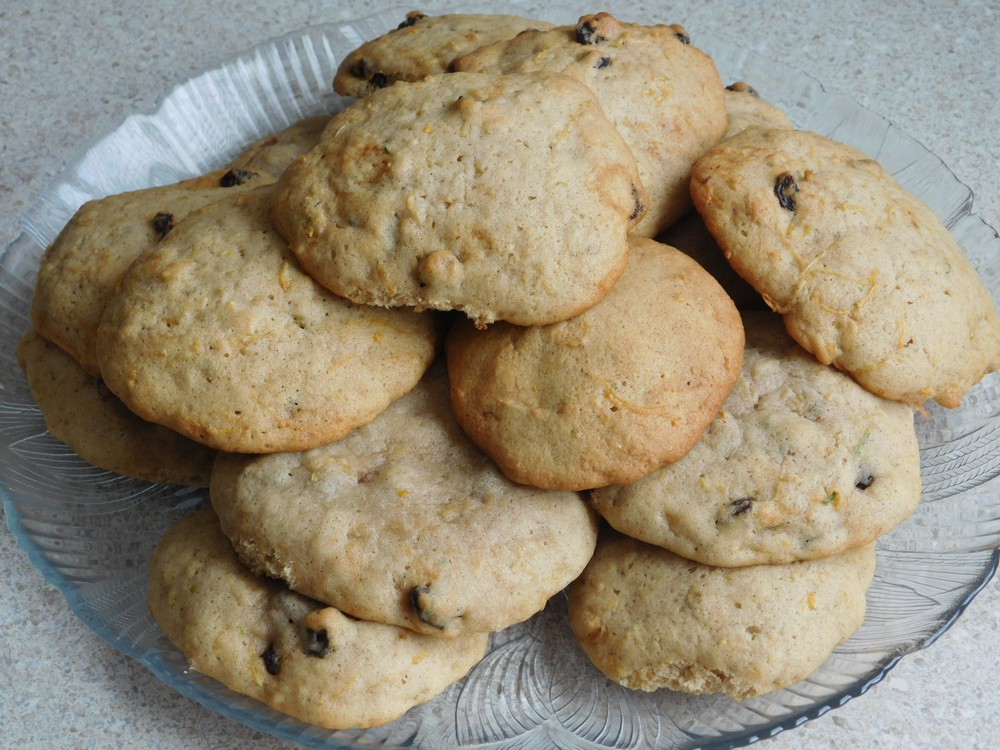
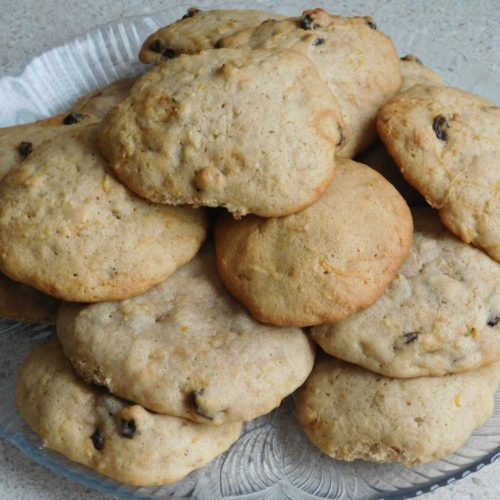
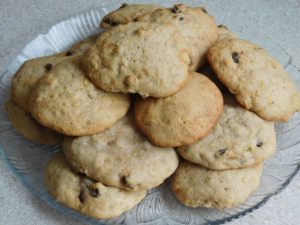
This recipe comes from a friend, and is delicious! As a way to use zucchini, I have a lot on hand, I had to try this, and it is certainly worth it! Very easy to prepare, and the chill time is a must to keep the cookies from spreading out too much.
Equipment
- Electric Mixer
- Box Shredder
- Oven
- Baking Sheets
- Parchment Paper
Ingredients
- 1 cup fresh zucchini, finely shredded
- ½ cup raisins, or dried cranberries, optional but works well
- 2 cups all-purpose flour
- 1 teaspoon baking soda
- 1 teaspoon ground cinnamon
- ½ teaspoon salt
- ½ cup unsalted butter, softened, (1 stick / ½ block)
- ½ cup light brown sugar, packed
- ½ cup sugar
- 1 egg
Instructions
- Shred zucchini using the small holes on your box shredder until you have 1 cup, just lightly packed. Measure out raisins or cranberries if using those.
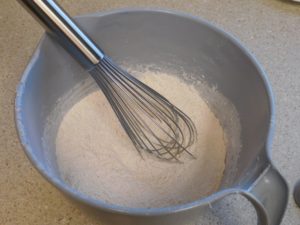
- In a mixing bowl, add the flour, baking soda, cinnamon, and salt, whisk together.
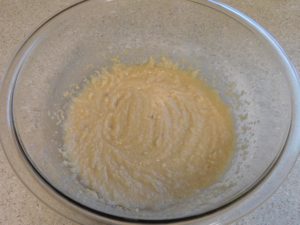
- In another mixing bowl add the butter and sugars. Beat with an electric mixer for about 1 minute.
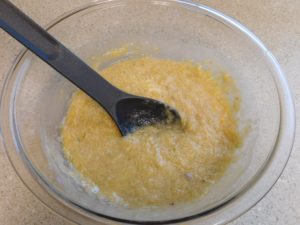
- Mix in the egg and zucchini.
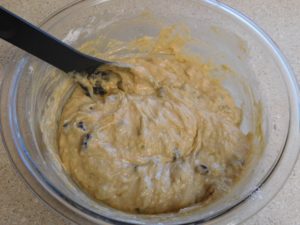
- Add ½ the flour mixture and mix in, then add the remainder and mix in. Then mix in the raisins or cranberries. Cover and place in the fridge to chill for at least 2 hours or up to overnight.
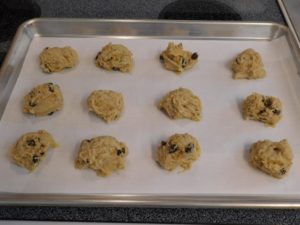
- When ready to bake, preheat your oven to 190° C (375° F), get out 2 baking sheets and line with parchment paper.
- Drop by round tablespoons on the prepared sheets.
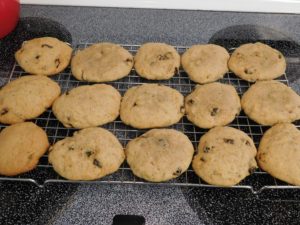
- Bake for 10-12 minutes or until lightly browned on the edge. Cook on the sheet for 5 minutes then transfer to wire racks to cool.
- Serve and enjoy.
Yummy Zucchini Brownies
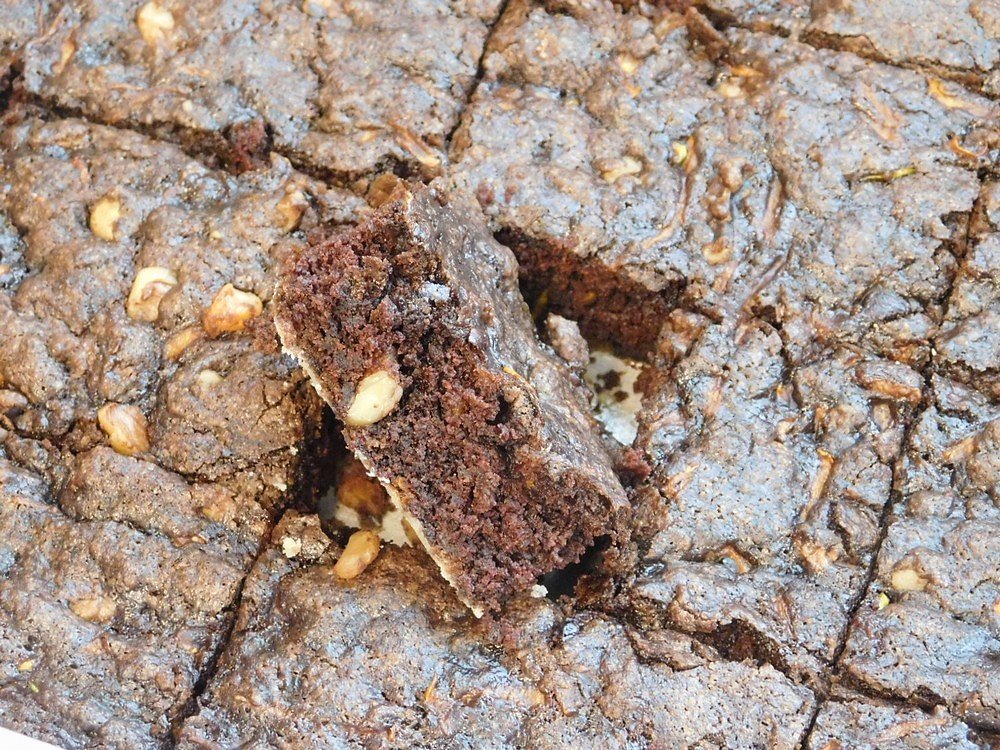
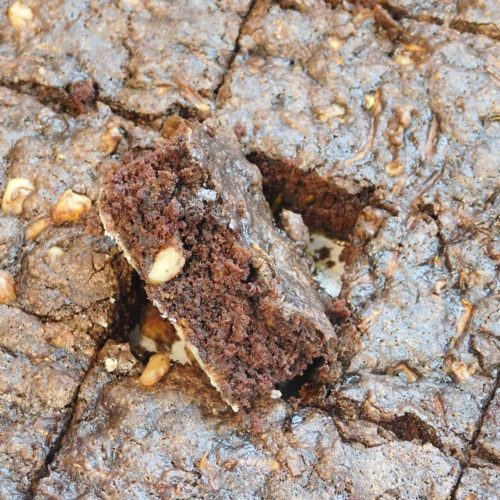
My Dad found this recipe searching the internet for zucchini recipes, and comes from the Farmers' Almanac. I made these on 28 Aug 2021, and the family absolutely loved these! Highly recommended to use up some of that zucchini from your garden in a very delicious way. This is an egg free recipe.
Equipment
- Box Shredder
- Oven
- Baking Pan (9x13 inch)
Ingredients
- 2 cups fresh zucchini, shredded
- ½ cup walnuts, chopped
- 2 cups all-purpose flour
- ½ cup cocoa powder
- 1½ teaspoons baking soda
- 1 teaspoon salt
- ½ cup vegetable oil
- 1½ cups sugar
- 2 teaspoons vanilla extract
Instructions
- Shred zucchini with a box grater to make 2 cups, packed down just a little. Measure out the walnuts.
- In a mixing bowl, add the flour, cocoa, baking soda, and salt. Whisk together.
- Preheat your oven to 190° C (375° F), get out a 9x13 inch baking pan and grease with butter or cooking spray, and flour it.
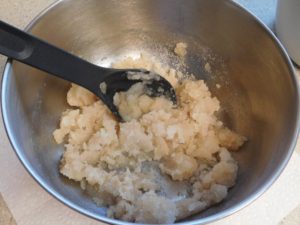
- In another mixing bowl, add the oil, sugar, and vanilla. Mix together.
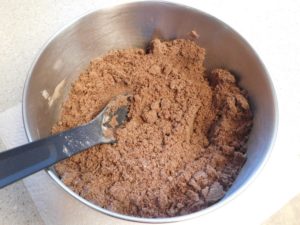
- Add the flour mixture to the sugar mixture and mix together, it will be quite dry.
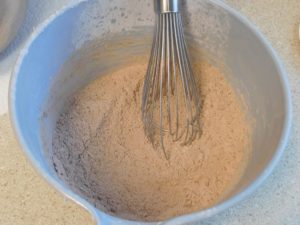
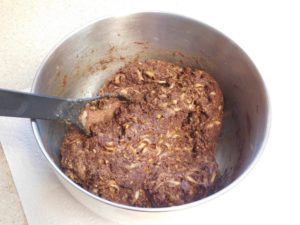
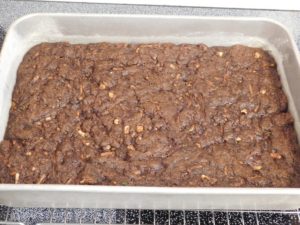
- Add the zucchini and walnuts, mix together. it will seem a dry, just keep mixing and it will come together with a shiny or wet appearance. If your mixture is drier than what this photo shows, mix in a tablespoon of water. The mixture will be much drier than a regular brownie mix, as it cooks, the zucchini will release moisture.
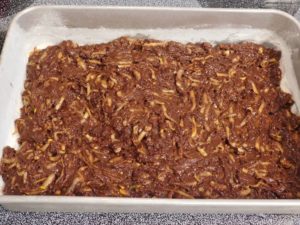
- Spread mixture into prepared baking pan evenly.
- Bake for 25-30 minutes or until the top springs back up after gently pressed.
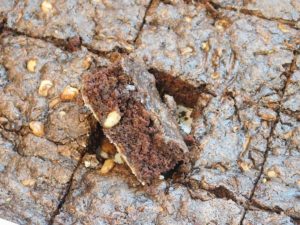
- Cut into squares, serve and enjoy.
New England Creamed Codfish
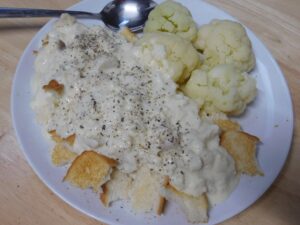
This recipe is from a cookbook titled Casserole Cook Book by Better Homes & Gardens, printed in 1961. Easy recipe that comes together rather quickly, a basic dish of a homemade white sauce and steamed fish. Add a couple of sides and you have a delicious meal. This recipe was written originally using salt cod, I have changed the recipe to reflect the use of any whitefish, and the unsalted variety of cod as well.
Ingredients
- 500 grams whitefish, cod, pangasius, or barramundi would be good, (1 lb)
- 2 tablespoons butter
- 2 tablespoons all-purpose flour
- 2 cups milk
- 2 egg yolks, beaten
- 2 tablespoons onion, grated
- 2 teaspoons lemon juice
- toast, for serving
Instructions
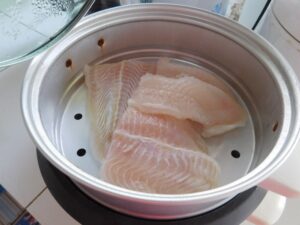
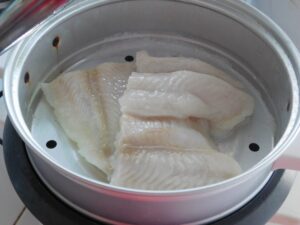
- Steam the whitefish your preferred way, I use my rice cooker for this. For a rice cooker, simply add 1-2 cups of water to the pot, place the steamer tray on top and cover with the lid. Press cook, when the water is boiling, remove the lid and place fish in the steamer tray and cover with the lid.
- Steam until cooked through, about 5-10 minutes.
- Remove fish, drain, flake apart meat, remove any bones or skin.
- Melt butter in a medium saucepan, stir in flour until smooth, slowly stir in milk, cook and stir until thickened.
- Add a small amount of sauce to the egg yolks and stir together, then add all the egg yolks to the sauce and stir in.
- Add the fish, onion, and lemon juice. Heat through.
- Serve over toast points, enjoy.
Notes
Low cost per serving.
Homemade Jiffy Yellow Cake Mix
Jiffy Yellow Cake Mix, is the small box of mix and is basically half of a standard box mix. Commonly used to make a single layer cake. The Jiffy yellow cake mix is used in several recipes on this site as an ingredient in other recipes. This is the base mix, what the box contains, recipe. This mix is not yellow like the boxed version. I made this on 2 Sep 2021 to test out the cake made from this, this mix works perfectly.
Ingredients
- 144 grams all purpose flour, (1 cup plus 2 tablespoons if no scale)
- ¾ cup sugar
- 1¾ teaspoons baking powder
- ½ teaspoon salt
Instructions
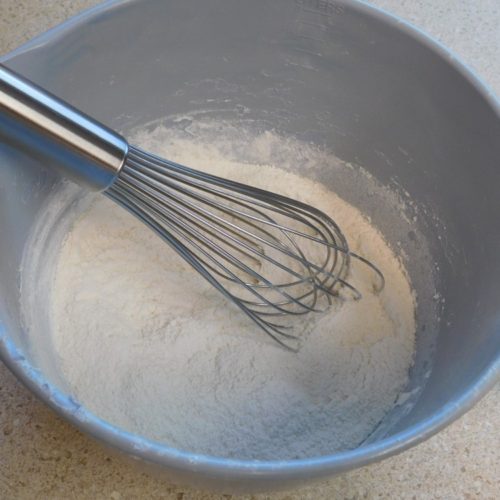
- Whisk all ingredients together and store in an airtight container for up to one month, or use right away to make a Jiffy yellow cake.
- This mix equals 1 box of store bought Jiffy Yellow Cake Mix, which is the small box, and will make a single layer 8 inch round or square cake or 12 cup cakes.
- Use in any recipe that calls for a box of Jiffy Yellow Cake Mix.
Notes
Used in Recipes Listed on this Site:
- Homemade Jiffy Yellow Cake, made it, GO-TO recipe.
- Easy Fruit Crumble Bake, made it, GO-TO recipe.
- Fruit Magic, made it, GO-TO recipe.
