Author Archive
Fresh Corn I (Pressure Cooker)
I like corn on the cob, and when I was growing up, that was a favorite! Our family could put down some corn! This recipe uses milk and butter for more flavor infusing into the corn. This makes delicious corn! Follow all safety precautions for your pressure cooker.
Equipment
- Pressure Cooker
Ingredients
- 6-12 ears corn, shucked
- 1½ cups water
- ¾ cup milk
- 1½ tablespoons sugar
- 3 tablespoons butter
- ¾ teaspoon salt
Instructions
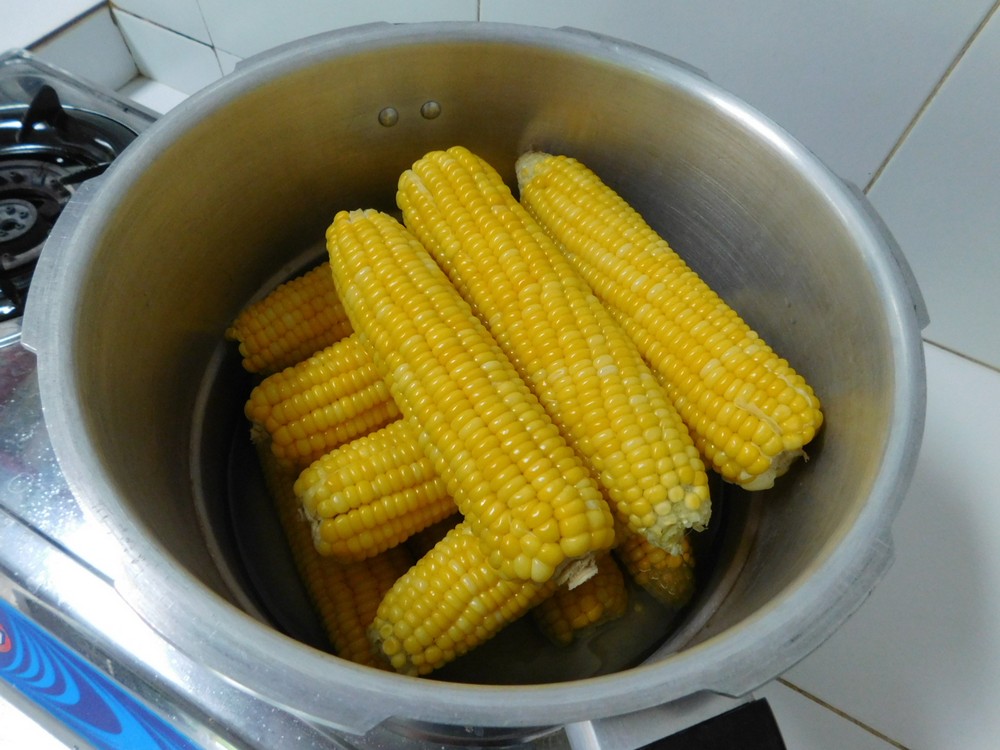
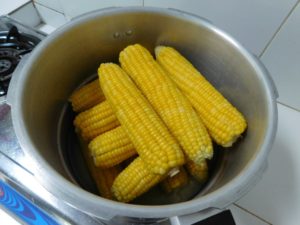
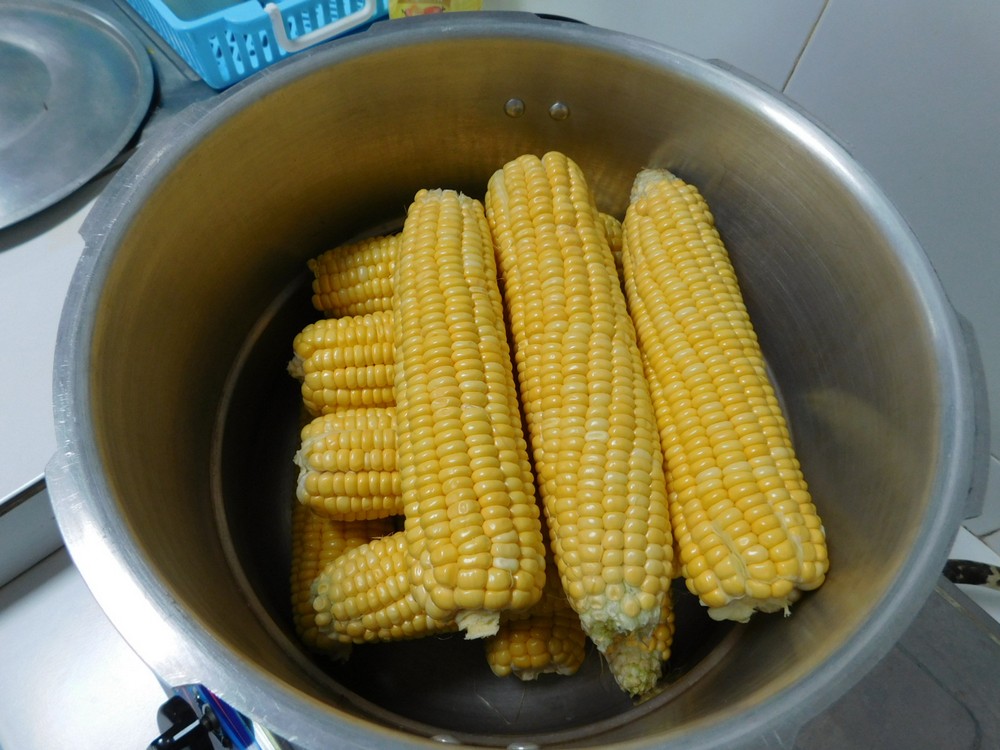
- Add the milk, water, sugar, and salt to your pressure cooker and stir to mix, add the butter and place the corn in as well making 2-3 layers that are crossed.
- Place the lid on the cooker and lock, place on high heat to bring to full pressure as indicated by the jiggler moving and venting pressure. Lower heat to maintain full pressure. Start timing for 1½ minutes.
- When 1½ minutes have passed, turn off the heat and move the cooker to an unused burner to cool and release pressure on its own. When the lock has dropped and zero pressure remains in the vessel, open and serve corn as a side dish, enjoy.
Notes
Used in Recipes Listed on this Site:
Stephen Special
This sounds really good, and is a modified recipe based on making the mac & cheese from scratch instead of boxed. This seems like a long winded recipe, just read through it, it is not that bad, the homemade part takes a bit more but the results will be much better. On my to cook list for sure. Links to the shortcuts are listed in the Recipe Notes section.
Ingredients
For the Pasta
- 500 grams uncooked pasta, your choice, small shells, spirals, etc.
- 4 cups milk
- 1/2 cup butter, this is 1/2 a standard block
- 1/2 cup all purpose flour
- 1/4 teaspoon dry mustard
- 3 cups Cheddar cheese, shredded
- 1 cup Parmesan cheese, shredded
- salt and pepper, to taste
For the Remaining Ingredients
- 500 grams ground beef, (1 lb)
- 2 cans tuna in water or brine, OR make from a shortcut
- 1 red bell pepper, diced
- 1 yellow bell pepper, diced
- 1 onion, diced
- 1 packet taco seasoning mix, OR make from a shortcut
- 1 handful fresh mushrooms, sliced
Instructions
- Heat a pot of salted water to boiling then cook the pasta until just tender, drain and set aside.
- While the water is heating for the pasta and for the pasta to cook, go ahead and heat a large non stick pan then add the bell peppers, onion, and ground beef, when the beef is good and browned, drain, then mix in the taco seasoning and add the drained tuna and mushrooms. Cook until the mushrooms are wilted and softened. Remove from heat and mix into the drained pasta, set aside.
- In a medium saucepan set over medium heat, warm the milk until it is simmering then set it aside.
- In a large heavy-bottomed stock pot, melt the butter over medium heat. Once the butter has melted, whisk in the flour and cook the mixture, whisking constantly, until it turns light brown in color and has a slightly toasted aroma, about 3 minutes. Whisk in the dry mustard.
- Remove the pot from the heat then slowly whisk the warm milk into the flour mixture. Continue whisking constantly to avoid any lumps. (The mixture will become very thick and then thin out gradually until it is smooth.)
- Return the pot to the stove over medium-high heat and cook the mixture while whisking constantly until it has thickened enough to coat the back of a spoon, about 2 minutes. Season the mixture with salt and pepper to taste and reduce the heat to medium. Whisk in the Cheddar and Parmesan cheeses until they are melted and the cheese sauce is smooth.
- Add the pasta mixture to the cheese sauce and stir to mix together and heat to warm everything through, serve.
Notes
I will price this after I make it, but for now will say low cost.
Shortcuts: Fresh Tuna, Taco Seasoning Mix.
Provided by Stephen Story and the original recipe is here.
BBQ Pulled Pork Sandwiches (Pressure Cooker)
In keeping with my theme of making things from scratch, plenty of shortcuts here if you wish to use those for cost savings.
Ingredients
- pork shoulder, OR make from a shortcut
- BBQ sauce, OR make from a shortcut
- light rye bread, OR make from a shortcut
- onion, sliced
- dill pickle slices, OR make from a shortcut
- Provolone cheese, sliced
Instructions
- For tender and juicy pork, use of a pressure cooker is highly recommended. You can cook the pork anyway you prefer. There is a link in Recipe Notes for how I prepare pork shoulder/butt in a pressure cooker. Amount of pork is up to you, when I make this I use 1 1/2 kilos (3 lbs).

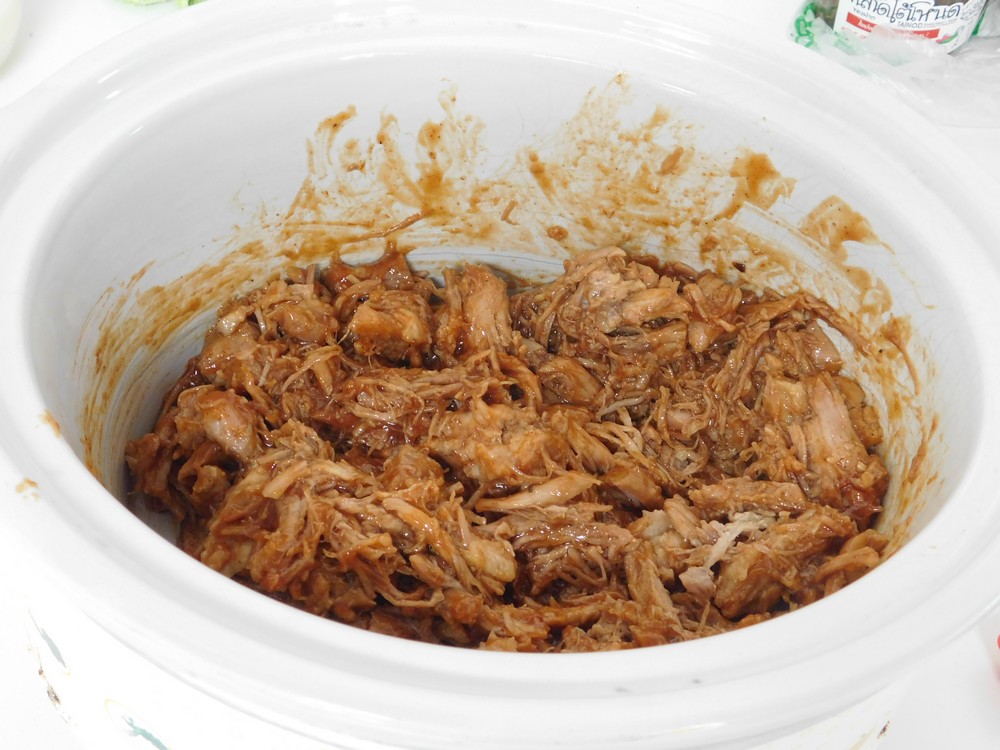
- After the pork is cooked, place on a cutting board and use two forks to shred it, then place the pork in your slow cooker and set to Low setting.
- Add BBQ sauce as needed to coat all the shredded pork. Leave the pork on Low for about 30 minutes to heat everything through.
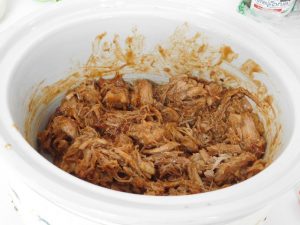
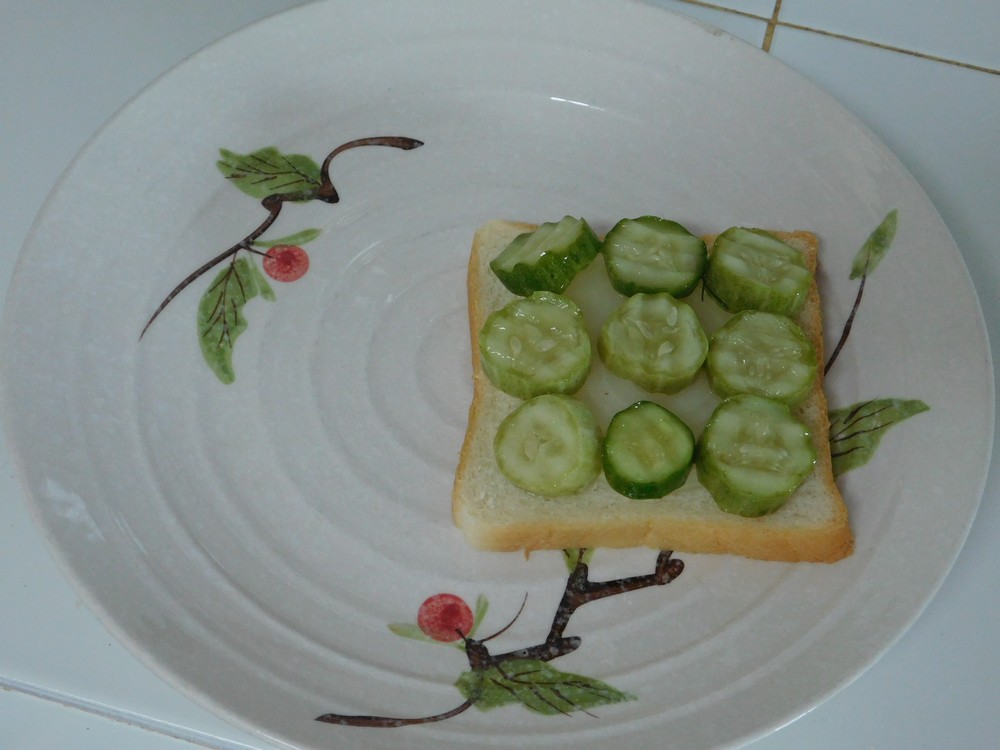
- When the pulled pork is good and hot, lay out a slice of rye bread, then add a slice of onion, as thick as you like it, add some pickle slices.
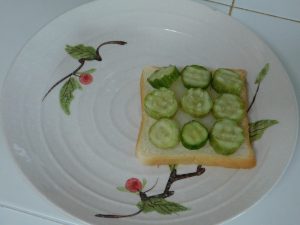
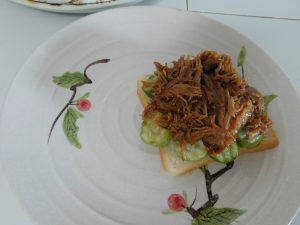
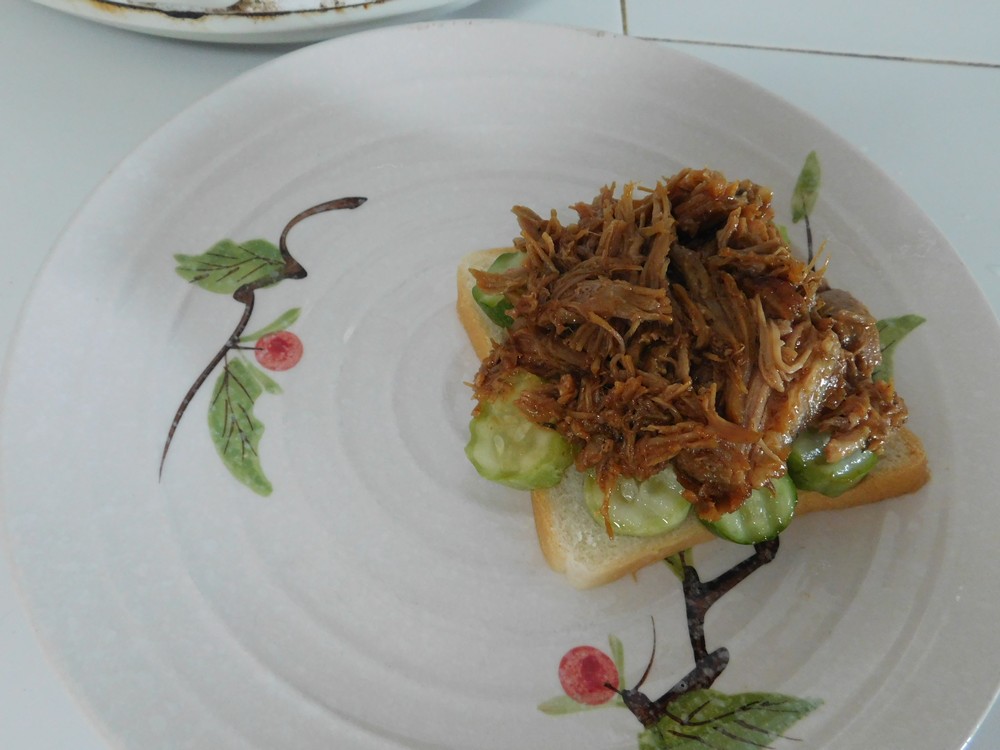
- Scoop on some hot BBQ pulled pork.
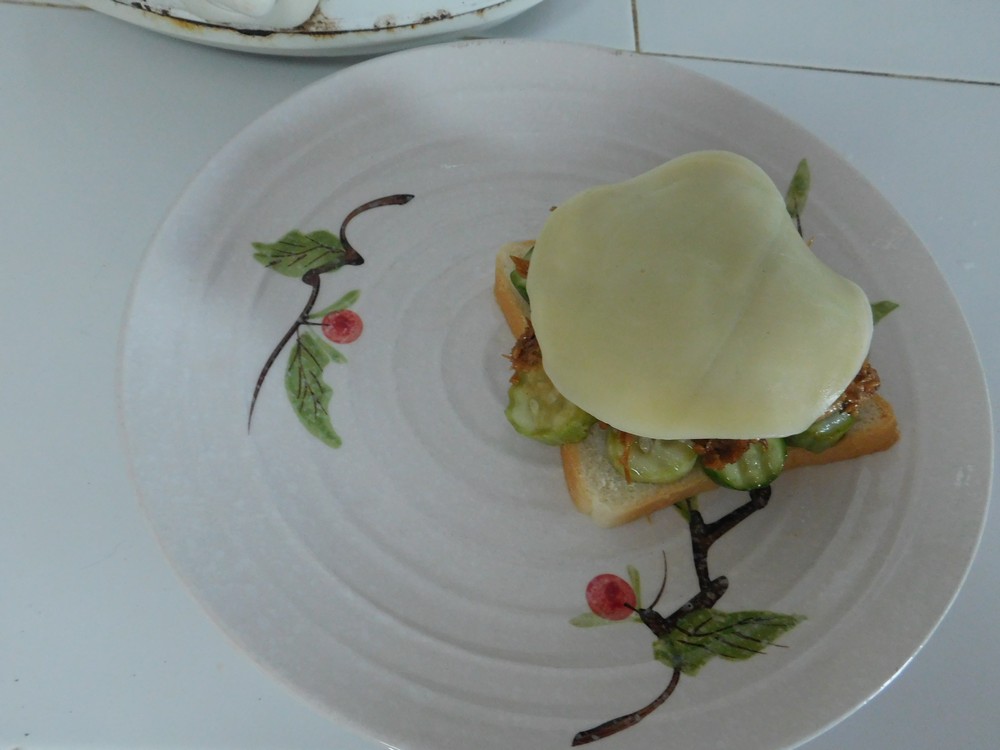
- Top that with sliced Provolone, as many slices as you like.
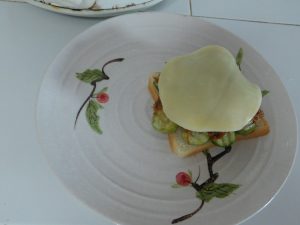
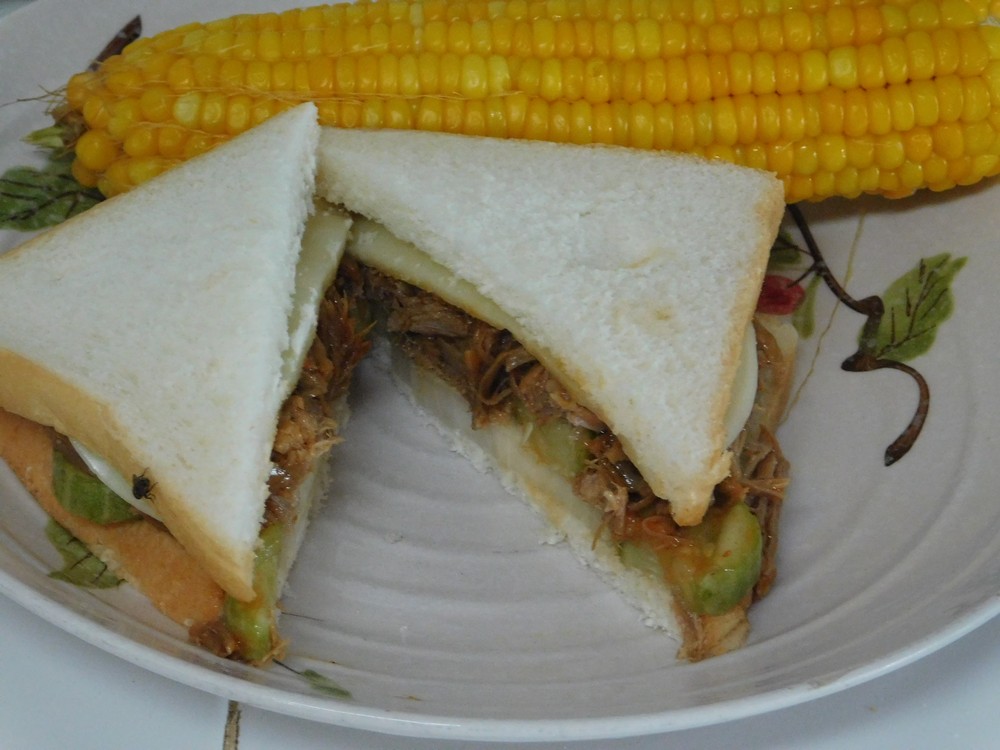
- Top with another slice of rye and enjoy. (Great photo except for the fly on the sandwich, oh well, it happens.)
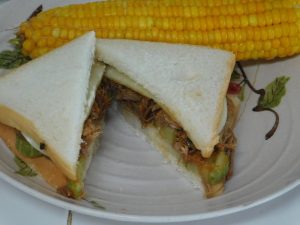
Notes
Low cost, well under $1 per sandwich.
Shortcuts: Pork Shoulder/Butt (Pressure Cooker), Light Rye Bread, Fridge Pickles, BBQ Sauce.
Variants. 1. Use a cheese of your choice. 2. Use lettuce in place of the onion or in addition to the onion. 3. Leave out the pickles or replace with hot peppers. 4. Use sandwich rolls in place of rye bread, or use any bread you like.
Common type of sandwich.

Pork Shoulder/Butt (Pressure Cooker)
This produces fork tender and very juicy pork. No set quantity of pork shoulder/butt is needed, but observe the rule of NOT overfilling your pressure cooker more than ⅔ full. If meat is above the water, perfectly fine, you are cooking with heat and pressure, not boiling. I used my large 9 liter (9½ quart) stove top pressure cooker with 80 kPa (12 psi). Follow all safety precautions with your pressure cooker.
Equipment
- Pressure Cooker
Ingredients
- 1½ kilos pork shoulder, or butt, (3 lbs)
- water, as needed
Instructions
- The amount of pork shoulder/butt is not really important, I used 1½ kilo, main thing is the pressure cooker (for smaller pressure cookers) is no more than ⅔ full.
- Trim off any large thick pieces of fat, add the pork to your pressure cooker. Add about 1 to 1½ inches of water to the pressure.
- Place the lid on and lock, bring to high heat. When the jiggler starts moving and releasing pressure, turn the heat down but maintain the pressure release and jiggler moving (indicating full pressure). Start timing for 33 minutes.
- When 33 minutes have passed on full pressure, turn of the heat and move the pressure cooker to an unused burner to allow a natural release of pressure.
- When the pressure is released and it is safe to open your pressure cooker, go ahead and open, use the pork as needed in other recipes. Don't forget to try a piece first 🙂
- I prepared the pork should like this for BBQ pulled pork sandwiches, absolutely perfect tender and juicy pork.
Notes
For pork shoulder, figure about 100 Baht/kilo. For 1½ kilo, six servings, this is about 78 cents per serving. If you can source the pork locally, you could save even more.
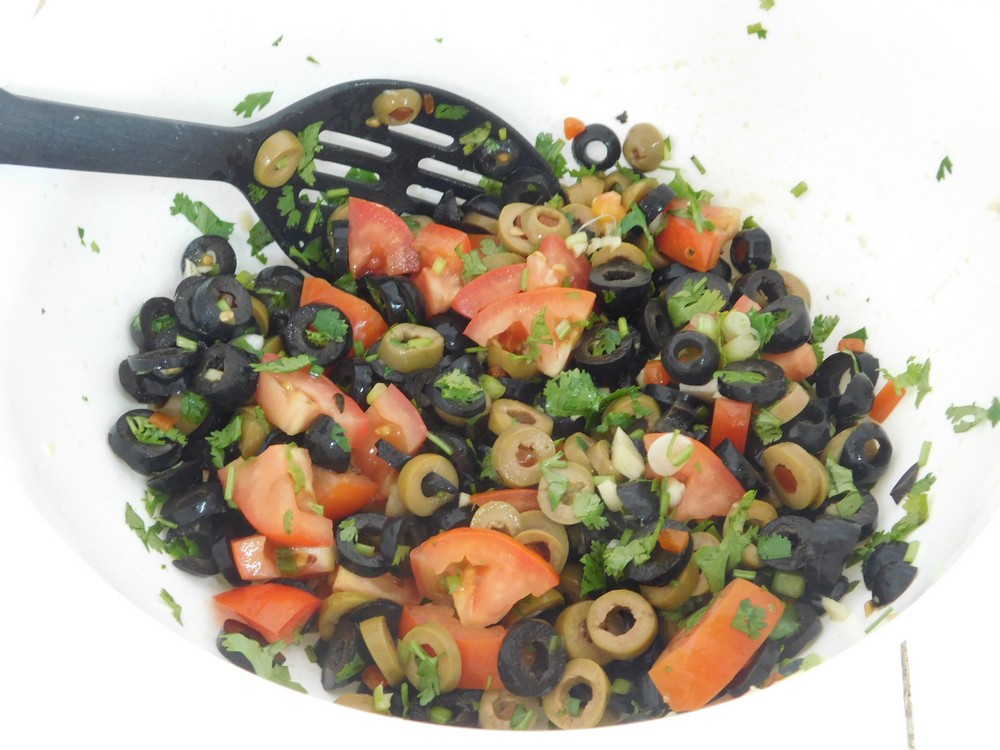
Olive Salad
This is a new one for me, I have never heard of this but it sounds really good. I made this on 6 April 2018, very good combination of flavors.
Ingredients
- 1 can pitted black olives, sliced
- 1 jar green olives with pimento, sliced
- 1 can button mushrooms, sliced
- 1 red bell pepper, diced
- 2 spring onions, sliced
- 2 cloves garlic, smashed and minced
- 1/4 cup parsley, chopped
- 2 tablespoons extra virgin olive oil
- 1 teaspoon dried oregano
- 1/2 teaspoon black pepper
- 1 tablespoon lime juice
Instructions
- Add all the items to a large mixing bowl, toss to coat everything.
- I also added some crumbled Feta cheese.
- Cover and place in the fridge for 2-3 hours to chill and allow the flavors to blend.
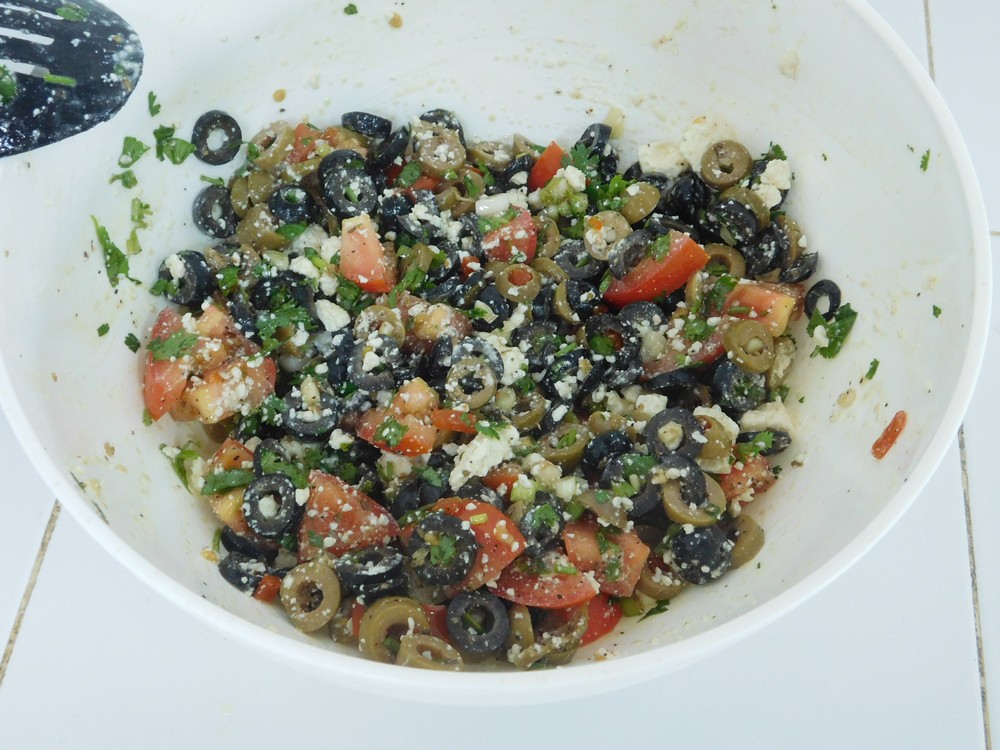
- Will keep for up to a week in the fridge. This is great as a side dish, a topping on burgers, etc.
Notes
One can of black olives will cost 78 Baht, 1 jar or green olives 74 Baht, and one can of mushrooms will cost 70 Baht. For 8 servings this is about 87 cents per serving.
Variant: 1. Add Feta cheese.
Adapted from an internet recipe.
Deviled Egg Salad
Sounds absolutely wonderful, on my to cook list.
Ingredients
- 12 hard boiled eggs, peeled, chopped
- 1/4 cup spring onion, sliced, green and white
- 1/2 cup celery, chopped
- 1/2 cup red bell pepper, diced
- 2 tablespoons Dijon mustard
- 1/3 cup mayo
- 1 tablespoon apple cider vinegar, or white wine vinegar
- 1/4 teaspoon tabasco sauce
- 1/2 teaspoon paprika
- 1/2 teaspoon black pepper
- 1/4 teaspoon salt
Instructions
- Place the prepared eggs, spring onion, celery, and bell pepper in a large mixing bowl and toss together.
- In a small bowl, mix together the mayo, mustard, Tabasco sauce, and the vinegar.
- Stir the dressing into the egg and veggies and season with paprika, salt, and pepper to taste. Refrigerate for several hours to chill it fully before serving.
Notes
Low cost.
This recipe for Deviled Egg Salad is from Simply Recipes.
Sweet Pickle Relish
Somethings in Thailand are nearly impossible to find or are overpriced for imports, so the next best thing, make from scratch. This sounds like a great sweet pickle relish and I look forward to making this, and tasting it 😉
Ingredients
For the Veggies
- 500 grams cucumbers, finely diced, (1 lb)
- 1/2 cup red bell pepper, finely diced
- 1 cup sweet onions, finely diced
- 1-2 teaspoons salt
For the Brine
- 2 cups apple cider vinegar
- 1 clove garlic, smashed and minced
- 2 tablespoons sugar
- 1 teaspoon mustard seeds
- 1/2 teaspoon coriander seeds
- 1/4 teaspoon ground turmeric
- 1/8 teaspoon ground ginger
Instructions
- Prep all the vegetables, how fine you dice them is your preference. Place the veggies in a strainer over a bowl, mix the veggies as you sprinkle in the salt. The purpose of the salt is to remove the water from the veggies and keep them crisp. Let the veggies sit for 30 minutes to an hour.
- Rinse the veggies in fresh water and kind of squeeze them dry of any water, be gentle, don't squash everything, just most of the water out of them, then spread them out on paper towels to remove any remaining water.
- In a medium sauce pan, add all the brine ingredients and bring to a simmer. Let the brine simmer for 10-15 minutes.
- While the brine is simmering, pack the veggies into a warmed Mason quart jar leaving about 1 inch of space at the top.
- Remove the brine from heat and carefully pour into the quart jar, covering the veggies by an inch or so. Use a knife and poke into the veggies to release any air trapped.
- Set the jar aside to cool to room temp. When the jar is cooled, place the lid and ring on and place in the fridge.
- Chill in the fridge overnight before first use. Store in the fridge and use within 2-3 weeks.
- Use as a topping on burgers, hot dogs, added to potato or pasta salads, etc.
Notes
Low cost.
Adapted from an internet recipe.
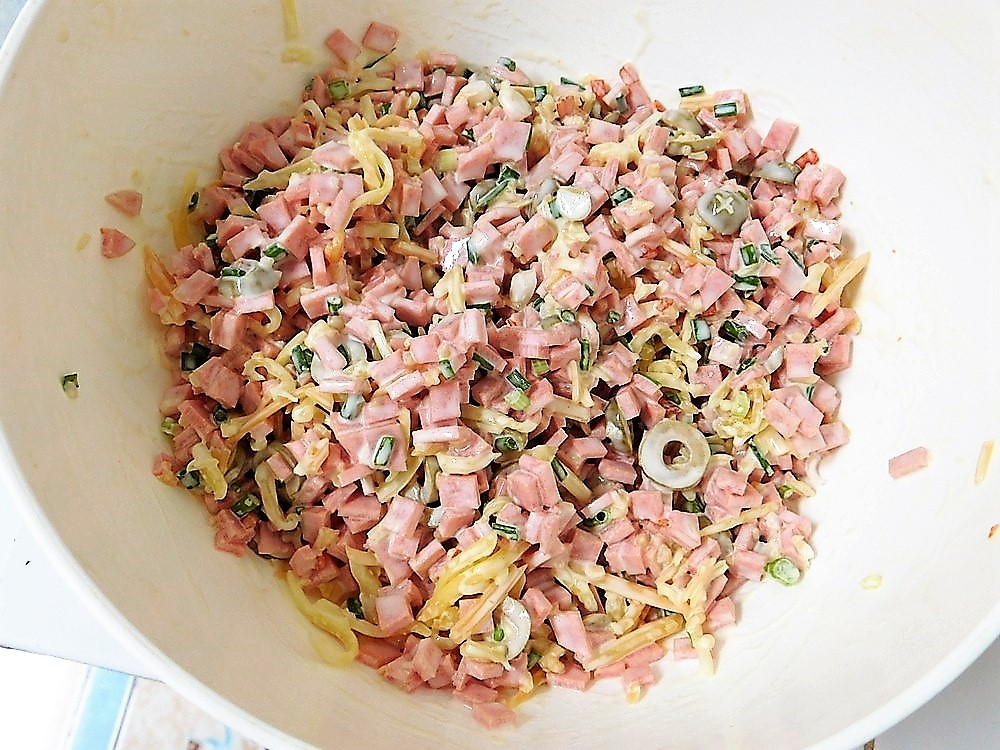
Bologna Salad Sandwich Spread
An excellent sandwich spread. Two ways to prepare this; 1. using a grinder, 2. finely chopped, then you have many variants, which I did, so my review of the original recipe is not accurate, but the variants are tasty though. If you are familiar with a German Meat Salad, this is basically the chopped version.
Ingredients
- 4 hard boiled eggs, peeled
- 500 grams bologna, (1 lb)
- mayo, as needed
- sweet pickle relish, as needed
Instructions
Prep with a Meat Grinder
- Course chop the bologna and run through your meat grinder using the medium plate. Place in a large mixing bowl. This would be perfect for large bologna that is not sliced.
Prep with a Knife
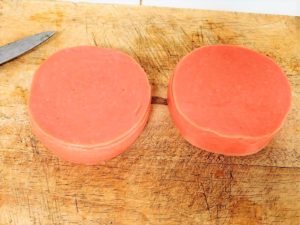
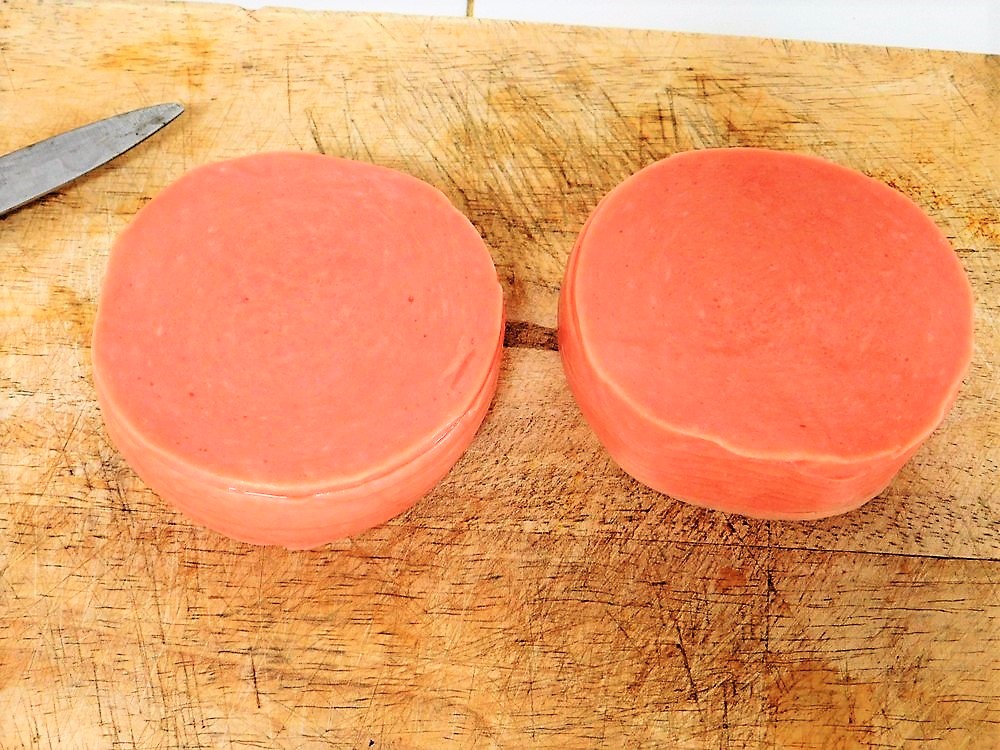
- Here is what I am working with, two stacks of sliced bologna, 200 grams each stack, so I am using just under 1 pound, about 14 oz, no harm there.
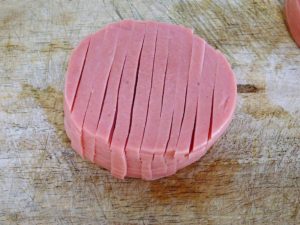
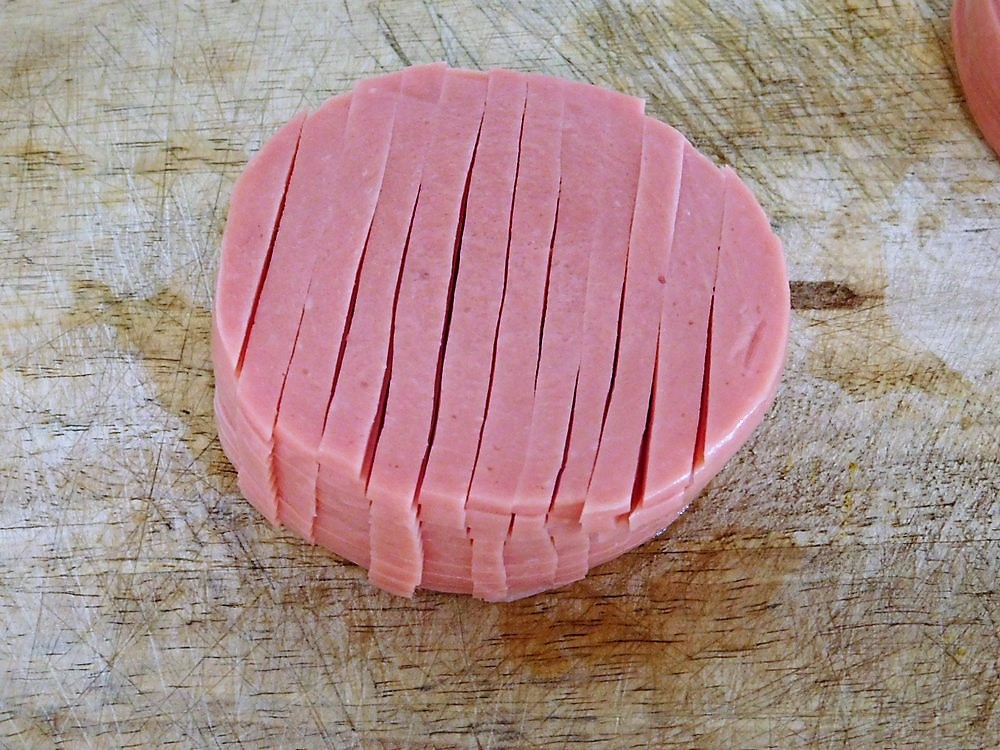
- Cut the stack into 1/4 inch strips.
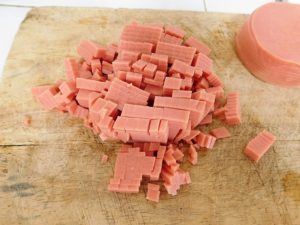
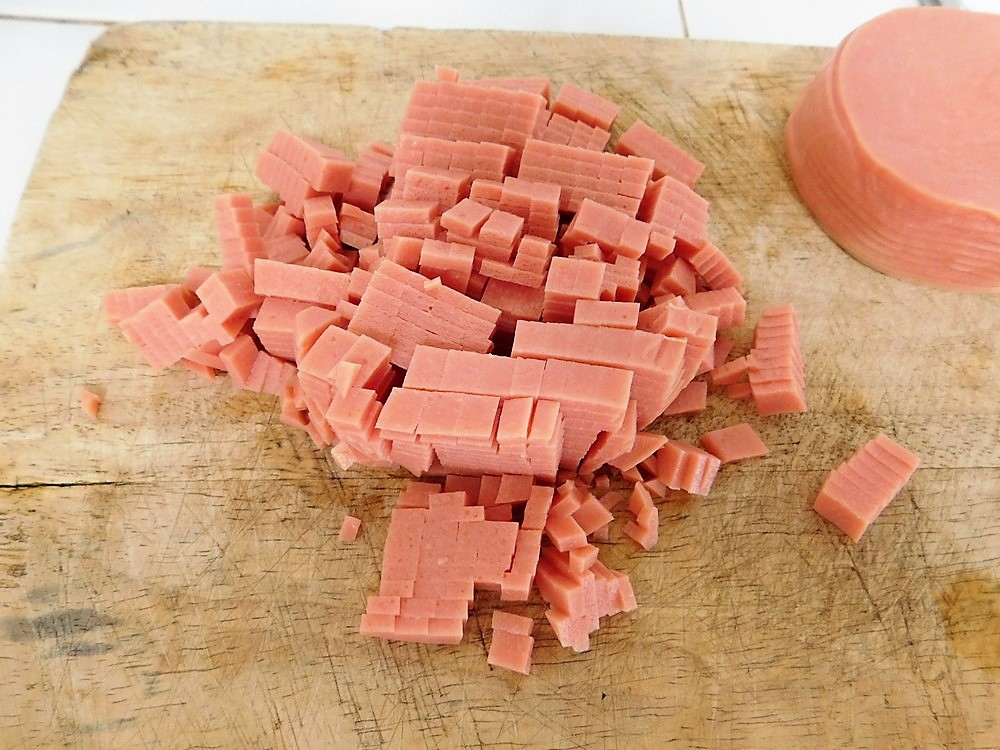
- Turn the stack 90 degrees and cut again into 1/4 inch strips to dice the bologna, place in a mixing bowl, repeat with the other stack.
Prepare the Salad
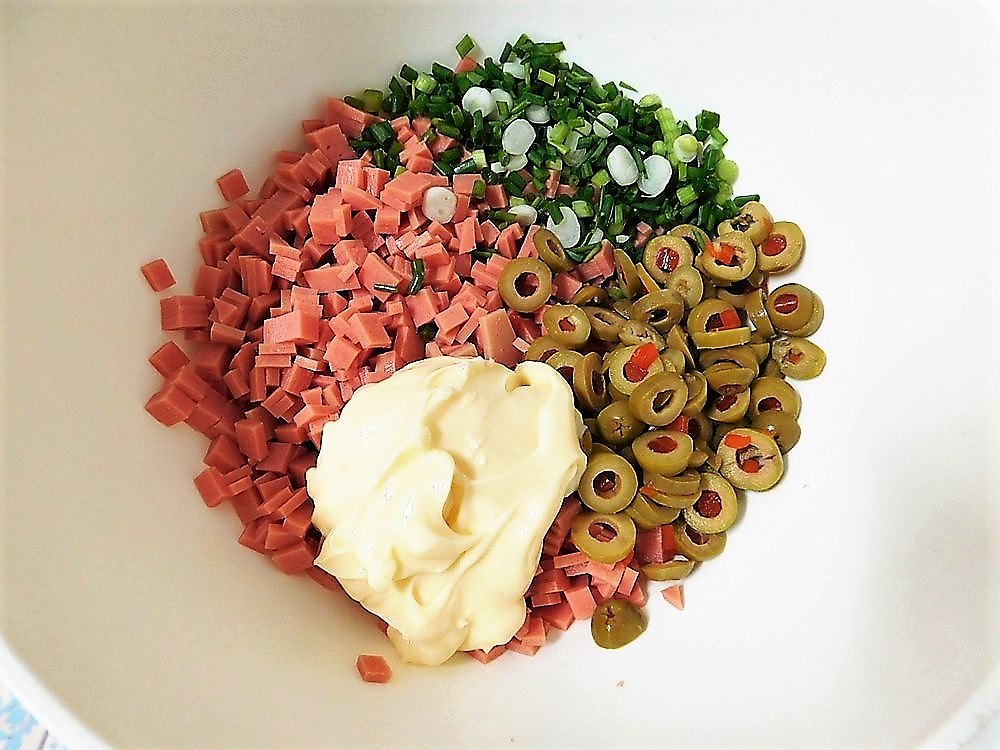
- To the mixing bowl, add about 1/4 cup of sweet pickle relish and about 1/2 cup of mayo. Mix into the bologna mixture, adding more mayo as needed to fully coat the mixture but not dripping with mayo either. Taste and add more relish as needed to taste.
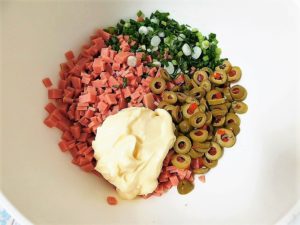
- I used some variants, so to the mixing bowl I add 4 sliced spring onions, 1/4 cup of green olives with pimentos, measure whole first then slice those, and 1/2 cup Japanese Kewpie mayo. Mixed that together and another squirt or two of Kewpie mayo.
- Then decided to go with another variant and added 150 grams (5 oz) of three blend shredded cheese, and mixed that in. When the salad spread is mixed and adjusted to taste, cover and place in the fridge for 2-3 hours to chill.
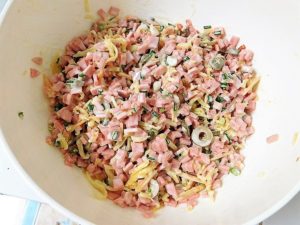
- Serve in a sandwich, spread on crackers, or just enjoy as is for a nice side salad.
Notes
Low cost per serving.
Variants: 1. Add 1 finely diced onion or 4-5 sliced spring onions. 2. Add some finely diced or ground ham or smoked ham. 3. Mix in some shredded cheese of your choice. 4. Use chopped green olives with pimentos in place of pickles. 5. For those in Thailand, use chili bologna in place of plain bologna if you desire a spicy version. 6. For those in Thailand, add some diced cha lua.
Adapted from an internet recipe.
Ginger Steamed Sardines
Sounds very good. I look forward to making this. I do list a shortcut for homemade sardines in olive oil, but that is not really a cost saver due to the cost of olive oil. Link to the shortcut is listed in the Recipe Notes section.
Equipment
- Steamer
- Steamer Handles
Ingredients
- 1 tin sardines in olive oil, (120 g / 4¼ oz, Ayam or any brand)
- ½ inch fresh ginger, grated
- 1 spring onion, sliced, green and white
- 2 tablespoons cooking oil
- 3 tablespoons water
- 2 tablespoons light soy sauce
- sugar, to taste
Instructions
- Heat your steamer. I will use my tiny rice cooker with a steamer tray. You can also use a pot and a steamer basket.
- Drain the oil from the tin into a small bowl. Remove the sardines from the tin, split in half and arrange on a heat proof dish.
- Mix the ginger and spring onion (keep a pinch of the spring onion aside for garnish) with the oil from the tin to make a paste.
- Heat the oil in a small pan and cook the paste until fragrant.
- Pour the oil mixture over the sardines and place the dish in your steamer. Cover and steam for 5 minutes.
- While the sardines are steaming, using the same pan the oil was heated in, add the soy sauce and water and heat that up, add sugar to taste.
- When the sardines have steamed for 5 minutes, carefully remove the dish, pour the soy sauce mixture over the sardines, serve and enjoy.
Notes
One tin of sardines in olive oil at Tesco is 59 Baht. For 2 servings, this is about 46 cents per serving.
Shortcuts: Sardines in Olive Oil.
Pickled Red Onion
This sounds excellent, can be used on burgers, salads, tacos, sandwiches, anywhere you would use raw red onion. This also keeps well for up to 6 months in the fridge. On my to make list.
Ingredients
- 1-4 red onions, cut in half then thinly sliced
- 3 cloves garlic, peeled, whole
- 1 teaspoon black peppercorns
- 1 1/2 cups white vinegar
- 2 tablespoons sugar
- 1 tablespoon salt
Instructions
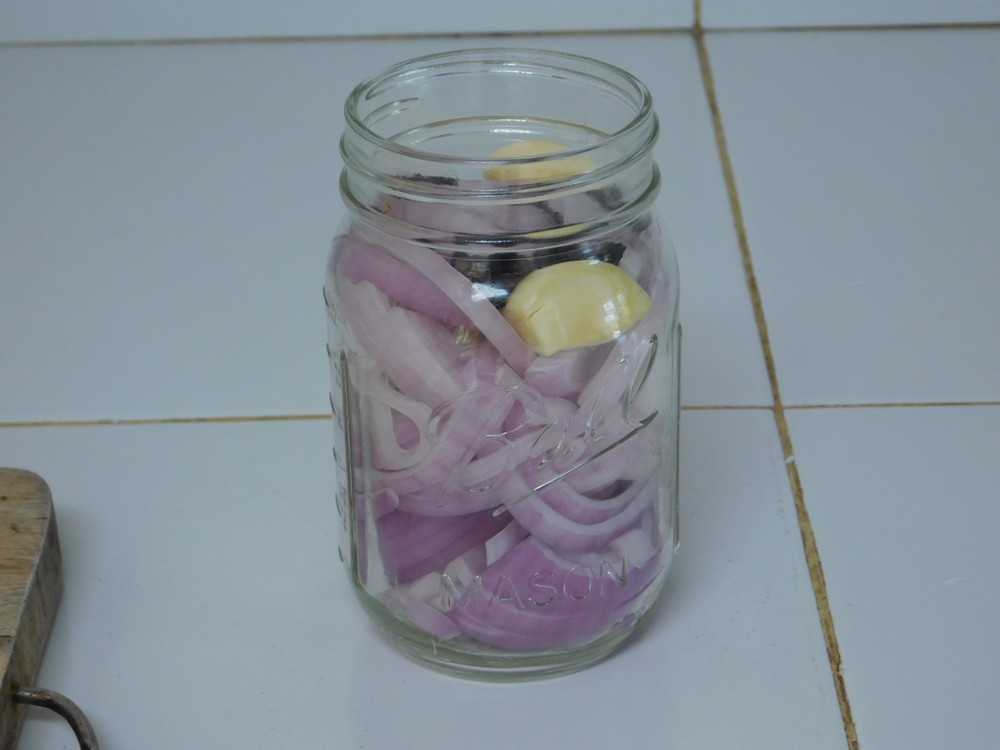
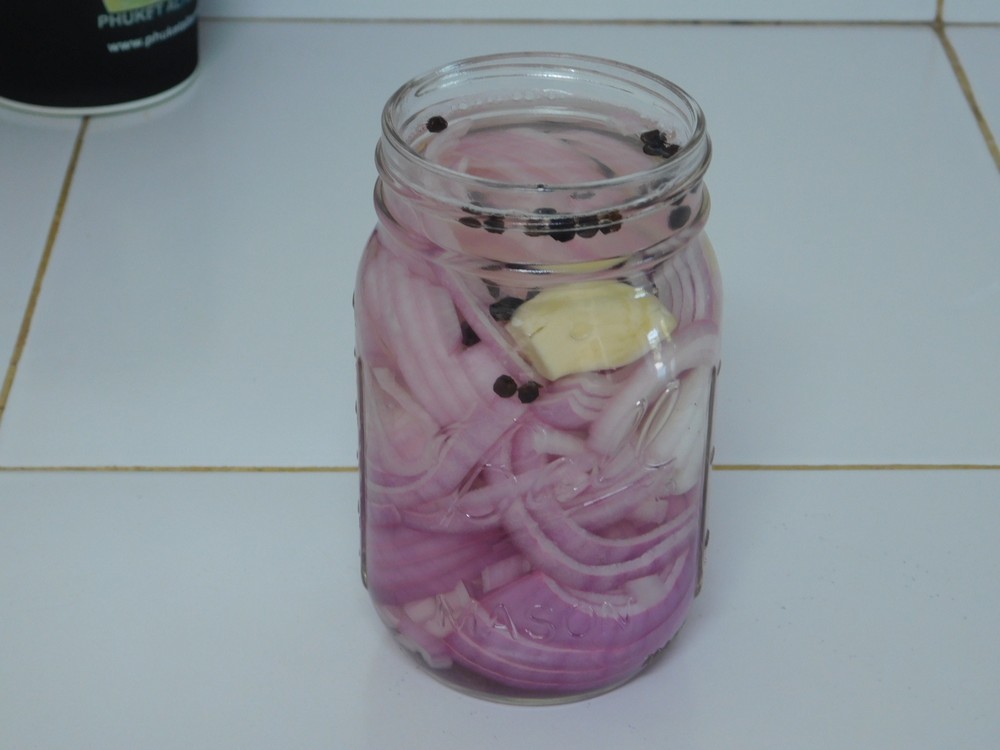
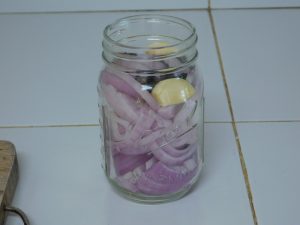
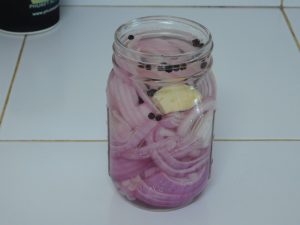
- Place the onion slices in a clean pint jar (I use mason jars as well as reused olive and mayo jars for this purpose). Add the peppercorns and garlic.
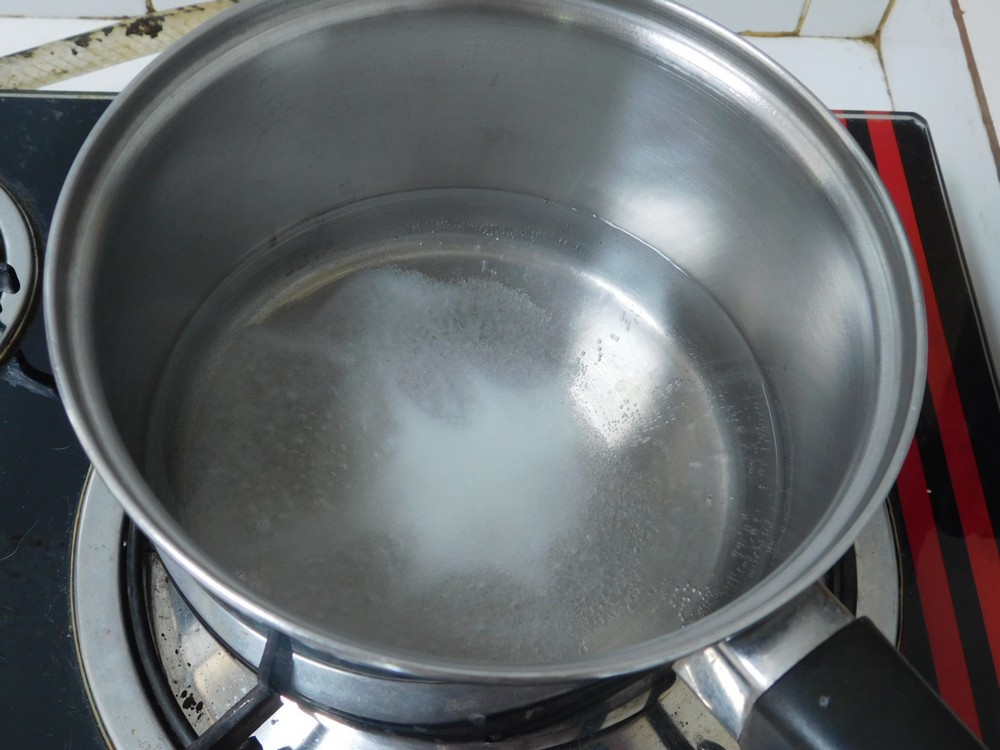
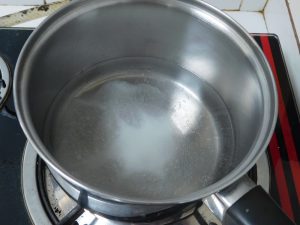
- In a small saucepan, add the vinegar, sugar, and salt, bring to a boil then remove from heat and turn off the burner. This photo is right after I added the sugar and salt, when it is boiled, it will be as clear as water.
- Pour the mixture into the jar, and cover the onions, push the onions back down into the liquid if needed. Allow the jar to cool to room temperature, then cover and place in the fridge.
- Let sit in the fridge for 1-2 days then use as you would raw red onions. This will keep in the fridge for up to 6 months.