Author Archive
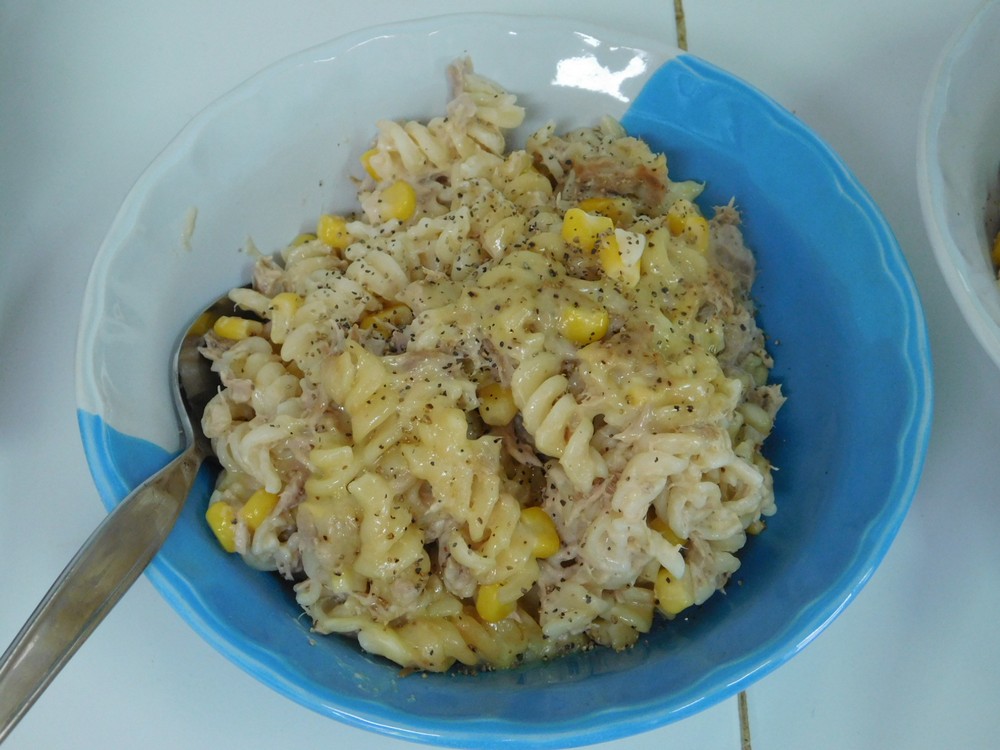
Tuna Casserole IV
This comes from a good friend in Thailand and is highly recommended. I like the use of the cheese pasta sauce. I made this on 27 June 2018, outstanding! Link to the shortcut is listed in the Recipe Notes section.
Ingredients
- 3-4 cups bow tie pasta, or any bite size pasta
- 2-3 cans tuna, drained, or 1 - 1 1/2 cups fresh cooked
- 1/2 can corn nibblets, or 3/4 cup fresh cooked
- 1 jar Artisan 3 Cheese Pasta Sauce, 411 gram jar
- 1-2 cups Cheddar cheese, shredded
- salt and pepper, as desired
Instructions
- Preheat your oven to 200 C (400 F). Spray a 9x13 baking dish with olive oil.
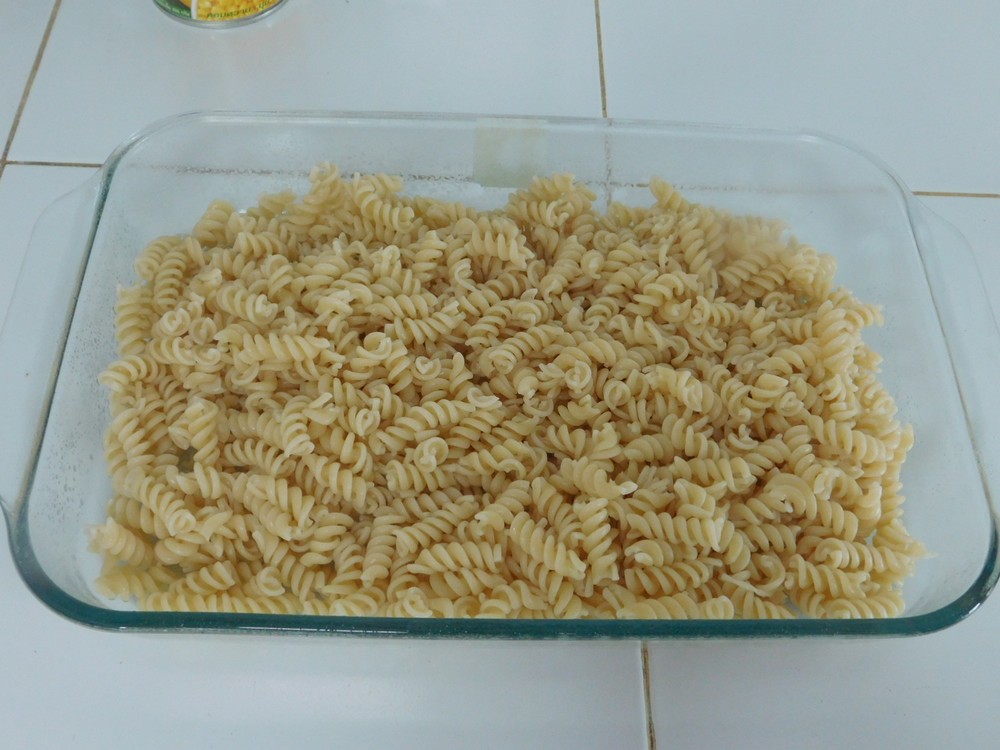
- Cook the pasta in a pot of boiling salted water until just tender. Drain and add pasta to the baking dish.
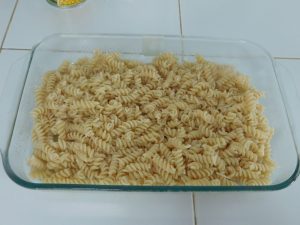
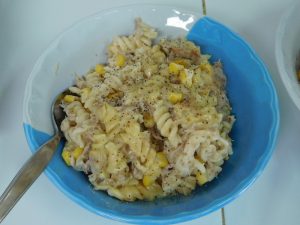
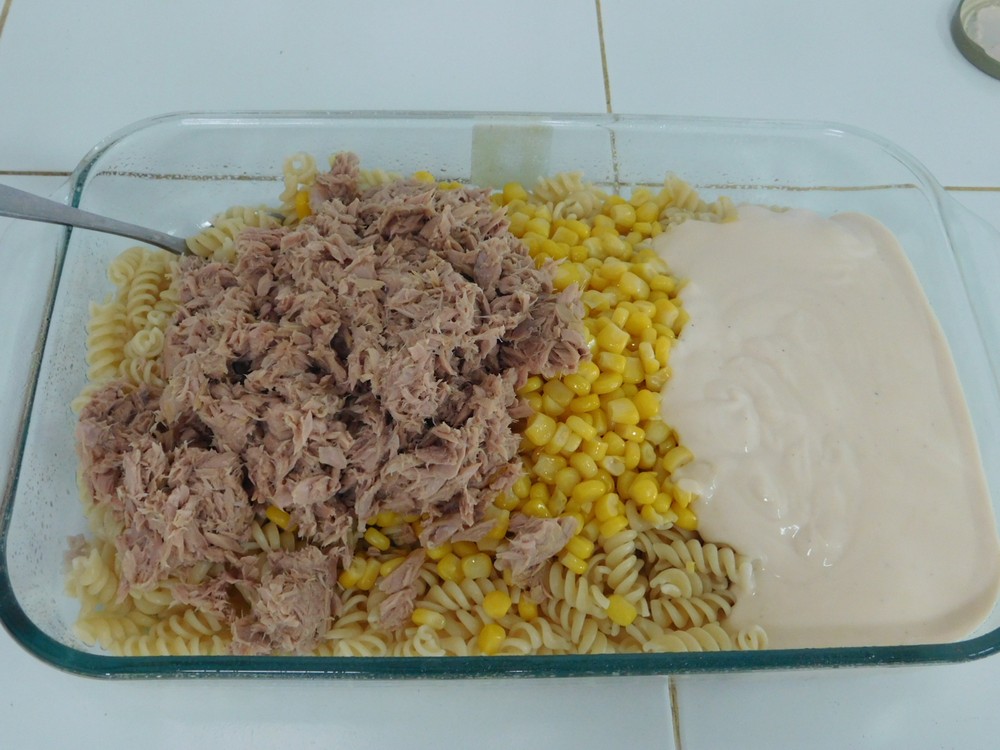
- Add the tuna, corn, cheese pasta sauce and mix together well. Season with salt and pepper as desired.
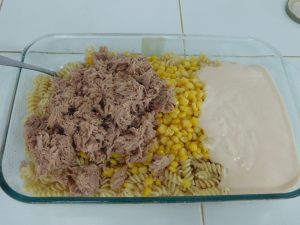
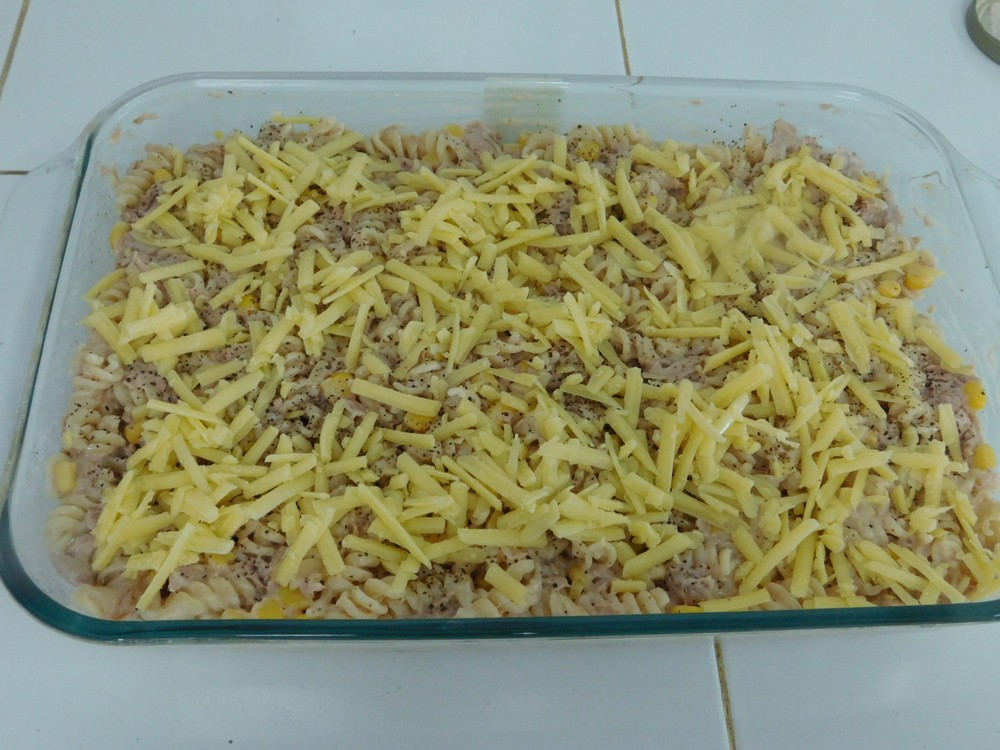
- Spread the mixture out evenly and sprinkle the shredded cheese on the top, use as much cheese as you like.
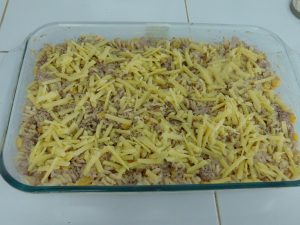
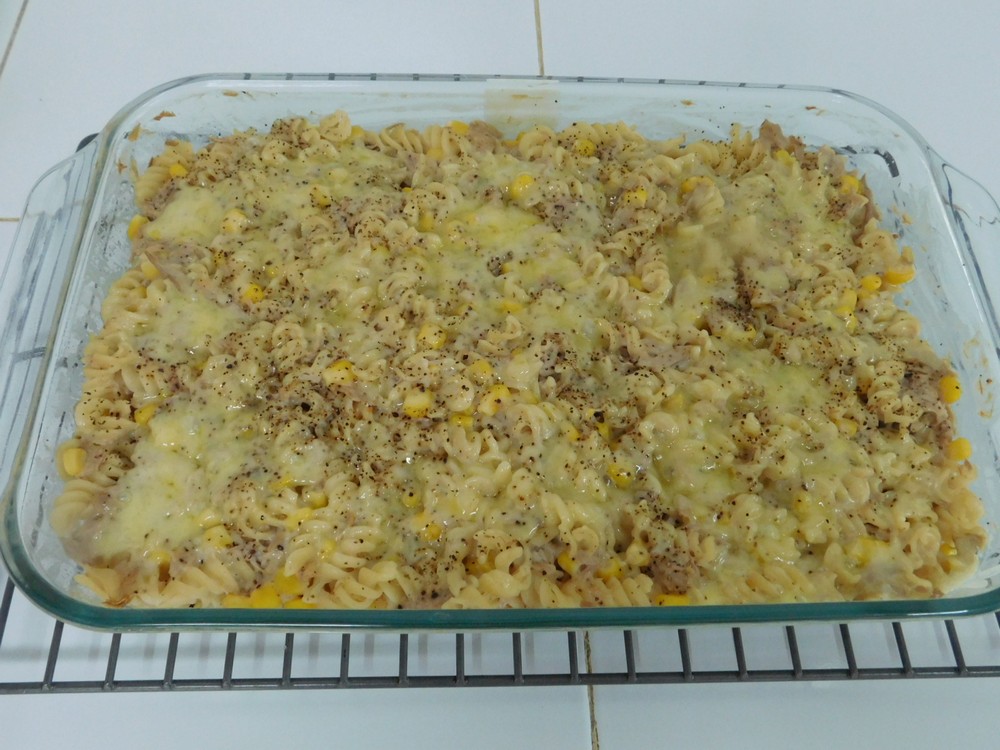
- Bake for 15-20 minutes or until the casserole is bubbly.
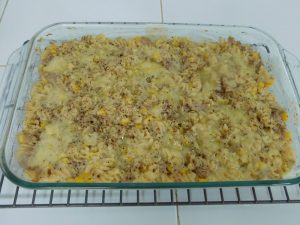
- Serve and enjoy.
Notes
The cheese sauce, in Thailand, is available from Lazada if you reside outside of a major city, cost is 178 Baht for a jar, which is not bad, it is a very good sauce. The Cheddar cheese will use 1/2 of a 200 gram block, about 90 Baht for that. For 6 servings, this is about $1.40 per serving.
Shortcuts: Fresh Tuna, Fresh Corn (Pressure Cooker).
Variants: 1. Use peas in place of the corn. 2. Use the higher quantities of Cheddar and tuna (highly recommended). 3. Add some sauteed onions. 4. Add some sauteed diced red bell pepper. 5. (Highly recommended.) Use the following measurements: 10 oz / 285 g dry bow tie pasta, 22 oz / 624 g jar Prego Homestyle Alfredo Sauce, 3 cups of shredded Cheddar cheese, 1 standard can of peas, I made this combination on 4 Aug 2019 and it was perfect.
Recipe and variants 3-4 provided by good friend, Kurt Hammerschmidt.
Thailand.
Thailand.
Chicken Salad with Green Olives
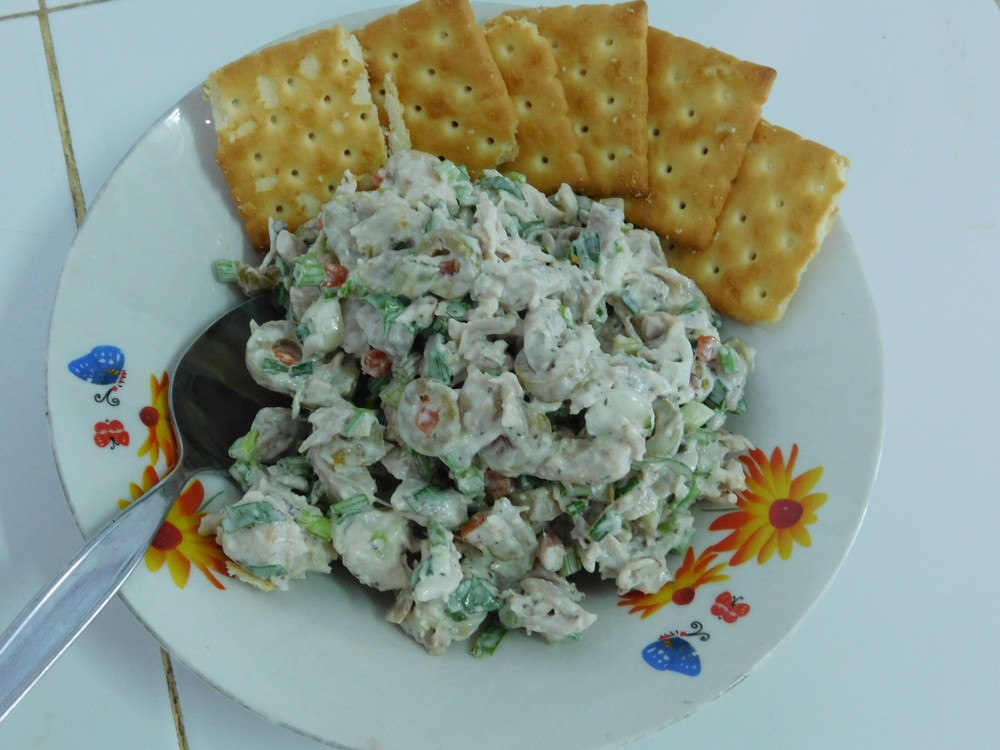
This is an excellent tasting salad with just chicken, green olives, celery, and spring onions with a mustard mayo dressing. I made this on 20 Aug 2018, very well liked by the family. This is a 2 for 1 recipe, we are going to cook the chicken and make broth at the same time for use in other recipes. And the chicken we are going to use, thighs, which are very flavorful. The cook and passive times are based on making the broth and getting some nice juicy chicken as well.
Ingredients
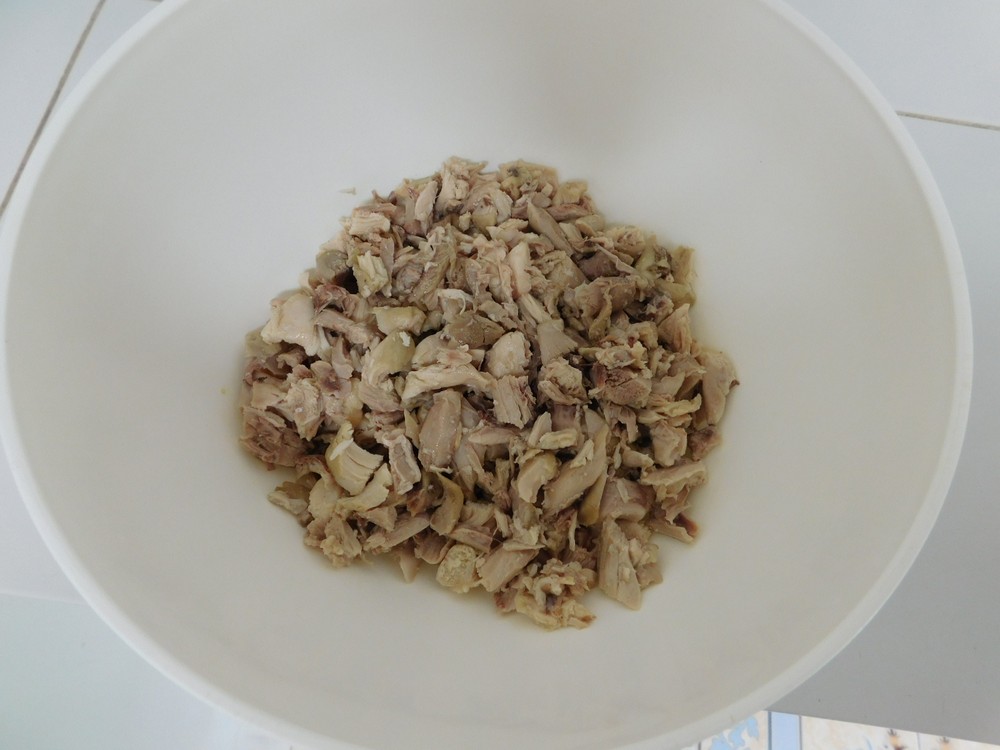
- 3 cups chicken thighs, cooked and chopped, 8 was perfect
- 1 cup celery, diced
- 1 cup green olives with pimento, sliced
- ½ cup spring onion, sliced
- ⅔ cup mayo
- 2 teaspoons olive juice, from the jar
- 2 teaspoons lemon or lime juice
- 1 teaspoon Dijon mustard
- 1 teaspoon celery seed, optional
- black pepper, as desired
To make the Broth
- 8 chicken thighs, bone in and skin on
- 1 bunch spring onion, chopped
- 1 bunch fresh coriander, chopped
- palmful black peppercorns
- water, as needed
Instructions
To cook the Chicken and make Broth
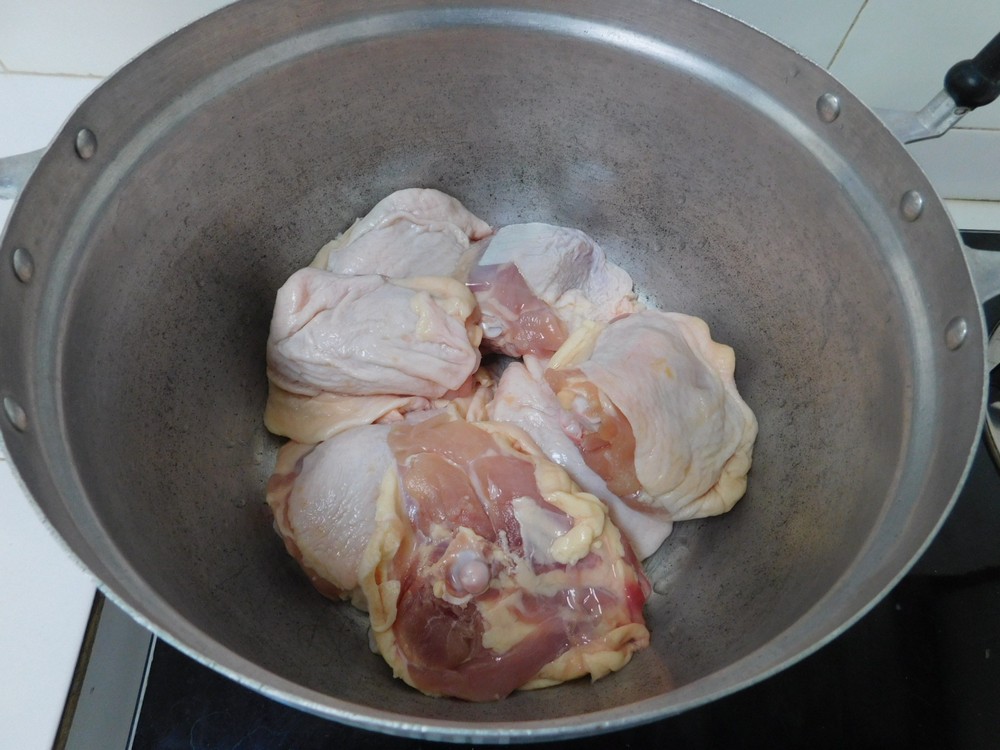
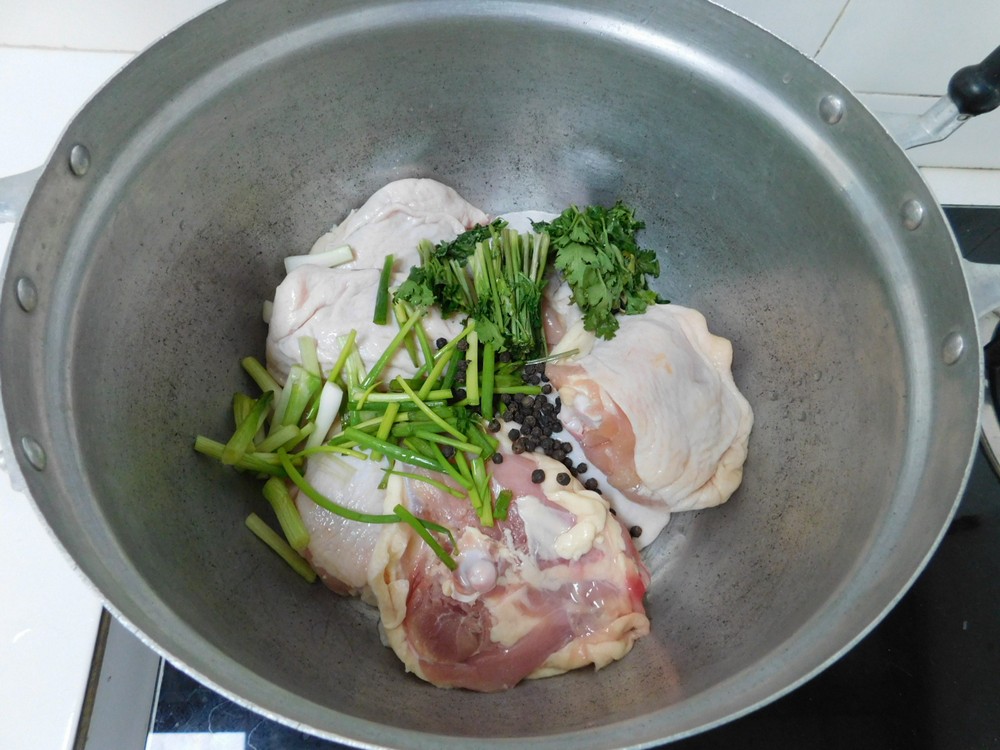
- Now I have a lot of time on my hands and put a lot of care into what I make. So for this I started with 8 fresh chicken thighs, bone in and skin on.
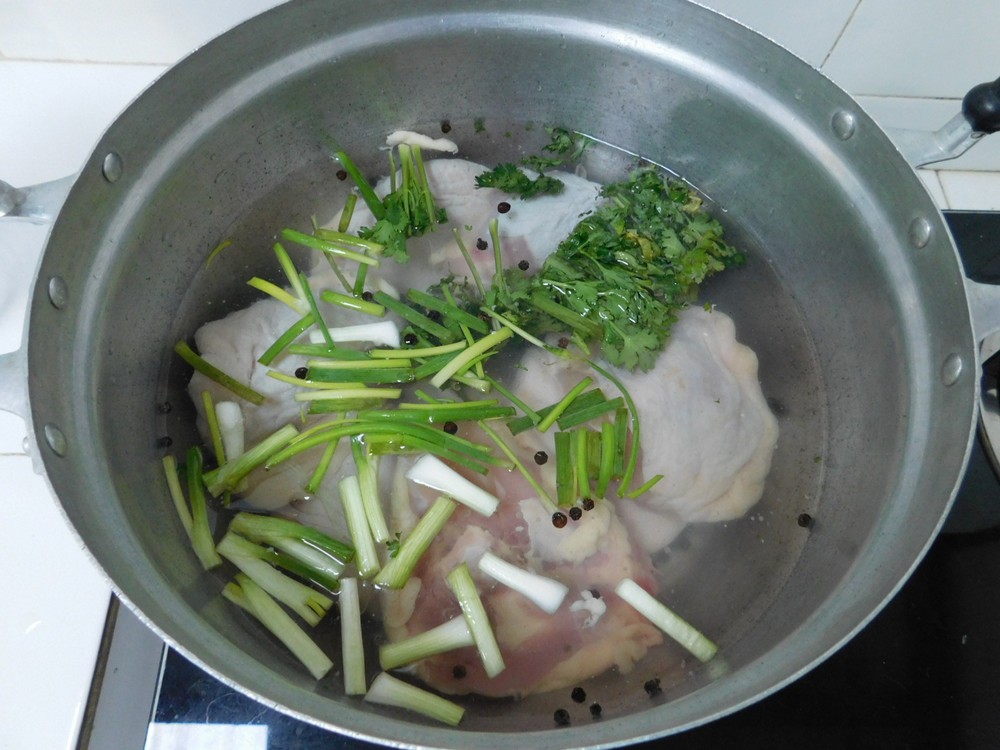
- For the broth, I went with what I had on hand, a bunch of spring onions and a bunch of cilantro. Chop those and add to the pot with the chicken. Add a palmful of black peppercorns. (You can certainly use trinity if you desire.)
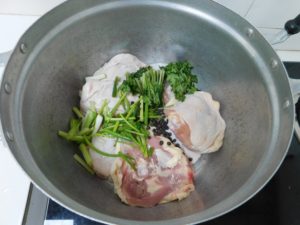
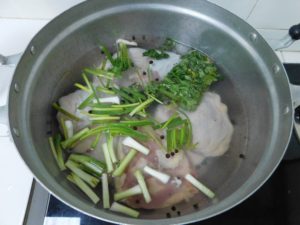
- I needed 2 quarts of broth for another recipe, so I added 2 1/2 quarts of water to the pot. Bring the pot to a boil, then reduce heat to a simmer. Simmer for an hour and check the chicken, cut a thigh in half, it will be cooked through and tender.
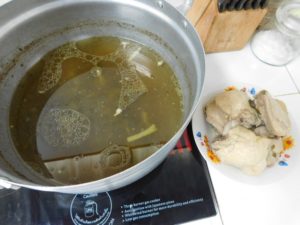
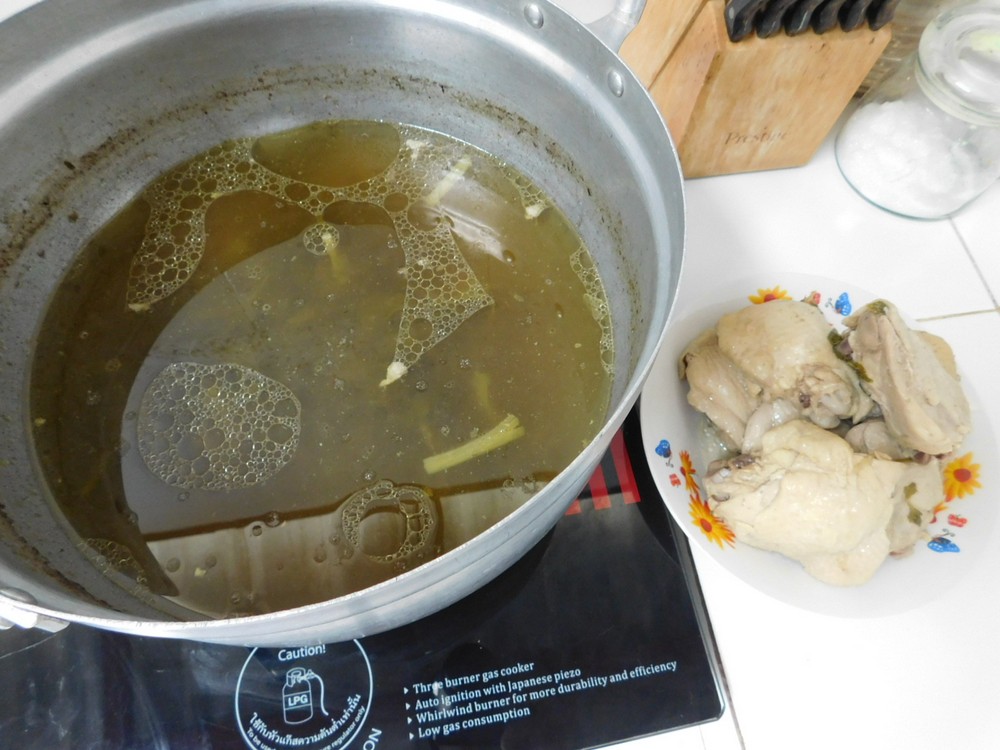
- Remove the pot from the heat and set aside to cool to room temperature, leaving the chicken in the broth. can take a few hours to cool. This is the important step for juicy chicken. After a few hours when the broth has cooled, remove the chicken. Remove the skin and bones from the chicken, your hands work perfect for this. Chop the chicken. Strain the broth and place that in the fridge for another recipe.
For the Salad
- In a bowl, whisk together the mayo, mustard, olive juice, lemon or lime juice, and the celery seed. Taste and season with black pepper as desired.
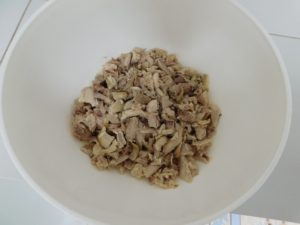
- Add the chopped chicken to a large mixing bowl,
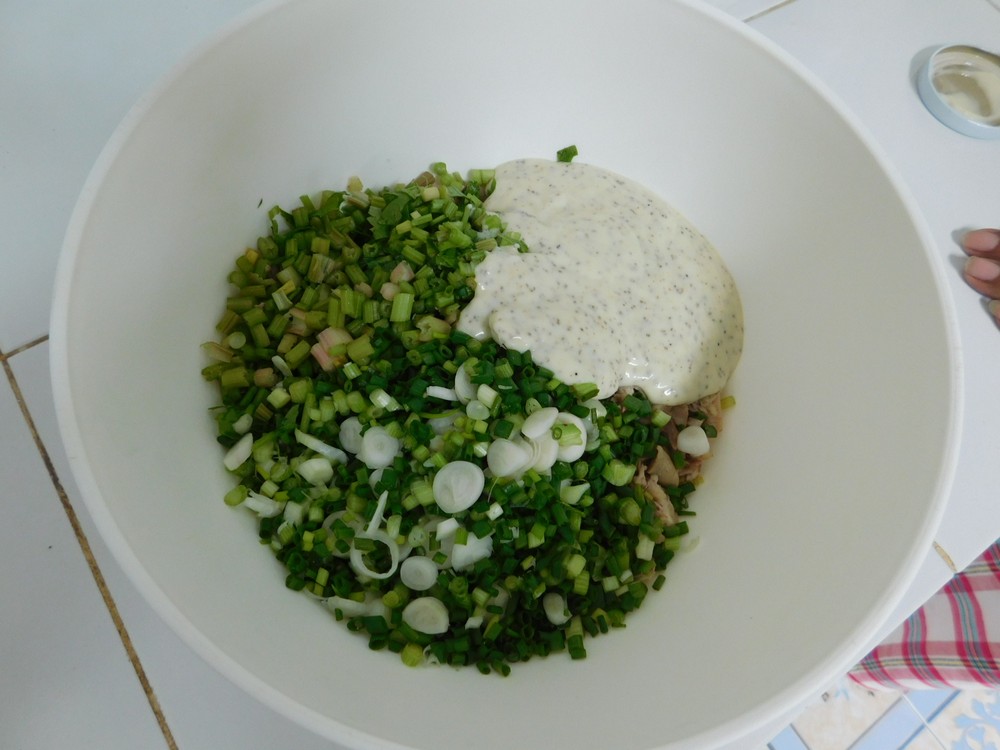
- Add the celery, spring onion, and most of the dressing to the chicken.
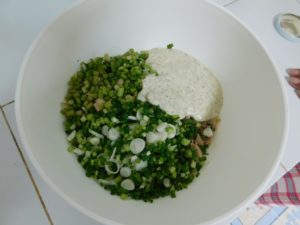
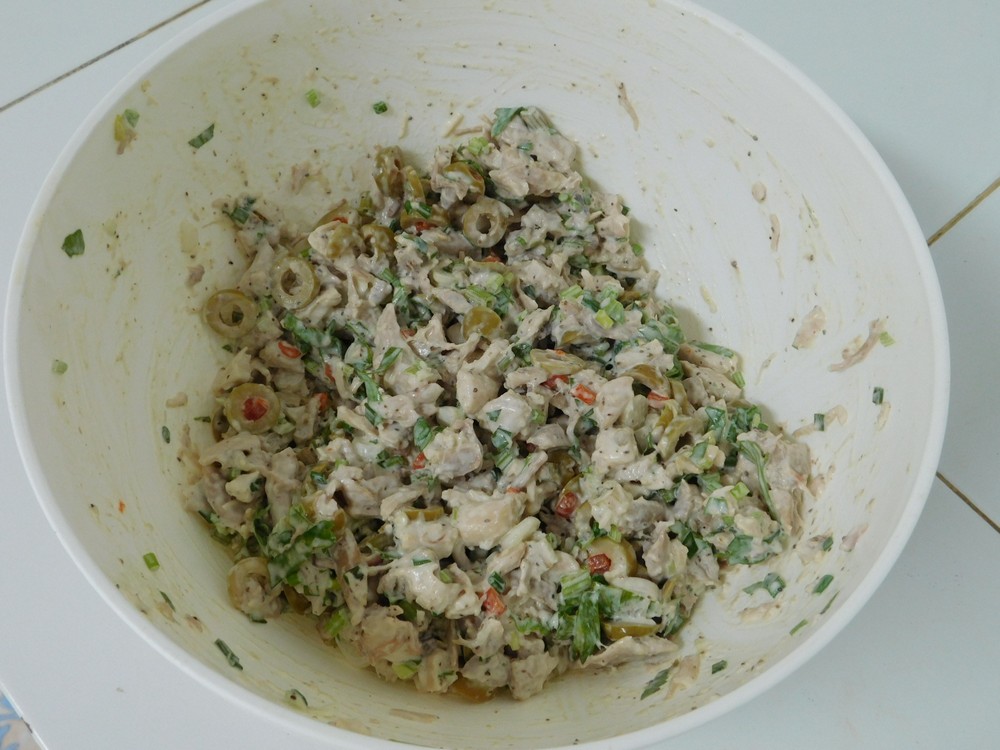
- Gently mix to coat everything, add the rest of the dressing as needed until everything is coated well but not dripping in dressing.
- Now gently fold in the olives and mix until they are distributed and lightly coated with dressing.
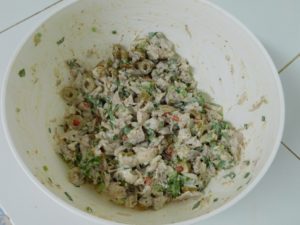
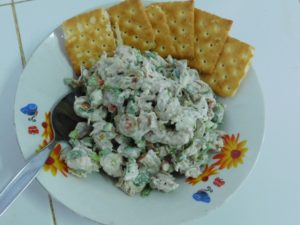
- Cover and place in the fridge for several hours before serving with crackers. Enjoy.
Notes
Low cost per serving.
Variant: 1. Use 3 cans of chicken (10 oz / 283 g each), drained, in place of cooking the chicken from scratch.

Fried Oysters
Excellent as written, and can be tailored in many ways. I will be using the smaller oyster meat, larger than what Tesco offers and what I use is sourced from a local fisherman. Links to the shortcuts are listed in the Recipe Notes section.
Ingredients
- 1 pint oyster meat, drained, (2 cups)
- ½ cup all purpose flour
- 1 teaspoon salt
- ½ teaspoon black pepper
- 2 eggs, lightly beaten
- ¾ cup fine breadcrumbs, and as needed, Shortcut
- lard, or cooking oil, as needed, Shortcut
Instructions
- Heat some lard or cooking oil of your choice in a large non stick pan, you want about 1/2 inch or so for shallow frying, no need to deep fry these. Heat to just before smoking.
- In a shallow bowl, mix together the flour, pepper, and salt. Add the eggs to another shallow bowl and lightly beat them. Place the breadcrumbs in another shallow bowl. The pan is to my left out of view, so you can see the progression from right to left.

- Coat the oysters in flour, then coat with egg, then coat with breadcrumbs.
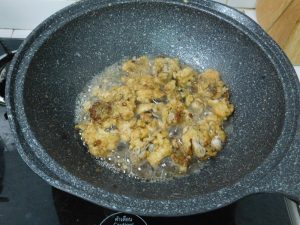
- Place in the hot oil, but do not over crowd the pan, work in batches, and cook until golden brown.

- Turning the larger ones if not covered in oil.
- Drain on paper towels.
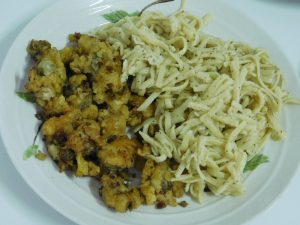
- Serve with a dipping sauce as desired and sides of your choice. Enjoy.

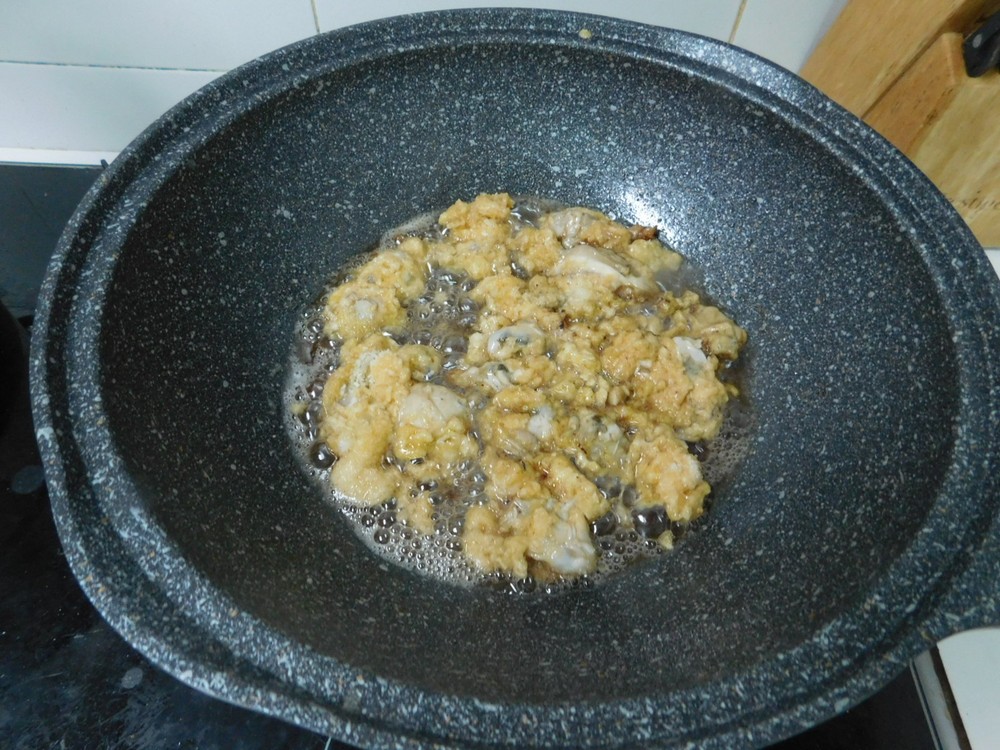

Notes
I get fresh shucked oysters, about a pint, for 50 Baht, with no math involved this is low cost for 4 servings.
Shortcuts: Rendering Lard, Bread Crumbs.
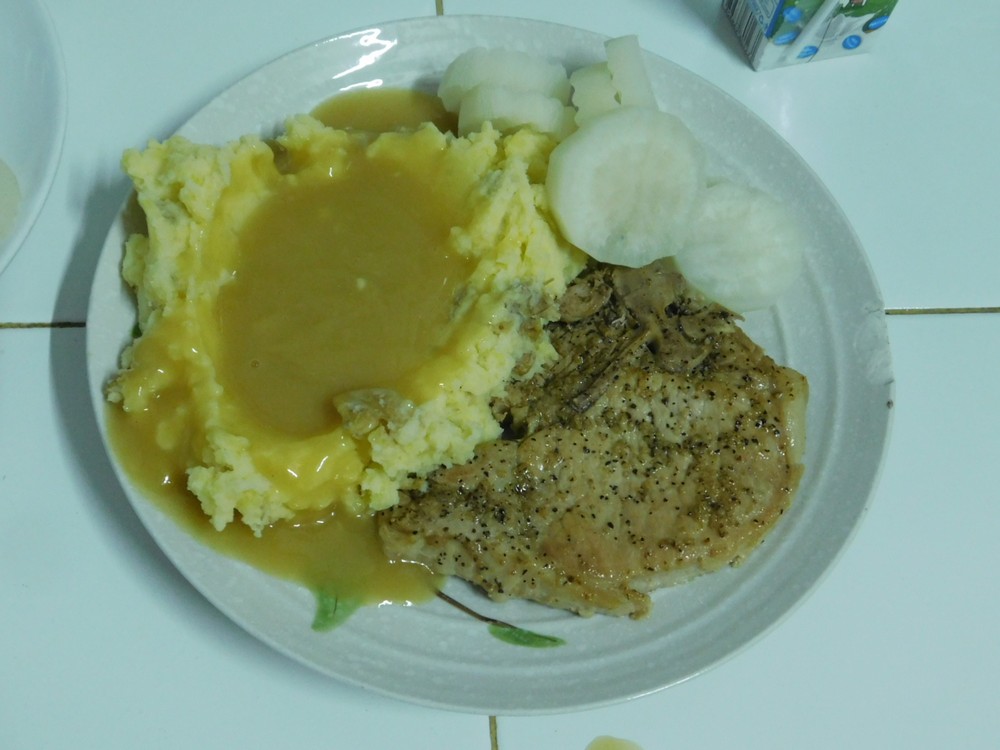
Pork Chops (Pressure Cooker)
This is a base recipe for tender pork chops using your pressure cooker. The time stated for at pressure is based on a stove top pressure cooker with 80 kPa (12 psi) pressure, so this will work as stated for electric pressure cooker. I used my 9 liter (9½ quart) stove top pressure cooker. Follow you pressure cooker safety instructions at all times.
Equipment
- Pressure Cooker
Ingredients
- 4 thick cut pork chops, ¾ inch thick, bone in
- 2-3 tablespoons butter
- salt and black pepper, as desired
- 1 cup vegetable stock, or pork or chicken stock
Optional - To Make Gravy
- 1 tablespoon cornstarch
- 2 tablespoons water
Instructions
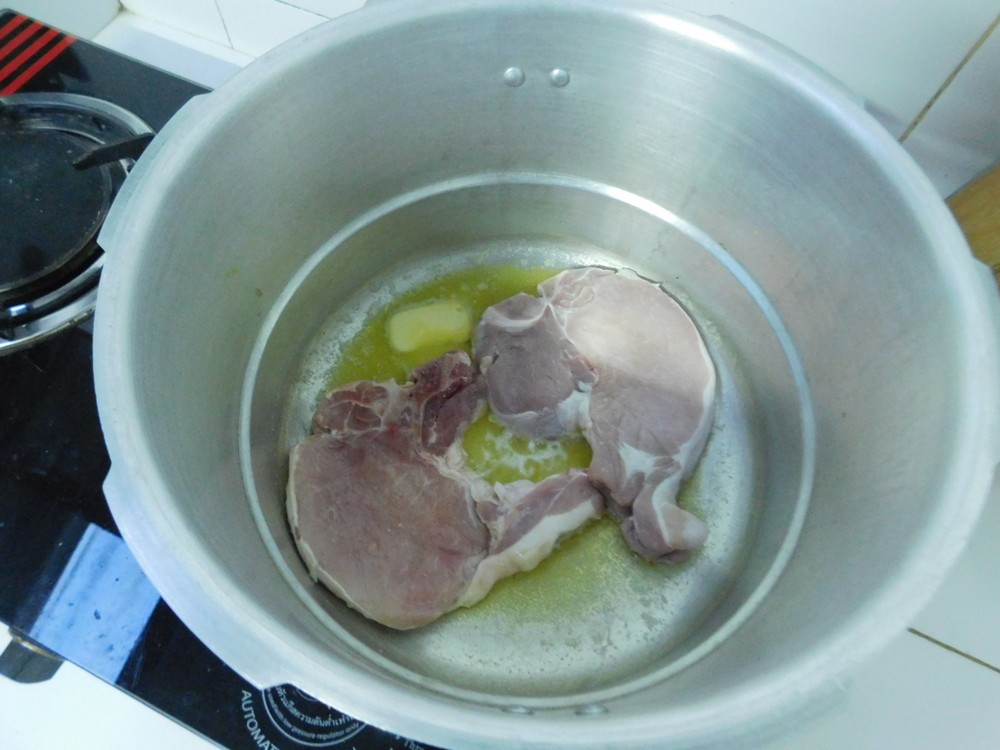
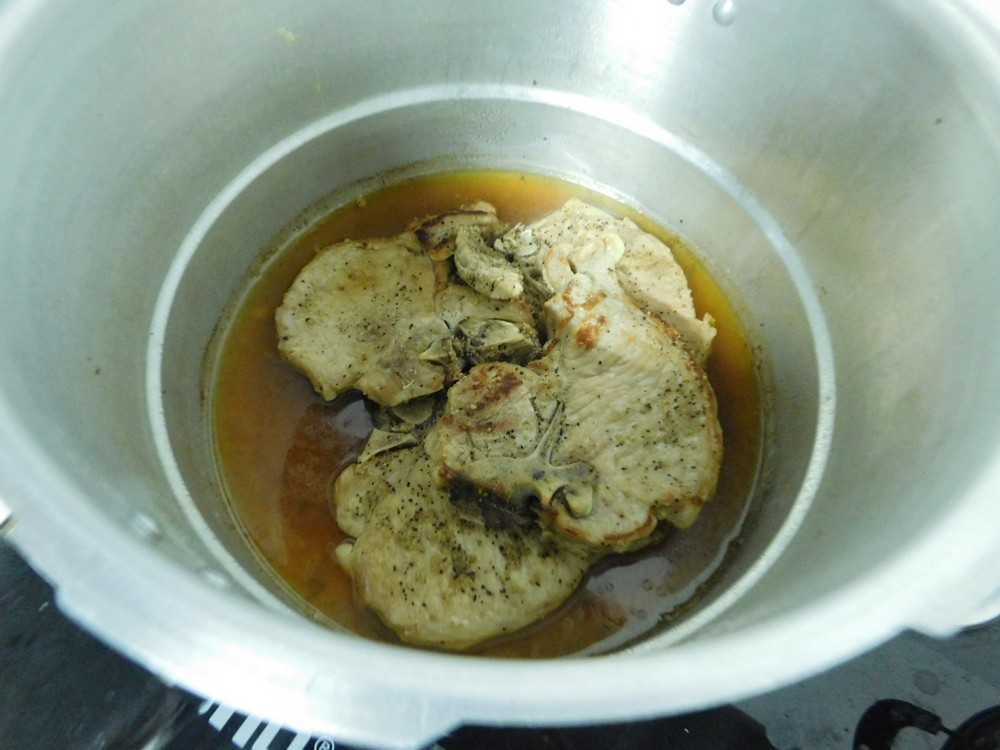
- Add the butter to your pressure cooker, keeping lid off for this part, and heat. when melted, add two pork chops to the cooker and season with salt and pepper as desired and brown the chops for about 2 minutes. (I was snap happy with the camera and took the photo before the salt and pepper.)
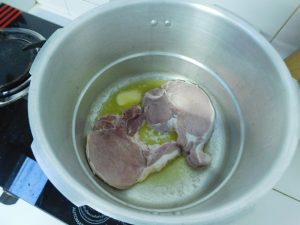
- Turn the chops over and brown the other side, season with salt and pepper as desired. Remove to a bowl and add more butter if needed. repeat with the two remaining chops.
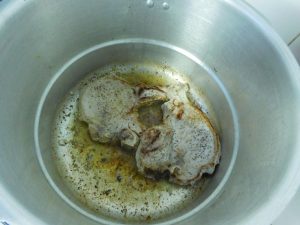
- Add the vegetable stock and the first two chops to the cooker, place the lid on, add the weight (the jiggler) and turn heat to high. When the jiggler starts to vent pressure and starts moving, set your timer for 10 minutes and reduce heat to low or medium to keep the jiggler moving and venting pressure.
- When 10 minutes have passed, turn off heat and move the cooker to an unused burner and allow the cooker to release pressure naturally.
- When you have indication that the pressure cooker had no pressure inside, open the pressure cooker.
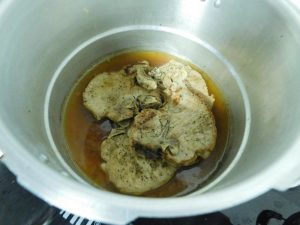
- Optional, but worth it. Remove the chops from the pressure cooker, leaving the liquid in the pot. Mix together the cornstarch and 2 tablespoons of water in a cup. Place the pot back on low heat, no lid this time, and when hot, whisk in the cornstarch slurry and whisk until thickened, there, you just made pork gravy.
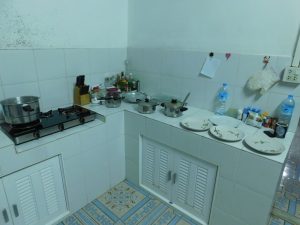
- Ready to plate. While the pressure cooking is working, or cooling down, make your side dishes. The 3 pots on the counter, left to right, gravy, daikon, and mashed potatoes, which I cooked the potatoes in the pressure cooker right before making the chops, and mashed while the cooker was working on the chops.
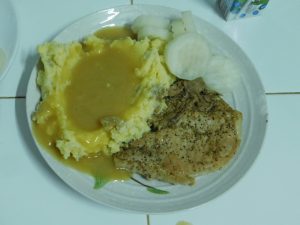
- Served.


Notes
And like an idiot, I forget to get the price on the pork chops at Tesco, will update this once I go back up to the city.

Oyster Thai Omelet
Thai omelets are generally airy and fluffy cooked eggs, not folded over. This is quick and easy, served with rice on the side, a simple and filling meal for 3-4 people. Oyster meat, these are small oysters, the meat is 1 to 1½ inches long, is mixed into the eggs before going into the pan, and is delicious. My wife made this today, 7 June 2018 for breakfast for herself, her mother, and I.
Ingredients
- 4-5 eggs
- 1½ teaspoons fish sauce, OR use a pinch of salt
- 1 cup oyster meat, add more to your liking if desired
- 2-3 spring onions, chopped, green and white parts
- cooked rice, for serving
- cooking oil, as needed
Instructions
- Put a wok or non stick pan on high heat and add about ½ cup of cooking oil. For a non stick with the rounded sides, a 10 inch pan is perfect and you want about ¼ inch of oil on the bottom of the pan.
- While the pan is heating, break eggs into a bowl. Add the fish sauce to the eggs, and beat with a fork until frothy. Add the oyster meat and spring onion, and mix that in.
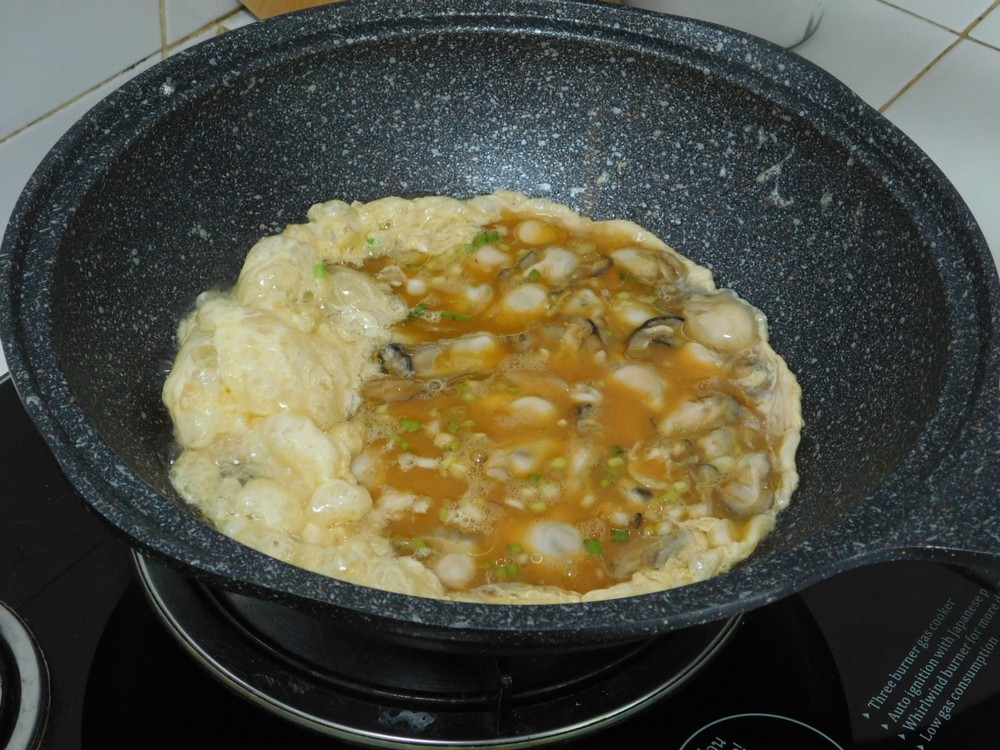
- When the oil just starts to smoke, turn the heat to low and quickly pour in the beaten eggs, it will fluff before your eyes.
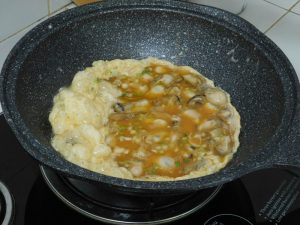
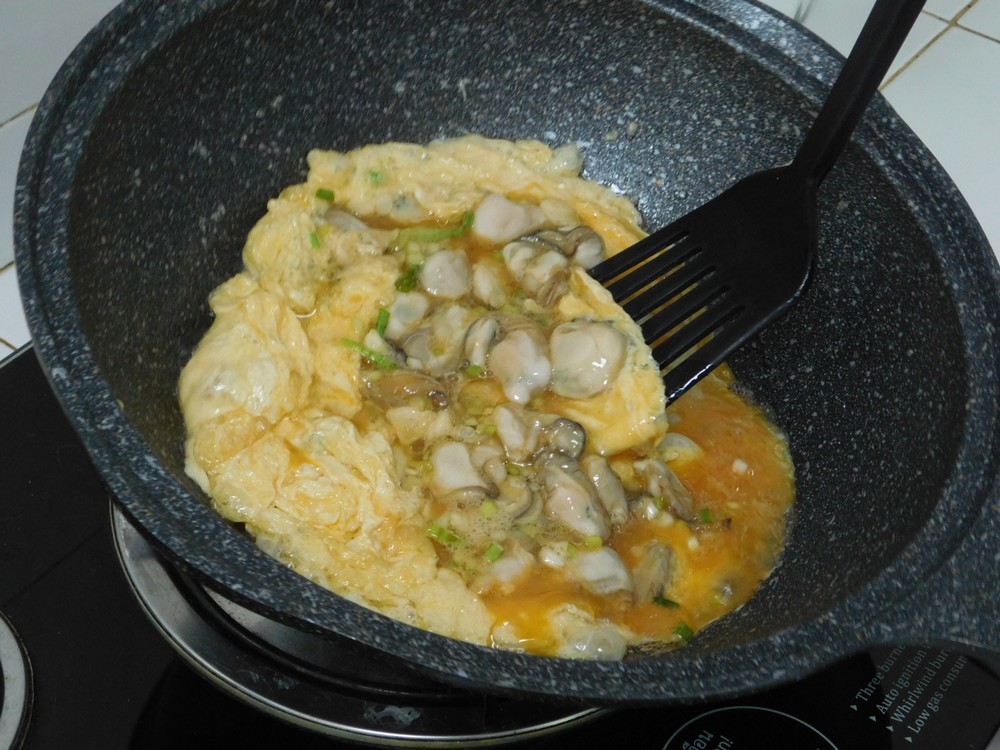
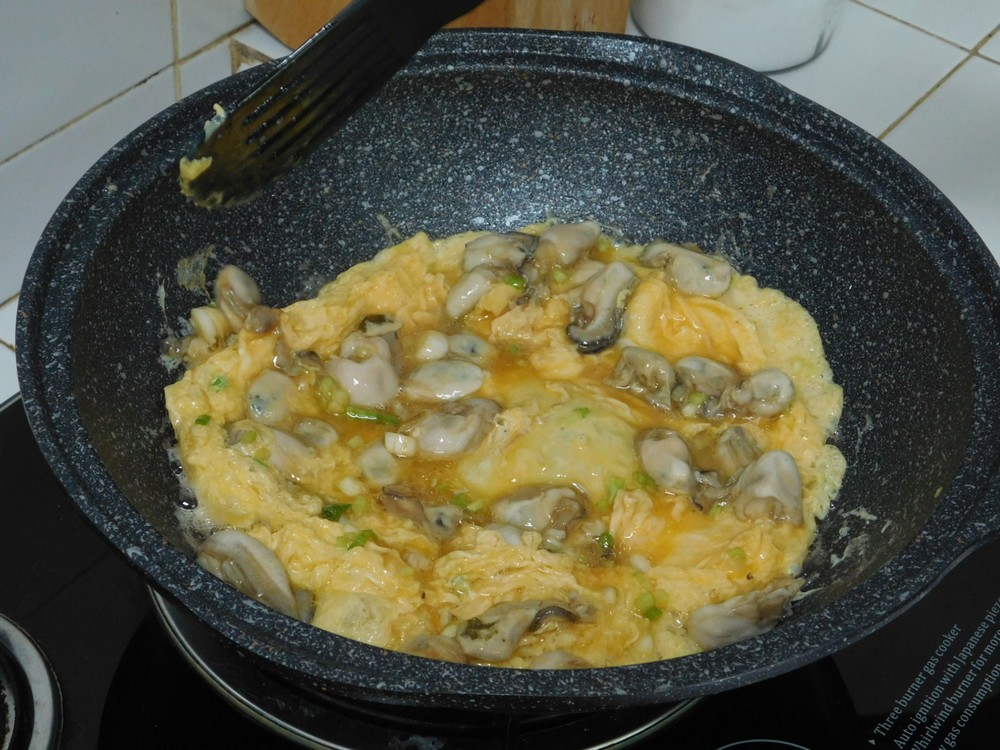
- Using a spatula, spread the oysters out a bit, they normally collect in the center, then lift the edges to get the liquid part of the eggs onto the pan, do this several times.
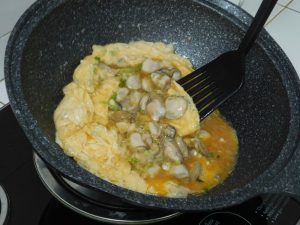
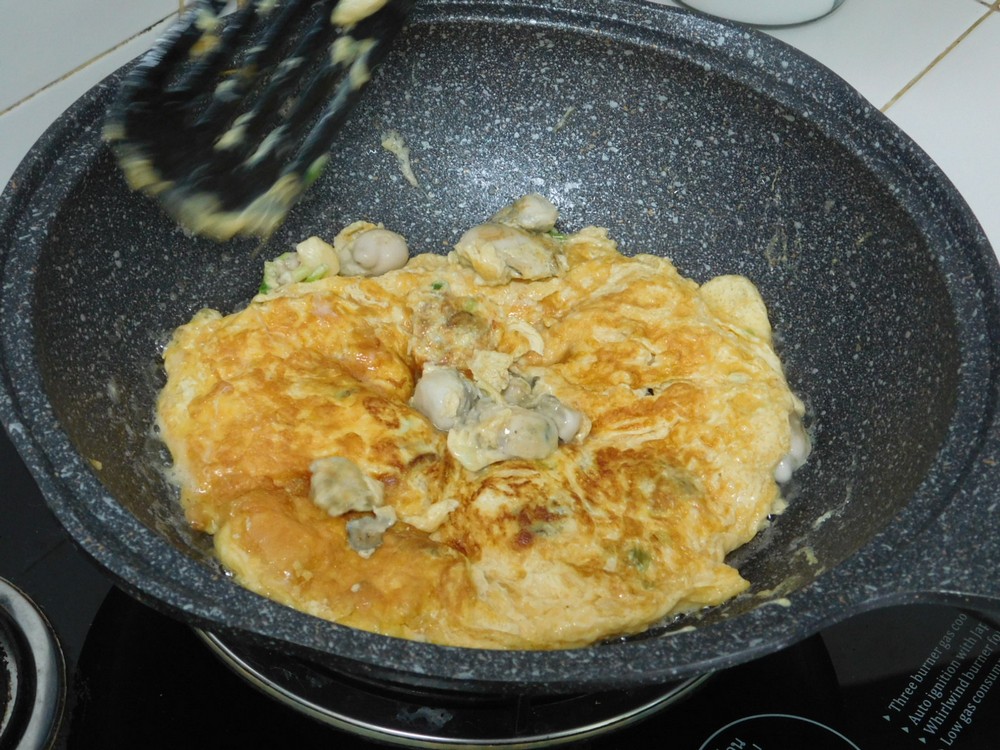
- Keep checking the bottom and when getting nice and browned and set well (remember, from pouring into the pan to flipping takes only 45 seconds to a minute) flip the omelet over, move the loose oysters onto the omelet, 20-30 seconds later, the bottom should be browning nicely. Here the eggs are set well on the top, and ready for flipping.

- Flipped, and some stray oysters being moved around a bit on to the omelet.
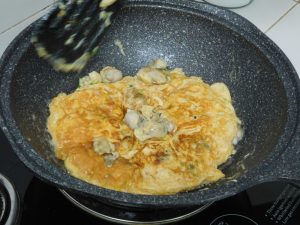
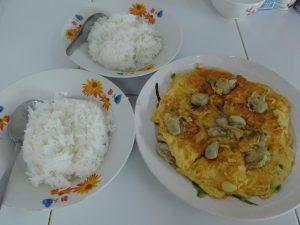
- Slide from the pan onto a plate and serve with rice on the side.
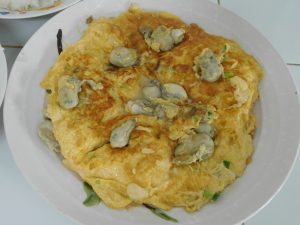
- Place the omelet in the center of the table, give a bowl of hot rice to each person, enjoy.

Notes
Low cost.
Variants: 1. Add a few drops of lime juice or vinegar for a even more fluffier omelet.
Dill Thai Omelet
Thai omelets are generally airy and fluffy cooked eggs, not folded over. This is quick and easy, served with rice on the side, a simple and filling meal for 4-6 people. The eggs are mixed into the fresh dill before going into the pan, and is a brilliant flavor. I seen my wife make this a few weeks ago, and she learned this from her sister.
Ingredients
- 4-5 eggs, chicken or duck
- handful fresh dill, chopped
- salt, as desired
- cooking oil, as needed
- fresh dill, for serving
- cooked rice, for serving
Instructions
- Put a wok or non stick pan on high heat and add about 1/2 cup of cooking oil. For a non stick with the rounded sides, a 10 inch pan is perfect and you want about 1/4 inch of oil on the bottom of the pan.
- The chopped dill in the bowl is for the omelet, the sprigs of dill are for serving. The eggs, farm fresh.
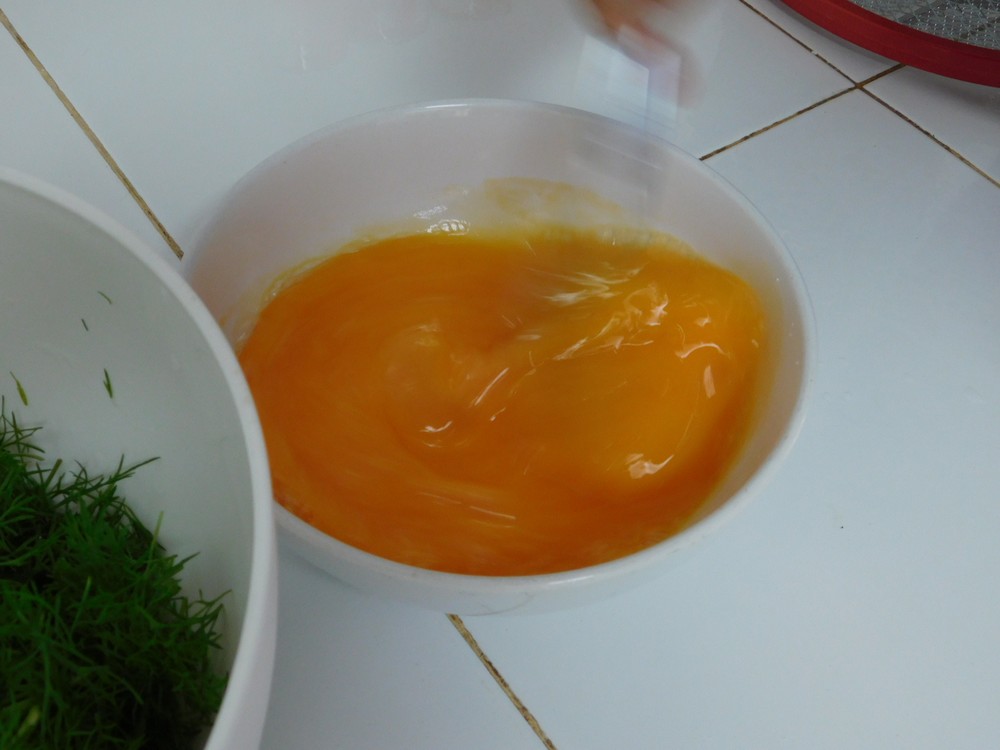
- While the pan is heating, break eggs into a bowl. Add the salt and beat with a fork until frothy. My wife is beating the eggs at light speed here.
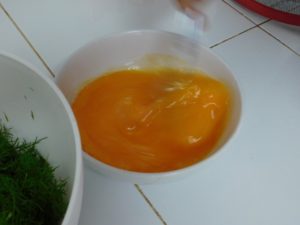
- Pour the eggs into the bowl with the dill and mix together.

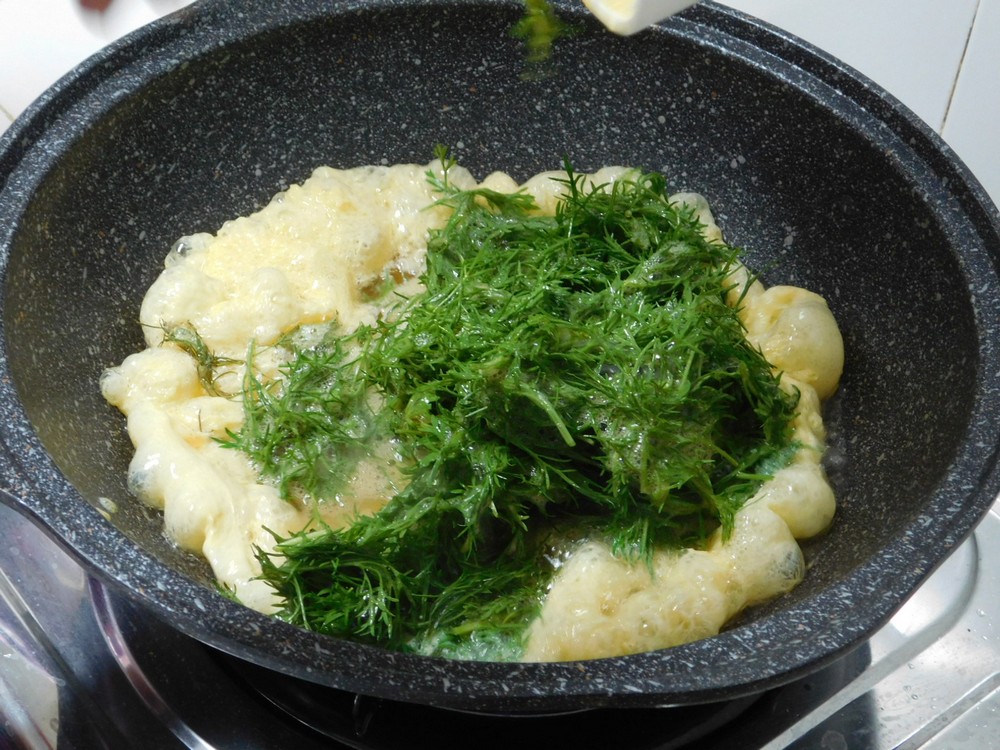
- When the oil just starts to smoke, turn the heat to low and quickly pour in the beaten eggs, it will fluff before your eyes. The dill will end up on the top, no worries.
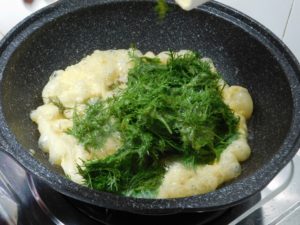
- Using a spatula, spread the dill out if it is clumped in the center, then lift the edges to get the liquid part of the eggs onto the pan, do this several times from all sides.
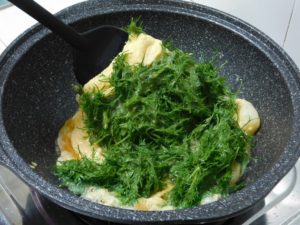
- The bottom is evened out, the dill is spread out, just cooking to set the egg.
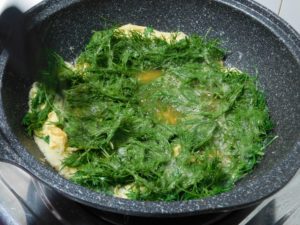
- Keep checking the bottom and when getting nice and browned and set well (remember, from pouring into the pan to flipping takes only 45 seconds to a minute) flip the omelet over, 20-30 seconds later, the bottom should be browning nicely.
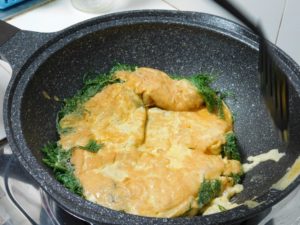
- When the bottom is browned, flip again to put the dill on the top.
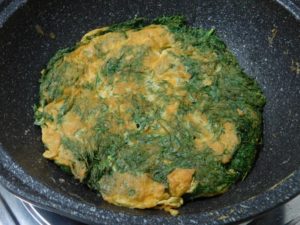
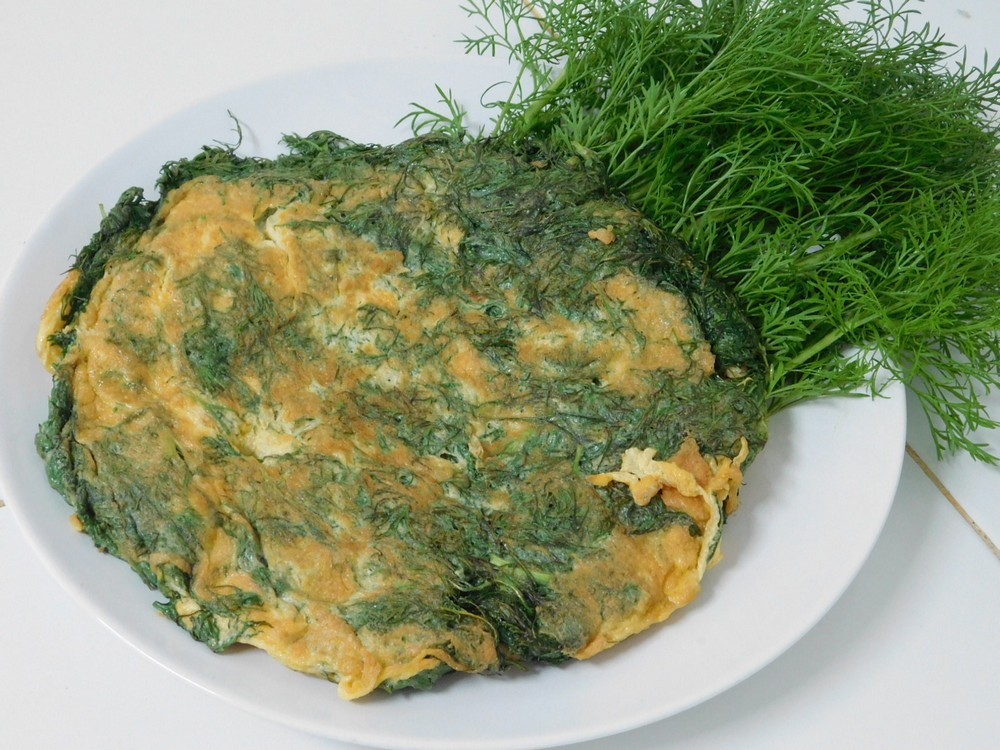
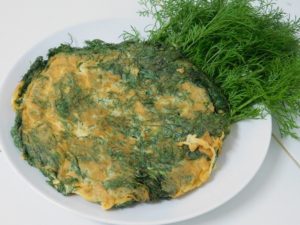
- Remove from the pan to a plate and serve with rice on the side. Here, this is garnished with fresh dill on the side as well.




Notes
Low cost.
Variants: 1. Add a few drops of lime juice or vinegar for a even more fluffier omelette.
Recipe provided by my wife's sister.
Thailand.
Thailand.
Tofu & Long Bean Stir Fry
This is an Indonesian dish that is quick to prepare. This dish also appears in Thailand, China, and I would assume other Asian cuisines. On my to cook list. If you are not sure what a long bean is, it is a green been, but long, 1-3 feet long.
Ingredients
- 300 grams long beans, cut into 1 to 1½ inch pieces, (10 oz)
- 250 grams firm tofu, cut into ¾ inch cubes, (9 oz)
- 5 cloves garlic, smashed and thinly sliced
- 3 shallots, sliced
- ¾ cup cooking oil
- 2 tablespoons soy sauce
- 2 tablespoons oyster sauce
- hot cooked rice, for serving
Instructions
- In a wok or large non stick pan, heat the oil on medium high heat, when hot but not smoking, carefully add the tofu and fry until golden brown on all sides. Remove the tofu to paper towels to drain.
- Pour out all but 1 tablespoon of oil from the pan, heat and stir fry the garlic and shallots until fragrant.
- Add the long beans, soy sauce, and oyster sauce, stir fry until the beans are cooked and tender.
- Add the tofu, mix and stir fry for 30 seconds to a minute to warm the tofu up.
- Serve hot over cooked rice.
Notes
Low cost per serving.
Ginger Minced Pork Rice Bowl
This is a simple but flavorful sounding Chinese dish. On my to cook list.
Ingredients
- 3 tablespoons soy sauce
- 1 tablespoon Shaoxing rice wine
- 1 tablespoon sugar
- 1 tablespoon cooking oil
- 500 grams ground pork, (1 lb)
- 1 tablespoon fresh grated ginger
- 1 tablespoon sesame oil
- 4 spring onions, chopped, white and green parts
- 1 tablespoon sesame seeds, roasted, optional
- 4 cups hot cooked rice, for serving
Instructions
- Make the seasoning sauce in a small bowl, mix together the sugar, rice wine, and soy sauce. Set aside.
- Heat the oil in a non stick pan on medium to medium high heat, when hot, add the pork and ginger. Cook, breaking up the meat with your spatula until nicely browned, 3-5 minutes.
- Mix in the seasoning sauce until well mixed in, simmer for 2-3 minutes.
- Mix in the sesame oil, seeds, and spring onion (reserving a small amount for garnish), continue to simmer for about 30 seconds to a minute then remove from heat.
- To serve, place 1 cup of rice in each bowl, top each bowl with ¼ of of the ginger pork. Sprinkle the top with some chopped spring onion, enjoy.
Notes
Low cost.
Nước Chấm (Vietnamese Vegetarian Fish Sauce)
A vegetarian alternative to fish sauce.
Ingredients
- 4 tablespoons soy sauce
- 3 tablespoons rice vinegar
- 5 tablespoons boiling water
- 4 tablespoons brown sugar, packed
- 2 teaspoons fresh lime juice, with pulp
- 4 teaspoons garlic, smashed and finely minced
- 2 teaspoons red Bird's Eye chilies, finely chopped, to taste
Instructions
- Add the boiling water to a bowl and dissolve the sugar then allow the water to cool to room temp.
- To the bowl, add the remaining ingredients and mix well. Done, and ready to use.
Notes
Shortcut: Vietnamese Pickled Carrot & Daikon (Đồ Chua).
Variants: 1. Add pickled daikon and carrot, chopped. 2. Add crushed peanuts.
Caramel Chicken
This is an original recipe coming from a good friend in the US. and sounds very nice (they have been making this for 23+ years). This is a two for one recipe, meaning you can serve as is after being cooked, over rice, or place in the fridge overnight and serve on a fresh green salad the next day, both options, sound delicious. On my to cook list.
Ingredients
- 1 kilo chicken breasts, cut into bite size pieces, (2 lbs)
- 1 cup sugar
- 1 cup soy sauce
- 1/4 cup water
- white pepper powder, to taste
- olive oil, as needed
- hot cooked rice, as needed
Instructions
- Heat a splash of olive oil in a large non stick pan, when hot, add the cubed chicken and season with white pepper powder as desired. Cook, stirring often to just cook through and tender, the chicken will turn white, over cooked chicken will be tough and dry.
- While the chicken is cooking, in a bowl, mix together the soy sauce, water, and sugar.
- When all of the chicken is white (you can take a piece out and cut in half to check doneness), drain off any oil.
- Pour the soy sauce mixture into the chicken and stir to coat all the chicken, continue cooking until the sauce starts to bubble, cook for 5 more minutes. At 5 minutes, turn off heat, cover, and set aside.
- Cook your rice. Your preference on how to do that, I will use a rice cooker.
- Place a serving of rice on a plate, spoon on some chicken, and spoon sauce over the top.
- Serve.
Notes
Chicken breast will cost about 60 Baht/1 kilo, for 4 servings, this is about 47 cents per serving.
Variant: 1. After cooking the chicken and sauce, place in the fridge over night, use chicken and sauce in a green salad.
Recipe provided by good friend, Patti Stone.
United States.
United States.