Italian Pasta Salad


Italian Pasta Salad

Adapted from an internet recipe.
This is a base recipe that you can tailor every time you make this so it is never the same. This is a make ahead salad, meaning you make this the day before, then chill it overnight, allowing the flavors to blend. On my to cook list. Link to the shortcut is listed in the Recipe Notes section.
Prep Time 20 minutes
Cook Time 15 minutes
Total Time 35 minutes
Course Side
Cuisine American
Servings 6 servings

Ingredients
  

  • 500 grams dry Penne pasta, or ziti, rigatoni, or maccheroni, (1 lb)
  • ½ purple onion, diced
  • 1 can black olives, drained and sliced
  • 1 ½ tablespoons Italian seasoning, Shortcut
  • ½ cup apple cider vinegar
  • ½ cup sugar
  • salt, to taste

Customize the Salad with:

  • chicken, cooked, diced
  • ham, diced
  • shrimp, cooked, peeled
  • tofu, cubed, fried
  • pepperoni, sliced
  • Italian sausage, cooked, crumbled
  • bacon, cooked crispy, crumbled
  • anchovies
  • Mozzarella cheese, shredded or cubed
  • Parmesan cheese, grated
  • Provolone cheese, shredded
  • cherry tomatoes, halved
  • celery, chopped
  • carrot, julienned
  • green olives, sliced
  • fresh basil, chopped
  • fresh parsley, chopped
  • hard boiled quail eggs, peeled

Instructions
 

  • Cook the pasta in a pot of boiling, salted water, until tender. Over cooked by a minute or two is preferred. For pasta salads, just tender pasta is not desired, since the pasta is not being cooked further in a sauce, you want well cooked pasta. Drain the pasta and rinse under cold water to stop the cooking process. Place the pasta in a large mixing bowl.
  • While the pasta is cooking, mix together the vinegar and sugar.
  • Add the vinegar mixture and Italian seasoning to the pasta and mix well to coat all the pasta and distribute the seasoning. Let the pasta cool.
  • Once the pasta is cooled, mix in the onion and olives and mix well.
  • Cover and place in the fridge overnight.
  • Now the base recipe is ready. This can be served as is, or dressed up as you desire. Add any of the Customize ingredients as you desire to change this salad each time you make it.

Notes

The base recipe is low cost, depending on other added items, that will increase the per serving, but certainly not over $1 per serving.
Shortcut: Italian Seasoning.
English Muffin Bread II

English Muffin Bread II

Sounds like a great toasting bread, on my to cook list. This is a no knead batter bread.
Prep Time 20 minutes
Cook Time 20 minutes
Total Time 1 hour 10 minutes
Cuisine American
Servings 2 loaves

Ingredients
  

  • 687 grams all purpose flour, (5 1/2 cups if no scale)
  • 2 tablespoons dry yeast
  • 1 tablespoon honey
  • 1/4 cup warm water
  • 2 teaspoons salt
  • 1/4 teaspoon baking powder
  • 2 1/4 cups warm milk
  • butter, as needed
  • yellow cornmeal, as needed

Equipment needed

  • 2 bread pans

Instructions
 

  • Grease your two bread pans with butter and dust with cornmeal. Set these aside.
  • In a large mixing bowl, add the yeast, water, and honey and mix together, set this aside.
  • In another large bowl, mix together the flour, salt, and baking powder.
  • To the yeast mixture, add the milk and 1 cup of the flour mixture and mix together well.
  • Add the remaining flour a cup at a time and mix into the batter (you may have some flour left over, that is ok), you are looking for a soft, wet batter.
  • Spoon the dough into the bread pans.
  • Set the bread pans aside until the batter has doubled in size and is at the top of the pan or just a bit over. This can take 30-40 minutes.
  • While the batter is rising, preheat your oven to 220 C (425 F).
  • When the batter is ready, sprinkle the tops with cornmeal. Bake for 15 minutes. For a crispier and more golden crust, bake for 20-25 minutes.
  • Remove from oven and remove from pans, place on a wire rack and allow to cool.
  • Slice, toast, and enjoy with butter, honey, or your favorite jam.

Notes

Low cost.
Adapted from an internet recipe.
Icebox Cookies

Icebox Cookies

Sounds tasty, on my to cook list. These come from a good friend that is an excellent cook. I am looking forward to making these. This can be made ahead and frozen for several weeks before you bake them, just thaw in the fridge for a day or two before baking.
Prep Time 20 minutes
Cook Time 8 minutes
Total Time 28 minutes
Course Dessert
Cuisine American
Servings 0

Ingredients
  

  • 3 cups brown sugar, packed
  • 1/3 cup white sugar
  • 3 eggs
  • 1 teaspoon baking soda
  • 1 teaspoon salt
  • 2 teaspoons ground cinnamon
  • 4 cups all purpose flour
  • 1 cup nuts, chopped, optional

Instructions
 

  • Cream together the sugars, butter, and eggs until smooth.
  • In another bowl, mix together the flour, salt, baking soda, and cinnamon.
  • Slowly mix the flour mixture with the butter mixture until well combined.
  • Shape dough into logs, place on wax/parchment paper and roll. Place in the fridge overnight. As an option, you can roll and place in the freezer for up to 3 weeks, just thaw for a few days in the fridge before use.
  • Preheat your oven to 180 C (350 F), line a baking sheet with parchment paper.
  • Unwrap the log, slice, and bake for 8 to 12 minutes or until the edges are golden brown.
  • Let cool for 5 minutes then transfer to a wire rack to cool completely.

Notes

Low cost.
Recipe provided by good friend, Patti Stone.
United States.
Cream Cheese Chocolate Chip Cookies

Cream Cheese Chocolate Chip Cookies

This comes from a good friend and these sound incredibly good! Certainly on my to cook list, and soon.
Prep Time 20 minutes
Cook Time 10 minutes
Total Time 30 minutes
Course Dessert
Cuisine American
Servings 0

Ingredients
  

  • 125 grams Cream cheese, softened, 1/2 block, (4 oz)
  • 1/2 cup butter, room temp, 1/2 block, (1 stick)
  • 1/2 cup brown sugar, packed
  • 1/4 cup white sugar
  • 1 egg
  • 1 1/2 teaspoons vanilla extract
  • 1 1/4 cups all purpose flour
  • 1/2 teaspoon baking powder
  • 1/4 teaspoon salt
  • 1 cup chocolate chips

Instructions
 

  • Preheat your oven to 180 C (350 F) and line a baking sheet with parchment paper or lightly grease with butter.
  • Beat together cream cheese, butter, and both sugars until light and fluffy. Add the egg and vanilla and beat some more.
  • In a separate bowl, nix together the flour, baking powder, and salt.
  • Slowly mix in the flour mixture, once fully combined, fold in the chocolate chips.
  • Drop by teaspoons on the baking sheet, leaving 1 inch spacing.
  • Bake for 10-14 minutes or until set and lightly browned on the edges. Let cool for 5 minutes, transfer to a wire rack to cool fully.

Notes

Low cost.
Recipe provided by good friend, Patti Stone.
United States.
Refrigerator Cookies

Refrigerator Cookies

This comes from a good friend and they sound delicious! I have not had refrigerator cookies in many many years. On my to cook list for sure. These can be tailored in many ways to make them different each time.
Prep Time 20 minutes
Cook Time 10 minutes
Total Time 2 hours 30 minutes
Course Dessert
Cuisine American
Servings 0

Ingredients
  

  • 2 cups butter, room temp, 2 blocks, (4 sticks)
  • 1 1/2 cups sugar
  • 1 egg
  • 1 teaspoon vanilla extract
  • 2 tablespoons milk
  • 4 cups all purpose flour
  • 1 cup nuts, chopped, optional

Instructions
 

  • Cream together the butter and sugar, then add the vanilla, egg, and milk. Mix well.
  • Stir in the flour until well combined, then mix in the nuts if using those.
  • Shape the dough into logs and roll in wax/parchment paper. Place in the fridge for 2 hours.
  • Preheat your oven to 180 C (350 F). Line a baking sheet with parchment paper.
  • Unwrap the logs and slice thinly and place on the baking sheet.
  • Bake for 10 minutes or until the edges are golden brown. Let cool for 5 minutes, transfer to a wire rack to cool fully.

To Decorate - Optional

  • 1. Feel free to dip half of each cookie in melted chocolate and let cool completely. 2 Dip half in melted chocolate then add colorful sprinkles or dots, chopped nuts, shredded coconut, etc. and let cool completely. 3. Drizzle the top with melted chocolate, making patterns, etc, adding sprinkles, etc. and allow to cool completely.

Notes

Low cost.
Recipe provided by good friend, Patti Stone.
United States.
Cajun Pinto Beans

Cajun Pinto Beans

Mary Jackson, United States.
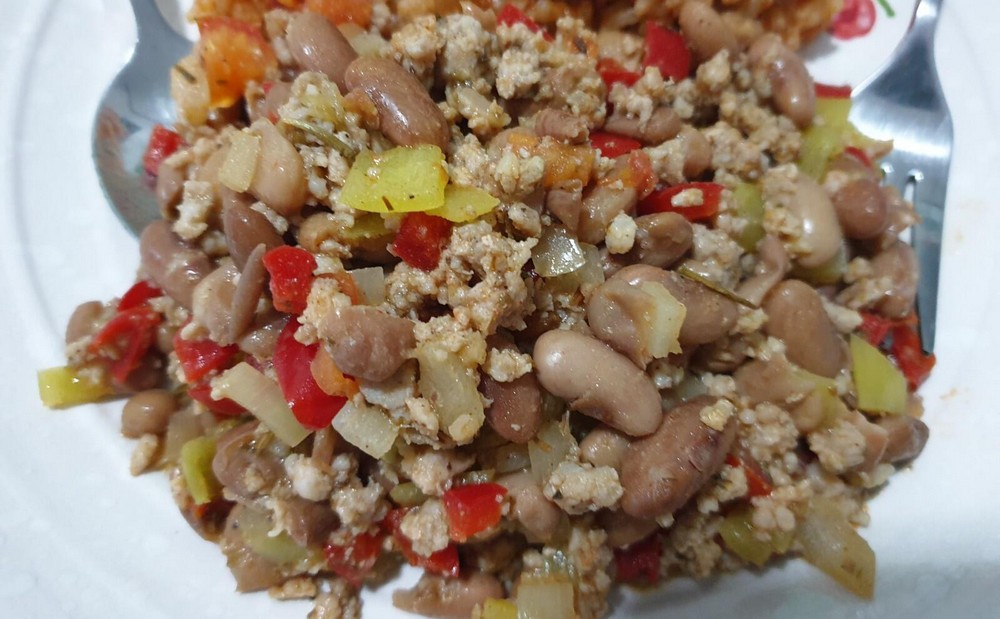
This idea comes from a good friend. I love pinto beans as a side dish, in chili and burritos, and as refried beans. I modified this to make this is a main dish, and it is delicious! I am going to pressure cook the beans but the canned amount will be stated as well. Links to the Shortcuts are listed in the Notes section.
Prep Time 10 minutes
Cook Time 20 minutes
Course Lunch, Main Dish
Cuisine American
Servings 4 servings

Ingredients
  

  • 3 cans Pinto beans, drained, (15 oz / 425 g each), Shortcut
  • 500 grams bulk pork sausage, (1 lb), Shortcut
  • 4 cloves garlic, minced
  • 1 onion, diced
  • 1 red bell pepper, diced
  • 1-2 teaspoons Cajun seasoning, depending on taste, Shortcut
  • ½ cup large green chilies, roasted, peeled, chopped, (the bright green long chilies in Tesco, NOT Bird's Eye chilies)
  • 2 roma tomatoes, diced

Instructions
 

  • Prepare the beans either by draining and rinsing 3 cans or by cooking from dry beans. From dry, drain after cooking them. When using dry beans, use a heaping half cup of dry beans for each can, I pressured cooked the beans.  
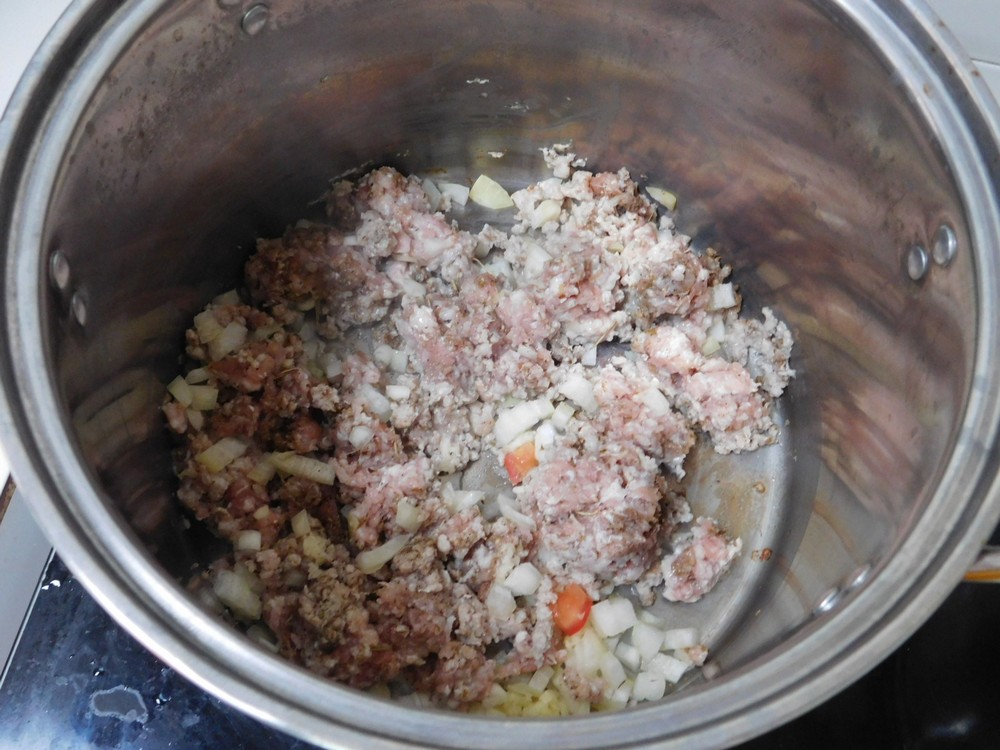
  • In a large saucepan on medium heat, when hot, add the sausage, garlic, and onion. Cook, breaking up the sausage with the spatula, until almost cooked through. Drain off most of the fat, not all, as that is flavor for the beans.
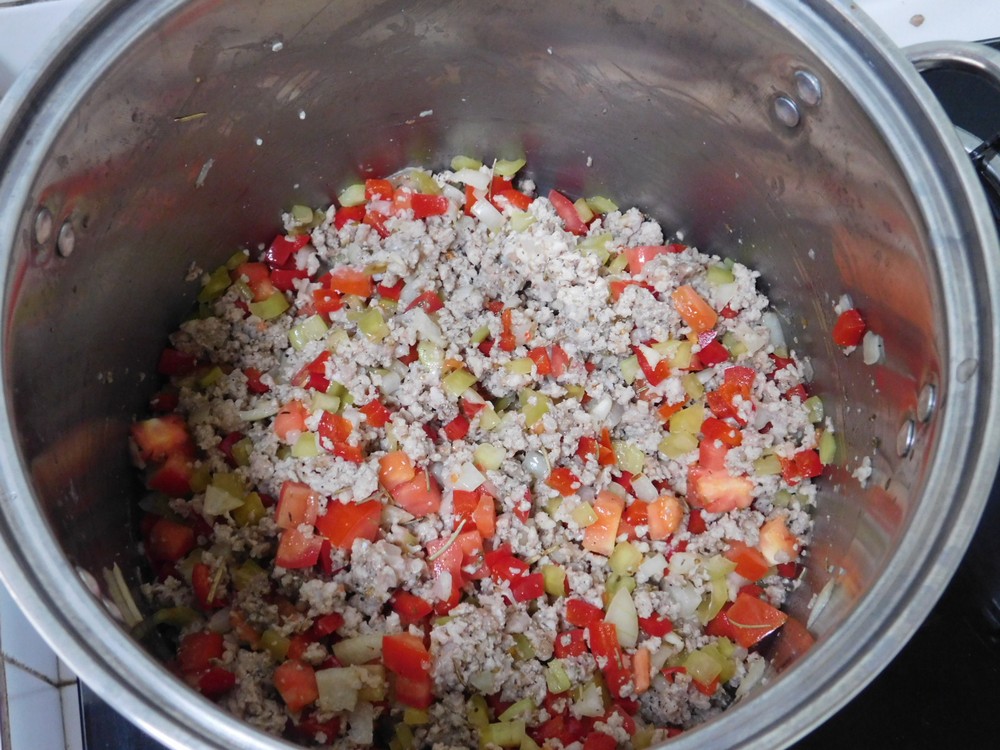
  • Add the bell pepper, green chilies, tomatoes, and mix together.
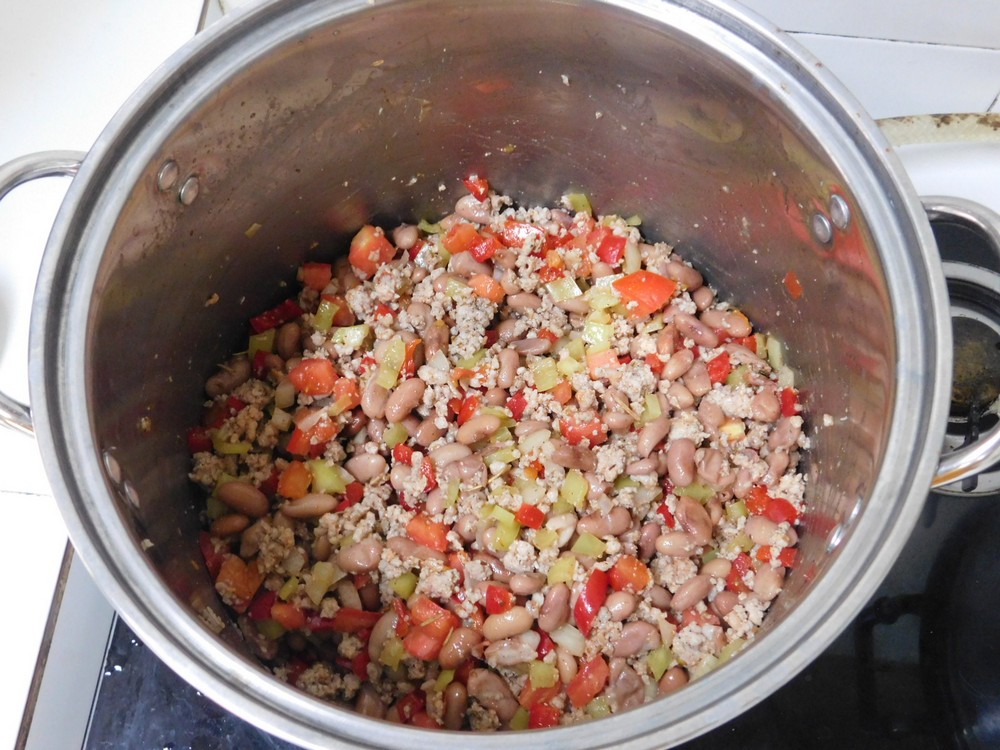
  • Add the beans and Cajun seasoning, mix together. Simmer until the bell pepper is tender.
  • Serve and enjoy.

Notes

Low cost.
Shortcuts: Pinto Beans, Pork Sausage, Cajun Seasoning.
Updated on 22 March 2022.
Chickpeas (Pressure Cooker)

Chickpeas (Pressure Cooker)

Hip Pressure Cooking, Laura Pazzaglia, United States.
These came out 100% perfect. This is a quick way to cook chickpeas that have been soaked for at least 6 hours. Use in soups, salads, pasta salads, etc. I use my large 9 liter (9½ quart) 80 kPa (12 psi) stove top pressure cooker. Follow all safety precautions for your type of pressure cooker at all times. This will make about 2¾ cups cooked chickpeas and 1½ quarts of broth.
5 from 1 vote
Prep Time 5 minutes
Cook Time 13 minutes
Total Time 6 hours 18 minutes
Course Side
Servings 0

Equipment

  • Pressure Cooker

Ingredients
  

  • 1 cup dry chickpeas
  • water, as needed
  • salt, as desired
  • 2 tablespoons cooking oil, very important

Instructions
 

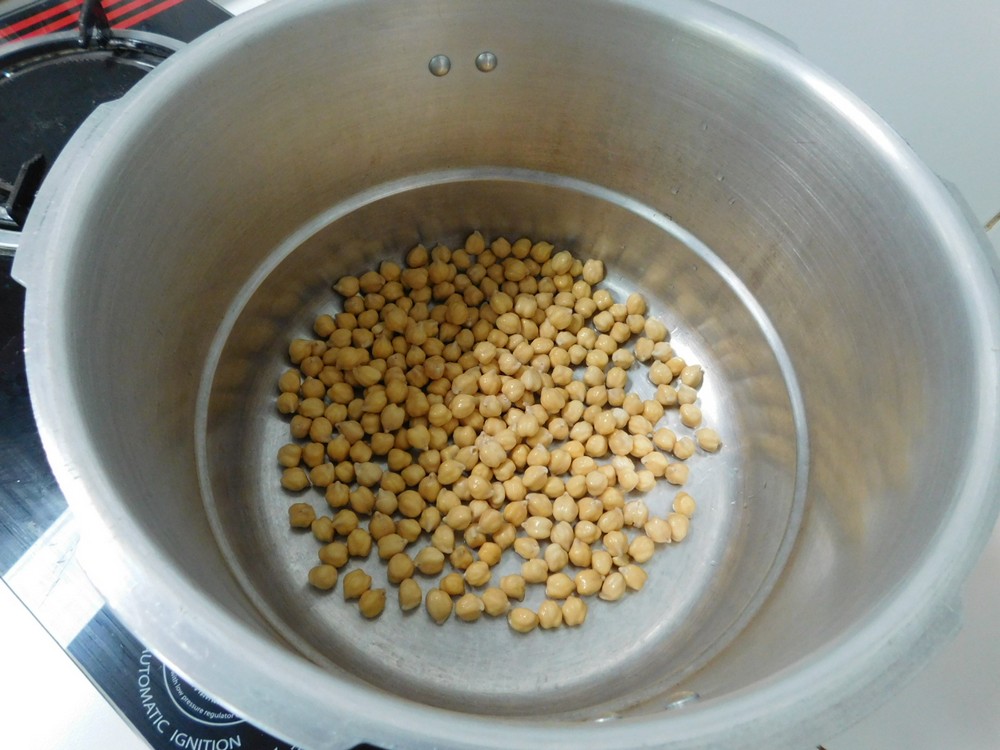
  • Rinse the dry chickpeas then place in a container. Add water to cover by an inch or two. Cover and place on the counter for at least 6 hours. If soaking overnight, then place in the fridge.
  • When ready to cook, drain and rinse the beans and place in your pressure cooker.
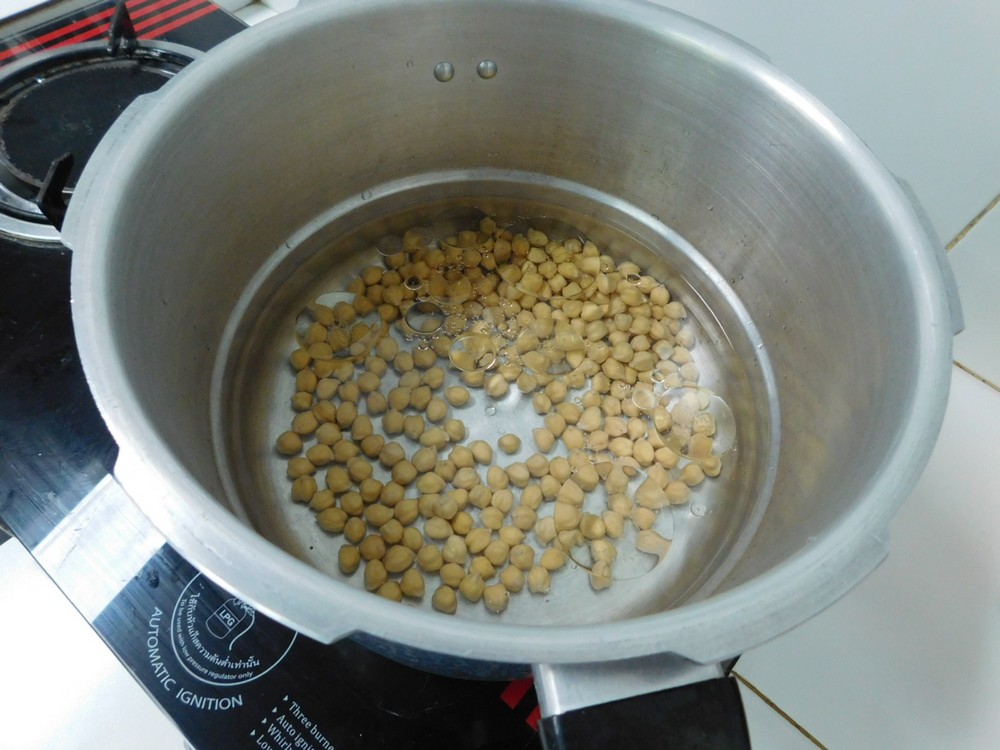
  • Add 8 cups of water, salt as desired, and the 2 tablespoons of cooking oil, this keeps the beans from foaming so do not skip the oil.
  • Place the lid on the pot, add the weight (the jiggler), and bring the heat up to high. When the jiggler starts moving and releasing pressure, start timing for 13 minutes, and turn the heat down to low or medium low to just maintain the jiggler moving and releasing pressure.
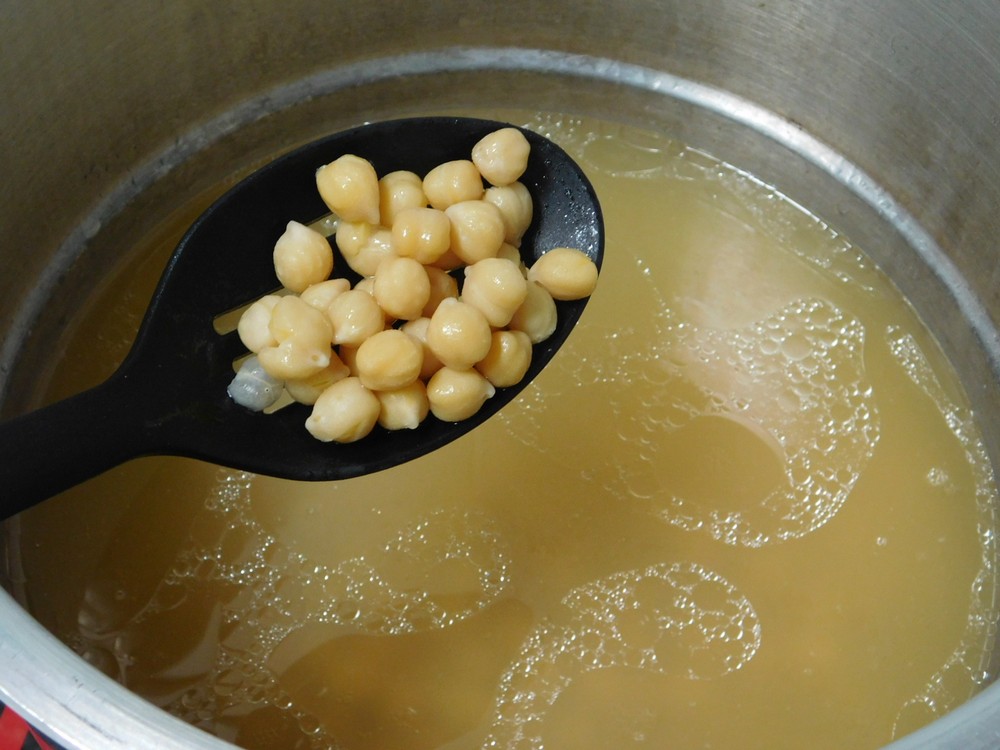
  • At 13 minutes, turn off the heat and move the pressure cooker to an unused burner and allow a natural release of pressure. When the pressure is released, open the lid, drain and use the chickpeas as needed in other recipes.

Notes

Variant: 1. If cooking more than 1 cup of dry but soaked chickpeas, you need water to cover the beans by 1-2 inches, keeping in mind you do not go over half full on the cooker, and DO NOT forget the oil!
Used in Recipes Listed on this Site:
My Pasta Salad

My Pasta Salad

Lee
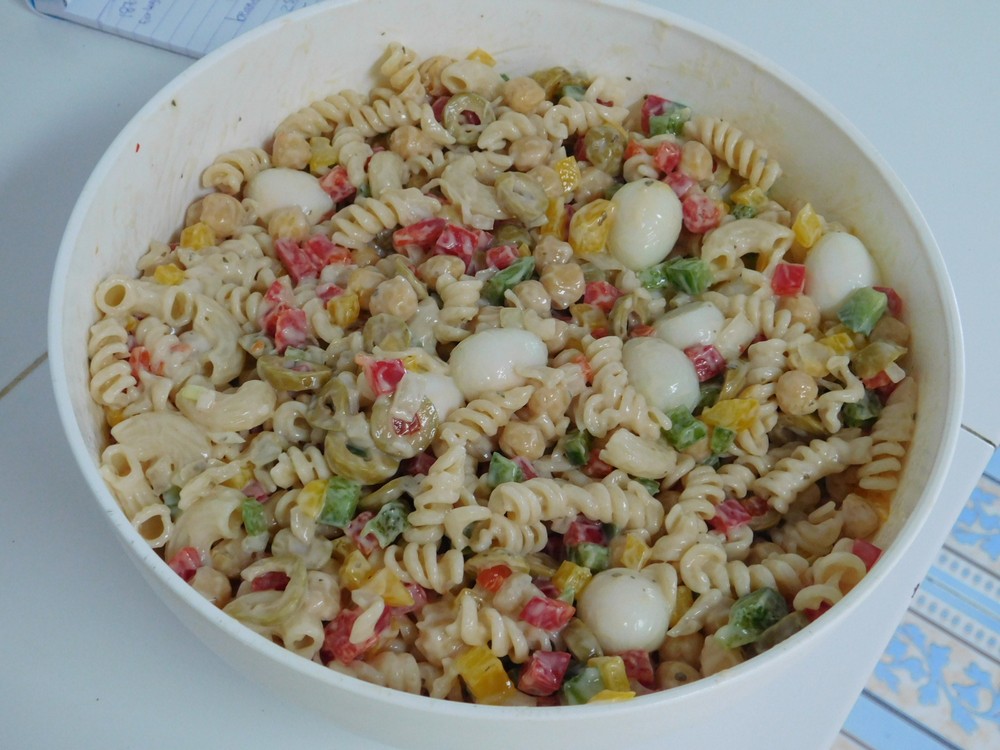
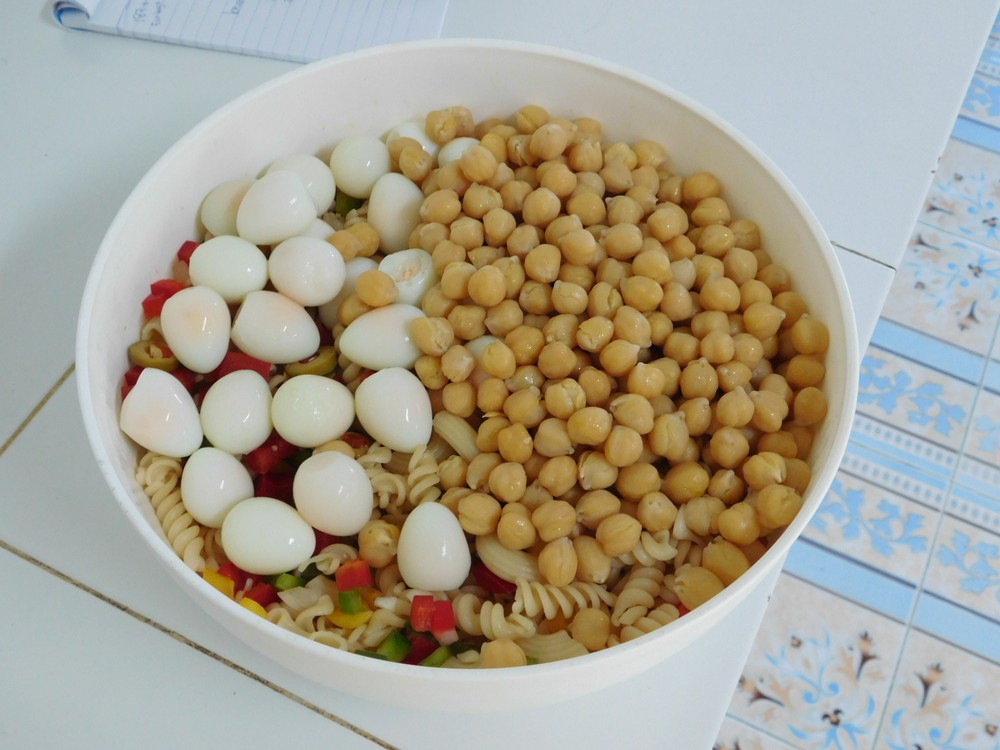
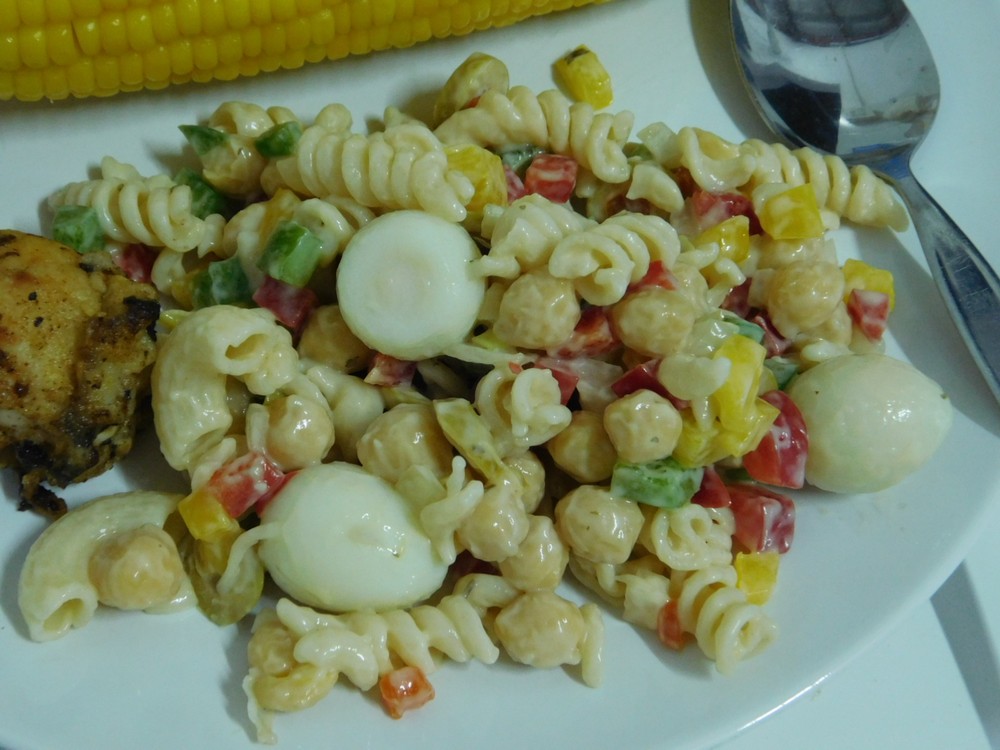
Salad bars in Thailand often have hard boiled quail eggs as a choice. I used to get just a bowl of quail eggs and Bleu cheese dressing as my salad, and my daughter and I gobbled these up. So I figured I would take this a step further and make a pasta salad with quail eggs and other salad fixings along with Bleu cheese dressing. I made this on 14 July 2018, and absolutely delicious. Link to the shortcut is listed in the Notes section.
5 from 1 vote
Prep Time 30 minutes
Passive Time 2 hours
Total Time 2 hours 30 minutes
Course Side
Cuisine American
Servings 8 servings

Ingredients
  

  • 250 grams dry pasta, any bite size pasta, spirals, shells, etc., (8 oz)
  • 1 red bell pepper, diced
  • 1 green bell pepper, diced
  • 1 yellow bell pepper, diced
  • 1 small onion, diced
  • ½ jar green olives with pimento, sliced, (jar is 300 g / 11 oz)
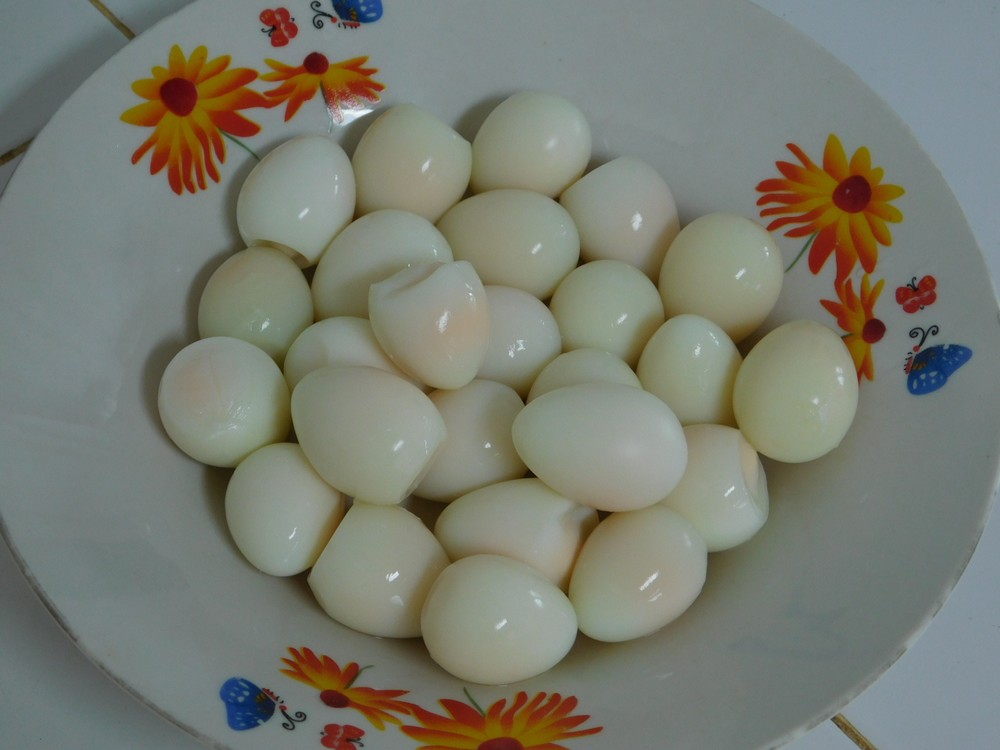
  • 25 hard boiled quail eggs, Shortcut
  • 1 cup dry chickpeas, soaked and cooked or 1 can drained
  • Bleu cheese dressing, as needed

Instructions
 

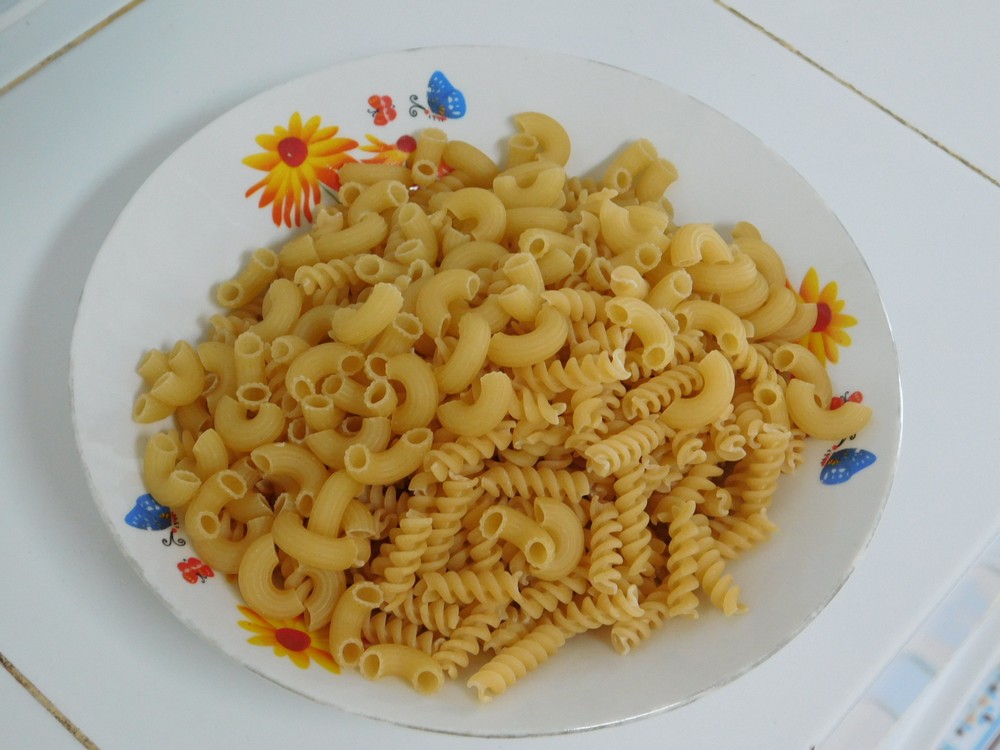
  • Cook pasta of your choice in a pot of boiling salted water. When tender, drain and run under cold water to stop the cooking process then drain well again and place in a large mixing bowl. I used a mix of spirals and elbows.
  • Prepare the quail eggs, either using fresh eggs, which is what I do, or use canned eggs. I use 25 fresh eggs which is comparable to canned, which is 23-25 eggs. For canned, just open and drain. For fresh eggs, hard boil them and peel.
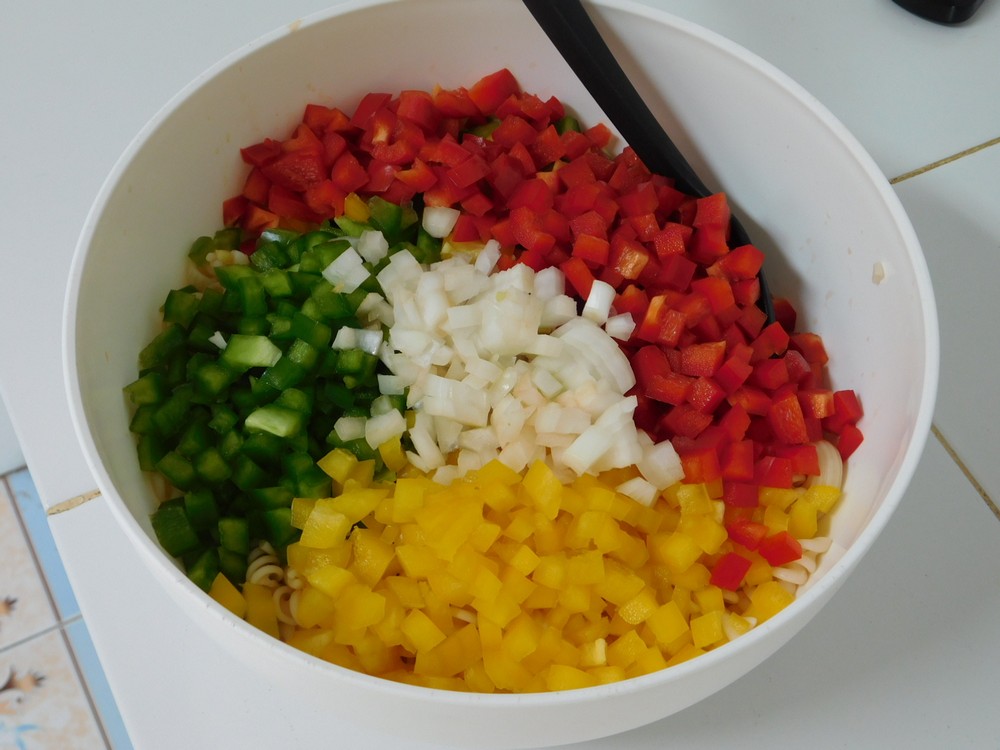
  • Dice the peppers and onion and place in the mixing bowl with the pasta. These are on top of the pasta.
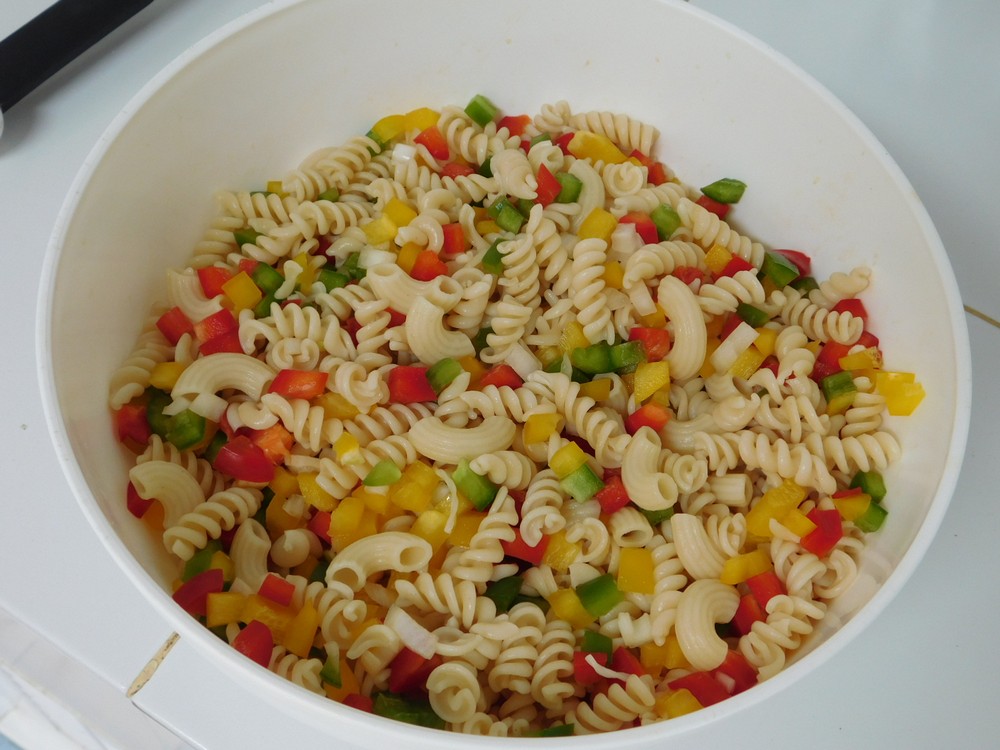
  • Mix together the pasta, peppers, and onion.
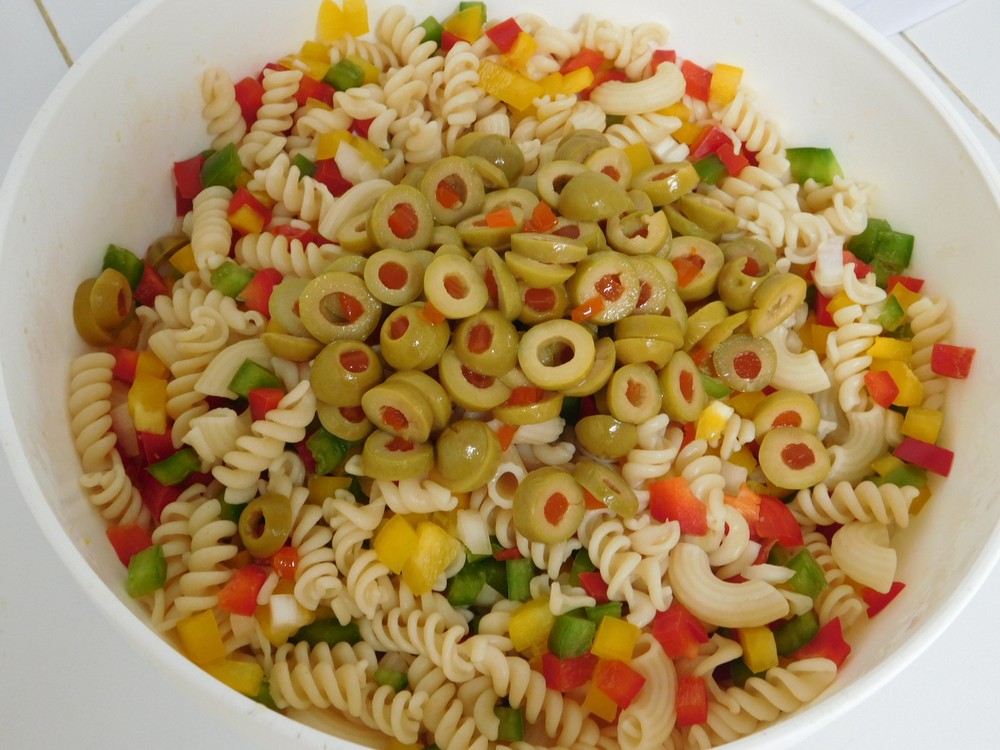
  • Slice the olives and add to the pasta, gently mix those in. I do this is steps so as not to break up any of the ingredients.
  • Add the chickpeas and eggs.
  • Gently mix those into the pasta, then add the dressing, start with 1 cup and gently mix that in, then add ½ cup at a time for the consistency you want, the goal is everything coated well but not dripping in dressing.
  • Cover and place in the fridge until chilled. Serve with any main dish of your choice.
Simple Frog Legs I

Simple Frog Legs I

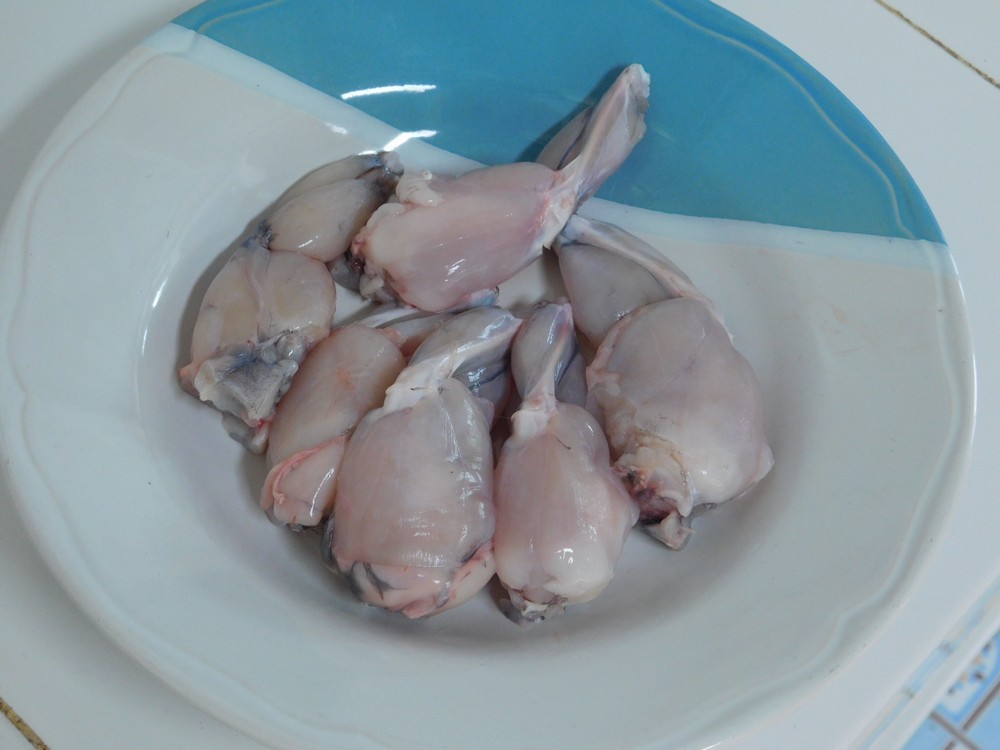
Basic recipe to prepare frog legs. In Thailand, the legs are much smaller than the states. There is large frog legs at Makro at times, imported, and with a hefty price as well, so I prefer the local harvested frogs from the village. No set amounts here, this is a make as much as you want guide. Link to the shortcut is listed in the Recipe Notes section.
5 from 1 vote
Prep Time 5 minutes
Cook Time 10 minutes
Total Time 1 hour 15 minutes
Course Main Dish
Cuisine American
Servings 0

Ingredients
  

  • milk, as needed, or buttermilk
  • frog legs
  • salt and pepper, as desired
  • all purpose flour, as needed
  • butter, as needed

Instructions
 

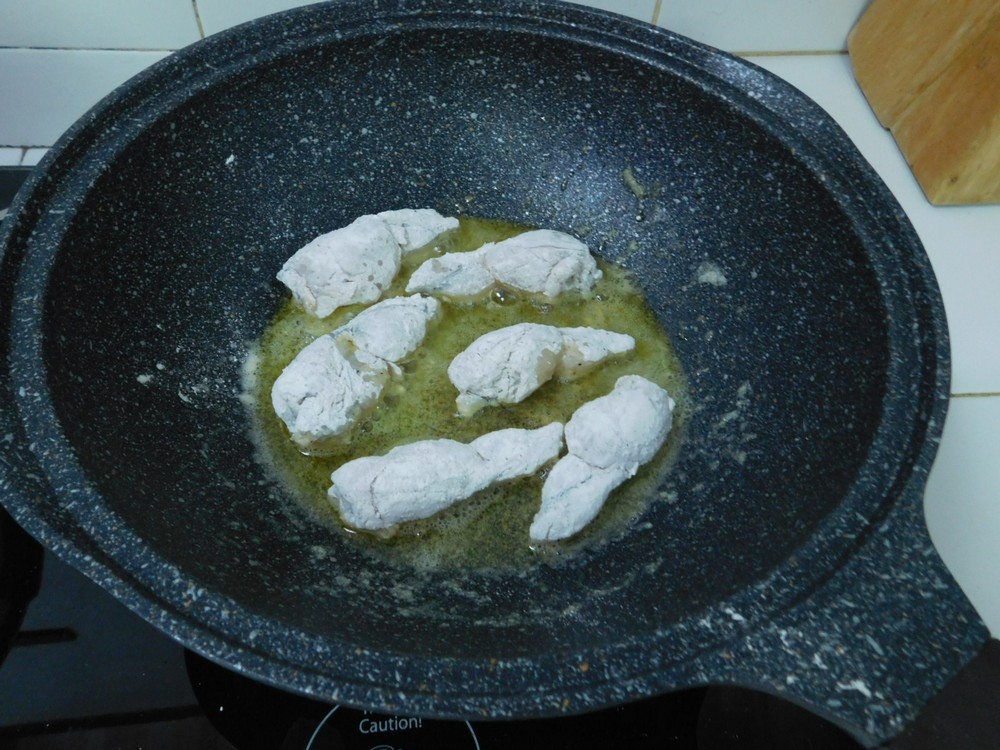
  • Skin the frog legs if not already skinned and cut off the feet. Make a slight cut behind the knees to cut the tendons (keeps the legs from moving in the pan for fresh legs). Place the legs in a bowl or container.
  • Pour in some milk to just cover the legs, and place in the fridge for 30 minutes. Mix the legs around a few times as they chill.
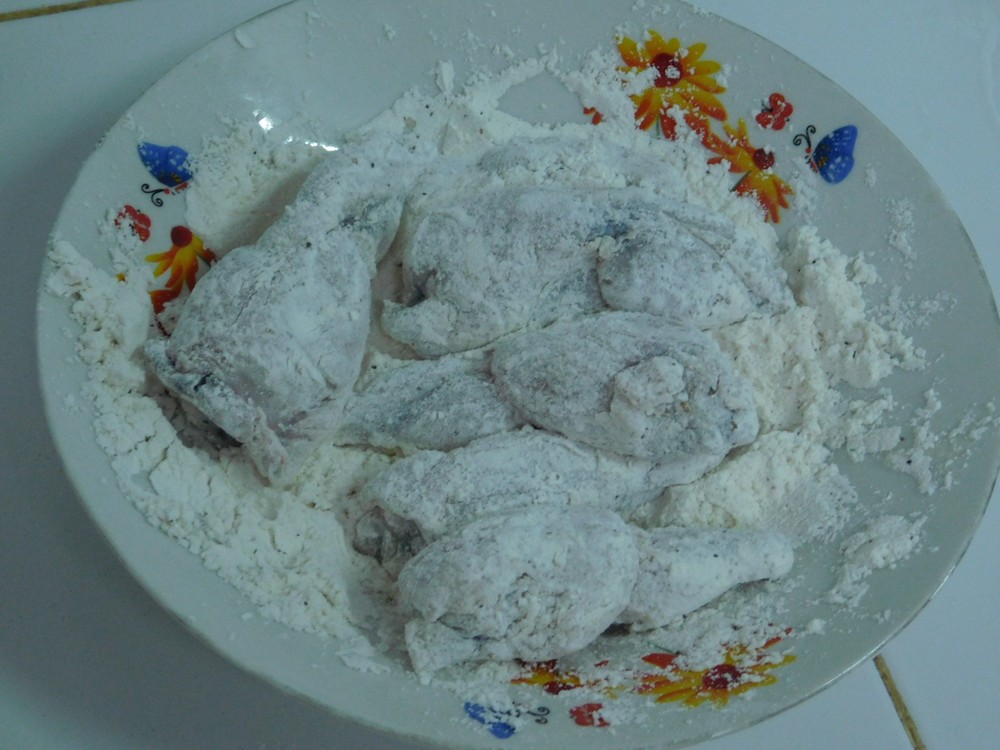
  • Remove the legs from the milk, add salt and pepper as desired to some flour, then roll the legs in the flour to coat them well.
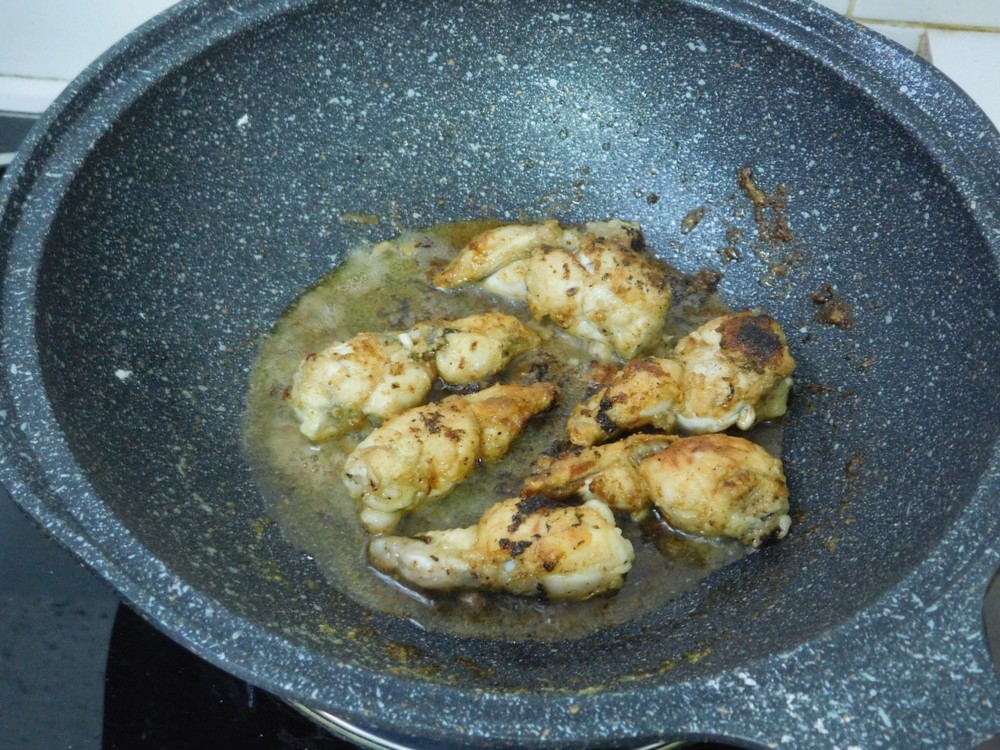
  • Heat a non stick pan with 3-4 tablespoons of butter. When the butter is sizzling, add the legs.
  • Cook uncovered and turn as needed until golden brown on both sides.
  • Serve and enjoy.

Notes

I bought 3 whole (skinned) frogs at the village market for 60 Baht ($1.81) and just the legs, cleaned with feet removed, came out to 190 grams (6.7 oz). I will say 6 small legs is a serving, so this is fair priced. (The rest of the frogs, those went to a brother in law for him to cook, nothing wasted, as I would not have bought them to just remove the legs and discard the rest.)
Shortcut: Buttermilk.
Norwegian Pepper Cookies

Norwegian Pepper Cookies

Adapted from an internet recipe.
As the name suggests, this is Norwegian in origin, and I will give them credit, I would have never thought to use black pepper in a cookie, but they did, and it sounds good. This is also a non egg recipe. On my to cook list.
Prep Time 15 minutes
Cook Time 6 minutes
Total Time 2 hours 21 minutes
Course Dessert
Cuisine Norwegian
Servings 30 cookies

Equipment

  • Electric Mixer
  • Oven
  • Baking Sheet
  • Parchment Paper

Ingredients
  

  • 1⅛ cups butter, softened
  • 1 cup sugar
  • ¼ cup whipping cream
  • 1 teaspoon baking soda
  • cups all purpose flour
  • 1 teaspoon ground cinnamon
  • 1 teaspoon ground black pepper
  • teaspoons ground cardamom
  • 1 teaspoon baking powder
  • water, as needed, no more than 2 tablespoons

Instructions
 

  • In a mixing bowl, cream together the butter and sugar until light and fluffy. Mix in the cream then mix in the baking soda and a little water, no more than 2 tablespoons (I will verify this).
  • In another bowl, sift together the flour, cinnamon, pepper, cardamom, and baking powder.
  • Mix the flour mixture with the wet mixture until a nice dough is formed.
  • Wrap the dough plastic wrap, tightly, into a log shape about 2½ inches in diameter. Place the dough in the fridge to chill (I will verify the time for this).
  • Preheat your oven to 190° C (375° F). Lightly grease a baking sheet with butter, or line with parchment paper. Remove and unwrap the dough, slice into thin rounds and place on the baking sheet.
  • Bake for 6 to 8 minutes. Let cookies cool on a wire rack.
  • Enjoy.