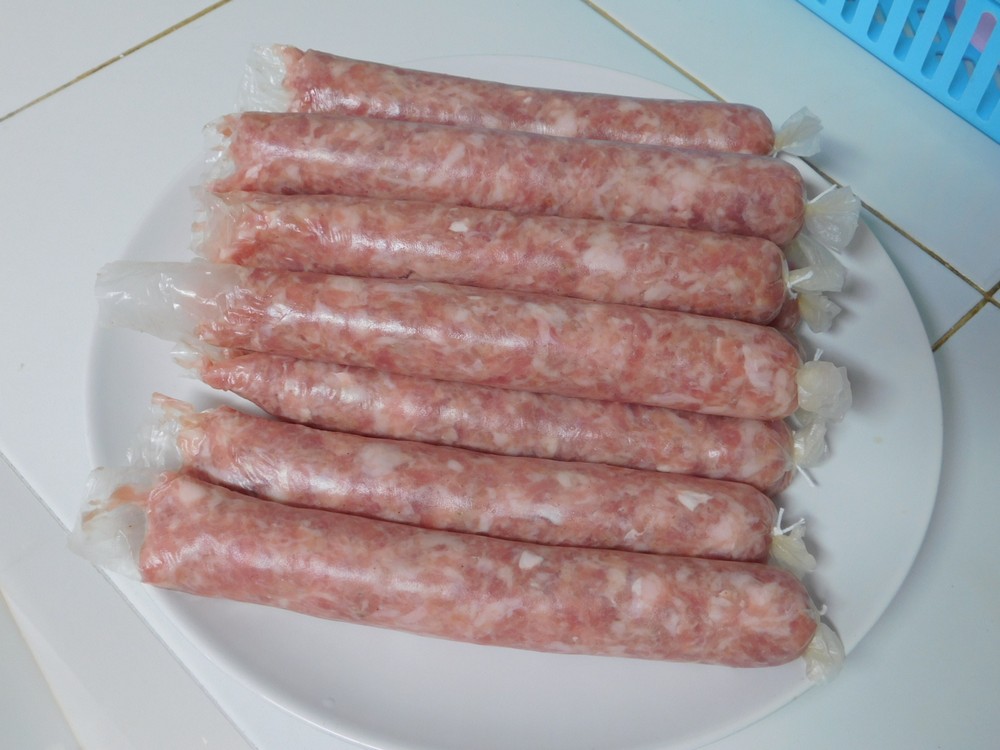
Scottish Lorne Sausage

Scottish Lorne Sausage

Adapted from an internet recipe.
This sounds very nice, on my to make and taste list for sure, and no casings involved in this. Link to the Shortcut is listed in the Recipe Notes section.
Prep Time 30 minutes
Total Time 31 minutes
Course Main Dish
Cuisine Scottish
Servings 2 lb of sausage

Ingredients
  

  • 500 grams ground beef, (1 lb)
  • 500 grams ground pork, fatty pork, pork belly is perfect, (1 lb)
  • ½ cup ice water
  • ¾ cup bread crumbs, Shortcut
  • teaspoons salt
  • teaspoons ground coriander
  • 1 teaspoon black pepper
  • ½ teaspoon ground nutmeg

Instructions
 

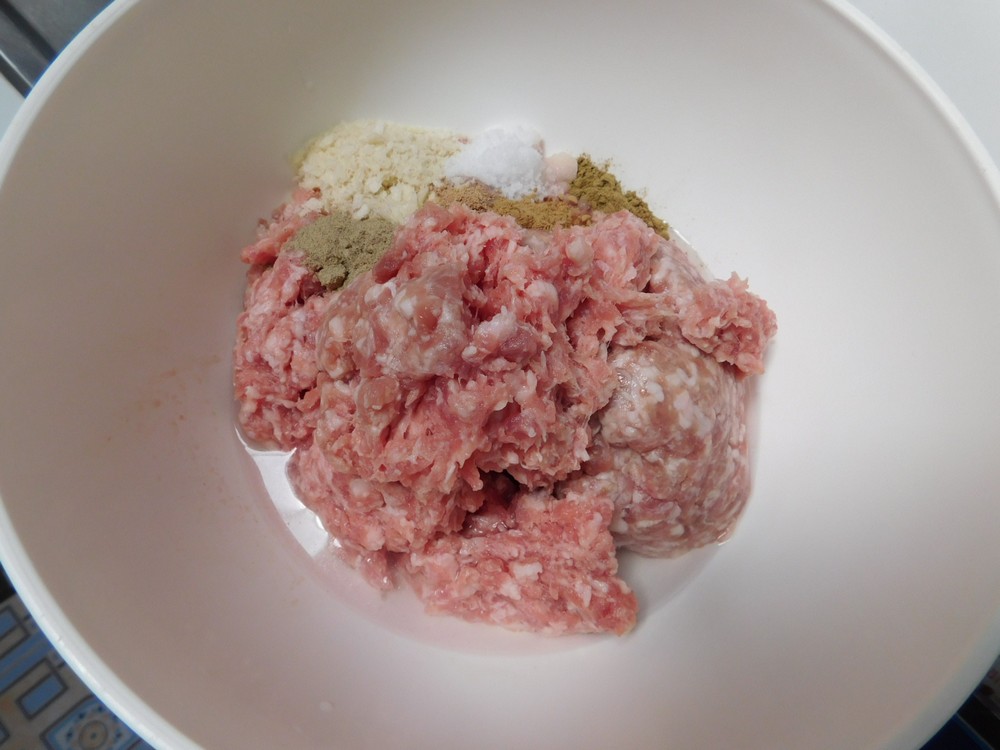
  • Place all ingredients in a large mixing bowl.
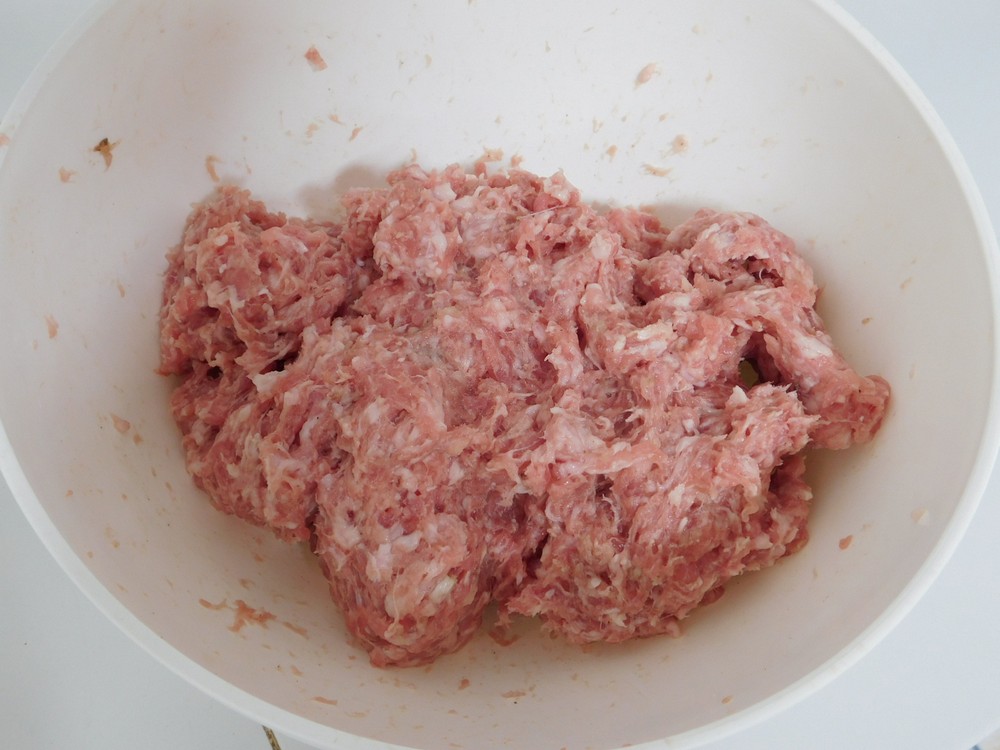
  • Mix thoroughly using your hands.
  • Place the meat mixture into a loaf pan and firmly pack it to make a level 'loaf'. Place the pan in the freezer until it stiffens up yet is still able to be sliced.
  • Remove the pan from the freezer and turn upside down on a cutting board.
  • Slice into ½ inch slices.
  • Fry up the slices now, or place the slices in a plastic container with parchment paper between slices and place in the freezer for later use. Enjoy.

Notes

I will price this next time I buy beef, for now I will say Fair cost per serving just based on the use of beef.
Shortcut: Bread Crumbs.
Irish Sausage

Irish Sausage

Adapted from an internet recipe.
Sounds good, I have never had Irish sausage so I look forward to making this. On my to make and taste list. Regular ground pork works well for this, and if you are going to grind yourself, use pork butt and the regular plate (3/16"). Link to the Shortcut is listed in the Recipe Notes section.
Prep Time 30 minutes
Total Time 30 minutes
Course Main Dish
Cuisine Irish
Servings 2 Irish sausage

Ingredients
  

  • 1 kilo ground pork, or ground pork butt, (2 lbs)
  • 1 egg
  • 1 cup bread crumbs, (Shortcut)
  • ¾ cup cold water
  • teaspoons salt
  • teaspoons dried thyme
  • 1 teaspoon dried marjoram
  • 1 teaspoon black pepper
  • ½ teaspoon dried rosemary
  • 4 cloves garlic, smashed and finely minced
  • sausage casings, natural hog or collagen, your choice

Instructions
 

  • Add all ingredients to a large mixing bowl, except the casings.
  • Use your hands and mix together well.
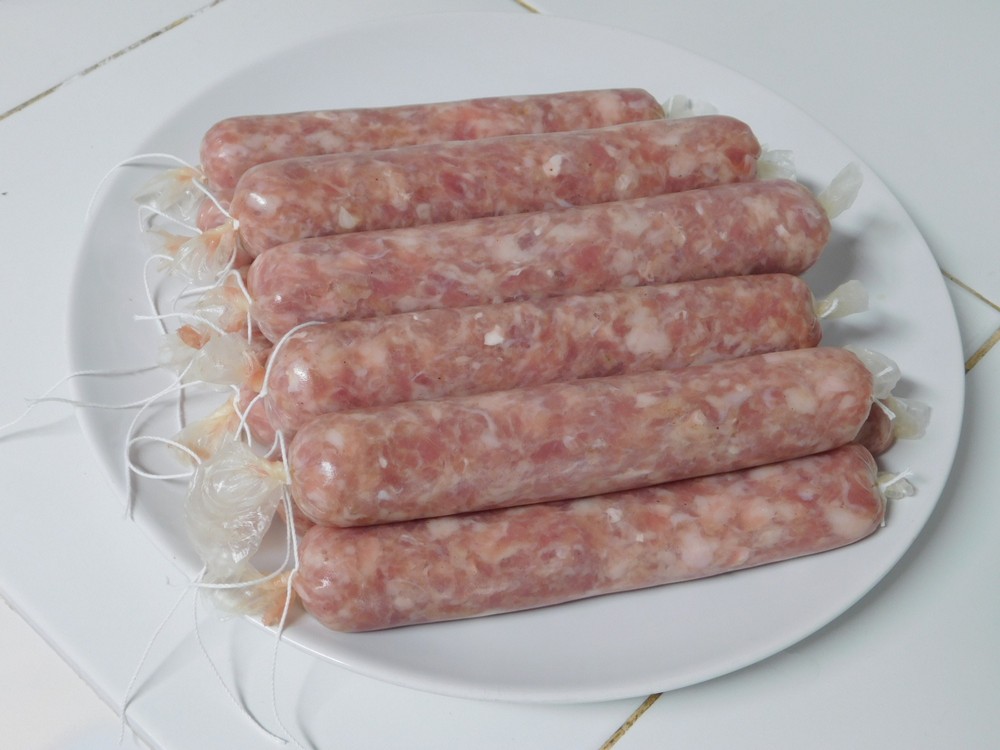
  • Stuff into casings of your choice.
  • Tie into links, place in the fridge overnight, then they are ready for the grill or frying or even place in the freezer for enjoyment later.

Notes

The pork will cost 114 to 142 Baht per kilo ($3.45 to $4.30 for 2 lbs) , depending ground pork or pork butt. When I make this I will determine the number of links and average weight of each. For now, certainly Low cost per serving.
Shortcut: Bread Crumbs.
Kielbasa Sausage

Kielbasa Sausage

This sounds easy and tasty, and as a bonus, this sausage has only 8 ingredients, and that includes the casings. Regular ground pork will work ok for this, but if you can get pork butt, grind the pork yourself with the regular plate (3/16").
Course Main Dish
Cuisine Polish
Servings 5 sausage links

Ingredients
  

  • 2 1/2 kilos ground pork, or ground pork butt
  • 2 tablespoons salt, plus 1 teaspoon
  • 2 teaspoons sugar
  • 1 tablespoon dried marjoram
  • 1/2 teaspoon black pepper
  • 2 cloves garlic, smashed and finely minced
  • 1 cup water, very cold
  • casings, natural hog or collagen

Instructions
 

  • In a large mixing bowl, add all the ingredients except the casings.
  • Mix thoroughly by hand.
  • Stuff into casings of your choice.
  • Tie into links, now they are ready for the grill or frying or even place in the freezer for enjoyment later. Enjoy.

Notes

The pork will cost 109 to 142 Baht per kilo, depending ground pork or pork butt. For 2 1/2 kilos (5 lbs), this is 273 to 355 Baht. For the sausage, this will cost between $8.27 and $10.76 for 2 1/2 kilos (5 lbs). When I make this I will determine the number of links and average weight of each. For now, certainly Low cost per serving.
Adapted from an internet recipe.
English Bangers

English Bangers

Adapted from an internet recipe.
English Bangers are simply English pork sausages. The banger part comes from cooking them and they pop occasionally, hence the bang. The beauty of making your own sausage, you know exactly what is in it, not strange chemical names, no preservatives. These are the perfect addition to mashed potatoes and a side peas, aptly named, Bangers & Mash. Link to the Shortcut is listed in the Recipe Notes section.
5 from 1 vote
Course Main Dish
Cuisine English
Servings 2 sausage links

Equipment

  • Sausage Stuffer

Ingredients
  

  • 1 kilo ground pork, (2 lbs)
  • teaspoons salt
  • ¼ teaspoon ground ginger
  • ¼ teaspoon ground sage
  • teaspoon ground mace, or ground nutmeg
  • ½ teaspoon white pepper powder
  • ¼ cup bread crumbs, Shortcut
  • cup cold water
  • sausage casings, your choice or natural hog or collagen

Instructions
 

  • In a large mixing bowl, all all ingredients except the casings.
  • Mix together with your hands.
  • If using natural hog casings, salted or dry, follow the instructions on the package to prep them. If using collagen casings, use them dry.
  • Stuff the casings with your preferred method, such as a sausage stuffer, a stuffer tube on a meat grinder, a hand held stuffer (my preference), or even a funnel.
  • I use 28 mm (1.10 inches) collagen casings. To prep them, I tie a knot on the end then pull it out to 7 1/2 inches and cut it off, use a pin or toothpick and poke a hole near the knotted end, this allows air to escape when you start filling, and repeat for 10 or so casings. The following are the procedure I use when I use my manual hand held stuffing device.
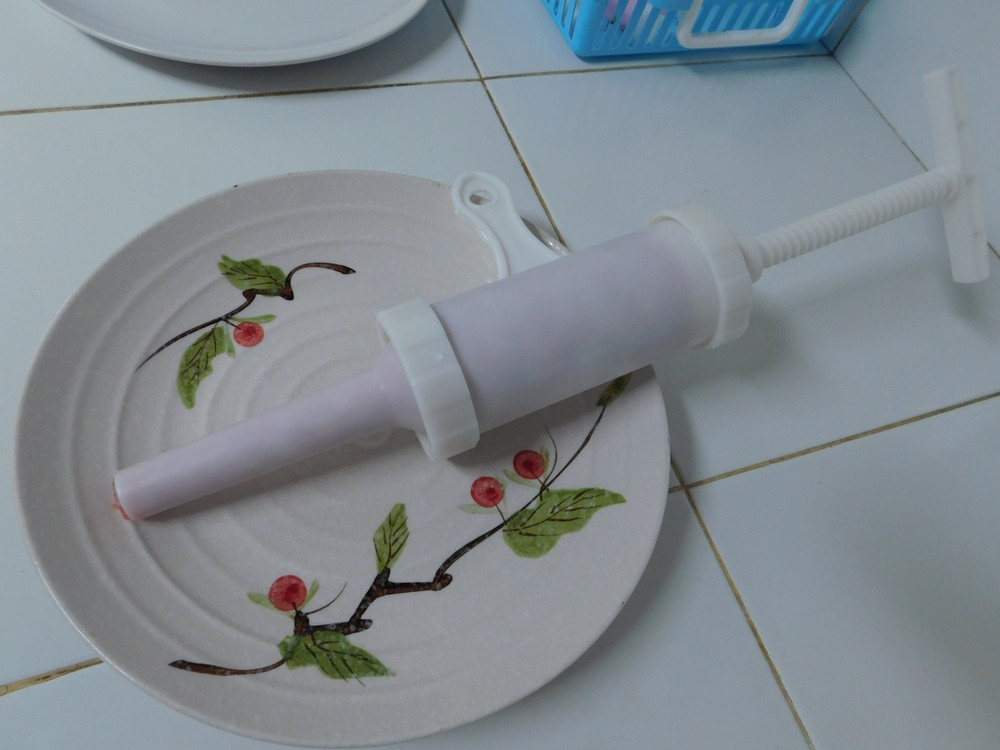
  • This is a common hand held manual sausage stuffer, disregard that handle, it is absolutely worthless as you need to hold the device by the tube end so you can release the casing as you stuff. First thing you do is is using the correct tube size for the casings you are using and add that to either end of the device with the retaining ring. Then spin the retaining ring on the plunger all the way to the front of the plunger (opposite end of the t-handle). Use a spoon and fill the hopper with the meat mixture, then screw on the plunger. Twist the t-handle until the tube is filled with meat. Remove the plunger, add a little more meat, about 1/2 inch from the top, then spin the retaining ring to the front again, then screw the plunger onto the device. This shows the stuffer is full and ready for use. If any meat comes out of the tube, just scrape that off with a spoon and return that the bowl with the meat.
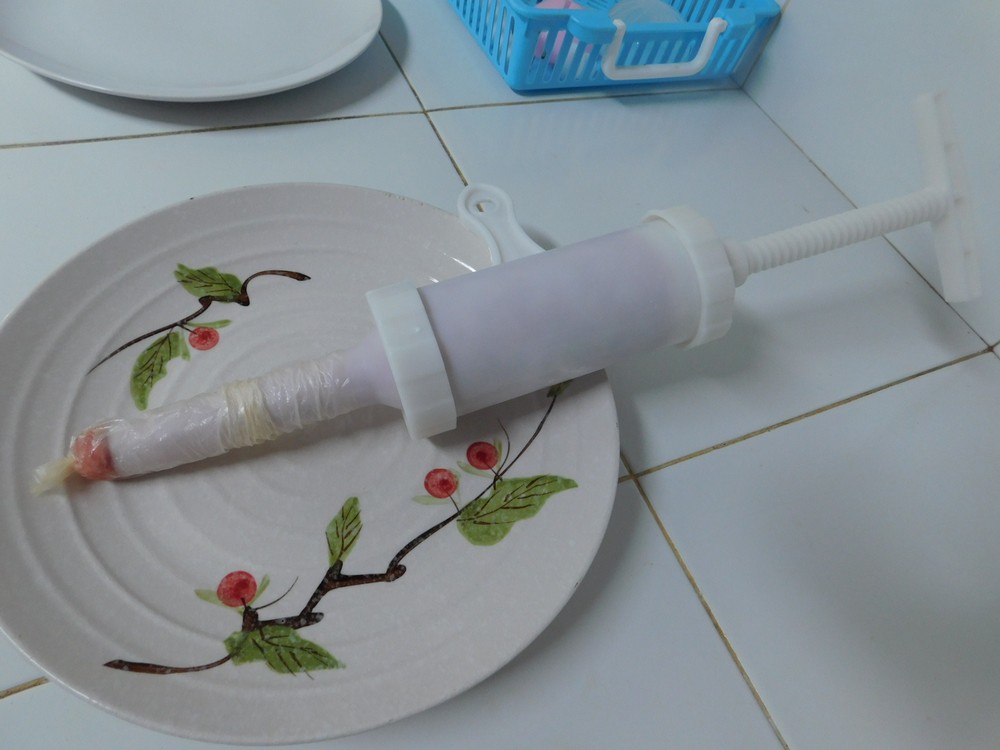
  • Take a casing you prepared and open up the end and slide that onto the tube all the way.
  • Pick up the device and hold it with either hand by the end of the tube, you will release the casing as you screw the plunger in with your other hand. Now when you screw the plunger in, keep in mind, you are not blowing up a balloon, so don't over stuff the casing, you will get the feel for this after 1-2 tries, it is very easy.
  • Screw the plunger in and slowly let out some casing as the casing fills, important to keep the end of the tube in the meat mixture, this is to prevent you from making air bubbles. The tube here is about 1/4 inch into the meat.
  • Just keep turning the plunger in and letting casing out, when you get to about ¾ of an inch from the end of the casing, simply turn the plunger handle back 1 turn, the pinch off the meat at the end of the tube. Place the sausage on a plate. I can get two sausages from one filling of the stuffer. Repeat the steps of filling and stuffing until all the meat mixture is used.
  • Now this step requires two people. Pick up a sausage, pinch the open end down to the meat, get the air out, and twist two times, have another person tie with a string. Repeat for all of the links.
  • Trim off the excess string and casing, then use a toothpick or needle, and poke 3 holes in each sausage, one on each end, one in the middle, this reduces the possibility of it "banging" or popping during cooking. Sausages are now ready to be pan fried or frozen. Once cooked, simply snip off the strings before serving.
  • To serve, simply pan fry and pair with mashed potatoes and brown gravy.

Notes

For the pork, ground pork at Tesco is 109 Baht/kilo or $3.30 for 2 lbs. I made 10 links using 28 mm (1.10 inches) casings. I sampled 6 of 10 sausages, average is 103 grams (3.6 ounces) per sausage. Figuring 2 sausages per serving is 66 cents per serving. Excellent value compared to store bought.
Shortcut: Bread Crumbs.
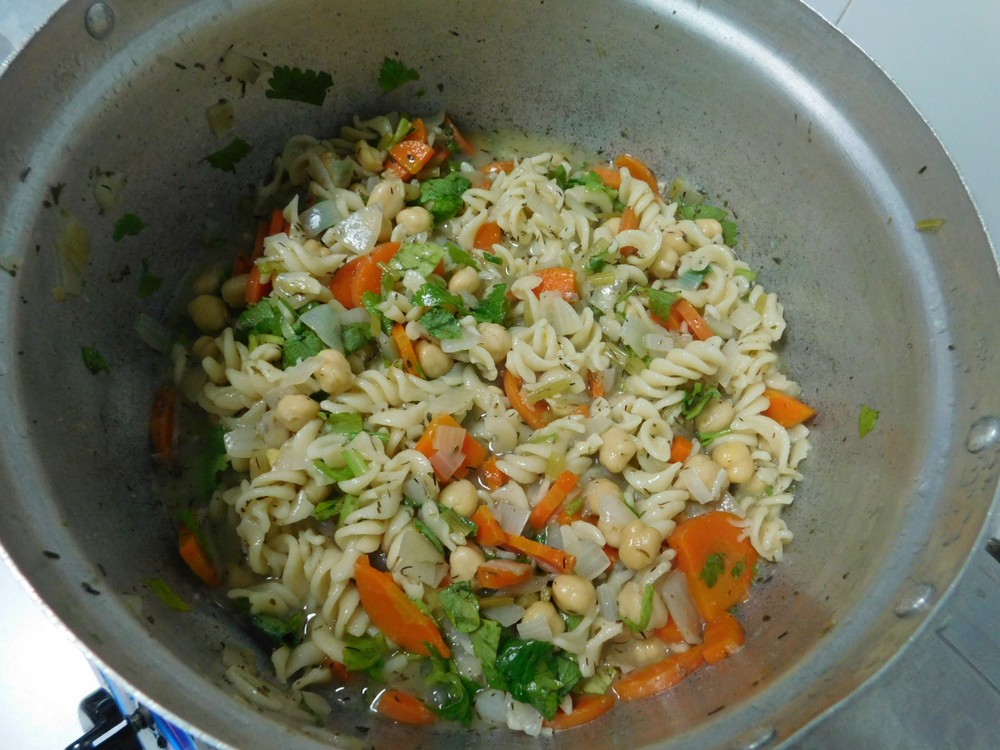
Chickpea Noodle Soup

Chickpea Noodle Soup

Don't let the name fool you, although this is written as a vegetable soup, lots of variants so you can tailor this to be your signature soup. Link to the Shortcut is listed in the Recipe Notes section.
Prep Time 15 minutes
Cook Time 30 minutes
Total Time 45 minutes
Course Main Dish
Cuisine American
Servings 6 servings

Ingredients
  

  • 2 tablespoons olive oil
  • 4 cloves garlic, smashed and minced
  • 2 medium onions, diced
  • 2-3 medium carrots, sliced thin
  • 4 stalks celery, sliced thin
  • 6-8 sprigs fresh thyme, or 2 tablespoons dried thyme
  • 1 bay leaf
  • 2 quarts vegetable broth, (8 cups)
  • 250 grams dry spiral pasta, (8 oz)
  • 2 cups cooked chickpeas, drained, (Shortcut)
  • salt and pepper, as desired
  • chopped parsley, for garnish, if desired
  • saltine crackers, for serving, if desired
  • celery tops, chopped, optional

Instructions
 

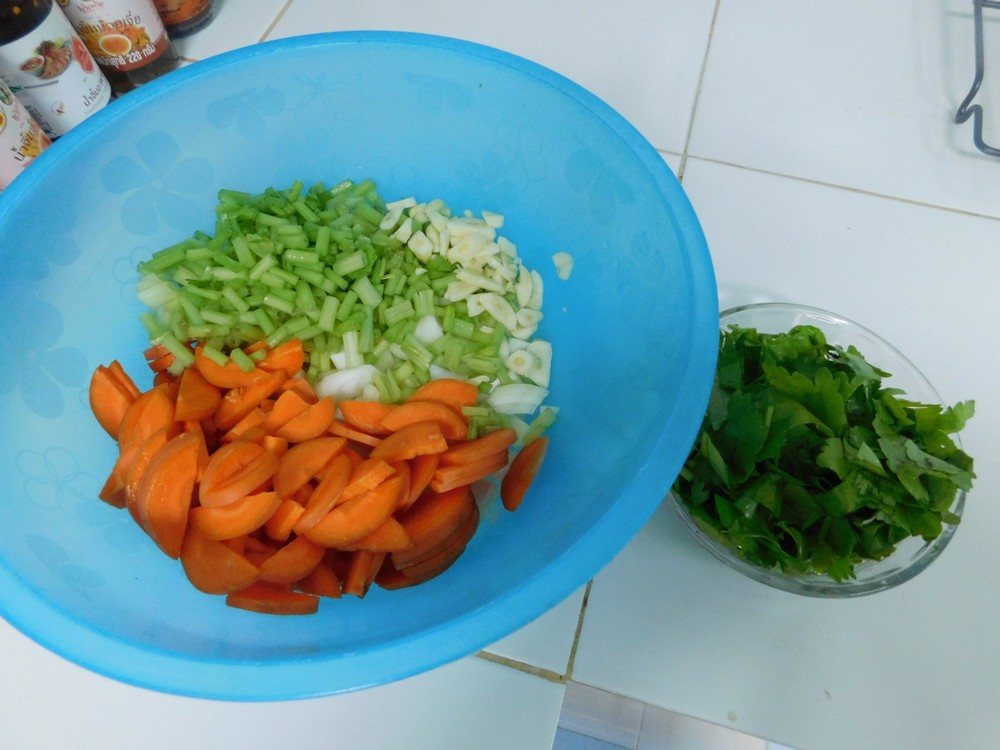
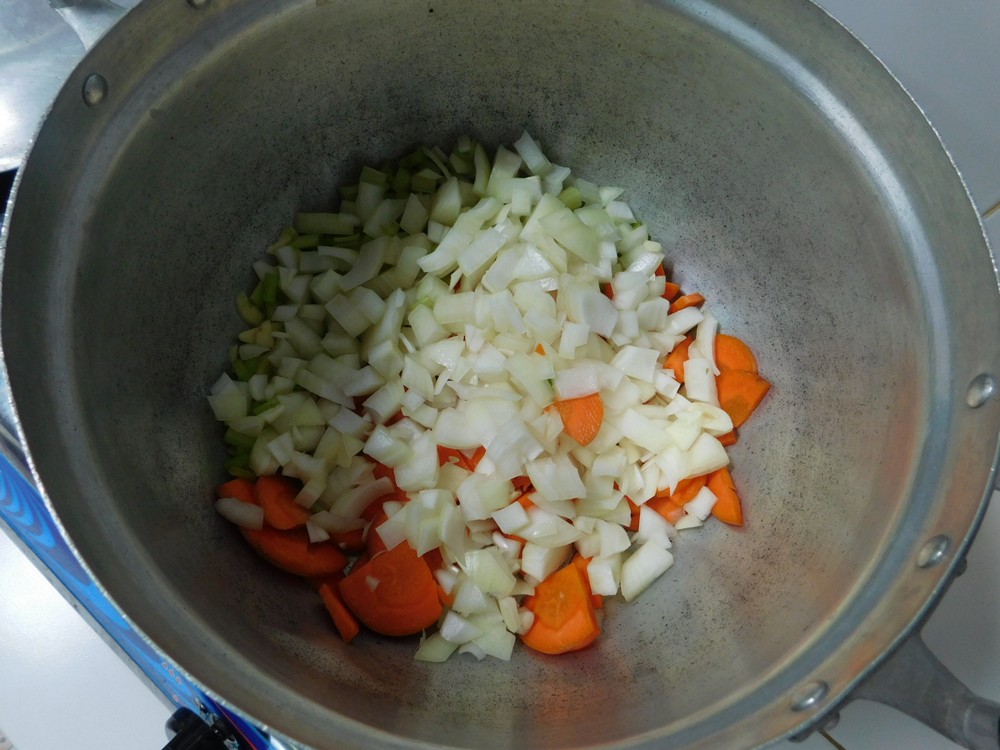
  • Prep all the veggies. Since I do not like waste, I also chop the celery tops and add those in at the end.
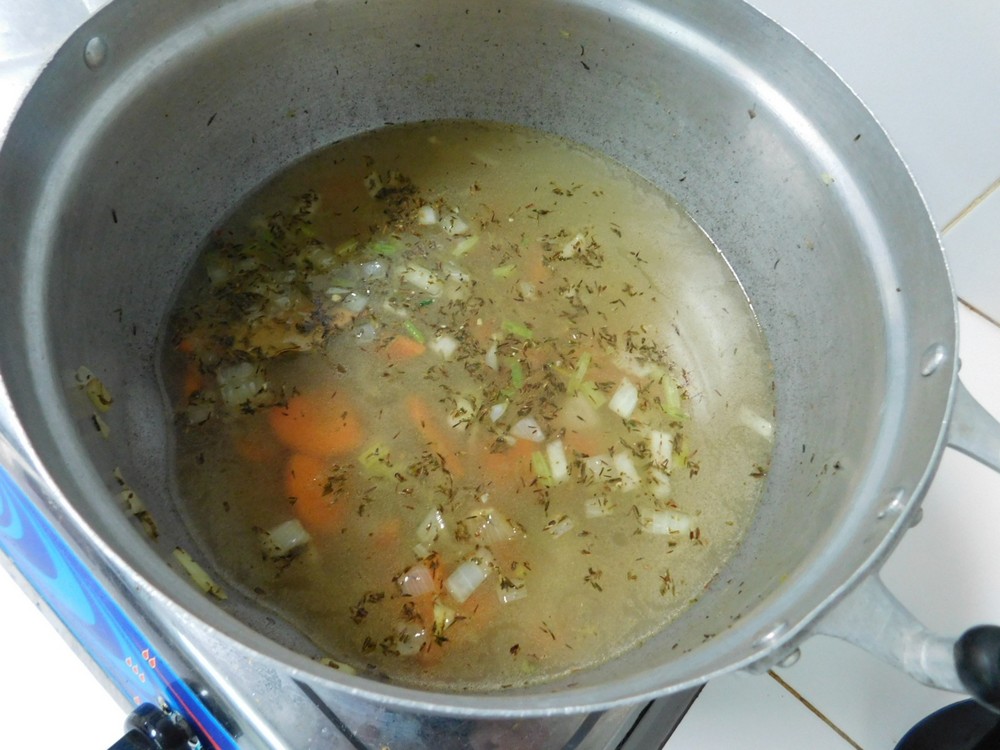
  • Heat the oil in a pot on medium heat, when hot add the onion, carrots, celery, garlic, thyme, and bay leaf. Cook, stirring often until the onion is softened but not browned.
  • Add the vegetable broth and bring to a boil.
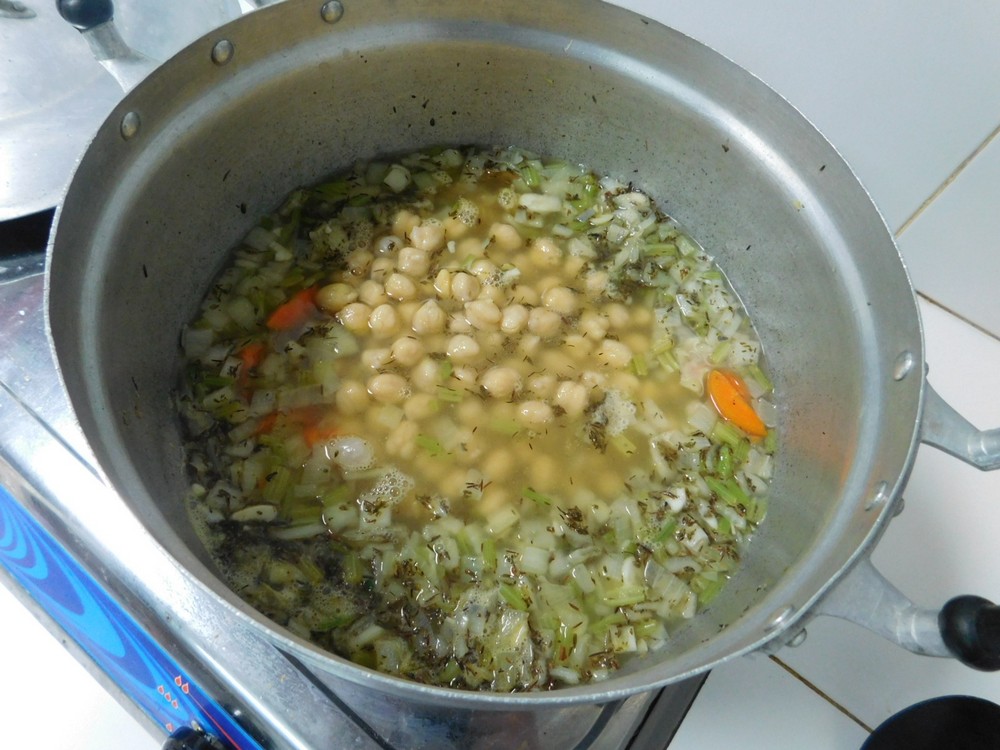
  • Add the pasta and chickpeas, reduce heat to a simmer and cook until the pasta is tender, about 10-20 minutes. Taste and season with salt and pepper as desired.
  • If using the celery tops, go ahead and stir those in and simmer for 2-3 minutes to wilt them.
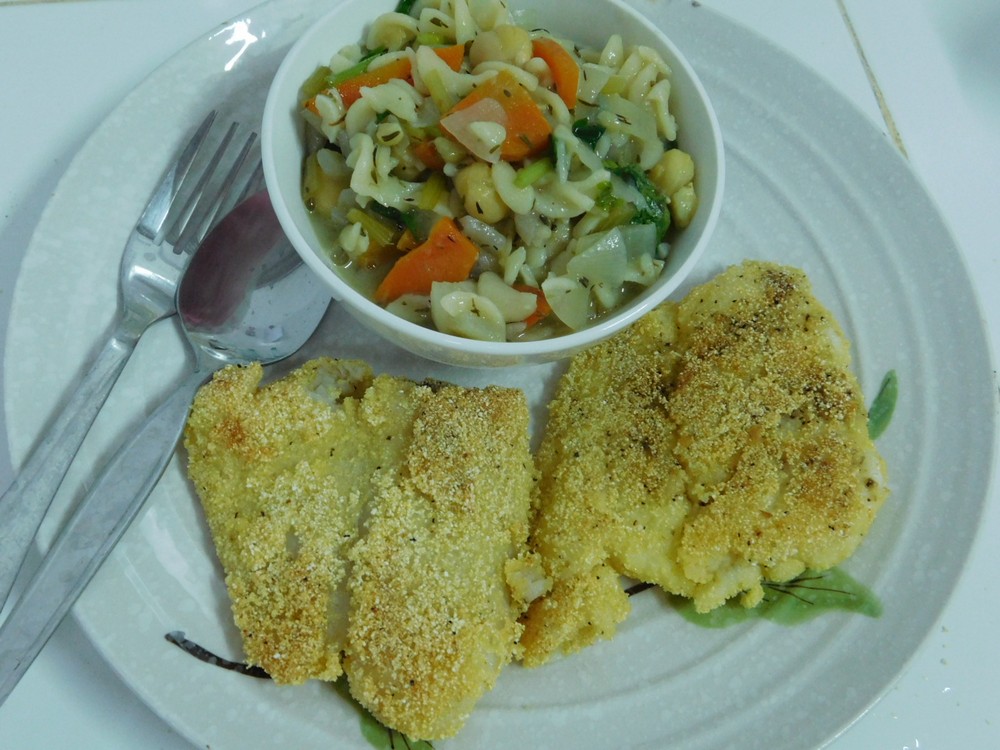
  • Ladle into bowls, garnish with chopped parsley if desired, serve with saltine crackers or bread if desired and a main dish of your choice. Enjoy.

Notes

Low cost.
Shortcut: Chickpeas (Pressure Cooker).
Variants: 1. Use chicken, mushroom, or bean broth (from chickpeas). 2. Use any bite size pasta, or even egg noodles. 3. Add cooked chopped chicken. 4. Add mushrooms.
Adapted from an internet recipe.
Vegetable Broth (Pressure Cooker)

Vegetable Broth (Pressure Cooker)

Adapted from an internet recipe.
This takes 5 minutes on high pressure, that's it. This is the basic trinity, as I add the other variants, I will add them. I know a lot of stock/broth recipes call for ingredients in chunks, if you want the flavor from the ingredients, think sliced or chopped, sliced and chopped = more surface area. I use a stove top pressure cooker, 9 liters (9½ quarts) with 80 kPa (12 psi) pressure. Use all safety precautions for you model of pressure cooker.
Prep Time 15 minutes
Cook Time 5 minutes
Total Time 20 minutes
Servings 2 quarts broth

Equipment

  • Pressure Cooker

Ingredients
  

  • 4 medium onions, chopped
  • 6 medium carrots, peeled and sliced
  • 6 stalks celery, plus tops, chopped
  • 4 cloves garlic, smashed and chopped
  • 10 stalks parsley, chopped
  • 10 black peppercorns
  • ½ teaspoon salt
  • 2 quarts water, (8 cups)

Instructions
 

  • Add everything to your pressure cooker.
  • Add the lid and lock, place the weight on, bring to high heat. Once the jiggler starts to move and vent pressure (indicating full pressure), reduce the heat to low or medium low, just enough to maintain the jiggler moving and venting. Start your timer for 5 minutes.
  • Once 5 minutes is reached, turn off the heat and move the cooker to an unused burner for a natural release of pressure, meaning just let it set there until internal pressure in the vessel is zero, about 15-20 minutes. (The more liquid in a pressure cooker, the longer it takes to cool and release pressure.)
  • When you have indications of zero pressure inside the pot, pull off the weight, open the lid, and let it cool a little while, maybe an hour. This is just to prevent scalding if some splashes while straining it.
  • To strain the broth, line a colander with 1-2 layers of cheesecloth and place on another pot. Pour the contents of the pot into the strainer and allow to thoroughly drain. Discard (or compost) the contents of the strainer, and pour the broth into two quart jars.
  • Use as a base for soups, pasta, etc.

Notes

Variant: 1. Holy trinity vegetable broth (can't leave out the Cajuns), replace the carrots with green bell peppers, chopped.
Ellen’s Beef Manhattans

Ellen's Beef Manhattans

This comes from a friend and is an old fashioned dish and was common in school cafeterias. Years ago, utilizing leftovers an another meal was very common as well as adding some items to extend the leftovers further. The beauty of this recipe, is the leftovers. I have written this to use leftovers. If you need to make mashed potatoes I have a shortcut in the Recipe Notes section or make mashed potatoes your preferred way. Link to the shortcut is listed in the Recipe Notes section.
Prep Time 10 minutes
Cook Time 20 minutes
Total Time 30 minutes
Course Lunch, Main Dish
Cuisine American
Servings 2 servings

Ingredients
  

  • 2 cups leftover roast beef, shredded
  • 1 cup leftover mashed potatoes, warmed, OR make from a shortcut
  • 1 large onion, sliced
  • 1 tablespoon butter
  • 1 1/2 cups beef gravy, homemade or from packets
  • 4 slices bread
  • salt and pepper, as desired

Instructions
 

  • In a non stick pan, melt the butter on low heat, when hot, add the onion and saute until tender, about 10 minutes.
  • Stir the shredded beef into the onion and let this simmer for a few minutes. Season with salt and pepper as desired.
  • Now stir in the gravy and let this simmer. Heat up the leftover mashed potatoes, or mash your fresh cooked potatoes, if making mashed, flavor them up with splash of milk, butter, and some black pepper.
  • To serve, place a slice of bread on a plate, spoon some beef and gravy over the bread, top with another slice of bread, add some mashed potatoes to the bread, spoon some more beef and gravy over the top, season with salt and pepper as desired. Serve and enjoy.

Notes

Low cost.
Shortcut: Mashed Potatoes (Pressure Cooker).
Recipe provided by Ellen Bales and her recipe is here.
United States.
Salmon Gravlax III

Salmon Gravlax III

This recipe and variants for Gravlax is graciously provided by Jen Reviews.
This recipe for Gravlax comer from a very reliable source that tests, adjusts, and tastes the dishes they prepare. Gravlax is a Scandinavian/Swedish way of preserving salmon. This is not a cooked dish, just cured. Link to the Shortcut is listed in the Notes section.
Prep Time 1 hour
Total Time 1 hour 2 minutes
Course Main Dish
Cuisine Scandinavian, Swedish
Servings 4 servings

Equipment

  • Cheesecloth

Ingredients
  

For the Brine

  • 1 kilo center cut salmon fillet, pin bones removed, (2 lb)
  • 2 cups buttermilk, Shortcut
  • 1 tablespoon kosher salt

For the Dry Cure

  • 2 cups fennel fronds, chopped
  • 1 tablespoon dried dill
  • 1 tablespoon dried tarragon
  • 1 teaspoon ground white pepper
  • 1 teaspoon crushed red pepper flakes
  • 1 cup kosher salt
  • ¾ cup sugar
  • ¼ cup cognac, more or less to taste, optional

Instructions
 

  • Using a non reactive bowl (such as glass, stainless steel, ceramic, or plastic), stir together the buttermilk and salt then add the fillet, ensure the fillet is covered with milk. Set this aside to soak for 20 to 30 minutes.
  • While the fish is soaking, mix together the Dry Cure ingredients except the cognac, in a mixing bowl.
  • When the fish is ready, remove from the buttermilk and rinse off the brine under running water, then pat dry with paper towels, be gentle with the fillet so as not to damage it. Discard the buttermilk brine.
  • Place the large piece of cheese cloth in the bottom of a non reactive baking dish, a Pyrex or ceramic dish would be ideal for this. Pour half of the dry cure mix in the middle of the cheesecloth and spread it out to just a bit larger than the fillet you have.
  • Place the fillet on to of the dry cure, skin side down. add the remaining dry cure mix on top of the fillet and spread it out evenly to totally cover the fillet, top, bottom, and sides should all be covered.
  • Gently wrap the fillet with the cheesecloth, ending with the skin side down once again, in the middle of the baking dish. We'll call this a salmon package now.
  • Sprinkle on the cognac if using, this is optional.
  • Place a piece of plastic wrap on top of the "salmon package".
  • Now place a heavy plate on top of the package and place a large canned item on the plate. The weight helps with more even curing.
  • Place the baking dish, with the plate and canned item, in the fridge. At 12 hours, remove the baking dish, remove the plate with the canned item, remove the plastic wrap and discard. Flip the package over, place another piece of plastic wrap on the package and return the plate and canned item back on top of the plastic wrap. Place the baking dish back in the fridge.
  • Repeat this for a minimum of 2 days, if the fillet is thick, like over 2 inches thick, continue this process for 3 days.
  • Once the 2 or 3 days have passed, remove the baking dish from the fridge and place the salmon package on a cutting board, unwrap the cheesecloth and gently brush away the dry cure using a paper towel, DO NOT rinse the fish. Now you have Gravlax.
  • Using a very sharp knife, slice the fillet across the grain at a 45 degree angle, then off the skin. Slice thinly, about ⅛ inch thick.
  • Serving idea is on bagels with cream cheese, capers, red onion, and fresh dill. Or on rye bread. Or with eggs as a breakfast.

Notes

I cannot price this until I go to Makro again as that is the only store I know that carries large pieces of salmon. For now I will say High cost per serving.
Safety Note: Most times the salmon you will buy is frozen or was previously frozen, perfectly acceptable. If wanting to make this with fresh salmon, it is highly recommended you freeze the salmon first at -17° C (0° F) or colder for at least 48 hours to kill off any parasites that may be in the fish.
Shortcut: Buttermilk.
Variants: 1. Feel free to use fresh herbs instead of dried, or herbs of your choosing, such as fresh dill in place of the fresh fennel. 2. Change the sugar (white) to light brown, as long as you keep the amounts of salt and sugar the same, as that is key in the curing process for this.
Hazan’s Butter Tomato Sauce

Hazan’s Butter Tomato Sauce

Just a Pinch Recipe Club - Chef Andy Anderson, United States
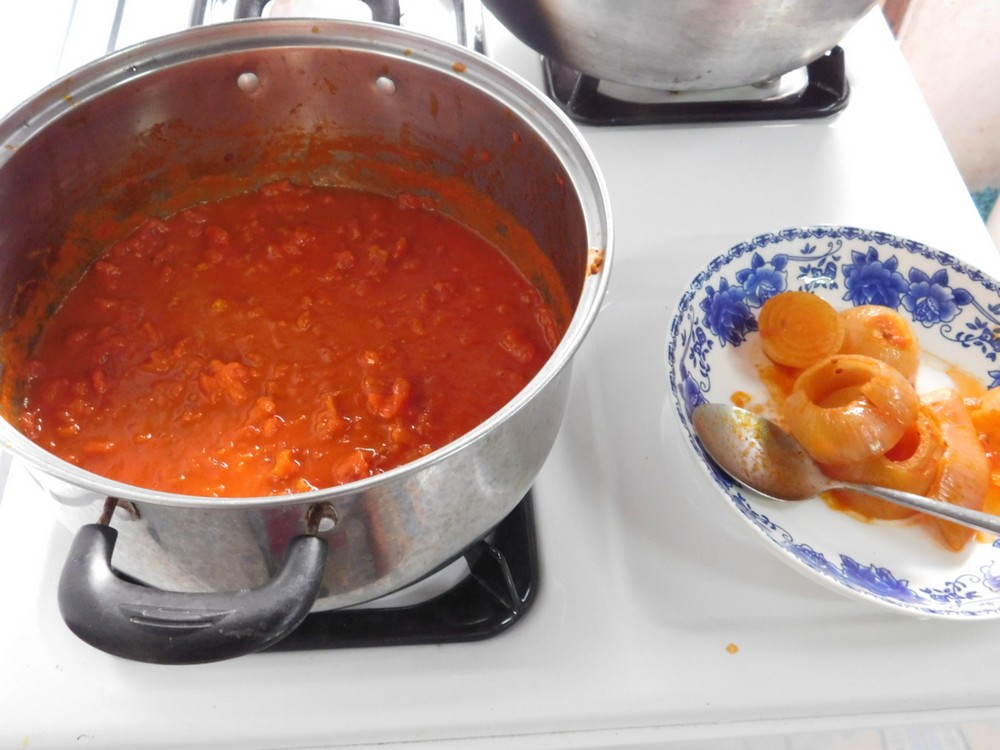
I got this recipe from a friend on another site, and that man is a Chef, and the recipe comes from the late Italian Chef and author, Marcella Hazan. So needless to say, this recipe comes highly recommended. I made this on 27 May 2022, and I must say, best sauce I have tested, the flavor is excellent! Highly recommended for a easy and very delicious sauce. This is adapted to the size of cans I have here in Thailand, for US size can, that is explained in the Notes section.
Prep Time 5 minutes
Cook Time 45 minutes
Total Time 50 minutes
Cuisine Italian
Servings 0

Equipment

  • Potato Masher

Ingredients
  

  • 2 cans peeled tomatoes, (20 oz / 565 g each), I use Brook brand.
  • 1 medium onion
  • 6 tablespoons unsalted butter
  • kosher salt, as needed

Instructions
 

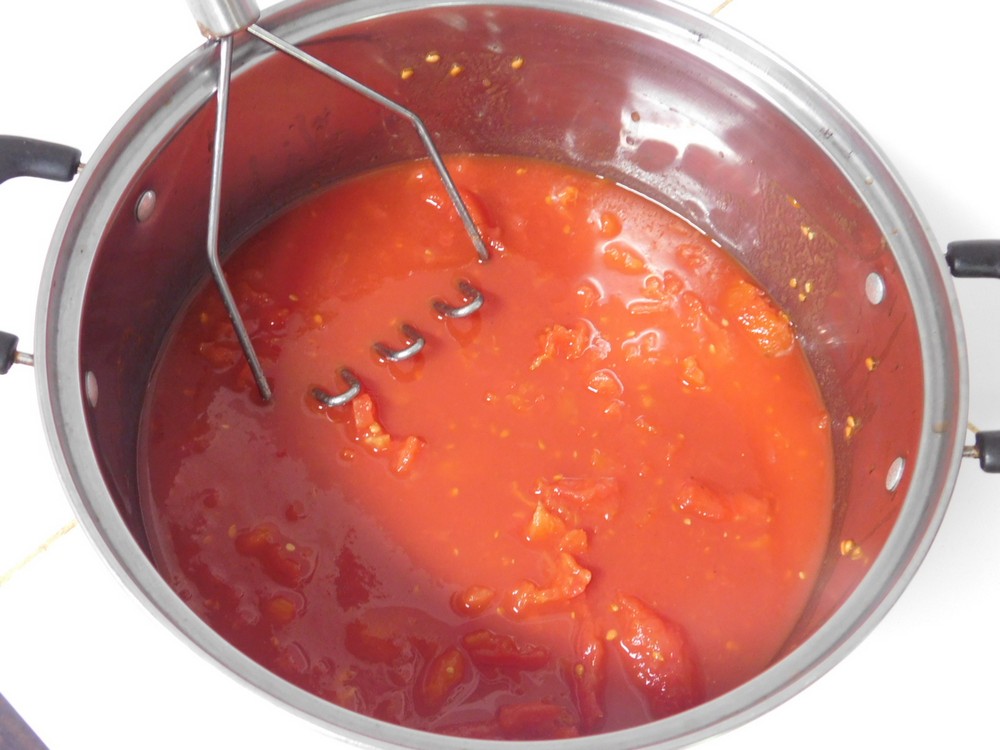
  • Pour the tomatoes and the juice, into a saucepan and crush them with a potato masher, or you can do this with your hands.
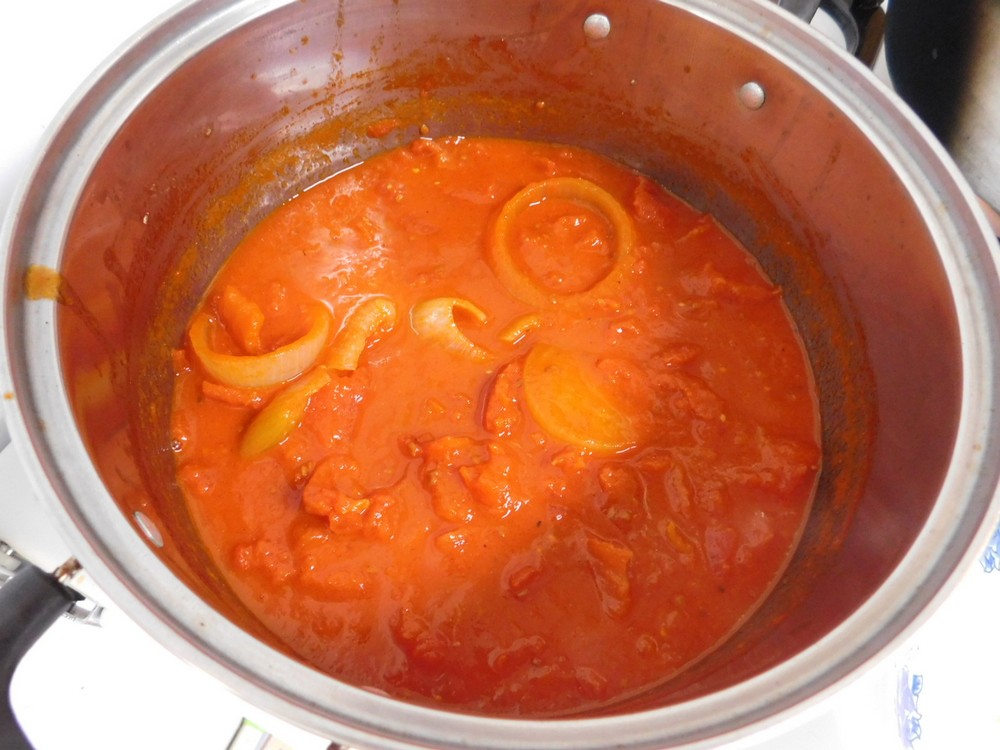
  • Peel the onion and simple cut in half crosswise. Add the onion and butter to the saucepan.
  • Place saucepan on low heat and bring to a simmer. Simmer only, no one likes a pot of burnt tomatoes!
  • Every 10 minutes or so, give the sauce a stir, taste, and season with a tiny pinch of salt, let the sauce simmer. Continue to simmer, taste, and add a tiny pinch of salt, as needed, for 45 minutes.
  • Remove from heat and remove the onion. You can either discard the onion or enjoy as a snack. Mash the tomatoes with the masher again, now your sauce is ready.
  • Serve over hot cooked spaghetti or pasta of your choice. Enjoy.

Notes

Variant: 1. Replace half the butter with duck fat (this comes highly recommended!). 2. In a separate pan, brown some ground beef or pork (500 g / 1 lb), drain, and stir into the sauce, then serve as a meat sauce.  
This sauce freezes well, so make a larger batch, separate into portion sizes you require and freeze, then you have sauce readily available.
For viewers in the US, for the canned tomatoes, use one 28 oz can, and 5 tablespoons butter. 
Peppery Chicken Curry

Peppery Chicken Curry

Absolutely delicious as written! I did change some of the steps to make it easier to prepare, but the intent of the recipe is valid and tasty!
Prep Time 20 minutes
Cook Time 40 minutes
Total Time 1 hour
Course Main Dish
Cuisine American
Servings 3 servings

Ingredients
  

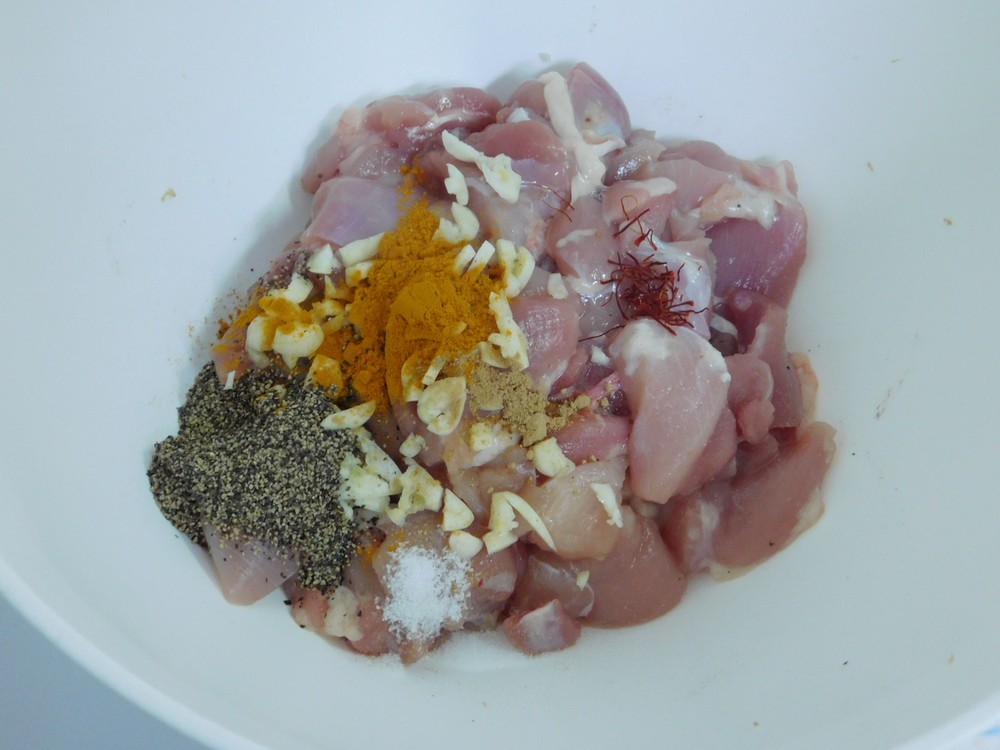
  • 400 grams chicken thighs, boneless, skinless, cut into 1 inch pieces, (14 oz)
  • 2 cloves garlic, smashed and minced
  • 1 teaspoon ginger, minced, or 1/8 teaspoon ground ginger
  • 1 tablespoon rice wine vinegar
  • 1/2 teaspoon ground turmeric
  • 5-6 saffron threads, (I cringe when I use this)
  • 2 teaspoons coarse ground black pepper
  • 1/4 teaspoon salt
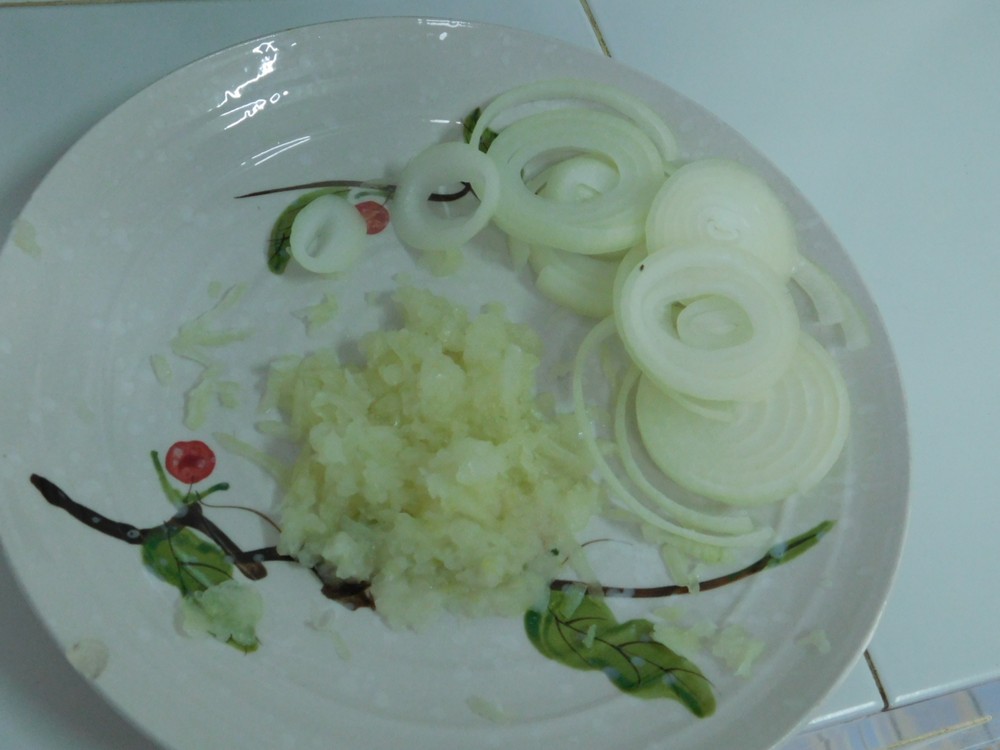
  • 1 onion, sliced
  • 1 onion, grated
  • 2 tablespoons cooking oil
  • 1/2 cup water

Instructions
 

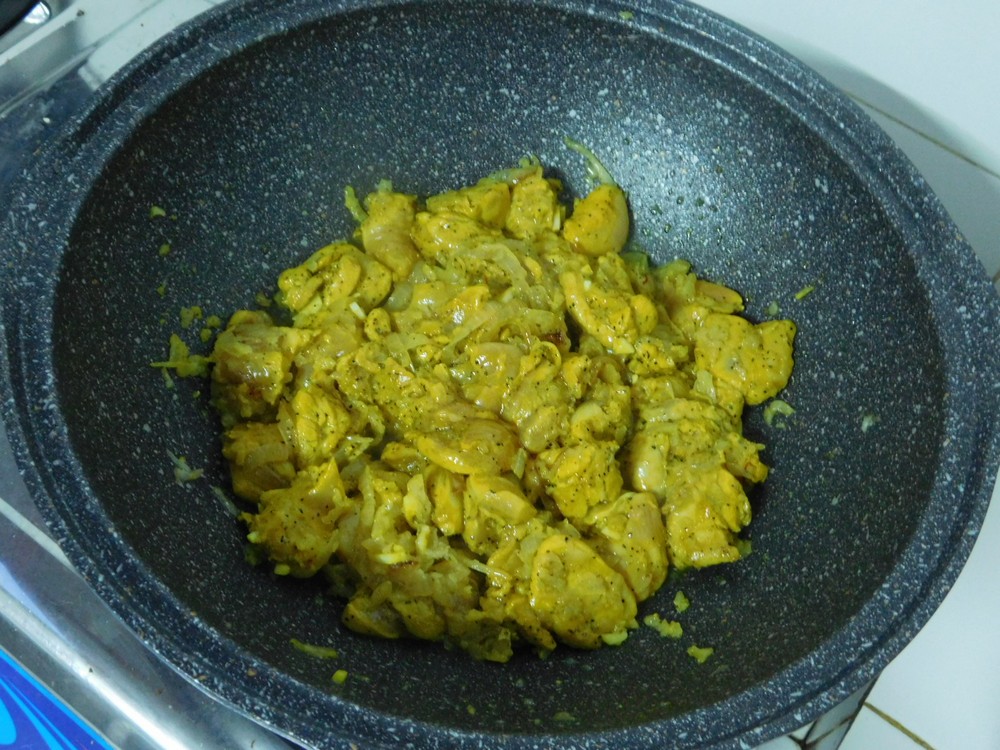
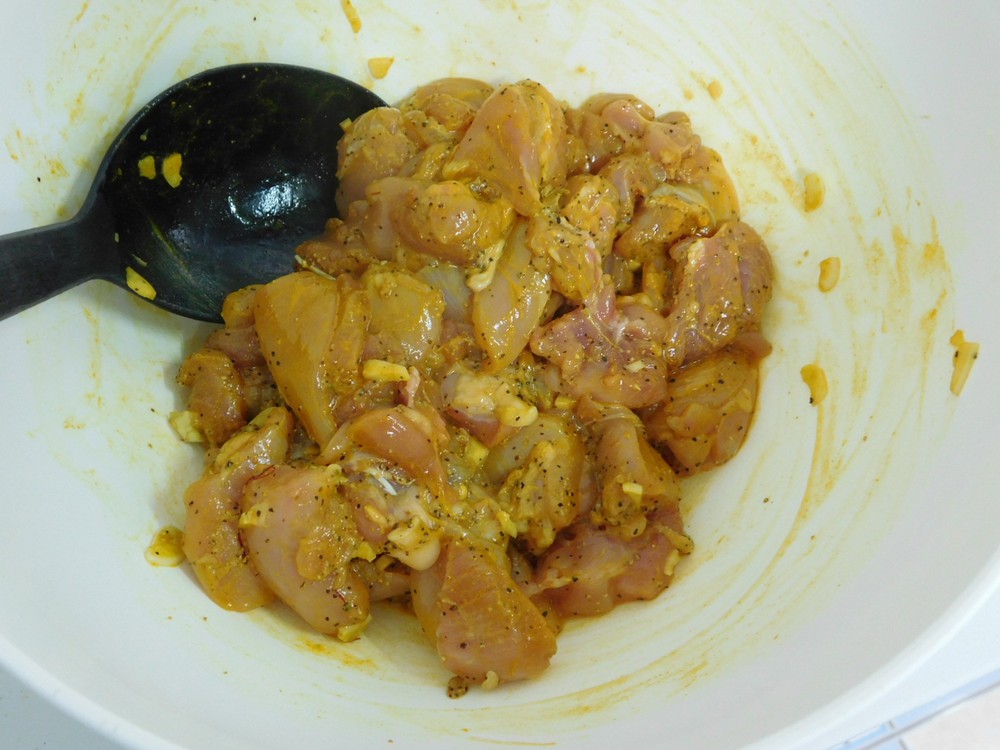
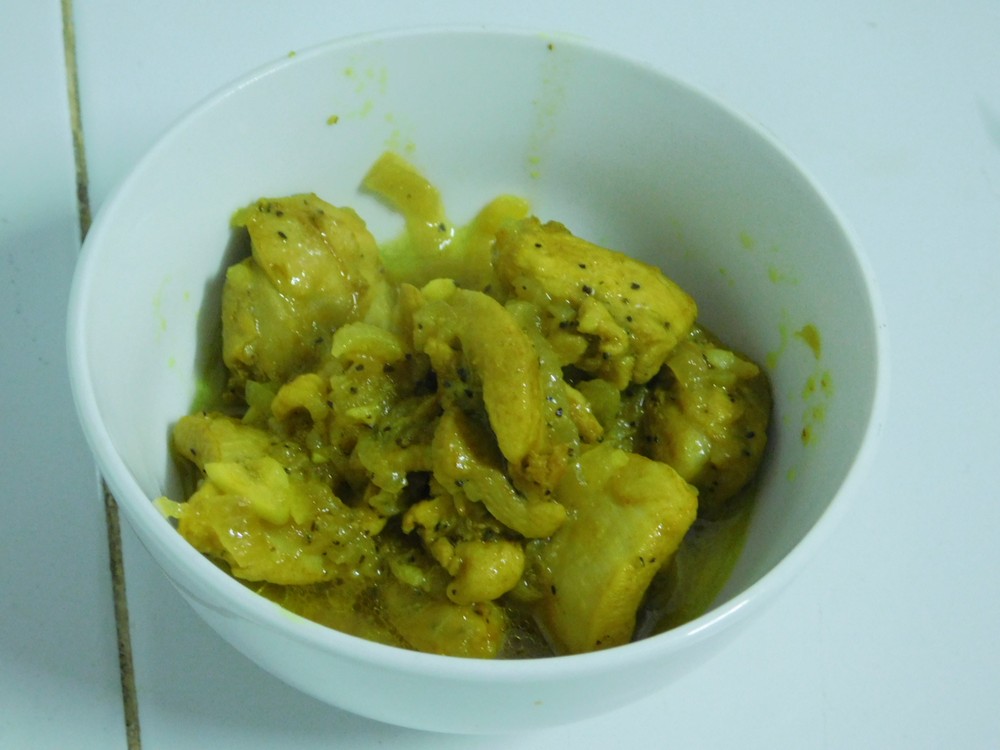
  • In a shallow bowl, add the chicken, garlic, ginger, salt, rice vinegar, turmeric, saffron (and I cringe when using that), and only 1 teaspoon of the black pepper.
  • Mix to coat the chicken pieces. Set aside to marinate as you continue on.
  • Slice one onion and set that aside. Grate the other onion and set this aside. You can also use a food processor to grate the onion, I use a box grater.
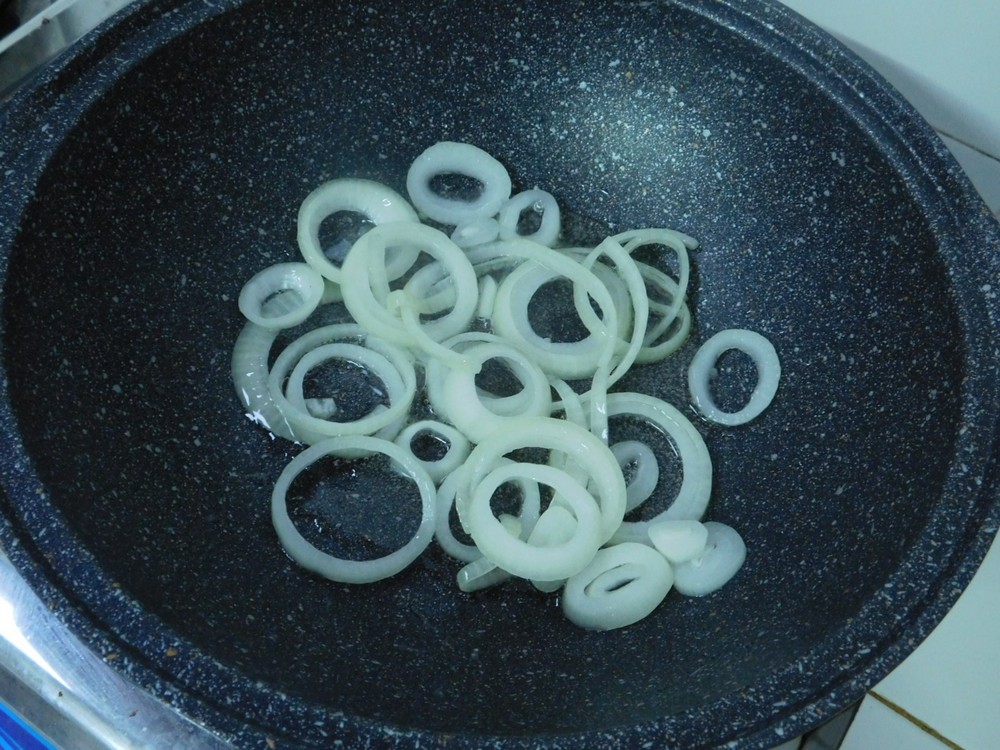
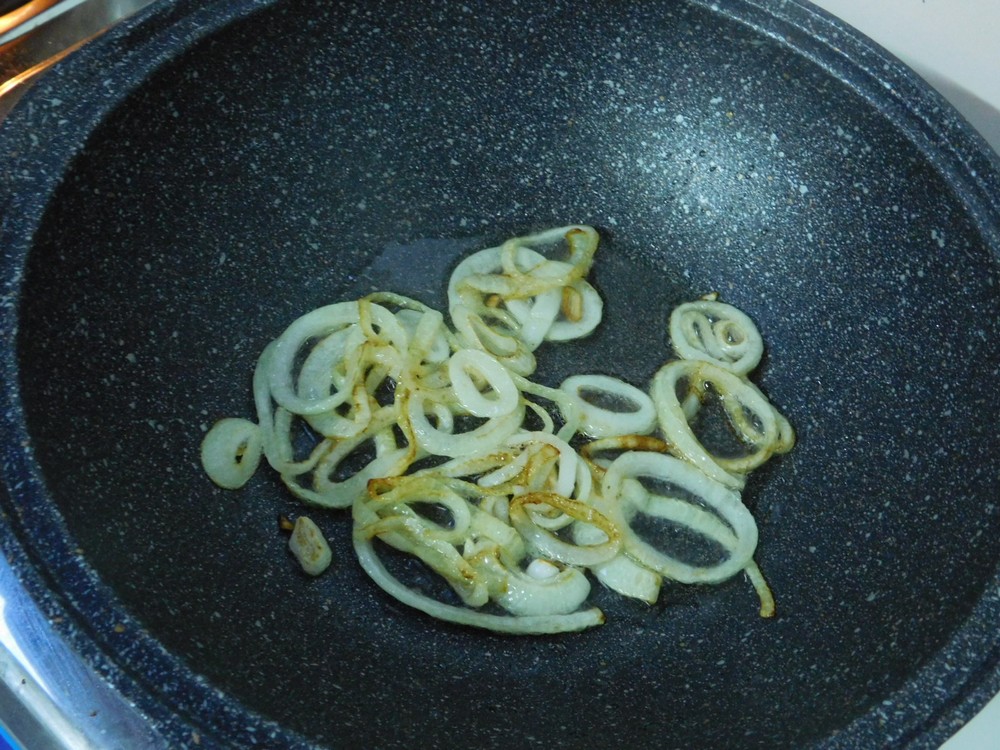
  • In a large non stick pan, heat the oil on medium heat, when hot, add the sliced onion and the remaining 1 teaspoon of black pepper.
  • Cook for about 6-10 minutes or until nearly all is golden brown, stirring often.
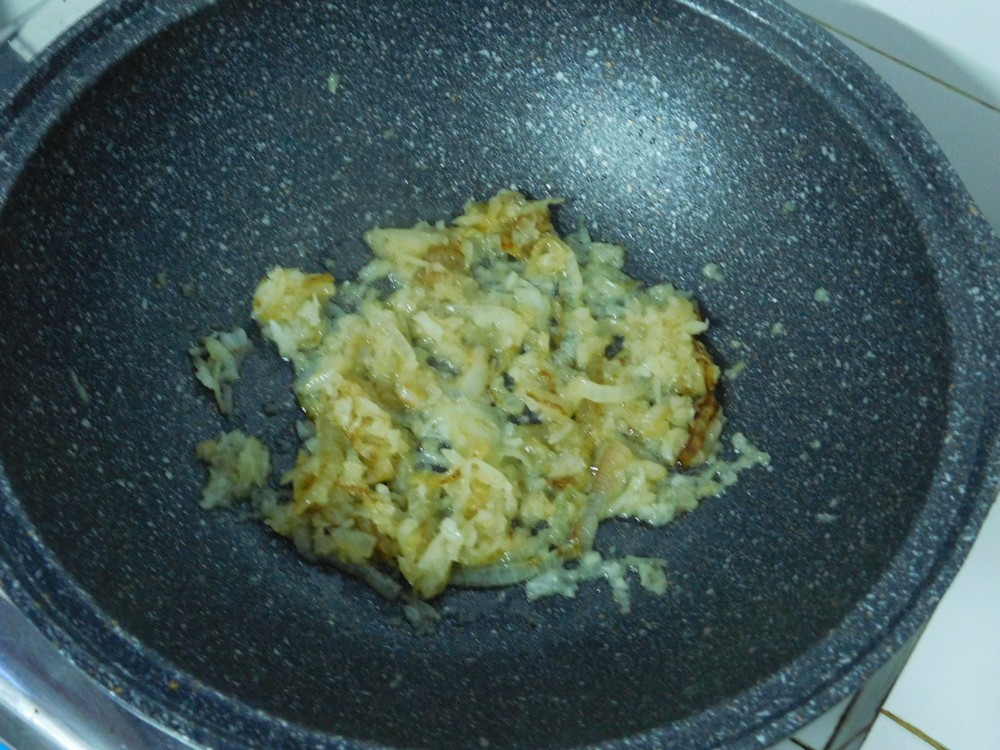
  • Reduce heat on the pan to low, add the grated onion and cook that until it is golden brown, about 5 minutes or so.
  • Add the chicken and the marinade, stir the chicken to coat with the onion and spices, cook to just brown the meat.
  • Add the water, stir, and bring to a simmer and cook for about 20 minutes or until the chicken is cooked through and tender.
  • Serve over rice or pasta of your choice.

Notes

Low cost.
Adapted from an internet recipe.