Sesame Chicken Rolls

Sesame Chicken Rolls

Peng's Kitchen, Singapore.
This is a twist on spring rolls and was brought up by a friend who has eaten sesame chicken rolls in Hong Kong, so with the help from another friend, in Singapore, I modified a spring roll recipe to reflect the changes for the sesame chicken version. I have not tested this yet, but I will in the near future. Not all the ingredients will have quantities, I will figure that out when I make these. Link to the Shortcut is listed in the Recipe Notes section.
Prep Time 30 minutes
Cook Time 25 minutes
Total Time 55 minutes
Course Appetizer, Lunch, Main Dish
Cuisine Asian
Servings 0

Equipment

  • Oven
  • Baking Sheet
  • Parchment Paper
  • Pastry Brush

Ingredients
  

  • spring roll wrappers, refrigerated
  • chicken breasts, or fillets
  • Cheddar cheese, sliced
  • 3 tablespoons tahini, aka sesame paste, Shortcut
  • 3 tabelspoons water
  • tablespoons brown sugar
  • 1 egg yolk
  • white sesame seeds
  • olive oil, as needed
  • 2 tablespoons water
  • 1 tablespoon corn starch

Instructions
 

  • Cut the chicken into strips lengthwise and about ½ inch square, and the strips about 3 to 3½ inches long. Maybe start with one chicken breast and test the recipe before making more, I will estimate 2-3 strips of chicken per roll.
  • In a non stick pan on medium heat, add a tablespoon of olive oil. When the oil is hot, add the chicken strips and stir fry until no longer pink and just cooked through, this goes quickly as the chicken is thin strips. Don't over cook the chicken or it will be dry. Remove the chicken to a plate lined with paper towels to cool. Allow the chicken to cool completely.
  • While the chicken is cooling, prepare the other items you need. The reason for letting the chicken cool is you never fill a spring roll with hot filling as they tend to break apart doing that, so let the filling cool completely.
  • In a small bowl, mix together the tahini, water, and brown sugar until smooth.
  • In another small bowl, add the egg yolk and lightly mix with a fork. Get a pastry brush ready.
  • Slice the cheese into strips about ½½ inch wide, I am estimating 2-3 strips of cheese per roll.
  • In another small bowl, mix together the 1 tablespoon of corn starch and the 2 tablespoons of water, this is your glue.
  • When the chicken has cooled, now we are going to warp the rolls, and it is good if you have two people do this, one to pull the wrappers apart and one to roll. If there is only one person to assemble the riolls, Keep in mind there is a smooth side and a rough side to spring roll pastry wrappers.
  • Place a pastry wrapper, smooth side down, on your work surface with one corner pointed towards you. Place 2-3 strips of chicken near the corner nearest you, so that it is closest to you without overhanging the pastry. Two strips on the bottom and one strip on top would be perfect.
  • Spread some sesame paste mixture over the chicken.
  • Top the chicken with 2-3 strips of cheese.
  • Preheat your oven to 180°° C (350° F), line a baking sheet with foil or parchment paper.
  • Now fold up the corner nearest you, over the chicken, and roll tightly away from you until you almost get near the widest part (the left and right corners). Now at this point, dip two fingers in the corn starch slurry and rub your fingers along the two edges that are pointing away from you.
  • Tightly fold the left side towards the middle, then the right side towards the middle. It should look like an open envelope now.
  • Continue to tightly roll away from you, ending up with the point end away from you, nicely sealed to the wrapper, and you just made a chicken spring roll. Place the roll on the prepared baking sheet.
  • Repeat the process for as much chicken you have ready. Continue placing rolls on the baking sheet and keep them evenly spaced apart.
  • Once your rolls are completed, brush the rolls with the egg yolk, then sprinkle with the sesame seeds.
  • Bake for 25-30 minutes or until golden brown.
  • Serve with a small bowl of tahini for dipping, enjoy.

Notes

Low cost.
Shortcut: Homemade Tahini (Sesame Paste).
Homemade Tahini (Sesame Paste)


Homemade Tahini (Sesame Paste)

Tahini is Arabic in origin and sesame paste is used in Eastern Mediterranean, Middle Eastern, North African, and Asian cuisines.
Cuisine Arabic
Servings 0

Ingredients
  

  • 250 grams white sesame seeds, (8.8 oz)
  • 5 tablespoons extra virgin olive oil
  • food processor

Instructions
 

  • In a dry pan, toast the sesame seeds on low heat, stirring constantly to prevent burning. Toast until golden brown. Pour seeds onto a plate and allow to cool.
  • When the seeds have cooled, place seeds in your food processor. Blend until the seeds are a fine texture, then slowly add the olive oil to make a smooth paste.
  • Pour the paste into jar and store in the fridge for up to several weeks. Use in recipes calling for tahini (sesame paste).

Notes

Used in Recipe Listed on this site:
 
Inspired by Peng's Kitchen and the link to this recipe is here. Singapore.
Vietnamese Spring Rolls

Vietnamese Spring Rolls

Adapted from an internet recipe.
Vietnamese Spring Rolls are made with rice paper, and are not fried or cooked in anyway after preparing. These are unique to Vietnam. Since the filling is seen through the rice paper, this way is very visual and eye appealing, this method is the unmixed method, more of a layered method. I have never used rice paper before so this will be a first when I make these as well. The trick here is to use 2 rice sheets per spring roll.
Prep Time 45 minutes
Total Time 45 minutes
Course Appetizer, Lunch, Main Dish
Cuisine Vietnamese
Servings 7 spring rolls

Ingredients
  

  • 14 sheets rice paper, (I don't know how many is in a package, so I will update this.)
  • 1 cup fresh mint leaves
  • 250 grams cooked shrimp, peeled, deveined, tails removed, sliced in half lengthwise, (8 oz)
  • 14 lettuce leaves
  • 2 cups rice vermivelli noodles, aka glass noodles, cooked, cooled to room temp, chopped.
  • 3 cups fresh bean sprouts

Instructions
 

  • Thaw the rice sheets.
  • Other than the rice sheets, get all of the ingredients prepped and ready to go, in bowls left to right, in the order listed.
  • Get a large flat pan of hot water ready and near you. Place a clean cloth on the counter in front of you, this will be your work surface.
  • When you have everything ready, take two sheets of rive paper and put them in the water for 10 seconds or so, until soft, remove from the water and for square sheets, one corner towards you, for round sheets, well, an edge near you.
  • Working closest to you, Arrange 3 mint leaves, evenly spaced, near you, staring from the center and working out.
  • Now place 4 shrimp halves in between the mint leaves.
  • Now take a lettuce leaf and roughly tear that up, place that on top of the shrimp.
  • Now add a small amount of vermicelli noodles on the lettuce.
  • Add some bean sprouts.
  • Then add 3 more mint leaves.
  • Now tear up another lettuce leaf and top the mint.
  • To roll, lift the corner towards you up over and away from you and roll, tightly, away from you, 1 revolution of the roll only.
  • Fold the left and right sides towards the center.
  • Now roll, tightly, until it is completely rolled. Set on a serving tray, space them apart so they do not stick together.
  • Serve with dipping sauces of your choice, such as sweat and sour chili sauce.

Notes

I will price when I source the ingredients, for now I will say fair cost per serving.
Mushroom & Clove Spaghetti

Mushroom & Clove Spaghetti

Adapted from an internet recipe.
I love mushrooms and spaghetti, so this sounds like a win win. I made this on 2 Feb 2019, and I was pleasantly surprised, this is very delicious, Even my wife liked this dish. This is not like a typical spaghetti with a tomato sauce, this is not drenched in sauce. The clove is a subtle flavor but very nice.
5 from 1 vote
Prep Time 5 minutes
Cook Time 20 minutes
Total Time 25 minutes
Course Main Dish
Cuisine African
Servings 2 servings

Ingredients
  

  • 250 grams dry spaghetti, (8 oz)
  • ¼ cup butter, (½ stick / ¼ block)
  • 1 tablespoon all purpose flour
  • 1 red onion, diced
  • 3 whole cloves, or ¼ teaspoon ground cloves
  • teaspoons ground coriander
  • 4 cloves garlic, smashed and minced
  • ½ teaspoon black pepper
  • 200 grams button mushrooms, sliced, (7 oz)
  • tablespoons tomato paste
  • 1 tablsspoon light soy sauce
  • fresh spring onion, chopped, for garnish

Instructions
 

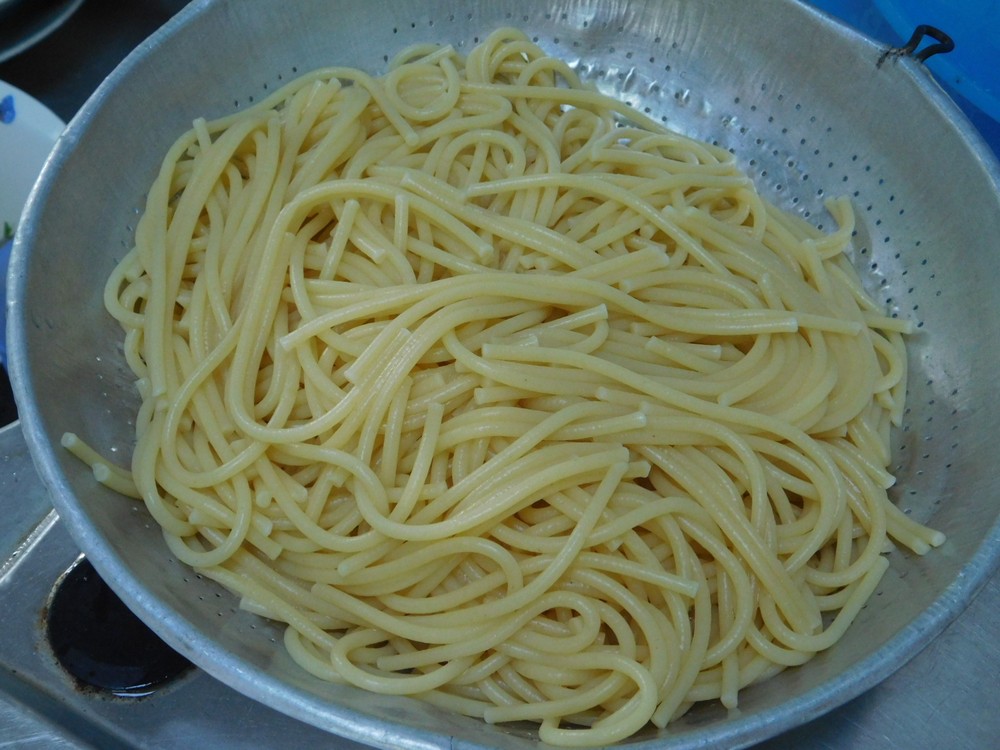
  • Heat a pot of salted water and bring to a boil, add the pasta and cook until tender. Drain and run under cold water. Set aside.
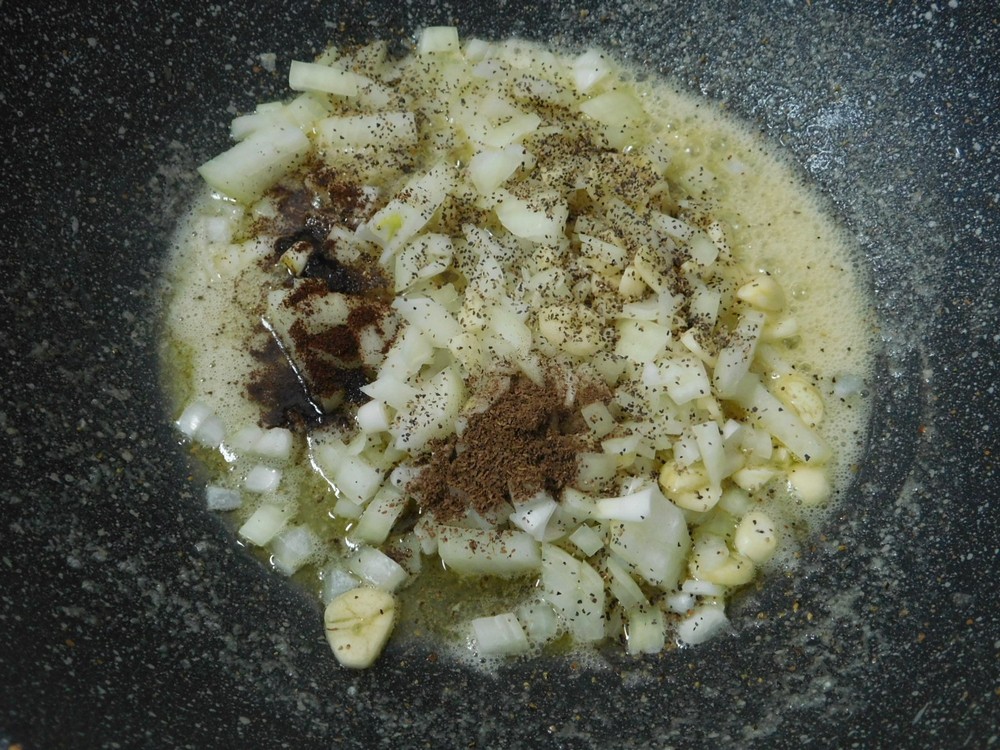
  • While the pasta is cooking, go ahead and start cooking the rest. Melt the butter in a large non stick pan on low heat, when completely melted, whisk in the flour until mixed together, then add the onion, cloves, coriander, black pepper, and garlic.
  • Stir until the onion is soft and garlic is fragrant. The kitchen will have a wonderful aroma.
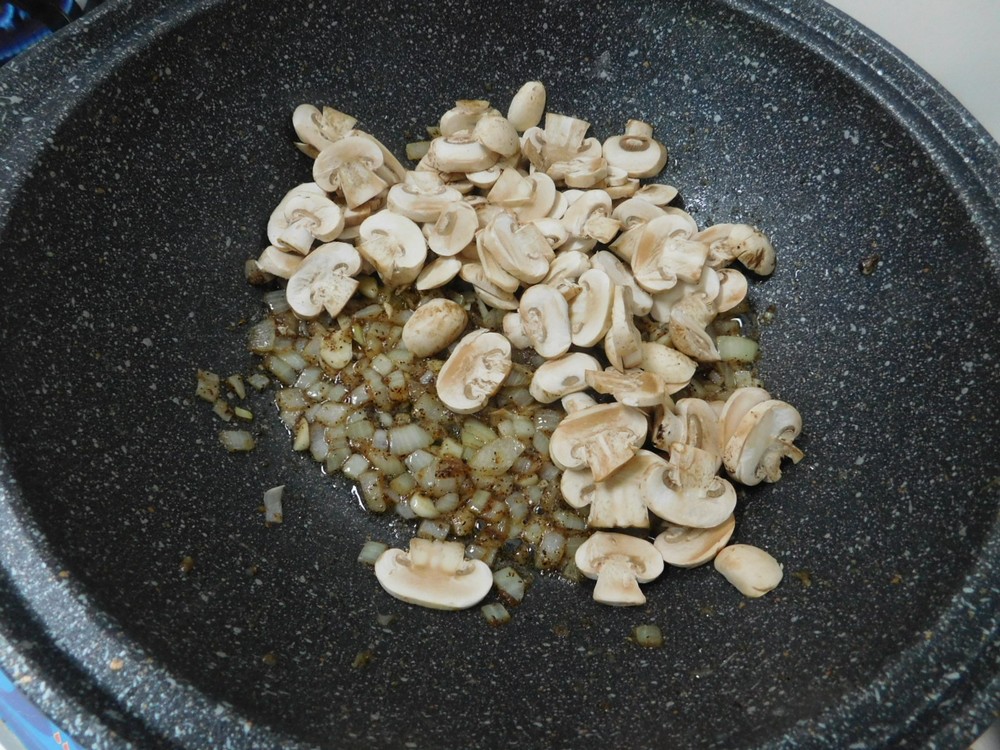
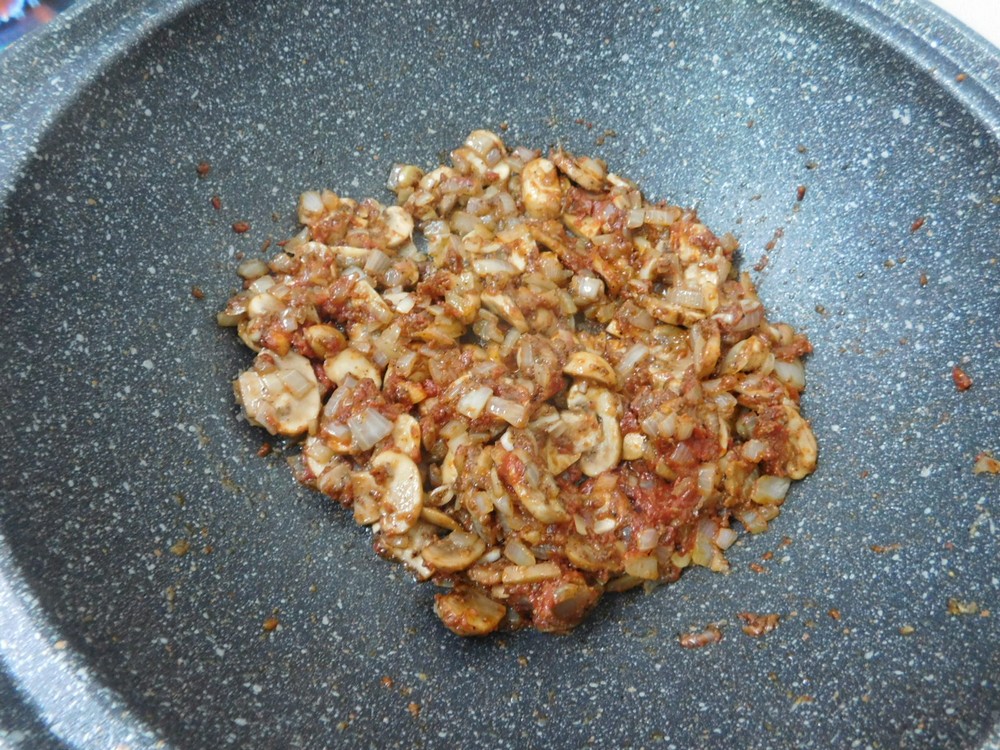
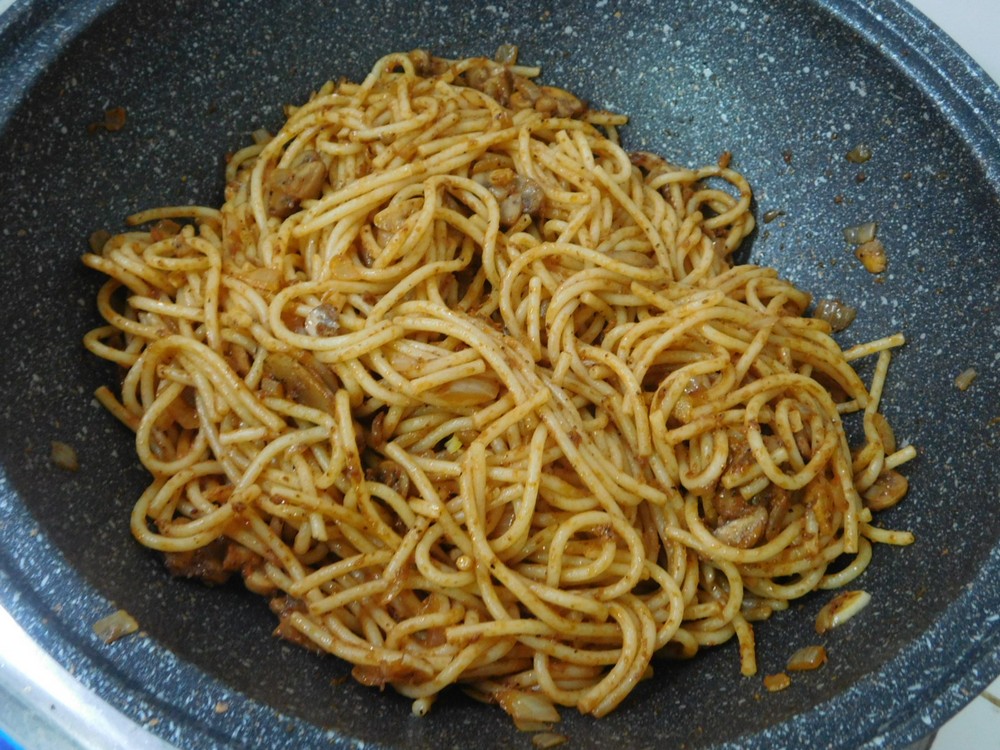
  • Add the mushrooms and tomato paste. I got snap happy with the camera and took this before adding the tomato paste.
  • Saute for 4-5 minutes or until the mushrooms are nice and tender. You will not get a lot of liquid from this, this a dry sauce.
  • Add the spaghetti and soy sauce, and mix with the mushroom mixture. Saute for 1-2 minutes to heat the pasta through.
  • Place pasta on plates, garnish with chopped spring onion if desired, serve with sides of your choice, enjoy.

Notes

Low cost per serving.
Variants: 1. Add blanched spinach. 2. Add smoked ham sliced into strips (highly recommended).
Variant 1 provided by Mike Early, United States.
Steak & Kidney Pie

Steak & Kidney Pie

Denise Georgiades, South Africa.
This comes from a good friend and sounds like a good way to use pork kidneys. I look forward to making this. If you have never cleaned kidneys before, no worries, I have a shortcut to show you that as well. Link to the Shortcut is listed in the Recipe Notes section.
Prep Time 30 minutes
Cook Time 1 hour
Total Time 1 hour 30 minutes
Course Main Dish
Cuisine English
Servings 4 servings

Equipment

  • Oven
  • Pie Dish

Ingredients
  

  • 2 tablespoons vegetable oil
  • 750 grams steak, cheapest cut you can find, diced, (1½ lb)
  • 250 grams lamb kidneys, or pork kidneys, cleaned and diced, (8 oz), Shortcut
  • 2 medium onions, diced
  • ¼ cup all purpose flour, 30 grams if using a scale
  • 3 cups beef stock, fresh or from powder, and as needed
  • salt and pepper, as desired, to taste
  • 1 dash Worcestershire sauce
  • 300 grams puff pastry, sheet or ball, (10 oz)
  • 1 egg, beaten

Instructions
 

  • Heat the oil in a large non stick pan on medium high heat, when hot, brown the beef on all sides, work in batches if needed, not trying to cook through, just get most of it browned. Remove the beef and set aside.
  • Same pan, add the kidney and brown on all sides, again, not trying to cook through, just brown it.
  • When the kidney is browned, add the onion to the pan and saute for 3-4 minutes until the onion is soft.
  • Return the beef to the pan and mix everything together, then sprinkle the flour in and stir to coat everything with flour.
  • Pour in the beef stock and stir together, bring the heat to a boil then reduce to a simmer. Simmer uncovered for 1½ hours, stirring occasionally, If the liquid reduces to much, add stock as needed.
  • Remove from heat, season with salt, pepper, and Worcestershire sauce as desired, stirring in and tasting. Set this aside and allow to cool completely.
  • Preheat your oven to 220° C (425° F). Get out a pie dish.
  • When the meat mixture has completely cooled, pour it into the pie dish.
  • Roll out the puff pastry to just under 1/4 inch thick, use the rolling pin and transfer to the pie dish and cover the top and flute the edge. Brush the top with the beaten egg.
  • Bake for 30-40 minutes or until the top is golden brown brown and puffed.
  • Serve with mashed potatoes and vegetables for a complete, and filling meal.

Notes

I will price this next time I get beef, for now I will say fair cost per serving.
Shortcut: Pork Kidneys 101.
Variant: 1. Use pork kidneys in place of lamb kidneys.
Pork Rib Curry II

Pork Rib Curry II

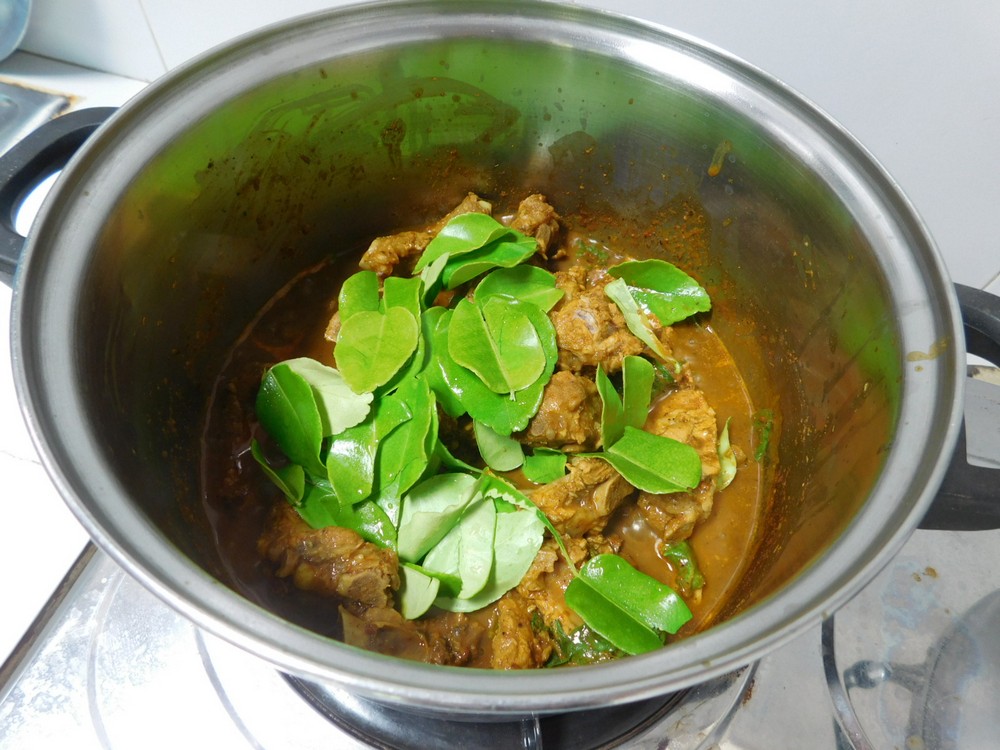
This is another version of pork rib curry, this will use young kaffir lime leaves, they have to be the tender ones as they are eaten. Many ways to prepare this each time to make it different and by regional areas as well. This is a spicy version.
Prep Time 15 minutes
Cook Time 1 hour
Total Time 1 hour 15 minutes
Course Lunch, Main Dish
Cuisine Thai
Servings 6 servings

Ingredients
  

  • 1 kilo pork ribs, (2 lbs)
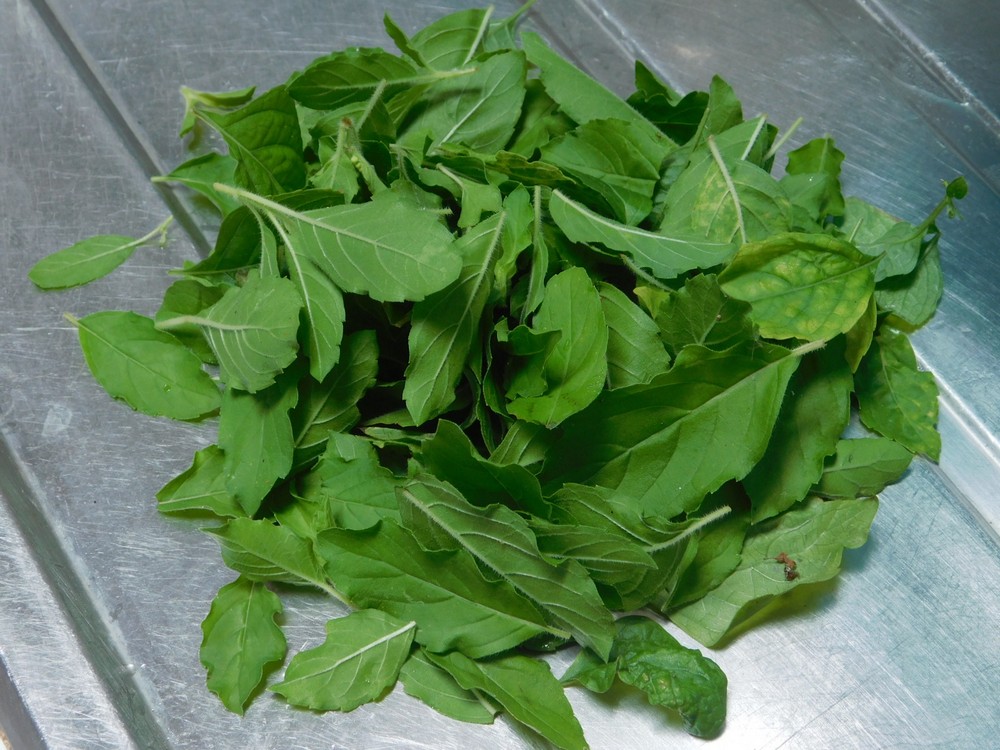
  • 2-3 handfuls young kaffir lime leaves
  • 1-2 handfuls Thai basil leaves
  • 1/4 cup red chili paste
  • 2 tablespoons shrimp paste
  • pork broth, as needed, you make this during the cooking
  • salt, to taste, as desired

Instructions
 

  • Rinse the strip of ribs and cut between each bone.
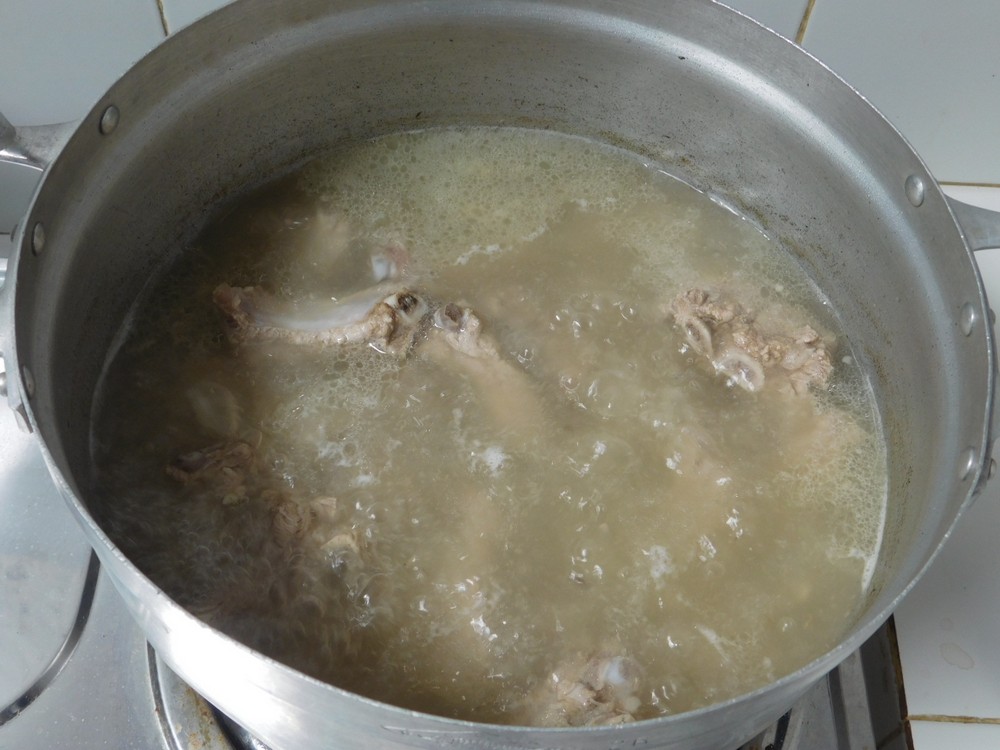
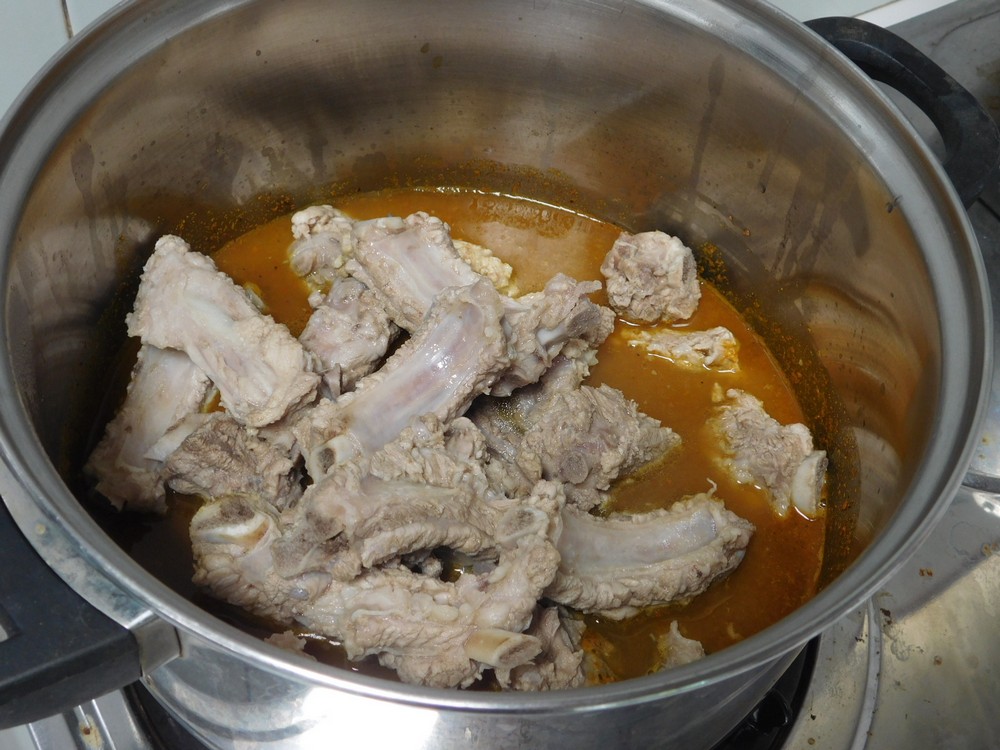
  • Place ribs in a pot and cover with about 2 inches of water and bring to a boil then reduce heat to a low boil. Cook the ribs for about 30 to 40 minutes. Use a large spoon and skim off any foam. You are making a basic pork broth and the ribs will be nice and tender.
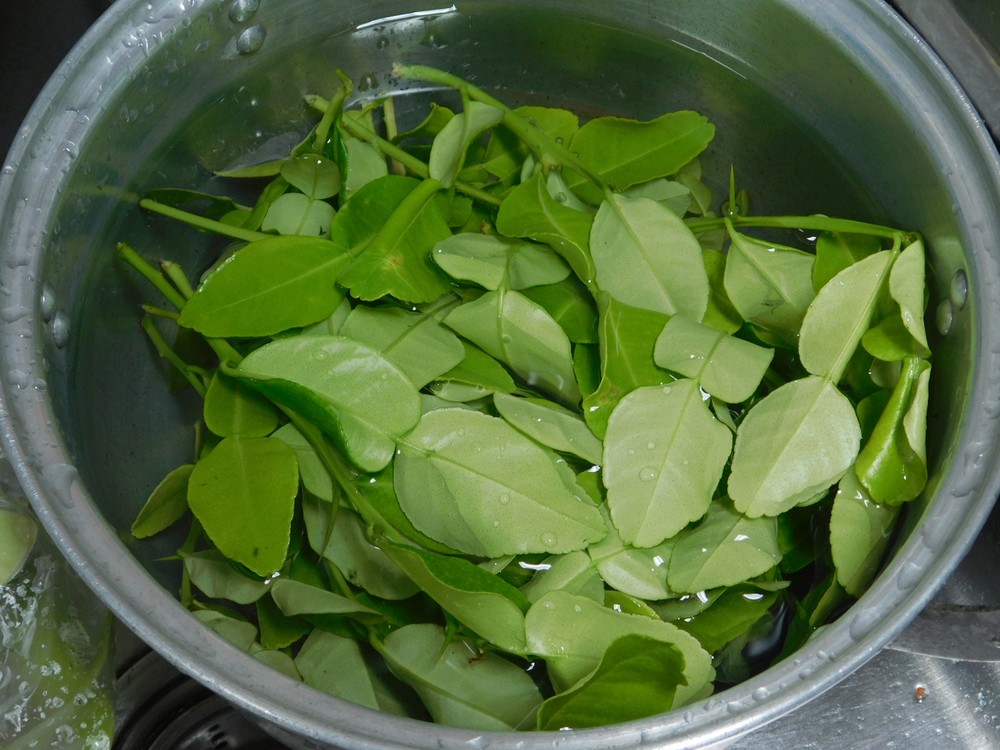
  • While the ribs are cooking, prep the kaffir lime leaves, rinse them, makes sure all are tender, and just roughly tear them up.
  • Pull the basil leaves from the stems, rinse, and squeeze out the excess water.
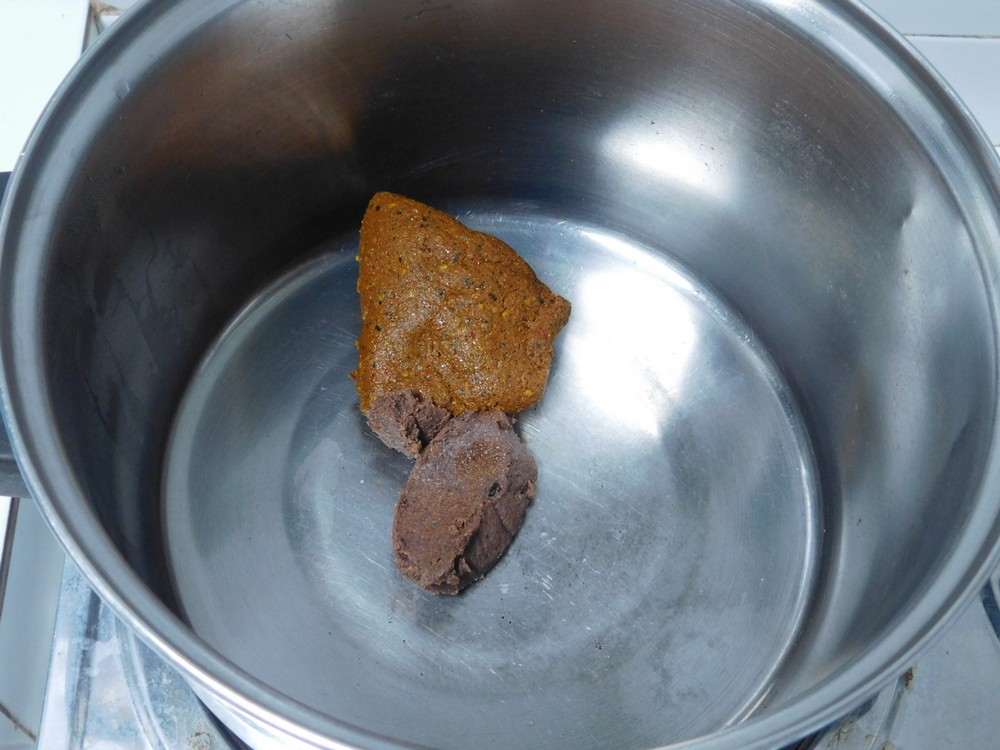
  • When the ribs have cooked 30-40 minutes and are good and tender, you can turn them off. Place another pot on the stove, add the red chili paste and shrimp paste.
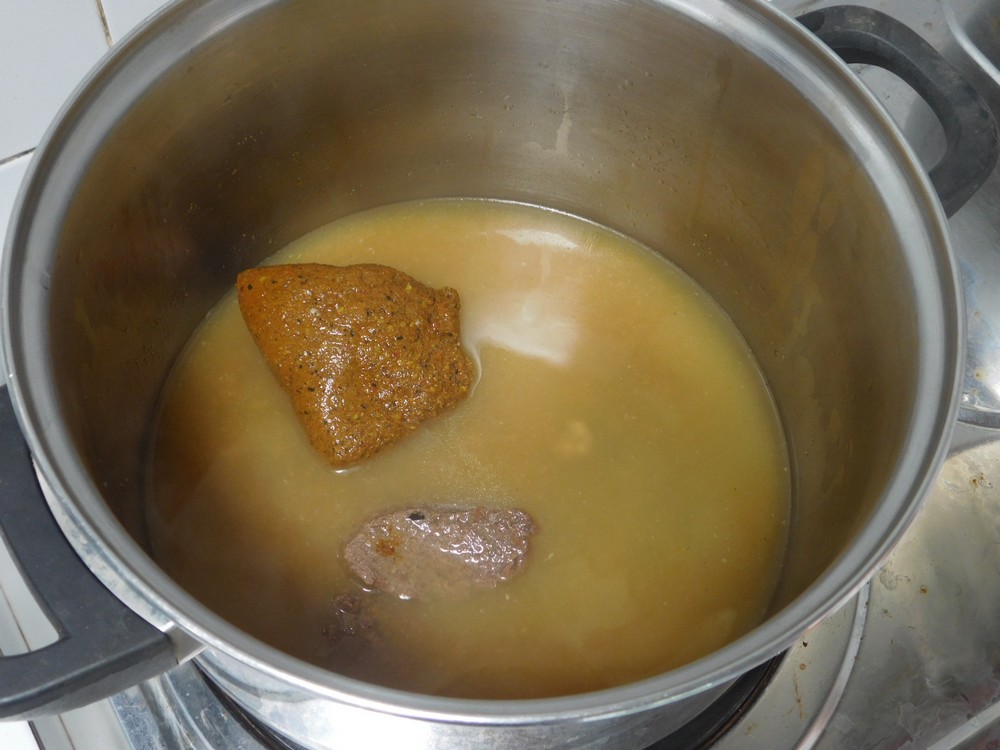
  • Now ladle in some of the pork broth from the cooked ribs, about 1 1/2 to 2 cups.
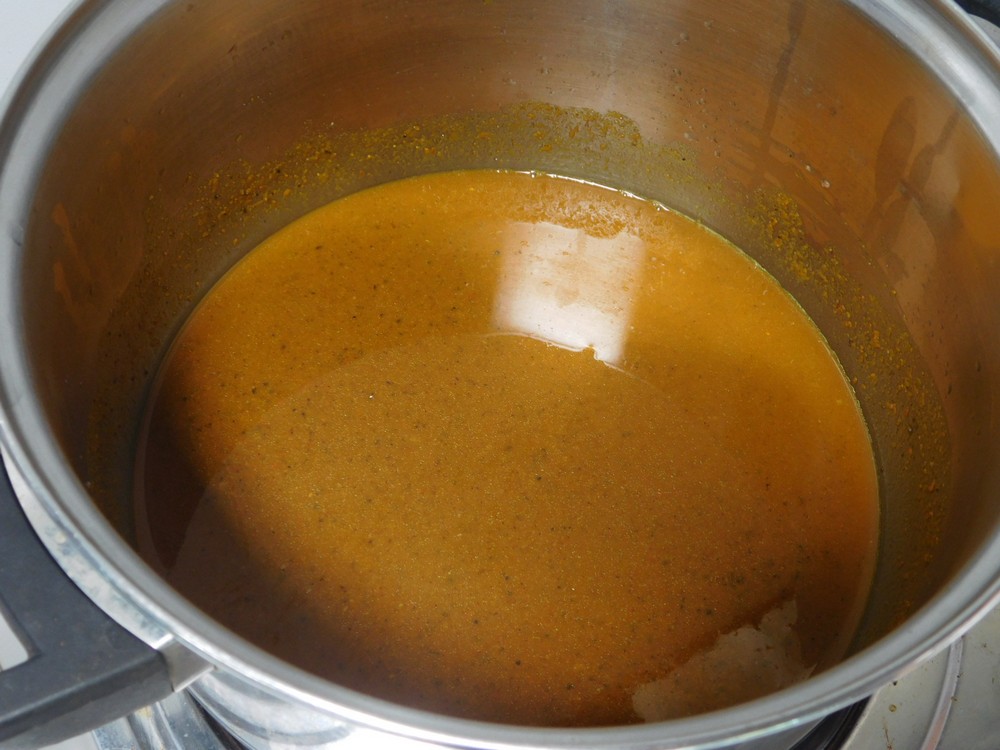
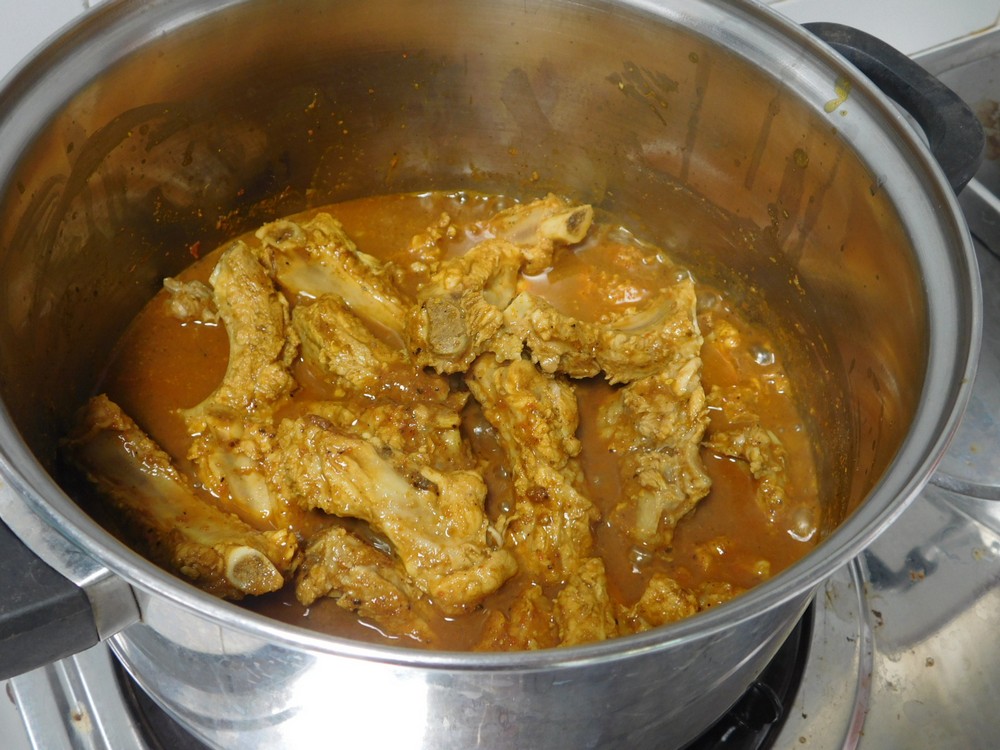
  • Stir and mash the pastes into the broth until you get a nice smooth curry. There, you just made a standard red Thai curry.
  • Use a slotted spoon and scoop out the ribs from the first pot and place into the curry.
  • Stir the ribs into the curry, and turn the heat on to bring to a low boil.
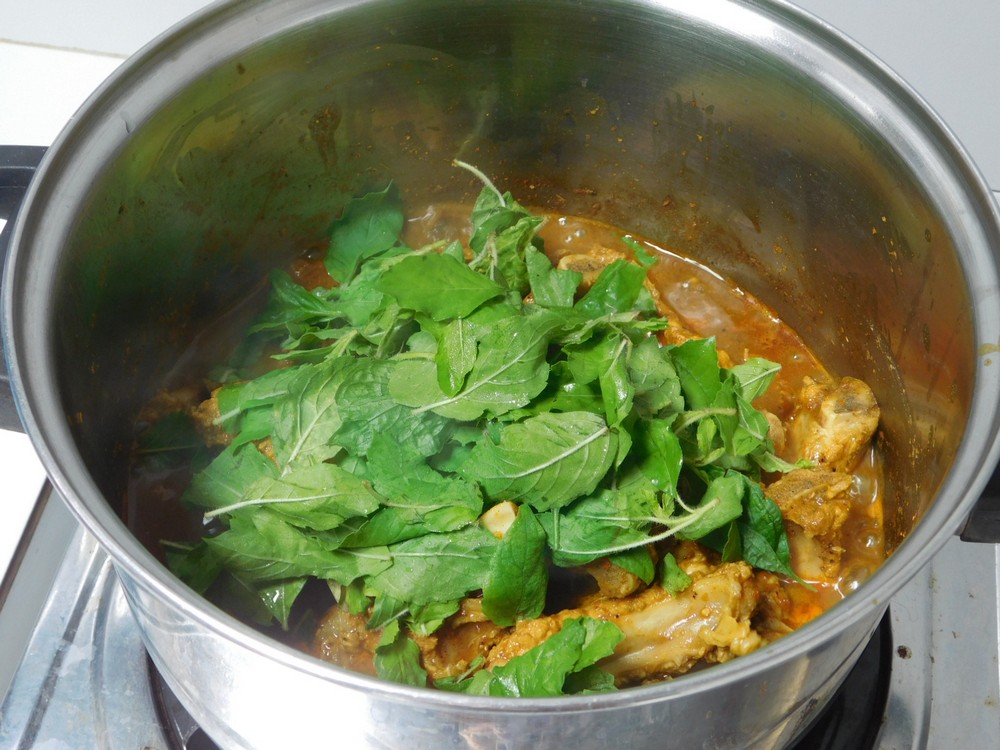
  • Add the Thai basil.
  • Stir and let the basil completely wilt and mix into the curry.
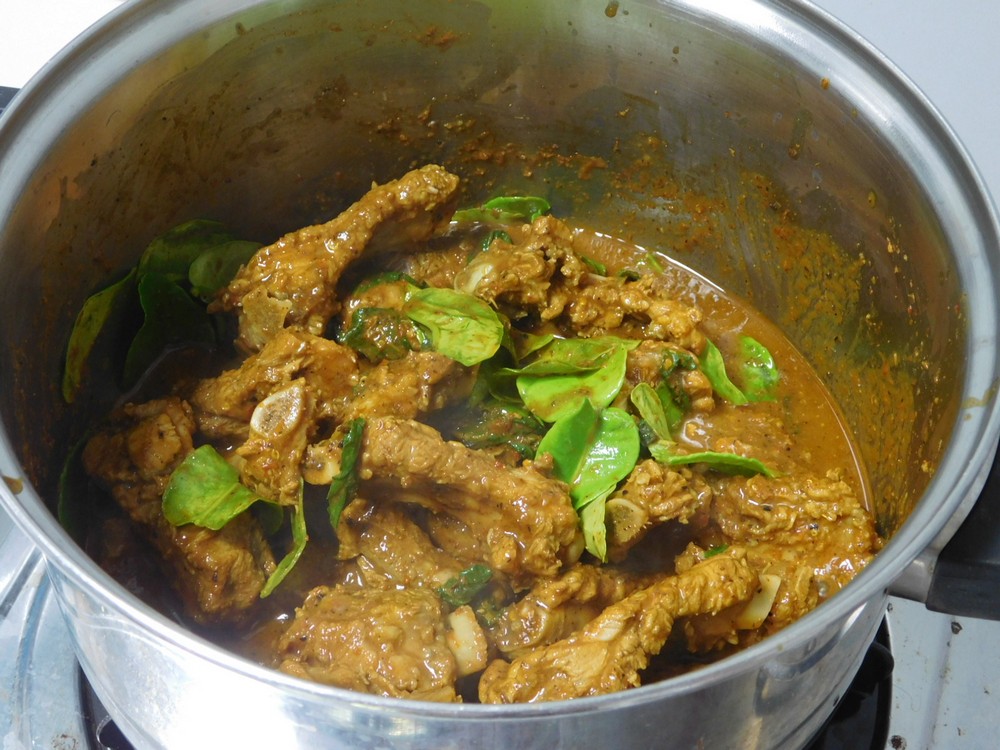
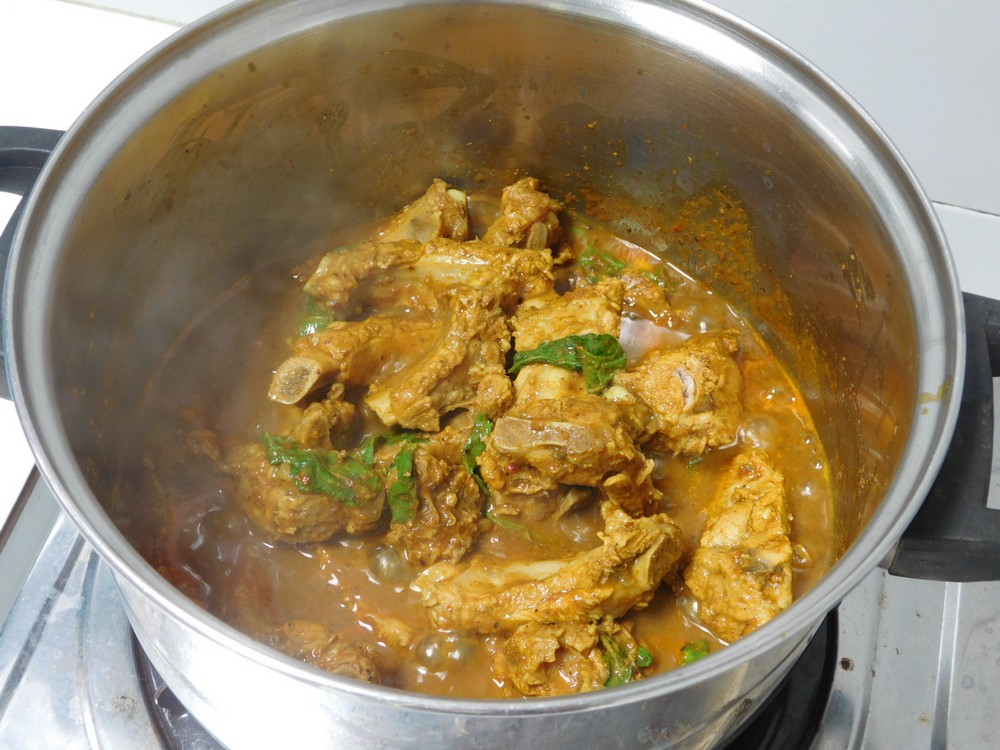
  • Add the kaffir lime leaves.
  • Stir the lime leaves in, turn off the heat, and pour into a large serving dish, serve family style with plenty of rice.

Notes

Low cost per serving.
Recipe provided and cooked by my wife, Rrayada Thayer.
Thailand.
Pork Rib Soup with Winter Melon

Pork Rib Soup with Winter Melon

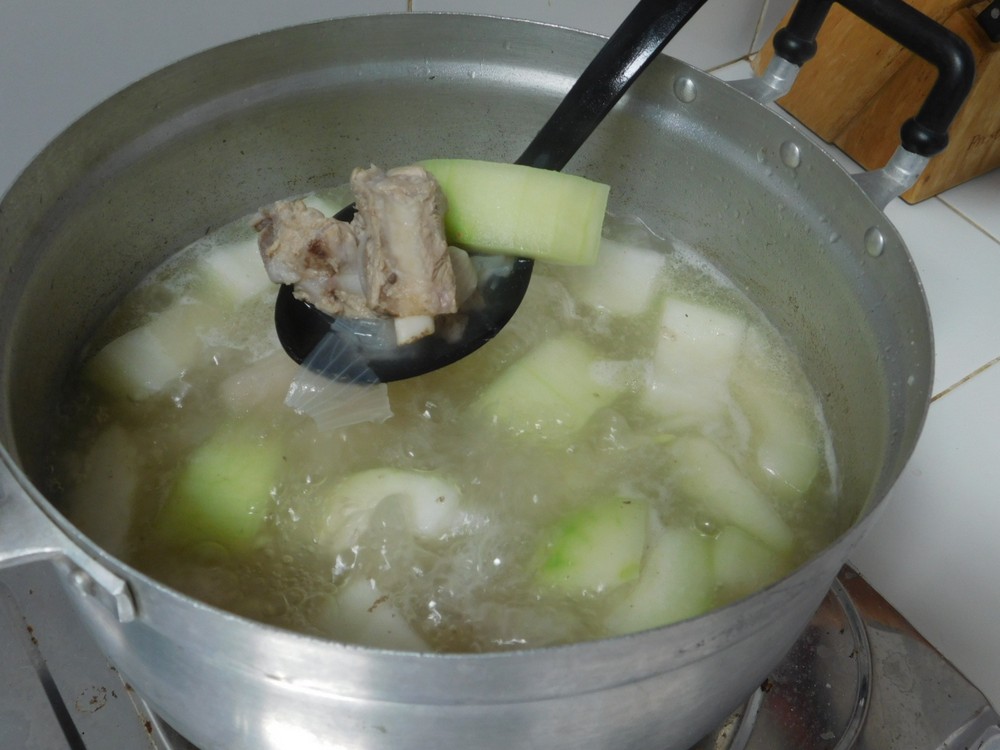
This is a Thai, non spicy soup, that is common in the rural areas due to the melon being very common and low cost. It is delicious yet so simple to make. There is many ways to make pork rib soup, this one uses winter melon. The melon, called Fock in Thai, is often grown in peoples yards, and readily available in local markets for low cost, so the only items to purchase are large shallots and pork ribs.
Prep Time 15 minutes
Cook Time 1 hour
Total Time 1 hour 15 minutes
Course Lunch, Main Dish
Cuisine Thai
Servings 6 servings

Ingredients
  

  • 1 kilo pork ribs, (2 lbs)
  • 1 large winter melon
  • 2 large shallots
  • salt, to taste, as desired

Instructions
 

  • Rinse the strip of ribs and cut between each bone.
  • Place ribs in a pot and cover with about 2 inches of water and bring to a boil then reduce heat to a low boil. Cook the ribs for about 30 to 40 minutes. Use a large spoon and skim off any foam. You are making a basic pork broth and the ribs will be nice and tender.
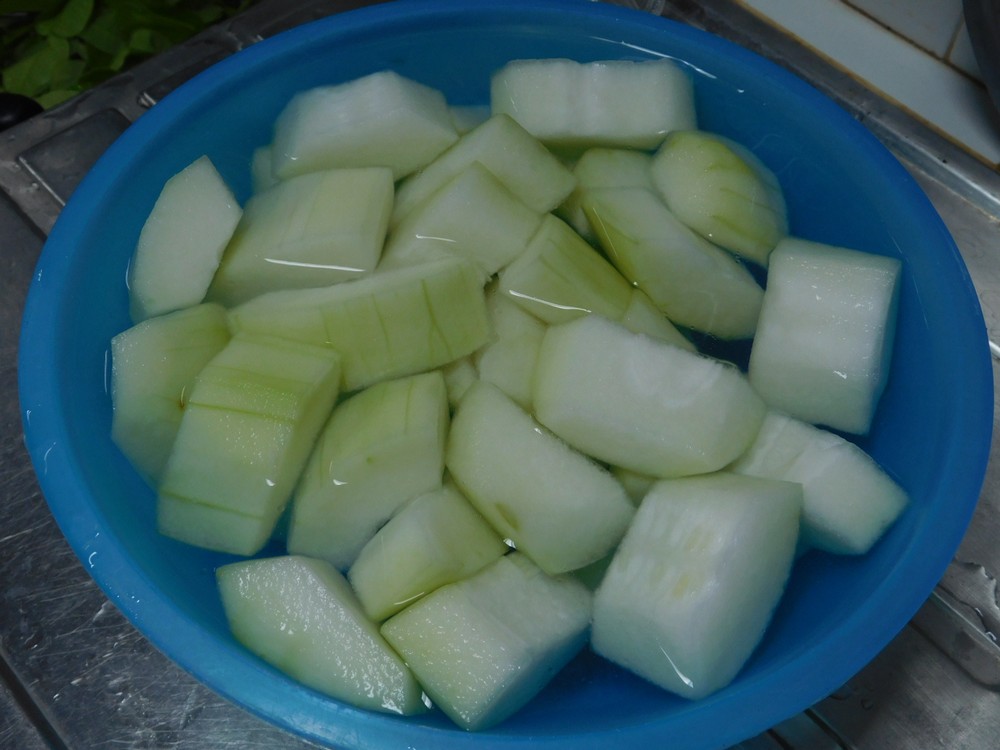
  • While the ribs are cooking, prep the winter melon by peeling it first. slice off each end. Cut the melon in half lengthwise, use a spoon and scrape out the seeds, then cut each half into 2-3 long slices as well. Chop the long slices into about 1 inch pieces.
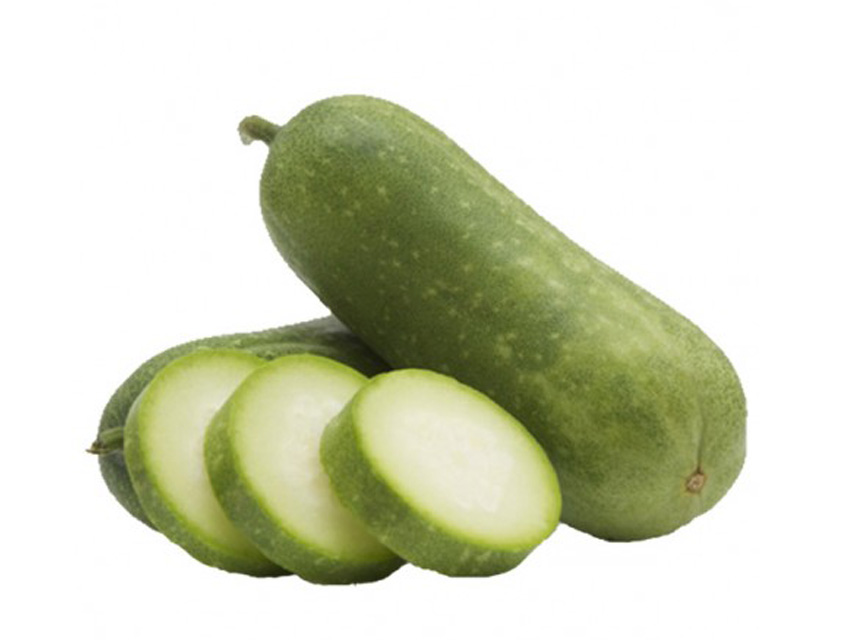
  • This is what a winter melon looks like, you will want to peel it before you cut it apart. Winter melon is also known as wax melon and ash gourd.
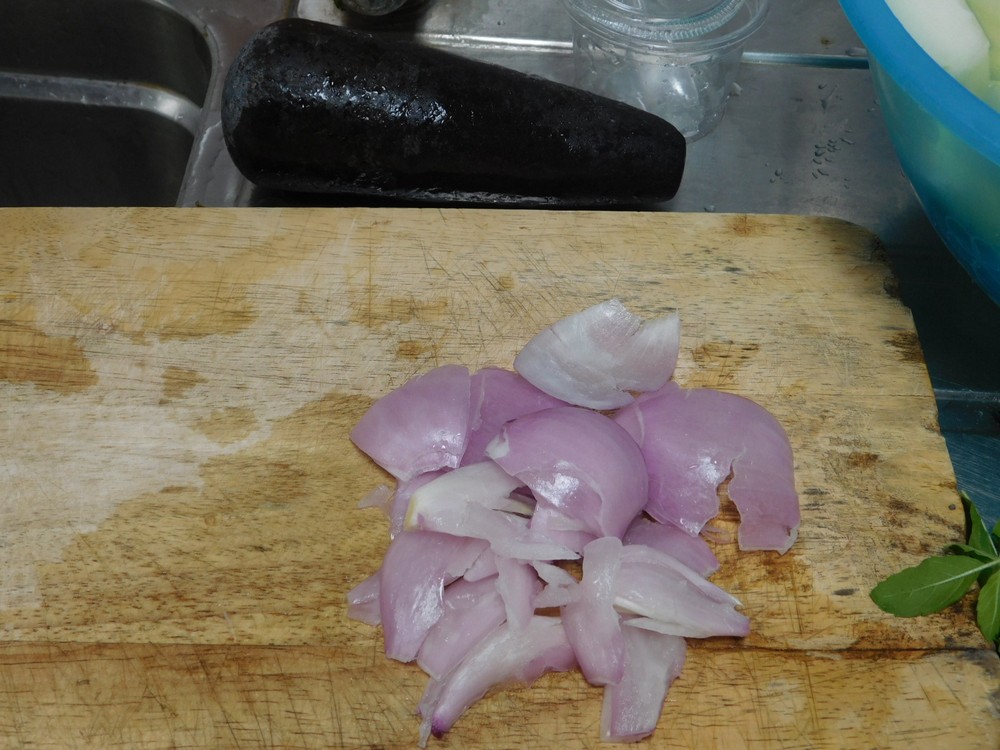
  • Prep the large shallots, trim of each end, peel, then quarter. Use a heavy pestle, rolling pin, or meat tenderizer and smash the quarters, this does two things, releases the liquid in the shallots, and keeps the pieces large, as a diced shallot would simply disappear in the soup during cooking. This photo shows our tool of choice for this, a 3 lb granite pestle.
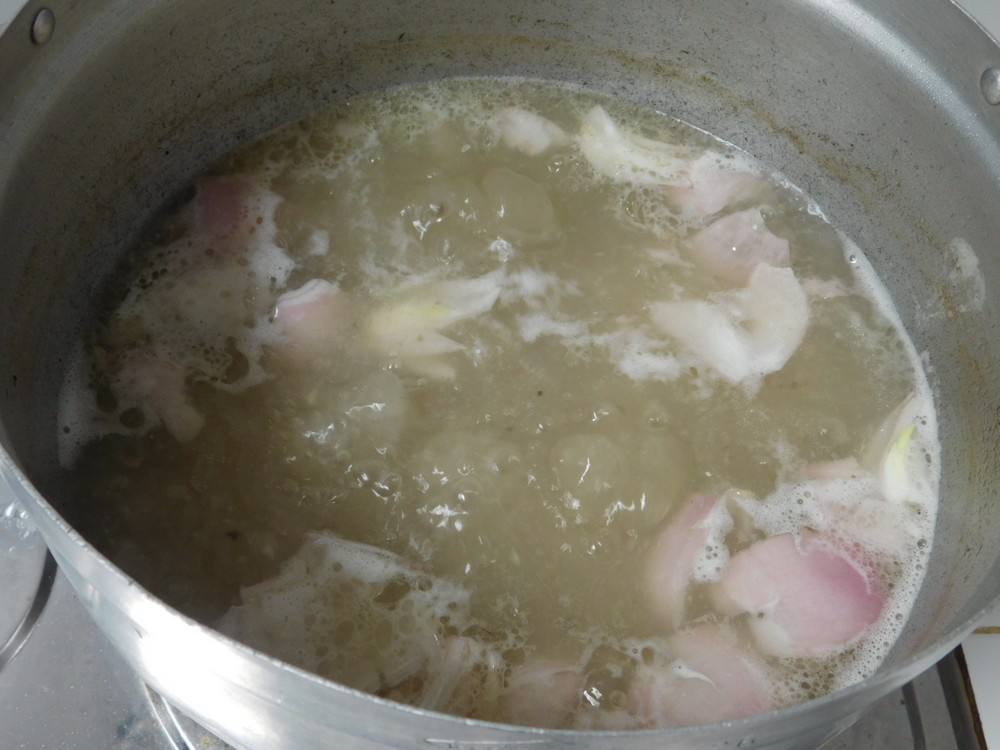
  • Add the shallot to the pot between 30 and 40 minutes into cooking, leave on a low boil for another 5-10 minutes. Taste the broth and season with salt as desired.
  • Add the winter melon and cook on a low boil for about 20 minutes or until the melon is tender. Taste the broth and season with salt as desired.
  • Typically served family style in a large serving bowl in the center of the table, and people have a bowl of rice, they scoop out some ribs, melon, and broth over their rice.

Notes

Low cost per serving.
Recipe provided and cooked by my wife, Rrayada Thayer.
Thailand.
Creamy Ham & Egg Casserole

Creamy Ham & Egg Casserole

Not only does this sound good and tasty, it can use leftovers as well, so this may be a nice recipe to keep handy when you have leftover potatoes and hard cooked eggs. Links to the Shortcuts are listed in the Recipe Notes section.
Prep Time 15 minutes
Cook Time 20 minutes
Total Time 35 minutes
Course Breakfast, Main Dish
Cuisine American
Servings 6 servings

Ingredients
  

  • 2 medium potatoes, cooked, peeled, and sliced
  • 4 hard boiled eggs, chicken or duck, chopped, (Shortcut)
  • 1 cup cooked ham, diced
  • 1/2 teaspoon salt
  • 1/4 teaspoon black pepper
  • 1 egg
  • 1 1/2 cups sour cream, (Shortcut)
  • 1/4 cup dry bread crumbs, (Shortcut)
  • 1 tablespoon butter, melted

Instructions
 

  • Preheat your oven to 180 C (350 F). Grease with additional butter, a 7x11 baking dish.
  • In a large mixing bowl, add the potatoes, hard boiled eggs, and ham, toss to combine, then sprinkle in the salt and pepper and toss to mix in.
  • In a small bowl, mix together the sour cream and the egg. Gently toss this with the potato mixture.
  • Pour the potato mixture into the prepared baking dish.
  • In a bowl, toss the breadcrumbs with the melted butter, sprinkle over the casserole.
  • Bake for 20 minutes or until bubbly hot and the top is starting to brown.
  • Serve and enjoy for breakfast or as a breakfast for dinner (my preference).

Notes

Low cost per serving.
Shortcuts: Perfect Hard Boiled Chicken Eggs, Perfect Hard Boiled Duck Eggs, Sour Cream, Bread Crumbs.
Adapted from an internet recipe.
Creamed Chicken on Toast

Creamed Chicken on Toast

This sounds really good, and easy, with common ingredients. Don't let the name fool you, you can serve this over toast, biscuits, rice, or even pasta. This recipe is very versatile. Link to the Shortcut is listed in the Recipe Notes section.
Prep Time 15 minutes
Cook Time 20 minutes
Total Time 35 minutes
Course Main Dish
Cuisine American
Servings 4 servings

Ingredients
  

  • 500 grams chicken breasts, boneless, skinless, cut into bit size pieces, (1 lb)
  • 1 can condensed cream of chicken soup, (Shortcut)
  • 1/2 cup milk
  • 1 cup frozen peas, thawed
  • 1/2 cup Colby Jack cheese, shredded
  • olive oil, as needed
  • salt and pepper, to taste, as desired
  • toast, for serving

Instructions
 

  • Plan according to what you are going to serve this over, toast, biscuits, rice, or pasta, your choice, and prepare those items according to your own recipes or package instructions. I using biscuits, rice, or pasta, prepare those now. If serving over toast, you can prepare that while the chicken is simmering.
  • Heat a tablespoon of olive oil in a non stick pan on medium heat, when hot, add the cubed chicken, season with salt and pepper as desired. Saute until the chicken is just done, takes just a few minutes, don't over cook the chicken or it will be dry. Turn down heat to low.
  • Add the soup, milk, and peas, and stir together. Cover and simmer for about 5 minutes. Stir in the cheese and simmer for another 5-10 minutes or until the cheese is melted in. Prepare toast if using that.
  • Serve over toast, biscuits, rice, or pasta, enjoy.

Notes

Low cost per serving.
Shortcut: Condensed Cream of Chicken Soup.
Variants: 1. Used mixed vegetables in place of peas. 2. Use Cheddar or Swiss in place of Colby Jack to change the flavor.
Adapted from an internet recipe.
Peach Upside Down Cake

Peach Upside Down Cake

This comes from a good friend, fresh peaches, homemade cake, sounds delicious! On my to make and taste list. I will verify the baking dish size when I prepare this, but will list this right now for a 7x11 dish.
Prep Time 20 minutes
Cook Time 45 minutes
Total Time 1 hour 20 minutes
Course Dessert
Cuisine American
Servings 12 servings

Ingredients
  

  • 1 1/2 - 2 cups sliced peaches, peeled, pitted, sliced lengthwise
  • 1/4 cup butter
  • 1/2 cup brown sugar, packed
  • 1 1/4 cups all purpose flour
  • 1 1/4 teaspoon baking powder
  • 1/4 teaspoon salt
  • 1/2 cup butter, softened, (1 stick)
  • 3/4 cup sugar
  • 1 egg
  • 1 teaspoon vanilla extract
  • 1/2 cup milk

Instructions
 

  • Peel, pit, and slice the peaches. Set them aside.
  • Place the 1/4 cup of butter in a 7x11 baking dish. Place the dish in your oven then turn the oven on 180 C (350 F) to preheat it. Melt the butter in the dish but do not let it brown. Remove the dish when the butter is melted and let the oven continue to preheat.
  • Add the brown sugar to the baking dish and stir into the butter to dissolve the sugar. Spread the butter out evenly.
  • Arrange the peach slices in the pan on top of the butter mixture, arrange them anyway you prefer. Set the dish aside.
  • In a mixing bowl, whisk together the flour, baking powder, and salt. In another mixing bowl, beat together the 1/2 cup softened butter and the sugar, then mix in the egg and vanilla.
  • Mix in the milk to the butter mixture until just mixed in, then add the flour mixture to the butter mixture, mix just to combine, this will produce a fluffy and moist cake, over mixing will produce a drier, more dense cake.
  • Pour the cake batter evenly over the peaches but do not mix together.
  • Bake for 45-50 minutes or until a toothpick inserted in the center comes out clean. Remove from the oven and place on a wire rack. Run a butter knife around the edges, place a foil line baking sheet, foil side down, on the dish, hold both together and turn the dish over onto the baking sheet, leave the dish in place for 5 minutes to allow the butter sugar mixture to soak into the cake.
  • Remove the dish and allow the cake to cool for 20-30 minutes.
  • Slice and enjoy.

Notes

Low cost per serving.
Recipe provided by good friend, Patti Stone, and her recipe is here.
United States.