Archive for the ‘5 Ingredients or Less’ Category
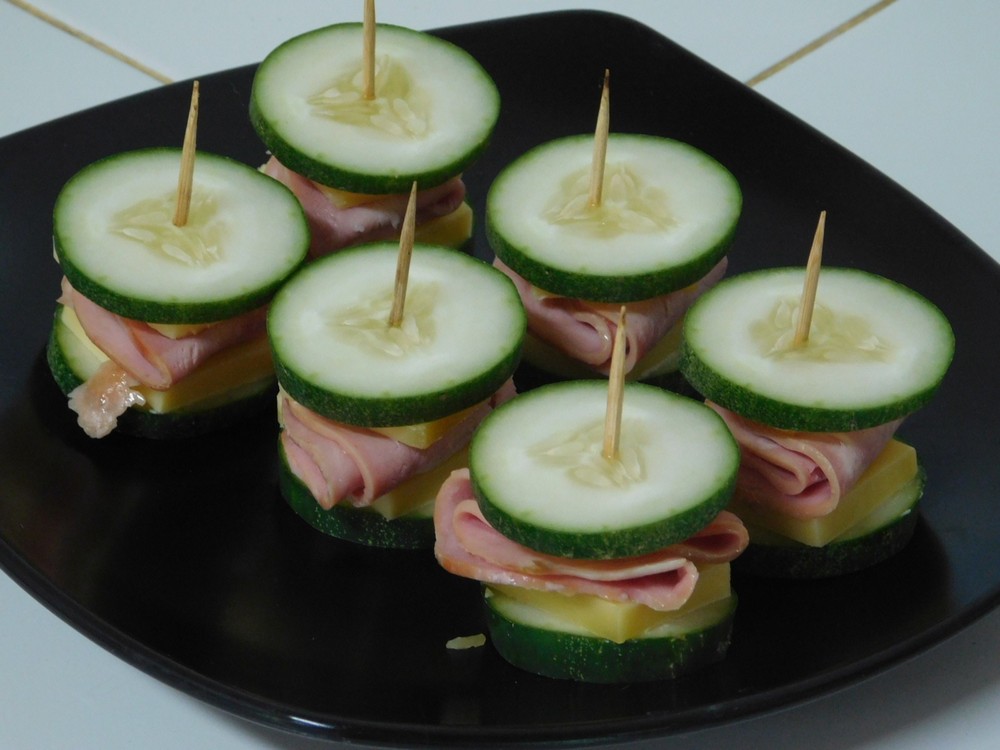
Cucumber Bites
Low cost, great sounding appetizers. This is a make what you need guide, no quantities provided.
Ingredients
- cucumber
- Cheddar cheese, real cheese, thinly sliced
- deli ham, or smoked ham
- toothpicks, as needed
Instructions
- Peel or not peel the cucumbers, or peel in strips, feel free to get creative to make ridges, etc. Slice about 1/4 to 3/8 inch thick.
- Slice the cheese and cut into squares that will cover, and slightly overhang a slice of cucumber.
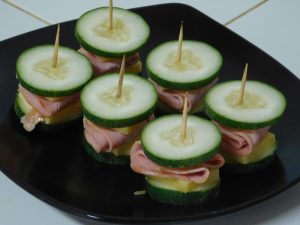
- To assemble, place a slice of cucumber on a tray, add a slice of cheese, fold up a slice of deli ham into quarters and place onto the cheese, top the ham with another slice of cheese, then place another slice of cucumber on top and poke a toothpick in the center to hold it together. Repeat for as many as you would like to make.
- Serve.
Notes
Low cost.
Variants: 1. Use deli sliced turkey, chicken, Genoa salami, or pepperoni. 2. Use Swiss, Gouda, or Edam cheeses.
From seeing a photo.
Chickpeas (Pressure Cooker)
These came out 100% perfect. This is a quick way to cook chickpeas that have been soaked for at least 6 hours. Use in soups, salads, pasta salads, etc. I use my large 9 liter (9½ quart) 80 kPa (12 psi) stove top pressure cooker. Follow all safety precautions for your type of pressure cooker at all times. This will make about 2¾ cups cooked chickpeas and 1½ quarts of broth.
Equipment
- Pressure Cooker
Ingredients
- 1 cup dry chickpeas
- water, as needed
- salt, as desired
- 2 tablespoons cooking oil, very important
Instructions
- Rinse the dry chickpeas then place in a container. Add water to cover by an inch or two. Cover and place on the counter for at least 6 hours. If soaking overnight, then place in the fridge.
- When ready to cook, drain and rinse the beans and place in your pressure cooker.
- Add 8 cups of water, salt as desired, and the 2 tablespoons of cooking oil, this keeps the beans from foaming so do not skip the oil.
- Place the lid on the pot, add the weight (the jiggler), and bring the heat up to high. When the jiggler starts moving and releasing pressure, start timing for 13 minutes, and turn the heat down to low or medium low to just maintain the jiggler moving and releasing pressure.
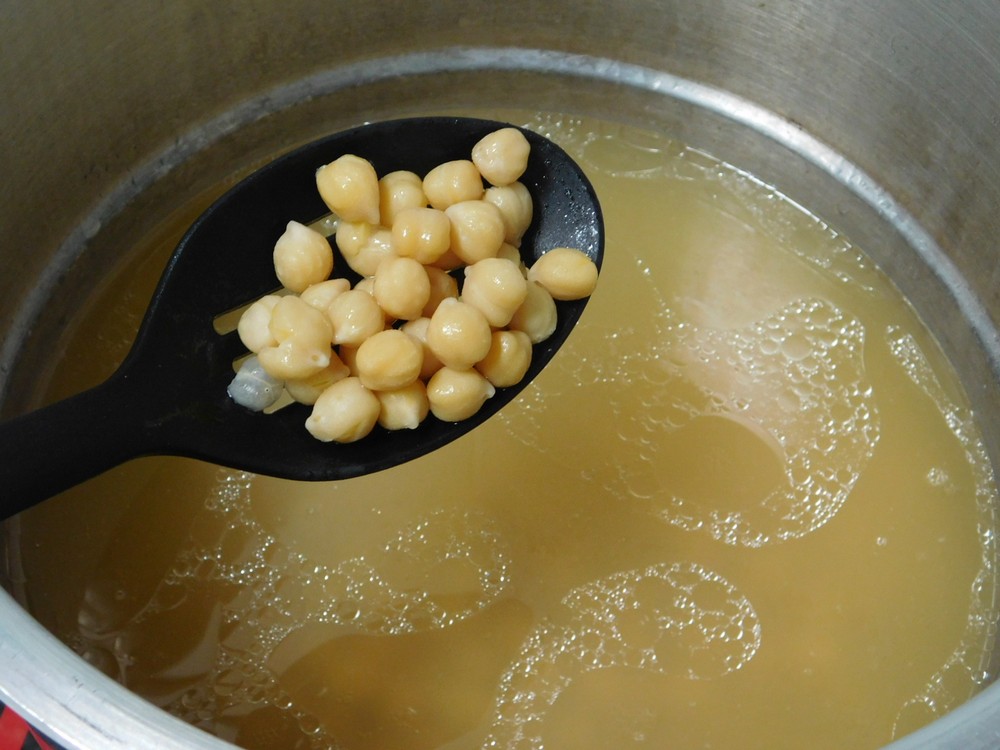
- At 13 minutes, turn off the heat and move the pressure cooker to an unused burner and allow a natural release of pressure. When the pressure is released, open the lid, drain and use the chickpeas as needed in other recipes.
Notes
Variant: 1. If cooking more than 1 cup of dry but soaked chickpeas, you need water to cover the beans by 1-2 inches, keeping in mind you do not go over half full on the cooker, and DO NOT forget the oil!
Used in Recipes Listed on this Site:
- Marinated Bean Relish.
- Best-Ever Beans & Sausage, made it, GO-TO recipe.
- Dorito Taco Salad, made it, GO-TO recipe.
- Quick & Easy White Bean Salad.
- White Bean & Tuna Salad, made it, GO-TO recipe.
- One Pot Chickpeas & Pasta (Pasta e Ceci).
- Tomato Chickpea Salad.
- Chickpea & Rice Soup.
- Sausage & Chickpea Stew.
- Chickpea Noodle Soup, made it, GO-TO recipe.
- Aush (Afghani Chili) (Slow Cooker).
- Three Bean Salad.
- Chickpea Salad.
- Recovery Vegan Stew.
Simple Frog Legs I
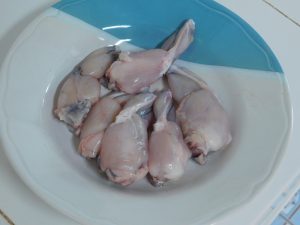
Basic recipe to prepare frog legs. In Thailand, the legs are much smaller than the states. There is large frog legs at Makro at times, imported, and with a hefty price as well, so I prefer the local harvested frogs from the village. No set amounts here, this is a make as much as you want guide. Link to the shortcut is listed in the Recipe Notes section.
Ingredients
- milk, as needed, or buttermilk
- frog legs
- salt and pepper, as desired
- all purpose flour, as needed
- butter, as needed
Instructions
- Skin the frog legs if not already skinned and cut off the feet. Make a slight cut behind the knees to cut the tendons (keeps the legs from moving in the pan for fresh legs). Place the legs in a bowl or container.
- Pour in some milk to just cover the legs, and place in the fridge for 30 minutes. Mix the legs around a few times as they chill.
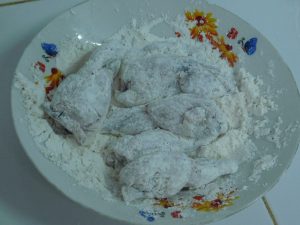
- Remove the legs from the milk, add salt and pepper as desired to some flour, then roll the legs in the flour to coat them well.
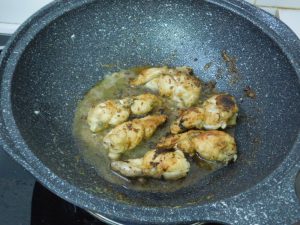
- Heat a non stick pan with 3-4 tablespoons of butter. When the butter is sizzling, add the legs.
- Cook uncovered and turn as needed until golden brown on both sides.
- Serve and enjoy.
Notes
I bought 3 whole (skinned) frogs at the village market for 60 Baht ($1.81) and just the legs, cleaned with feet removed, came out to 190 grams (6.7 oz). I will say 6 small legs is a serving, so this is fair priced. (The rest of the frogs, those went to a brother in law for him to cook, nothing wasted, as I would not have bought them to just remove the legs and discard the rest.)
Shortcut: Buttermilk.
Fried Seasoned Wontons
Quick and easy appetizer or snack, think great with beer, and they are addictive! This is a make as you need recipe, no set amounts needed here.
Ingredients
- wonton wrappers, thawed if frozen
- water, as needed
- chicken seasoning powder, or pork seasoning powder
- oil, for frying
Instructions
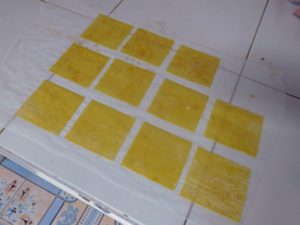
- Lay out some wonton wrappers on some parchment paper or foil, lightly spray water on each wrapper.
- Lightly dust with either the chicken or pork seasoning powder. Use either Knorr or Ros-Dee brands, very popular in Thailand and available in the US in Asian markets.
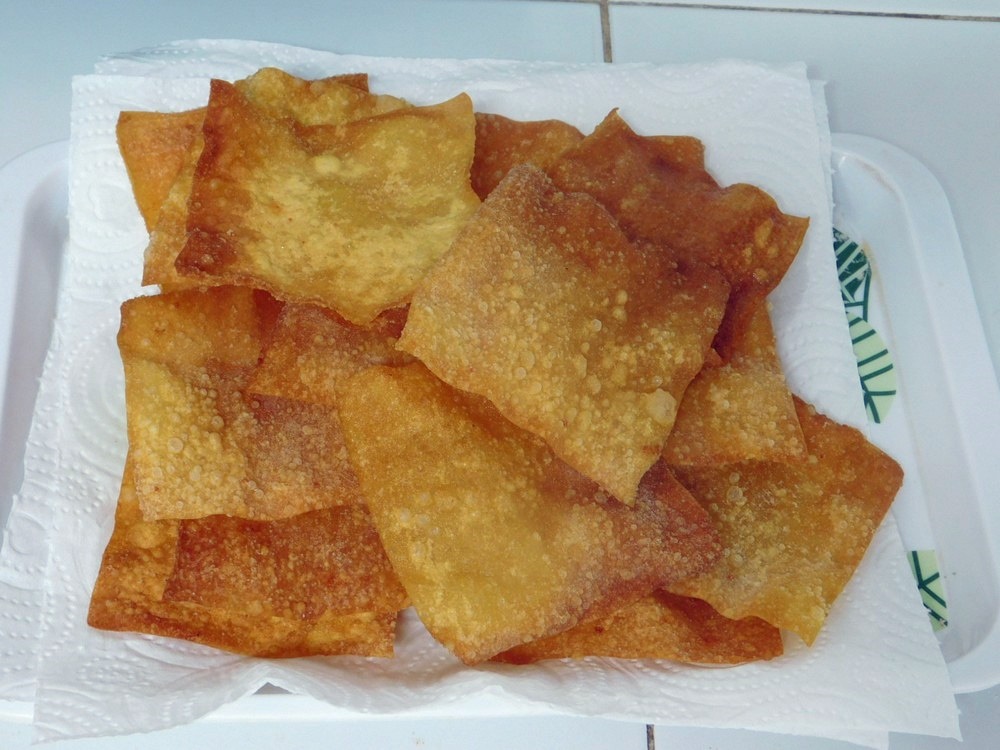
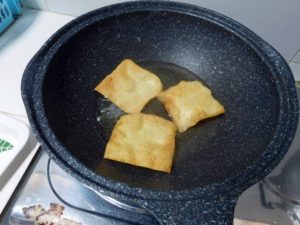
- Heat some oil in a large pan, about 1/4 inch, to medium hot. Place a few wontons at a time in the oil and fry until golden brown, they fry up very quickly.
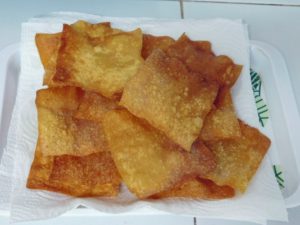
- Remove to paper towels to drain, and continue the process to cook all the wonton wrappers you have prepared.
- Serve as an appetizer or with beer or drinks of your choice.
Notes
Low cost.
This recipe for Fried Seasoned Wontons is adapted from Appon's Thai Food.
Basic Shrimp Stock
Taking only a few minutes on the stove, this is a great stock to use in recipes calling for clam juice or to add more depth of flavor to seafood soups and stews. The amount of stock is based on how many shrimp heads, shells, and tail you have on hand.
Ingredients
- shrimp heads, plus shells and tails
- 1-2 teaspoons black peppercorns
- 1 bay leaf
- 1-2 fresh parsley tops
- water, as needed
Instructions
- Place everything in a pot and add water to just cover the shrimp parts.
- Simmer for about 15 minutes, you are looking for a light orange color.
- Pour the stock through a fine mesh strainer and it is ready to use, or you can freeze for later use.
Notes
Low cost.
Variants: 1. Toast the shells in the oven prior to putting in the pot of water. 2. Lobster and crab shells also make a nice stock, with or without the shrimp shells.
Adapted from an internet recipe.
Thai Style Hotdogs
Thais love hotdogs, they have as many brands of hotdogs as they do brands of rice and canned fish. Now 90% of the Thai hotdogs are pure rubbish, but there is a few very good brands out there. Hotdogs are nothing more than sausages, however with modern processing and the poor choices of fillers and casings, the consistency in taste is quite lacking. For those in Thailand and the rest of the world, use good quality beef or chicken hotdogs. Thais do not normally eat hotdogs with a bun or bread, they are either grilled on a stick or deep fried. And the best hotdogs to use are the small ones labeled as cocktail hotdogs or sausages, there is no casings on these, bonus!
Ingredients
- 1 package quality hot dogs, or 2 small packages of cocktail sausages
- lard, or cooking oil for frying
- sweet chili sauce, for serving
Instructions
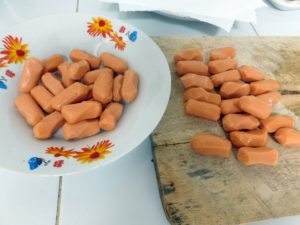
- Remove the casings on hotdogs, cut each hotdog into 3 equal pieces, then cut an X in each end, about ¼ inch deep. I used 2 packages of chicken cocktail sausages so just cut the X into each end.
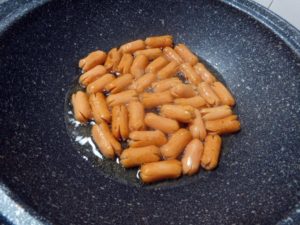
- Heat the lard or oil in a large deep pan, you are going to shallow fry them. When the lard is hot but not smoking, carefully add the hotdogs. Fry for a few minutes, basically stir frying but be careful of the oil.
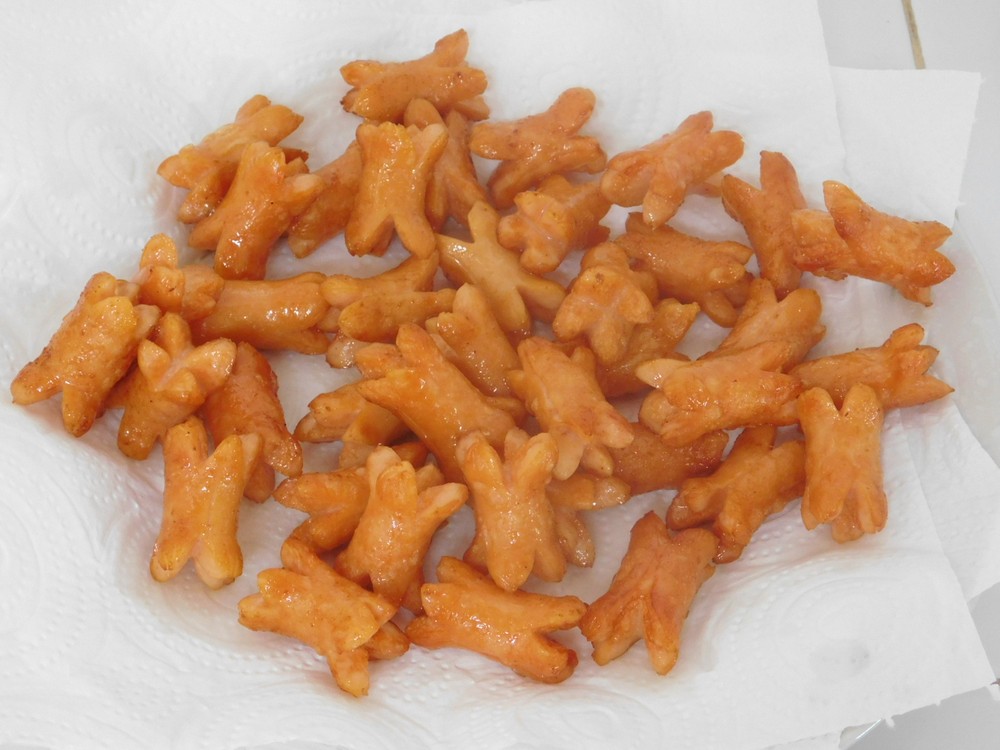
- As they fry, the ends open giving each hotdog more surface area, more surface area means more crispy. When lightly browned and crispy, remove to paper towels to drain.
- Serve with sweet chili sauce for dipping.
Notes
Low cost.
How to Roast Green Chilies
I have a friend in New Mexico, and lives and breaths green chilies, in particular, the Hatch variety. Now here in Thailand, we don't have the hatch varieties, but we can take advantage of the green chilies and peppers that are plentiful here. I actually had to look up how to roast chilies (you can tell I am not from Texas or New Mexico). This is a roast and freeze recipe for use in recipes that call for these, just thaw them out and ready to use.
Ingredients
- green chilies, and or green pepper
Instructions
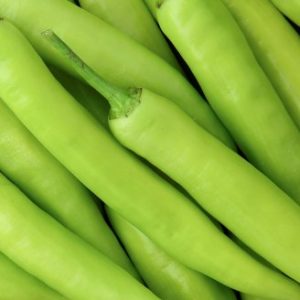
- In Tesco-Lotus, these are named simply "Green Peppers" and they are delicious as well, but they have a skin that needs to be removed, and the roasting makes that easy and gives a great flavor the the peppers/chilies.
- In Tesco-Lotus, these are named simply "Long Green Peppers" and they are also delicious. These are the two types I am going prepare by roasting. There is also a red version of this aptly named "Large Red Pepper."
- Preheat your broiler to 200 C (400 F), for those with counter top ovens, use the top coil only. Position the rack 4 to 6 inches from the heating coil/burner. Line a baking sheet with foil.
- Wash the chilies and dry with paper towels. Place the chilies on the baking sheet in a single layer.
- Place the baking sheet in the broiler or oven and cook for 3 to 5 minutes, you are looking for about 75% charred and blistered skins on the chilies.
- Using tongs, turn each chili over and cook again for 3-5 minutes, also looking for 75% charred and blistered skins.
- Remove the baking sheet from the oven, and quickly place the chilies in a food safe zip lock bag, then seal the bag and let them sit for 15 minutes. This steams the chilies which will help in peeling them.
- Trim of the stem end of the chilies and pull the skin off. Slice in half lengthwise and scrape out the seeds and inner membranes with a spoon.
- Slice in piece in half lengthwise, then chop or dice.
- Allow to cool to room temperature, then place in small freezer bags or in small freezer containers, or in an average size ice cube tray, and when they are frozen, transfer the 'cubes' to a freezer bag.
Notes
Low cost.
Variant: 1. You can roast the chilies over an open flame on your stove, using tongs to hold the chilies.
Adapted from an internet recipe. Photos courtesy of Tesco-Lotus Thailand.
Fried Cabbage & Egg Noodles
This is German in origin, and is probably the reason fried cabbage is prevalent in the US, migrants bring their common dishes with them, then prepare them using ingredients from the local region. This is a simple dish with only four ingredients, and it is delicious.
Ingredients
- 500 grams egg noodles, (1 lb)
- ½ cup butter
- 1 head cabbage, medium size, cored and chopped
- salt and pepper, to taste
Instructions
- Cook the pasta in a pot of boiling salted water until just tender, drain.
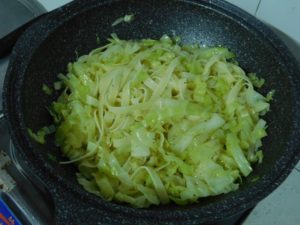
- While the pasta is cooking, melt the butter in a large non stick pan on low heat then add the cabbage and season with salt and pepper to taste, cover and cook the cabbage, turning often, until it starts to just turn brown.
- Add the pasta to the pan and toss with the cabbage to mix. Cook until the pasta starts to turn brown, maybe 5 minutes, turning and mixing often.
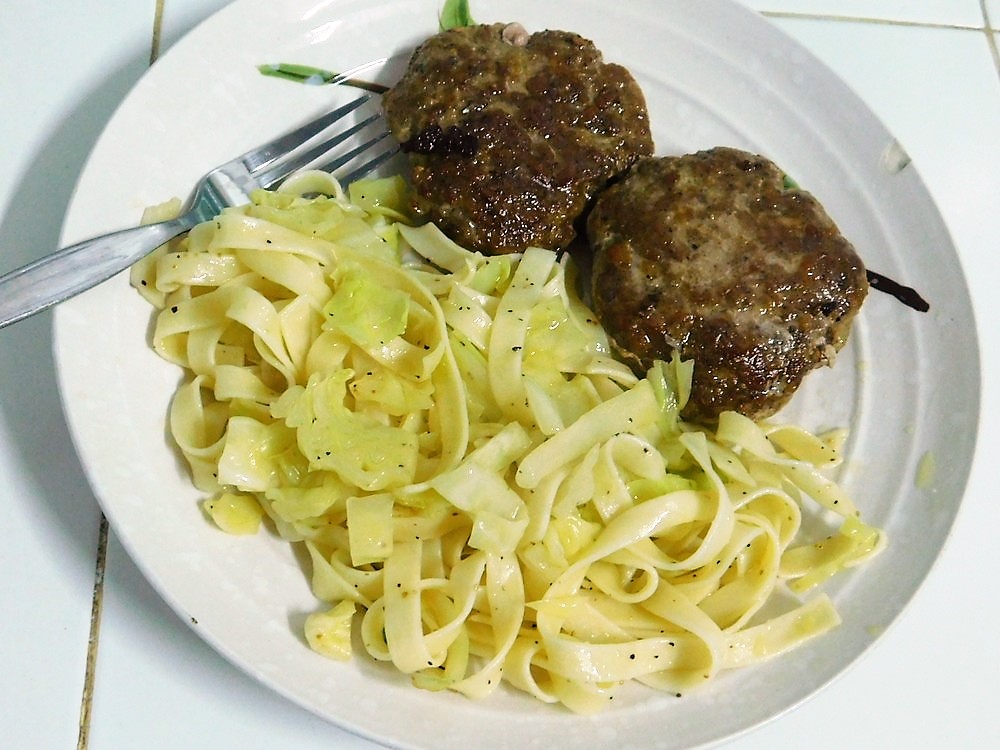
- Serve as a side dish. Enjoy.
Pork Chops (Pressure Cooker)
This is a base recipe for tender pork chops using your pressure cooker. The time stated for at pressure is based on a stove top pressure cooker with 80 kPa (12 psi) pressure, so this will work as stated for electric pressure cooker. I used my 9 liter (9½ quart) stove top pressure cooker. Follow you pressure cooker safety instructions at all times.
Equipment
- Pressure Cooker
Ingredients
- 4 thick cut pork chops, ¾ inch thick, bone in
- 2-3 tablespoons butter
- salt and black pepper, as desired
- 1 cup vegetable stock, or pork or chicken stock
Optional - To Make Gravy
- 1 tablespoon cornstarch
- 2 tablespoons water
Instructions
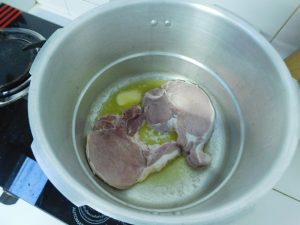
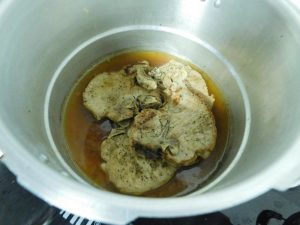
- Add the butter to your pressure cooker, keeping lid off for this part, and heat. when melted, add two pork chops to the cooker and season with salt and pepper as desired and brown the chops for about 2 minutes. (I was snap happy with the camera and took the photo before the salt and pepper.)
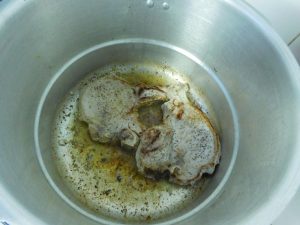
- Turn the chops over and brown the other side, season with salt and pepper as desired. Remove to a bowl and add more butter if needed. repeat with the two remaining chops.
- Add the vegetable stock and the first two chops to the cooker, place the lid on, add the weight (the jiggler) and turn heat to high. When the jiggler starts to vent pressure and starts moving, set your timer for 10 minutes and reduce heat to low or medium to keep the jiggler moving and venting pressure.
- When 10 minutes have passed, turn off heat and move the cooker to an unused burner and allow the cooker to release pressure naturally.
- When you have indication that the pressure cooker had no pressure inside, open the pressure cooker.
- Optional, but worth it. Remove the chops from the pressure cooker, leaving the liquid in the pot. Mix together the cornstarch and 2 tablespoons of water in a cup. Place the pot back on low heat, no lid this time, and when hot, whisk in the cornstarch slurry and whisk until thickened, there, you just made pork gravy.
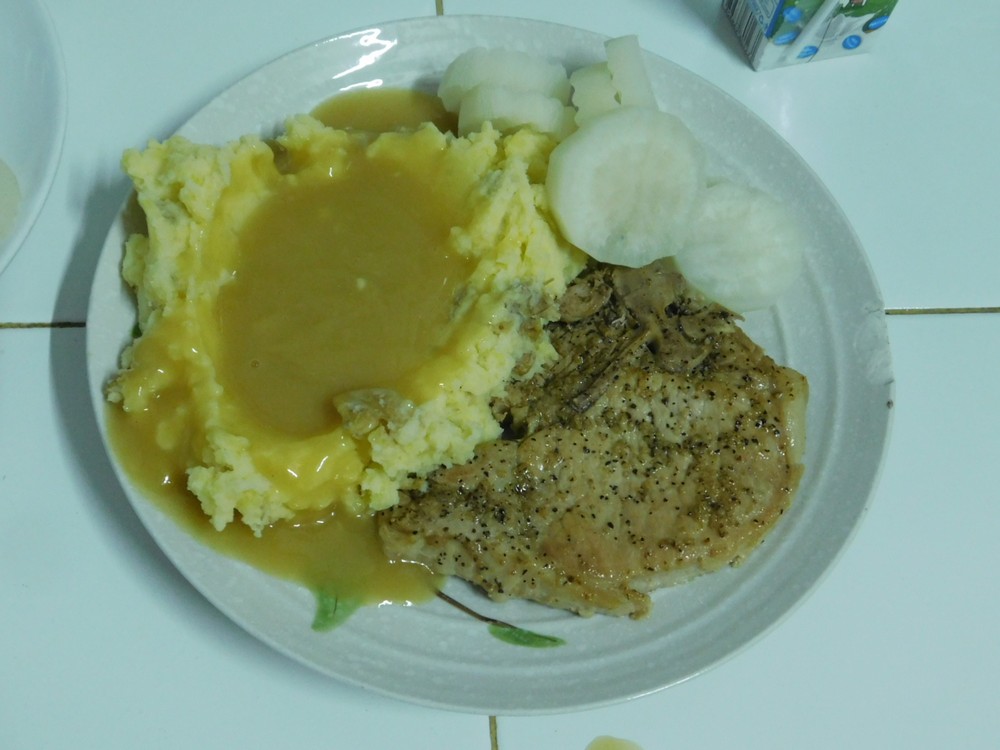
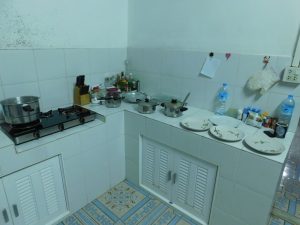
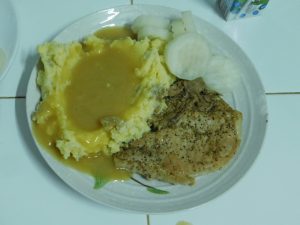
- Ready to plate. While the pressure cooking is working, or cooling down, make your side dishes. The 3 pots on the counter, left to right, gravy, daikon, and mashed potatoes, which I cooked the potatoes in the pressure cooker right before making the chops, and mashed while the cooker was working on the chops.
- Served.
Notes
And like an idiot, I forget to get the price on the pork chops at Tesco, will update this once I go back up to the city.
Dill Thai Omelet
Thai omelets are generally airy and fluffy cooked eggs, not folded over. This is quick and easy, served with rice on the side, a simple and filling meal for 4-6 people. The eggs are mixed into the fresh dill before going into the pan, and is a brilliant flavor. I seen my wife make this a few weeks ago, and she learned this from her sister.
Ingredients
- 4-5 eggs, chicken or duck
- handful fresh dill, chopped
- salt, as desired
- cooking oil, as needed
- fresh dill, for serving
- cooked rice, for serving
Instructions
- Put a wok or non stick pan on high heat and add about 1/2 cup of cooking oil. For a non stick with the rounded sides, a 10 inch pan is perfect and you want about 1/4 inch of oil on the bottom of the pan.
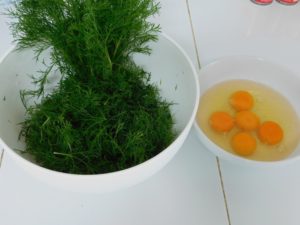
- The chopped dill in the bowl is for the omelet, the sprigs of dill are for serving. The eggs, farm fresh.
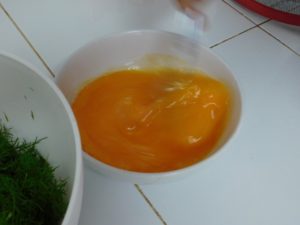
- While the pan is heating, break eggs into a bowl. Add the salt and beat with a fork until frothy. My wife is beating the eggs at light speed here.
- Pour the eggs into the bowl with the dill and mix together.
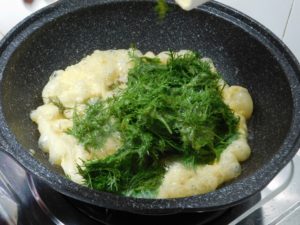
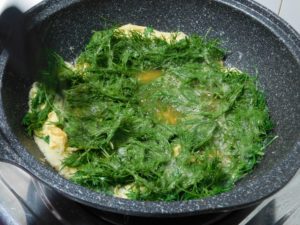
- When the oil just starts to smoke, turn the heat to low and quickly pour in the beaten eggs, it will fluff before your eyes. The dill will end up on the top, no worries.
- Using a spatula, spread the dill out if it is clumped in the center, then lift the edges to get the liquid part of the eggs onto the pan, do this several times from all sides.
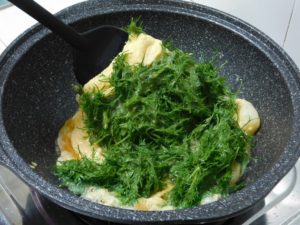
- The bottom is evened out, the dill is spread out, just cooking to set the egg.
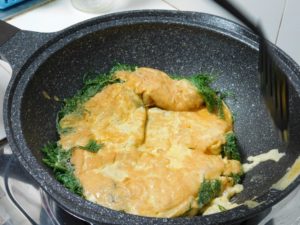
- Keep checking the bottom and when getting nice and browned and set well (remember, from pouring into the pan to flipping takes only 45 seconds to a minute) flip the omelet over, 20-30 seconds later, the bottom should be browning nicely.
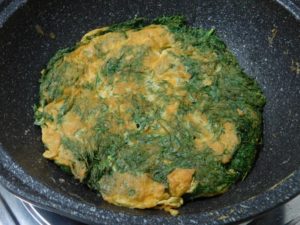
- When the bottom is browned, flip again to put the dill on the top.
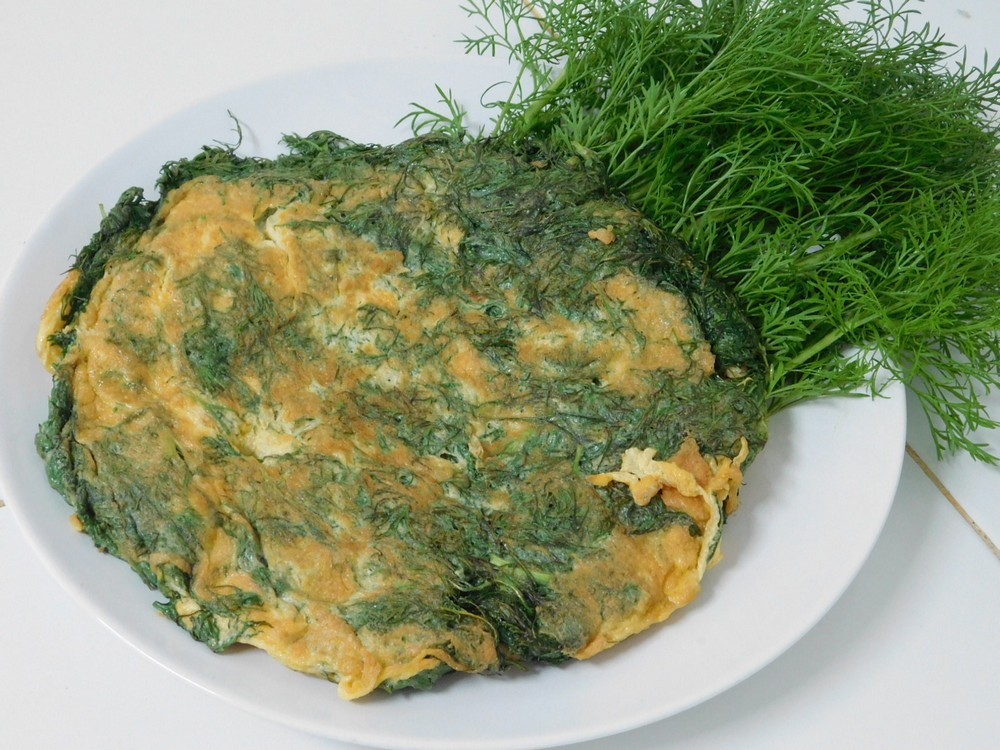
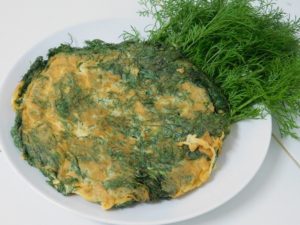
- Remove from the pan to a plate and serve with rice on the side. Here, this is garnished with fresh dill on the side as well.
Notes
Low cost.
Variants: 1. Add a few drops of lime juice or vinegar for a even more fluffier omelette.
Recipe provided by my wife's sister.
Thailand.
Thailand.
