Homemade Evaporated Milk

Homemade Evaporated Milk

Not sure how often I would make this, as evaporated milk is readily available everywhere in Thailand, but this sounds like a good backup plan to have. I will make this, at least once, so I can determine the time involved in this. Evaporated milk is nothing more than milk that has had 60% of its water removed.
Prep Time 5 minutes
Total Time 5 minutes
Servings 2 cups evaporated milk

Ingredients
  

  • 4 1/2 cups whole milk, (1 liter)

Instructions
 

  • Add 2 cups of milk to a heavy bottomed sauce pan or pot. Place a wooden skewer in the pot and make a mark on it where the top of the milk is on the skewer. Set the skewer aside, you will need it later.
  • Add the remaining milk to the sauce pan and place on medium heat. Stir continuously with a silicon or wood spatula until the milk comes to a boil. Lower the heat to the lowest setting you have.
  • Allow the milk to simmer, stirring every few minutes, and remove and discard the skin that forms on the top.
  • As the milk cooks down, check with the skewer you marked, and when the top of milk is at the mark on skewer, it is done.
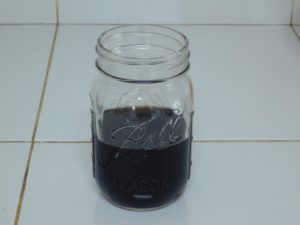
  • Pour the evaporated milk through a strainer and into a jar. Allow to cool, then cover and place in the fridge. Use within 1 week.

Notes

Dutch Mill brand milk, 2 liter container is 90 Baht, you need half of this so we'll say 45 Baht. A can of evaporated milk (which is made from milk powder) is 20 Baht. So you can see, there is no cost savings as homemade is a little more than double what a can is. Homemade is 2 cups, canned is 1 1/2 cups.
Most recipes are going to state 1 can of evaporated milk, rarely will it say 2 cups.
The advantage is homemade is just milk, as opposed to canned (at least here in Thailand) that also contains oil and sugar.
Adapted from an internet recipe.
Egg Butter (Munavoi)

Egg Butter (Munavoi)

Adapted from an internet recipe.
This is a Finnish appetizer, and it is exactly what it sounds like, hard boiled eggs mashed with butter. The west has their egg salad with mayo, the Finns and Estonians use butter. This is surprisingly good! Link to the Shortcut is listed in the Recipe Notes section.
Prep Time 2 minutes
Total Time 2 minutes
Course Appetizer
Cuisine Finnish
Servings 2 servings

Ingredients
  

  • 2 hard boiled eggs, peeled, chopped, Shortcut
  • 2 tablespoons butter, softened
  • sea salt, to taste
  • pepper, as desired
  • butter crackers, as needed

Instructions
 

  • Let the butter soften in a bowl, then added the chopped eggs.
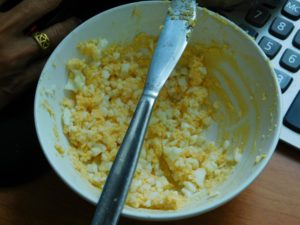
  • Mash together the eggs and butter with a fork until the mixture is spreadable, as you can see the yolks will mash and the whites are finely minced from the fork. Season with sea salt as desired.
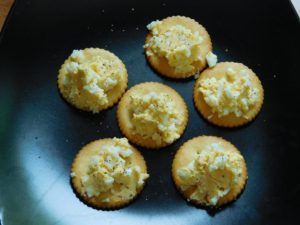
  • Spread on your favorite butter crackers, bread, or even place on top of several lettuce leaves. Sprinkle some black pepper on if desired, enjoy.
Egg & Mustard Crackers

Egg & Mustard Crackers

This is a sliced hard boiled egg recipe that not only sounds good, they are! I made these on 27 Aug 2018, very tasty. Link to the Shortcut is listed in the Recipe Notes section.
5 from 1 vote
Prep Time 5 minutes
Total Time 5 minutes
Course Appetizer
Cuisine American
Servings 12 appetizers

Ingredients
  

  • 2 hard boiled eggs, peeled, (Shortcut)
  • 12 wheat crackers, think Rosi brand in Thailand
  • whole grain Dijon Mustard, as needed
  • fresh chives, minced
  • black pepper, as desired

Instructions
 

  • Slice the eggs with a slicer or knife.
  • Spread some mustard on each cracker, top with a slice of egg, skipping the end pieces, sprinkle on some chives then black pepper. Serve.

Notes

Low cost.
Shortcut: Perfect Hard Boiled Chicken Eggs.
Adapted from an internet recipe.

Black Beans (Pressure Cooker)

Black Beans (Pressure Cooker)

Hip Pressure Cooking, Laura Pazzaglia, United States.
This will basically make canned beans for use in recipes that call for them. If a recipe calls for 1 can of black beans drained or with liquid, one can is typically 1½ cups. If the recipe states with liquid, measure out the beans into a measuring cup and add liquid from the pressure cooker. I will be using my large 9 liter (9½ quart) 80 kPa (12 psi) stove top pressure cooker for this. Follow the safety precautions for your model of pressure cooker at all times.
Prep Time 5 minutes
Cook Time 6 minutes
Passive Time 6 hours
Total Time 6 hours 11 minutes
Servings 6 servings

Equipment

  • Pressure Cooker

Ingredients
  

  • 500 grams dry black beans, (1 lb)
  • 1 teaspoon salt, plus more to taste
  • 2 quarts water, (8 cups)
  • 2 tablespoons cooking oil, very important, do not skip this

Instructions
 

  • Rinse the black beans then place in a large bowl and cover with at least two inches of water. Let the beans soak on the counter top for at least 6 hours, or if soaking overnight, place in the refrigerator to prevent fermentation.
  • When you are ready to cook the beans, drain then rinse the soaked beans. Add the beans to your pressure cooker. Add in water, salt, and oil. The oil prevents foaming.
  • Place the lid on the pressure cooker and lock, add the weight (jiggler) and turn on the heat to high. When the jiggler starts to move and vent pressure, indicating full pressure, reduce heat to low or medium low, to keep the pressure venting and the jiggler moving. Start timing for 6 minutes.
  • When 6 minutes have passed, turn off the heat and move the pressure cooker to an unused burner. Allow a natural pressure release, meaning just let the pressure drop to zero without any actions from you. Takes about 10-20 minutes.
  • When you have indications that pressure is zero, normally a lid lock will drop, remove the weight then the lid. Scoop out beans with a large slotted spoon (don't forget to taste a few). Then they are ready to use in recipes of your choice calling for canned beans.

Notes

Used in Recipes Listed on this Site:
Teriyaki King Oyster Mushrooms

Teriyaki King Oyster Mushrooms

Adapted from an internet recipe.
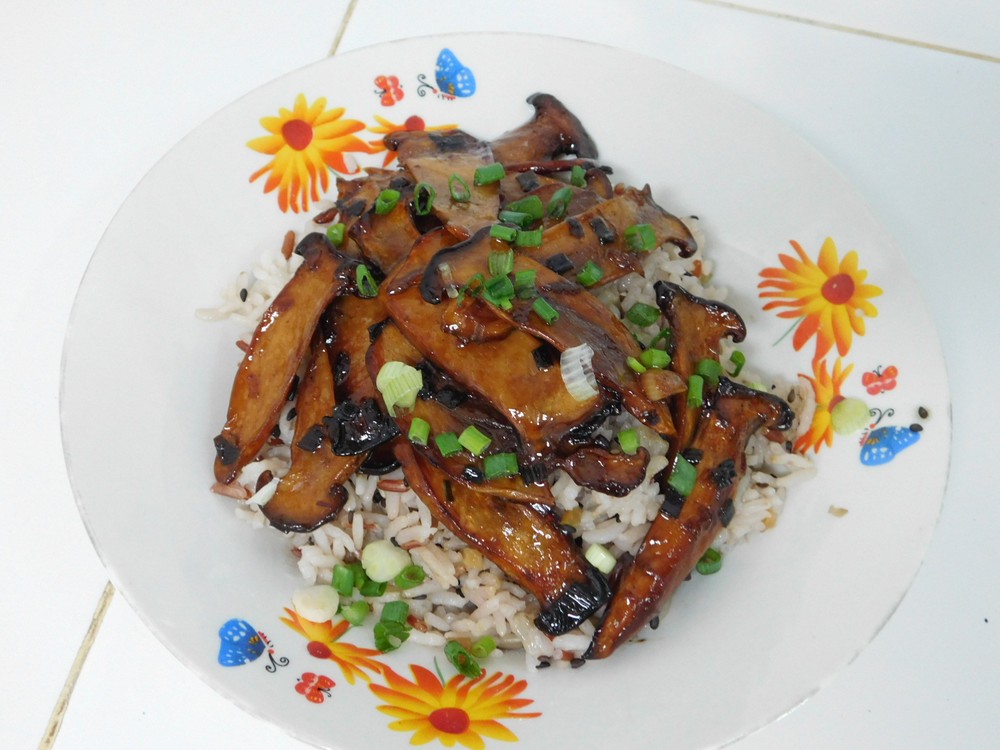
Excellent use of King Oyster mushrooms, and tasty as well. Link to the Shortcut is listed in the Recipe Notes section.
5 from 2 votes
Prep Time 5 minutes
Cook Time 20 minutes
Total Time 40 minutes
Course Lunch, Main Dish
Cuisine Chinese
Servings 2 servings

Ingredients
  

  • 400 grams King Oyster mushrooms, (14 oz)
  • ¼ to ½ cup Teriyaki sauce, Shortcut
  • 2 tablespoons cooking oil, as needed
  • fresh spring onion, sliced
  • hot cooked rice, for serving

Instructions
 

  • King Oyster Mushrooms. These come trimmed, just a quick rinse and we are ready to start. This type of mushroom keeps well in the fridge for several days, so when I see these in the market, we buy them then plan a meal with them a few days later, no need to cook them the day of purchase.
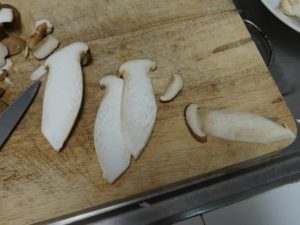
  • Slice the mushrooms in half lengthwise. Take each half and further slice it lengthwise into about 1/8 inch slices. For the side pieces, lay them cut side down and just trim of the edge of the cap to make a flat piece, as shown on the piece on the right. Place the slices in a shallow dish.
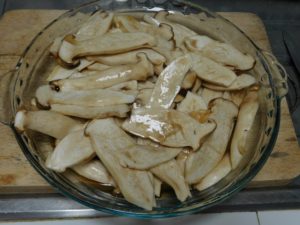
  • Pour the teriyaki sauce over the mushroom slices and use tongs to mix the slices to coat them well. Start with 1/4 cup of sauce and use more as needed. Let this marinate for 15 minutes.
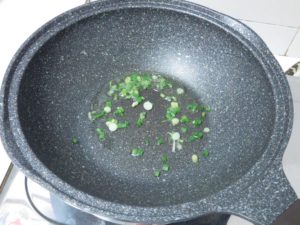
  • Heat 1 tablespoon of oil in a non stick pan on medium heat, when hot add some of the spring onion. Stir the spring onion until fragrant.
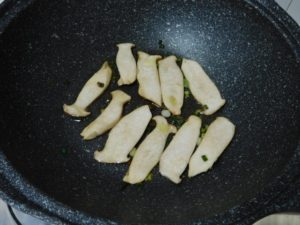
  • Place the mushroom slices in a single layer without overlapping, work in batches. Retain the teriyaki sauce for another step.
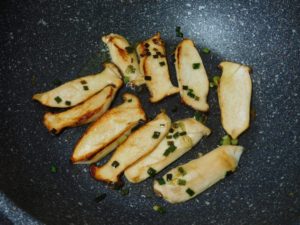
  • Cook the slices without moving them, when the bottom is browned, turn the slices and cook the other side until nice and golden brown, and the edges can even be a bit charred. Transfer browned slices to a plate. Continue cooking until all the slices are browned, adding additional oil and spring onion between batches.
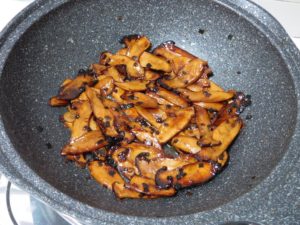
  • When the last batch is browned, return all the removed slices back to the pan.
  • Pour in the reserved teriyaki sauce and cook, turn the mushrooms as needed until the liquid in the pan is absorbed, just a few minutes.
  • Serve over rice or with noodles, garnish with spring onion if desired.

Notes

Low cost.
Shortcut: Teriyaki Sauce.
Chocolate Chip Cookie Cake

Chocolate Chip Cookie Cake

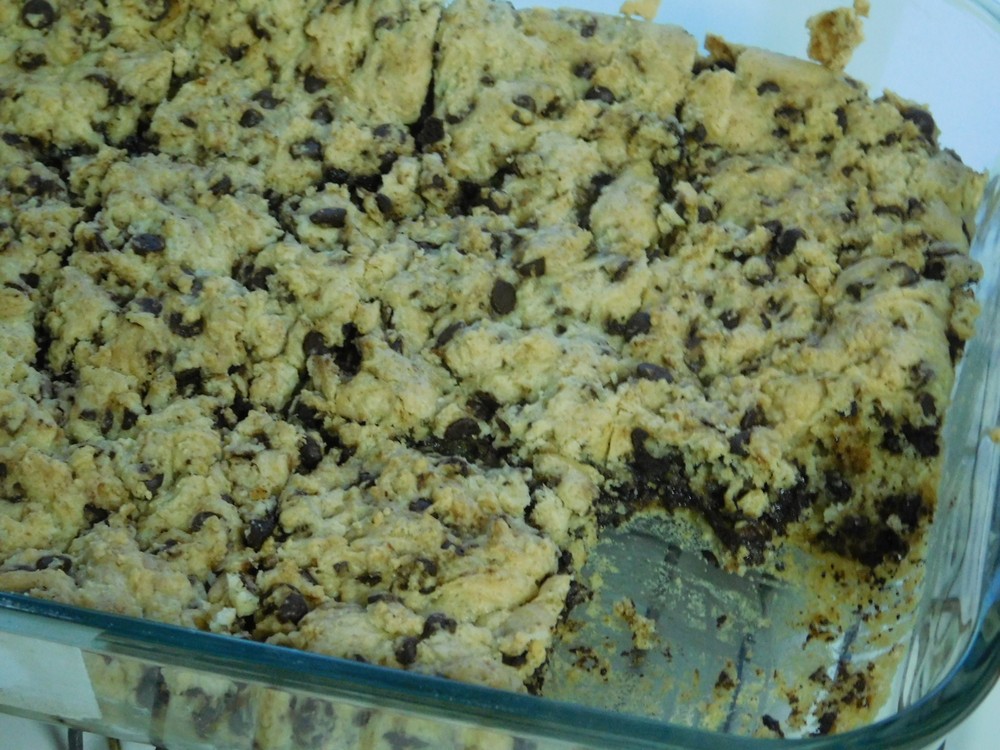
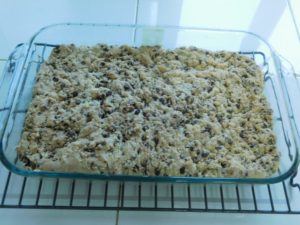
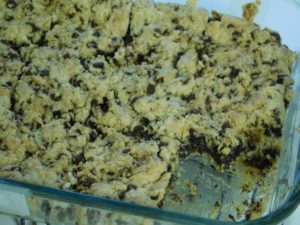
This, sounds incredibly good! I used my shortcut for the cake mix as boxed mixes are outrageously priced where I live. This is like a giant sheet cookie, and very tasty as well. Link to the Shortcut is listed in the Recipe Notes section.
Prep Time 10 minutes
Cook Time 20 minutes
Total Time 30 minutes
Course Dessert
Cuisine American
Servings 0

Ingredients
  

  • 1 box yellow cake mix, (Shortcut)
  • 2 eggs, beaten
  • 5 tablespoons butter, melted
  • 2 cups chocolate chips

Instructions
 

  • Preheat your oven to 180 C (350 F), get out a 9x13 baking dish.
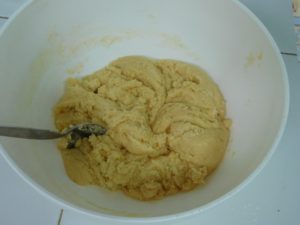
  • In a mixing bowl, mix together the first 3 ingredients. The mixture is quite thick.
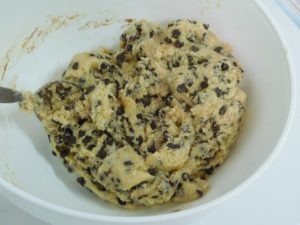
  • Mix in the chocolate chips.
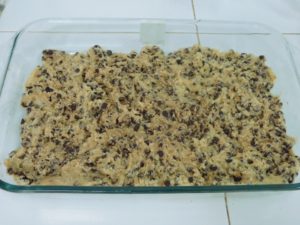
  • Place the mixture into a 9x13 baking dish and spread out evenly. I wetted my hands to spread the dough out evenly.
  • Bake for 20-25 minutes. Remove from oven and place dish on a wire rack to cool a bit.
  • Slice while still slightly warm, as it will firm up a lot when totally cooled off. Enjoy.

Notes

Low cost.
Shortcut: Homemade Yellow Cake Mix.
Variants: 1. Use M&M's in place of the chocolate chips. 2. Lightly sprinkle sugar sprinkles on the top once the cake is cooled. 3. Pipe chocolate frosting in the center of each cut piece.
Recipe provided by Conni Layton.
United States.
Teriyaki Sauce (照り焼きのたれ)

Teriyaki Sauce (照り焼きのたれ)

This is so easy to make, four ingredients is all you need, and like people's secret BBQ sauce or secret burger sauce, the Japanese too have their ways to make their own signature homemade teriyaki sauce. American teriyaki sauce normally includes grated or powdered ginger and or garlic, Japanese does not.
5 from 3 votes
Prep Time 5 minutes
Cook Time 10 minutes
Total Time 15 minutes
Cuisine Japanese
Servings 1 cup of sauce

Ingredients
  

  • ½ cup soy sauce
  • ½ cup mirin, Aji is fine, Hon is preferred
  • ½ cup sake
  • ¼ cup sugar

Instructions
 

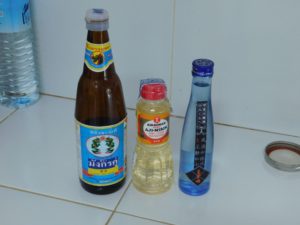
  • The three liquid ingredients, Soy Sauce, Mirin (8% alcohol), and Japanese Sake (15-25% alcohol). The sugar is just out of view.
  • Add all ingredients to a sauce pan, stir continuously and bring to a boil then reduce heat to medium low and simmer for 10 to 15 minutes or until the sauce slightly thickens.
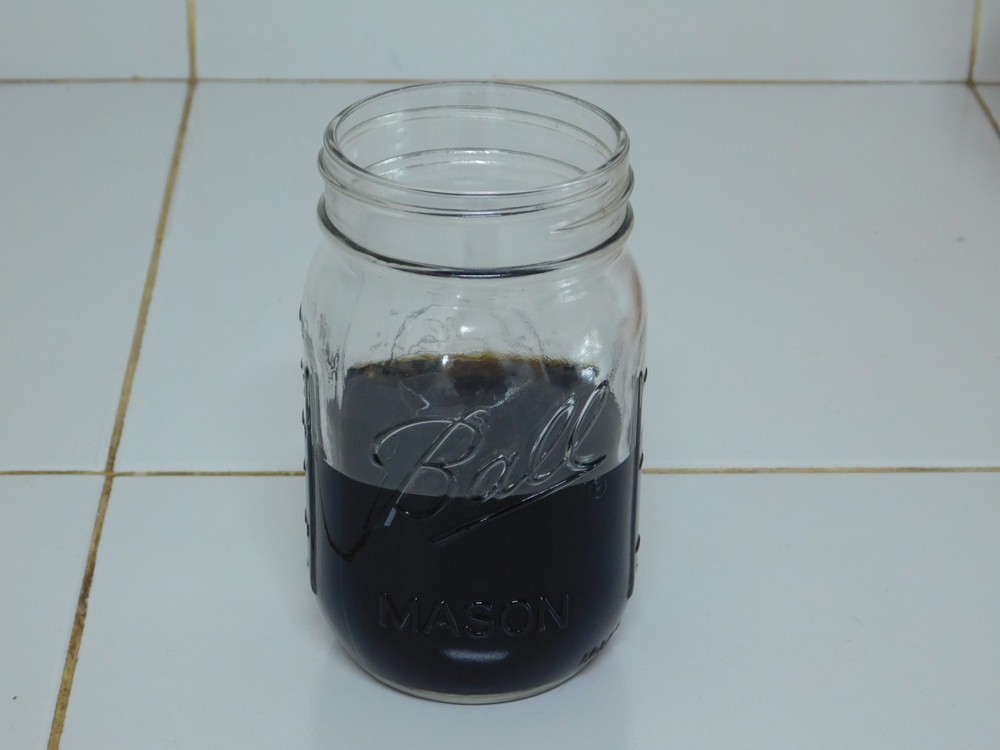
  • Pour the sauce into a sterilized jar and let sit, uncovered, until cooled. The sauce thickens just a bit more as it cools as well, and just to note, Japanese teriyaki sauce not really thick. Store in the fridge for up to 2 to 3 weeks.

Notes

Used in Recipes Listed on this Site:
 
This recipe for Teriyaki Sauce inspired by Just One Cookbook.
Crème Fraîche

Crème Fraîche

Brian Colligan, Thailand.
This is from a good friend of mine in north-eastern Thailand. Sour cream in Thailand is costly, so this is a great alternative.
Prep Time 5 minutes
Passive Time 3 days
Total Time 3 days 5 minutes
Servings 1 liter (1 quart)

Ingredients
  

  • 1 liter heavy cream, or whipping cream, (1 quart)
  • 3 tablespoons plain yogurt, NOT low fat yogurt
  • 1 quart mason jar, optional but helpful

Instructions
 

  • Wash and sterilize a 1 quart mason or a plastic container. Container has to be non-reactive, so no aluminum or copper containers.
  • Add the cream to the jar, leaving about 1½ inches of space on the top. Add the yogurt and stir together.
  • Cover with a coffee filter, cheesecloth, tea towel, etc, and secure with a rubber band. Leave the container on the counter for 1-2 days.
  • Check each day to see if it has thickened. Should thicken in no more than 2 days, but normally in 1 day.
  • Once thickened, remove the coffee filter, cheesecloth, etc. and cover with the regular container lid and refrigerate for 1 day, then it is ready to use. Enjoy as you would use sour cream.

Notes

Used in Recipes Listed on this Site:
Hard Cooked Eggs with Mustard

Hard Cooked Eggs with Mustard

This is a must try for me, this is a change up from deviled eggs, no mayo used, and no mixing anything. Just 3 ingredients, 5 if you would like salt and pepper. This is a make what you need guide.
Prep Time 5 minutes
Total Time 5 minutes
Course Appetizer, Side
Cuisine American
Servings 1 serving

Ingredients
  

  • 1 hard boiled egg, chicken
  • 1 teaspoon whole grain Dijon Mustard
  • 2-4 fresh dill stems, small, or 2-4 fresh parsley leaves
  • salt and pepper, as desired

Instructions
 

  • Cut the egg in half lengthwise, place on a serving dish, cut sides up.
  • Spoon on 1/2 teaspoon mustard on each half.
  • Top each egg with 1-2 pieces of dill or parsley.
  • Serve as an appetizer, side, or snack.

Notes

Low cost.
Shortcut: Perfect Hard Boiled Chicken Eggs.
Adapted from an internet recipe.

Great Northern Beans (Pressure Cooker)

Great Northern Beans (Pressure Cooker)

Hip Pressure Cooking, Laura Pazzaglia, United States.
I use a lot of dry beans as canned is just expensive compared to what you get. 500 grams of dry beans cooked, makes a lot of canned beans for sure. And dry beans are so cheap. I use my 9 liter (9½ quart) 80 kPa (12 psi) stove top pressure cooker. Follow your pressure cooker safety instructions at all times. This is for using soaked beans.
5 from 1 vote
Prep Time 5 minutes
Cook Time 8 minutes
Passive Time 6 hours
Total Time 6 hours 13 minutes
Course Side
Servings 0

Equipment

  • Pressure Cooker

Ingredients
  

  • 500 grams dry Great Northern beans, (1 lb)
  • salt, as needed
  • water, as needed
  • 2 tablespoons cooking oil, very important

Instructions
 

  • Rinse the beans and remove any bad ones and any debris, place in a large bowl and cover with 2 inches of water. Add 2 tablespoons of salt and stir that in. Cover the bowl and let that sit for at least 6 hours.
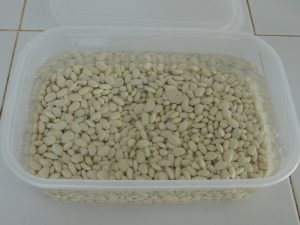
  • After 6 hours, drain and rinse the beans. You can see how much the beans swelled.
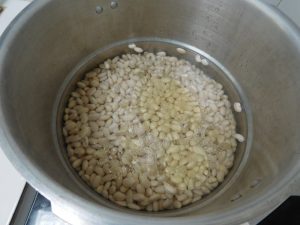
  • Place the beans in your pressure cooker. Add 8 cups of water, 1 teaspoon of salt, and the 2 tablespoons of cooking oil, the oil keeps the beans from foaming so do not skip the oil.
  • Place the lid on the pot, add the weight (jiggler), and bring the heat up to high. When the jiggler starts moving and releasing pressure, start timing this for 8 minutes, and turn the heat down to low or medium low to maintain the jiggler moving and releasing pressure.
  • At 8 minutes, turn off the heat and move the pressure cooker to an unused burner and allow a natural release of pressure. When the pressure is released, open the lid, use beans as needed in other recipes.

Notes

Used in Recipes Listed on this Site: