Archive for the ‘5 Ingredients or Less’ Category
Lime & Lemongrass Fried Chicken
This recipe uses a marinade and seasoned flour packet available in Thailand, Lobo brand. This may be available in the US/Canada in Asian markets or through Amazon. This seasoning pack has no added MSG or preservatives, and is very reasonable priced, just under $1 per packet (30 Baht). This has a little heat to it as this does contain Thai chili powder, in the marinade and seasoned flour, but excellent flavor!
Ingredients
- 1 packet Lime & Lemongrass Seasoning, Lobo brand
- 1 kilo chicken pieces, wings, legs, thighs, breasts
- cooking oil, as needed
Instructions
- Here is what the packet looks like, there is two sections.
- And separated, there is a serrated line to pull these apart, one for the marinade and one for the flour mixture.
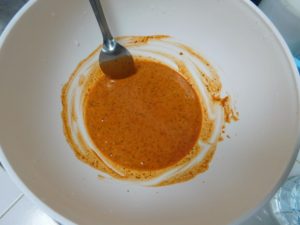
- Mix the Marinade labeled pouch with 1/4 cup of water in large mixing bowl.
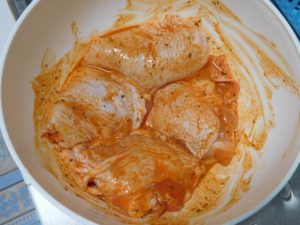
- Add the chicken and mix them with the marinade, place in the fridge for st least 2 hours, and overnight is preferred. I used 4 thighs that was 1 kilo (2.2 lbs.)
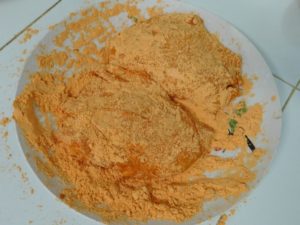
- When you are ready to cook, open the Flour packet and place in a shallow bowl. Remove the chicken pieces from the marinade and coat the chicken pieces well with the flour mixture.
- Heat cooking oil in a pan or pot, you can deep fry or shallow fry, when the oil is hot but not smoking, add the chicken pieces.
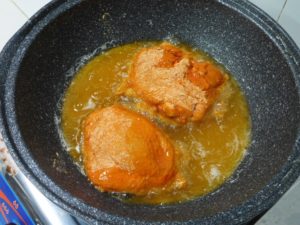
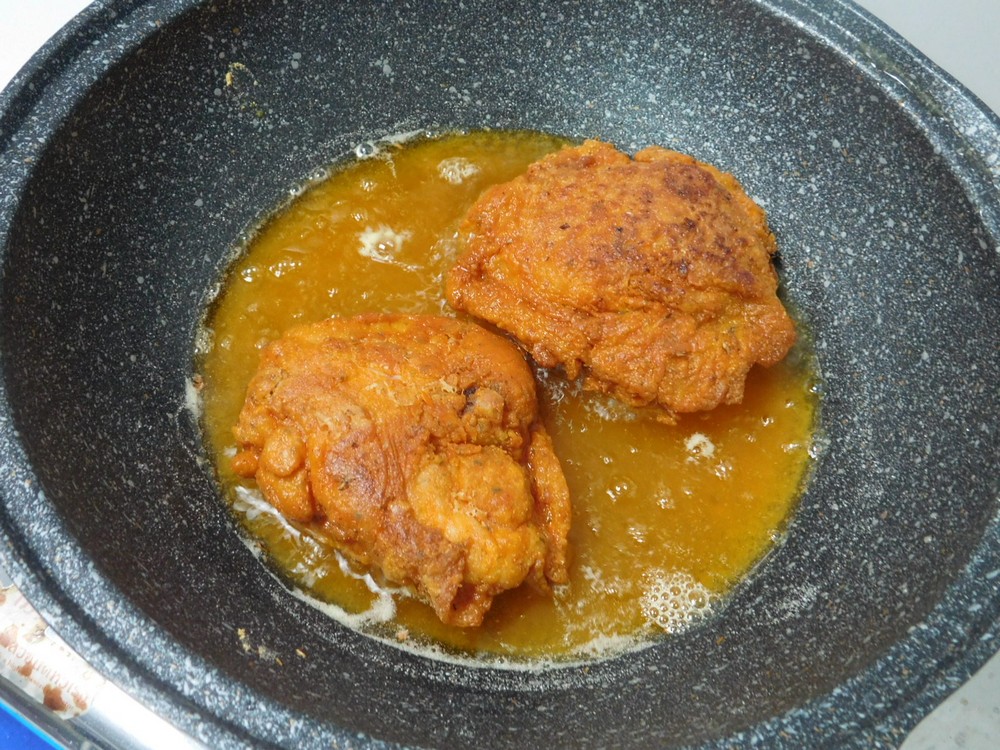
- Allow to fry until golden brown, about 12 minutes for large pieces, 7 minutes for small pieces. If shallow frying, when golden brown on the brown on the bottom, turn and cook the other side. I shallow fried the thighs, and they were large so I cut the largest one open and had to continue cooking for a few more minutes on each side.
- Drain on paper towels.
- Serve with sides of your choice.
Notes
Low cost per serving.
From a seasoning pack in Thailand.
Dumpling Wrappers
This from a friend in Sichuan, China, and she makes this look easy. This is the traditional way to make these, resulting in each wrapper having a thicker center and a thinner edge. I have a link to her video making the wrappers as well as a filling recipe and the wrapping process, needless to say, she is a pro at this. So here is her recipe, and feel free to watch the video for further guidance. The use of a digital scale is very helpful and highly recommended when making this.
Ingredients
- 420 grams all purpose flour, plus more for dusting, (3 cups)
- 210-220 ml water, see Step 1, (pinch under 3/4 cup, to a pinch over 3/4 cup)
- 1/2 teaspoon salt
Instructions
- For the water, if you are going to make water boiled dumplings, use cold water. If you are going to make steamed dumplings (pot stickers), use boiling water.
- In a large mixing bowl, add the flour and salt and mix together, make a well in the center and stir the water in using a heavy spoon or a pair of mixing chop sticks. Use the minimum amount of water at first, mix until the dough forms into a ball.
- Lightly flour your work surface and turn the ball of dough out onto that. Knead for 8-10 minutes until the dough is almost smooth.
- Oil a mixing bowl, place the ball in the bowl and move and turn the ball to coat the ball with oil. Cover with plastic wrap and let the dough rest for 15 minutes. Turn the dough out onto your lightly floured work surface, knead the dough for 2-3 minutes to get a smooth dough. Place the dough back into the mixing bowl, cover and let rest for 1 hour.
- Take the dough out of the bowl onto a lightly floured work surface, flatten ball and using your thumbs poke a hole through the center, and shape the 'doughnut' into a large circle.
- Cut the circle in half, so you have two equal length 'logs'.
- Roll each log to make a uniform size log, 3 cm in diameter (about 1 1/8 inch diameter). Now this is where a digital scale would come in real handy, cut a piece of the log off, say 1/2 inch, weigh it, you are looking for about 10 grams (0.35 oz), adjust the size of the cut you made and go with that. Cut the log into the sizes you determined (no need to weigh each piece, just weigh the first and 'guestimate' the remaining pieces. Lightly dust the pieces to keep them from sticking together.
- Lightly dust the work surface again. Now, take one piece of dough and press it into a round disc, (now this is where some skill comes into play), using a rolling pin in one hand (just the solid wood one) and the dough in the other hand, rotate the wrapper after a roll, the wrapper should now be round, about 3 1/4 to just under 4 inches in diameter. If you are new to this, make 3-4 to gen the hang of it. Cover the wrappers with towel as you continue.
- Ideally, two people would be perfect for this, one to roll and on to fill the dumplings.
- After making your dumplings of choice, if you have left over wrappers, lightly dust each side with flour, stack, and place in an airtight bag and place in the freezer. To use again, just thaw at room temp for about 30 minutes until they are soft and use again.
Notes
Low cost.
And highly recommended to see this in a video, and skill, here is her video for Dumpling Wrappers (this skill is most impressive!)
Quatre Épices (Four Spices)
This is a common French blend of 4 basic spices and used in soups, grilled chicken, salt pork. Since I am not teaching French here, I will stick with the name, Four Spices.
Ingredients
- 2 tablespoons ground white pepper
- 1 tablespoon ground ginger
- 1 tablespoon ground nutmeg
- 1 tablespoon ground cloves
Instructions
- In a small bowl, stir together all the ingredients. Pour into an airtight container and store in a cool dark place.
Notes
Used in Recipes Listed on this Site:
Hazan’s Butter Tomato Sauce
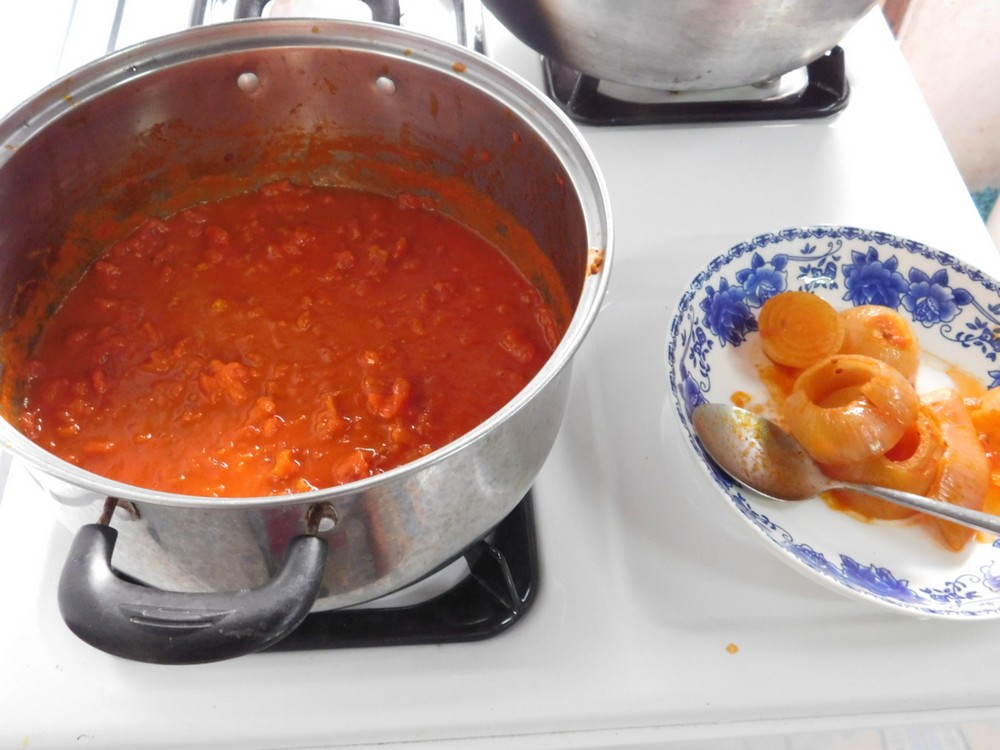
I got this recipe from a friend on another site, and that man is a Chef, and the recipe comes from the late Italian Chef and author, Marcella Hazan. So needless to say, this recipe comes highly recommended. I made this on 27 May 2022, and I must say, best sauce I have tested, the flavor is excellent! Highly recommended for a easy and very delicious sauce. This is adapted to the size of cans I have here in Thailand, for US size can, that is explained in the Notes section.
Equipment
- Potato Masher
Ingredients
- 2 cans peeled tomatoes, (20 oz / 565 g each), I use Brook brand.
- 1 medium onion
- 6 tablespoons unsalted butter
- kosher salt, as needed
Instructions
- Pour the tomatoes and the juice, into a saucepan and crush them with a potato masher, or you can do this with your hands.
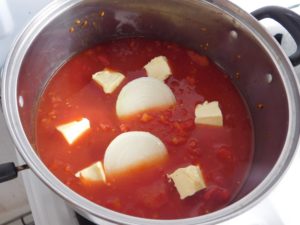
- Peel the onion and simple cut in half crosswise. Add the onion and butter to the saucepan.
- Place saucepan on low heat and bring to a simmer. Simmer only, no one likes a pot of burnt tomatoes!
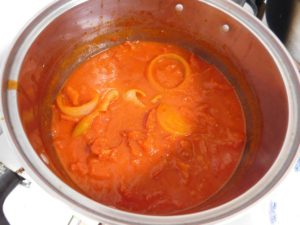
- Every 10 minutes or so, give the sauce a stir, taste, and season with a tiny pinch of salt, let the sauce simmer. Continue to simmer, taste, and add a tiny pinch of salt, as needed, for 45 minutes.
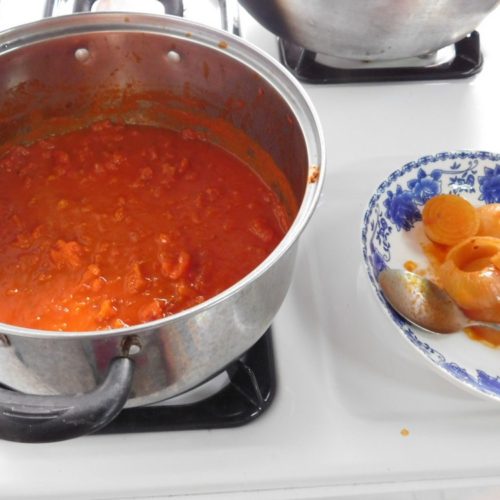
- Remove from heat and remove the onion. You can either discard the onion or enjoy as a snack. Mash the tomatoes with the masher again, now your sauce is ready.
- Serve over hot cooked spaghetti or pasta of your choice. Enjoy.
Notes
Variant: 1. Replace half the butter with duck fat (this comes highly recommended!). 2. In a separate pan, brown some ground beef or pork (500 g / 1 lb), drain, and stir into the sauce, then serve as a meat sauce.
This sauce freezes well, so make a larger batch, separate into portion sizes you require and freeze, then you have sauce readily available.
For viewers in the US, for the canned tomatoes, use one 28 oz can, and 5 tablespoons butter.
Sauteed Chinese Sausage
This is a basic recipe and I want to write this to make it easier, or rather better, for more enjoyable Chinese Sausage. In Thailand there is many brands of this sausage, don't look in the refrigerated or frozen meat section, this is air dried sausage and is shelf stable when it is packaged, so just look on a shelf. I am going to use the most common one, called Lap Cheong, which is the Chinese name and is a sweet sausage. My mother in law received several packages of this a few years back, from Northern Thailand, a very good brand. The family was excited about this but mother in law told everyone, no one cooks it except my wife, her daughter, her other daughters were not allowed to cook it. So I cooked a dish for the family and it was very well liked by mother in law, who stated, ok, now the only ones that may cook this for her is me and my wife. The secret to good Chinese sausage, steaming. Steam whole, then slice, then saute.
Ingredients
- 4 links Chinese sausage
- 2 cloves garlic, smashed and minced
- 1 onion, diced large
- 2-3 spring onions, chopped into 1-2 inch pieces, white and green
- 1 tablespoon soy sauce
Instructions
- First thing we need to do is soften the sausages, we are going to use a steamer of your choice, I will use my rive cooker with a steamer basket it came with. Add a 1-2 cups water to the steamer pot, when boiling, add the sausages to the steamer tray, cover, and steam for 15 minutes.
- Remove the sausages to a cutting board and slice about 1/4 inch thick (or a bit less) at an angle. This is for appearance as well as making a larger piece of sausage. The sausage is hot so use tongs to hold them while you slice.
- Heat a large non stick pan on medium heat, when hot, add the sausage and garlic, stir often. Lot of sugar in this sausage so it will burn rather quickly. Cook until the garlic is starting to brown.
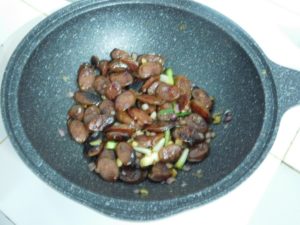
- Then add the onion and spring onion, continue stirring often to crisp up the sausage and soften the onions. Stir in the soy sauce.
- Serve with sides of your choice.
Notes
Low cost.
My own creation, Lee Thayer.
Thailand.
Thailand.
Pumpkin (Pressure Cooker)
Pumpkins in Thailand are what I called winter squash growing up in Michigan. A orange pumpkin is a winter squash as well. I have used these to make pumpkin pies and got rave reviews for them. So this is a base recipe if you need pumpkin for a pie or simply as a side dish, which is what these photos will show. I use a 9 liter (9½ quart) stove top pressure cooker, follow your pressure cooker safety instructions at all times.
Equipment
- Pressure Cooker
Ingredients
- 1 kilo fresh pumpkin, (2 lb)
- 1½ cups water
Instructions
- Our pumpkins here are a bit larger than large pressure cookers. This one I bought weighed in at about 3 kilos or about 6 lb, so obviously it is not going to fit. A note about that bad spot, think of a potato, if there is a bad spot, simple cut it off, same applies to squash.
- First thing to do is cut the pumpkin in half, then you have something to work with.
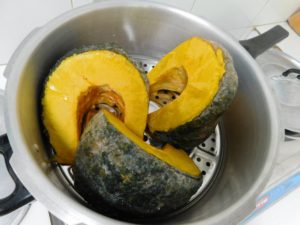
- I wanted to the keep the pieces in the largest size I could to minimize the cutting through a hard pumpkin. These 3 pieces weighed about 1 kilo (2 lb). Place the pieces on a steamer rack if your pressure cooker has one or on a trivet.
- Add the water, place the lid on the cooker and lock, add the weight and bring up to high heat. When the weight (jiggler) starts to move and vent pressure (indicating full pressure), turn the heat to low or medium low to just maintain the jiggler moving and venting. Start your timer for 5 minutes.
- When 5 minutes have passed, turn off the heat and move the pressure cooker to an unused burner. Leave the cooker alone and let it drop pressure naturally on its own, about 10-15 minutes.
- When you have indications of zero pressure in the vessel, remove the weight then the lid.
- Use a large flat spatula or large tongs, or both and remove a piece of pumpkin to a plate. Use a knife to simple slice off the skin. Here is the first one done. Plate that in a separate smaller pot. Repeat with the other pieces.
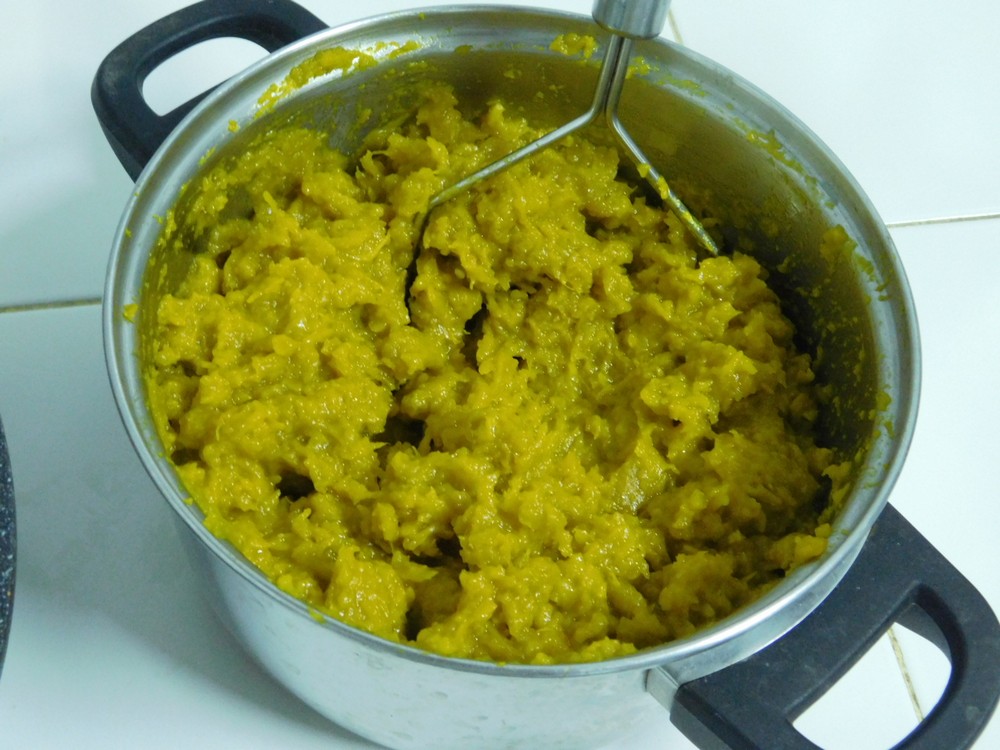
- Grab your potato masher and mash the pumpkin. I like to add a bit of butter as well when mashing if using as a side dish, no butter if mashing to use in pies.
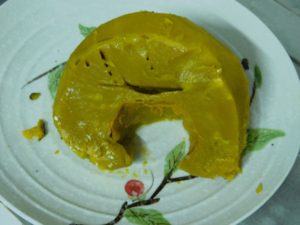
- Serve as a side dish, and of course, with butter on top.
- Or use as an ingredient for pumpkin pies.
Slow Cooker Brats in Beer
Sounds like a good basic brat recipe, on my to cook list, and I will be using homemade bratwurst as well. Link to the shortcut is listed in the Recipe Notes section.
Ingredients
- 750 grams Bratwurst, OR make from a shortcut, (1 1/2 lbs)
- 1 can beer, or bottle, your choice
- 1 medium onion, thinly sliced
- 2 tablespoons brown sugar
- 2 tablespoons red wine vinegar
Instructions
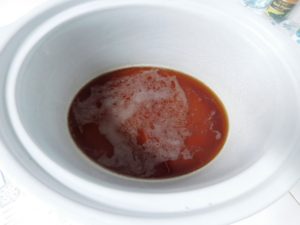
- To the slow cooker, add the beer, brown sugar, vinegar. Stir together.
- Heat a non stick skillet on medium heat, when hot, add the bratwurst. Brown the brats until lightly browned.
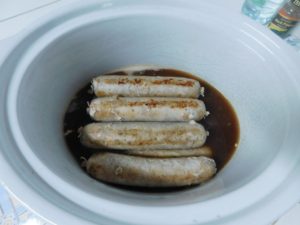
- Place the brats in the slow cooker, and prick eat sausage 2-3 times with a toothpick to prevent them from bursting.
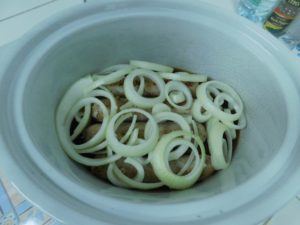
- Top with the sliced onions.
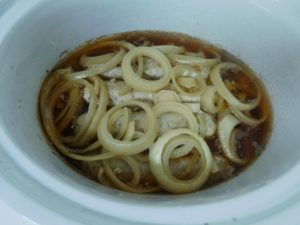
- Cover and cook on Low setting for 4 hours.
- Serving options could be with sauerkraut on the side along with spicy mustard, another option could be in a bun. Enjoy.
Notes
Low cost per serving as I used my homemade bratwurst. Store bought is about is 270 grams at 129 Baht, gets pricey when you consider 750 grams needed for the recipe.
Shortcut: Bratwurst.
Adapted from an internet recipe.
Red Radish Salad I
I love red radishes so this salad sounds really good. I made this on 6 Oct 2018, excellent taste, and my wife loved this. A small amount is perfect as a side as it has a strong flavor.
Ingredients
- 5 large red radishes
- 1 cups white vinegar, or rice vinegar
- 1/2 cup sugar
- pinch salt
- pinch black pepper
Instructions
- Wash the radishes and thinly slice, the use of a mandolin is highly recommend.
- In a large mixing bowl, add the vinegar, sugar, and salt, whisk until the sugar is dissolved.
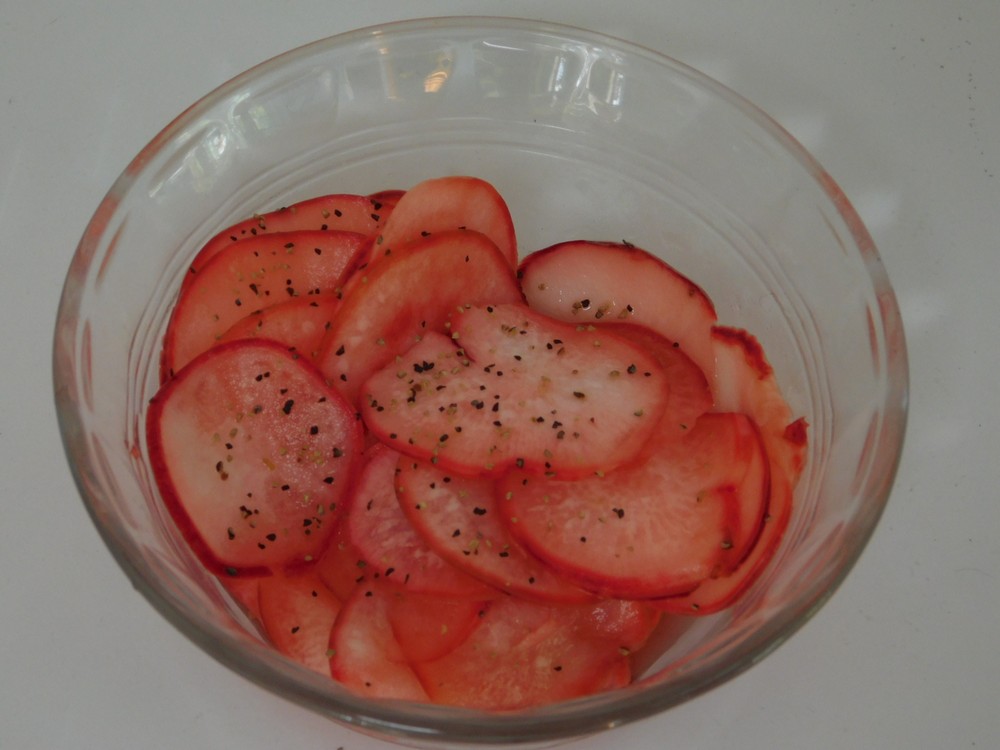
- Add the sliced radish, mix, then season with pepper as desired, a pinch or two. If there is not enough liquid to cover most of the radishes, mix in equal parts water and vinegar, then place in the fridge for at least an hour. This salad will last 2-3 days in the fridge.
- For serving, think as a salad, or mixed into a lettuce salad, or as a burger or hot dog topping.
Notes
Low cost.
Variants: 1. Add thinly sliced onion to the radishes. 2. Use rice vinegar in place of white.
Recipe adapted from Just A Pinch Recipe Club, Julian Esquivel, and the original recipe is here.
United States.
United States.
Tomato Sandwich
A tomato sandwich can be as simple as bread, mayo, and tomato slices, or you can use toast and add cheese (I guess that is a Kansas thing), add lettuce, avocado, bacon, etc. But if you add lettuce and bacon, then you have a BLT (which is an excellent sandwich), so we won't go there.
Ingredients
The Classic
- 2 slices white bread, or a hamburger bun (which is my choice)
- 1 fresh tomato, sliced thick
- mayo, as needed
- salt and pepper, as desired
Options
- 2 slices white bread, toasted
- 2 slices wheat bread, plain or toasted
- 1 fresh avocado, sliced
- 3-4 slices bacon, cooked crisp, but not used with the lettuce
- 1 slice cheese, your choice
- 1-2 lettuce leaves, but not used with the bacon
- fresh parsley leaves
- fresh sweet basil leaves, which sounds really good!
- onion, sliced thin, think mandolin sliced thin
- sardines
Instructions
The Classic
- Place the tomato slices on a paper towel to absorb some of the juice.
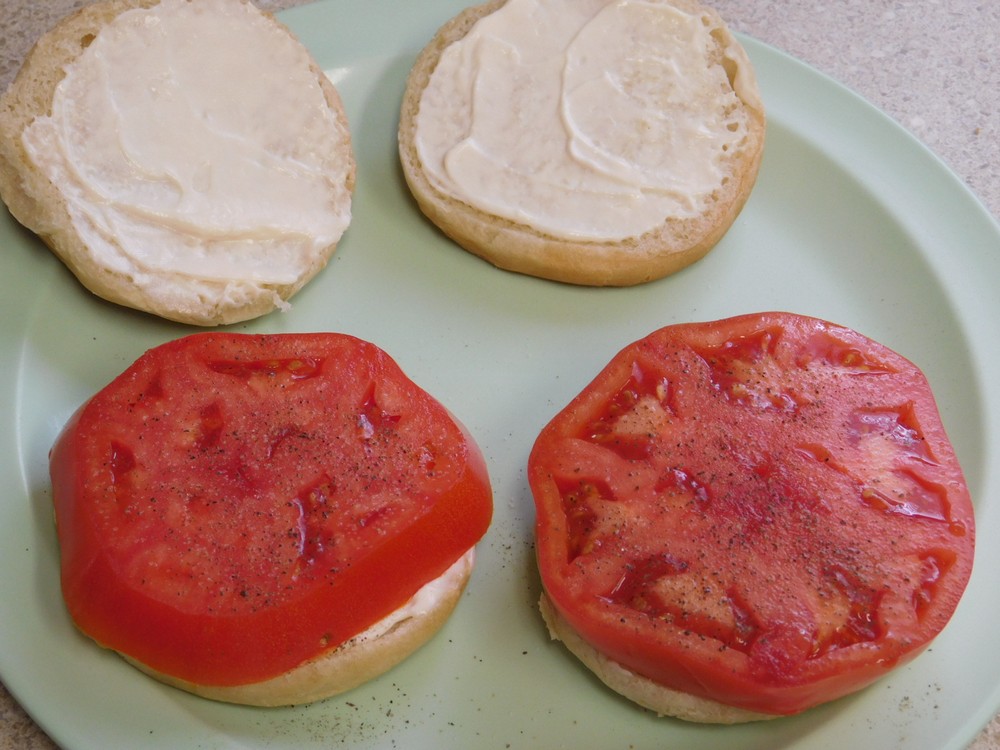
- Spread an ample amount of mayo on the bread slices or hamburger bun. Top a slice of bread with some tomato slices. Season with salt and pepper as desired.
- Top with the other slice of bread. Enjoy.
with Lettuce
- Place the tomato slices on a paper towel to absorb some of the juice.
- Spread an ample amount of mayo on the bread slices or hamburger bun. Top a slice of bread with 1-2 lettuce leaves, top with some tomato slices.
- Top with the other slice of bread. Enjoy.
Notes
Low cost.
Common sandwich that has been made for many years.
Za'atar Quail Eggs
This is a western twist on the Middle Eastern snack called Yogurt Cheese, which is also rolled in za'atar then stored in olive oil. This recipe assumes you have hard boiled quail eggs on hand, fresh cooked or canned will work. Link to the shortcut is listed in the Notes section.
Ingredients
- 24 hard boiled quail eggs, Shortcut
- extra virgin olive oil, as needed
- 3-4 tablespoons za'atar
- sea salt, as desired
Instructions
- For fresh cooked quail eggs, once peeled, place in the fridge to completely cool. If using canned, drain then place in the fridge to completely cool.
- Place the za'atar in a shallow bowl and season as desired with sea salt.
- Place the quail eggs in another bowl and toss with 3-4 tablespoons of olive to lightly coat all the eggs.
- Roll the eggs in the za'atar to coat each egg. For the eggs with the flat bottoms, stand them up on a serving tray, for the round bottom ones, just place them on their side on the tray.
- Serve.
Notes
Shortcut: Perfect Hard Boiled Quail Eggs.


