Archive for the ‘#1 Go-To Recipes’ Category
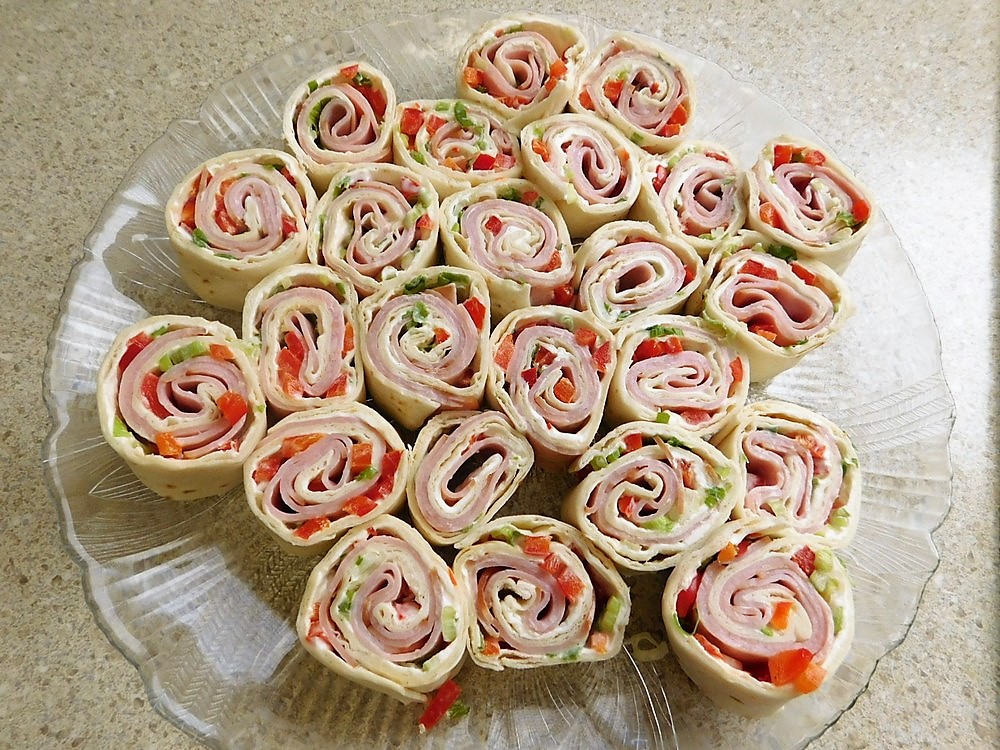
Pinwheels
This comes from a friend and is absolutely delicious. This is a base recipe, make with what you have on hand to make a few or many.
Ingredients
- large flour tortillas
- Cream cheese, softened
- Ranch dressing
- spring onion, sliced
- bell pepper, red, yellow, or orange, diced
- cheese, shredded, your choice, Cheddar would be good
- deli ham
- deli turkey
- smoked turkey
Instructions
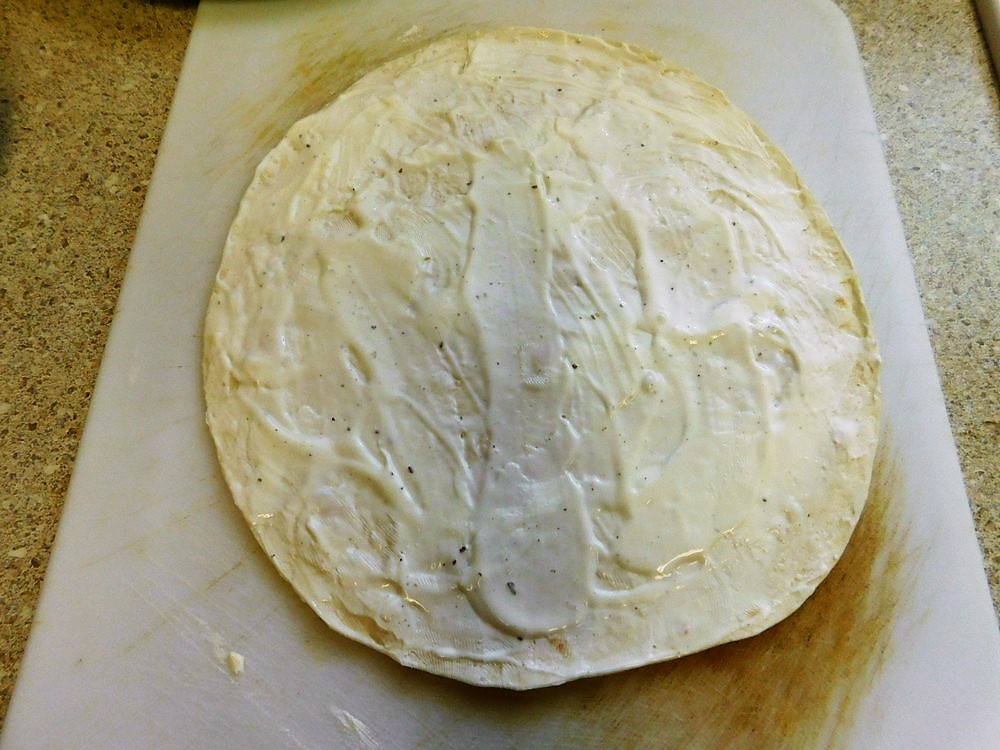
- Lay out a tortilla, spread on some cream cheese and drizzle on some Ranch dressing, use a spoon and spread out the dressing.

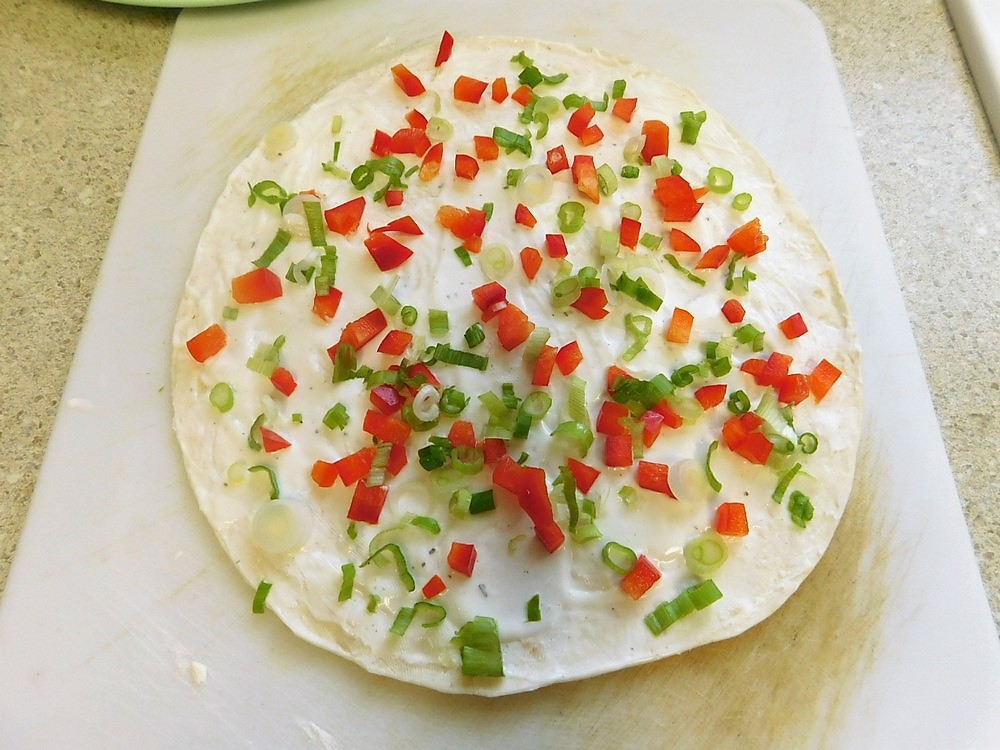
- Sprinkle on some spring onion and bell pepper.

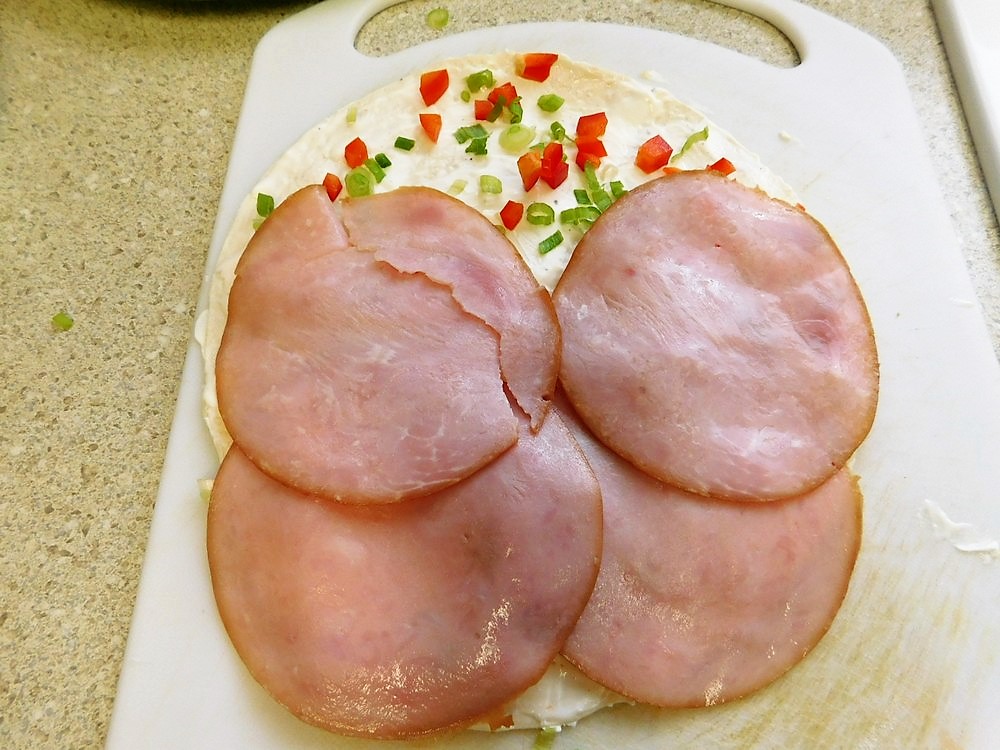
- Add slices of deli ham, turkey, and or smoked turkey as desired.

- Roll the tortilla up and secure with 1 or 2 toothpicks and place covered in the fridge for at least an hour.

- Remove, slice about 3/4 inch thick, enjoy.


Notes
Low cost.
Recipe and photo provided by Kevin Barnett and his original recipe is here.
United States.
United States.
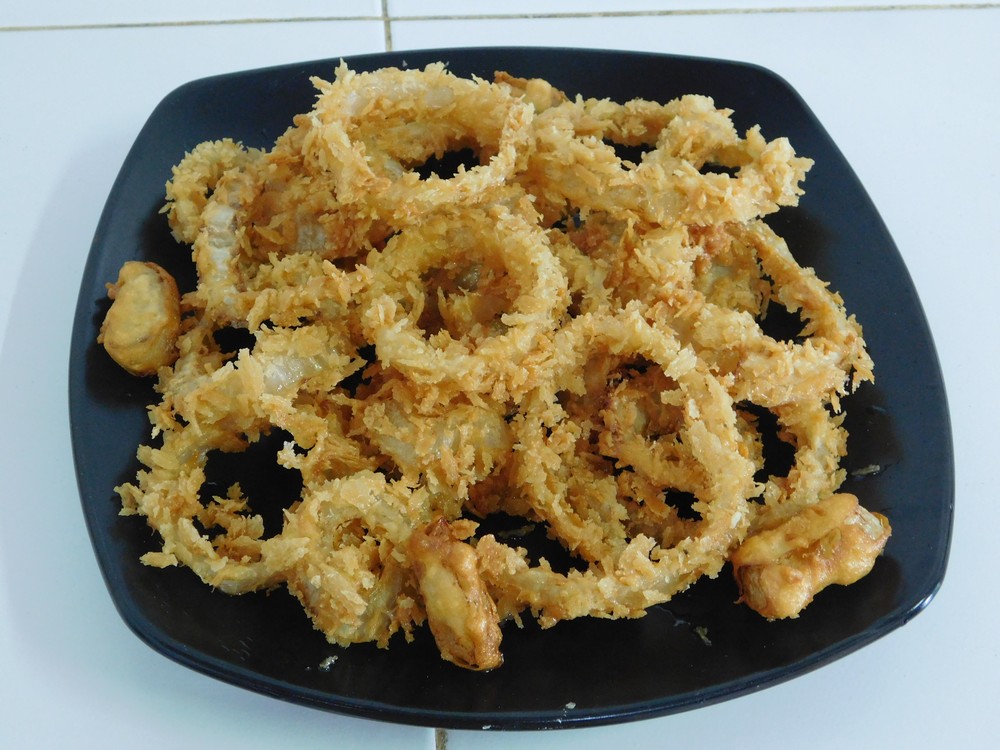
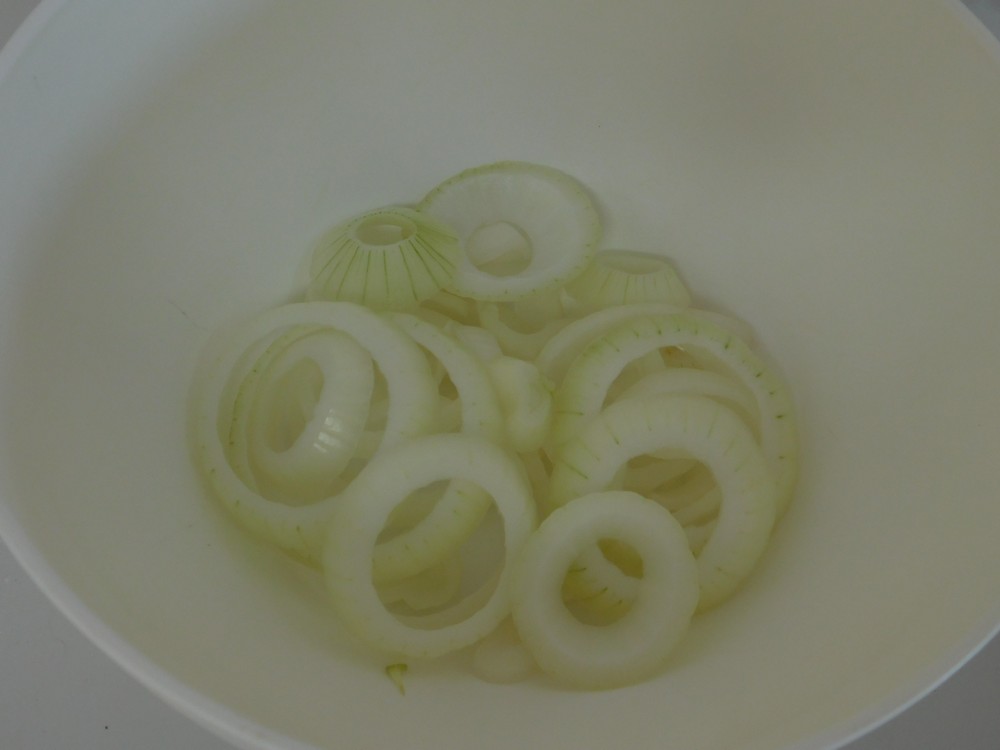
Old Fashioned Onion Rings
Sounds delicious, I made these on 22 Feb 2018 and they are perfect. Link to the shortcut is listed in the Recipe Notes section.
Ingredients
- 1 large white onion
- 1 1/4 cups all purpose flour
- 1 teaspoon baking powder
- 1 teaspoon salt
- 1 egg
- 1 cup milk, or as needed
- 3/4 cup dry bread crumbs, OR make from a shortcut
- cooking oil, for frying
Instructions
- Slice the onion into 1/4 inch slices, then separate into rings and set them aside.

- In a gallon size zip lock bag, add the flour, salt, and baking powder, zip closed and shake to mix. Add some onion rings, zip closed and shake to coat the rings, remove and set the coated rings aside, repeat with the remaining onion rings.

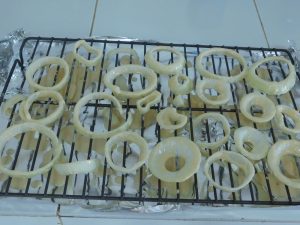
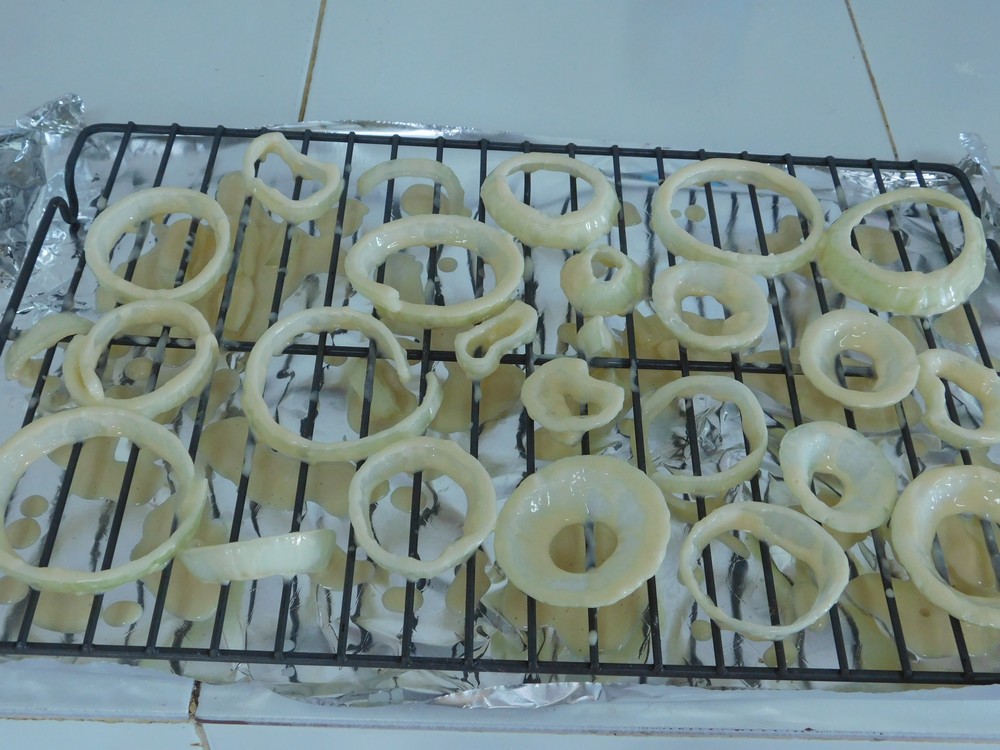
- Once all the rings are coated with flour, add the egg and milk to the zip lock bag, close and squish that up with your fingers. Add some rings, lock the bag and squish around to coat, remove to a wire rack over foil to drip. Repeat for the remaining rings.
- While waiting for the rings to drip, go ahead and heat a large deep pan with oil or a deep fryer with oil, heat to 180 C (350 F), and add the bread crumbs to a shallow bowl.
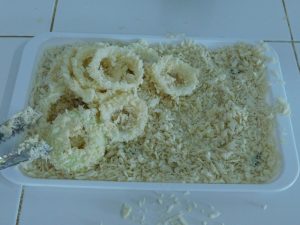
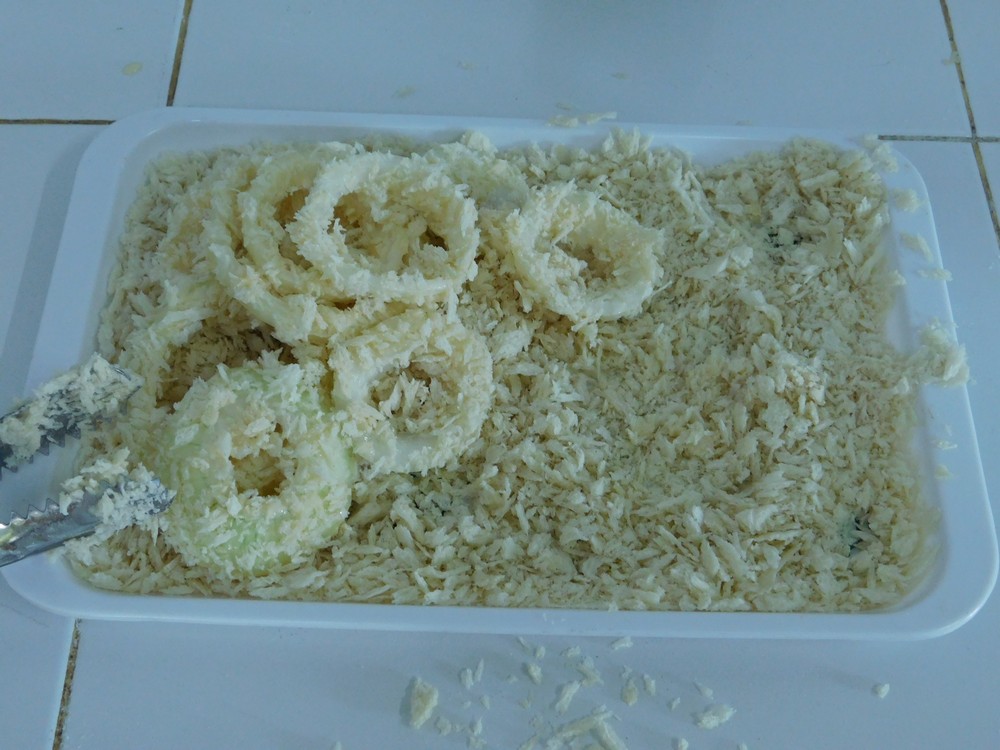
- While the oil is heating, place a few rings on the breadcrumbs and coat well, tap off excess, and set aside. Repeat with the remaining rings.
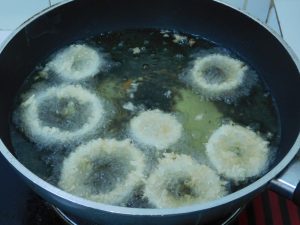
- When the oil is hot, add a few rings at a time and fry for 2 to 3 minutes or until golden brown, remove to paper towels to drain and continue with the rest of the rings. Rings just went in during this photo.
- Serve and enjoy.


Notes
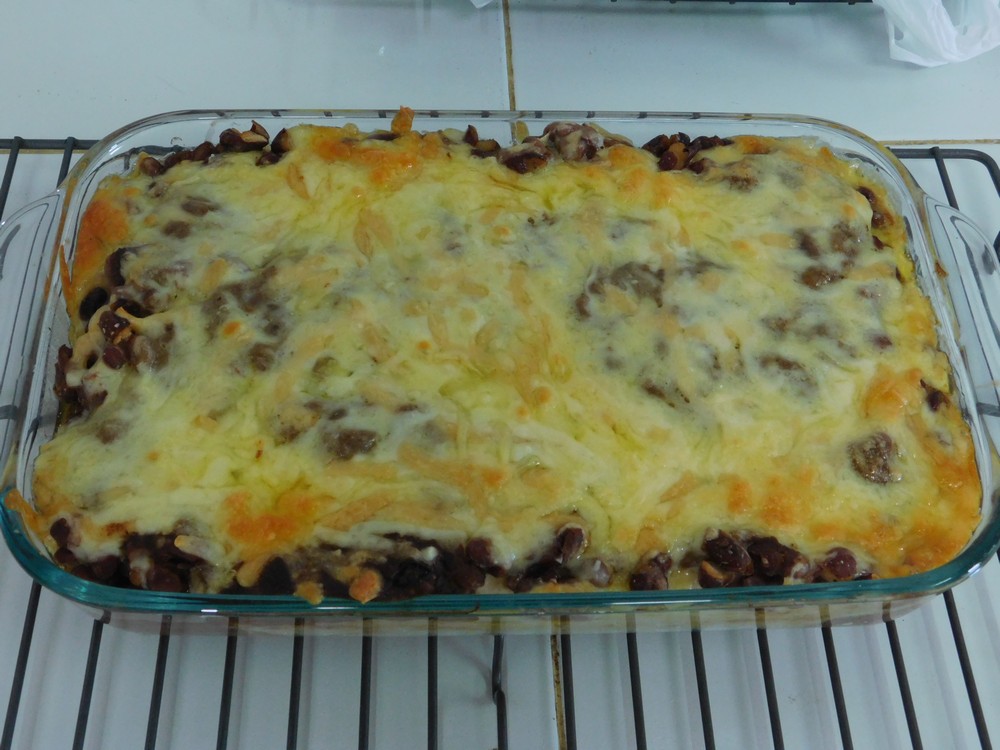
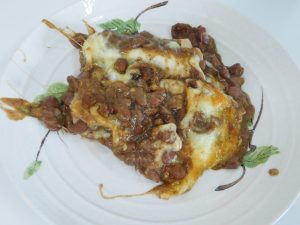
Cheesy Bean Enchilada Casserole
This is my own creation made on 21 Feb 2018, nothing special to look at but is tasty if one likes bean enchiladas. This recipes makes use of another recipe here on the site for the refried beans. Link to the shortcut is listed in the Recipe Notes section.
Ingredients
- 1 batch refried beans, shortcut listed below
- 4 large flour tortillas
- 3 cups Cheddar cheese, shredded, or a 4 cheese blend
- 1 packet enchilada sauce, OR make from a shortcut
Instructions
- Prepare the refried beans from the shortcut below, I don't know how many cups or cans this makes, I make mine in batches of 500 grams (1 lb) dry beans. These take 8 hours, so you can either start the beans really early or make the casserole the next day, which is what I did.
- Preheat your oven to 180 C (350 F). Prepare the enchilada sauce according to the package or shortcut instructions.
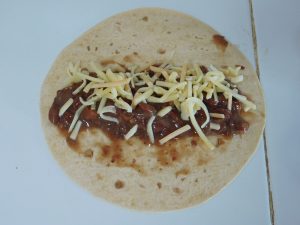
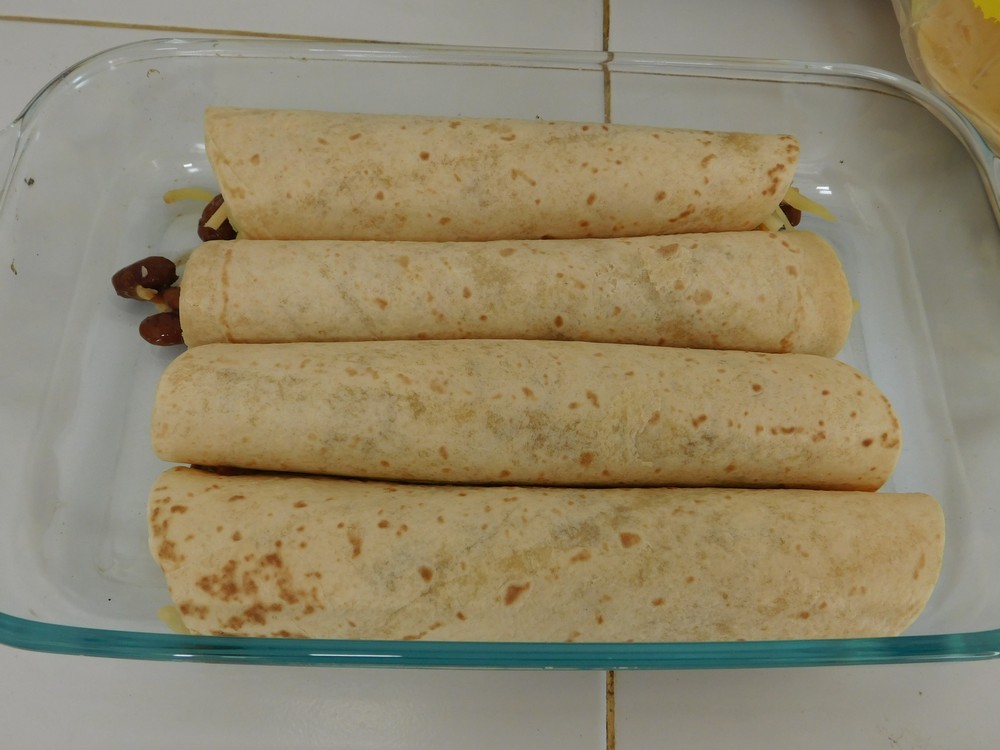
- Lay a tortilla on your work surface, spread some refried beans in the middle, top with some shredded cheese.
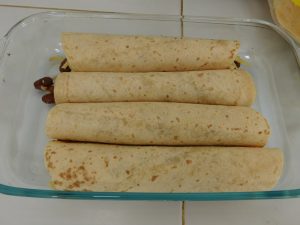
- Fold or roll up the tortilla and place seam side down in a 7x11 baking dish. Repeat with the remaining 3 tortillas.
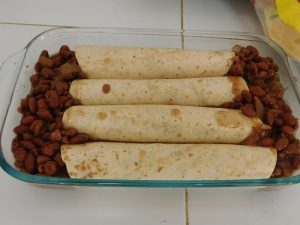
- Spoon some beans into each end of the dish.
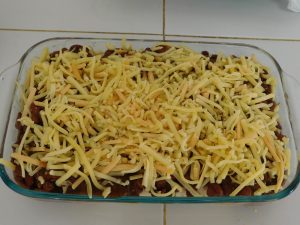
- Spoon the rest of the beans over the top of the enchiladas and spread out evenly. Pour on the enchilada sauce, then top with the remaining cheese.
- Bake for 20-30 minutes to warm through and brown the cheese.

- Let casserole rest for a few minutes, then dig in and enjoy (see, I said it was nothing special to look at).


Notes
I will price this next time I get the cheese I used. For now I will say fair cost.
Shortcuts: Easy Refried Beans, Enchilada Sauce Mix.
My own creation, Lee Thayer.
Thailand.
Thailand.
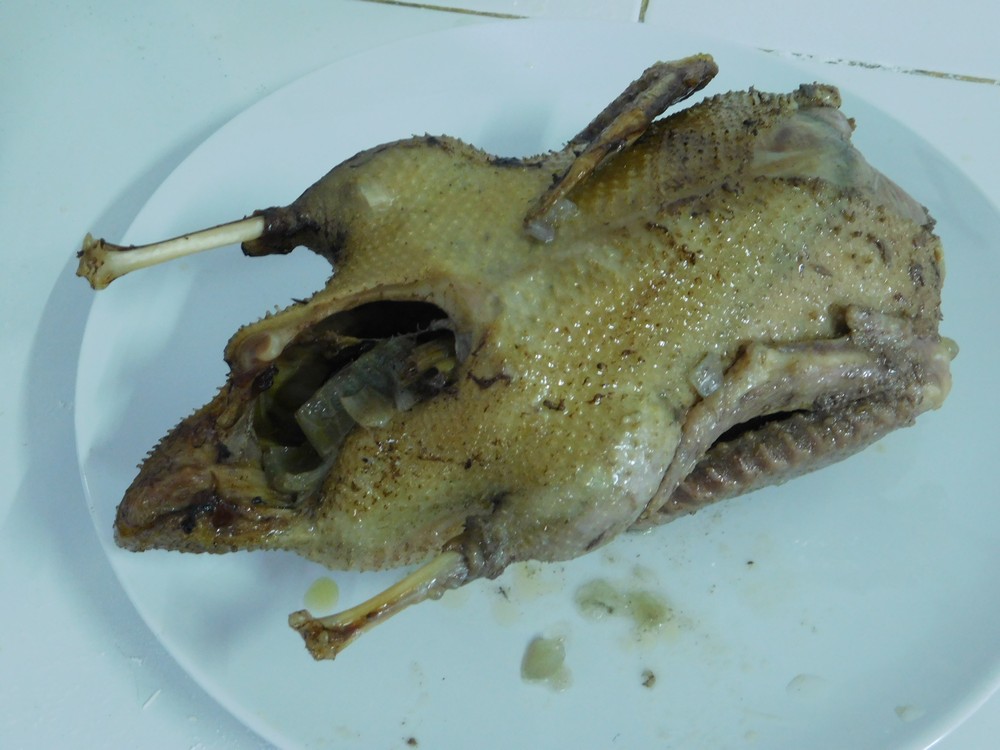
Whole Duck (Pressure Cooker)
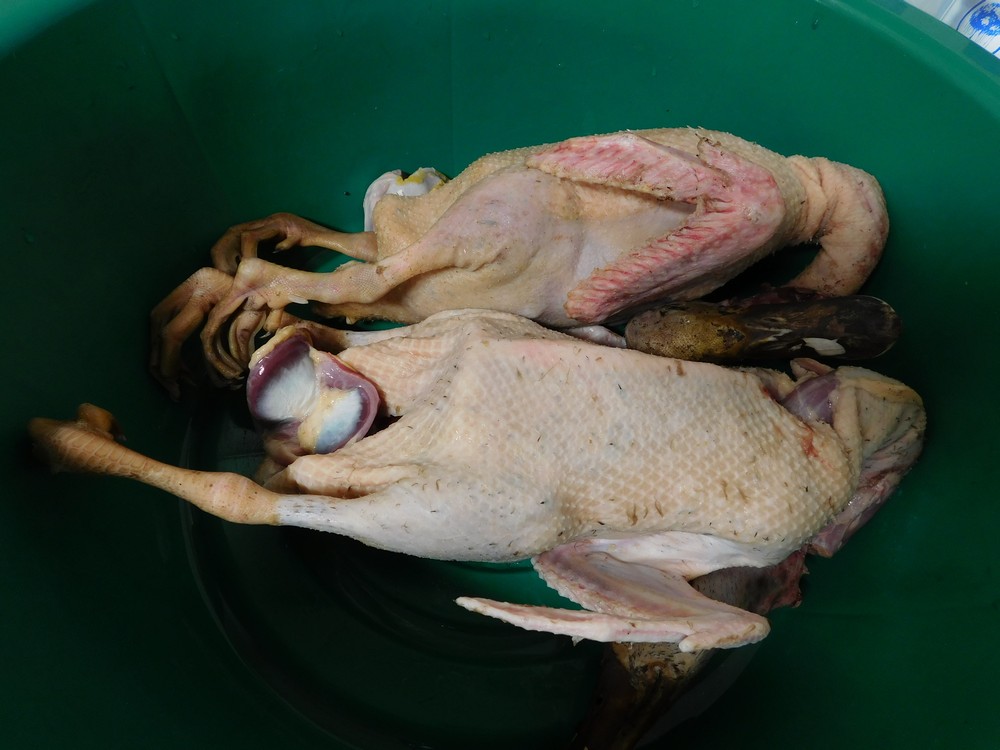
Using the same idea that the pressure cooker produced an outstanding juicy and tender chicken, my wife suggested using it for duck. We sent our brother in law to a local duck farm two days ago and he brought back 2 small ducks, yesterday, 18 Feb 2018, he slaughtered the ducks, plucked them, and sort of cleaned them, and delivered the two ducks to us. I did the final cleaning and prep for the pressure cooker. And oh my, what a tender and juicy duck as well, absolutely delicious! Follow the safety precautions for you type of pressure cooker. I use a 12 psi (80 kPa) 9 liter (9 1/2 quart) stove top pressure cooker.
Ingredients
- 2 small whole ducks
- 8 stalks lemon grass
- 2 handfuls lime leaves
- 1 large onion, chopped
Instructions
- For those in Asia, any fowl will have feet and head still attached.

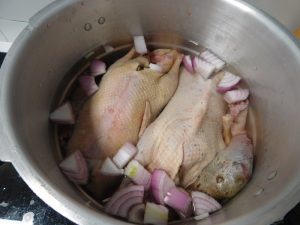
- Prep the duck by cutting off the feet, head, and neck. Clean the inside and out with running water, clean the inside well. Make sure the heart and liver are removed as well, and clean the gizzard as well if that is not done.
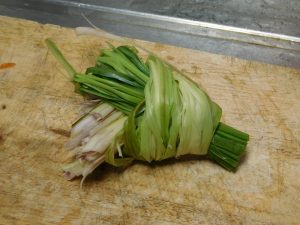
- Beat the lemongrass with a pestle or meat tenderizer, make two bundles and tie each into an overhand knot, place a bundle in each duck, then place a handful of lime leaves in each duck.
- If using the feet, use a cleaver and chop off the toes, and if using the head, chop off bill, yes, I know that sounds weird. Wash the feet, heads, necks, and gizzards. These will go in the pressure cooker. For the hearts and livers, set those aside, those do not go in the pressure cooker. (I boiled the hearts and livers for a snack while cooking the ducks.)
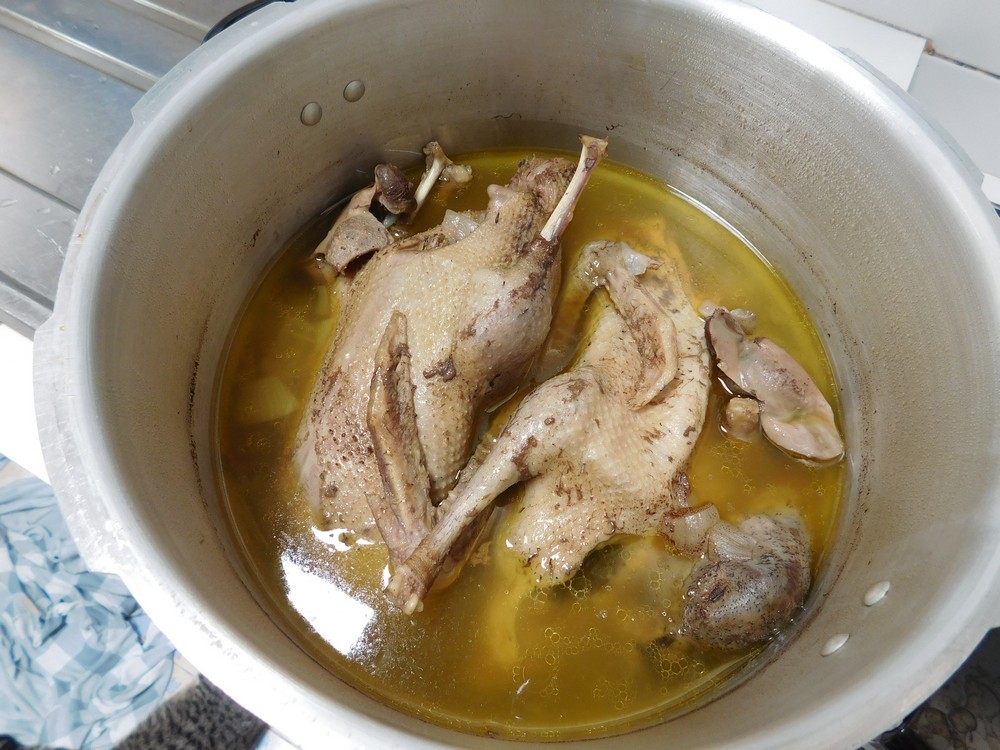
- Place the ducks in the pressure cooker along with the heads, necks, feet, and gizzards. Toss in the chopped onion. Add water as need, it does not need to cover the ducks, but keep the pot 2/3 or less full.
- Add the lid and lock in place, place weight (jiggler) on the top and turn on heat to high. Once the jiggler starts venting pressure and moving, start your time for 30 minutes.
- At 30 minutes, turn off the heat and move the pot to an unused burner and allow to release pressure naturally.

- One duck ready to serve. This was enjoyed with just a simple chili sauce for dipping and rice on the side. Figure 4 servings from one small duck.


Notes
Each small duck cost me 100 Baht, so 200 for both. for 8 servings, this is about 75 cents per serving, outstanding value for a very good meal!

Whole Chicken (Pressure Cooker)
Think of boiling a whole chicken, very common in Asia, I am going to use my pressure cooker and will add some items to make broth for use in another recipe. The chicken can be thawed or frozen, just add more time if frozen. The time is based on a 2 kilo (4 lb) chicken, if your chicken is larger, increase the time slightly, if your chicken is smaller, decrease the time slightly. Follow your pressure cooker safety requirements.
Equipment
- Pressure Cooker
Ingredients
- 1 whole chicken, about 2 kilos, (4 lbs)
- 2 carrots, sliced
- 2 small onions, chopped
- 2 stalks celery, chopped
- palmful black peppercorns
- 8 cups water, (2 quarts)
Instructions
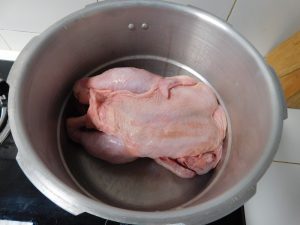
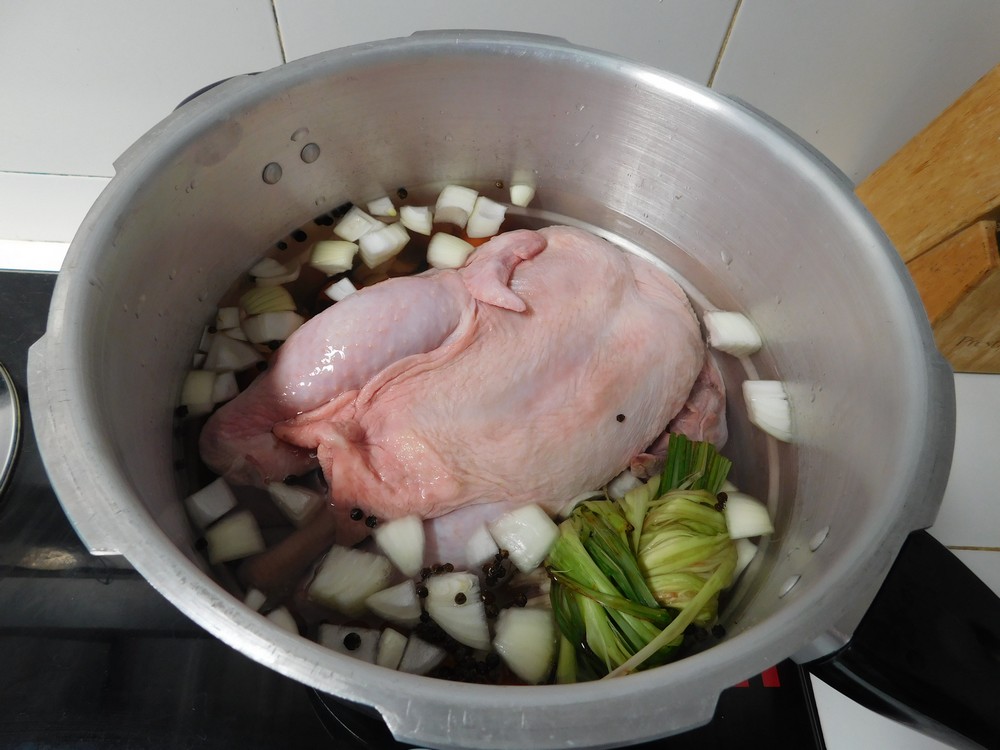
- Remove the giblets from the cavity, for those in Asia (for a local fresh chicken, remove the head and feet if you like but not required) and rinse the chicken inside and out, place in your slow cooker. (This chicken I used is 2.2 kilos, head and feet attached, feet are tucked into the cavity, I also use a 9 1/2 quart pressure cooker.)
- Add the water, onions, carrots, celery, and peppercorns.

- For variant and to add a Asian taste to this chicken, we also added about 5 or 6 stalks of lemongrass. For those that are unfamiliar with using lemongrass in cooking, the texture ranks right up there very coarse wood shavings, this is not an item that remains in a dish, so the best way to add this when a dish is cooked, is to beat the stalks flat (this releases the fragrant oils in it) and tie into an overhand knot (this prevents the stalks from separating). When you are done cooking, just spoon out the knotted bundle.
- Cover and lock the lid. Heat on high heat until the jiggler releases pressure and starts moving, reduce heat to low to keep the jiggler moving. Now start timing.
- For a FROZEN chicken, time for 30 minutes. (The chicken I used here was frozen and 2.2 kilos so I timed for 32 minutes.). When the time is complete, remove the cooker from heat and set on an unused burner to do a natural release, about 5 to 10 minutes.
- For a THAWED chicken, time for 20 minutes. When the time is complete, remove the cooker from heat and set on an unused burner to do a natural release, about 5 to 10 minutes.
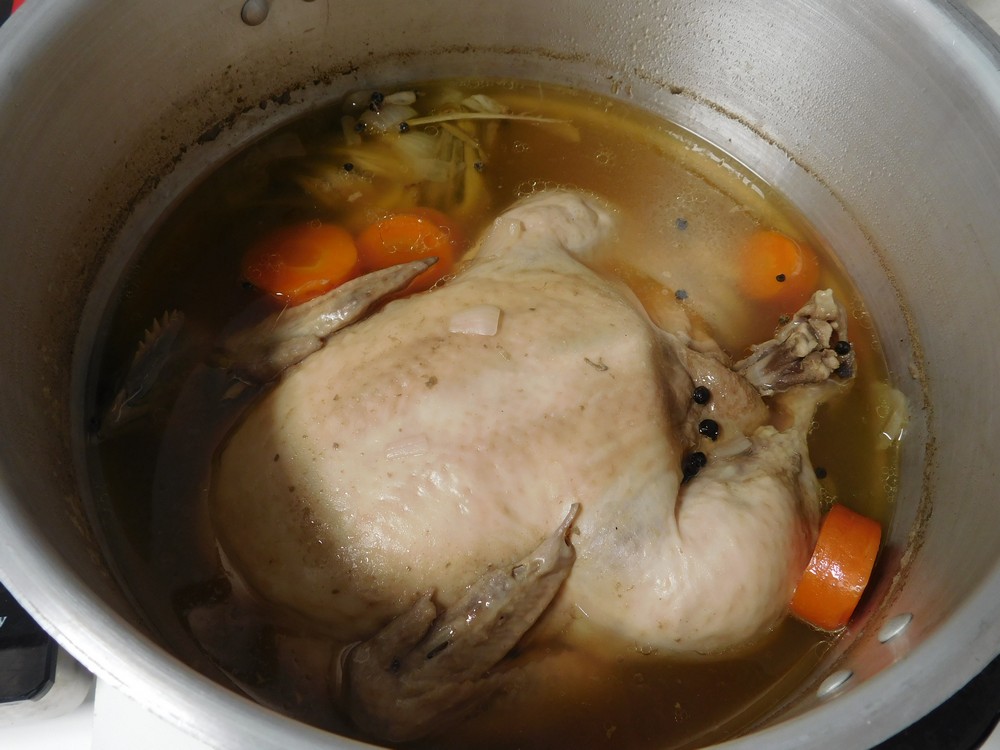
- After the natural pressure release, open lid on the cooker. Check out that clear broth, perfect!

- Very carefully lift the chicken out, I used two large wide spoons to do this, one wing disintegrated into the broth, the legs fell off after I set on a plate.
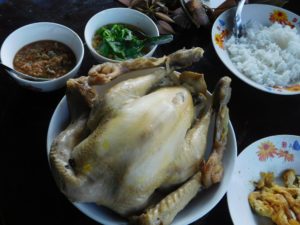
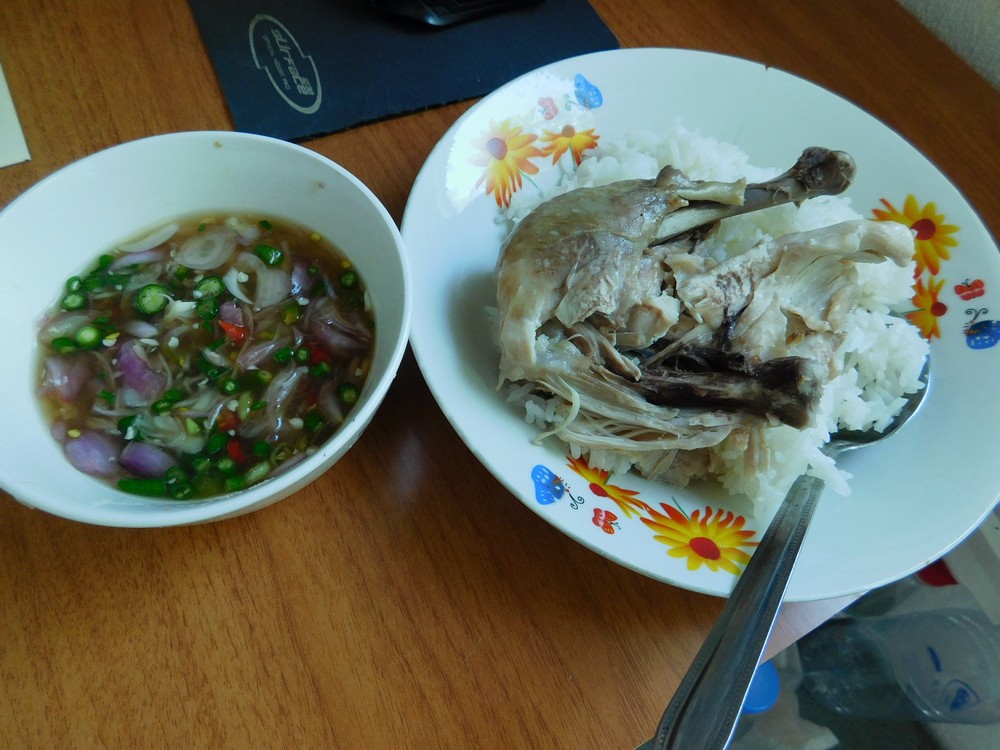
- Serve with a dipping sauce or use the meat in another recipe.


Notes
The chicken I used was 2.2 kilo and we paid 143 Baht. For 4 servings, this is $1.08 per serving. The bonus is you get 2 quarts of broth to use in other recipes.
Variants: 1. Add lemongrass, kaffir lime leaves, ginger, or vegetables as you desire.
Used in Recipes Listed on this Site:
- Sinfully Delicious Chicken Casserole, made it, GO-TO recipe.

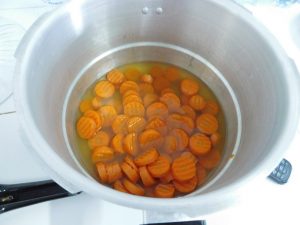
Fresh Carrots (Pressure Cooker)
Since buying my stove top (old school) pressure cooker, I am using it often for flavorful mains and side dishes. A pressure cooker keeps the flavor in the foods you are cooking and does it in less time as well. This was a spur of the moment side dish I put together to use up some carrots in the fridge and to make a healthy side dish as well. Follow your pressure cooker safety instructions. Link to the Shortcut is listed in the Recipe Notes section.
Equipment
- Pressure Cooker
Ingredients
- 2-4 large carrots
- 2 cups chicken stock, fresh or from powder, Shortcut
- black pepper, to taste
Instructions
- Add the chicken stock to the pressure cooker.
- Wash and slice the carrots about ¼ to ½ inch thick, you can peel them first if you like. Place in the pressure cooker. Sprinkle some black pepper in as desired.

- Cover and lock lid, turn heat to high to bring the pressure up to lock the lid and the jiggler starts moving and pressure is escaping, then turn the heat down to maintain movement on the jiggler. Start your time for 2 minutes.
- When 2 minutes have passed, turn off heat and move the cooker to an unused burner for a natural release of pressure, about 5-10 minutes. then open the lid when the pressure has released.
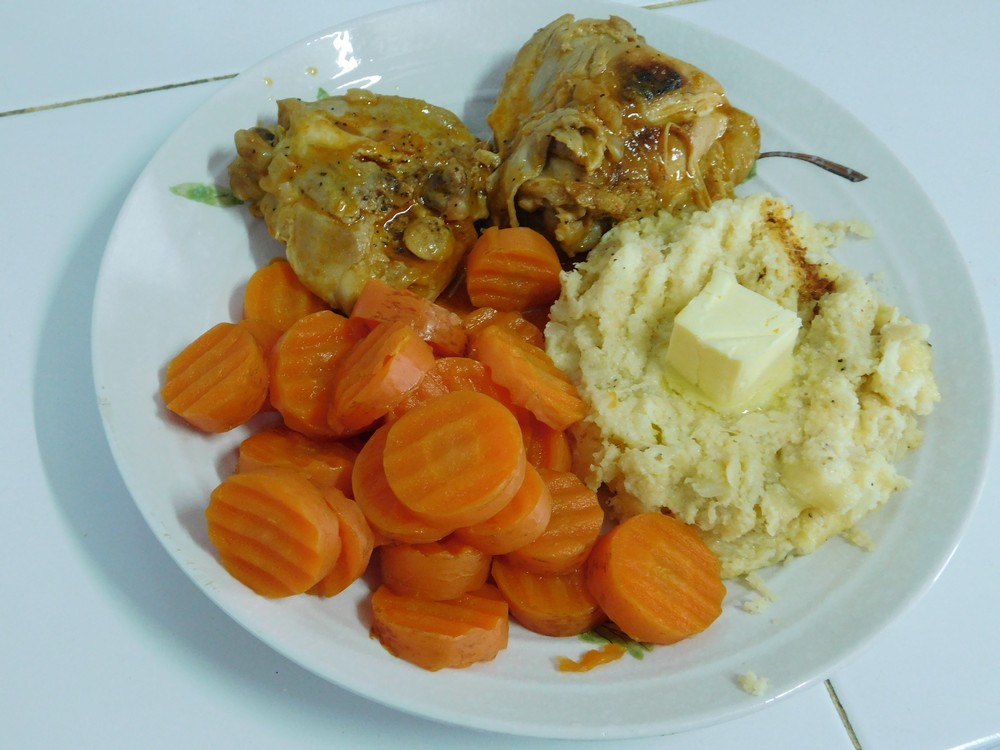
- Serve as a side with any dish.


Notes
Shortcut: Chicken Stock (Pressure Cooker).
Variant: 1. Although the chicken stock provides a nice flavor, you can certainly use an equal amount of water instead.
Used in Recipes Listed on this Site:
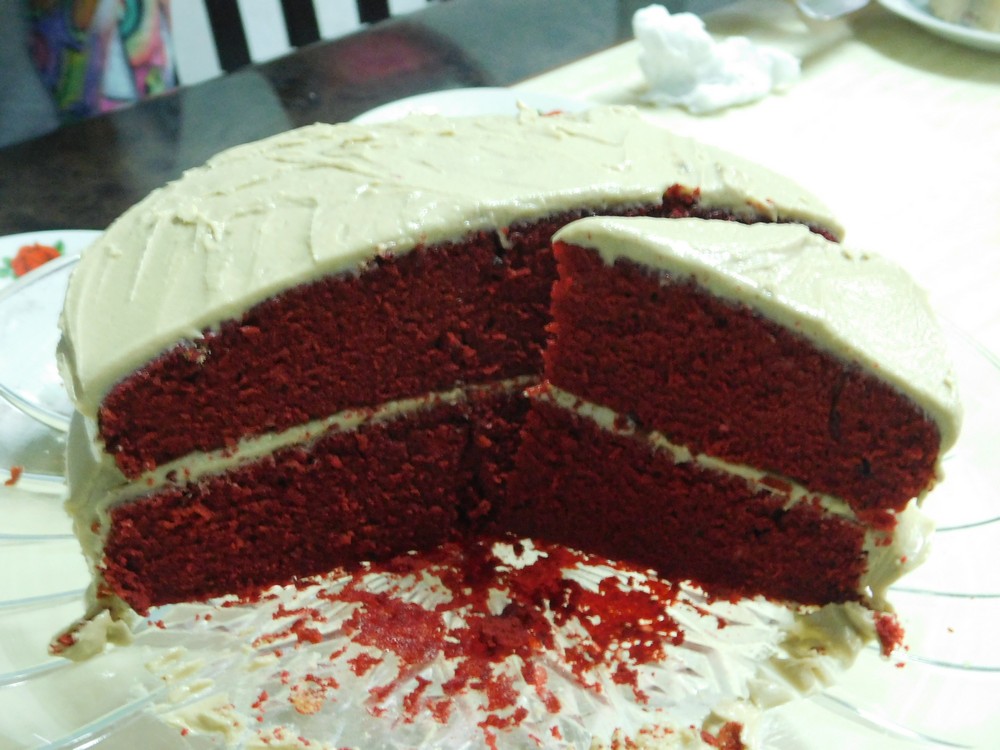
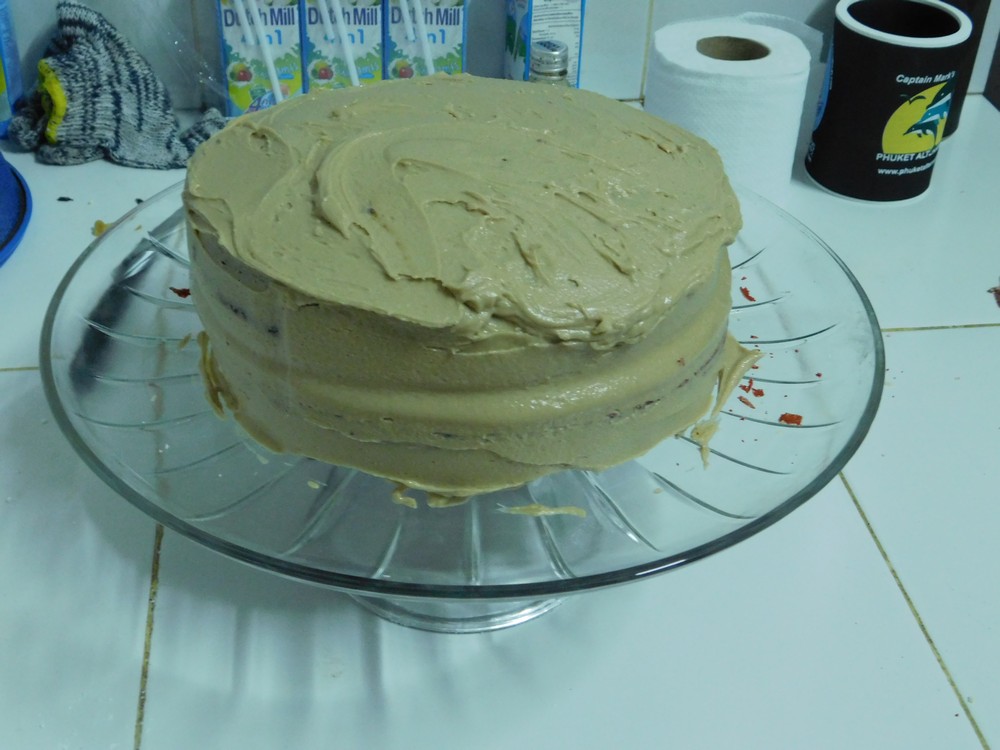
Red Velvet Cake
This was a new cake for me, and it is delicious. I used the shortcuts for the cake mix, buttermilk, and frosting. I made this on 14 Feb 2018, and it is delicious. Links to the shortcuts are listed in the Recipe Notes section.
Ingredients
- 1 yellow cake mix, OR make from a shortcut
- 3 eggs, chicken or duck
- 1/2 cup butter, room temperature
- 1 1/4 cups buttermilk, OR make from a shortcut
- 2 tablespoons cocoa powder
- 1 bottle red food coloring, 30 ml (1 oz)
- buttercream frosting, OR make from a shortcut
Instructions
- Preheat your oven to 180 C (350 F). Grease and flour two 8 inch rounds spring form pans.
- Add the cake mix to mixing bowl, add the butter and work that into the flour. Crack the eggs into another bowl and whisk then pour the eggs into the flour and mix to combine. Slowly add the milk and mix just until the cake batter comes together, do not over work the batter or the result will not be a light and fluffy cake.

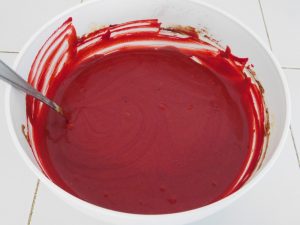
- Now add the cocoa powder and mix that in.
- Then mix in the bottle of red food coloring.
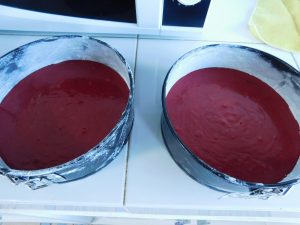
- Pour the batter equally into the two pans.
- Bake for 25-35 minutes or until a toothpick inserted in the center comes out clean. Remove from the oven and place the pans on a wire rack to cool for 10 minutes. After 10 minutes, remove the outer spring form and let the cakes completely cool.
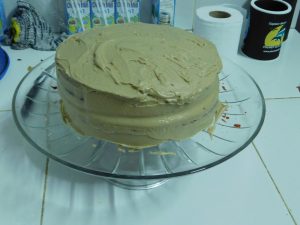
- When the cakes are completely cool, use your favorite frosting to frost them or do as I did and use the buttercream shortcut.
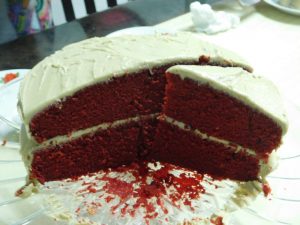
- Slice and enjoy.


Notes
Low cost.
Shortcuts: Yellow Cake Mix, Buttermilk, Buttercream Frosting.
Adapted from many internet recipes.

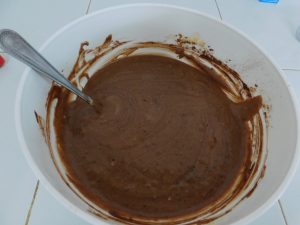
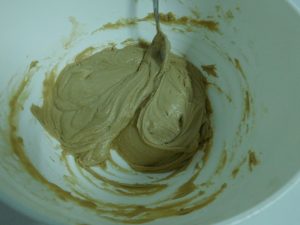
Vanilla Buttercream Frosting
This is a basic buttercream frosting mix from none other than Betty Crocker, this recipe has been used by millions of people over many many years. Frosts 13x9-inch cake generously, or fills and frosts an 8 or 9-inch two-layer cake, or about 12 cupcakes.
Ingredients
- 3 cups powdered sugar
- 1/3 cup butter, room temperature
- 1 1/2 teaspoons vanilla extract, see Variants listed below
- 1-2 tablespoons milk
Instructions
- In a mixing bowl, mix together the butter and sugar, use a heavy spoon or an electric mixer on low speed.
- Add the vanilla and just 1 tablespoon of milk. Beat well, and just add additional milk, a few drops at a time, to make a nice and smooth, and spreadable frosting. If frosting is too thick, add milk a few drops at a time, if too thin, add powdered sugar a teaspoon at a time. (This photo is the chocolate variant.)
- Frosts 13x9-inch cake generously, or fills and frosts an 8 or 9-inch two-layer cake, or about 12 cupcakes.
Notes
Low cost.
Variants: 1. Use chocolate flavoring instead of vanilla. 2. Use coconut flavoring instead of vanilla.
Used in Recipe Listed on this Site:
Red Velvet Cake, Made it, GO-TO recipe.
Adapted from an internet recipe.
Red Velvet Cake, Made it, GO-TO recipe.
Adapted from an internet recipe.
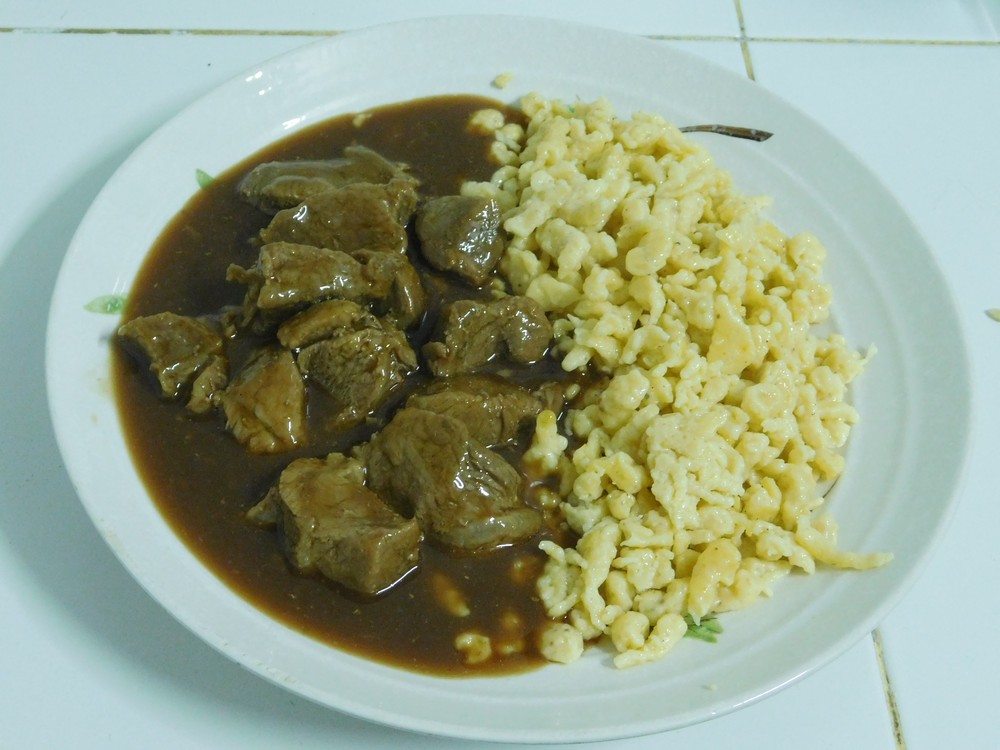
Spätzle
This is a German dish, sort of a mix between a soft egg noodle and a dumpling, but not quite either one, cooked in simmering water or stock then fried. Commonly served with a meaty stew or gravy. I made this on 9 Mar 2018 and it is not only easy, it is exactly how how I remembered this from a German restaurant in Phuket, and it is excellent. Commonly written as spätzle, spatzle, and spaetzle. This is easily made by one person with a spätzle maker AND NOT a grater, that can result in a mess.
Equipment
- spätzle maker (spätzlehobel)
Ingredients
- 2 cups all purpose flour
- 1 teaspoon salt
- 1 teaspoon ground nutmeg
- ⅛ teaspoon ground white pepper
- 4 eggs, chicken or duck
- ½ cup milk
- butter, for frying
- 2-3 tablespoons fresh parsley, chopped, for garnish
Instructions
- This is a typical spätzle maker, on the end opposite the handle is two tabs, these keep the maker attached to your cooking pot. The hopper slides back and forth on the flat part on the pot.
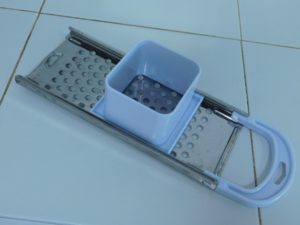
- Here it is on my cooking pot. The tabs hold the flat plate on the pot so one hand can work the hopper and the other hand to pour the batter into the hopper.

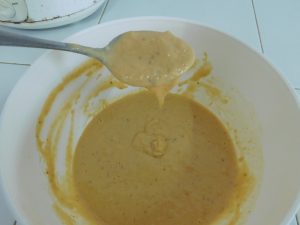
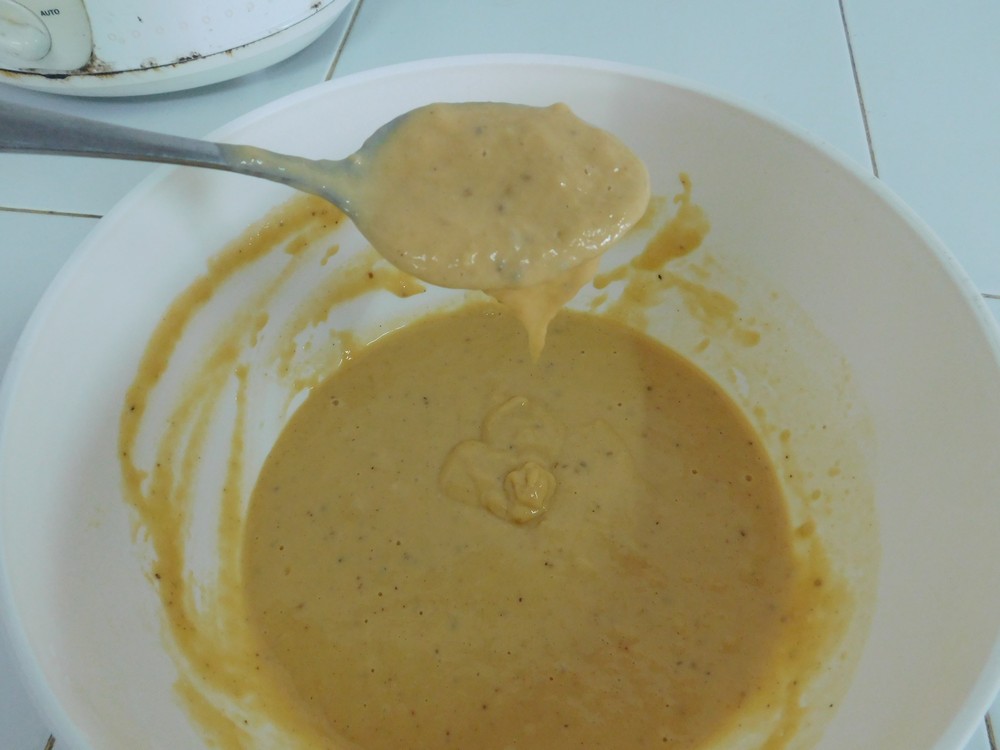
- In a large mixing bowl, add the flour, salt, pepper, and nutmeg and whisk to combine.
- Beat the eggs. Add half the eggs and half of the milk to the flour mixture and mix, then add the remaining eggs and milk, and mix until smooth. The batter is thin, this is a perfect consistency.
- Fill a medium sized pot half full with water or even chicken stock, Heat to simmering.
- Pour the batter into a 2 cup or large measuring cup, when the water is simmering, simply attach the spätzle maker to the pot, use one hand to slide the hopper back and forth and the other hand to simply pour the batter into the hopper.
- Let the spätzle cook until it floats to the top of the water, it is fast, use a large slotted spoon to remove and place them in ice water to cool them and then place in a colander to drain. Repeat with remaining dough. At this point, you can use the spätzle in soups if desired in place of egg noodles.

- Once all the dough is cooked in the water, heat a large non stick skillet 2 or 3 tablespoons of butter, add the spätzle and fry, turning often, until starting to crisp up.
- Serve as a side with a meaty dish. I cooked some stew beef in my pressure cooker and simply added that to a sauce pan of beef gravy, easy and perfect meal.


Notes
Low cost.
Variants: 1. Fry in bacon fat and 5-6 slices of chopped bacon. 2. Fry some onion and garlic until soft and the onion is softened, add the spätzle and mix in, then add 1-2 cups Swiss cheese, there, you just made Käsespätzle, the German version of mac and cheese.
Used in Recipe Listed on this Site:
- Crock Pot Chicken & Noodles II, made it, GO-TO recipe.
- Hungarian Gulyás.

BBQ Chicken (Pressure Cooker)
This is excellent BBQ chicken! I used my 9 liter (9½ quart) stove top pressure cooker with a pressure of 80 kPa (12 psi), so this will work equally well with electric pressure cookers. Follow all safety precautions for your model of pressure cooker. Link to the shortcut is listed in the Recipe Notes section.
Equipment
- Pressure Cooker
Ingredients
- 1 kilo chicken pieces, legs, thighs, breast, your choice (2 lb)
- paprika, to taste
- salt and pepper, to taste
- 1 onion, minced
- ½ cup BBQ sauce, OR make from a shortcut
- ½ cup water
- 2 tablespoons white vinegar
- splash cooking oil
Instructions
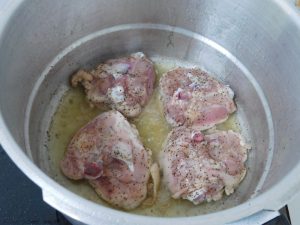
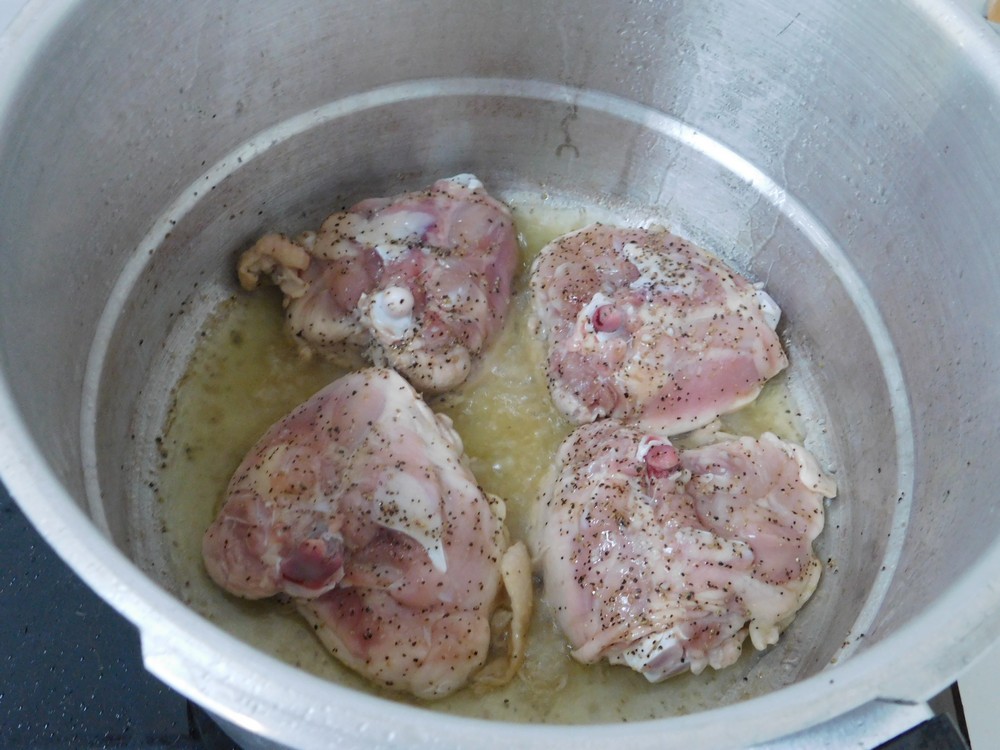
- Heat your pressure cooker on medium heat with a splash of cooking oil, no lid for this. When hot, brown the chicken pieces for a few minutes on each side, season as you desire with salt, pepper, and paprika and brown the pieces, you are browning not trying to cook the chicken through, that comes later, work in batches as needed. Return all the browned chicken to the pressure cooker and remove the cooker from the heat.
- In a bowl, mix together the BBQ sauce, water, onion, and vinegar. Pour sauce over the chicken. (I used the variant and went with Sriracha sauce.)
- Place the cooker back on the heat and secure the lid to the cooker. Turn heat to high to lock up the cooker and get the jiggler moving and releasing pressure. Start timing for 8 minutes and reduce the heat to maintain the jiggler movement and pressure release.
- At 8 minutes, turn off the heat and move the cooker to an unused burner to do a natural release of pressure, about 10-15 minutes.
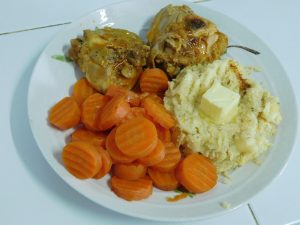
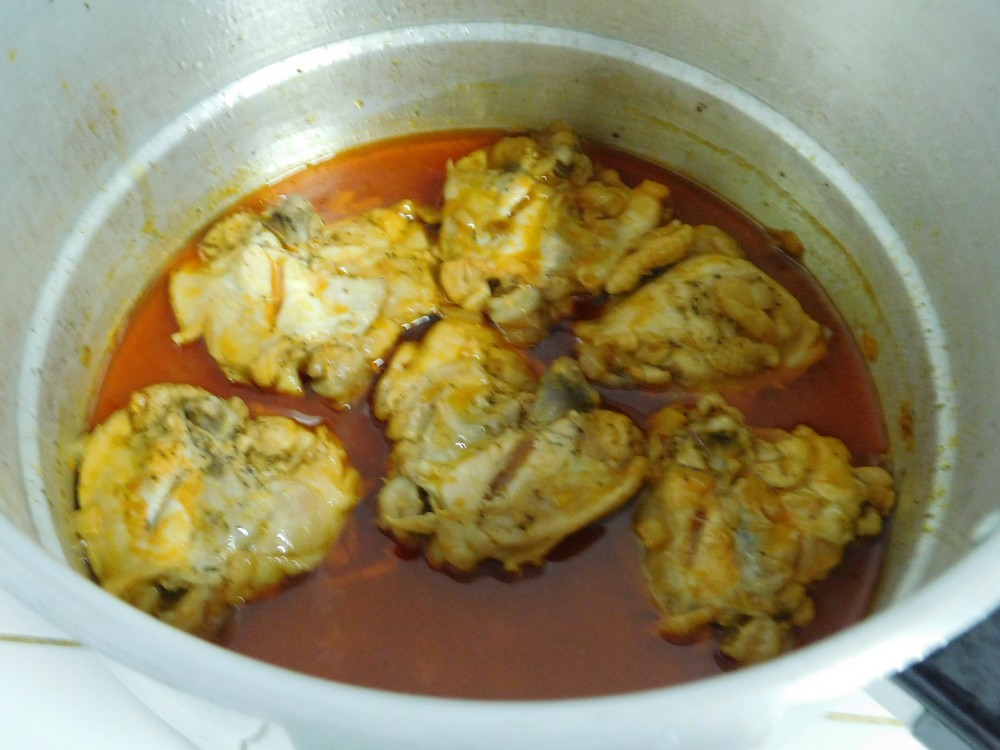
- Open pressure cooker carefully, plate with a side or two, serve. (Now out of fear of loosing a hand or arm during the feeding frenzy, no photos this time of a plated dish. This photo also shows 3 thighs have been removed.)

- This photo was leftovers on the day after and just nuke to reheat 🙂
Notes
Quarters (leg and thighs attached, just separate yourself in a few seconds), is about 55 Baht. Considering 6 servings, this is about 30 cents per meal, excluding sides.
Variants: 1. Swap out BBQ sauce for a chili sauce, think Sriracha (chili and garlic sauce) and this will be the first way I test this recipe. 2. Increase the chicken to 1.5 kilo (3 lbs), permitting on your pressure cooker.