Chicken & Rice (Pressure Cooker)
Chicken & Rice (Pressure Cooker)
For clarification, this is not a one pot meal, two steps are involved in this so both the chicken, and the rice, come out perfect. You will need a 6 liter (6 quart) or larger pressure cooker for this, I will be using my 9 liter (9½ quart) stove top pressure cooker. This recipe comes from a very respected source on pressure cooking. I made this on 2 Aug 2018 and it is excellent! Follow the safety instructions for your model of pressure cooker at all times.
Equipment
- Pressure Cooker
- Oven
- Baking Sheet
Ingredients
For the Chicken
- 4 chicken quarters, separated into 8 pieces
- 1 tablespoon olive oil
- 1 onion, chopped, yellow or red is perfect
- 3 teaspoons tomato paste
- 1 clove garlic, smashed and minced
- 1 cup water
Spices Used
- 1 teaspoon ginger powder
- 1 teaspoon ground cardamom
- ½ teaspoon black pepper
- 2 teaspoons ground cumin
- 2 teaspoons ground coriander
- ¼ teaspoon ground turmeric
- 2 bay leaves
- 2 teaspoons salt
For the Rice
- 2 cups dry Jasmine rice, rinsed
- 2 cups cooking liquid, from the chicken
For Garnish
- cherry tomatoes, halved
- spring onion, sliced
Instructions
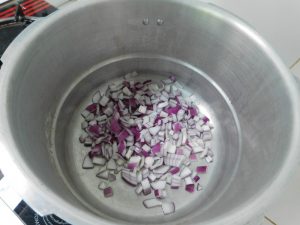
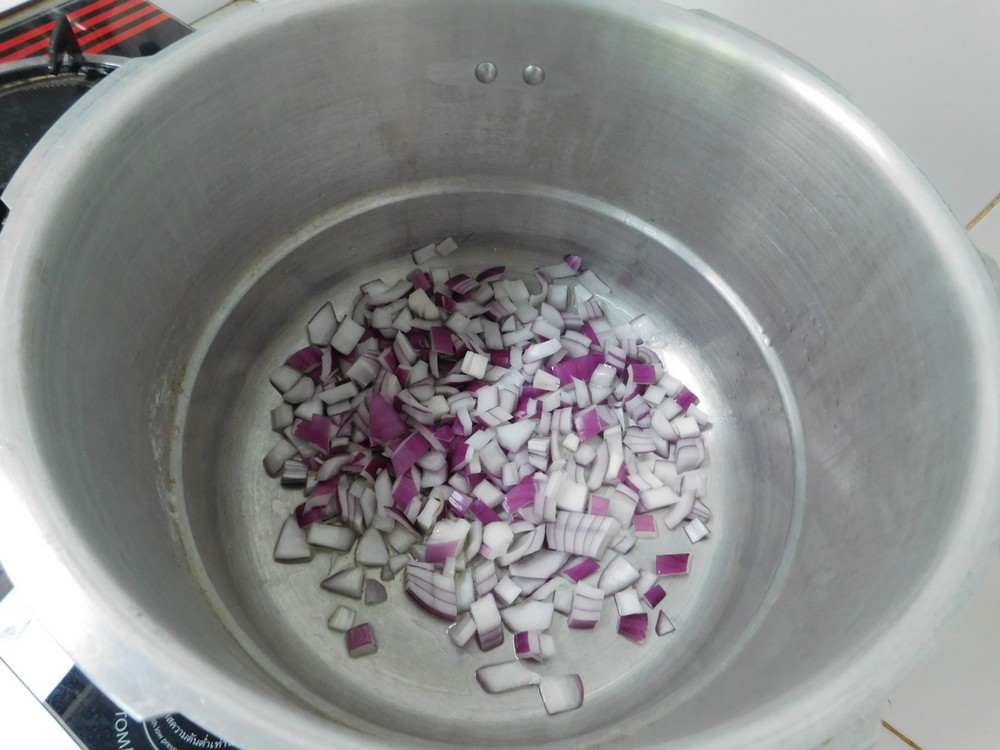
- Place your pressure cooker, lid off, on medium heat and add the oil, when hot, add the onion and saute until soft.
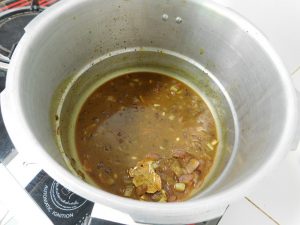
- Add the garlic and all of the Spices Used that are listed, and saute and mix for about 30 seconds, then add the water, tomato paste, and salt, and mix.
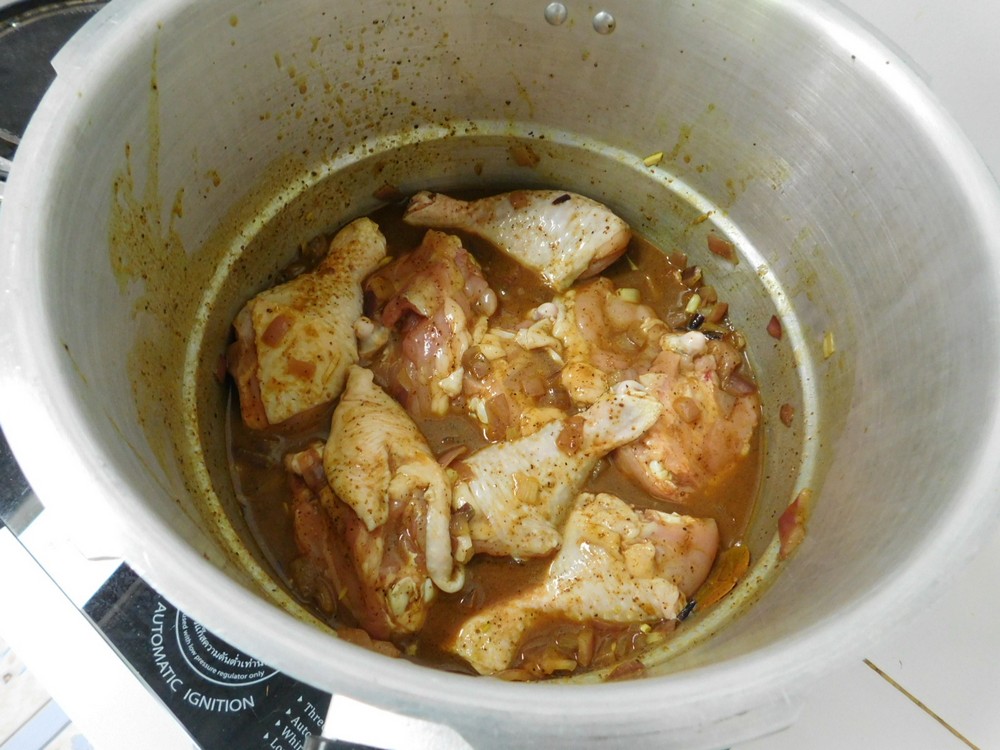
- Add the chicken and turn them to coat with the liquid.

- Place the lid on and lock, add the weight (jiggler), turn heat up to high. When the jigller is moving and venting pressure, start timing for 12 minutes.
- When 12 minutes have passed, turn off the heat, and move the pressure cooker to an unused burner. Let the pressure release naturally, about 10 minutes.
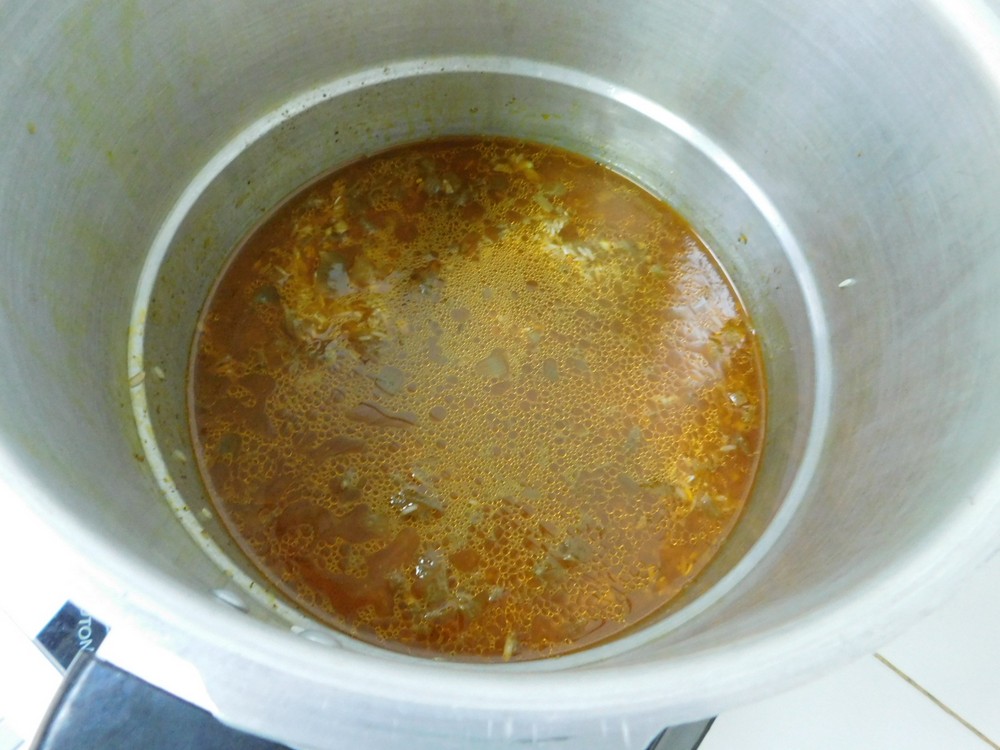
- When indications show no pressure in the pot, open the pot. Use a slotted spoon and remove the chicken to a plate and cover chicken with foil.

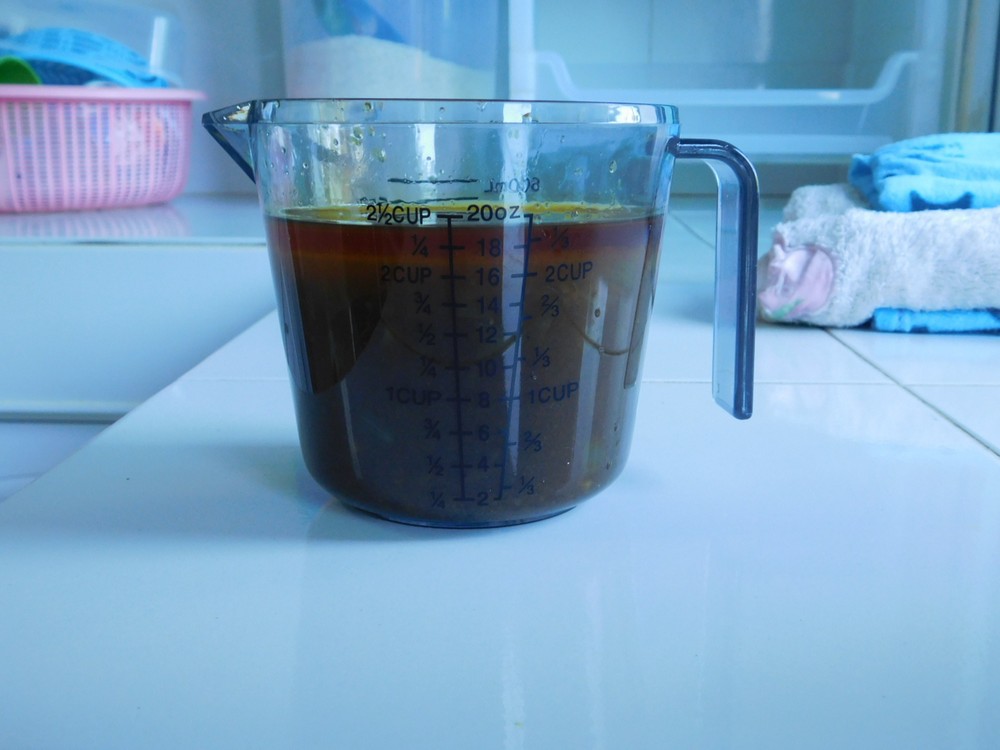
- Pour the liquid from the cooker into a heat proof container. Measure out 2 cups of liquid and place back into the pressure cooker. Add the rinsed rice to the pressure cooker, and mix together.

- A note about the liquid you are measuring, from the original author of this recipe: "the fat floats to the top, when measuring the 2 cups needed, measure to the liquid level, the fat level will be higher than the liquid, rice will not absorb the fat, only the water."

- Place the lid and weight, jiggler, on the pressure cooker. Bring to high heat, when you have movement and pressure release indicating full pressure, turn heat to low or medium low, but maintain the movement and pressure release. Start timing for 1 minute.
- When 1 minute has passed, turn off heat and move the pressure cooker to an unused burner and allow a natural release, about 10 minutes.
- While the rice is coming down in pressure, heat your broiler or for a counter top oven, the top coil to about 180° C (350° F). Place the chicken on a baking sheet lined with foil and place in oven, close to the broiler or top coil, until the chicken skin is nicely browned. Remove from broiler or oven.
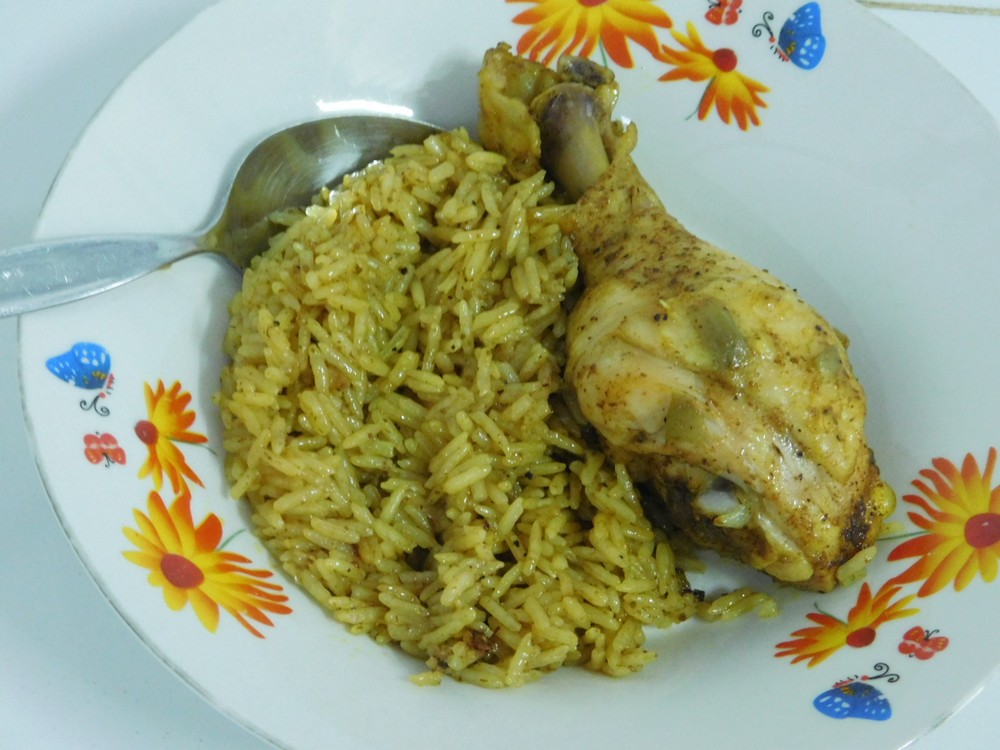
- When the pressure is released from the cooker, open, place the rice on a serving tray, top with the chicken and garnish as desired with the tomatoes and spring onion.

- Serve.


Notes
Low cost per serving.

This was a first for me, cooking rice in a pressure cooker, and both the chicken, and rice, very flavorful! I made this on 2 Aug 2018 and the family loved it. Highly recommended.