Archive for the ‘* Best Value $1 or Less per Serving’ Category
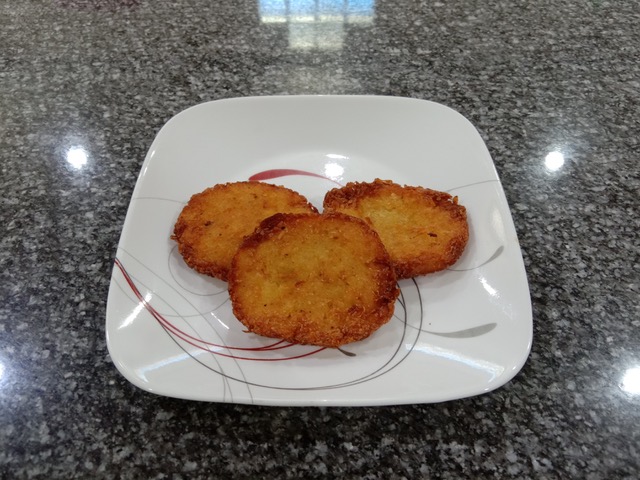
Mickey D's Hash Browns
This comes from a good friend in northeastern Thailand and as the name suggests, this is a basic copycat recipe, and it sounds really good. On my to make and taste list. A lot of the time is passive, actual prep time and cooking is rather quick. Link to the shortcut is listed in the Recipe Notes section.
Ingredients
- 300 grams potatoes, peeled, (10 oz)
- 3 cups water
- 1 tablespoon corn syrup, Shortcut
- salt and pepper, to taste
- 2 tablespoons rice flour
- 1 tablespoon corn flour
- 1 teaspoon onion powder
- coconut water, as stated in instructions
- cooking oil, as needed, for frying
Instructions
- Shred the potatoes with a large holed grater and place into ice water. Leave potatoes in the ice water for 1-2 hours. Drain the shredded potatoes from the ice water and squeeze out any water.
- Add 3 cups of water and the corn syrup to a saucepan, add a pinch of salt if desired. Bring to a boil. Add the shredded potatoes to the pot, boil for 4 minutes.
- While the potatoes are boiling, line a strainer with cheese cloth. Get another large bowl of ice water ready. After 4 minutes of boiling, remove from heat and pour into the strainer, bunch up the cheese cloth and place in the ice water and leave there for 5 minutes.
- Remove from the ice water and squeeze out all the water. Place the shredded potatoes in another bowl, add the rice and corn flours, onion powder, and salt and pepper as desired to taste. Use your hands and mix everything together.
- Using a 4 inch circular ring, like an egg ring, place 1/4 cup of the potato mixture into the ring and pack it down, remove the ring and use your hands to shape into an oval and flatten it down with the bottom of a plate. Place on a baking sheet lined with parchment paper. Repeat for remaining potatoes. Place baking sheet in the freezer for 2-3 hours or until the has browns are frozen hard.
- Heat about 1/2 inch of oil in a large pan to 180 C (350 F). When hot, add hash browns, without crowding the pan, and fry for about 2 minutes or until golden brown, turn hash browns over and fry until the other side is golden brown. Remove from pan and place on a wire rack to cool.
- Serve and enjoy, a perfect addition to a breakfast for dinner. One advantage is once you have them frozen, remove from the baking sheet and place in zip lock bags, then you have frozen hash browns available when you need them.
Notes
Low cost.
Used in Recipes Listed on this Site:
Recipe provide by good friend, Brian Colligan, Pleasures & Pastimes (which is a great resource for gardening seeds and other items). Thailand.
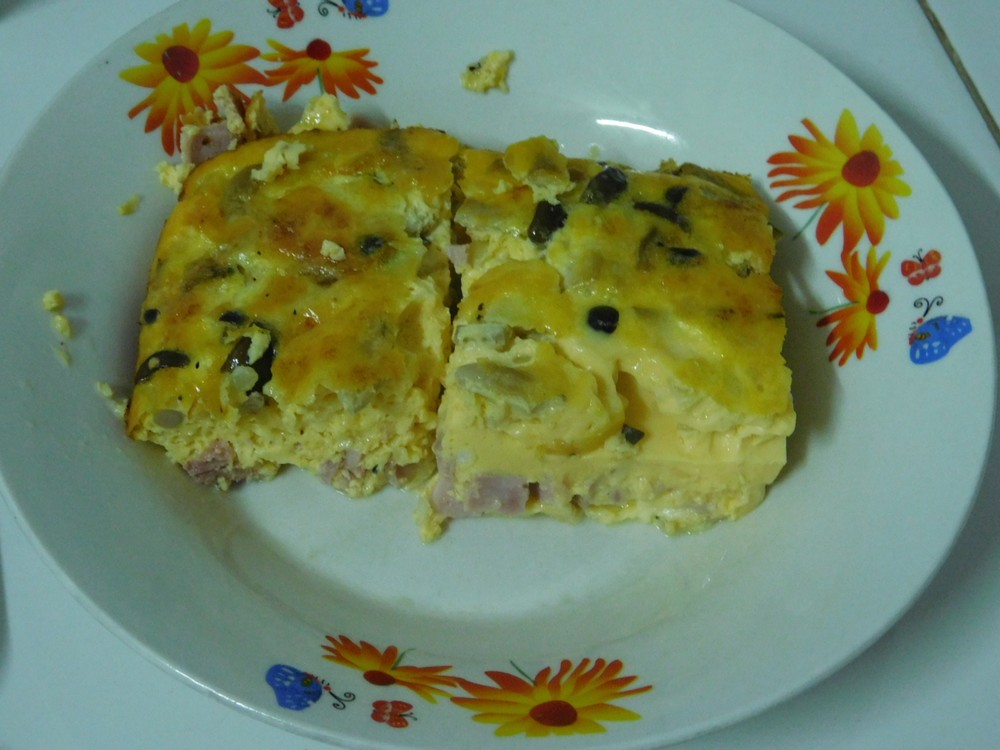
Egg Casserole
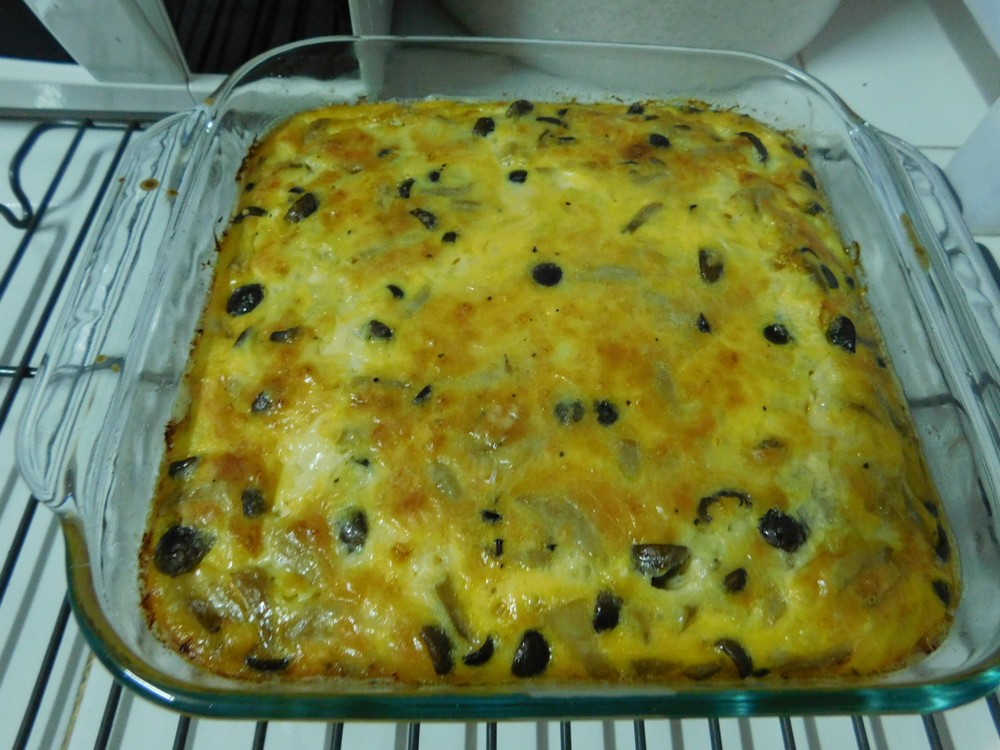
This is an excellent casserole, and can be changed in any way you like. Consider this a guide, change the ham for bacon or sausage, the peppers for say mushrooms, you get the idea, change it each time you make this, or come up with your signature dish.
Ingredients
- 9 eggs
- 1/2 cup whipping cream, or evaporated milk
- 1 onion, finely diced
- 1 tablespoon butter
- 1 1/2 cups Cheddar cheese, shredded
- 1 1/2 cups ham, diced
- 1/2 cup green bell pepper, diced, or red bell pepper
- salt and pepper, to taste
Instructions
- Preheat your oven to 200 C (400 F). Grease a 9x9 casserole dish with butter.
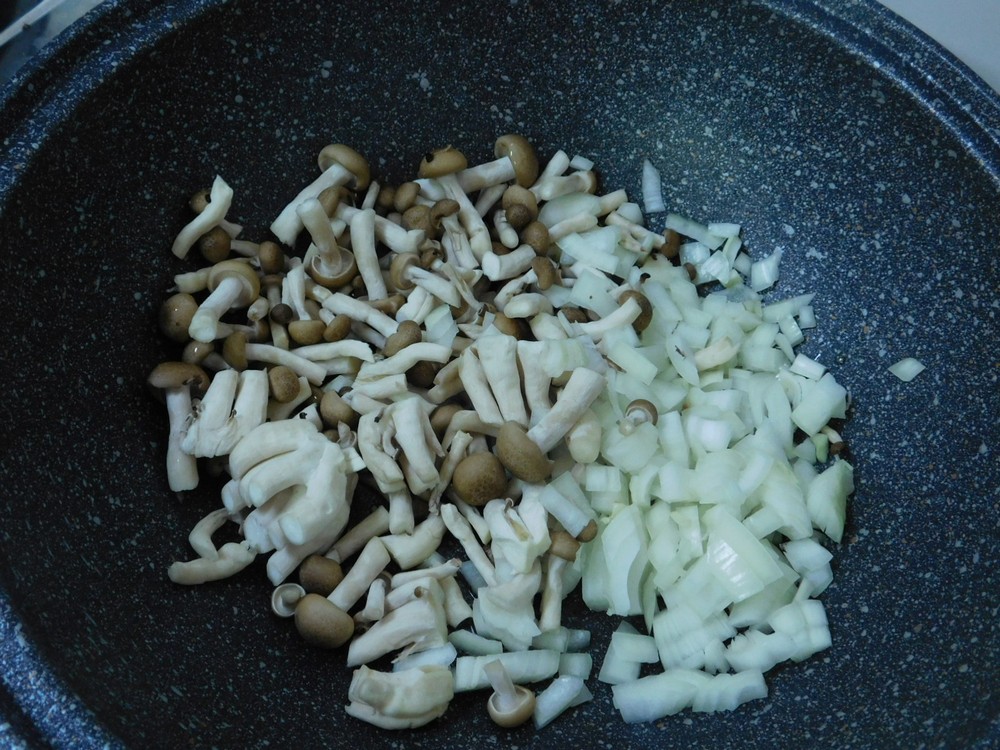
- Heat the butter in a non stick pan on medium heat, and when melted, add the onion and cook until softened. Remove from pan and allow to cool. (I used Shimeji mushrooms so I cooked those with the onion.)
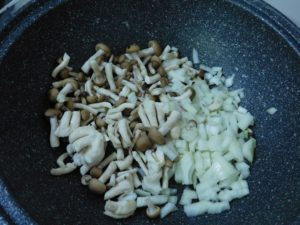
- Important note if adding items such as bacon or sausage or even mushrooms. Bacon and sausage needs to be fully cooked prior to using. For mushrooms, cook to release the water and soften up. Let the cooked items cool before using.
- In a large mixing bowl, add the eggs and cream. Whisk well.
- Add your other ingredients to the eggs and stir to mix.
- Pour into the prepared baking dish, bake for 30-35 minutes or until a butter knife inserted into the center, comes out clean. Goal is to cook until the eggs are just set, if over cooked, the eggs will lose their fluffiness.
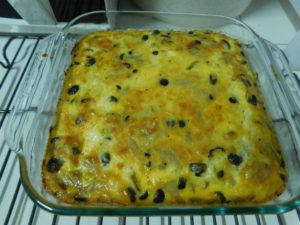
- Serve with sides of your choice.

Notes
Low cost.
Inspired by Spend With Pennies and the link to this recipe is here.
United States.
United States.
Hamburger Casserole IV
As you can tell by the name, this is the 4th variant of this classic American comfort dish. A complete meal, beef, vegetables, and pasta. On my to cook and taste list, real soon. Link to the shortcut is listed in the Recipe Notes section.
Ingredients
- 170 grams dry egg noodles, (6 oz)
- 500 grams ground beef, (1 lb)
- 1 small onion, diced
- 2 cloves garlic, smashed and minced
- 1 cup frozen mixed vegetables
- 1 1/2 cups pasta sauce, Shortcut
- 1 1/2 cups whole peeled tomatoes, drained, chopped, save the juice to drink later
- salt and pepper, to taste, as desired
- 1 teaspoon dried oregano
- 1/2 teaspoon dried basil
- 2 cups Cheddar cheese, shredded, divided
Instructions
- Cook the egg noodles in a pot of boiling water until just tender, then drain and rinse.
- While the water is heating for the noodles, go ahead and preheat your oven to 190 C (375 F). Get out a 2 1/2 quart baking dish. I will verify the dimensions for a baking dish for this as well.
- Also while the water is heating for the noodles, go ahead and brown the beef, onion, and garlic in a large non stick pan or pot. When browned and cooked through, drain any fat.
- Add the pasta sauce, tomatoes, vegetables, oregano, basil, and season with salt and pepper as desired, to taste. Simmer to let the flavors blend together for about 3 to 4 minutes.
- Add the drained egg noodles and 1 cup of cheese. Mix then pour into the baking dish and spread out evenly.
- Top with the remaining 1 cup of cheese. Bake for 20-22 minutes or until the cheese is melted and bubbly.
- Serve.
Notes
I will price this when I get beef again. For now, I will say low cost per serving.
Shortcut: Pasta Sauce.
Inspired by Spend With Pennies and the link to this recipe is here.
United States.
United States.
Chicken Stew
This comes from a good friend and sounds delicious, and I think the Thai family will enjoy this. On my to cook and taste list.
Ingredients
- 8 chicken thighs, boneless, skinless, and diced
- 2 tablespoons olive oil
- 2 carrots, diced
- 1 small onion, diced
- 2 stalks celery, diced
- 5 tablespoons all purpose flour, divided
- 1/2 teaspoon dried rosemary
- 1/2 teaspoon dried thyme
- 1/4 teaspoon sage
- salt and pepper, to taste
- 1 1/2 cups potatoes, peeled and diced
- 1 1/2 cups sweet potatoes, peeled and diced
- 1/2 red bell pepper, finely diced
- 1/4 cup dry white wine, or chicken broth
- 4 cups chicken broth, fresh or from powder
- 1 cup green beans, or peas
- 1/2 cup whipping cream
Instructions
- Heat 1 tablespoon of olive oil in a large pot, when hot, and the chicken and lightly brown and no longer pink, it does not need to be cooked through. Remove with a slotted spoon to a bowl and set aside.
- Heat the remaining 1 tablespoon of oil in the pot, when hot, add the celery, onion, and carrot and cook until the onion is soft, stirring occasionally, about 3-4 minutes.
- Sprinkle in 3 tablespoons of the flour and stir into the vegetables. Stir in the rosemary, thyme, and sage. Season with salt and pepper to taste, as desired. Cook for another 2 minutes.
- Add the potatoes, sweet potatoes, bell pepper, chicken, wine, and broth and stir to mix. Bring to a boil, then reduce to a simmer, cover, and cook for 30 minutes, stirring occasionally.
- Add the green beans, or peas, and stir in the cream.
- If want to thicken the stew, mix 2 tablespoons of cornstarch with 1 cup of cold water or broth, stir to combine and there is no lumps, this is your thickening slurry. Bring the stew up to a boil, slowly pour in the slurry while stirring, boil for a few minutes to thicken the stew.
- Ladle into serving bowls and serve. Enjoy.
Notes
Low cost per serving.
Inspired by Spend With Pennies and the link to this recipe is here.
United States.
United States.
Taiwanese-Style Three Cup Chicken
This is a Chinese (Taiwan) dish and the name comes from the use of 1 cup each of sesame oil, cooking wine, and soy sauce. This is a scaled down recipe but will adhere to the 1:1:1 ratio.
Ingredients
- 500 grams chicken thighs, boneless, cut into 1 inch pieces, (1 lb)
- 5-6 thin slices ginger
- 1 head garlic, cloves peeled
- 2 spring onions, cut into 1-2 inch pieces, white and green parts
- 1 handful fresh basil leaves
- 2-4 dried chilies, optional
- 1/4 cup sesame oil, toasted sesame oil if you have it, for frying
For the Seasoning
- 1/4 cup Mijiu cooking wine, or Shaoxing cooking wine
- 3 tablespoons soy sauce
- 1 tablespoon dark soy sauce
- 1 1/2 tablespoons cane sugar, or 2 tablespoons Chinese rock sugar
Instructions
- Mix together the Seasoning ingredients in a bowl and set aside for now.
- Heat the sesame oil in a non stick pan on medium low heat. When it is hot, add the ginger slices and cook until they are lightly browned, about 2-3 minutes. Then add the garlic and cook, stirring, for about 1 minute or until the garlic is nice and fragrant.
- Add the spring onion and chilies if using, and cook until the spring onion is wilted and fragrant.
- Turn the heat to medium then add the chicken pieces and stir fry until the chicken is no longer pink, about 2-3 minutes. Don't over cook the chicken or it will be dry.
- Give the Seasoning a stir then pour into the pan and turn the heat to high and stir to coat the chicken well. Bring to a boil then reduce to low heat and simmer until the sauce thickens, stirring occasionally.
- Add the basil to the pan and when wilted, give that a stir into the mixture. Simmer for just a few minutes.
- Transfer to a serving dish and garnish with a few drops of sesame oil.
- Serve over rice and enjoy.
Notes
Low cost.
Dumpling Wrappers
This from a friend in Sichuan, China, and she makes this look easy. This is the traditional way to make these, resulting in each wrapper having a thicker center and a thinner edge. I have a link to her video making the wrappers as well as a filling recipe and the wrapping process, needless to say, she is a pro at this. So here is her recipe, and feel free to watch the video for further guidance. The use of a digital scale is very helpful and highly recommended when making this.
Ingredients
- 420 grams all purpose flour, plus more for dusting, (3 cups)
- 210-220 ml water, see Step 1, (pinch under 3/4 cup, to a pinch over 3/4 cup)
- 1/2 teaspoon salt
Instructions
- For the water, if you are going to make water boiled dumplings, use cold water. If you are going to make steamed dumplings (pot stickers), use boiling water.
- In a large mixing bowl, add the flour and salt and mix together, make a well in the center and stir the water in using a heavy spoon or a pair of mixing chop sticks. Use the minimum amount of water at first, mix until the dough forms into a ball.
- Lightly flour your work surface and turn the ball of dough out onto that. Knead for 8-10 minutes until the dough is almost smooth.
- Oil a mixing bowl, place the ball in the bowl and move and turn the ball to coat the ball with oil. Cover with plastic wrap and let the dough rest for 15 minutes. Turn the dough out onto your lightly floured work surface, knead the dough for 2-3 minutes to get a smooth dough. Place the dough back into the mixing bowl, cover and let rest for 1 hour.
- Take the dough out of the bowl onto a lightly floured work surface, flatten ball and using your thumbs poke a hole through the center, and shape the 'doughnut' into a large circle.
- Cut the circle in half, so you have two equal length 'logs'.
- Roll each log to make a uniform size log, 3 cm in diameter (about 1 1/8 inch diameter). Now this is where a digital scale would come in real handy, cut a piece of the log off, say 1/2 inch, weigh it, you are looking for about 10 grams (0.35 oz), adjust the size of the cut you made and go with that. Cut the log into the sizes you determined (no need to weigh each piece, just weigh the first and 'guestimate' the remaining pieces. Lightly dust the pieces to keep them from sticking together.
- Lightly dust the work surface again. Now, take one piece of dough and press it into a round disc, (now this is where some skill comes into play), using a rolling pin in one hand (just the solid wood one) and the dough in the other hand, rotate the wrapper after a roll, the wrapper should now be round, about 3 1/4 to just under 4 inches in diameter. If you are new to this, make 3-4 to gen the hang of it. Cover the wrappers with towel as you continue.
- Ideally, two people would be perfect for this, one to roll and on to fill the dumplings.
- After making your dumplings of choice, if you have left over wrappers, lightly dust each side with flour, stack, and place in an airtight bag and place in the freezer. To use again, just thaw at room temp for about 30 minutes until they are soft and use again.
Notes
Low cost.
And highly recommended to see this in a video, and skill, here is her video for Dumpling Wrappers (this skill is most impressive!)
Chess Pie
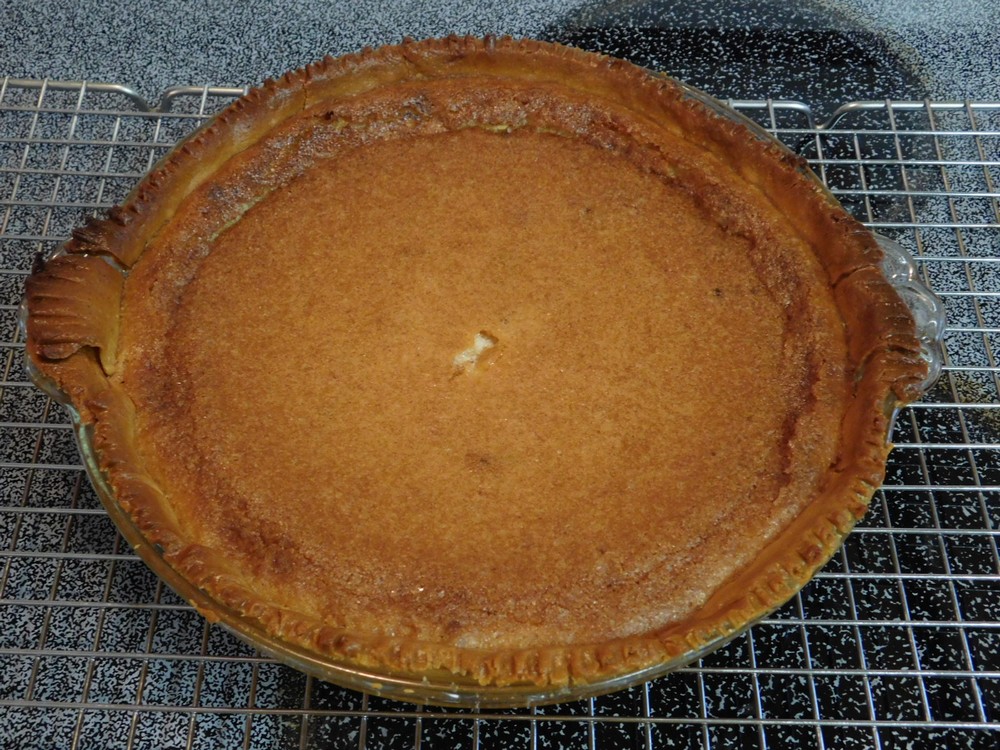
How this got its name, I have no idea, but there is several theories about this. Let's just say this is like a custard pie. This comes from the Southern US where it is apparently quite popular. This is a sweet pie, read that as a lot of sugar.
Ingredients
- ½ cup butter, room temperature
- 2 cups white sugar
- 1 teaspoon vanilla extract
- 4 eggs, beaten
- 1 tablespoon cornmeal
- ¼ cup evaporated milk
- 1 tablespoon white vinegar
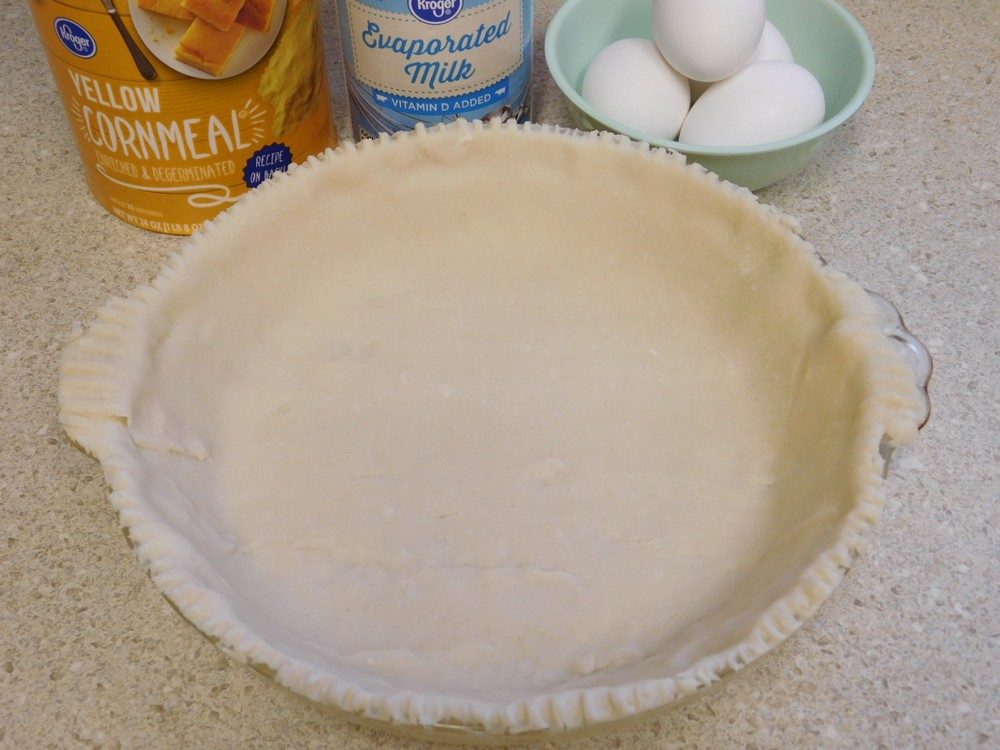
- 1 9 inch unbaked pie shell, Shortcut
Instructions
- Get your pie crust thawed if using a frozen shell or if making from scratch, go ahead and prepare that and get it fitted into a 9 inch pie dish.
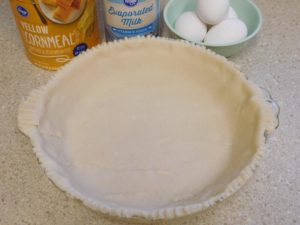
- When the pie shell is ready, preheat your oven to 220° C (425° F).
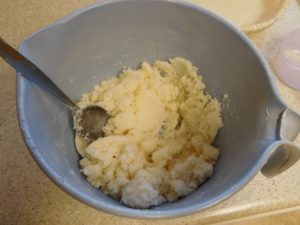
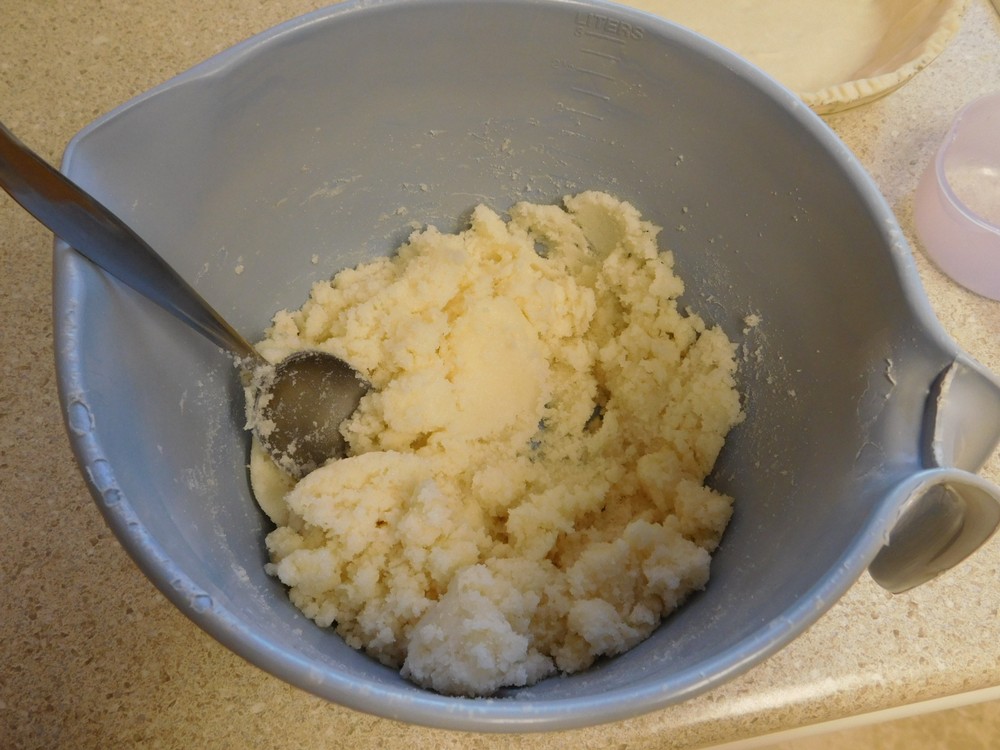
- In a large mixing bowl, cream together the butter, sugar, and vanilla. DO NOT use a mixer for this, just a large spoon will work.
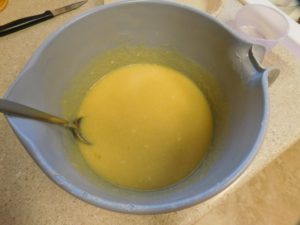
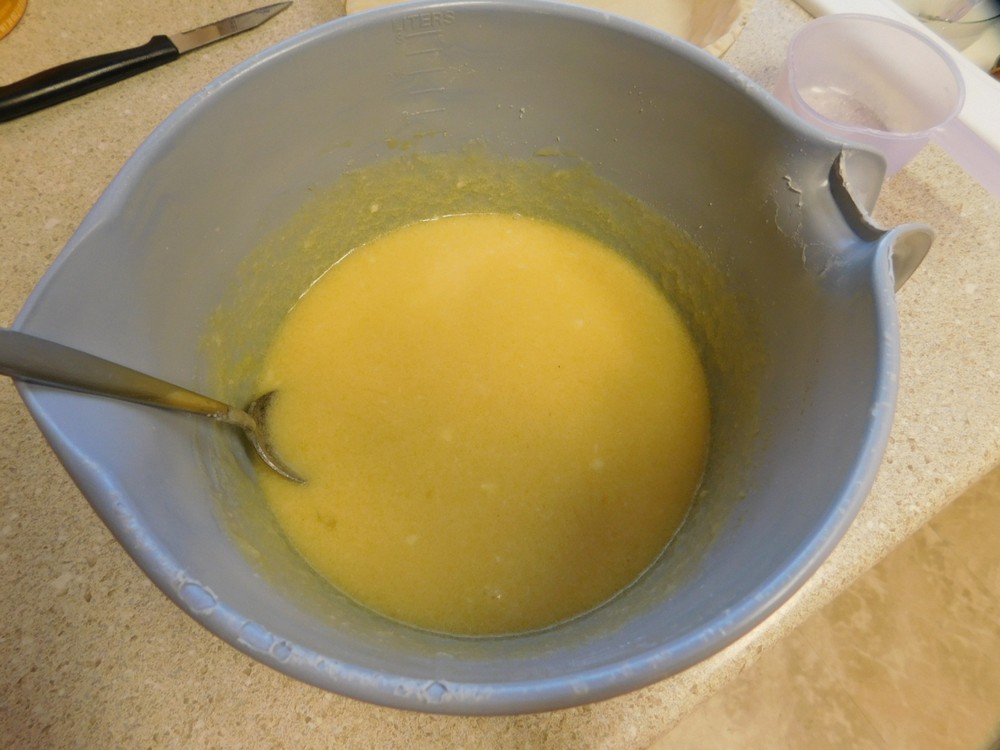
- Add the eggs and stir together, then add the cornmeal, evaporated milk, and vinegar. Stir until the mixture is combined and smooth.
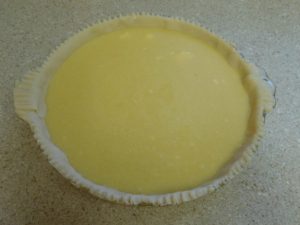
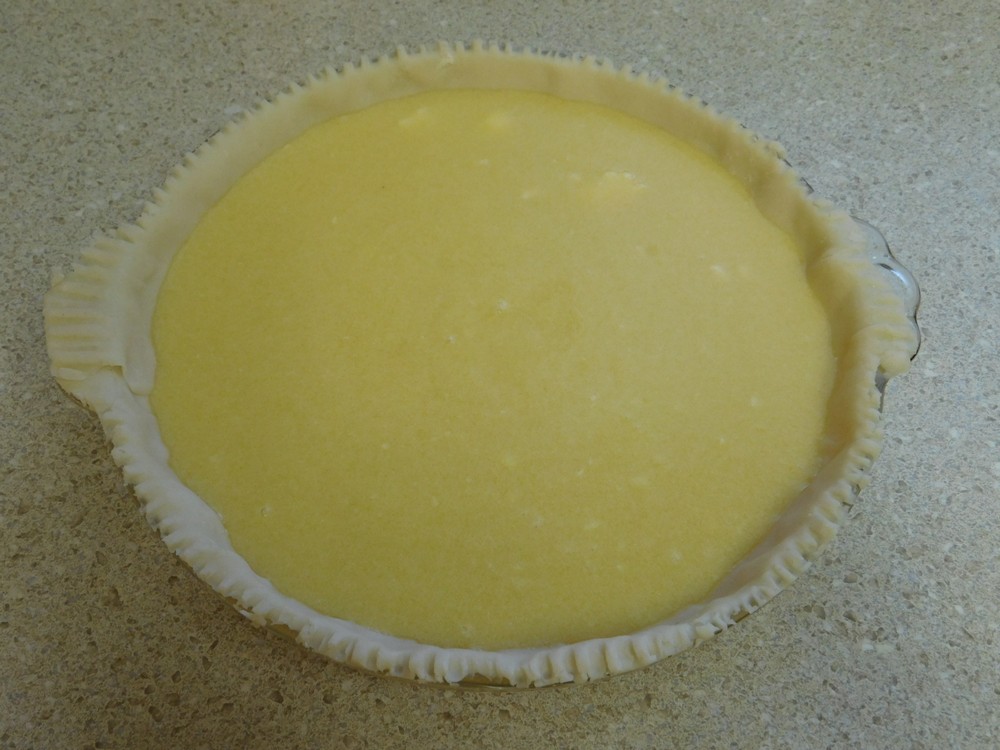
- Pour into your prepared pie dish. Bake for 10 minutes, then reduce the heat to 150° C (300° F) and continue to bake for 40 minutes. The use of a pie crust shield is recommended.
- What you are looking for is a slightly burnt top, reason for this is the cornmeal floats to the top and browns, giving the burnt look. A butter knife inserted in the center should come out clean at this point. If at the end of the baking time, the knife does not come out clean, just turn off the oven and leave the pie inside until the oven has cooled. Cracks in the top are common.

- Serve and enjoy, whipped topping is optional.
Notes
Low cost.
Shortcut: Pie Crust.
Maid-Rites
This recipe is new to me as I had never heard of this type of sandwich. This recipe is from the Mark Twain Dinette in Hannibal, MO, and they have been making these since 1942. The recipe was provided to me by a good friend who has been enjoying these for 50 years, at the same dinette.
Ingredients
- 1 teaspoon olive oil
- 1/4 yellow onion, minced
- 500 grams ground beef, (1 lb)
- 1 cup beef broth, fresh or from powder
- 2 tablespoons prepared yellow mustard
- 2 tablespoons Worcestershire sauce
- 1/8 teaspoon salt
- 1/8 teaspoon black pepper
- hamburger buns, steamed, for serving
Instructions
- Heat the olive oil in a non stick pan on medium heat, when hot, add the onion and cook until just tender.
- Add the ground beef and break it into crumbles while it cooks using your spatula.
- As the beef begins to brown, stir in the beef broth. Then add the mustard, Worcestershire sauce, salt, and pepper.
- Cook over medium heat for 15 minutes, stirring occasionally or until the liquid is cooked out.
- Spoon the crumbly meat mixture on a steamed hamburger bun. Serve topped with your choice of pickle slices, sliced onion, ketchup, or mustard, or any combination. Don't forget a couple a pickle spears on the side as well.
- Honorable mention by my friend providing this recipe: "I have been eating these for like 50 yrs. I prefer mine with sliced onion and mustard." So when I make this, that is what I am going to use as well, sounds like a winner.
Notes
Low cost.
Recipe provided by good friend, Patti Stone, and her recipe is here.
United States.
United States.
Salt Pork (Two Ways)
Salt pork is used in chowders and Boston style baked beans. Salt pork is salted pork belly but not smoked, so it is not quite bacon. Two methods are listed here, a basic version and a seasoned version. The use of a digital scale is important when weighing the pork belly and salt for the proper ratio. The grams and oz /lbs is correct as listed. Keep in mind, the name is Salt Pork, it is salty. Link to the shortcut is listed in the Recipe Notes section.
Ingredients
Basic Version
- 1200 grams pork belly, (2 1/2 lbs)
- 300 grams sea salt, or any non-iodized salt, (10 1/2 oz)
- 1/3 cup granulated sugar
Seasoned Version
- 1200 grams pork belly, (2 1/2 lbs)
- 300 grams sea salt, or any non-iodized salt, (10 1/2 oz)
- 1/3 cup brown sugar, packed
- 8 juniper berries, crushed
- 2 teaspoons black peppercorns, crushed
- 2 bay leaves, torn
- 1/2 teaspoon Four Spices, OR make from a shortcut
Instructions
Basic Version
- Cut the pork belly into 1/2 inch thick slices lengthwise.
- Weigh the pork belly and adjust the salt to maintain the same ration. Mix together the salt and sugar. Rub the pork slices with some of the salt mixture.
- Spread a layer of the salt mix on the bottom of a glass dish (a baking dish works great for this), then place a layer of pork slices.
- Sprinkle the pork slices with some of the salt mixture, add another layer of pork slices, repeat to use all of the pork and salt mixture.
- Cover the dish with plastic wrap and place in the fridge for 2 days.
- Rinse off the salt pork slices, pat dry with paper towels, use now as needed or wrap and freeze for later use.
Seasoned Version
- In a bowl, mix together the salt, sugar, Juniper berries, peppercorns, bay leaves, and Four Spices. Rub all surfaces of the pork belly with some of the salt mixture. Your goal is NOT to use all of the salt mixture.
- Sprinkle a thin layer in the bottom of a glass baking dish, place the pork belly on top in the baking dish, skin side up, sprinkle the pork with a little more salt mixture. The remaining salt mixture, cover and set aside. Cover the dish with plastic wrap and place in the fridge for 2 days.
- Take the dish out of the fridge, discard any liquid in the dish, turn the pork over and rub with the remaining salt mixture.
- Cover the dish with plastic wrap and place in the fridge for another 2 days.
- Rinse the salt pork well and dry with paper towels. At this point you can use in chowder or beans of your choice, or wrap in cheesecloth and store in the fridge for up to 2 weeks, or freeze for several months.
Notes
Igado (Filipino Pork Mix 'Stew')
To me, this sounds good, as I do like pork hearts and liver. I call this mix a 'stew' as there is pork belly, heart, and liver in this, along with peas, onion, and bell pepper. On my to cook and taste list. If you have never prepped a pork heart, there is a Shortcut for this in the Recipe Notes section.
Ingredients
For the Pork Mix
- 500 grams pork belly, (1 lb)
- 500 grams pork liver, (1 lb)
- 1-2 pork hearts
- ½ cup frozen peas, thawed
- 1 small red bell pepper, sliced into strips
- 1 tablespoon corn starch
- 1 tablespoon water
- water, as needed
- salt, as desired
For the Marinade
- ¼ cup soy sauce
- 1 small onion, thinly sliced
- 2 tablespoons white vinegar
- 2 tablespoons chicken stock powder
- 8 cloves garlic, minced
- 2 teaspoons black pepper
- 1 teaspoon salt
- 1 tablespoon sugar
- ¼ cup water
Instructions
- Prep the liver and heart(s). Slice the pork belly, liver, and heart into ½ inch strips.
- Place the liver in a bowl, cover, and place in the fridge.
- In a large mixing bowl, add the Marinade ingredients and mix together then add and mix in the pork belly and heart. Let this marinate for 1 hour.
- Add the contents of the mixing bowl to a pot and bring to a boil then reduce to a simmer. Simmer until the pork is tender and the liquid reduced. Add water as needed during cooking.
- Add the peas, bell pepper, and pork liver to the pot and bring to a boil then reduce to a simmer. Simmer for 5-7 minutes or until the liver is cooked.
- While the pot is simmering, mix together the 1 tablespoon of corn starch and 1 tablespoon of water. Mix until smooth, this is a thickening slurry, stir this into the pot and simmer for 2-3 minutes until the sauce is thickened. Taste and season with salt as desired.
- Serve over rice.
Notes
I get all the pork items from local vendors in the village, next time in the town or city, I will get prices for store bought items. For now, this is certainly low cost per serving.
Shortcut: Pork Hearts 101.