Archive for the ‘INGREDIENTS’ Category
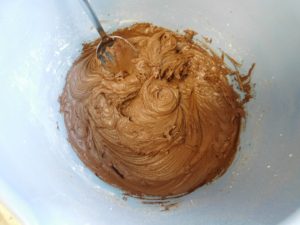
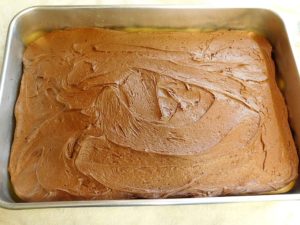
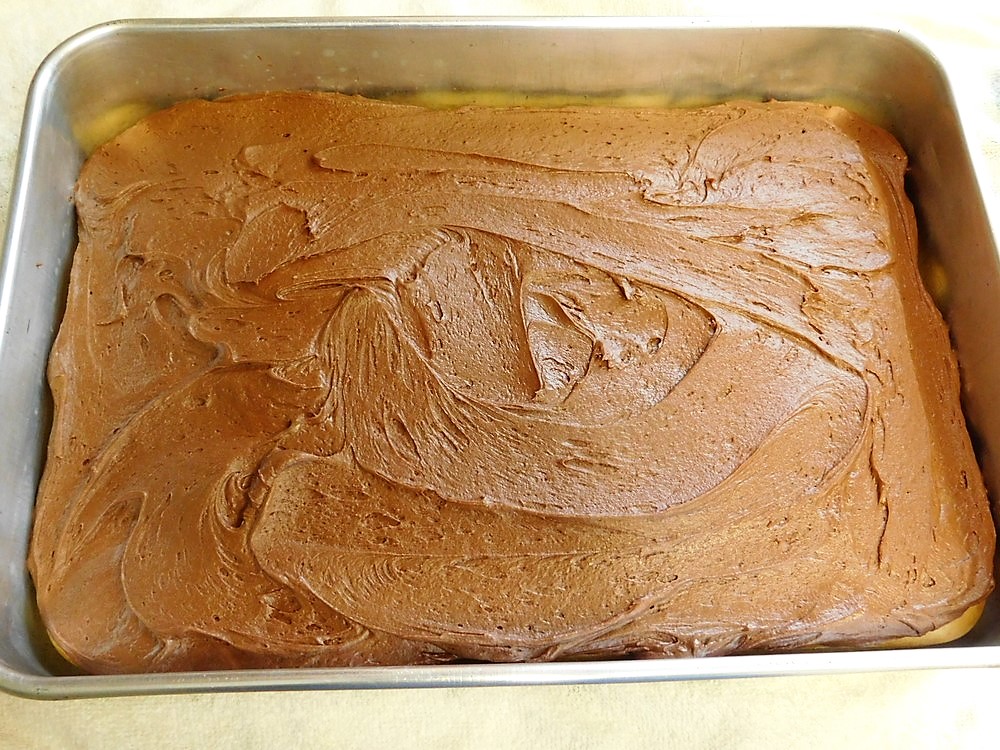
Chocolate Buttercream Frosting
Easy chocolate frosting with only five ingredients. This, is my go to chocolate frosting!
Ingredients
- 6 tablespoons butter, room temperature
- 1/2 cup cocoa powder
- 2 2/3 cup powdered sugar
- 1/4 cup milk
- 1 teaspoon vanilla extract
Instructions
Notes
Used in Recipes Listed on this Site:
- Ghirardelli Brownie Cake, made it, GO-TO recipe.
- Dream Cake, made it, GO-TO recipe.
Tempura Batter
I am going to test this out with some crab sticks. There is a few items to keep in mind when making this. First, have your oil hot, 190° C (375° F). Have all items you are going to fry ready, such as vegetables, shrimp, crab sticks, etc. Always use ice water to mix the batter. Use a pair of chopsticks to mix with so you do not enter air into the batter, and use those to add items to the hot oil.
Ingredients
- 1 cup tempura flour, or all purpose flour
- 1 egg
- 1 cup ice water
Instructions
- Pour cold water from your fridge into a jar, I use a mason jar, then add a good handful or two of ice into the jar, there is your ice water. what you will need now is a measuring cup.
- In a mixing bowl, crack in the egg, use chopsticks to just mix together the egg yolk and white.
- Strain the ice water into a measuring cup until you have 1 cup and pour that into the mixing bowl.
- Sift in the flour into the mixing and stir with chopsticks to just combine the mixture, do not over mix.
- Use the batter immediately, that is the reason for having the items already prepared and the oil hot.
- Use chop sticks to dip your items into the batter and place in the hot oil.
- Fry until golden brown, turning items as needed, remove to paper towels to drain.
- Serve with dipping sauces of your choice.
Olive Oil Pie Crust
An alternative to butter or lard based pie crusts.
Equipment
- Oven
- Pie Dish (8 or 9 inch)
Ingredients
- ½ cup extra light olive oil
- ½ cup milk
- 352 grams all purpose flour, 2¾ cups if not using a scale, (12.4 oz)
- 1 teaspoon salt
- 1 egg, lightly beaten
- sugar, as desired, for fruit pies
- cold water, as needed
Instructions
- One hour before you plan on using the pie crusts, measure out the olive oil and pour into a small plastic container and place in the freezer until solid, 1 hour. About 30 minutes after the oil goes into the freezer, preheat your oven to 180° C (350° F).
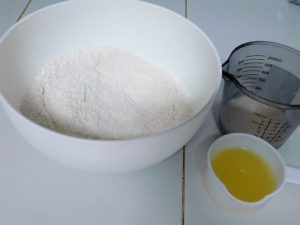
- In a mixing bowl, add the flour and salt and whisk together. In a measuring cup, add the milk and the oil from the freezer (the oil will chill the milk).
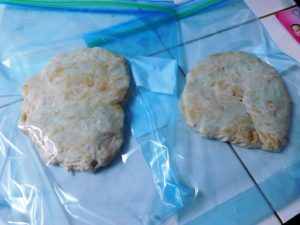
- Add the milk and oil all at once to the flour then cut mix with a large sturdy fork or pastry cutter until well mixed to form a shaggy ball, if the ball is not forming, add a tablespoon of cold water and mix in until you get the right consistency. Divide mixture in half and shape each half into a thick flat disk.
- Wrap each with plastic wrap and place in the fridge to chill for at least 15 minutes. Don't have plastic wrap, just put each half in a zip lock bag and pat down to a disk shape.
- Lightly flour your work surface, unwrap a disk of dough and roll out to desired thickness, place in your pie dish.
- Add prepared fillings of your choice.
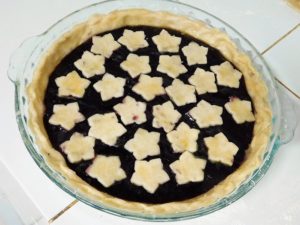
- Roll out the second disk of dough and place on top of the pie, or you can cut strips to make a lattice, or cut shapes to place on top of the pie. Flute the edge as desired.
- Brush the top crust with the beaten egg, and sprinkle with some sugar for fruit pies.
- Bake until the crust is golden brown. Remove from oven and allow to cool for 30 minutes or more.
- Slice, serve, and enjoy.
Notes
Low cost.
Used in Recipes Listed on this Site:
- Pear Pie, made it, GO-TO recipe.
- Ham & Swiss Broccoli Quiche.
- Chicken Pot Pie, made it, GO-TO recipe.
- Mushroom Pie, made it, GO-TO recipe.
Crockpot Shredded Chicken
Need chicken for a casserole, tacos, sandwich, salad, or a soup? This would be a good way to prepare this. This is hands free for a few hours once it goes in the slow cooker, what you will not get is a nice broth as if you were pressure cooking the chicken, but not everyone uses a pressure cooker. This will result in tender juicy chicken however. Link to the Shortcut is listed in the Recipe Notes section.
Ingredients
- 4 chicken breasts, boneless and skinless
- 1 onion, sliced
- 1 cup chicken broth, or water
- 1/2 teaspoon salt, or as desired, fell free to omit
- 1/4 teaspoon black pepper
- 1/2 teaspoon Italian seasoning, Shortcut
- fresh herbs, if you have on hand, a few sprigs is perfect, not required
Instructions
- Place the sliced onion in your slow cooker, add the chicken, sprinkle in the salt, pepper, Italian seasoning, and if using the fresh fresh herbs, add a few sprigs. Pour in the broth or water.
- Cover and cook on Low setting for 5-6 hours or High setting for 2 1/2 to 3 hours.
- When the chicken easily shreds with a fork, it is ready. Remove chicken to a mixing bowl and shred with two forks, add a bit of liquid from the slow cooker to the chicken as desired.
- Use the chicken in casseroles, soups, tacos, you get the idea. Enjoy.
Notes
Low cost.
Shortcut: Italian Seasoning.
Inspired by Spend With Pennies and the link to this recipe is here. United States.
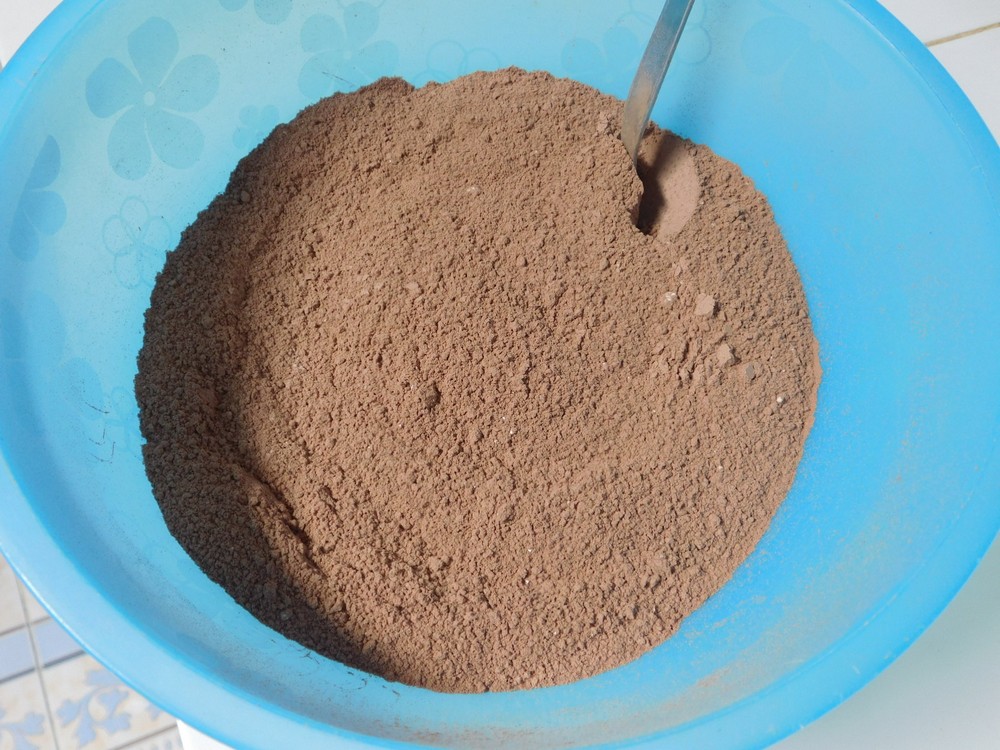
Homemade Chocolate Cake Mix
This is the homemade version of a boxed chocolate cake mix. This will make either two 8 inch round cakes or one 9x13 cake.
Ingredients
- 220 grams all purpose flour, 1 3/4 cups if no scale
- 2 cups sugar
- 90 grams cocoa powder, 3/4 cup if no scale
- 1 1/2 teaspoons baking powder
- 1 1/2 teaspoons baking soda
- 1 teaspoon salt
Instructions
Notes
Low cost.
Used in Recipes Listed on this Site:
- Homemade Chocolate Cake, made it, GO-TO recipe.
- Dream Cake, made it, GO-TO recipe.
- Earthquake Cake, made it, GO-TO recipe.
- Any Flavor Cake, made it, GO-TO recipe.
- Chocolate Peanut Butter Dump Cake, made it, GO-TO recipe.
Salt Pork (Two Ways)
Salt pork is used in chowders and Boston style baked beans. Salt pork is salted pork belly but not smoked, so it is not quite bacon. Two methods are listed here, a basic version and a seasoned version. The use of a digital scale is important when weighing the pork belly and salt for the proper ratio. The grams and oz /lbs is correct as listed. Keep in mind, the name is Salt Pork, it is salty. Link to the shortcut is listed in the Recipe Notes section.
Ingredients
Basic Version
- 1200 grams pork belly, (2 1/2 lbs)
- 300 grams sea salt, or any non-iodized salt, (10 1/2 oz)
- 1/3 cup granulated sugar
Seasoned Version
- 1200 grams pork belly, (2 1/2 lbs)
- 300 grams sea salt, or any non-iodized salt, (10 1/2 oz)
- 1/3 cup brown sugar, packed
- 8 juniper berries, crushed
- 2 teaspoons black peppercorns, crushed
- 2 bay leaves, torn
- 1/2 teaspoon Four Spices, OR make from a shortcut
Instructions
Basic Version
- Cut the pork belly into 1/2 inch thick slices lengthwise.
- Weigh the pork belly and adjust the salt to maintain the same ration. Mix together the salt and sugar. Rub the pork slices with some of the salt mixture.
- Spread a layer of the salt mix on the bottom of a glass dish (a baking dish works great for this), then place a layer of pork slices.
- Sprinkle the pork slices with some of the salt mixture, add another layer of pork slices, repeat to use all of the pork and salt mixture.
- Cover the dish with plastic wrap and place in the fridge for 2 days.
- Rinse off the salt pork slices, pat dry with paper towels, use now as needed or wrap and freeze for later use.
Seasoned Version
- In a bowl, mix together the salt, sugar, Juniper berries, peppercorns, bay leaves, and Four Spices. Rub all surfaces of the pork belly with some of the salt mixture. Your goal is NOT to use all of the salt mixture.
- Sprinkle a thin layer in the bottom of a glass baking dish, place the pork belly on top in the baking dish, skin side up, sprinkle the pork with a little more salt mixture. The remaining salt mixture, cover and set aside. Cover the dish with plastic wrap and place in the fridge for 2 days.
- Take the dish out of the fridge, discard any liquid in the dish, turn the pork over and rub with the remaining salt mixture.
- Cover the dish with plastic wrap and place in the fridge for another 2 days.
- Rinse the salt pork well and dry with paper towels. At this point you can use in chowder or beans of your choice, or wrap in cheesecloth and store in the fridge for up to 2 weeks, or freeze for several months.
Notes
Corn Syrup Substitute
This comes from a good friend in Northeastern Thailand, and does make this often. Highly recommended.
Equipment
- Probe thermometer
Ingredients
- 2 cups granulated sugar
- 3/4 cup water
- 1/4 teaspoon cream of tartar, OR citric acid
- pinch salt
Instructions
- In sauce pan, combine all ingredients. Bring to a boil.
- Monitor temperature with a probe thermometer. Continue to boil until 115.5 C (240 F) is reached. Remove from heat.
- When cooled, transfer to a glass container with a lid.
Notes
Used in Recipes Listed on this Site:
Recipe and photo provide by good friend, Brian Colligan, Pleasures & Pastimes (which is a great resource for gardening seeds and other items). Thailand.
Brian's Great Pizza Dough
This recipe comes my good friend in northeastern Thailand and sounds like a winner as well. This makes enough pizza dough for four 8 inch pizzas.
Ingredients
- 2½ teaspoons yeast
- 1 teaspoon honey
- 1 cup lukewarm water, (¼ cup plus ¾ cup divided)
- 1 teaspoon salt
- 1 tablespoon olive oil, plus as needed
- 3 cups bread flour, use per the instructions
Instructions
- In a medium bowl, add yeast, honey and ¼ cup of the lukewarm water and stir. Let this sit for 10 minutes.
- Add the salt, 1 tablespoon of olive oil, and 1 cup of the flour and ¾ cup of the lukewarm water, stir with a wooden spoon.
- Now add another 1 cup of flour, stir with a wooden spoon or with floured hands.
- Now add another ½ of the flour and mix in until a sticky ball of dough forms, add additional flour as needed, 1 tablespoon at a time.
- Once a sticky ball has formed, remove from the bowl and place on a floured surface.
- Kneed for 5 minutes adding flour as needed to have a have a surface on the dough that is a bit tacky.
- Form a dough ball and place dough in bowl with olive oil, roll ball in olive oil to cover surface, cover with cloth and let rise for 30-40 minutes
- Deflate the dough and turn out onto a lightly floured surface, cut the ball into 4 pieces and form each piece into a ball.
- Cover with a damp cloth and let rise for another 20-30 minutes.
- Now you can use immediately or wrap balls separately in plastic wrap and store in the fridge until use.
- Each ball will make one 8 inch pizza. If you want larger pizzas, adjust the number of balls accordingly.
- Use your preferred method for preparing the crust.
Notes
Low cost.
Homemade Evaporated Milk
Not sure how often I would make this, as evaporated milk is readily available everywhere in Thailand, but this sounds like a good backup plan to have. I will make this, at least once, so I can determine the time involved in this. Evaporated milk is nothing more than milk that has had 60% of its water removed.
Ingredients
- 4 1/2 cups whole milk, (1 liter)
Instructions
- Add 2 cups of milk to a heavy bottomed sauce pan or pot. Place a wooden skewer in the pot and make a mark on it where the top of the milk is on the skewer. Set the skewer aside, you will need it later.
- Add the remaining milk to the sauce pan and place on medium heat. Stir continuously with a silicon or wood spatula until the milk comes to a boil. Lower the heat to the lowest setting you have.
- Allow the milk to simmer, stirring every few minutes, and remove and discard the skin that forms on the top.
- As the milk cooks down, check with the skewer you marked, and when the top of milk is at the mark on skewer, it is done.
- Pour the evaporated milk through a strainer and into a jar. Allow to cool, then cover and place in the fridge. Use within 1 week.
Notes
Dutch Mill brand milk, 2 liter container is 90 Baht, you need half of this so we'll say 45 Baht. A can of evaporated milk (which is made from milk powder) is 20 Baht. So you can see, there is no cost savings as homemade is a little more than double what a can is. Homemade is 2 cups, canned is 1 1/2 cups.
Most recipes are going to state 1 can of evaporated milk, rarely will it say 2 cups.
The advantage is homemade is just milk, as opposed to canned (at least here in Thailand) that also contains oil and sugar.
Adapted from an internet recipe.
Pork Kidneys 101
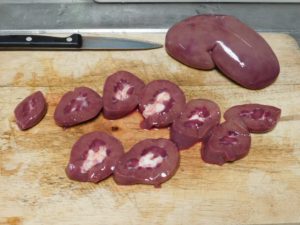
This was a learning experience as I have never prepped kidneys before, so I am posting this to share information on the method I used. Once I got a good rhythm going, I was trimming the last 2 out of 4 that I prepped in about 10 minutes each. Key things you need, sharp kitchen scissors and keep cleaning. If you understand Biology 101, a pork kidney does exactly the same thing a human kidney does. On a positive note, the kidneys from my local village butcher are skinned already and soaked before they sell them, there is absolutely no foul odor when I receive them. I did a lot of research on how to prep (clean) pork kidneys, the method I used here seemed like the most logical approach. Slice crosswise then remove the center section. Keeping in mind, the center section, mainly the white area is the business end of what the kidney is doing and that is what is removed. I prepped 4 pork kidneys during this test. The main thing of this guide is to show the steps, not the quantities.
Ingredients
- 4 fresh pork kidneys
Instructions
- Rinse the kidneys. these have had the skin peeled and soaked by the vendors before sale.
- Slice the kidneys, only work with one at a time, into about ⅜ to ½ inch slices. The white center is the working part of the kidney, and to be on the safe side, consider most of that darker red area off limits as well.
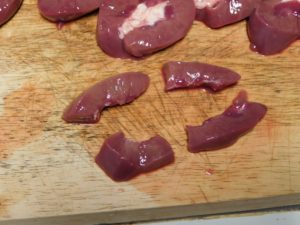
- Using a sharp pair of kitchen scissors, cut the dark red and white section out from the center. Discard the center section.
- Slice each ring into 4 pieces.
- For the two end pieces, just hold each one and snip out the dark red and white sections.
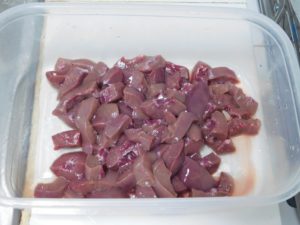
- Rinse the pieces (I did this after all the 'rings' are trimmed and cut into 4 pieces. Rinse until the water runs clear. Place into a container. This is the meat from 2 kidneys.
- After you process one kidney, rinse of the cutting board, knives, and scissors used, then process the next.
- Repeat the processing, rinsing the meat, and equipment for all the kidneys you are using.
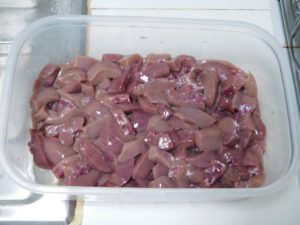
- This is 4 kidneys cleaned and processed. See, just like using a heart, they do not look like kidneys anymore.
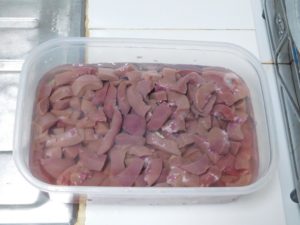
- Now soak the kidney pieces. Once you have all the kidneys processed, rinse them again and return to the container. Fill the container with water to just cover the pieces.
- 30 minutes later, drain the pieces, rinse, then add back to the container and refill with water for another 30 minutes.
- Now you can drain, and rinse again, and they are ready to use in a recipe of your choice.
Notes
Used in Recipes Listed on this Site:
- Steak & Kidney Pie.
- Pork Kidneys in Mushroom Sauce, made it, GO-TO recipe.
