Archive for the ‘DESSERTS’ Category
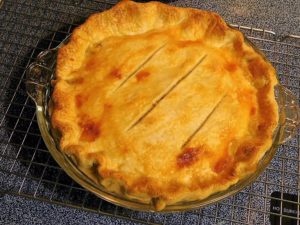
Tart Cherry Pie
This recipe uses canned tart cherries in water, you are going to make the filling yourself. This is delicious pie, and how a cherry pie is supposed to taste, and no red food coloring used like in ready made pie filling.
Ingredients
- 2 pie crusts, ready made or homemade
- 2 cans tart cherries, in water, 15 oz / 425 g cans
- 1 cup cherry liquid, See step 2.
- 1 cup sugar
- 3 tablespoons cornstarch
- 1 tablespoon butter
- 1/4 teaspoon almond extract
- 1 egg, beaten
Instructions
- Preheat your oven to 220 C (425 F), get out a pie dish. Line the pie dish with one sheet of pie crust dough.
- Drain the cherries and save 1 cup of liquid, discard the remaining liquid. (I got exactly 1 cup of liquid from both cans.) If both cans do not have 1 cup of liquid, just top up what you do get with water to make 1 cup.
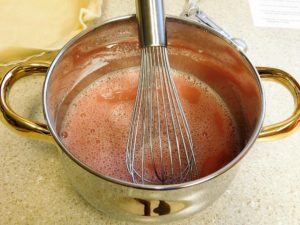
- In a saucepan, add the sugar and cornstarch and whisk together, slowly whisk in the reserved liquid from the cherries and mix until smooth.
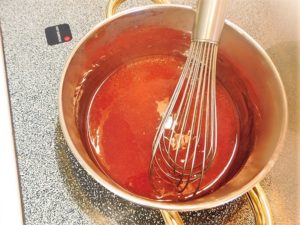
- Place the saucepan on medium heat and stir continuously until the mixture starts to bubble. You will see a noticeable change when the mixture starts to bubble.
- Once it bubbles, continue stirring for 1 more minute until the mixture is thick and clear, remove from heat.
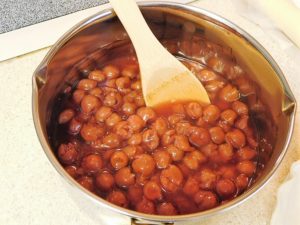
- Now stir in the butter, almond extract, and cherries, mix until combined.
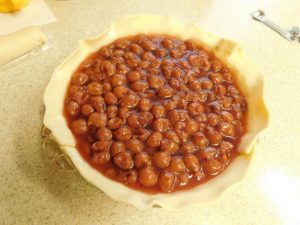
- Pour into the prepared pie dish.
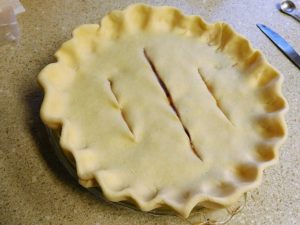
- Cover with the second crust and cut several slits to vent steam, or if adventurous, slice that crust up and make a lattice top on the pie. Brush the top crust with beaten egg.
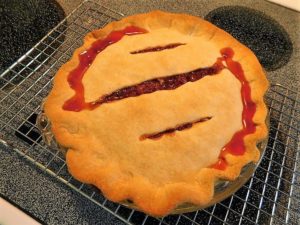
- Bake for 10 minutes then reduce the temp to 180 C (350 F) and bake for another 35 minutes or until golden brown.
- Remove to a rack to cool.
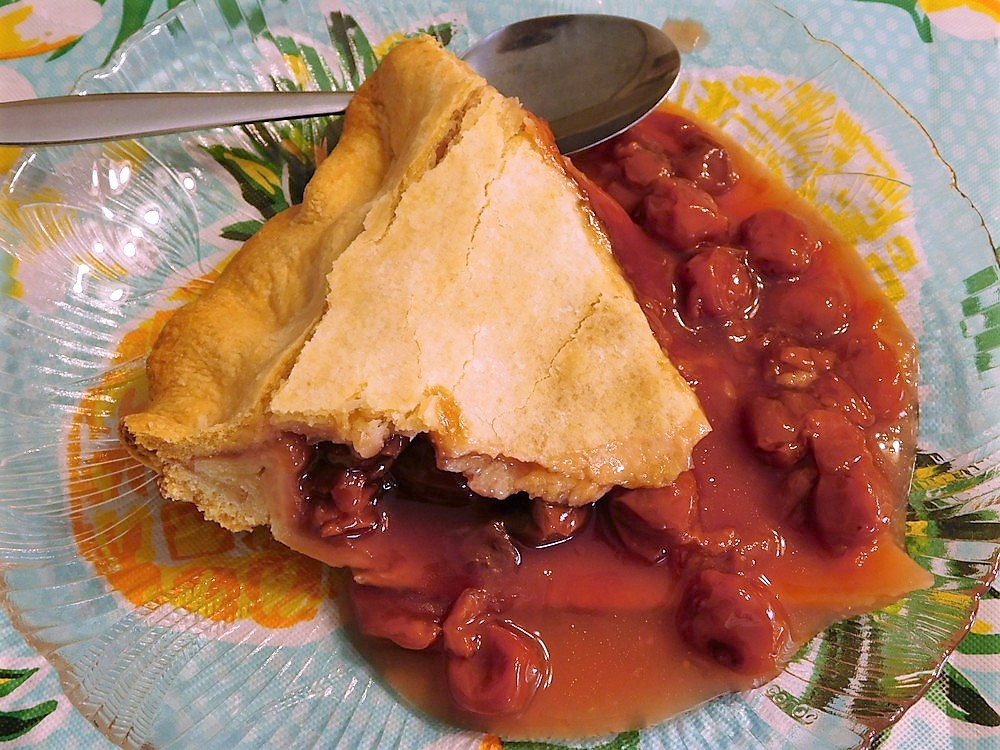
- Slice, serve, and enjoy. Sometimes this will come out very runny, and sometimes much drier, this time was runny, so just grab a spoon and enjoy, the flavor is still perfect regardless of the texture.
Notes
Since I am in the states for a while, a can of tart cherries in water runs about $3.40 in Walmart, so for 6 servings, this dessert would cost about $1.13 per serving.
Adapted from an internet recipe.
Mousse in a Minute Pie
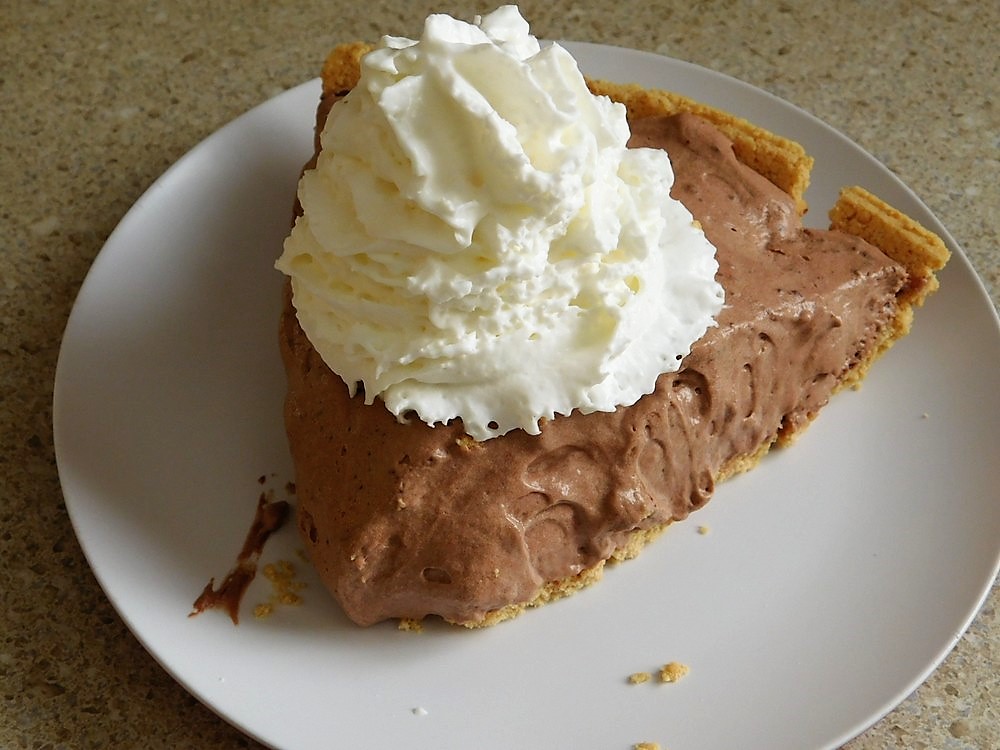
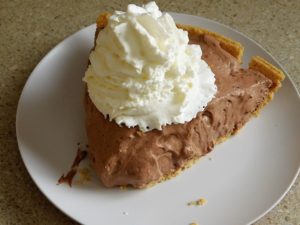
This recipe comes from my Mom and she originally got it from a Jello brand pudding box years ago. This is Mom's go to recipe for a quick no bake pie, and I remember these pies from 40+ years ago. My Mom prepared this on 24 Jul 2019 and I took the photos, flavor of the pudding used, chocolate.
Ingredients
- 1 box Jell-O Pudding mix, any flavor, large box (2.1 oz / 59 g)
- 1 package Cool-Whip topping, (8 oz / 226 g)
- 2 1/4 cups cold milk
- 1 graham cracker crust
- Cool-Whip topping, for topping if desired
Instructions
- Whisk together the pudding mix and milk in a large mixing bowl.
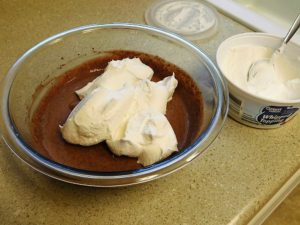
- Add the whipped topping to the mixing bowl, the entire 8 oz container of whipped topping will be used.
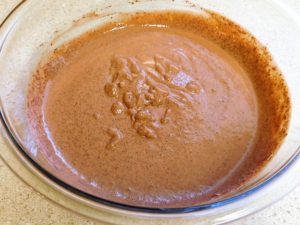
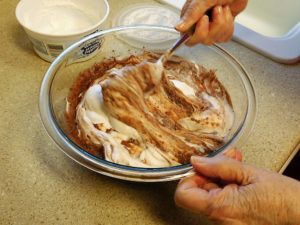
- Fold the the whipped topping into the pudding.
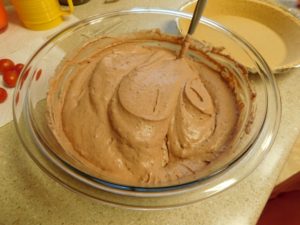
- Fold until evenly mixed.
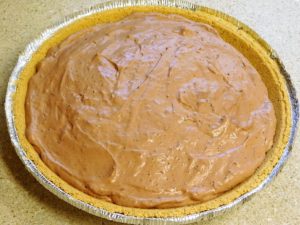
- Pour the mixture into pie crust. Place in the fridge until chilled and set.
- Slice, plate, and top with additional whipped topping if desired, enjoy.
Notes
Low cost per serving.
Variant: 1. Chill a can of evaporated milk, open that and pour into a 4 cup measuring cup, then add cold milk until you have 2 1/4 cups and use that when mixing the pudding. 2. Feel free to use a pastry pie crust that has been baked first.
Provided by my Mom, Joanne Thayer, who got this from a Jell-O pudding nix box years ago.
United States.
United States.
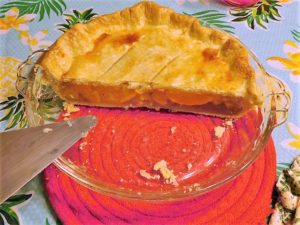
Peach Pie
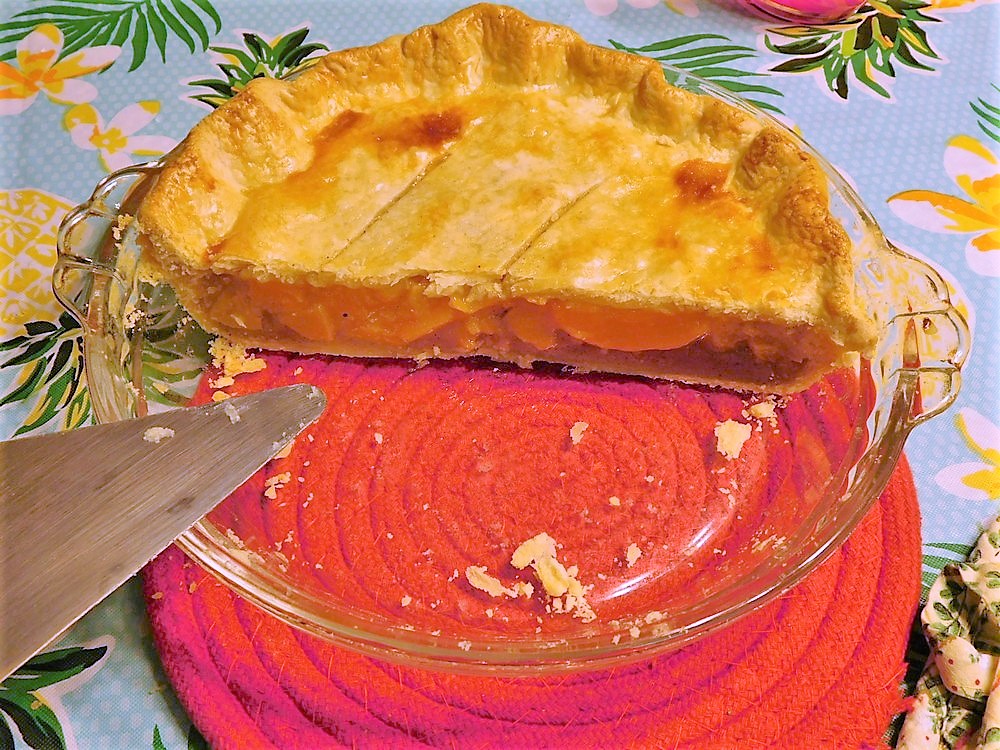
This is a really good pie and uses canned peaches as a convenience. I made this on 22 Jul 2019, exactly as written, perfect! Very well liked by the family.
Equipment
- Pie Dish (9 inch)
- Oven
Ingredients
- 2 pie crusts, store bought or homemade, Shortcut
- 2 cans sliced peaches, drained, 15 oz (425 gram) cans
- 1 cup sugar
- ½ teaspoon ground cinnamon
- ¼ teaspoon ground nutmeg
- 1 tablespoon lemon juice
- 1 tablespoon vanilla extract
- ½ cup all purpose flour
- 1½ teaspoons butter, softened
- 1 egg, beaten
Instructions
- Preheat your oven to 180° C (350° F), get out a 9 inch pie dish, add the bottom crust to the dish.
- In a mixing bowl, add the peaches, sugar, cinnamon, nutmeg, lemon juice, and vanilla. Stir to mix well.
- To the mixing bowl, sprinkle in some of the flour and stir until the flour is well mixed in, repeat with the flour and stirring until all the flour is mixed in, I did this 4 times. Add the butter and stir that in.
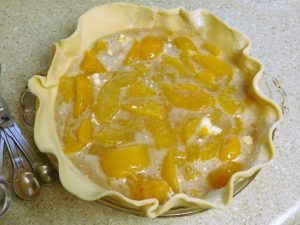
- Pour the mixture into the prepared pie dish and spread out evenly.
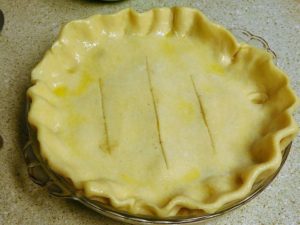
- Top with the second crust, flute the edges then cut some slits in the crust. Brush the top with beaten egg. Bake for 50-55 minutes or until the crust is golden brown.
- Remove to a rack to cool.
- Slice, serve, and enjoy.
Notes
Low cost per serving.
Shortcut: Pie Crust.
Variants: 1. Feel free to use fresh peaches. 2. Feel free to make a lattice top with the second pie crust. 3. Serve with a scoop of vanilla ice cream. 4. After brushing the top with the beaten egg, sprinkle on some sugar for a sweet crust.
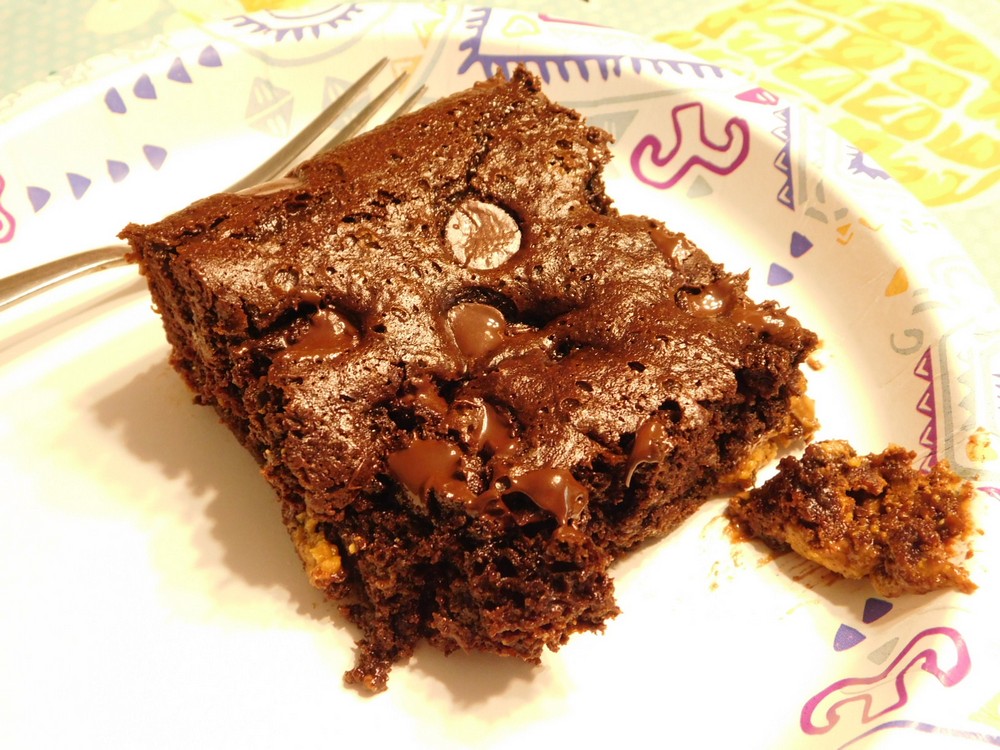
Chocolate Peanut Butter Dump Cake
This recipe comes from my mom, and it sounds great, and it is good! Bonus is only 5 ingredients. Link to the shortcut is listed in the Recipe Notes section.
Ingredients
- 1 box chocolate cake mix, Shortcut
- 1 package chocolate pudding mix, small package
- 2 cups milk
- 1 cup chocolate chips
- 1 cup mini Reese cups
Instructions
- Preheat your oven to 180 C (350 F). Get out a 9x13 baking dish and lightly grease with butter or non stick spray.
- For the cake mix, DO NOT add any items listed on the box, just use what is listed in the Ingredients and Instructions listed on this recipe.
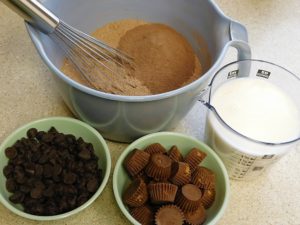
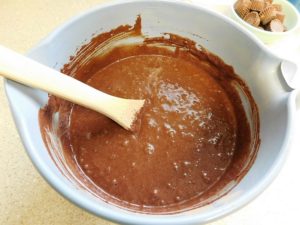
- The milk, chocolate chips, and reeses are measured out, I made my homemade chocolate cake mix, and the pudding mix is the darker powder in the mixing bowl.
- Add the milk to the cake mix, and pudding mix, stir to mix together.
- Add the Reese cups to the mixing bowl and fold those into the batter.
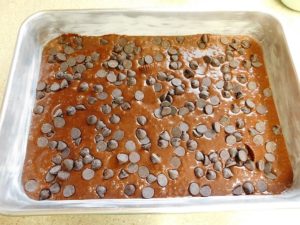
- Spread the batter evenly into the prepared baking dish. Sprinkle the chocolate chips evenly over the top.
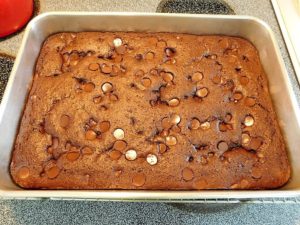
- Bake for 30 minutes or until the edges pull away from the pan.
- Slice, serve, and enjoy.
Notes
Low cost per serving.
Shortcut: Chocolate Cake Mix.
Provided by my Mom, Joann Thayer, United States.
Yum Yum Brownie Muffins
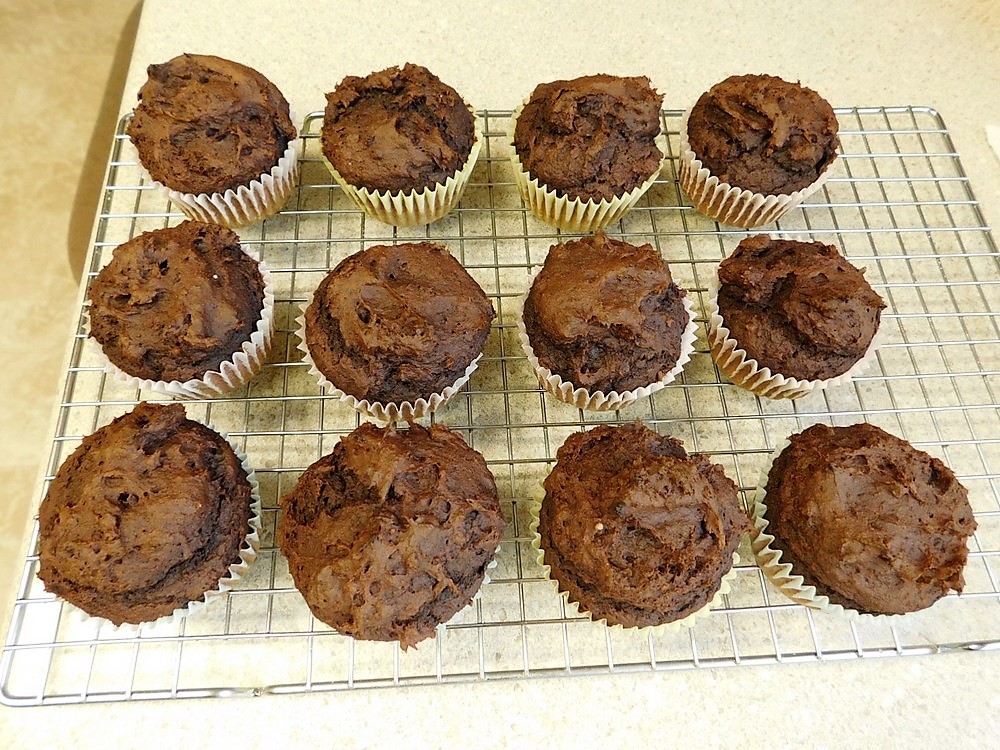
This recipe comes from my Mom, who has made this a number of times and she says they are very good muffins. Bonus is only two ingredients needed. I simply call these Chocolate Pumpkin Cupcakes.
Ingredients
- 1 box devil's food cake mix, about a 18 oz box
- 1 can pumpkin, 15 oz can
Instructions
- Preheat your oven to 200 C (400 F) and get out a 12 cell muffin pan, line the cells with baking cups or spray cells with non stick spray.
- For the cake mix, open and pour the contents of the box into a mixing bowl, DO NOT add any of the items listed on the box. Whisk to remove any lumps in the dry mix.
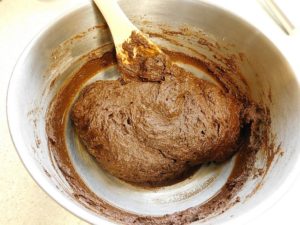
- Open the can of pumpkin and add that to the mixing bowl and stir until the mixture is smooth, the mixture will be thick, DO NOT add anything to thin it out.
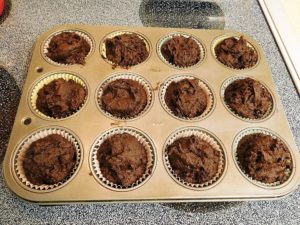
- Divide the mixture between all 12 cells in the muffin pan.
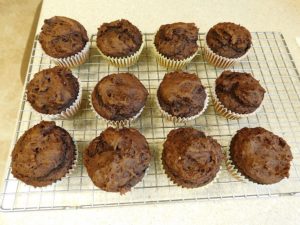
- Bake for 20 minutes or until a toothpick inserted in the center of a muffin comes out clean. Remove from the oven and allow to cool for a few minutes before serving. Enjoy.
Notes
A box of devils food cake mix is 88 cents (Walmart), and a can of pumpkin is 98 cents (Walmart). For 12 muffins, this is 16 cents per muffin.
Recipe provided by, and made often when I was growing up, my Mom, Joanne Thayer.
United States.
United States.
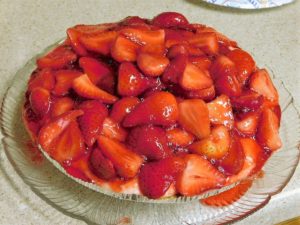
Strawberry Pie
This recipe comes from a good friend and this is her mother's recipe, and it sounds delicious!
Ingredients
- 1 kilo fresh strawberries, (2 lbs)
- 1 cup granulated sugar
- 1 graham cracker crust
- 250 grams Cream cheese, 1 block, softened, (8 oz)
- 453 grams powdered sugar, (1 lb or 3 2/3 cups)
- 1 envelope Dream Whip
- 1 teaspoon vanilla extract
- 1 small box strawberry gelatin, (jello)
- 1 cup boiling water
- 1/2 cup strawberry juice, (you are going to make this)
Instructions
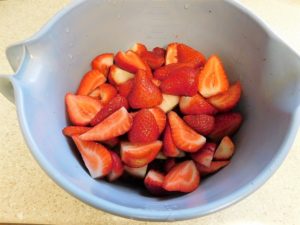
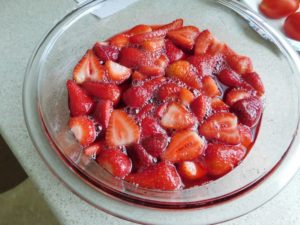
- Trim stems off the strawberries, then depending on the size, for small to medium, cut each in half, and for large berries, cut into quarters (lengthwise). Place in a mixing bowl.
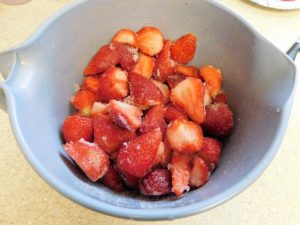
- Add the granulated sugar to the strawberries and gently mix together. This will juice the strawberries. Place bowl in the fridge for an hour.
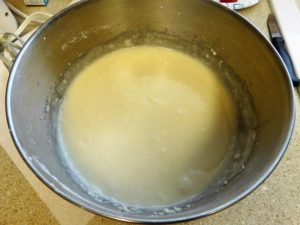
- In another mixing bowl, beat together the cream cheese, powdered sugar, Dream Whip, and vanilla extract.
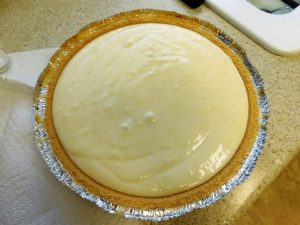
- Pour mixture into the pie crust and spread out evenly. Place in the fridge.
- Place a strainer on another bowl and drain the strawberries, reserving the juice. Measure out 1/2 cup of that juice and set that and the strawberries aside. (For the remaining strawberry juice, save that and pour over angel food cake another day.)
- Another mixing bowl, dissolve the gelatin in the boiling water, stir in that 1/2 cup of reserved strawberry juice, then add the strawberries and stir together. Place in the fridge until set and cooled.
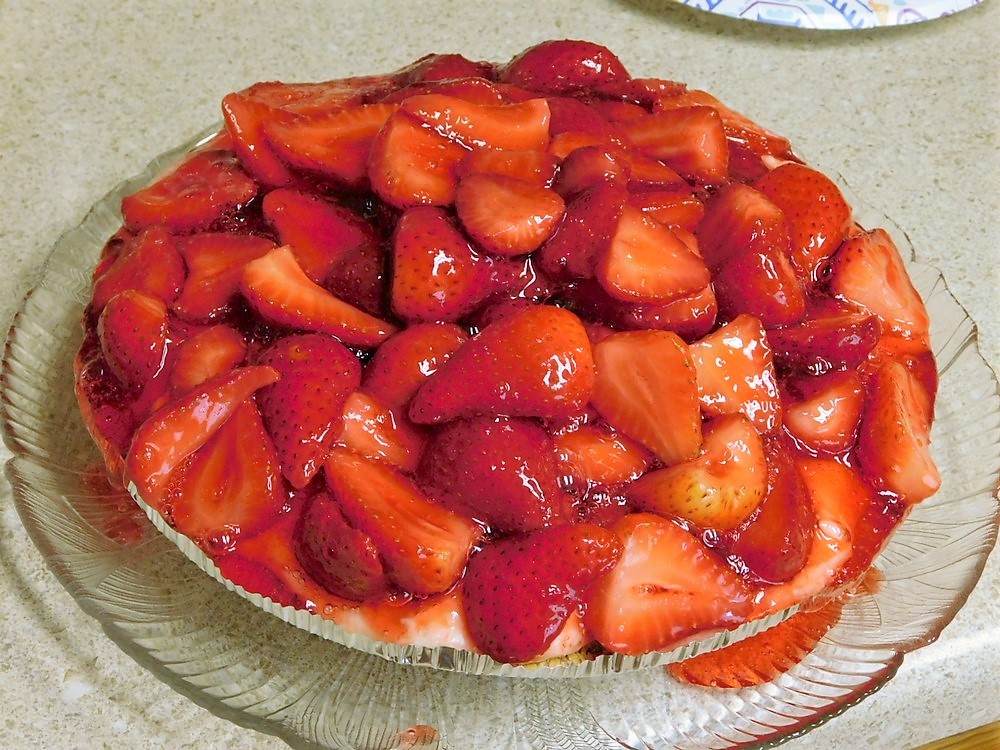
- Mix the strawberry gelatin and pour over the cream cheese mixture in the pie crust. Place in the fridge until ready to serve.
Notes
One item I cannot price for certain is the Dream Whip, that, I have never seen here. Strawberries are hit or miss on quality. For now I will say Fair cost per serving.
Recipe and photo provided by good friend, Patti Stone.
United States.
United States.
Peach Upside Down Cake
This comes from a good friend, fresh peaches, homemade cake, sounds delicious! On my to make and taste list. I will verify the baking dish size when I prepare this, but will list this right now for a 7x11 dish.
Ingredients
- 1 1/2 - 2 cups sliced peaches, peeled, pitted, sliced lengthwise
- 1/4 cup butter
- 1/2 cup brown sugar, packed
- 1 1/4 cups all purpose flour
- 1 1/4 teaspoon baking powder
- 1/4 teaspoon salt
- 1/2 cup butter, softened, (1 stick)
- 3/4 cup sugar
- 1 egg
- 1 teaspoon vanilla extract
- 1/2 cup milk
Instructions
- Peel, pit, and slice the peaches. Set them aside.
- Place the 1/4 cup of butter in a 7x11 baking dish. Place the dish in your oven then turn the oven on 180 C (350 F) to preheat it. Melt the butter in the dish but do not let it brown. Remove the dish when the butter is melted and let the oven continue to preheat.
- Add the brown sugar to the baking dish and stir into the butter to dissolve the sugar. Spread the butter out evenly.
- Arrange the peach slices in the pan on top of the butter mixture, arrange them anyway you prefer. Set the dish aside.
- In a mixing bowl, whisk together the flour, baking powder, and salt. In another mixing bowl, beat together the 1/2 cup softened butter and the sugar, then mix in the egg and vanilla.
- Mix in the milk to the butter mixture until just mixed in, then add the flour mixture to the butter mixture, mix just to combine, this will produce a fluffy and moist cake, over mixing will produce a drier, more dense cake.
- Pour the cake batter evenly over the peaches but do not mix together.
- Bake for 45-50 minutes or until a toothpick inserted in the center comes out clean. Remove from the oven and place on a wire rack. Run a butter knife around the edges, place a foil line baking sheet, foil side down, on the dish, hold both together and turn the dish over onto the baking sheet, leave the dish in place for 5 minutes to allow the butter sugar mixture to soak into the cake.
- Remove the dish and allow the cake to cool for 20-30 minutes.
- Slice and enjoy.
Notes
Low cost per serving.
Recipe provided by good friend, Patti Stone, and her recipe is here.
United States.
United States.
Homemade Chocolate Cake
This uses the Homemade Chocolate Cake Mix here on this site. This will make two 8 inch round cakes, for a layered cake or one 9x13 flat cake. Link to the Shortcut is listed in the Recipe Notes section.
Ingredients
- 1 cake mix, (Shortcut)
- 1 cup milk, room temperature
- 2 eggs, room temperature
- 1/2 cup vegetable oil
- 1 cup water
- 2 teaspoons vanilla extract
Instructions
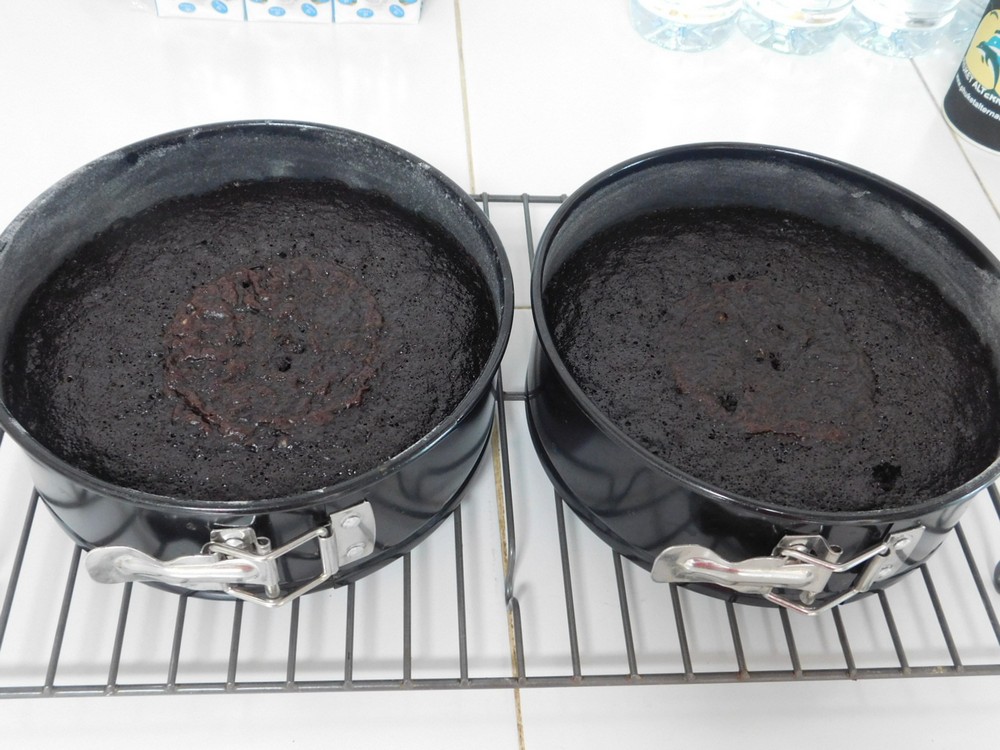
- Preheat your oven to 180 C (350 F). Grease and flour two 8 inch round cake pans. You really want the pans prepped and ready to go as well as the heated oven.
- Add the dry cake mix to a mixing bowl and whisk it well to ensure you have no lumps or use a sifter if you have one. Lump free dry mix is important for a nice cake.
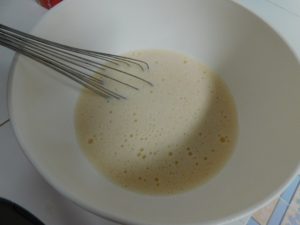
- In another large mixing bowl, add the milk, eggs, vegetable oil, water, and vanilla extract. Whisk together well and even slightly frothy is ok.
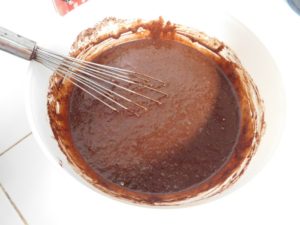
- Add the dry mix to the wet mix and whisk to just combined, do not over mix as that may result in less light and fluffy cake, and no one likes that.
- Divide the batter equally between the two prepared pans, place in the oven immediately.
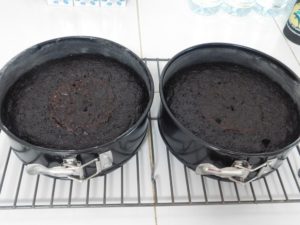
- Bake for 25 to 30 minutes, the cake should be puffed up a bit and a toothpick inserted in the center comes out clean. Remove from the oven and place the place the pans on a rack and let cool for 5 minutes.
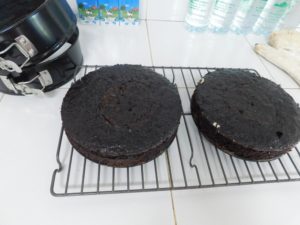
- After 5 minutes, turn out the cakes, right side up on a rack to cool completely.
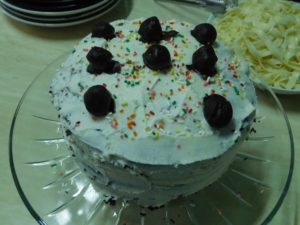
- Once the cakes are completely cooled, decorate as you desire.
Notes
Low cost. In Thailand it pays to make a cake from scratch as box mixes are imports and carry a hefty price tag.
Shortcut: Homemade Chocolate Cake Mix.
Variant: 1. Replace the 1 cup of water with 1 cup of plain coffee.
Used in Recipes Listed on this Site:
- Earthquake Cake, made it, GO-TO recipe.
Rocky Road Candies
Incredibly easy and only 3 ingredients! I really wonder why I have never made these before. I made these while visiting very dear friends in another province, and they were well received.
Ingredients
- 500 grams chocolate compound, (1 lb)
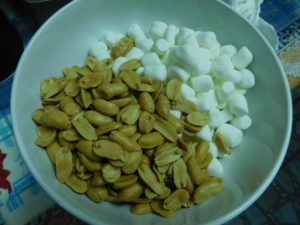
- 2 cups salted peanuts
- 2 1/2 cups mini marshmallows
Instructions
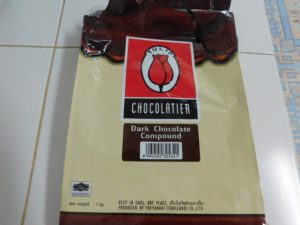
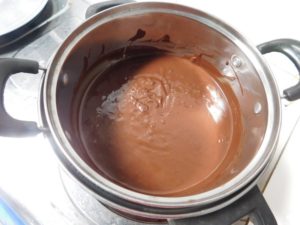
- This is the chocolate I used 500 grams or half of a 1 kilo (2 lb) block of dark chocolate compound.
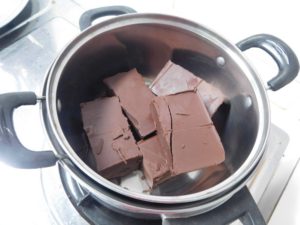
- I used a double boiler, basically get two pots, one that fits in the other, add some water to the larger pot and put on low heat but you want the smaller pot to not touch the water, you just want the steam to melt the chocolate. Add the chocolate to the smaller pot.
- Let the chocolate melt, stir occasionally, until it is a smooth consistency.
- While the chocolate is melting, measure out the peanuts and mini marshmallows.
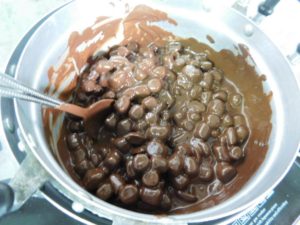
- Once the chocolate is melted and smooth, remove from heat but leave the smaller pot in the larger pot. Allow to cool slightly, maybe 5 minutes or so, then pour in the peanuts and marshmallows, stir to coat everything well.
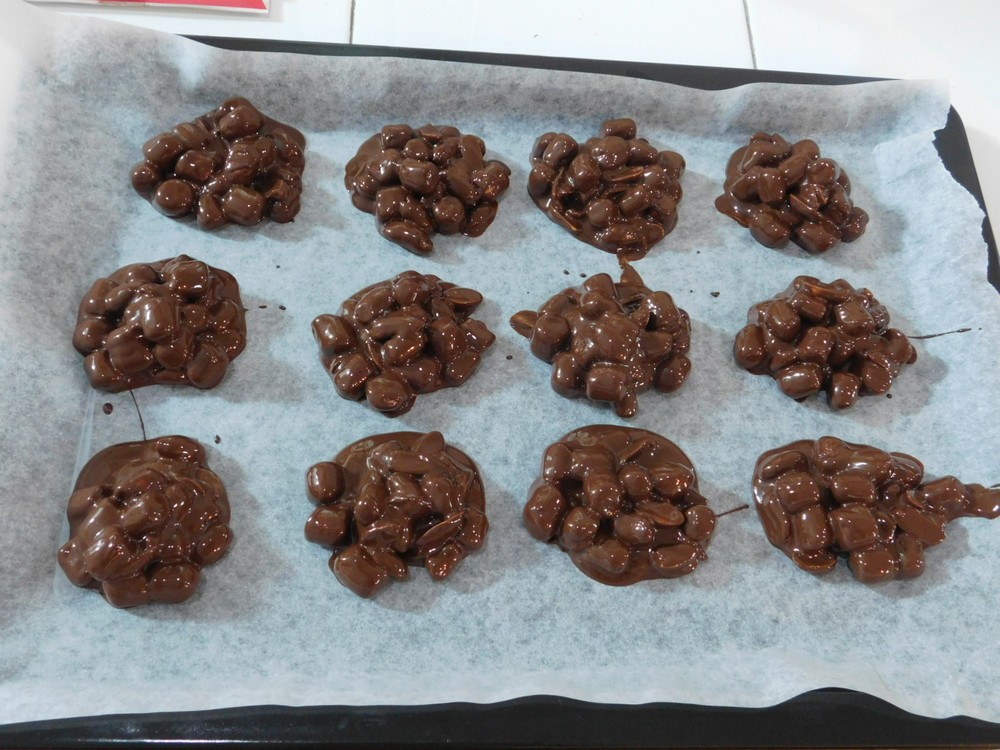
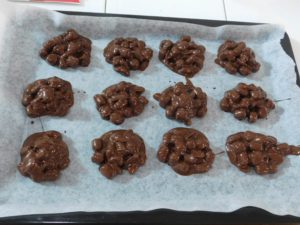
- Line a baking sheet with parchment paper or foil, spoon out the candy by tablespoons and drop on the parchment. Use more baking sheets and parchment as needed, or simply place parchment on the counter. Allow the candies to cool at room temp for 2-3 hours to set them up, or place in the fridge. When set, serve and enjoy.
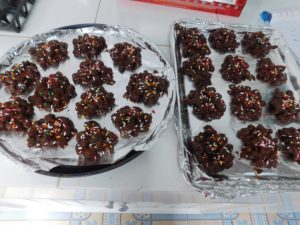
- Using the variants of cashews, cherries, and sprinkles, made 23 candies.
Notes
Even though though the chocolate (Thailand) and the marshmallows (imported) are high cost, just one candy is perfect for a dessert as these are very sweet, so this is basically low cost, and is a great treat for a once in a while occasion.
Variants: 1. Use cashews or almonds in place of peanuts (will increase the cost as well). 2. Add 1/4 cup chopped glaced cherries. 3. Sprinkle on some candy sprinkles.
Adapted from an internet recipe.
Chocolate Peanut Butter Sandwich Cookies
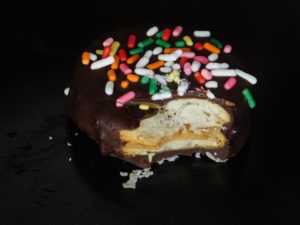
This is a spur of the moment cookie idea, butter crackers + peanut butter + chocolate = sounds great. I made these when I was making Rocky Road Candies, and glad I did, these are yummy.
Ingredients
- peanut butter, creamy or smooth, your choice
- butter crackers
- chocolate compound
- sugar sprinkles, optional, as needed
Instructions
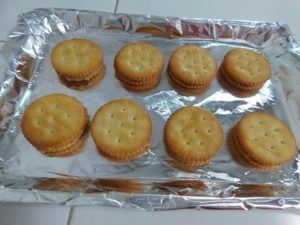
- Line a baking sheet with parchment paper or foil. Spread peanut butter on the bottom of a butter cracker, top with another butter cracker, bottom side down. This way each side looks like the top of a butter cracker. Place crackers on the parchment paper. Place the baking sheet in the fridge to chill for 40 minutes to 1 hour.
- I used Tulip brand dark chocolate compound. Very common here in Thailand.
- I did not state a quantity for the chocolate as I made this on a whim when I was making another item, but the basic principle is use a double boiler, but you want the smaller pot not touching the water below it, just let the steam melt the chocolate. Add chocolate to the smaller pot in the quantity you need and put the bottom pot with the water on low heat.
- Allow the chocolate to melt, stirring once in a while, until it is smooth. Turn off the heat.
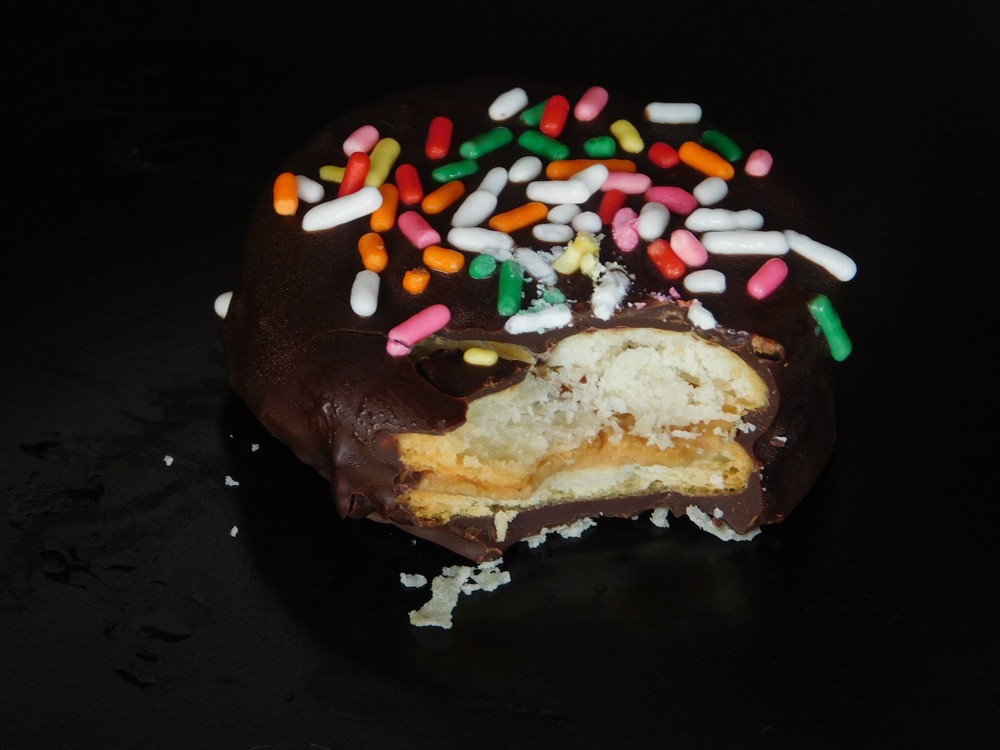
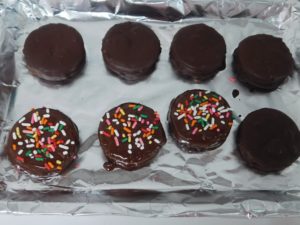
- Remove the crackers from the fridge, add a cracker to the chocolate, use a fork to roll it over to coat evenly with the chocolate, lift the cookie out with a fork and place on the same parchment paper. Sprinkle with sugar sprinkles if desired.
- Continue with more crackers as desired. If the chocolate cools too much, just turn on heat to low for a few minutes and stir, and continue on until the cookies are all coated and placed on the parchment paper. Place in the fridge to chill before serving.
Notes
Low cost.
Common way to enjoy butter crackers with peanut butter, just seemed like this would work.
