Author Archive
Peanut Butter Cookies II
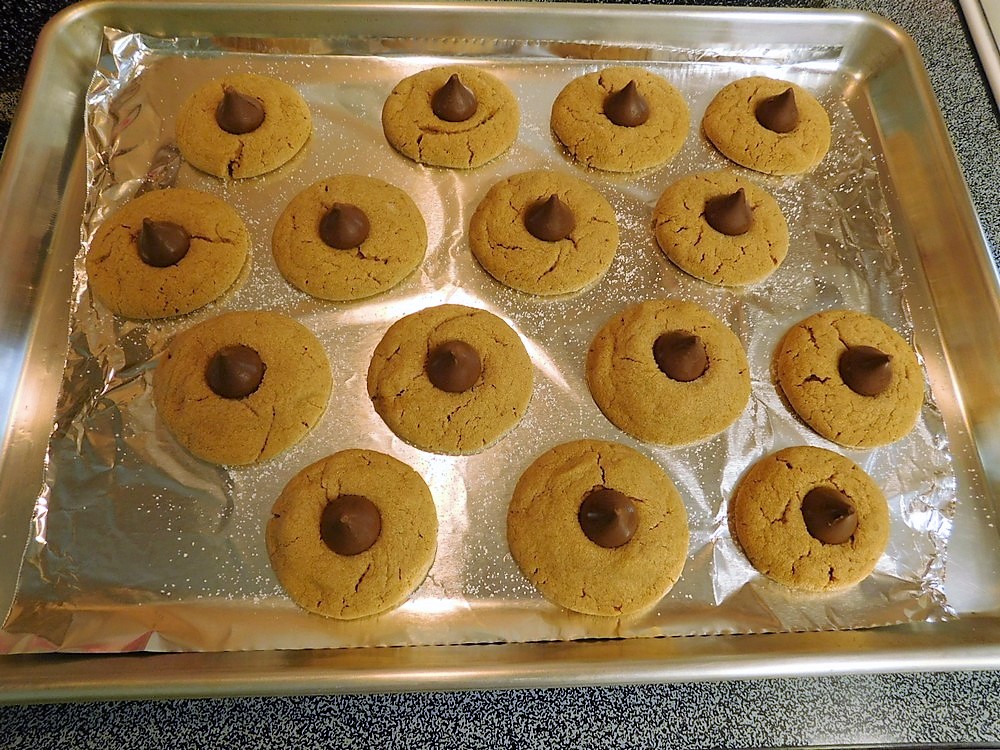
This is a no flour and a 3 or 4 ingredient recipe. I did use the brown sugar in addition to the white sugar, so 4 ingredients used, and I made Peanut Butter Blossoms with these, tasty.
Ingredients
For Classic Peanut Butter Cookies
- 1 cup peanut butter, honey roasted if you have that
- 1 cup sugar, or 1/2 cup sugar + 1/2 cup brown sugar packed
- 1 egg, chicken or duck
Needed for Peanut Butter Blossoms
- Hershey's Kisses, as needed, one per cookie
Instructions
- Preheat your oven to 180 C (350 F) and line a baking sheet with parchment paper or foil.
- In a mixing bowl, mix together everything until well combined. Place a few tablespoons of additional sugar in a separate small bowl.
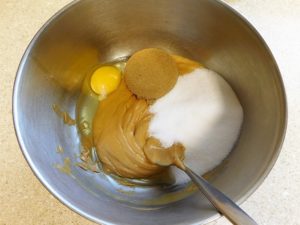
- Scoop out by teaspoons and roll into balls, roll balls in sugar and place on the parchment or foil.
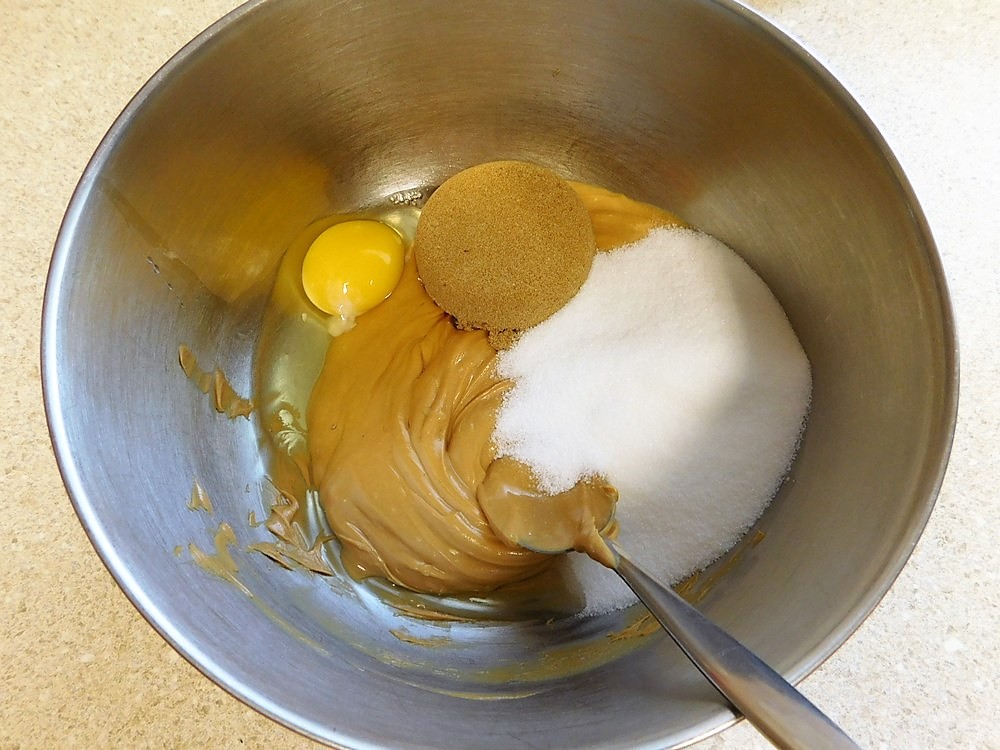
For Classic Peanut Butter Cookies
- Dip a fork into the bowl with the sugar and press each cookie down to make the classic crosswise fork pattern, dipping the fork in the sugar for each cookie.
For Peanut Butter Blossoms
- Remove the foil from Hershey Kisses as needed. Just bake the ball shapes, do not flatten. After removing from the oven, place a Hershey's Kiss on each cookie pressing it in slightly.

- Bake for 10-12 minutes, aim is just until golden brown around the edges. Remove from the oven and let the sheet cool for 5 minutes, then remove the cookies to a rack to cool.
- Enjoy.
Notes
Low cost.
Variants: 1. Mix in chocolate chips. 2. To make peanut butter blossoms, place a Hershey's kiss on top of each cookie right when they come out of the oven.
Adapted from an internet recipe.
Beef Taco Salad Pizza
Sounds great. Tortillas are used as the crust. On my to cook list for sure. Link to the shortcuts are listed in the Recipe Notes section.
Ingredients
- olive oil, as needed
- 250 grams lean ground beef, (8 oz)
- 1 packet taco seasoning mix, OR make from a shortcut
- salt and pepper, to taste
- 1 12 inch flour tortilla
- 1 1/2 cups condensed Cheddar cheese soup, shredded
- 1 cup lettuce, shredded
- 1/4 cup sour cream, OR make from a shortcut
- 1 roma tomato, diced
- 1/2 avocado, thinly sliced, optional
Instructions
- Preheat your oven to 200 C (400 F). Oil a baking sheet with 1/2 tablespoon of olive olive oil or just lay a piece of parchment paper on the baking sheet.
- Heat a non stick pan on medium heat and add a splash of oil, when hot, add the ground beef, when cooked through, add the taco seasoning, and season with salt and pepper to taste. When cooked, drain oil.
- Place the tortilla on the baking sheet, sprinkle with 1/2 cut of cheese, top with beef, then top with another 1/2 cup cheese. Bake until the cheese is melted, about 7 to 8 minutes.
- Remove and sprinkle on remaining cheese, lettuce, tomatoes, and sour cream. Top with avocado if desired.
- Serve.
Notes
Low cost.
Adapted from an internet recipe.

Pinto Bean & Ground Beef Stew (Pressure Cooker)
I found this recipe yesterday, had everything on hand, tested out by the family, this is overwhelmingly tasty!!! This is for a stove top pressure cooker. Counting on the natural pressure release, you can have this on the table is under an hour. You can cook the beef and other prep while the pressure cooker is doing its thing. Follow all safety precautions for your model of pressure. This can also be prepared on the stove top using canned ingredients.
Equipment
- Pressure Cooker
Ingredients
- 1 cup dry Pinto beans, sorted and rinsed
- cooking oil, as stated in instructions
- 4 cups water
- 500 grams lean ground beef, (1 lb)
- 1 onion, diced
- 4 cloves garlic, smashed and minced
- 2 teaspoons dried oregano, Mexican oregano if you have that
- 1 tablespoon ground cumin
- 1 tablespoon dried cilantro
- 2 cups chicken stock, fresh or from powder
- 1 cup liquid, from cooked beans
- 2 tablespoons tomato paste
- 1 can diced tomatoes, with juice
- ½ cup spring onions, sliced, white and green
- ½ cup fresh cilantro, chopped
- 2 tablespoons lime juice
For Stove Top using Canned Items, change only:
- 1-2 cans ground pork, (1½ lb can)
- 3 cans Pinto beans, (15 oz cans)
Instructions
- Add the rinsed and sorted beans to your pressure cooker, add the 4 cups of water, and 1 tablespoon of cooking oil, the oil is to prevent the beans from foaming. Depending on your size of pressure cooker, do not fill more than halfway.
- Place the lid on the cooker and lock closed. Place on high heat until the pressure cooker comes to full pressure, meaning the jiggler is moving and making some noise, this is when you start timing. Turn the heat to low but maintain full pressure. Time the beans for 22 to 27 minutes depending on if like them firm or softer. (I time for 25 minutes.)
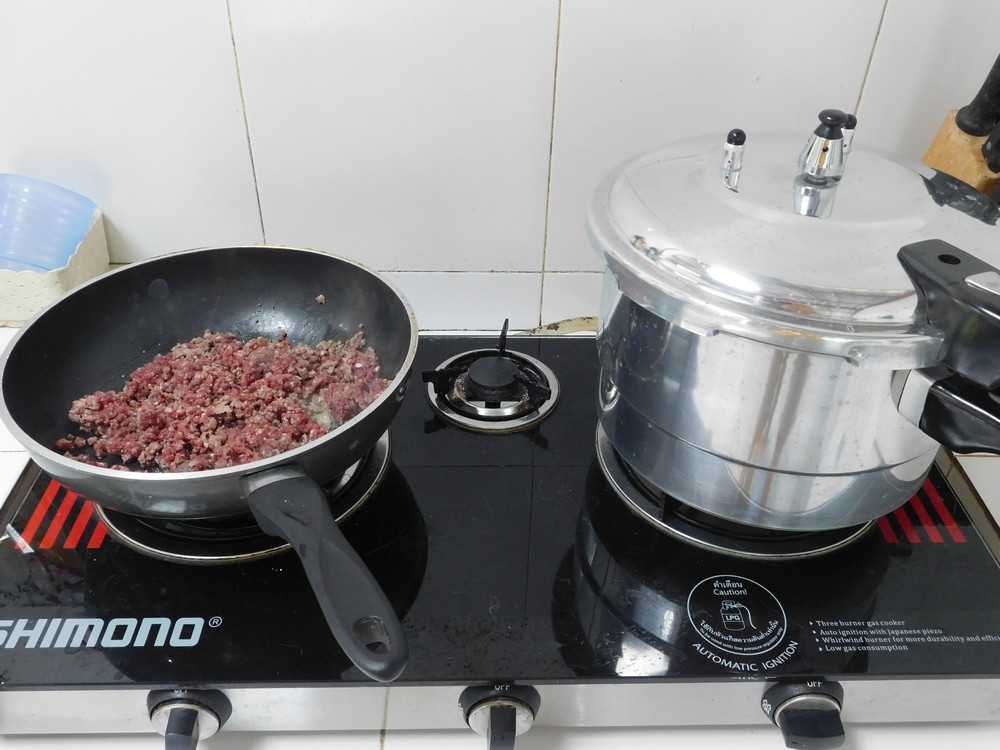
- While the beans are cooking, heat a non stick skillet and cook the ground beef until cooked through, drain the beef well and set aside. Photo shows the beef cooking while the pressure cooker is working on the beans.
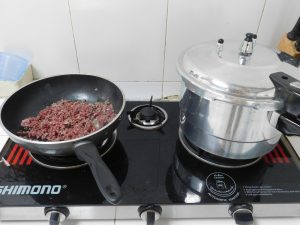
- Same pan, heat a splash of oil and cook the onion until starting to turn brown, then add the garlic and cook for another 2 minutes,
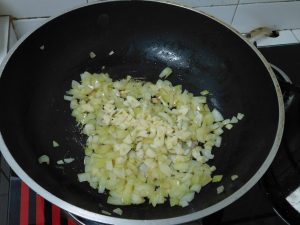
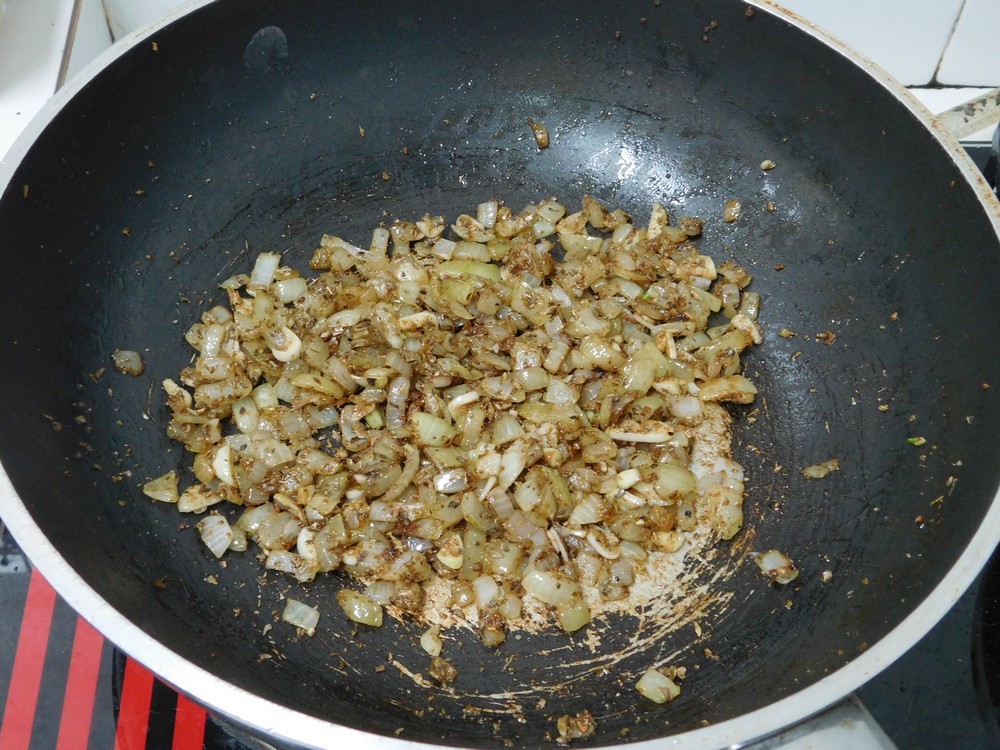
- Then add the oregano, cumin, and dried cilantro and cook for about 2 minutes more. Set aside.

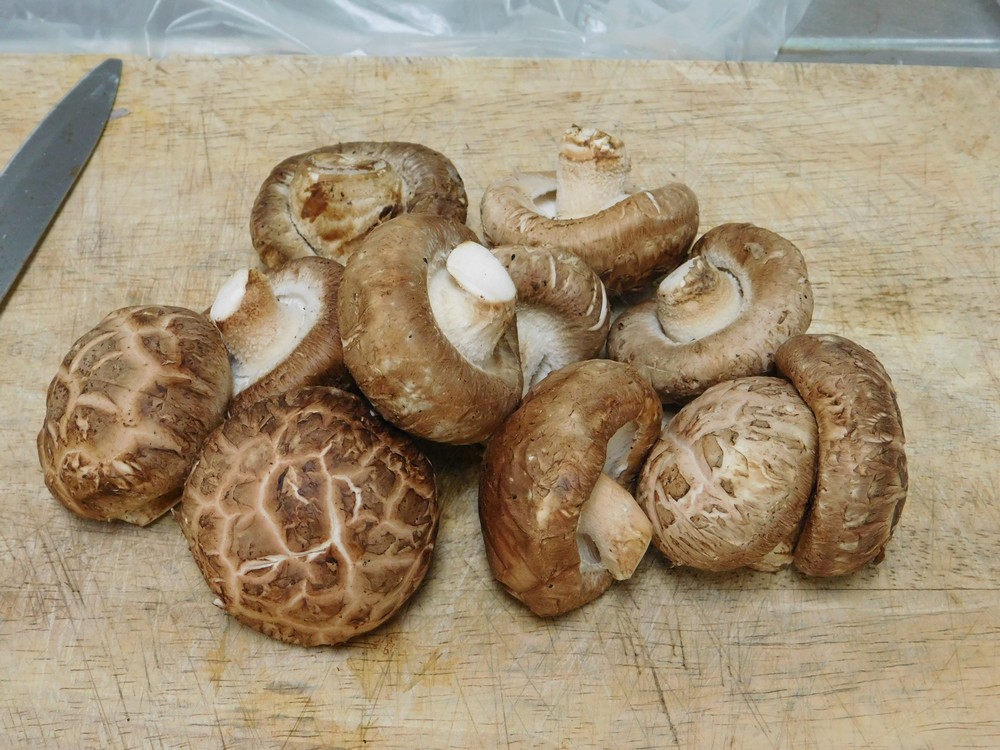
- I added a variant, I used a handful of Shiitake mushrooms, photo shows before I removed the stems and chopped them.

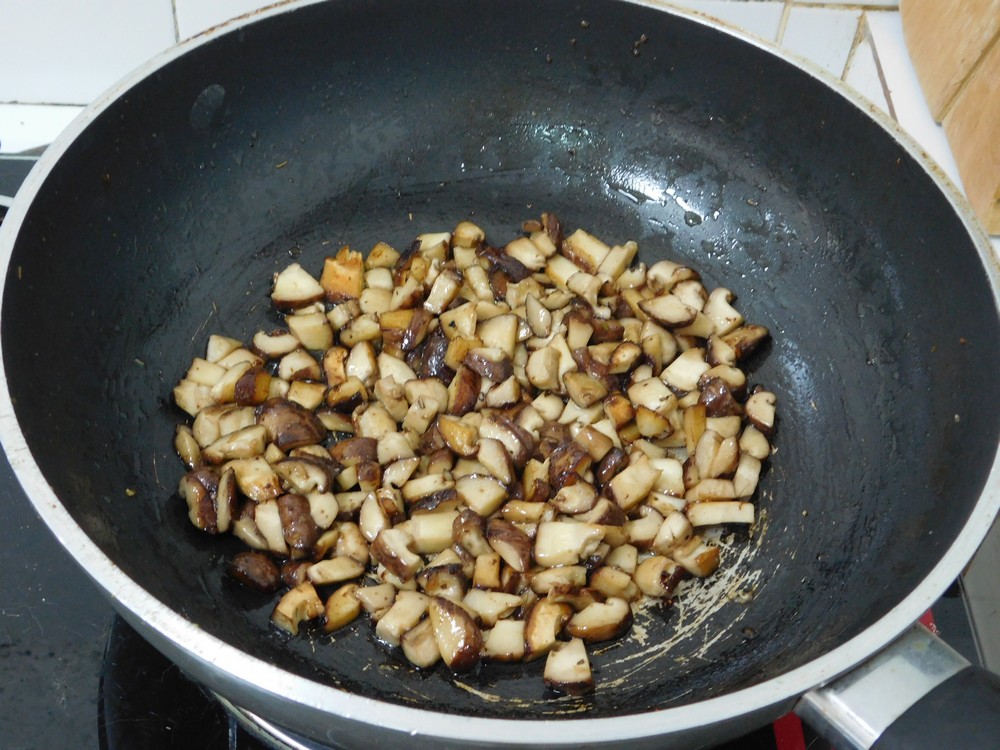
- Saute the chopped mushrooms until starting to brown up. Set aside.

- After the time is up on the pressure cooker, turn off the heat and move to another unused burned. Allow the cooker to release pressure normally, about 10-15 minutes.
- When the pressure is fully released, open and ladle out 1 cup of liquid, set that liquid aside, drain the beans in a colander and rinse well and return the beans and the 1 cup of liquid from the beans, tomato paste, and diced tomatoes with liquid, the cooked beef, onion mixture, and mushrooms if using, to the cooker.
- Close and lock the pressure cooker lid and bring to high pressure and cook for 3 minutes. Remove from heat and let pressure release naturally, about 10-15 minutes.
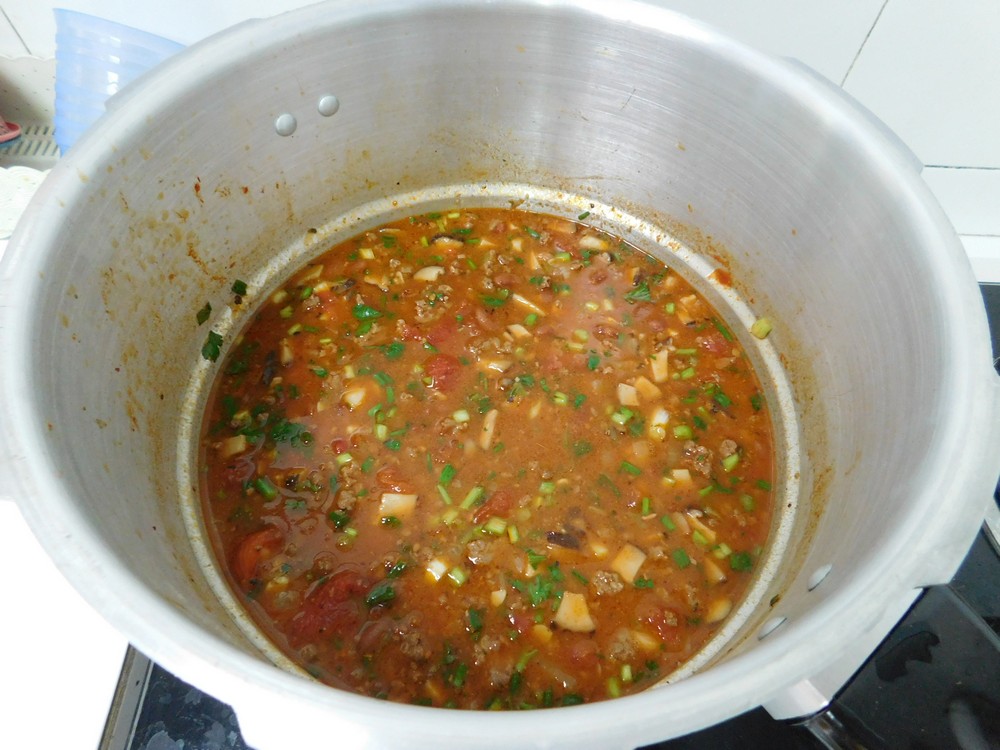
- When it is safe to open, remove the lid and stir in the spring onion and most, not all, of the fresh cilantro, and lime juice. Return to heat without the cover and simmer for about 5 minutes.
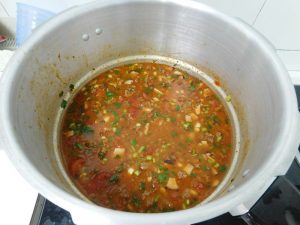
- Serve and sprinkle the remaining cilantro on each bowl for garnish.


For Stove Top using Canned Items
- Drain the canned ground pork. Open the beans, retain 1 cup of juice from the beans then drain and discard the rest of the juice.
- In a pot, heat a tablespoon of olive oil, when hot, add the onion, saute until just starting to brown, then add the garlic, saute for another minute.
- Add the pork and break up and heat through. Add the cumin, dried cilantro, and dried oregano. Mix with the pork and cook for another 1-2 minutes.
- Add the beans, the reserved 1 cup of bean juice, chicken stock, tomato sauce, and diced tomatoes. Heat and simmer for 1 hour or so until the liquid level is to your liking. About 10 minutes before serving, stir in the chopped cilantro, lime juice, and spring onion.
- Serve and enjoy.


Notes
The beef will cost about 120 Baht for 500 grams. For 6 servings, this is about 88 cents per serving.
Variants: 1. Sauté a handful of chopped mushrooms and add to the cooker after adding the beef and onion. 2. Use mushroom stock instead of chicken stock. 3. Replace the cilantro with chopped celery tops or parsley. 4. Serve with saltines or oyster crackers. 5. Use ground pork, fresh or canned, in place of ground beef. 6. Add ½ can of tomato sauce in place of the tomato paste. 7. Top a serving with shredded Cheddar cheese (highly recommended).

Deep Fried Nachos
Sounds, and looks, really good! This is a make as much or as little as you want. On my to make list.
Ingredients
- nacho chips, crushed
- tortilla chips, crushed
- nacho cheese, some shredded and some cubed
- oil, for frying
- toppings, of your choice
Instructions
- Mix together the crushed chips and just enough shredded cheese to form the mixture into balls, about golf ball size. As you form each ball, insert a cube of cheese into each one.
- Deep fry or pan fry the balls in oil until gold brown, just a few minutes, drain on paper towels.
- Top with your favorite nacho toppings as desired. Enjoy 🙂

Notes
Low cost.
Recipe and photo provided by good friend, Rachel Greenawalt, and the original recipe is here.
United States.
United States.

Bleu Cheese Salad Dressing II
This is from a good American friend, Brian, who lives in northeastern Thailand, and he makes this often. Brian's words "In keeping with the spirit of simple and inexpensive recipes, here's my version of Bleu Cheese dressing." I know Brian well, if he provides a recipe or shortcut to my site, he makes it often, and it will be good. I made this on 7 Dec 2018, and it is nothing short of perfect!
Ingredients
- 100 grams Bleu cheese, (4 oz)
- 1 cup mayo
- 1 cup whipping cream, or sour cream, buttermilk, or plain milk
- 1 teaspoon Worcherstershire sauce
- 2 tablespoons rice vinegar, or white wine vinegar, apple cider vinegar, or white vinegar
- 1 tablespoon fresh chives, finely chopped, or spring onion greens
- salt and cracked black pepper, to taste
Instructions
- First thing with the cheese, place that in the freezer for 1-2 hours. Feel free to add a bit more if you like.
- When you are ready to start, and the cheese is good and firm, in a mixing bowl, combine the mayo and whipping cream.
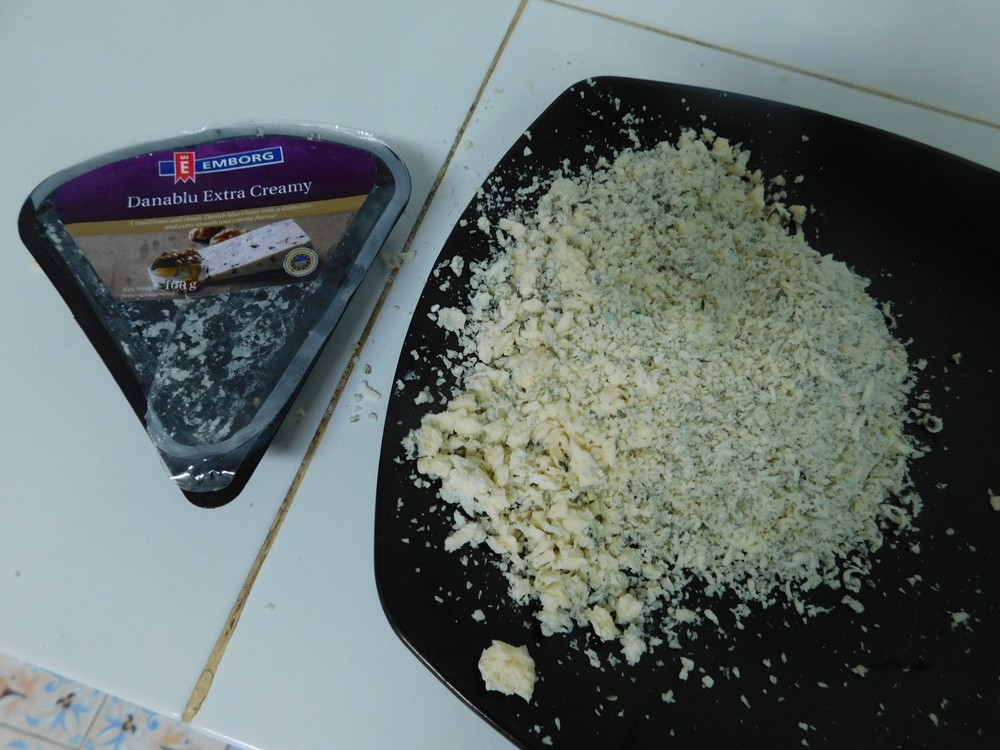
- Finely grate the cheese, the finer the cheese, the flavor develops more. If desired, reserve some of the cheese to crumble in to make a chunky dressing. I used the fine holes on my box shredder, this gives perfect fine and crumbled at the same time. The cheese is Emborg Danablu from Denmark (I don't skimp on good quality cheese).
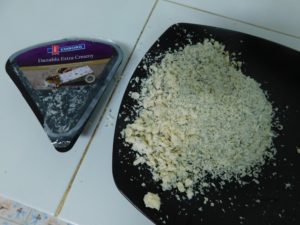
- Add the cheese to the milk and cream mixture, then mix in the remaining ingredients. Season with salt and black pepper to taste.

- Cover and place in the fridge for at least 2 hours before use. The longer it chills, the better the flavors blend together. Use on your favorite green salad. Enjoy.



Basic Streusel Coffee Cake
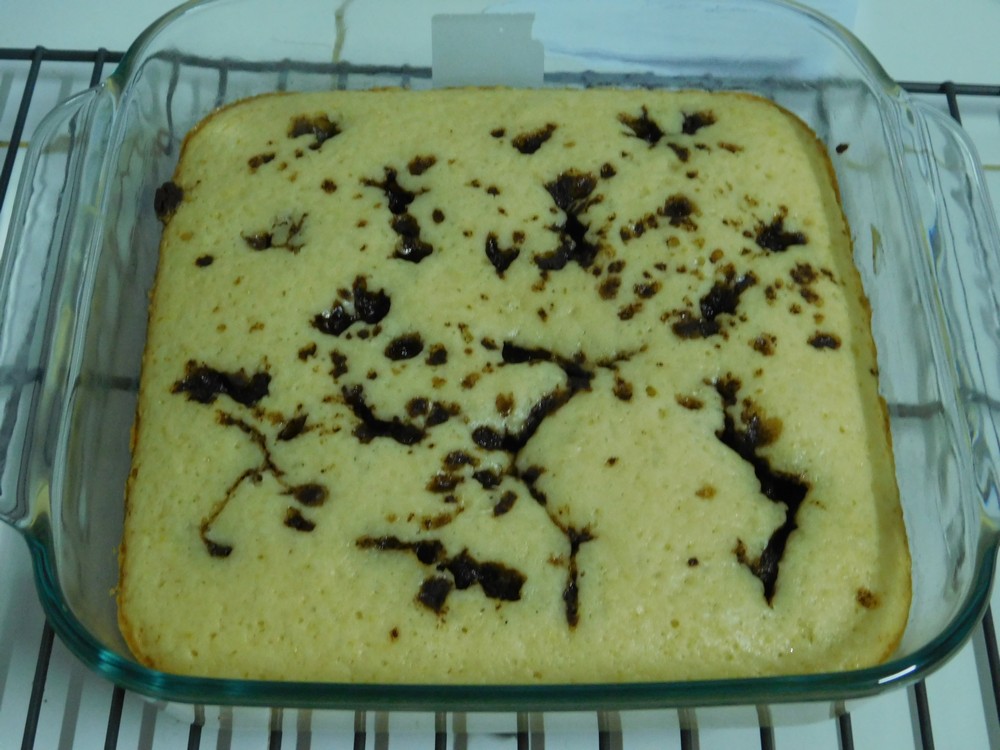
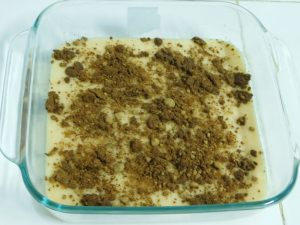
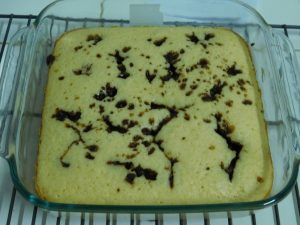
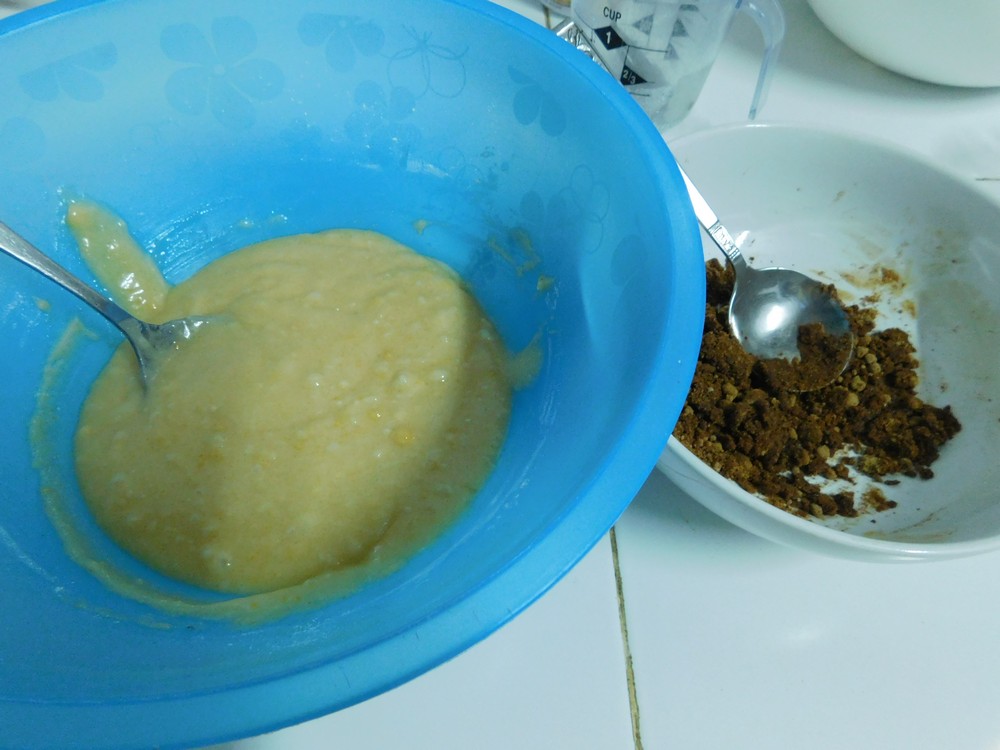
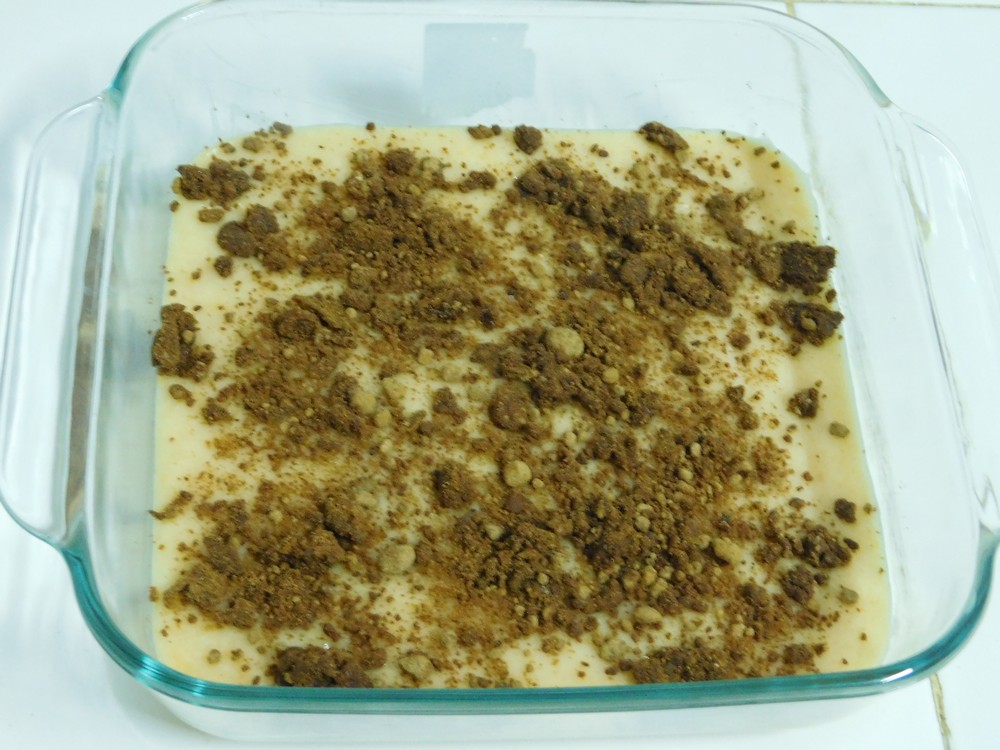
I used to make this type of coffee cake when I was little and learning to cook. This sounds pretty close to what I made, and I tested this out on 2 Jan 2018 and yep, this is really close to what I made, it is excellent. Now there is a story to the photos, the photo of the batter in the pan with the topping before the oven, picture perfect, after I put it in the oven, about 10 minutes later, I realized I had not opened my new bottle of baking powder! Since this cake was for my mother in law's birthday, removed the pan from the oven, scraped out the contents for the compost pile and let the pan cool while I prepared a new batter and topping mix. As I was making the batter, my wife walks through the kitchen and says, mother in law likes very little sugar, so go easy on the topping. The second cake is the cooked photo, with little topping. Mother in law took one bite, instant thumbs up from her!
Ingredients
For the Cake
- 1 1/2 cups all purpose flour
- 2 teaspoons baking powder
- 1 egg, beaten, chicken or duck
- 1/4 cup vegetable oil
- 3/4 cup sugar
- 1/2 teaspoon salt
- 1/2 cup milk
For the Topping
- 1/4 cup brown sugar, packed
- 1 tablespoon butter, room temperature
- 1 teaspoon ground cinnamon
- 1 teaspoon all purpose flour
Instructions
- Preheat your oven to 190 C (375 F), grease a 9x9 baking dish with butter.
- Mix together the flour, sugar, baking powder, and salt. In another bowl, mix together the egg, oil, and milk. Add the flour mixture to the egg mixture and mix well to combine. (I just used two separate bowls, one for batter, one for topping.)
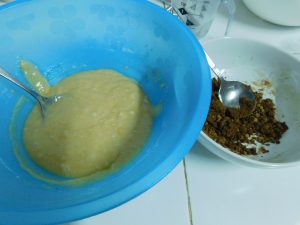
- Pour batter into the prepared baking dish and spread out evenly.
- Now using the bowl the flour mixture was in, add the Topping ingredients and mix together. Sprinkle the topping over the batter.
- Bake for 25-30 minutes or until golden brown. (I used the toothpick method, when it came out clean, done.)
Notes
Low cost.
Adapted from an internet recipe.
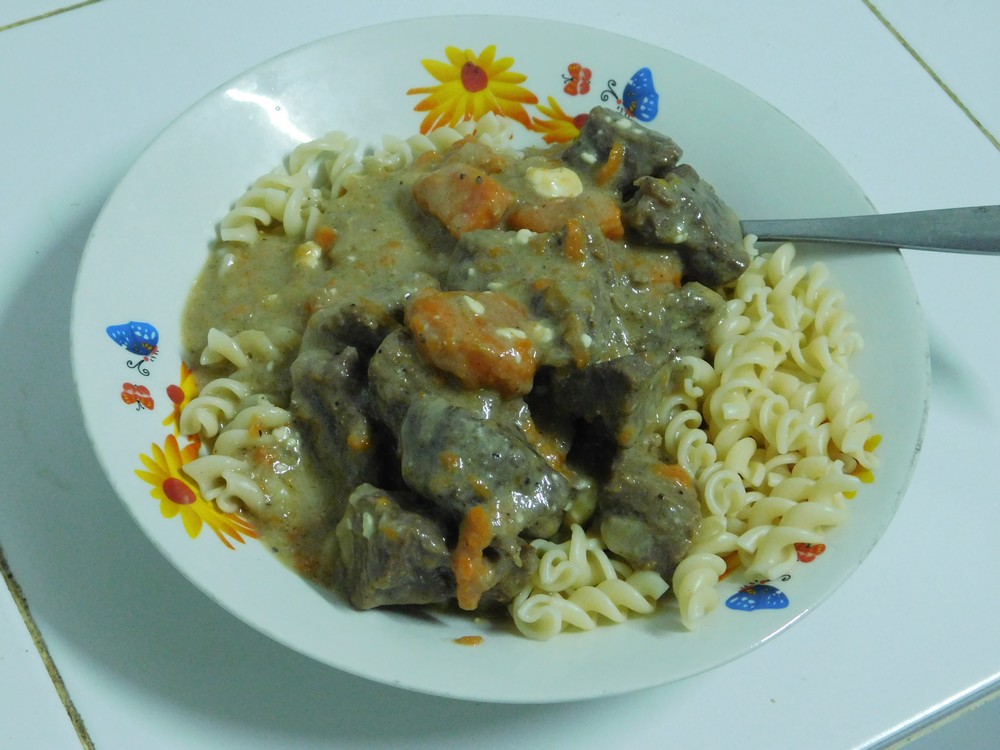
Beef Stroganoff (Pressure Cooker)
This is fast and delicious, this is an Americanized version of Stroganoff, very much like a stew really. I made this on 30 Dec 2017 for dinner, very well liked by the family as well. This is for a stove top pressure cooker. Follow all safety precautions for your pressure cooker.
Equipment
- Pressure Cooker
Ingredients
- 750 grams lean beaf, cut into 1 inch pieces, (1½ lbs)
- olive oil, as needed
- salt and pepper, as desired
- 1 onion, diced
- 1 cup white wine
- 1 tablespoon Dijon mustard
- 1 tablespoon all purpose flour
- 1 cup beef broth
- 500 grams fresh mushrooms, sliced, (1 lb)
- 2 carrots, cut into 1/2 inch pieces
- ¼ cup Cream cheese, cubed, room temperature
- ¼ cup fresh parsley, chopped
Instructions
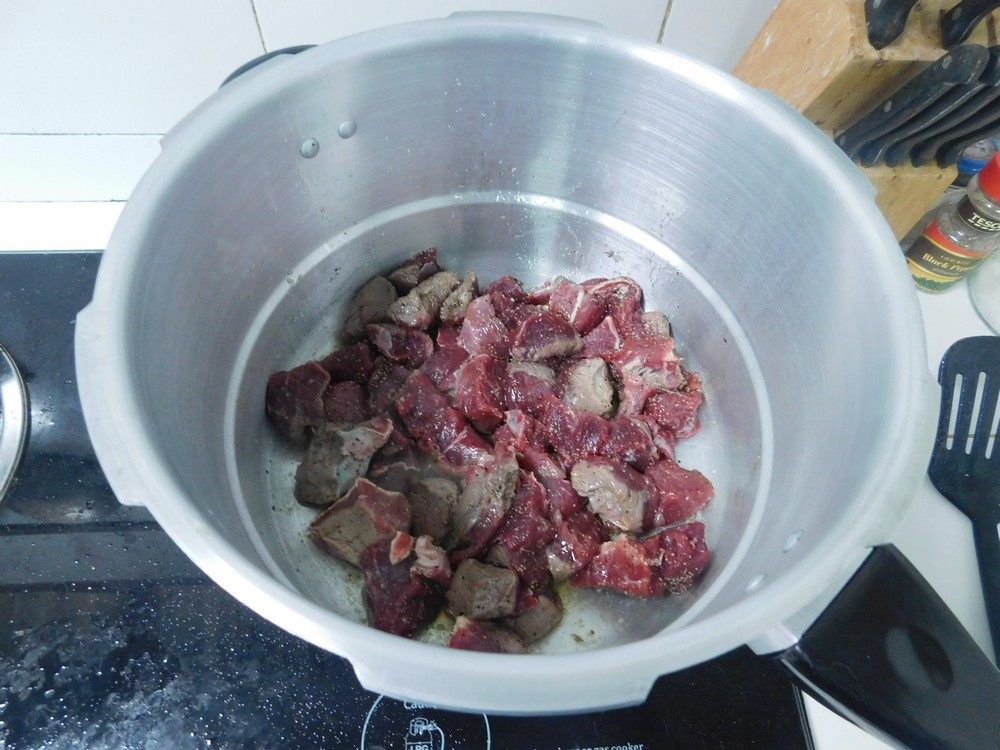
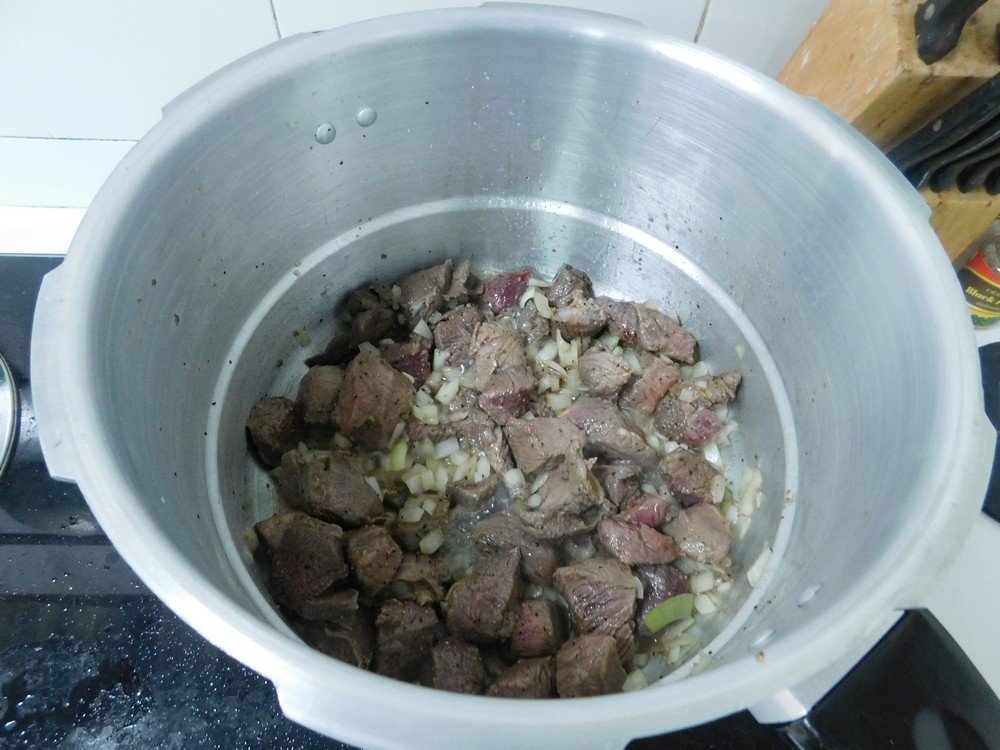
- Season the beef on all sides with salt and pepper to your liking. Heat a splash of olive oil in your pressure cooker on medium heat and add the beef and cook to brown on all sides.
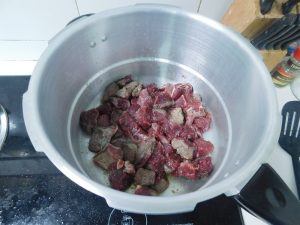
- When the beef is mostly browned, add the onion and saute until softened and starting to brown, then add the wine, mustard, and flour. Simmer until reduced a bit, about 2 minutes. Add the mushrooms and carrot.

- Place the lid on the cooker (without the weight) and place to the locked position, then add the weight, and turn the heat to high.
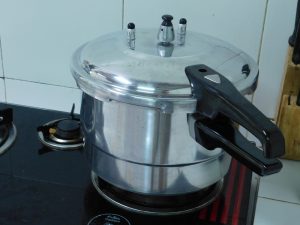
- When the jiggler (the weight) starts moving, turn heat to low but maintain it hot enough to keep the jiggler moving. This is when you start timing, and for this dish, 18 minutes.
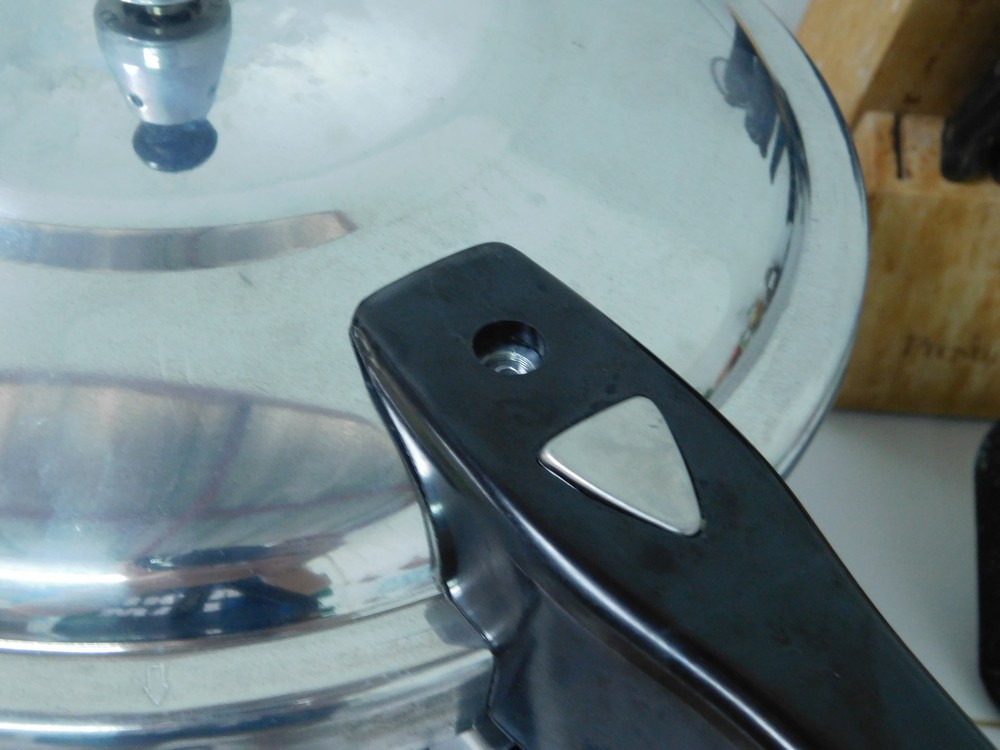
- My pressure cooker has a lid lock, meaning the lid cannot be opened when under pressure. The round pin in that circle in the lid is a gravity pin, when there is zero pressure in the pot, the pin is dropped and allows steam to escape while the pressure in increasing.
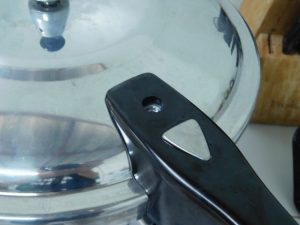
- When pressure builds inside the cooker, it forces the pin up and locks/prevents the lid from being removed, and is an indicator that vessel is pressurized at this point.
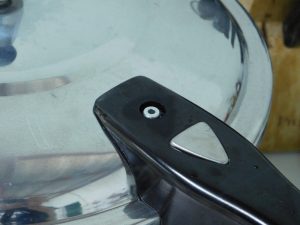
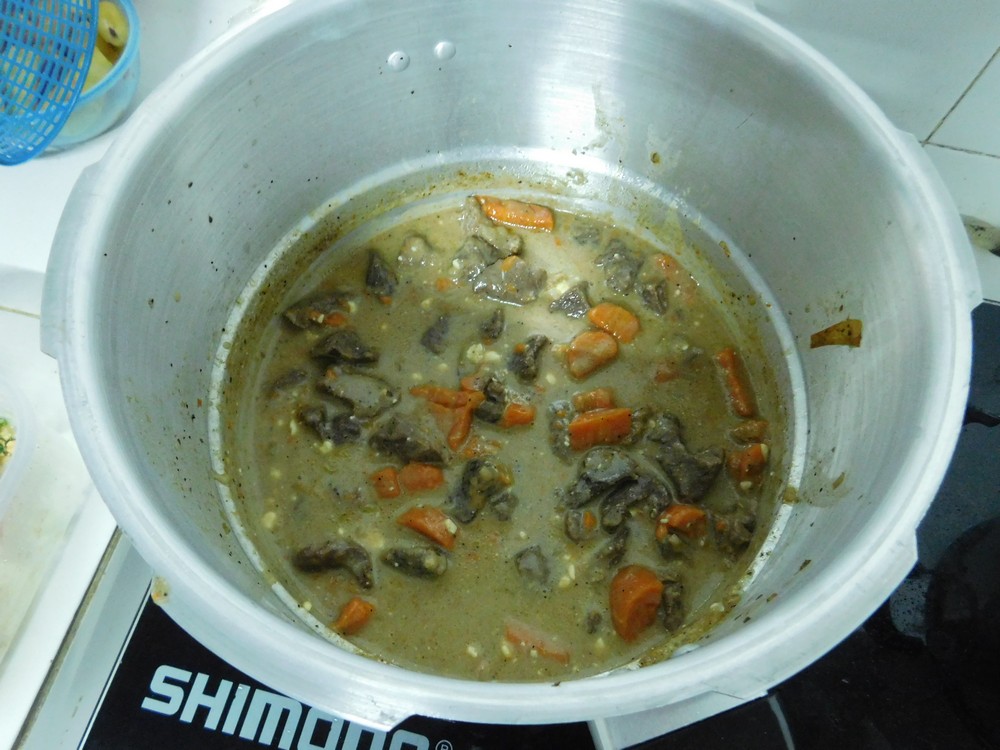
- At 18 minutes, turn the heat off and move the cooker to an unused burner and allow a natural release of pressure, meaning just let the pot sit and cool, takes about 10 to 15 minutes. If you have a lid lock, that will drop when the pressure is zero inside the pot.
- When it is safe to open the pot, remove the lid and stir in the cream cheese. Place the lid back on and lock it in place, return to high heat to bring the pot up to full pressure again, this goes much fast now since the contents are hot. When the jiggler starts to move indication full pressure, reduce the heat to low to maintain high pressure for 4 minutes.
- When 4 minutes have passed, turn the heat off and move the cooker to an unused burn and allow a natural release of pressure, about 10 to 15 minutes.
- When safe to open, remove the lid and give the stroganoff a stir.
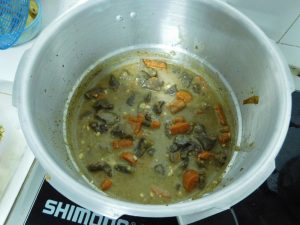
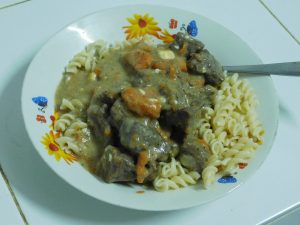
- Serve with mashed potatoes, pasta, or rice.


Notes
The beef will cost about 200 Baht for 750 grams. For 4 servings, this is about $1.47 per serving.
Hamburger Buns
This is from a good American friend, Brian, who lives in northeastern Thailand, and he makes these often. Brian's words "Being that I live in Thailand, in a place that does not have a bakery around the corner, making my own hamburger buns allows me to enjoy a burger with a proper bun." And Brian is very correct, want a proper bun for a burger here, you have to make it yourself. I know Brian well, if he provides a recipe or shortcut to my site, he makes it often.
Ingredients
For the Buns
- 2 1/2 teaspoons active dry yeast
- 1 cup luke warm water
- 1 egg, chicken egg, duck would be preferred
- 3 tablespoons butter, room temperature
- 3 tablespoons sugar
- 1 1/4 teaspoons salt
- 448 grams all purpose flour, 3 1/2 cups if no scale
For the Tops
- 1 egg, beaten
- 1 tablespoon milk
- white sesame seeds, optional
Instructions
- In a mixing bowl, whisk together the yeast and 1/2 cup of the flour. Add the luke warm water and mix together. Let this set for 10-15 minutes or until the mixture is foamy and bubbly.
- To the flour mixture, add the egg, butter, sugar, salt, and whisk together until well combined.
- Add 2 1/2 cups of the flour. IF using a standup mixer, use the dough hook and kneed for 6-8 minutes, add flour as needed until the dough comes together and has come free of the sides of the bowl.
- IF mixing by hand, mix in the bowl until the dough comes together, adding flour as needed until the dough comes free from the sides of the bowl, turn out dough on a clean surface and kneed with hands for about 10 minutes, use flour as needed until the dough is tacky but comes free of the work surface.
- Oil a large bowl (large enough to allow the dough to double in size), and place the kneeded dough inside in the bowl, cover the bowl with a towel and set aside for about 2 hours to rise and double in size.
- Punch down the down and remove the dough from the bowl to a lightly floured work surface. Shape the dough into a rectangle or circle and cut into 8 equal size pieces. A pastry cutter works well, and a digital scale is a bonus to ensure you get equal sizes. Line a baking sheet with parchment or lightly flour just the sheet.
- Using floured hands, form each dough piece into a ball, then take each ball and form into a disk about 1/2 inch thick, place each disk on the baking sheet evenly spaced.
- Lightly flour the tops of the disks and cover with a towel. Let rise for an hour or until doubled in size.
- About 20 minutes before buns have risen, preheat your oven to 190 C (375 F).
- Whisk together the egg and milk. Remove the towel from the rolls and using a pastry brush, lightly coat the top of each bun. Sprinkle with sesame seeds if desired.
- Bake for 15 to 17 minutes or until golden brown. Remove from the oven and place buns on a rack to cool.
- Enjoy!
Notes
Low cost.
Recipe provide by good friend, Brian Colligan, Pleasures & Pastimes (which is a great resource for gardening seeds and other items).
Thailand.
Thailand.
Curried Egg Frittata
Sounds very good. And for your educational tip for today, Indian Curry Powder is not Indian, that is a British mix of spices. True Indian curries uses curry leaves, totally different flavor. On my to cook list.
Ingredients
- 5 eggs, chicken or duck
- handful fresh cilantro, chopped
- 1 tablespoon curry powder, (Indian)
- 1 teaspoon paprika
- salt and pepper, as desired
- 2 tablespoons bacon fat, or oil of choice
- 1 onion, minced
- 1-2 Bird's Eye Chilis, seeded and minced
- 1 1/2 cups tomatoes, diced
Instructions
- In a mixing bowl, add the eggs, cilantro, curry powder, paprika, and salt and pepper as desired. Mix together and set aside.
- Heat your cast iron pan with the bacon fat or oil of choice on medium heat, when hot, add the onion and chilies and a pinch of salt, saute until the onion is soft then add the tomatoes.
- Cook for about 10 minutes until the tomatoes are soft. Now give the egg mixture another stir and pour that into the pan and give another quick stir in the pan. Reduce heat to low.
- Let the mixture cook for about 5 minutes undisturbed, then cover the pan with a large lid and let the eggs cook for another 5-6 minutes, then check to see if the top of the egg mixture is cooked.
- When the top is cooked, let rest for a few minutes, then cut like a pie and serve.
Notes
Low cost.
Variants: 1. Add diced bell pepper, chopped spring onion, chopped mushrooms, etc. 2. Top with shredded cheese.
Adapted from an internet recipe.

Pinto Beans (Pressure Cooker)
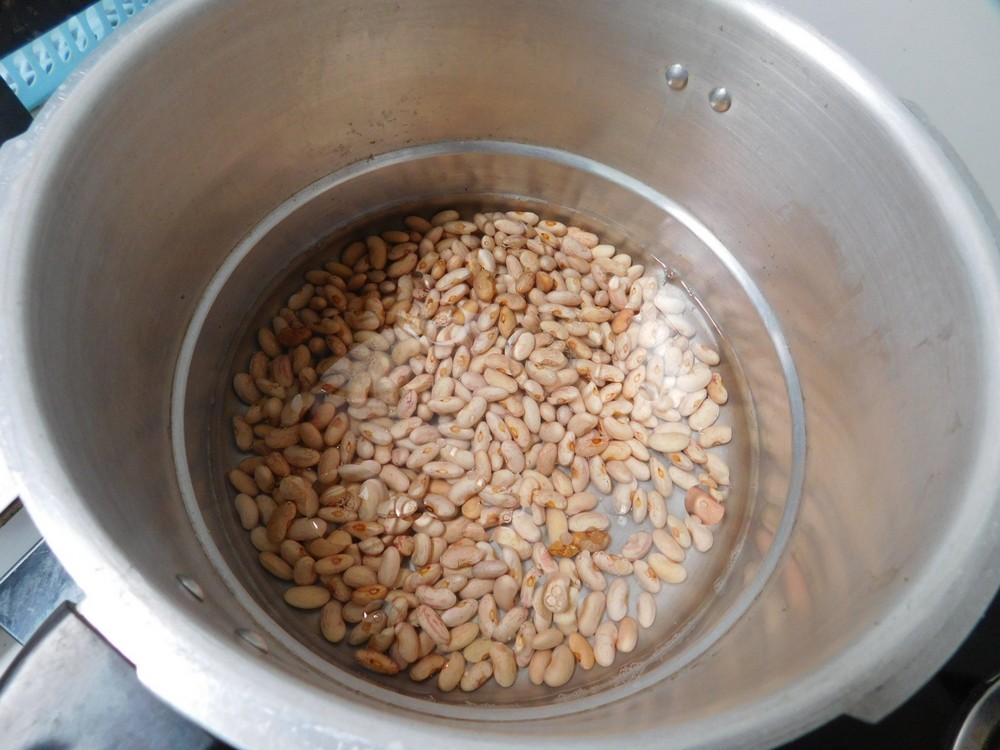
This recipe is for soaked as well as unsoaked beans. I used a stove top pressure cooker to make these on 28 Dec 2017, and I must say, the most flavorful pinto beans, I have ever eaten! No seasonings added, just beans, cooking oil, and water. I cooked the soaked beans on 20 Mar 2022, time is verified and delicious beans! Plus I took some photos. Follow all safety precautions for your pressure cooker.
Equipment
- Pressure Cooker
Ingredients
- 1 cup dry Pinto beans
- 4 cups water
- 1 tablespoon cooking oil
Instructions
- Rinse and drain the beans, remove any bad beans or debris.
For UNSOAKED Beans
- Add beans, water, and oil to your pressure cooker. Depending on the size of your pressure cooker, do not fill more than the halfway mark. Cover and lock the lid and turn on heat to high.
- When the jiggler starts making noise, indicating full pressure, reduce heat to maintain full pressure, start timing. 25 minutes if you like firm beans, and as long as 27 minutes for softer beans.
- Turn off the heat and move the cooker to an unused burner and do a natural release of pressure, just let the cooker sit until the lid lock drops indication no pressure. Carefully remove the jiggler keeping the top of the lid pointed away from you. When satisfied there is no pressure inside the cooker, unlock and remove the lid.
- Drain the beans and serve as a side dish or as an ingredient in another recipe.
For SOAKED Beans
- Add rinsed beans to a bowl and cover with 2 inches or so of water, let sit for at least 6 hours or overnight. For those readers in the tropics (myself included), place the beans in the fridge if soaking overnight or they may ferment on the counter top. I normally soak beans 6 hours then carry on with the recipe.
- Drain and rinse the beans. Add the beans, water, and oil to your pressure cooker. Depending on the size of your pressure cooker, do not fill more than the halfway mark. Cover and lock the lid and turn on heat to high.
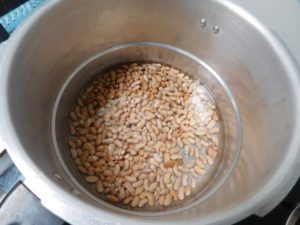
- When the jiggler starts making noise, indicating full pressure, reduce heat to maintain full pressure, start timing. 25 minutes if you like firm beans, and as long as 27 minutes for softer beans.
- Turn off the heat and move the cooker to an unused burner and do a natural release of pressure, just let the cooker sit until the lid lock drops indication no pressure. Carefully remove the jiggler keeping the top of the lid pointed away from you. When satisfied there is no pressure inside the cooker, unlock and remove the lid.
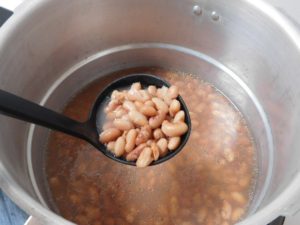
- Drain the beans and serve as a side dish or as an ingredient in another recipe.
Notes
For a recipes that call can(s) (15 oz size) of beans, use a heaping half cup of dry beans for each can.
Used in Recipes Listed on this Site:
- Durango Chili.
- Beer-braised Chili.
- Bock BBQ Bean Salad.
- Pinto Bean Salsa Salad.
- Pinto Bean Salad.
- Best-Ever Beans & Sausage, made it, GO-TO recipe.
- Salmon & Three Bean Salad.
- Dorito Taco Salad, made it, GO-TO recipe.
- Cowboy Soup.
- Cajun Pinto Beans, made it, GO-TO recipe.
- Taco Soup.
- Beef & Bean Casserole.