Author Archive
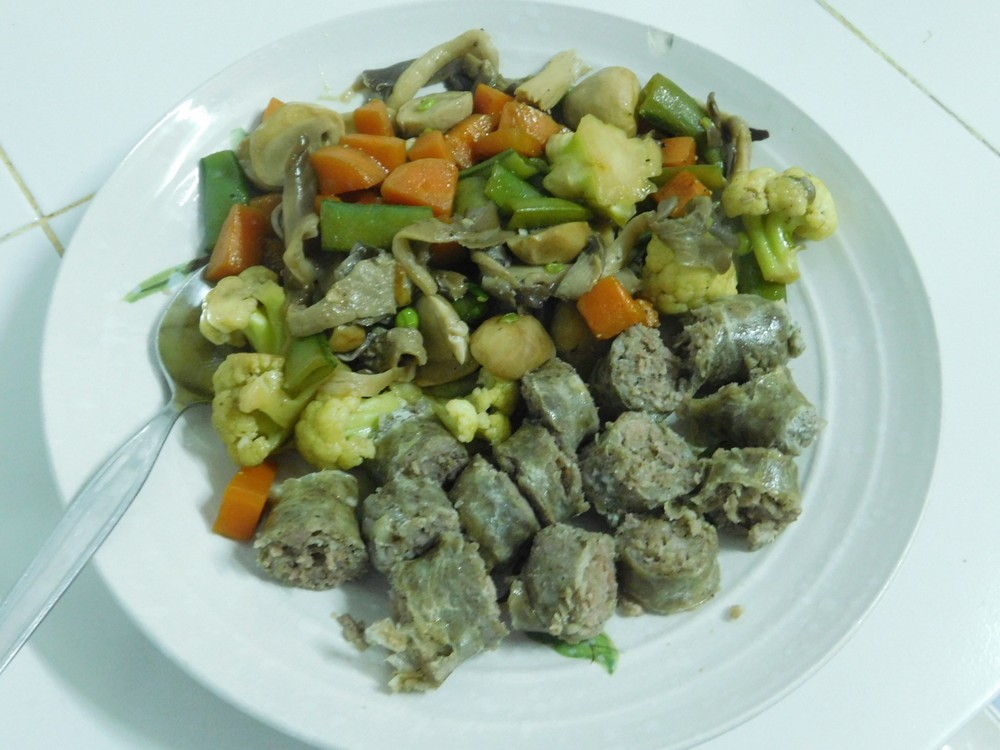
Mushroom Stir Fry
A good stir fry needs at least 2 things, good fresh vegetables and a sauce. For this recipe, ingredients and even the types used are up to you, but the mushrooms are key here, and for this I am using fresh Straw and Oyster mushrooms and fresh vegetables. So with Mushroom Stir Fry, we are going to use mushroom sauce, soy sauce, and oyster sauce. The ingredients listed is exactly what I used for this dish, feel free to change the amounts as desired.
Ingredients
- 1 head fresh cauliflower, 260 grams (9 oz), chopped
- 1 carrot, diced
- 2 packs snap peas, 160 grams (6 oz) total, trimmed, cut in half
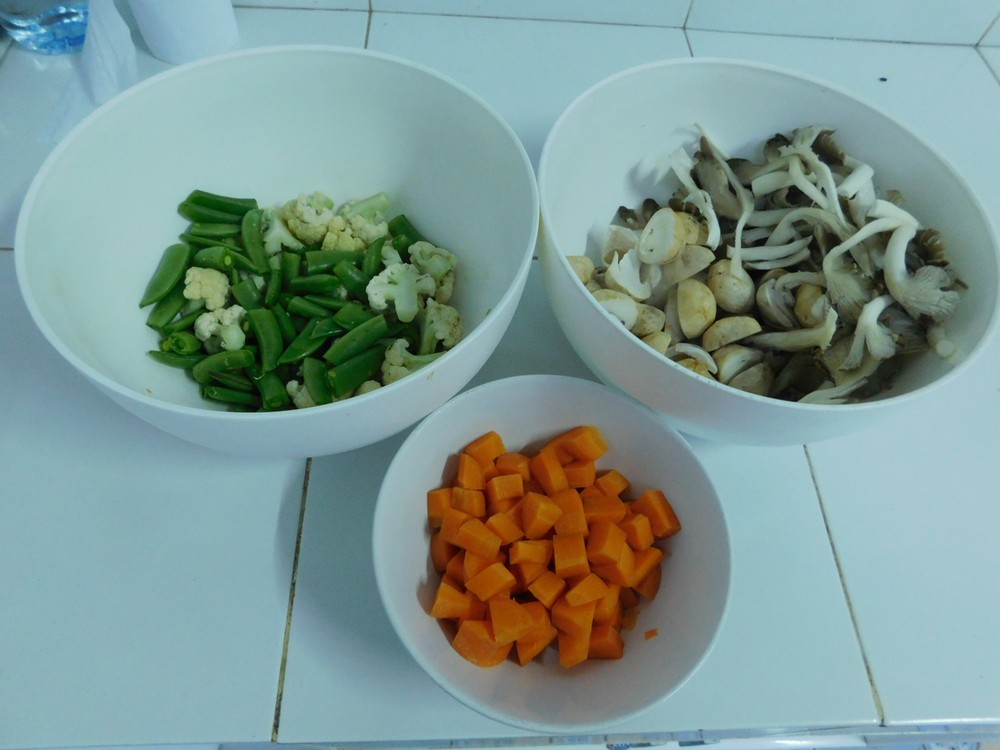
- 275 grams fresh Straw mushrooms, (10 oz), cut in half lengthwise
- 130 grams fresh oyster mushrooms, (5 oz), torn into 2-3 pieces each
- light soy sauce, as needed
- mushroom sauce, as needed
- oyster sauce, as needed
- black pepper, to taste
- white pepper, to taste
- water, as needed
- cooking oil, as needed
Instructions
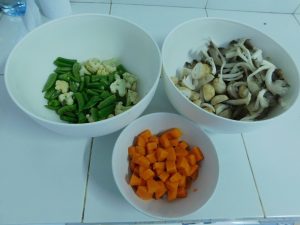
- Prep all the veggies and put them in bowls according to cook time needed. Sauces and peppers are also line up on the counter for ready use. First item to cook will be the carrots, then the peas and cauliflower, then lastly the mushrooms.
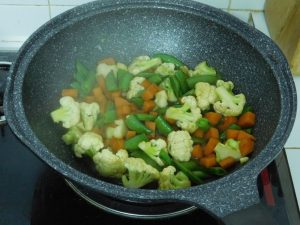
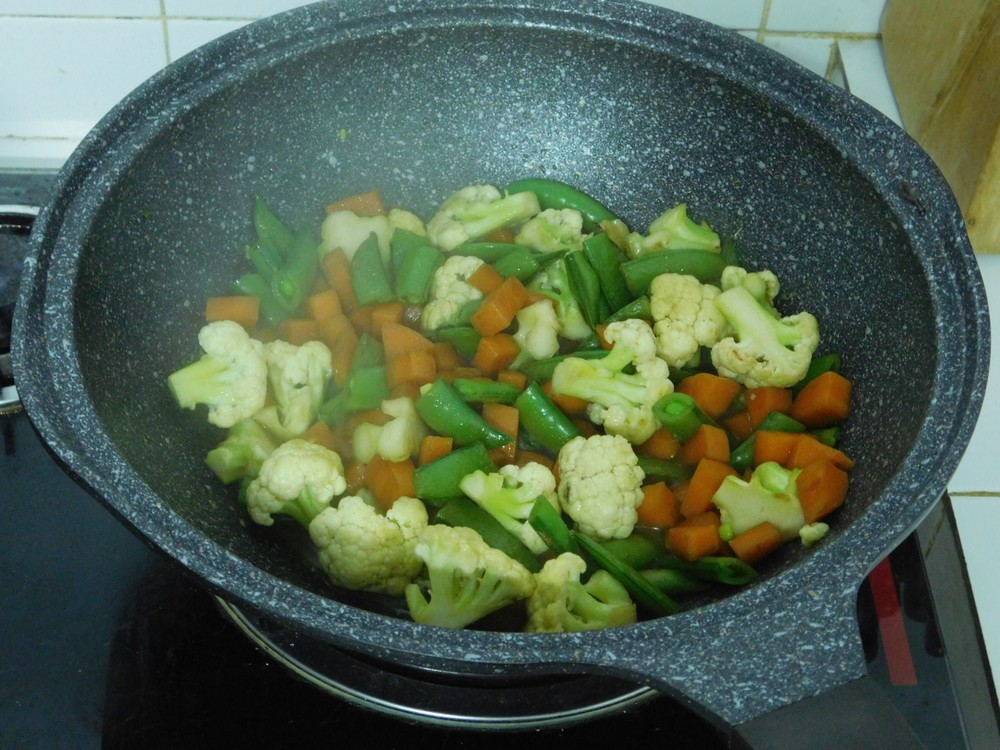
- Heat a non stick pan with a tablespoon or two of oil. When hot, add the carrot and stir fry for about 5 minutes or so until they are starting to soften. Then add the peas, cauliflower, a few dashes of soy sauce, mushroom sauce, and season with black and white pepper as desired. Stir fry for about 5 minutes or so. Add about 1/4 cup of water to help steam them and let them cook for a few more minutes, stirring often to soften them up.
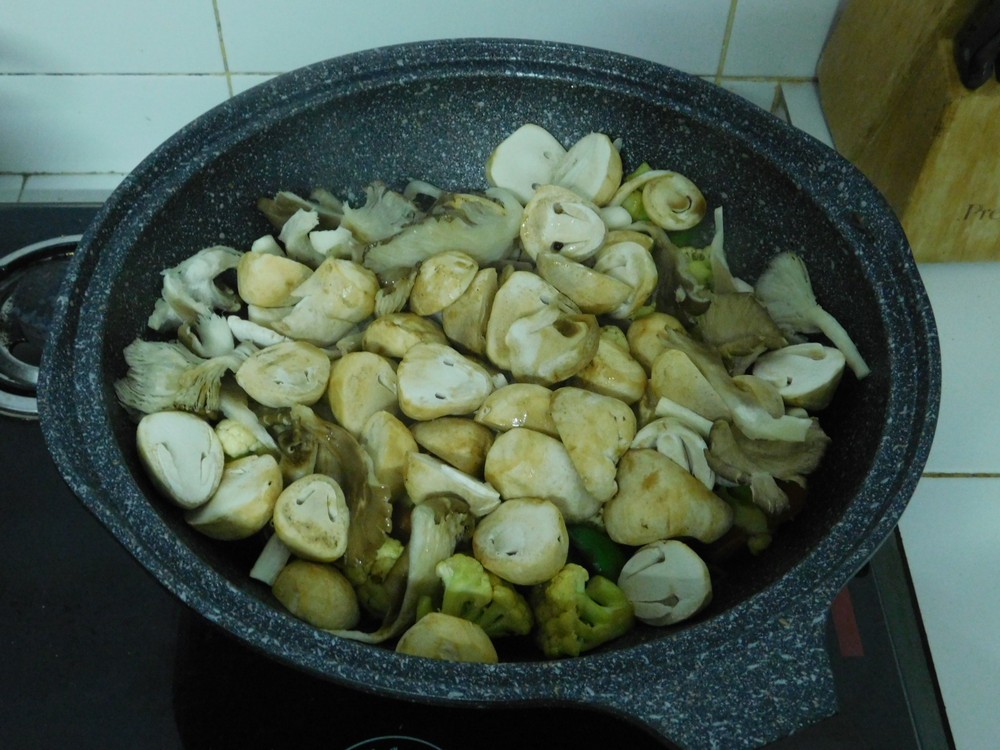
- Add the mushrooms, and other dash or so of soy sauce, mushroom sauce, and season with black and white peppers as desired. Stir everything together to mix the sauces in and let the mushrooms cook down, stirring often, as they release water.
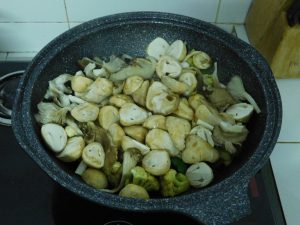
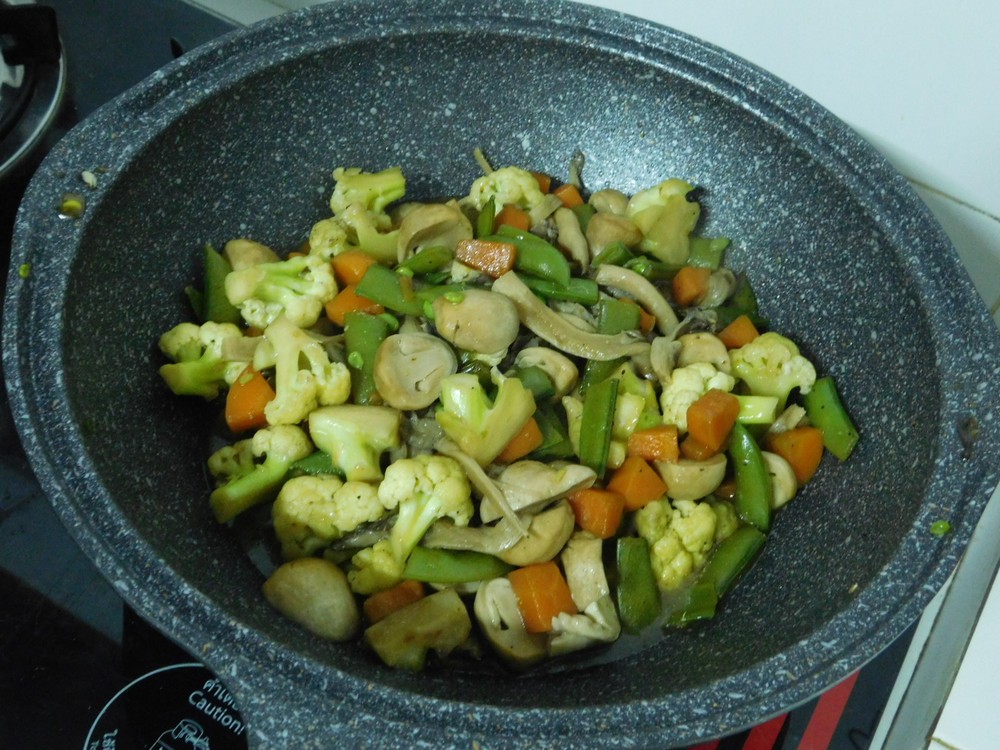
- When the mushrooms have cooked down and nearly all the water is cooked off, taste and adjust seasoning with a dash or so of oyster sauce and peppers as desired and mix together.
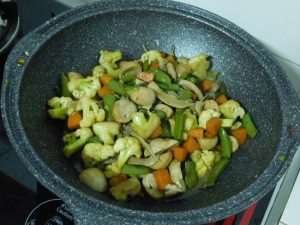
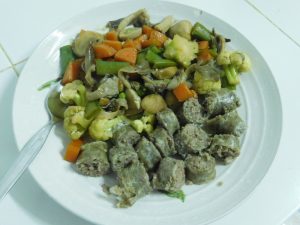
- Serve as a side with a meat dish or simple with rice.
Notes
Low cost.
Common Asian method for cooking vegetables, nothing new here.
Chive Pancake
I cannot remember the last time I had pancakes, and with a good amount of chives, these sound especially delicious. On my to cook list.
Ingredients
- 1 bunch fresh chives, cut into 1 inch pieces
- 1 cup all purpose flour
- 1 cup water
- 2 eggs
- 1/2 teaspoon salt
- 1 tablespoon cooking oil, and as needed
- soy sauce, for serving
Instructions
- In a mixing bowl, add the flour and eggs, add the water slowly while mixing to ensure a well mixed batter.
- Add the salt and chives and mix those in.
- Heat the oil in a non stick pan, when hot, pour in 1/3 of the batter and cook for about 4-5 minutes per side then remove from the pan, repeating the steps for two more pancakes.
- Serve with soy sauce for dipping and enjoy.
Notes
Low cost.
Steamed Egg with Dried Shrimp & Mushrooms
This is an upgraded version of the classic Chinese steamed egg (水蒸蛋) from a good friend, and sounds very good.
Equipment
- Rice Cooker with Steamer Tray
- Steamer Handles
Ingredients
- 2 eggs
- 1 cup warm water
- 1/4 cup carrot, diced
- 2-3 fresh Shiitake mushrooms, stems removed and diced
- handful dried baby shrimp, optional
- pinch sugar, optional
- pinch salt, not needed if using the shrimp
- pinch white pepper powder
- 1 spring onion, sliced, white and green parts
- 2-4 dashes sesame oil
Instructions
- For the steaming, I will be using my rice cooker, however, a pot with a trivet and lid work just as well. Use of steamer handles to lift the dishes into and out of the steamer tray or trivet is recommended.
- In a mixing bowl, add the eggs and water and mix well.
- Add the shrimp if using, the carrot, and mushrooms and mix those in. Pour the mixture into two small heatproof dishes.
- Place the dishes in a steamer (your preferred preference for steaming) and bring up the heat to high. When the water is boiling, steam covered for 7-8 minutes or until the egg is set. Remove the cover and steam for an additional 1-2 minutes.
- Carefully remove the dishes, add a dash or two of sesame oil to each dish and sprinkle with the sliced spring onion.
- Serve and enjoy. This can be a nice breakfast, a light lunch, or a light dinner with rice on the side.
Notes
Low cost.
Basic Shrimp Stock
Taking only a few minutes on the stove, this is a great stock to use in recipes calling for clam juice or to add more depth of flavor to seafood soups and stews. The amount of stock is based on how many shrimp heads, shells, and tail you have on hand.
Ingredients
- shrimp heads, plus shells and tails
- 1-2 teaspoons black peppercorns
- 1 bay leaf
- 1-2 fresh parsley tops
- water, as needed
Instructions
- Place everything in a pot and add water to just cover the shrimp parts.
- Simmer for about 15 minutes, you are looking for a light orange color.
- Pour the stock through a fine mesh strainer and it is ready to use, or you can freeze for later use.
Notes
Low cost.
Variants: 1. Toast the shells in the oven prior to putting in the pot of water. 2. Lobster and crab shells also make a nice stock, with or without the shrimp shells.
Adapted from an internet recipe.

Sticky Mushrooms & Oysters
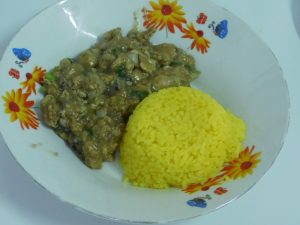
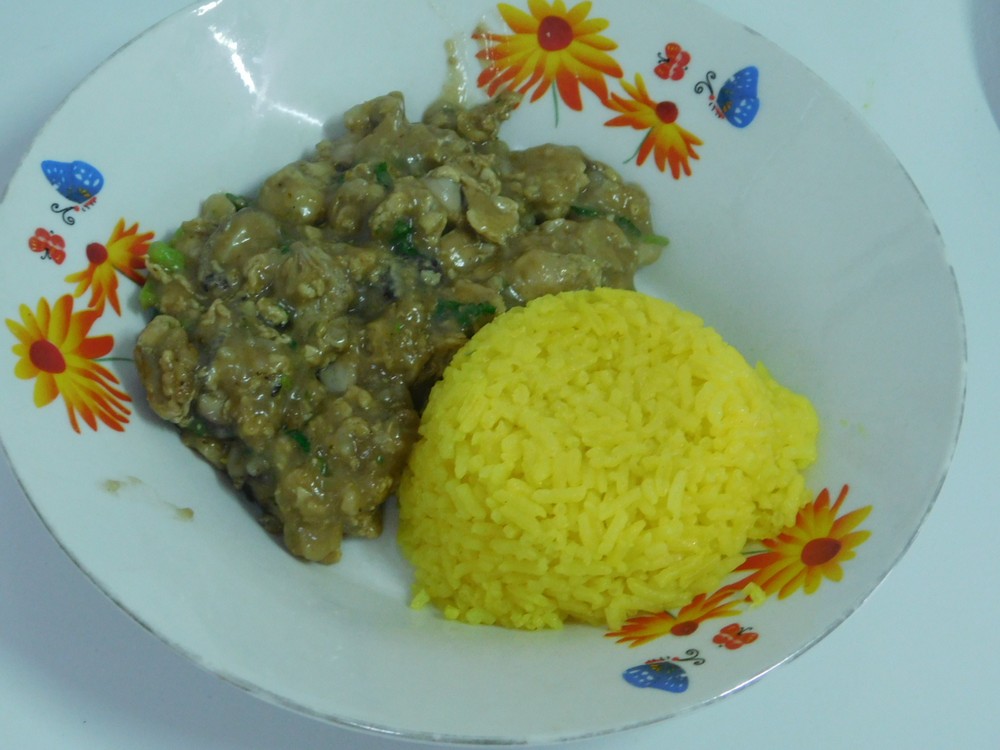
Excellent dish that goes together quickly. Perfect use for oyster meat, and you can use any fresh mushrooms you prefer.
Ingredients
- 1 pint fresh oyster meat, drained, (2 cups)
- 75-150 grams fresh mushrooms, your choice, (3-5 oz)
- 2 eggs
- 3 tablespoons rice flour
- 1 tablespoon corn starch
- ⅔ cup water
- ¼ cup light soy sauce, or more to taste
- ½ teaspoon white pepper powder
- ½ teaspoon sugar
- 6 cloves garlic, smashed and minced
- ¼ cup spring onion, sliced, white and green. or chopped coriander
- 2-3 tablespoons cooking oil
Instructions
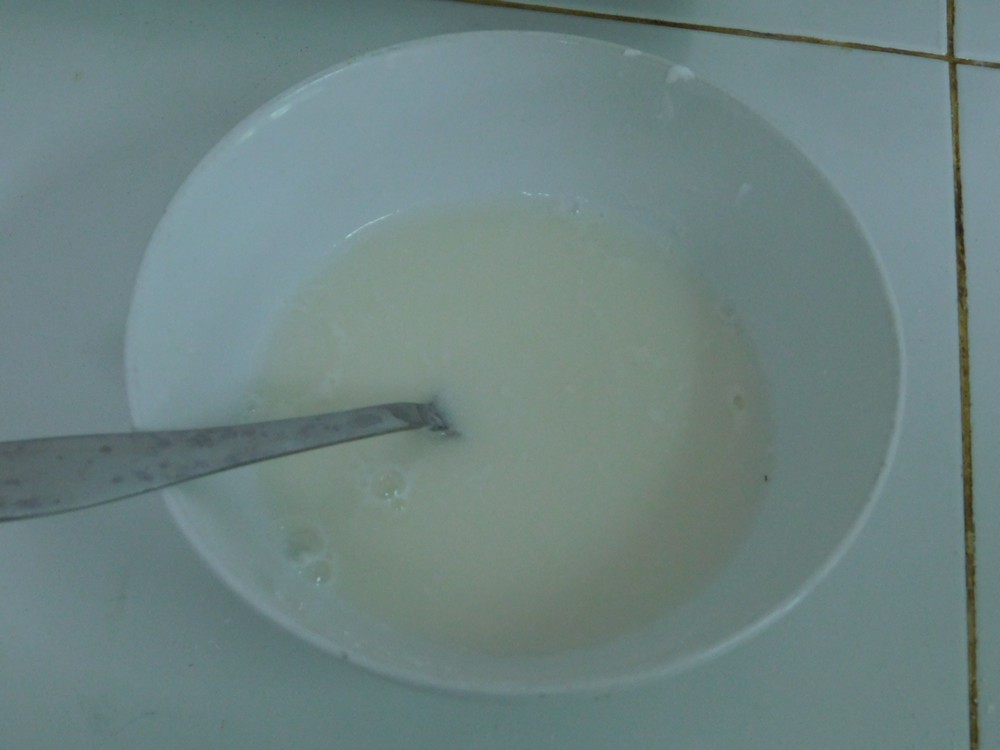
- Mix together the rice flour, corn starch and water to make a slurry. Set aside.

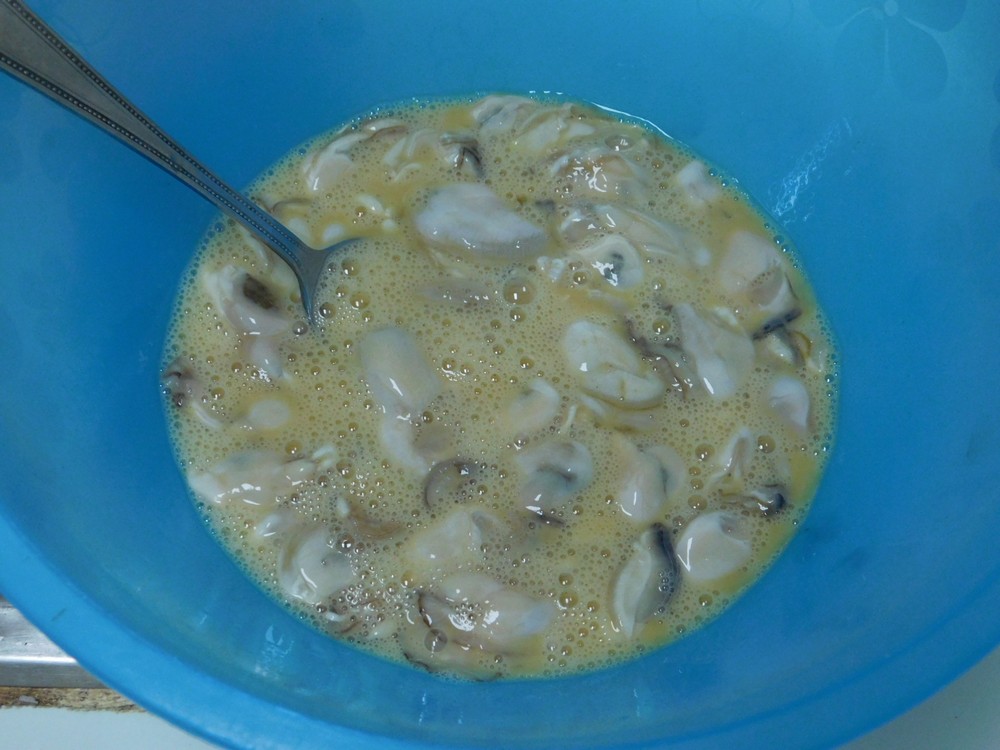
- Place the well drained oyster meat in a mixing bowl. Add the eggs and mix together well.

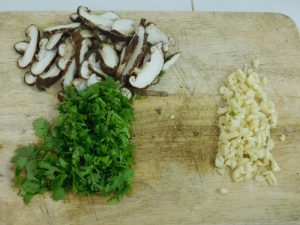
- Mushrooms, coriander, and garlic all prepped. I used 75 grams of Shiitake mushrooms, stems removed and sliced, and coriander in place of the spring onion.
- Heat the oil in a large non stick pan then add the garlic and fry until fragrant, about 1-2 minutes.
- To the pan, add the mushrooms and oysters and stir in the flour slurry, stir to remove any lumps.
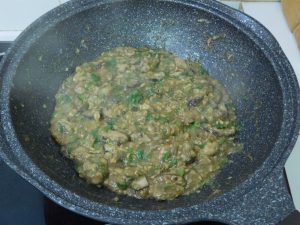
- When the mixture is lump free, add the soy sauce, sugar, white pepper, and spring onions, cook, stirring often, for about 30 seconds to a minute. Remove from heat.
- Serve with rice on the side.

Notes
I buy oysters from local fishermen for 50 Baht/pint. This is low cost. If sourcing from Tesco, you might be over $1 per serving. I will verify the Tesco cost.
Hotdog & Spring Onion Chili Salad
Thais love hotdogs, they have as many brands of hotdogs as they do brands of canned fish and rice. Now 90% of the Thai hotdogs are pure rubbish, but there is a few very good brands out there. Hotdogs are nothing more than sausages, however with modern processing and the poor choices of fillers and casings, the consistency in taste is quite lacking. For those in Thailand and the rest of the world, use good quality beef or chicken hotdogs. This is a typical side/snack served with beer in the evening. Serve with rice for a complete meal.
Ingredients
- 1 package quality hot dogs, slice at an angle, about ¼ inch thick
- 1 onion, diced
- ½ cup spring onions, chopped into ½ inches
- ⅓ cup fresh mint, chopped
- ⅓ cup fresh coriander leaves, chopped
- 1-4 green Bird's Eye chilies, chopped, to taste
- 1 large red chili, chopped
- 1 tablespoon lime juice
- 1 tablespoon fish sauce
- ½ teaspoon sugar
- water, as needed
Instructions
- Heat a medium size pot half full of water to boiling, then add the hotdog slices. Cook for 2 minutes to heat them through, drain, and place in a mixing bowl.
- Add to the mixing bowl the onion, spring onion, coriander, and chilies. Mix together.
- To the mixing bowl, add the fish sauce, lime juice, and sugar. Toss to combine.
- Serve on a large plate (family style) and sprinkle the mint over the top.
- Serve as a side dish with evening drinks, or with rice for a complete meal.
Notes
Low cost.
Thai Style Hotdogs
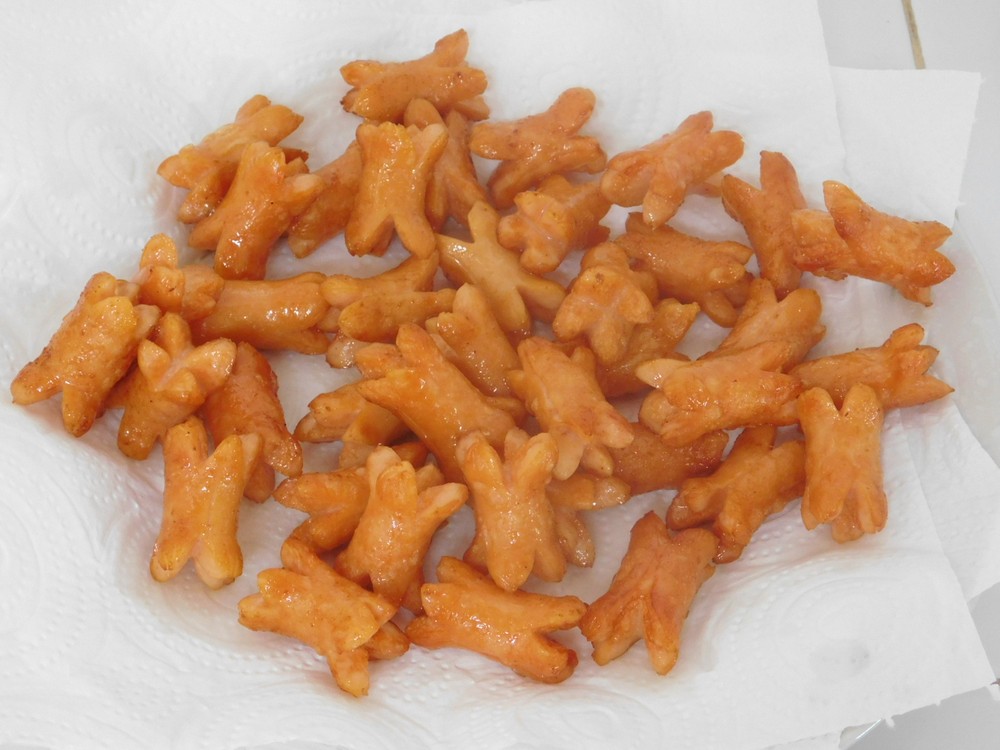
Thais love hotdogs, they have as many brands of hotdogs as they do brands of rice and canned fish. Now 90% of the Thai hotdogs are pure rubbish, but there is a few very good brands out there. Hotdogs are nothing more than sausages, however with modern processing and the poor choices of fillers and casings, the consistency in taste is quite lacking. For those in Thailand and the rest of the world, use good quality beef or chicken hotdogs. Thais do not normally eat hotdogs with a bun or bread, they are either grilled on a stick or deep fried. And the best hotdogs to use are the small ones labeled as cocktail hotdogs or sausages, there is no casings on these, bonus!
Ingredients
- 1 package quality hot dogs, or 2 small packages of cocktail sausages
- lard, or cooking oil for frying
- sweet chili sauce, for serving
Instructions
- Remove the casings on hotdogs, cut each hotdog into 3 equal pieces, then cut an X in each end, about ¼ inch deep. I used 2 packages of chicken cocktail sausages so just cut the X into each end.

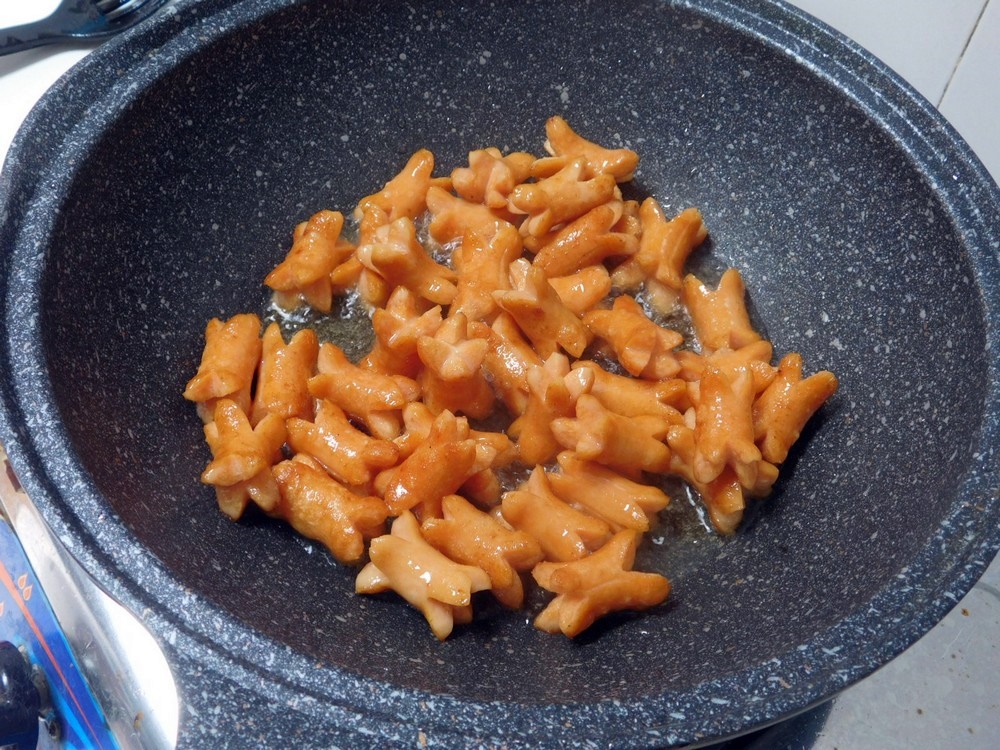
- Heat the lard or oil in a large deep pan, you are going to shallow fry them. When the lard is hot but not smoking, carefully add the hotdogs. Fry for a few minutes, basically stir frying but be careful of the oil.

- As they fry, the ends open giving each hotdog more surface area, more surface area means more crispy. When lightly browned and crispy, remove to paper towels to drain.

- Serve with sweet chili sauce for dipping.



Notes
Low cost.
Thai Sweet Sausage
This is the Thai version of Chinese Sausage. This is a mildly sweet, air dried sausage, and is not cured, and needs to be fully cooked before eating. Two ways to dry this will be explained.
Ingredients
- 500 grams minced pork, fatty pork is best, (1 lb)
- 6 tablespoons sugar
- 4 tablespoons white wine
- 1 tablespoon salt
- 2 tablespoons soy sauce
- pinch black pepper
- sausage casings, see Step 1
- string
Instructions
- If using hog casings packed in salt, you will need to soak and rinse them following the suppliers instructions. If using dry hog casing, set them aside until needed, the just need a minute or two in water and can be used. You can also use collagen casings if you prefer.
- Add everything to a mixing bowl, except the sausage casings, mix together well using your hands. Cover and place in the fridge for 1 hour.
- Prepare your casings and using your preferred method, stuff the casings. Tie into about 6 to 8 inch links.
For Air Drying
- Wrap the sausage in parchment paper and leave in the hot sun for 3 days to dry out (like on a window ledge, but out of reach of cats or dogs.) When dried out and firm, store in a sealed bag in the fridge.
For Oven Drying
- Place the sausage on a parchment paper lined baking sheet and place in a 80 C (175 F) oven for 3-4 hours or until the sausage is firm. When dried out and firm, store in a sealed bag in the fridge.
To Cook
- The sausage will be quite firm. If to your going to use is a stir fry, best to steam the sausage for about 5-10 minutes to soften it up.
- You can also just place on rice in your rice cooker and cook the rice as normal, this will lightly flavor the rice and cooks the sausage through for a light meal.
Notes
Low cost.
This recipe for Thai Sweet Sausage is adapted from Appon's Thai Food.
Northern Thai Sausage (Sai Oua) II
As the name implies, this is a Thai sausage from Northern Thailand, the Chiang Mai region. I have enjoyed this many times, and have made it using a spice packet which is very easy, but for those wishing to do this without the packet, here you go. This version uses common ingredients. You will need casings and string.
Ingredients
- 200 grams ground pork, see Step 1, (7 oz)
- 50 grams fresh galangal, chopped, (2 oz)
- 50 grams fresh lemongrass, chopped, (2 oz)
- 5 cloves garlic, peeled
- 5 coriander roots, chopped
- 5 fresh kaffir lime leaves, stems removed
- 1 tablespoon Thai red curry paste, or to taste
- 1-2 teaspoons salt, as desired
- sausage casings, see Step 2
Instructions
- For the pork, ground pork from the store is ok to use. For a fattier pork mix, grind your own using pork belly or a mix of pork belly and pork shoulder. A fattier pork mix is perfect for this sausage.
- If using hog casings packed in salt, you will need to soak and rinse them following the suppliers instructions. If using dry hog casing, set them aside until needed, the just need a minute or two in water and can be used. You can also use collagen casings if you prefer.
- Add the galangal, lemongrass, garlic, coriander roots, and lime leaves to a blender, and finely chop. You are not looking to make a paste, just chip fine. If using a mortar and pestle, grind with the pestle until mixed, again, no need for a paste.
- Place the ground pork, chili paste, and the blender or mortar contents in a large mixing bowl and using your hands, mix completely.
- Stuff the casings as you prefer. Tie into about 8 inch links.
- Grill or bake until cooked through.
- Slice, serve with fresh cucumber, cabbage, or lettuce.
Notes
Low cost.
This recipe for Red Curried Sausage is adapted from Appon's Thai Food.
Isaan Sausage (Sai Krok) II
This type of sausage originates in the northeastern area of Thailand, the Isaan region, and Laos and is very popular throughout the north as well. This is a mild sausage, good garlic and black pepper taste. You can ferment this at room temp for 2-3 days or if you are not comfortable doing that, you can store in the fridge for 2-3 days. Fermentation is not necessary to do, feel free to simple prepare these and grill and there is a few ways to do that as well. This version uses common ingredients. You will need casings and string.
Ingredients
- 800 grams ground pork, see Step 1, (1 3/4 lbs)
- 1 head garlic, large
- 1 cup cooked rice, room temperature
- 1 tablespoon salt
- 1 1/2 tablespoons black pepper
- hog casing, see Step 2
- string, for tying
Instructions
- For the pork, you can use ground pork, but if you are grinding yourself, pork shoulder, or preferred would be pork belly minus the skin. Use the wagon plate (coarse plate) for a nice mince.
- If using hog casings packed in salt, you will need to soak and rinse them following the suppliers instructions. If using dry hog casing, set them aside until needed, the just need a minute or two in water and can be used. You can also use collagen casings if you prefer.
- Peel the garlic and mince well.
- Add the ground pork, minced garlic, rice, salt, and pepper to a large mixing bowl. Using your hands, get in there and mix well.
- Using the method of your choice, stuff the sausage casings. Once stuffed, use sting tie off the sausage into 1 1/2 inch links. Do not twist the links, just use the string and tie, tightly.
- Once everything is tied tightly, you can either cook now, or leave to ferment for a few days. The fermentation happens with the salt and rice.
- To ferment, use the fridge, there is less chance of spoilage of the pork. Place the sausage in a large bowl and cover with plastic wrap, place in the fridge for 2-3 days.
- The fermenting is not really needed, you can prepare the sausage and grill the same day, no harm.
- You can taste the sausage mixture and adjust as needed by first pan frying a small amount or microwaving a small amount.
To Cook on a Charcoal Grill
- After you have lit your charcoal, and get a nice bed of coals, cover the grill with foil, place the sausage on the foil and cook until cooked through and juices run clear.
To Cook in an Oven
- Preheat your oven to 180 C (350 F). Line a baking sheet with foil.
- Steam the sausages in a steamer until nearly cooked through. Use any steaming method you prefer.
- Place the sausage on the baking sheet and bake for 10 minutes or until nicely browned, then turn them over and bake for another 5 minutes or until nicely browned all over.
- Remove to a plate and cut them apart where the strings are tied (remove the bits of string as well).
- Serve with fresh sliced cucumber, celery, lettuce or cabbage, and chilies. Enjoy.
Notes
Ground pork will cost about 85 Baht/800 grams. For 6 servings, this is about 45 cents per serving.
Adapted from an internet recipe.