Author Archive
Chicken & Mushroom Soup
This recipe comes from a friend, and it is delicious! I made this on 21 Apr 2022 and tailored it to our liking here.
Ingredients
- 2 tablespoons butter
- 1 onion, diced
- 2 carrots, peeled and diced
- 1 stalk celery, diced
- 250 grams mushrooms, brown or white button, sliced, (8 oz)
- 2 cloves garlic, minced
- 1 teaspoon salt, and as needed
- 1 teaspoon dried parsley
- 1 teaspoon dried thyme
- ¼ teaspoon ground sage
- ⅛ teaspoon black pepper
- 6 cups chicken broth, I used OXO cubes
- 3 chicken breasts, boneless, skinless
- ¾ cup dry Jasmine rice
Instructions
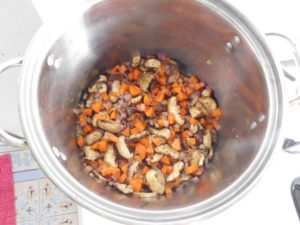
- In a large pot, melt the butter, when hot, add the onion, celery, carrots, and mushrooms. Stir oftern and cook until the onion softens. (I used Shiitake mushrooms - stems removed, and did not have celery on hand so just skipped that.)
- Stir in the garlic, salt, parsley, thyme, sage, and pepper. Cook for just a minute or two until the garlic is fragrant.
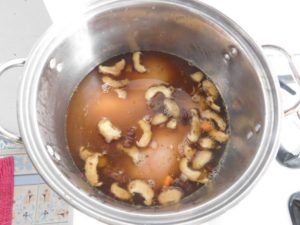
- Add the chicken breasts, rice, and broth. Stir together and heat to a boil. Reduce heat, and simmer 15 minutes, stirring occasionally.
- Then remove the chicken to a cutting board and chop, and set aside. Let to soup continue to simmer.
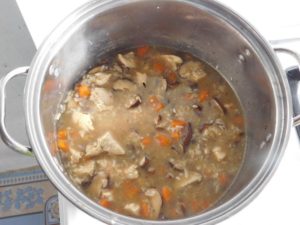
- When the rice is tender, about 10-15 minutes after you took the chicken out, return the chicken to the chicken to the pot and simmer for another 5-10 minutes to heat the chicken through. Taste and add salt as desired.
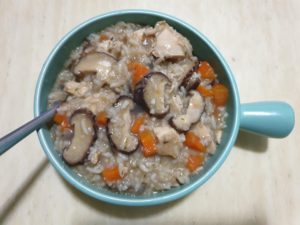
- Ladle into bowls, serve, and enjoy.
Notes
Low cost per serving.
Variants: 1. Use Shiitake mushrooms with stems removed, and sliced in place of button mushrooms. 2. Use Straw mushrooms sliced in half in place of button mushrooms.
Slow Cooker Pork Chops & Potatoes
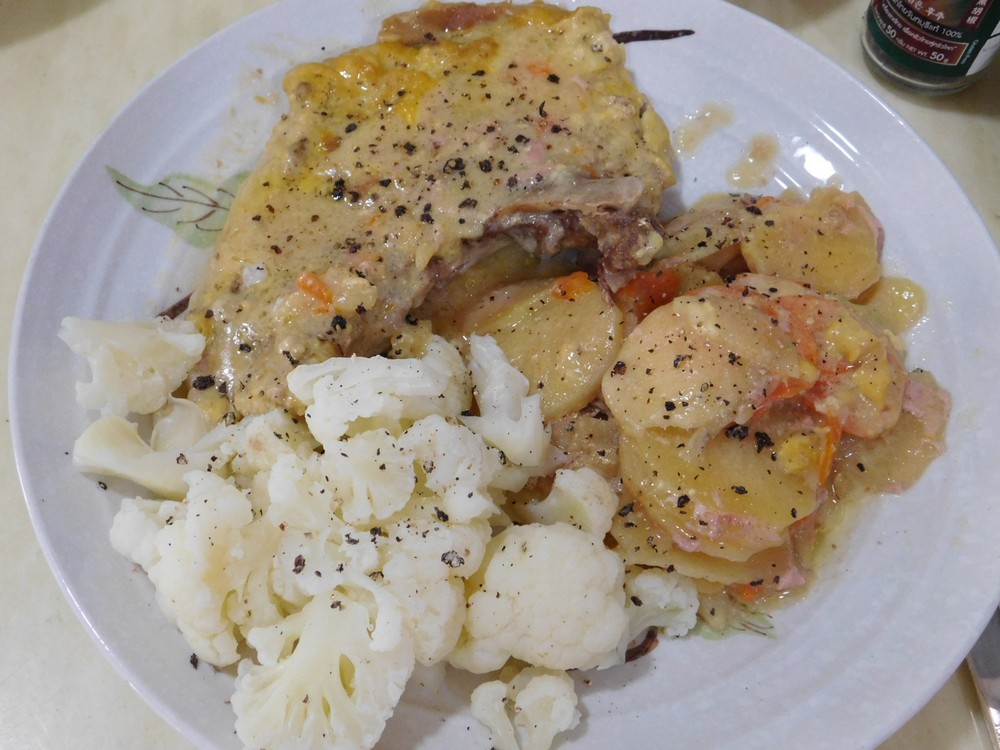
This sounds like an excellent slow cooker meal. Servings are based on the number of chops you use. The use of a mandoline for slicing is highly recommended. Links to the Shortcuts are listed in the Notes section.
Equipment
- Mandoline
- Slow Cooker (6+ quart)
Ingredients
- 4-6 pork chops, bone in or out is fine
- 4-6 medium potatoes, peeled or unpeeled is your choice
- 1 carrot, peeled or unpeeled is your choice
- 1 can condensed cream of chicken soup, (10½ oz / 298 g), Shortcut
- 1 can condensed cream of onion soup, (10½ oz / 298 g), Shortcut
- ½ can milk, (¾ cup if making the soup from scratch)
- butter, as needed
- salt and pepper, as needed
Instructions
- The use of a mandoline is highly recommended, which is what I used. Thinly slice the potatoes and carrot. I used 5 potatoes, peeled.
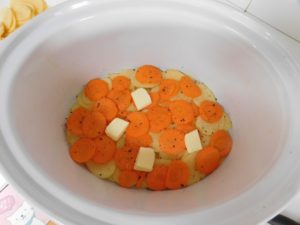
- Grease the slow cooker with butter or cooking spray. Add half of the potatoes in an even layer, then cover them with half of the carrot in an even layer. Add salt and pepper as desired, and add 3-5 pats of butter. This is the first layer.
- Repeat the layers with the remaining potatoes and carrot, and again salt and pepper the top, add more pats of butter.
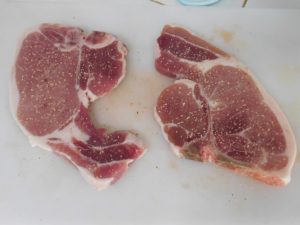
- Salt and pepper each side of your chops. I used fresh cracked white pepper and ¾ inch bone in Kurobuta chops.
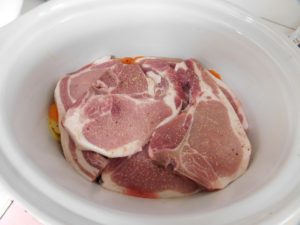
- Place chops on top of the potato and carrot layer. I placed 3 chops in the first layer and 2 chops on top of those.
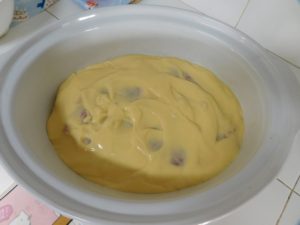
- In a mixing bowl, add the soup and milk and mix together. Pour over the chops and spread it out to the edges.
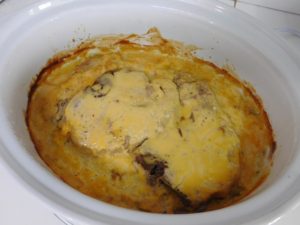
- Place the slow cooker on Low setting for 6-8 hours or until very tender.
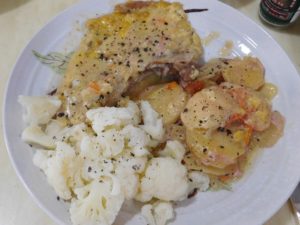
- Place a chop on each place, side with some potatoes and carrots, and additional sides of your choice. Enjoy.
Notes
High cost per serving based on the cost of the chops, but worth it for a once in a while meal with visiting family and friends.
Variants: 1. Use 2 cans of chicken soup in place of chicken and onion soups. 2. Use 1 can chicken and 1 can of mushroom soups in place of chicken and onion soups. 3. Use 1 can of chicken and 1 can of celery soups in place of the chicken and onion soups.
Shortcuts: Condensed Cream of Chicken Soup, Condensed Cream of Onion Soup, Condensed Cream of Mushroom Soup, Condensed Cream of Celery Soup.
This recipe was awarded a Blue Ribbon on the Just A Pinch Recipe Club.
Cream Horns
This recipe comes from a friend and I have modified this recipe to what is shown for 12 cream horns and I will provide 3 ways to fill them. I used Method 2 after I broke Method 1 (totally my fault, the recipe is certainly valid) and fell back to using Method 2. The family and I loved these! I always thought these would be difficult, just the opposite, and delicious!
Equipment
- Rolling Pin
- Pizza Cutter
- 12 Cream Horn Molds , I used 5 inch molds
- Baking Sheet
- Parchment Paper
- Oven
- Electric Mixer
- Pastry Bag , with large star tip
Ingredients
- 1 package puff pastry, I used a 200 gram (7 oz) frozen block
Cream Filling - Method 1
- 112 grams cream cheese, (4 oz)
- 1 cup whipping cream, cold
- ¼ cup powdered sugar
- ¼ teaspoon vanilla extract
Cream Filling - Method 2
- 1 cup whipping cream
Cream Filling - Method 3
- 1 can whipped cream
Instructions
For the Pastry
- Preheat your oven to 200° C (400° F), line a baking sheet with parchment paper.
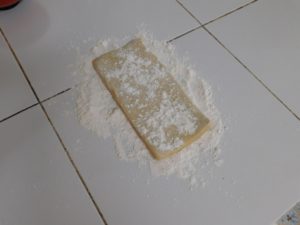
- For my location, I found frozen puff pastry in blocks that need to be rolled, I have not located folded sheets yet. Thaw the pastry according to package instructions. Place the block on a floured surface and lightly flour the top and flour your rolling pin as well. This is the thawed size from the package. The tile is 12x12 inches for reference.
- Rolled thin, roughly to about 9x12 inches. Use a pizza cutter and cut the pastry into about ¾ inch strips, and I was able to cut this into 12 strips. The first piece at the far end was already used on a horn before I took this photo.
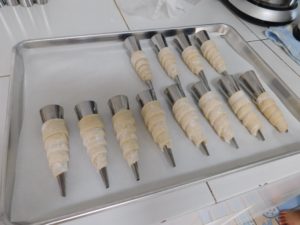
- About ½ inch from the pointy end of the mold, wrap a strip of pastry and continue wrapping, overlapping towards the wide end of the mold, press the end that is near the wide end and place on the prepared baking sheet with that seam on the bottom. Repeat until all strips are used. I looked at a lot of cream horn on the internet and it seemed that 5 wraps was the number to have so I went with that.
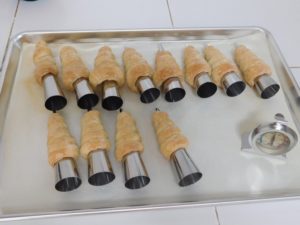
- Place in the oven and bake for 18 minutes, but keep an eye on them as all ovens heat differently. When they are a light golden brown, they are done, These were perfect at exactly 18 minutes. If not baked properly, they can uncurl if under baked, and stick to the molds if overbaked, and no one likes that.
- Right after the come out of the oven, you need to remove the horns from the molds. Easily done, just hold a mold by the wide end with an oven mitt, and gently push the horn off hold, they will slip right off. Allow the horns to cool completely before filling. Allowing them too cool on the mold may result in horns sticking.
For the Cream Filling - Method 1
- Place cream cheese in a mixing bowl and allow to come to room temp, you want it softened. Beat cream cheese with an electric mixer until smooth and creamy.
- Add the powdered sugar and beat with an electric mixer starting from slow speed increasing to higher speed until mixture is smooth with no lumps. Scrape down the sides of the bowl and mix at high speed until mixture thickens.
- Scrape down the sides again and beat one more time on high speed for 15 seconds.
- Scrape down the sides and add the cold whipping cream. Start beating on low speed and increase to high speed until thicken and frosting like, when it holds its shape. DO NOT OVERBEAT! Now, I was thinking I should beat this for a few more minutes as it was not quite holding the shape I thought it was supposed to, and I overbeat it, if you have ever overbeat whipping cream, it breaks, meaning it separates and looks more like cottage cheese than whipped cream, as did mine. So I came up with Method 2.
- Fill a pastry bag, fitted with a star tip, half full with the whipped cream. Gently hold a horn and insert the tip inside to the end and fill as you draw it out. Place on a serving tray. Repeat with remaining horns.
- Sprinkle powdered sugar over the top of the cream horns, cover and place in the fridge until serving. Serve and enjoy.
For the Cream Filling - Method 2
- Add the whipping cream to a bowl, beat with an electric mixer until peaks form.
- Fill a pastry bag, fitted with a star tip, half full with the whipped cream. Gently hold a horn and insert the tip inside to the end and fill as you draw it out. Place on a serving tray. Repeat with remaining horns.
- Sprinkle powdered sugar over the top of the cream horns, cover and place in the fridge until serving. Serve and enjoy.
For the Cream Filling - Method 3
- This is the quick way to do this. Gently hold a horn and insert the tip inside to the end and fill as you draw it out. Place on a serving tray. Repeat with remaining horns.
- Sprinkle powdered sugar over the top of the cream horns, cover and place in the fridge until serving. Serve and enjoy.
Andy's Holiday Coleslaw
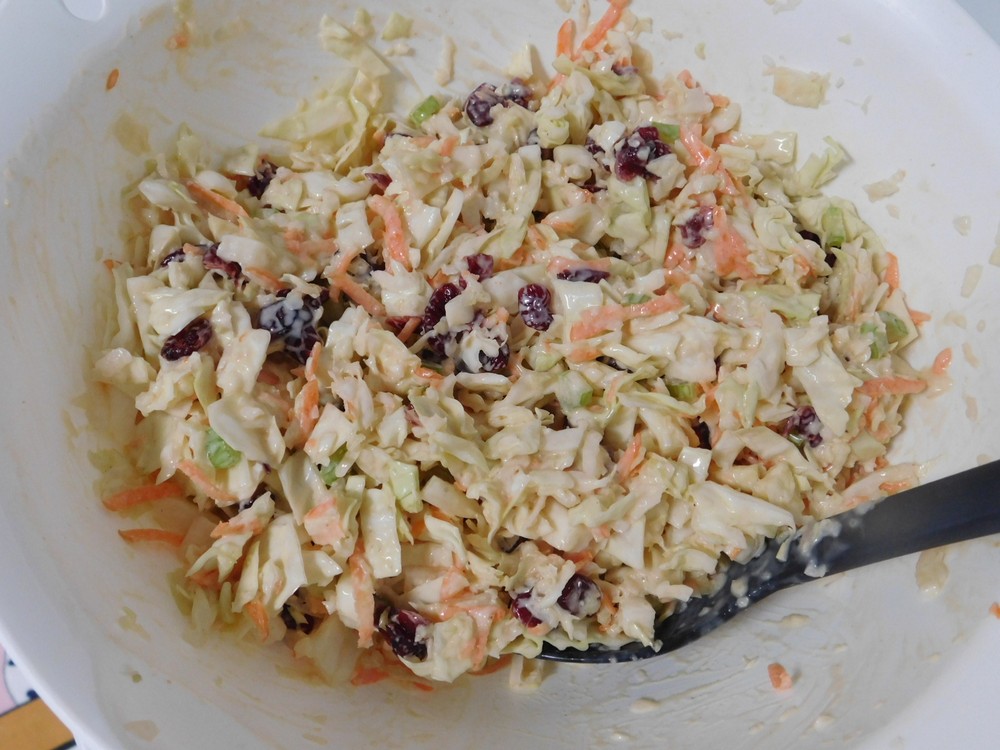
This recipe comes from a friend, and Chef, and is an excellent slaw! I made this on 8 Apr 2022 and the only items not used was the apple and walnuts, this was very well liked by the family, highly recommended.
Equipment
- Box Shredder
Ingredients
For the Slaw
- 1 head green cabbage, about (400-450 g / 14-16 oz)
- ⅓-½ carrot, dependonding on how large it is
- 1 medium apple, cored, peeled, and diced
- ½ cup dried cranberries
- ½ cup walnuts, chopped
For the Dressing
- ¾ cup mayo
- 3 tablespoons honey
- 1 teaspoon Dijon mustard
- 1 teaspoon celery seed
- ½ teaspoon ground ginger
Instructions
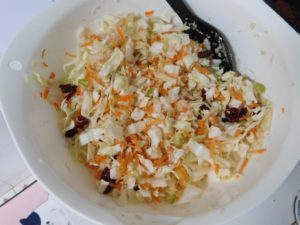
- Prep the carrot by shredding in on a box shredder, then quarter and core the cabbage, cut into about ½ inch slices, then chop those. Place in a mixing bowl.
- To the mixing bowl, then add the celery seed, apple, cranberries, and walnuts. (I used the variant for the celery and added diced celery, also omitted the apple and walnuts.)
- Mix everything together.
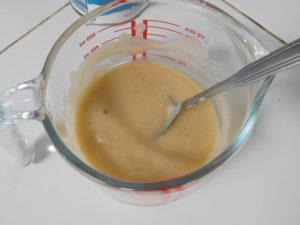
- In a measuring cup, add all the Dressing ingredients, mix together.
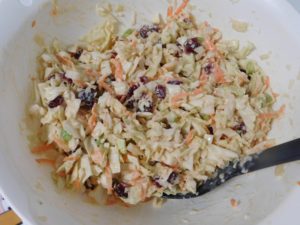
- Add the dressing to the vegetables and mix together. Cover and plae in the fridge until serving. Serve as a side with any main dish. Enjoy.
Notes
Variant: 1. Half a stalk of celery, finely diced, is a great substitution for the celery seed.
Fried Pork Chops
My wife came home from the grocer with Kurobuta Pork Chops, these are the pork equivelent of Japanese Kobi Beef. So I did some research and came up with this. It is all about the timing and the temperature. An instant read thermometer is must for this.
Equipment
- Instant Read Thermometer
Ingredients
- 4 pork chops, mine were about ¾ inch thick, bone in
- olive oil, and as needed
- 1 teaspoon garlic powder
- 1 teaspoon paprika
- 1 teaspoon salt
- 1 teaspoon white pepper powder
Instructions
- Remove pork chops from the fridge about 30 minutes before you want to cook and place on the counter to come to room temp.
- In a small bowl, mix together the garlic powder, paprika, salt, and black pepper to make the seasoning mix.
- Pat the pork chops dry with paper towels on both sides the rub some olive oil on all sides of the pork chops.
- Sprinkle the seasoning mix on each side of the pork chops, rubbing it in after sprinkling each side.
- Heat 2 tablespoons of oil in a large flat bottomed pan, cast iron pan would be ideal but not required, when the oil is hot, add the pork chops, in batches if needed as I could only fry 2 at a time. Flip the pork chops every minute using the following times:¾ inch thick: 4-6 minutes.1¼ inch thick: 8-10 minutes.1½ inch thick: 10-12 minutes.At the minimum time stated, check the internal temperature with your instant read thermometer for 61° C (140° F), and remove from heat to a plate and cover with foil or a lid or 5 minutes. The temp will rise to 63° (145° F) while it rests. It is certainly OK for the center to be a little pink as long as the temp was reached.
- Serve with sides of your choice, enjoy.
Notes
High cost per serving, but these are great for a once in a while meal.
Strawberry Bundt Cake
This is cake is a combination of several recipes, mainly being Amy's recipe with a few changes.
Equipment
- Bundt Pan
- Oven
Ingredients
- 3 cups cake flour
- 2 cups sugar
- 4 tablespoons strawberry gelatin powder, I used Imperial brand
- 4½ teaspoons baking powder
- 1½ teaspoons salt
- 4 eggs
- ¾ cup vegetable oil, I used sunflower
- 1¼ cups strawberry jam, I used two 160 gram jars
Instructions
- Preheat your oven 180° C (350° F), grease the bundt pan with butter, then flour it.
- In a mixing bowl, add the cake flour, sugar, gelatin powder, baking powder, and salt. Whisk together.
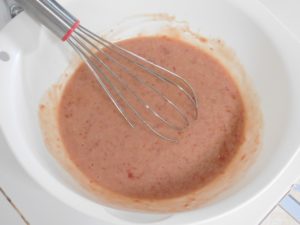
- In another mixing bowl, add the eggs and whisk until fluffy. Add the oil and whisk together, then add the jam and whisk that in.
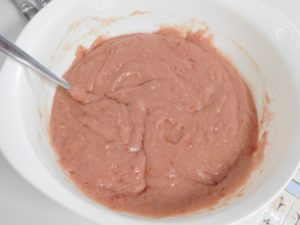
- Add the flour mixture and use a spoon to mix together until just combined and the batter is smooth, do not over mix.
- Pour mixture evenly into the prepared bundt pan.
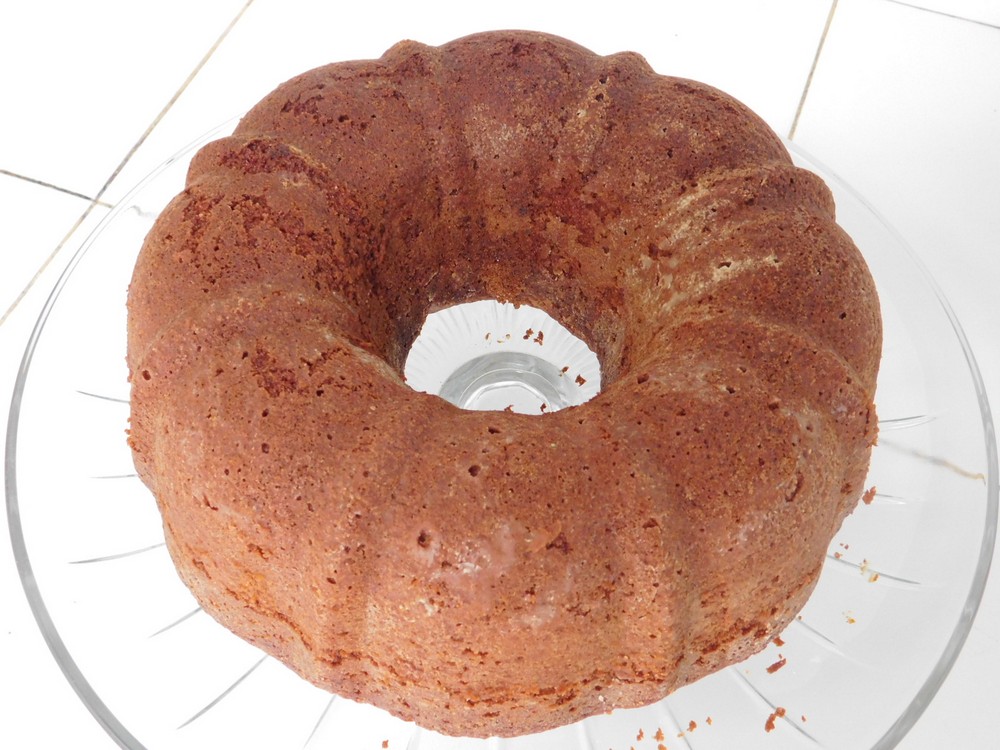
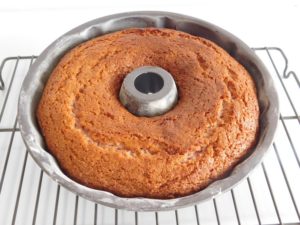
- Place pan in the preheated oven and bake for 45 minutes or until a toothpick inserted in the cake comes out clean. Remove pan from oven and place on a rack, allow to cool for 10 minutes. (Mine was done at exactly 45 minutes.)
- After 10 minutes, gently check the sides along the outer edge and the center cone to loosen the cake. Place a plate or serving tray upside on the pan, and turn both over. Gently tap the pan and lift the edges to see if the cake came out of the pan. Remove the pan, let cake cool completely, 2-3 hours before frosting.
Decorating
- You have choices here, most bundt cakes are decorated with just a simple glaze or dusted with powdered sugar. I got creative and decided on a strawberry buttercream frosting, and I layered the cake, simply cut the bundt cake in half horizontally and carefully remove the top ring.
- Frost the bottom layer with buttercream, then put the top ring back on.
- Frost the sides.
- Slice and enjoy.
Navy Beans & Sausage (Pressure Cooker)
I created this recipe based on a slow cooker recipe. I will be using my 9 liter (9½ quart) stove top pressure cooker with a pressure of 80 kPa (12 psi), so this will work equally well with electric pressure cookers. Follow all safety precautions for your model of pressure cooker.
Equipment
- Pressure Cooker
- Timer
Ingredients
- 500 grams dry Navy beans, (1 lb)
- 500 grams smoked sausage, cut into ½ inch slices, (1 lb)
- 1 onion, diced
- 2 teaspoons dried parsley
- ¼ teaspoon cayenne pepper
- ½ teaspoon ground white pepper
- ½ teaspoon salt
- 1 tablespoon cooking oil
- 1 red bell pepper, diced
- 1 can diced tomatoes, drained, (565 g / 20 oz)
Instructions
- Rinse dry beans and place in a large bowl, add water to cover by about 2 inches. Let sit at least 6 hours or even overnight.
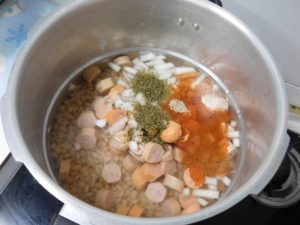
- When ready to cook, drain and rinse the beans, place in your slow cooker. Add 2 quarts of water. Add the sausage, salt, pepper, onion, parsley, cayenne pepper, and cooking oil (to prevent foaming). Stir to mix.
- Add the lid to the pressure cooker and lock, add the weight to the lid. Place on high heat until the weight starts to spin and vent pressure. Reduce heat to low or medium low to maintain the weight moving. Set your timer for 8 minutes.
- When 8 minutes have passed, turn off the heat and carefully move the pressure cooker to an unused burner. Allow the pressure to release naturally, meaning just let cooker sit until you have indications of zero pressure inside.
- When you have zero pressure in the cooker, carefully remove the weight from the lid then remove the lid. (If you are using old beans, check beans for softness, if still hard, simply put the lid and weight back on the pot and repeat the steps to pressure cook for another 8 minutes - I had to do this with the beans I was using.)
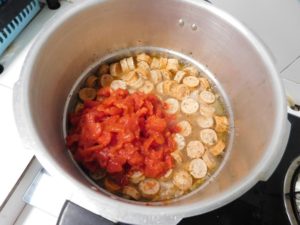
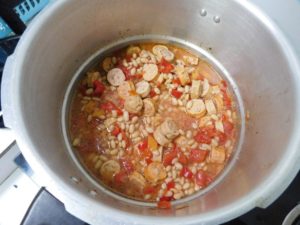
- Scoop out about half of the liquid using a ladle. Add the bell pepper and drained tomatoes. Mix together.
- Place the cooker on medium low to medium heat and simmer for about 15 minutes, to blend the flavors and reduce the liquid to your liking, stirring occasionally.
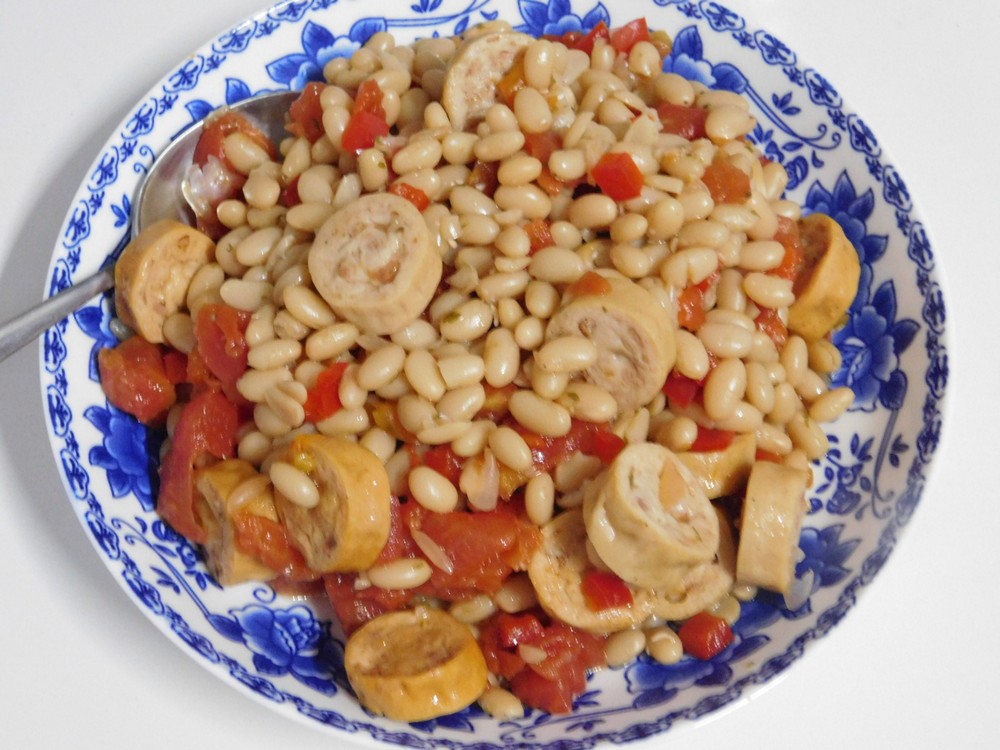
- Serve as is or over hot cooked rice, enjoy.
Notes
Low cost per serving.
Chicken Souvlaki & Rice (Pressure Cooker)
This is sort of a Greek'ish / Medditeranean dish (this dish is not skewered or grilled like the Greek version, just similar flavor), and the chicken and rice are cooked at the same time using a pressure cooker. I tailored this to use what I have on hand here locally. I made this in 1 Apr 2022, and it is delicious! I use my 9 liter (9½ quart) stove top pressure cooker with a pressure of 80 kPa (12 psi), so this will work equally well with electric pressure cookers. Follow all safety precautions for your model of pressure cooker.
Equipment
- Pressure Cooker
- Timer
Ingredients
For the Chicken and Marinade
- 4 chicken breasts, boneless, skinless
- 5 cloves garlic, minced
- 1 tablespoon dried oregano
- 1 teaspoon dried rosemary
- 1 teaspoon smoked paprika
- 1 teaspoon salt
- 2 tablespoons olive oil
- juice from two small Thai limes
- ⅛ teaspoon ground white pepper
For the Rice
- 1⅓ cup dry Jasmine rice
- 1½ cups chicken broth
Instructions
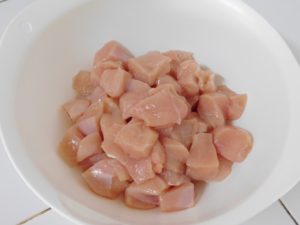
- Dice the chicken to about ¾ to 1 inch cubes and place in a bowl.
- Add the rest of the marinade ingredients to the chicken and mix together. Set this aside to marinate for 5-10 minutes.
- To your pressure cooker, add the dry rice and broth.
- After the chicken has marinated for 5-10 minutes, use a spoon and place the chicken on top of the rice in the cooker, do not mix together.
- Place the lid on the pressure cooker and lock in place, add the weight to the top. Place on high heat until the weight starts to spin and vent pressure then reduce the heat to low or medium low, so the weight still spins. Set your timer for 4 minutes.
- When 4 minutes have passed, turn off the heat and carefully move the pressure cooker to an unused burner. Set your timer for 5 minutes (this is a natural pressure release, just letting the cooker cool).
- When 5 minutes, use a chopstick or wooden spoon and tilt the weight for 10 seconds to vent pressure then release for a few seconds, then repeat this procedure until you have indication of zero pressure, such as the lid lock pin drops. This is a forced pressure release.
- When you have indications of zero pressure in the cooker, removed the weight then remove the lid.
- Give the chicken and rice a stir.
- Serve with sides of your choice.
Notes
Low cost per serving.
Variant: 1. Use the juice of half a lemon in place of the lime juice.
Elegant Eggs
This recipe comes from a recipe club and sounds delicious. On my to make and taste list soon. Links to the Shortcuts are listed in the Notes section.
Ingredients
- 8 hard boiled eggs, chicken or duck, peeled, Shortcut
- ½ cup mayo
- ½ cup Ranch dressing, Shortcut
- ½ teaspoon salt
- ½ teaspoon black pepper
- ½ teaspoon smoked paprika
- 8 cooked shrimp, peeled, deveined, tails removed
- 1 teaspoon Old Bay seasoning, Shortcut
Instructions
- Slice eggs in half lengthwise, put yolks in a mixing bowl and the whites on a plate or egg serving tray.
- Mash the yolks with a fork, then add all ingredients except the shrimp and Old Bay seasoning. Mix together.
- Fill whites with yolk mixture using two spoons or pipe in.
- Place the shrimp in a bowl, sprinkle with a little Old Bay seasoning and mix them to coat the shrimp.
- Place 1 shrimp on 1 egg, sprinkle with remaining OId Bay seasoning. Cover and place in the fridge until serving.
- Serve and enjoy as a an appetizer or side dish, enjoy.
Bonnie's Almost Campbell's Chicken Noodle Soup
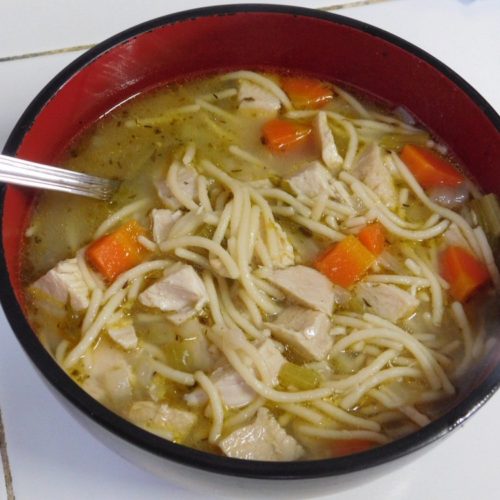
This is nothing short of best soup I have ever made, hands down. I made this on 12 Mar 2022 and it is delicious, highly recommended. Link to the Shortcut is listed in the Notes section.
Ingredients
- 2 tablespoons butter
- 1 onion, diced
- 1 cup celery, diced
- 1 cup carrots, diced
- 4 cups chicken breasts, boneless, skinless, cooked and cubed, (I used 4 chicken breasts, perfect)
- 2½ quarts chicken broth, (10 cups), Shortcut
- 2 teaspoons chicken broth powder
- 1 cup spaghetti, broken into 2 inch pieces
- ¼ teaspoon dried thyme
- 1 bay leaf
- ¼ teaspoon dried marjoram
- ⅛ teaspoon black pepper
- salt, to taste
Instructions
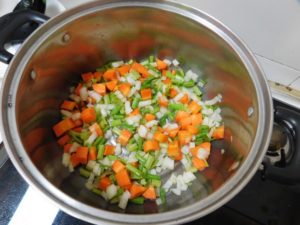
- Heat the butter in a large saucepan, when hot, add the onion, celery, and carrots. Sauté until the onion is translucent and softened.
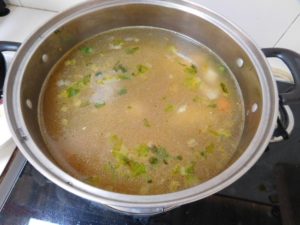
- Add remaining ingredients and let simmer for 20 minutes, stirring occasionally.
- Add the spaghetti and cook until pasta is done, stirring occasionally. Taste and season with salt as desired.
- Ladle into bowls, serve and enjoy.
Notes
Low cost per serving.
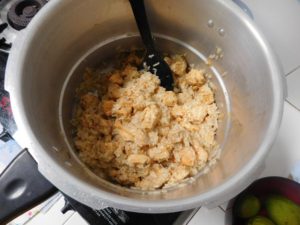
Shortcut: Chicken Broth (Pressure Cooker). This also provides the cooked chicken.


