Archive for the ‘: CHINESE’ Category
Chinese Pork Ribs (Pressure Cooker)
These are delicious and easy to make. I used my 9 liter (9½ quart) stove top pressure cooker with a pressure of 80 kPa (12 psi) for this, so an electric pressure cooker will be the same. Follow all safety precautions for your model of pressure cooker.
Equipment
- Pressure Cooker
- Steamer Tray
Ingredients
- 1½ kilos pork ribs, (2½-3 lb)
For the Marinade
- 2 tablespoons brown sugar
- 1 tablespoon sesame oil
- 1½ tablespoons light soy sauce
- 1½ teaspoons salt
- 1 teaspoon black pepper
- ¼ cup garlic cloves, smashed and minced
- ½ teaspoon ground ginger, or 1 tablespoon fresh grated
- 1 tablespoon Sriracha Chili Garlic sauce
- ½ cup spring onion, sliced, white and green parts
Additional Items
- 2 teaspoons corn starch
- 1 cup water
- spring onion, sliced, for garnish
- fresh cilantro, chopped, for garnish
Instructions
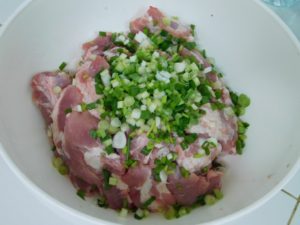
- Cut the ribs into 1 bone pieces. (I also started to add the spring onion and garlic.)
- In a large mixing bowl, add all the Marinade ingredients and mix together.
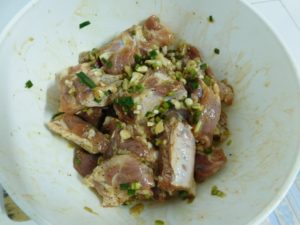
- Add the ribs to the marinade and mix to coat all pieces well. Marinate the ribs at room temp for 30 minutes.
- After 30 minutes have passed, sprinkle on the corn starch and mix that into the mixture.
- Add 1 cup of water to your pressure cooker, place the steamer tray or trivet in the cooker, then add the contents of the mixing bowl (ribs and marinade) to the pressure cooker.
- Add the lid and lock, place the weight (jiggler) on the top, and place on high heat. When the jiggler starts to move and vent pressure (indicating full pressure), reduce heat to low or medium low, just enough heat to maintain full pressure. Set your timer for 15 minutes.
- When 15 minutes have passed, turn off the heat and move the cooker to an unused burner and allow a natural release of pressure, meaning you have to do nothing.
- When you have indications of zero pressure in the cooker, about 15-20 minutes after you removed it from the heat, remove the weight then remove the lid.
- Remove the ribs with tongs to a serving plate, drizzle some of the liquid over the ribs, sprinkle with spring onion and coriander as desired.
- Serve with rice on the side.
Notes
Low cost.
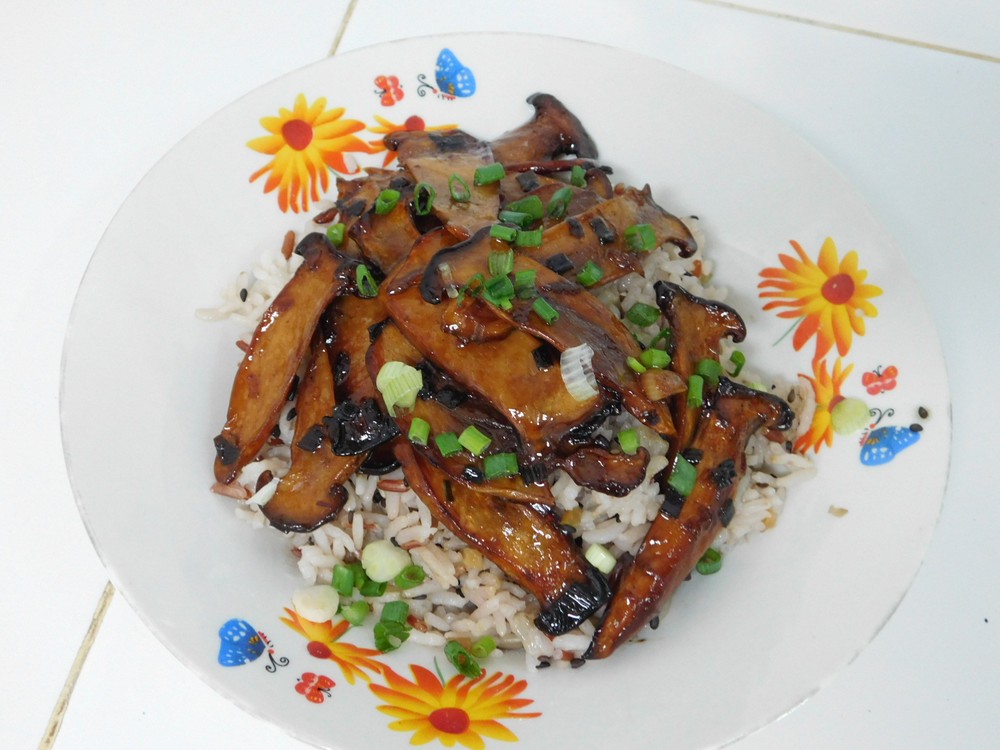
Teriyaki King Oyster Mushrooms
Excellent use of King Oyster mushrooms, and tasty as well. Link to the Shortcut is listed in the Recipe Notes section.
Ingredients
- 400 grams King Oyster mushrooms, (14 oz)
- ¼ to ½ cup Teriyaki sauce, Shortcut
- 2 tablespoons cooking oil, as needed
- fresh spring onion, sliced
- hot cooked rice, for serving
Instructions
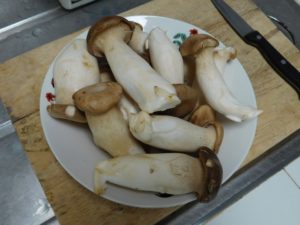
- King Oyster Mushrooms. These come trimmed, just a quick rinse and we are ready to start. This type of mushroom keeps well in the fridge for several days, so when I see these in the market, we buy them then plan a meal with them a few days later, no need to cook them the day of purchase.
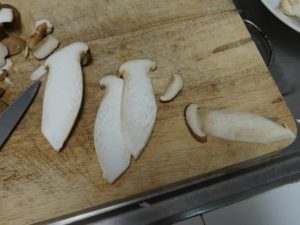
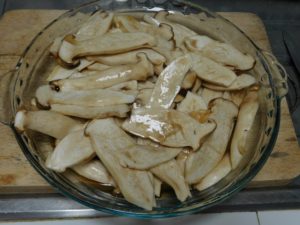
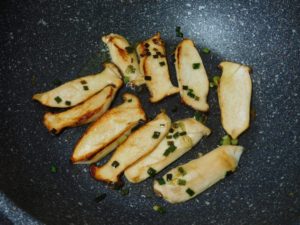
- Slice the mushrooms in half lengthwise. Take each half and further slice it lengthwise into about 1/8 inch slices. For the side pieces, lay them cut side down and just trim of the edge of the cap to make a flat piece, as shown on the piece on the right. Place the slices in a shallow dish.
- Pour the teriyaki sauce over the mushroom slices and use tongs to mix the slices to coat them well. Start with 1/4 cup of sauce and use more as needed. Let this marinate for 15 minutes.
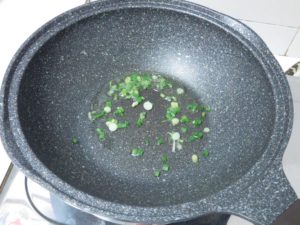
- Heat 1 tablespoon of oil in a non stick pan on medium heat, when hot add some of the spring onion. Stir the spring onion until fragrant.
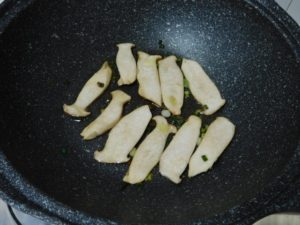
- Place the mushroom slices in a single layer without overlapping, work in batches. Retain the teriyaki sauce for another step.
- Cook the slices without moving them, when the bottom is browned, turn the slices and cook the other side until nice and golden brown, and the edges can even be a bit charred. Transfer browned slices to a plate. Continue cooking until all the slices are browned, adding additional oil and spring onion between batches.
- When the last batch is browned, return all the removed slices back to the pan.
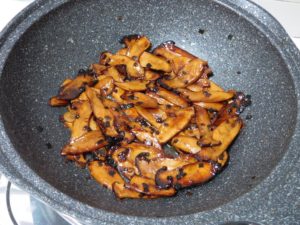
- Pour in the reserved teriyaki sauce and cook, turn the mushrooms as needed until the liquid in the pan is absorbed, just a few minutes.
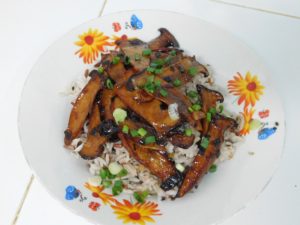
- Serve over rice or with noodles, garnish with spring onion if desired.
Notes
Low cost.
Shortcut: Teriyaki Sauce.
Baked Chinese Chicken & Rice
This is a one pan dish which is basically fried rice and chicken cooked together. I made this on 8 Aug 2018, tender and juicy chicken, very flavorful, and the rice has a nice flavor as well. Link to the shortcut is listed in the Recipe Notes section.
Ingredients
For the Chicken and Marinade
- 500 grams chicken thighs, boneless, skinless, halved, (1 lb)
- 1 tablespoon soy sauce, light or dark, your choice
- 2 tablespoons Shaoxing wine
- 1/4 cup oyster sauce
- 1 teaspoon sesame oil
- 1 clove garlic, smashed and minced
For the Rice
- 1 1/2 cups dry white rice
- 2 tablespoons cooking oil
- 1 small onion, diced
- 2 cloves garlic, smashed and minced
- 2-3 cups frozen mixed vegetables, not thawed
- 1 tablespoon dark soy sauce
- 2 tablespoons Shaoxing wine
- 1 1/4 cups chicken broth, Shortcut
- 1 1/2 cups hot water
For Garnish
- spring onions, sliced
Instructions
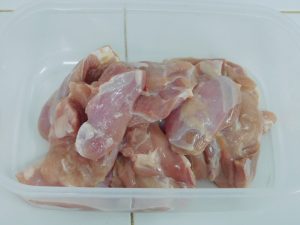
- Boneless chicken thighs are not available where I live, and it is really easy to do yourself. Simply remove the skin, trim off any large pieces of fat, lay the thigh skin said down, slice the thigh in half, to the left or right of the bone, this gives you one piece free of bone, and the other piece will have the bone on the edge. Just cut the bone out from that piece. Make sure to remove any cartilage on the meat where the ends of the bone were. I used 8 thighs, and since they are halved (16 pieces) as the recipe states, this is ready for use now. Keep the bones, skin, and fat for another step if you desire.
- The 4 liquids used in the marinade, from left to right, Light Soy Sauce, Shaoxing Wine, Oyster Sauce, and Sesame Oil.
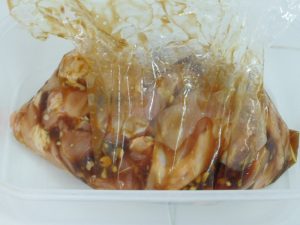
- Mix the Marinade ingredients in a bowl or zip lock bag, then add the chicken and mix together. Set this aside for at least 20 minutes or up to 24 hours, covered, in the fridge.
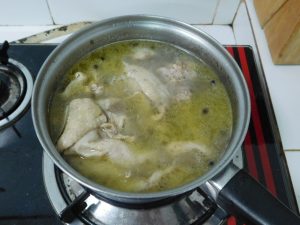
- Now if you deboned the thighs yourself, you are in luck, now you can make broth as called for in this recipe. This is just a small amount of bones and skin, so no need to pressure cook this or add anything extra. I simply put the bones, skin, and fat in a small sauce pan, covered with about 2 inches of water and added simply a teaspoon or so of black peppercorns. Bring to a boil, reduce to a simmer for about 20 minutes, there, you just made chicken broth. Strain the broth and use as directed in the recipe.
- Preheat your oven to 180° C (350° F). Get out a 9x13 baking dish.
- Add all the Rice ingredients to the baking dish, mix and spread out rice evenly.
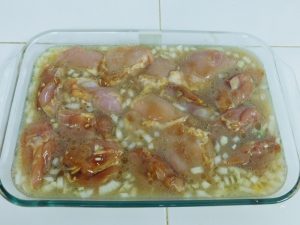
- Remove the chicken from the marinade, and reserve the marinade. Place the chicken on top of the rice mixture, it will be in the liquid as well, this is perfectly fine. Cover with foil and bake for 20 minutes.
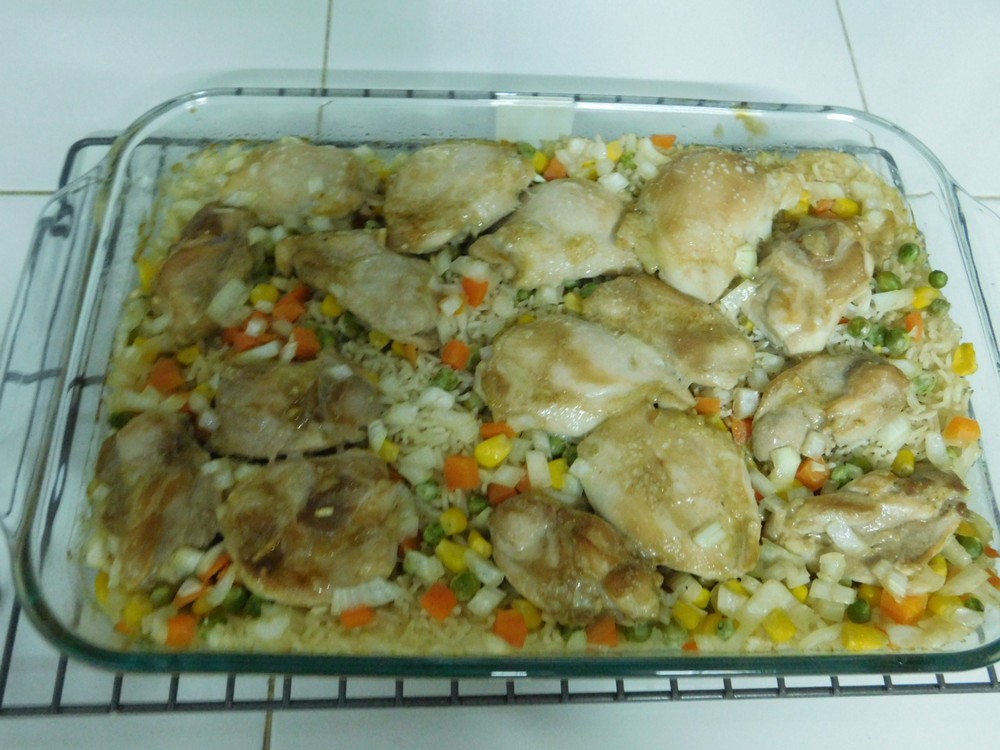
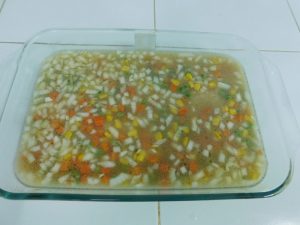
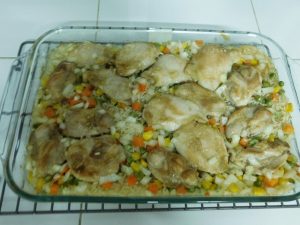
- Remove foil and baste the chicken with the reserved marinade. Spray the chicken with oil, bake, uncovered for another 30 minutes, the chicken should be nicely caramelized and the water absorbed the rice. This poorly taken photo is before the basting.
- Let rest for 10 minutes. While it is resting, go ahead and slice some spring onions.
- Fluff the rice, sprinkle some sliced spring onion over the top, serve and enjoy.
Notes
Low cost.
Shortcut: Chicken Broth.
Chive Pancake
I cannot remember the last time I had pancakes, and with a good amount of chives, these sound especially delicious. On my to cook list.
Ingredients
- 1 bunch fresh chives, cut into 1 inch pieces
- 1 cup all purpose flour
- 1 cup water
- 2 eggs
- 1/2 teaspoon salt
- 1 tablespoon cooking oil, and as needed
- soy sauce, for serving
Instructions
- In a mixing bowl, add the flour and eggs, add the water slowly while mixing to ensure a well mixed batter.
- Add the salt and chives and mix those in.
- Heat the oil in a non stick pan, when hot, pour in 1/3 of the batter and cook for about 4-5 minutes per side then remove from the pan, repeating the steps for two more pancakes.
- Serve with soy sauce for dipping and enjoy.
Notes
Low cost.
Steamed Egg with Dried Shrimp & Mushrooms
This is an upgraded version of the classic Chinese steamed egg (水蒸蛋) from a good friend, and sounds very good.
Equipment
- Rice Cooker with Steamer Tray
- Steamer Handles
Ingredients
- 2 eggs
- 1 cup warm water
- 1/4 cup carrot, diced
- 2-3 fresh Shiitake mushrooms, stems removed and diced
- handful dried baby shrimp, optional
- pinch sugar, optional
- pinch salt, not needed if using the shrimp
- pinch white pepper powder
- 1 spring onion, sliced, white and green parts
- 2-4 dashes sesame oil
Instructions
- For the steaming, I will be using my rice cooker, however, a pot with a trivet and lid work just as well. Use of steamer handles to lift the dishes into and out of the steamer tray or trivet is recommended.
- In a mixing bowl, add the eggs and water and mix well.
- Add the shrimp if using, the carrot, and mushrooms and mix those in. Pour the mixture into two small heatproof dishes.
- Place the dishes in a steamer (your preferred preference for steaming) and bring up the heat to high. When the water is boiling, steam covered for 7-8 minutes or until the egg is set. Remove the cover and steam for an additional 1-2 minutes.
- Carefully remove the dishes, add a dash or two of sesame oil to each dish and sprinkle with the sliced spring onion.
- Serve and enjoy. This can be a nice breakfast, a light lunch, or a light dinner with rice on the side.
Notes
Low cost.
Ginger Minced Pork Rice Bowl
This is a simple but flavorful sounding Chinese dish. On my to cook list.
Ingredients
- 3 tablespoons soy sauce
- 1 tablespoon Shaoxing rice wine
- 1 tablespoon sugar
- 1 tablespoon cooking oil
- 500 grams ground pork, (1 lb)
- 1 tablespoon fresh grated ginger
- 1 tablespoon sesame oil
- 4 spring onions, chopped, white and green parts
- 1 tablespoon sesame seeds, roasted, optional
- 4 cups hot cooked rice, for serving
Instructions
- Make the seasoning sauce in a small bowl, mix together the sugar, rice wine, and soy sauce. Set aside.
- Heat the oil in a non stick pan on medium to medium high heat, when hot, add the pork and ginger. Cook, breaking up the meat with your spatula until nicely browned, 3-5 minutes.
- Mix in the seasoning sauce until well mixed in, simmer for 2-3 minutes.
- Mix in the sesame oil, seeds, and spring onion (reserving a small amount for garnish), continue to simmer for about 30 seconds to a minute then remove from heat.
- To serve, place 1 cup of rice in each bowl, top each bowl with ¼ of of the ginger pork. Sprinkle the top with some chopped spring onion, enjoy.
Notes
Low cost.
Tasty Ground Beef & Celery Stir Fry
This is Chinese in origin and sounds just down right tasty, and quick to prepare. On my to cook list for sure! The only item uncommon in the ingredients, unless you do a lot of Asian cooking, would be the Shaoxing Rice Wine, available in the US in Asian markets and if all else fails, on Amazon.
Ingredients
- 250 grams ground beef, (1/2 lb)
- 2 cups celery, diced
- 4 cloves garlic, smashed and sliced
- 4 dried chilies, chopped
- 2 tablespoons vegetable oil, divided
- 1 tablespoon Shaoxing rice wine
- 1/4 teaspoon salt
- 1 tablespoon soy sauce
- 1 1/2 teaspoons oyster sauce
Instructions
- Heat 1 tablespoon of the oil in a wok or non stick pan on medium heat, when hot, stir fry the beef until it starts to change color, about 2 minutes, then add the rice wine and stir fry for another minute. Remove the beef from the pan and set the beef aside.
- Same pan, add the other 1 tablespoon of oil, when hot, add the sliced garlic and chilies, stir fry until fragrant, about 1/2 a minute.
- Add the celery and season with the salt, as desired and saute for 5 minutes or until the celery is soft, then return the beef back to the pan and toss in the soy sauce and oyster sauce, stir fry for another 1 to 2 minutes.
- Serve.
Notes
Low cost.
Inspired by the recipe Tasty Ground Beef & Celery from Spice the Plate.
Spicy Shredded Chicken Salad
This is a Chinese dish, and sounds very tasty, as I do love a good chicken salad. Common ingredients are used which is a bonus. On my to cook list.
Ingredients
- 500 grams chicken breasts, boneless, skinless
- 1/2 cup garlic, smashed and minced
- 1/2 cup fresh cilantro, chopped
- 2 tablespoons vegetable oil
- 1 tablespoon red pepper flakes, or less, to taste
- 1/4 teaspoon salt
- 1 1/2 teaspoon soy sauce
- 1 1/2 teaspoons oyster sauce
- 1/4 teaspoon ground cumin
Instructions
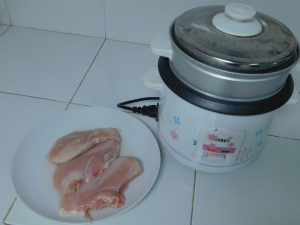
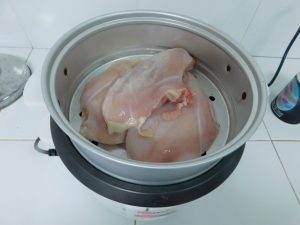
- I use my little rice cooker to do steaming, it came with a steamer basket and works perfect for items like this. Three chicken breasts was just a bit over 500 grams, perfect, no one will complain.
- Steam the chicken breasts for 20-25 minutes or until cooked through, cut one in half to check doneness.
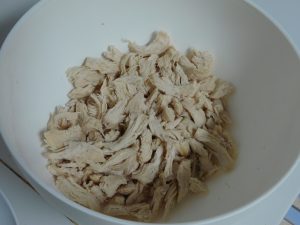
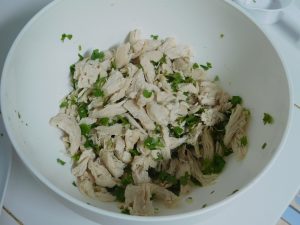
- When cooked, remove from the steamer and allow to cool, then shred and place in a large mixing bowl.
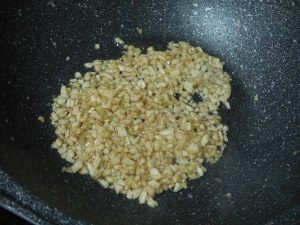
- Heat the oil in a non stick pan on medium heat, when hot, add the garlic and red pepper flakes. Stir fry until fragrant, about 1-2 minutes. Remove from heat.
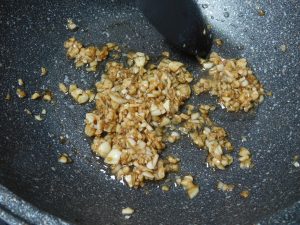
- To the pan, stir in the salt, oyster sauce, soy sauce, and cumin.
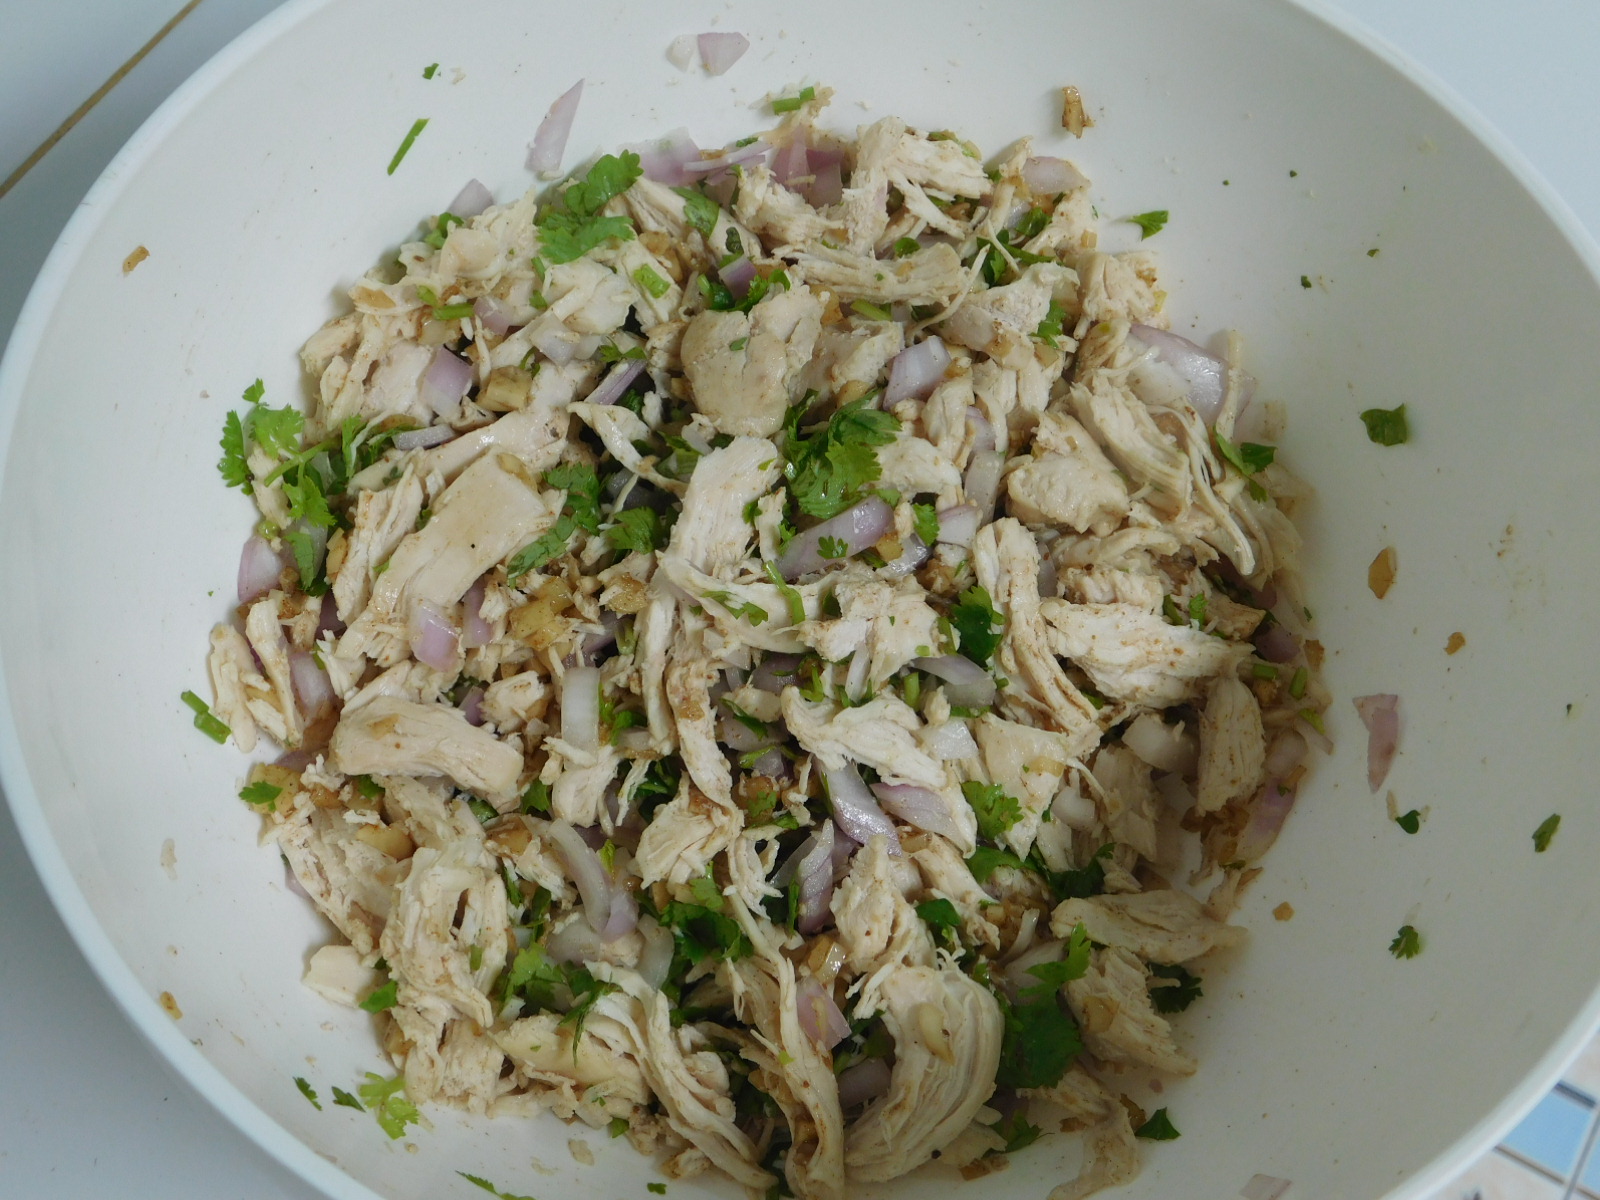
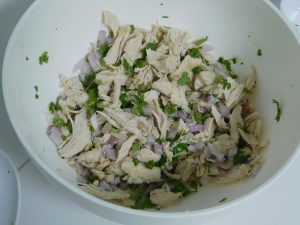
- Add the cilantro, reserving a small amount for garnish) to the chicken in the mixing bowl and toss to mix that in.
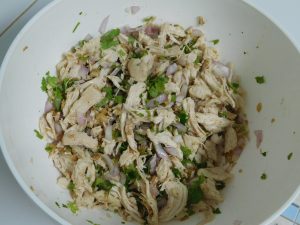
- I did use a variant and added some diced pickled red onion.
- Add the garlic mixture from the pan and toss to mix well.
- Serve and garnish with cilantro or chill and serve with cilantro garnish.
Notes
The chicken breasts will cost about 30 Baht/500 grams. For 2 servings, this is about 47 cents per serving.
Shortcut: Pickled Red Onion.
Variants: 1. Add diced red onion. 2. Add diced celery. 3. Add diced pickled red onion, excellent!
Inspired by the recipe Spicy Shredded Chicken Salad from Spice the Plate.
Braised Quail Eggs & Mushrooms
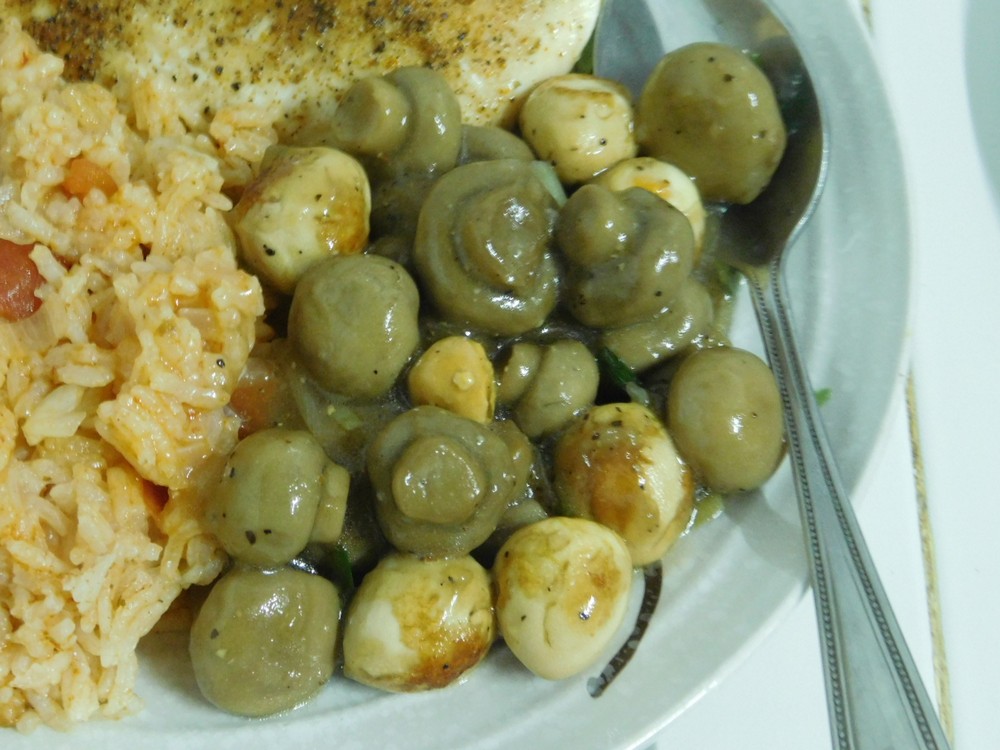
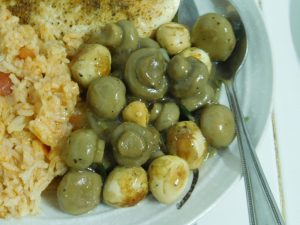
Quail eggs and mushrooms, sounds good to me. This is Chinese in origin. Served as a side dish or a light main dish when served with steamed broccoli or cauliflower. I made this on 24 June 2018 and is perfect as written. Link to the shortcut is listed in the Notes section.
Ingredients
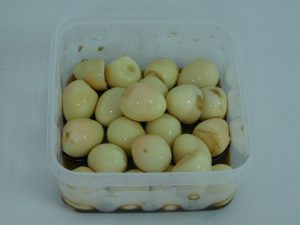
- 24 hard boiled quail eggs, peeled, or canned, Shortcut
- 1 tablespoon soy sauce
- 1 spring onion, cut into 1 inch pieces, green and white
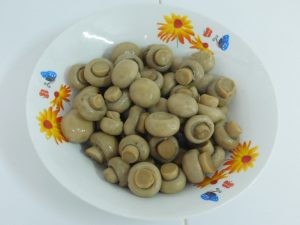
- 2 cups fresh baby button mushrooms, or canned
- cooking oil, for frying and sauteing
For the Sauce
- 1½ tablespoons soy sauce
- 1 cup chicken stock, fresh or from powder
- ½ teaspoon sugar
- black pepper, as desired
For the Thickener
- 1 tablespoon cornstarch
- 1 tablespoon water
Instructions
- If using fresh hard boiled quail eggs, peel those and place in a shallow bowl. If using canned canned eggs, drain, rinse, and place in a bowl. Add the 1 tablespoon of soy sauce and mix together. Set aside and marinate for 15 minutes.
- If using canned mushrooms, drain and rinse those, and set them aside. If using fresh mushrooms, steam those to precook them, then set those aside.
- In a bowl, mix together the sauce ingredients, and in a measuring cup, mix together the thickening ingredients.
- Heat a wok or large pan with about ½ inch of cooking oil, while the oil is heating, take a toothpick and poke each egg a few times through the white into the yolk. The reason for this is you are going to fry the eggs in hot oil, the pricks from the toothpick should reduce the chances of an egg bursting. When the oil is hot, add the eggs and fry for a few minutes, stirring them as well until starting to brown up. Remove the eggs and drain.
- Pour out the oil from the wok or pan, and return 2 tablespoons of oil back to the pan, heat and when hot, saute the spring onion until fragrant.
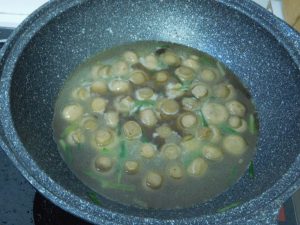
- Add the mushrooms and the sauce to the pan and stir fry for 2-3 minutes.
- Stir in the thickener then the eggs. Stir to mix together and cook until the sauce thickens. Remove from heat.
- Serve as is as a side dish or serve with steamed vegetables for the light main dish.
Notes
Low cost as a light main dish.
Shortcut: Perfect Hard Boiled Quail Eggs.
Classic Chinese Fried Rice - Yangzhou Version
Sounds like another winner of a fried rice dish, on my to cook list.
Ingredients
- 6 cups leftover rice
- 2 eggs, beaten
- 3 tablespoons cooking oil, divided
- 1/4 cup Chinese ham, or regular ham
- 10-12 shrimp, peeled, deveined, tails removed
- 1/2 cup green peas
- 1/2 cup carrot, diced
- pinch salt
- 1/4 teaspoon white pepper powder
- 1 tablespoon light soy sauce
- 2 spring onions, slice, white and green parts
Instructions
- Heat 1 tablespoon of oil in a wok or large non stick pan and add the peas and carrots, cook until tender, remove from pan.
- Add 1 tablespoon of oil to the pan and when hot, add the shrimp, cook until just pink, remove from pan.
- Add the rice to the wok or pan, use your spatula and make a hole in the center down to the pan, add the remaining oil and pour in the beaten eggs, stir fry to mix together the eggs and rice.
- Add the peas, carrots, ham, shrimp, soy sauce, pinch of salt and the white pepper, stir fry to mix everything together.
- Add the spring onion and stir fry for 30 seconds.
- Serve.
Notes
Low cost.
Variant: 1. Add a few drops of sesame oil to the beaten eggs before pouring into the pan.
This recipe for Chinese Fried Rice - Yangzhou Version is from China Sichuan Food.
