
Archive for the ‘Beef – Sausage’ Category
Homemade Hot Dogs
This was an experiment, and it turned out very well! I only used collagen casings and that was spot on, I am not a fan of hot dogs with a skin. These can be all beef, all pork, or a combination. For this first experiment, I made them as listed here, which is a combo of beef and pork. No food processor will be used, just ample use of my electric grinder and a mortar and pestle. Keeping the grinder and meats cold is essential. I used collagen casings which are removed after simmering in water. Feel free to use casings of your choice.
Ingredients
- 500 grams lean pork, cubed, (1 lb)
- 350 grams lean beef, cubed, (¾ lb)
- 120 grams pork fat, cubed, (¼ lb)
- ¼ cup onion, diced
- 1 clove garlic, peeled, sliced
- 1 teaspoon ground coriander
- ¼ teaspoon ground marjoram
- ¼ teaspoon ground mace, or nutmeg
- ½ teaspoon mustard seed
- 1 teaspoon sweet paprika
- 1 teaspoon white pepper powder
- 1 egg white
- 1½ teaspoons sugar
- 1 teaspoon salt
- ¼ cup milk
- ½ teaspoon liquid smoke
- sausage casings, your preference, as needed
Instructions
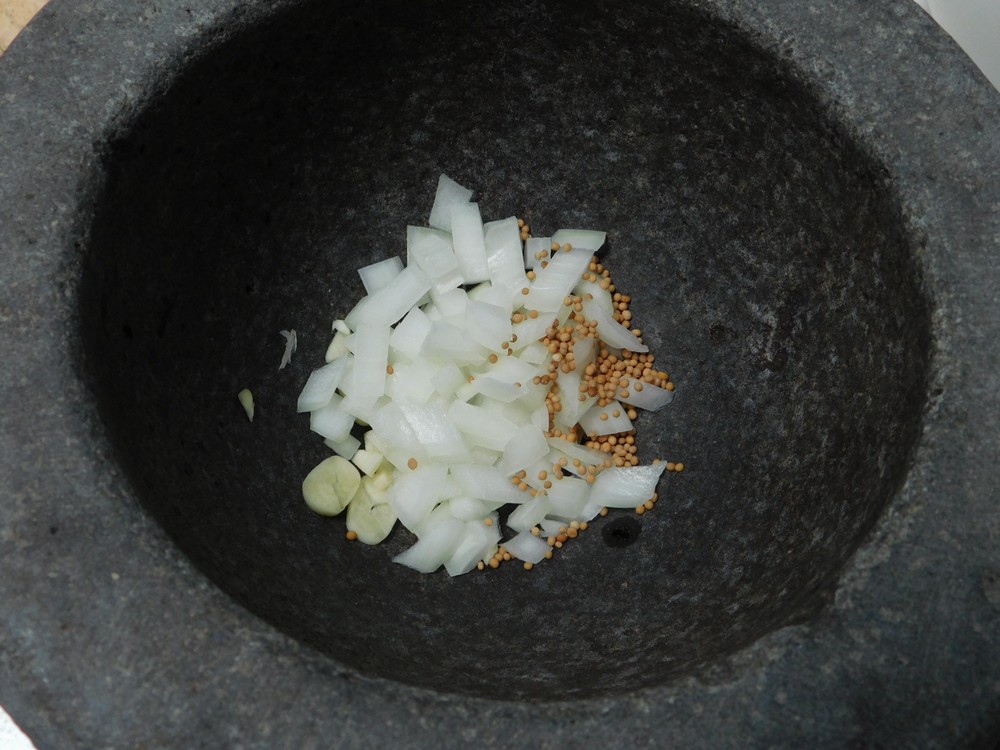
- Place the onion, garlic, and mustard seed into a mortar. Feel free to use a food processor for this. The mortar we have is the granite type, weighs in at about 20 pounds. Need something mashed quick, use the granite mortars.

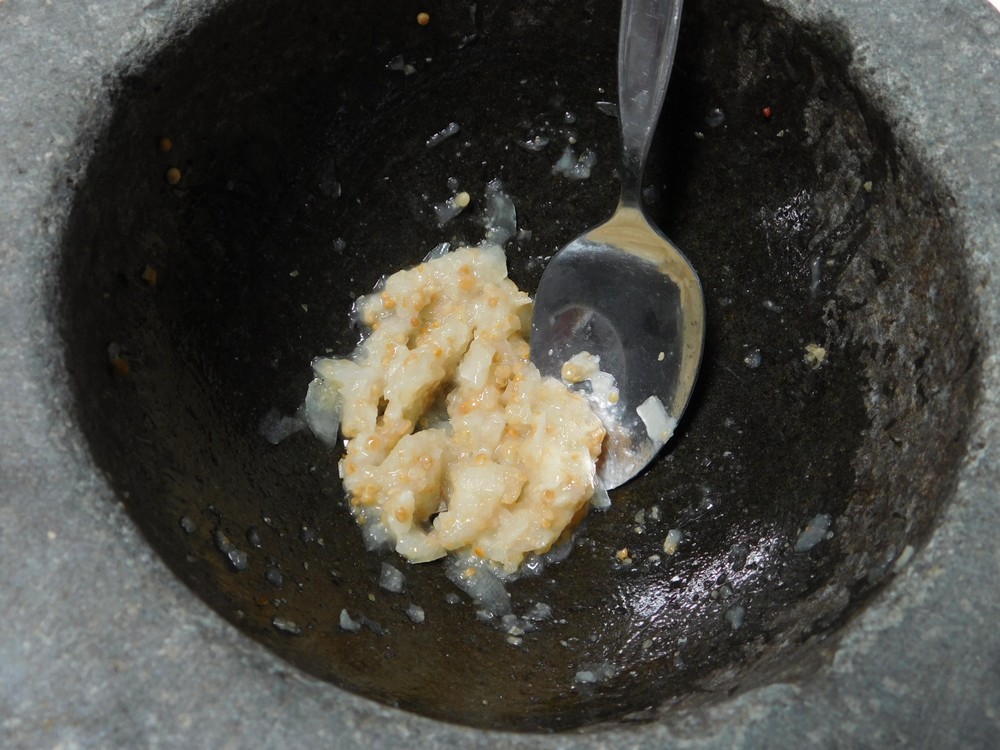
- Pound to a sort of smooth paste.

- Place the contents of the mortar into a mixing bowl then add the egg white, sugar, salt, coriander, marjoram, mace, paprika, white pepper, sugar, and salt. Mix well. Add the milk and mix that in well. Place seasoning mixture in the fridge while you continue.

- Thoroughly wash, rinse, and dry the grinder parts that will have contact with the meat, the plate you are going to use is the fine plate, then place the parts (not the motor assembly) in the fridge to chill.
- Cut the beef, pork, and fat, one at a time, into cubes that will fit into your grinder. As each item is cubed, place in the fridge to chill.
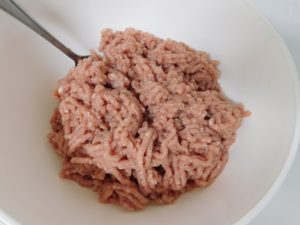
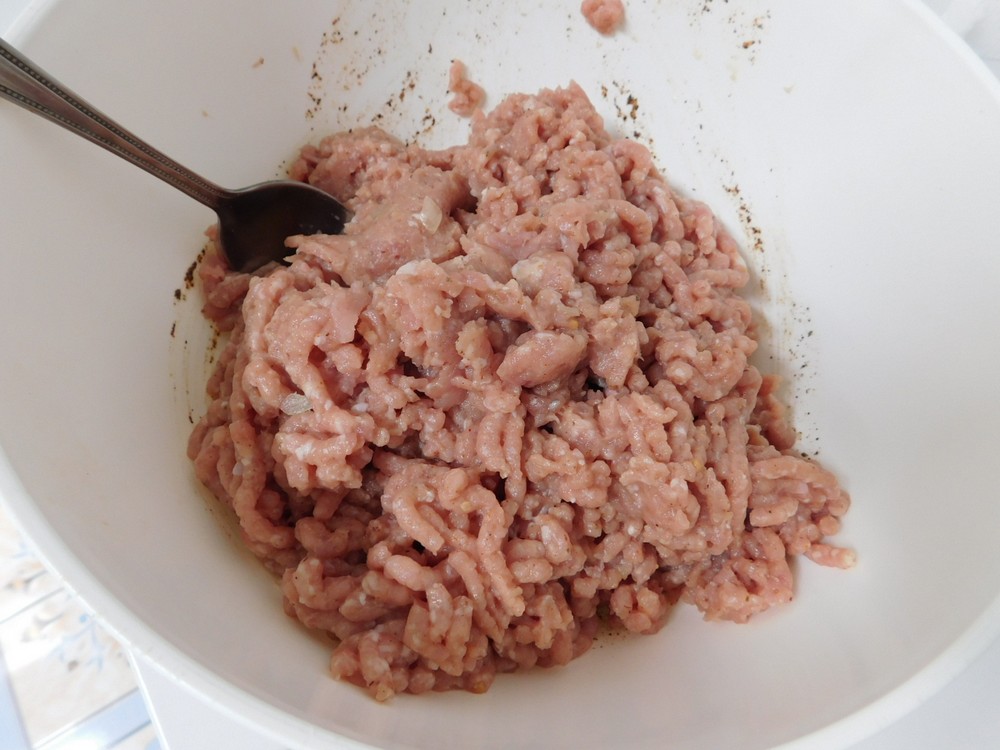
- Assemble your grinder using the fine plate. Remove and grind the meats and fat separately, place all in a large mixing bowl. For this photo, I ground the beef first, visible a little on the left, then the fat, then the pork on top.

- Using your clean hands or wearing gloves, mix the meats together, then mix in the seasoning mix, then mix in the liquid smoke.
- Run the mixture through the grinder again. Place mixture in the fridge to chill. Now wash, rinse, and dry the grinder parts that had contact with the meat. When dried, place in the fridge as well.

- When 30 minutes have passed, assemble the grinder again, and then, you guessed it, run the meat mixture through the grinder again, also using the fine plate. The mixture is pretty much a near paste now, which is desired.
- Stuff the casings in your preferred way, using the grinder, a funnel, or sausage stuffer.
- I measure out the collagen casings in 14 inch sections.
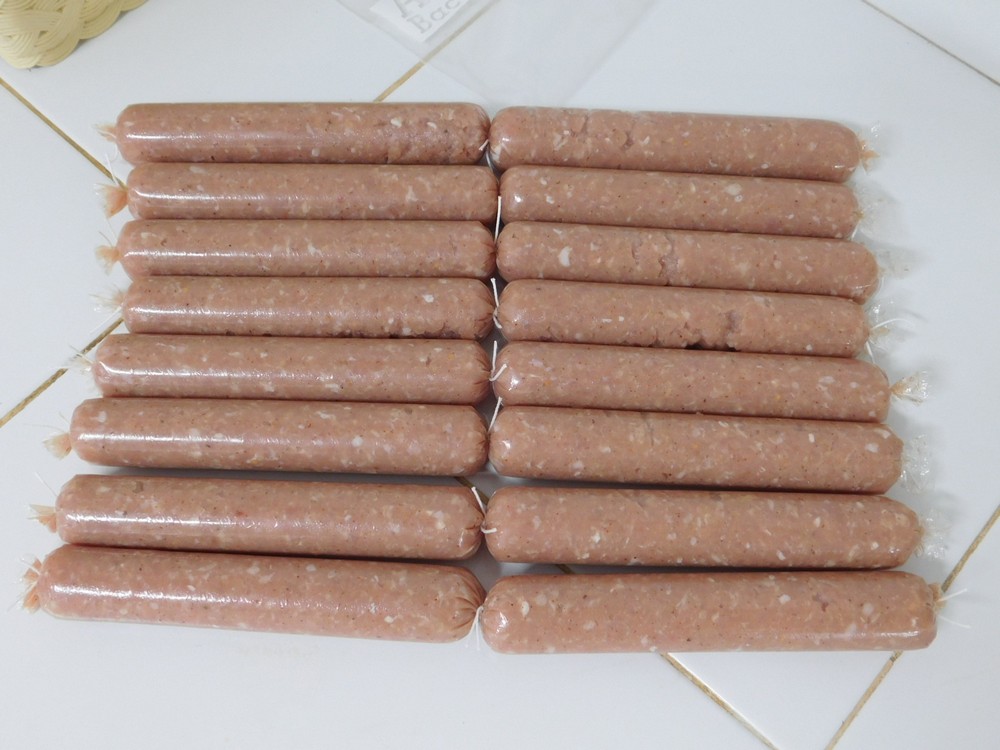
- Lightly oil the stuffer tube for first use and thread the casing onto the tube, tie the end off with string, then puncture a hole right near the knot to let air escape when you start. Fill the casing to the end, after all casings are stuffed, tie a string at the 6 inch mark, no need to twist, just tie, then tie another at the 12 inch mark, cut off the tails of the strings and squeeze out the remaining sausage mix after where you tied it, put that back in the bowl with the sausage mixture. Repeat this using all the meat mixture. Leave the sausages in 12 inch lengths, do not cut them apart.

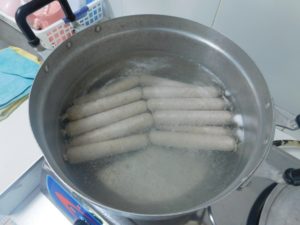
- Heat a pot of water to simmering, when hot, place the links in the water for 20 minutes.
- Remove the links and place in a large bowl or pot of ice water and allow the links to shock and chill, this stops the cooking.
- Remove the links from the ice water

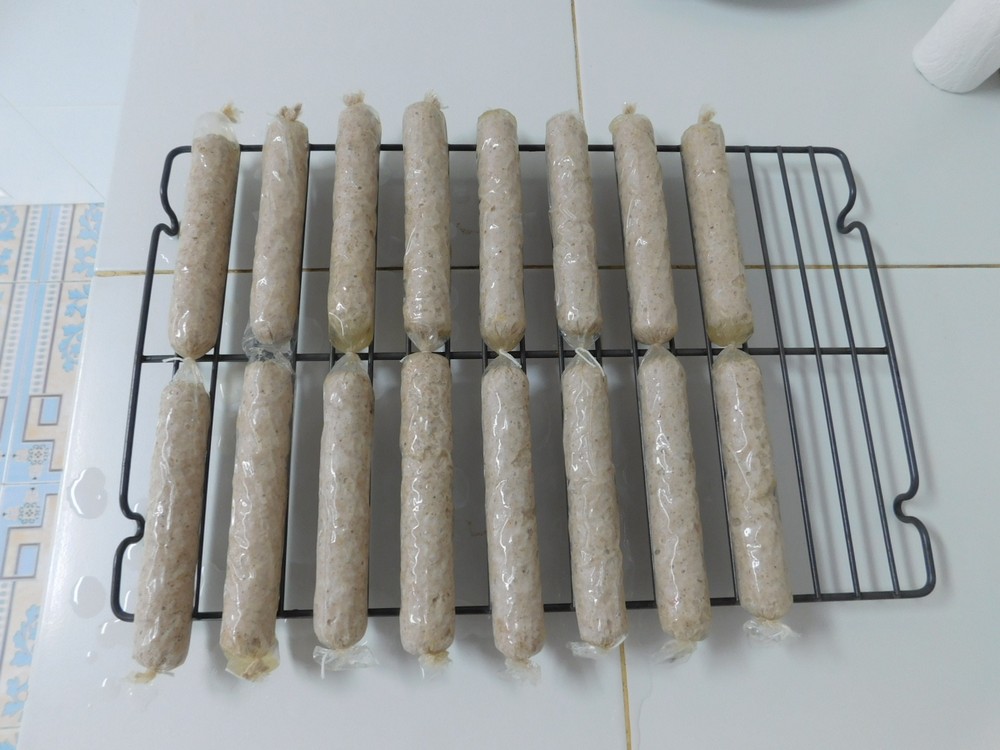
- Cut off the opposite ends of the links, no need to cut the center, and squeeze out the hot dogs, place on a rack to cool further. There is only 15 here, I am the cook, I am allowed to try things. 🙂

- Now the hot dogs are ready for use. You can store in the fridge (they are cooked) for up to 3-4 days, or freeze them for later use. To prepare them, just pan fry or grill, enjoy in a bun with your favorite sauces and toppings.
- Fried.

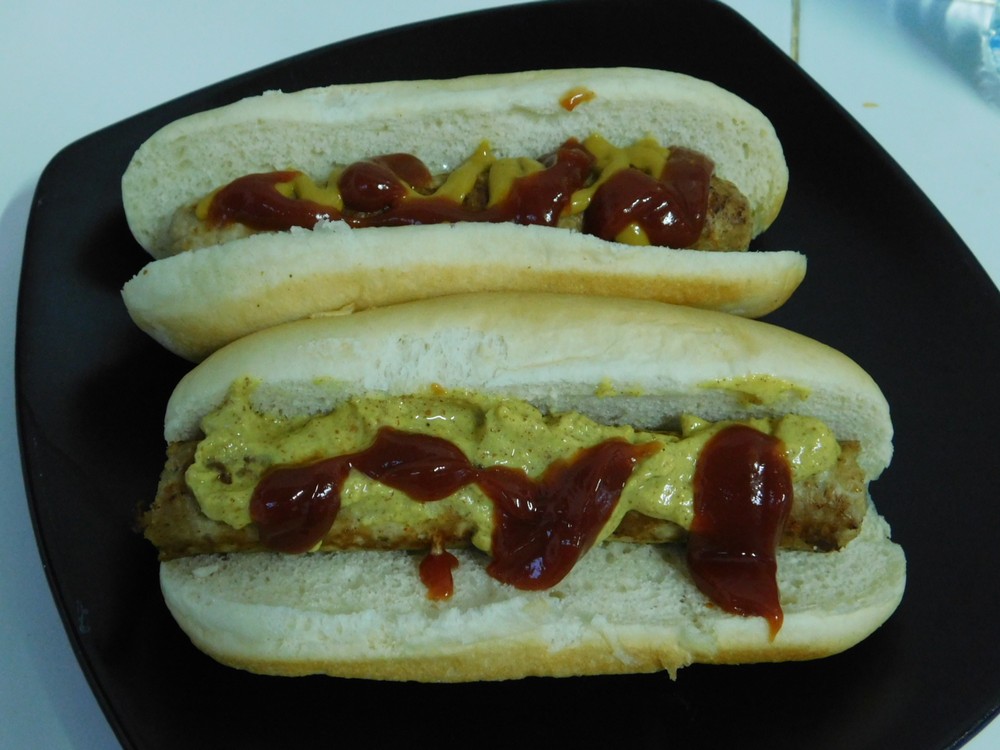
- Ready to be devoured, simple dish with spicy mustard and ketchup on one, regular mustard and ketchup on another one. Tasty!


Notes
I will price this when I prepare these. I will say Fair cost for now.
Hotdog & Spring Onion Chili Salad
Thais love hotdogs, they have as many brands of hotdogs as they do brands of canned fish and rice. Now 90% of the Thai hotdogs are pure rubbish, but there is a few very good brands out there. Hotdogs are nothing more than sausages, however with modern processing and the poor choices of fillers and casings, the consistency in taste is quite lacking. For those in Thailand and the rest of the world, use good quality beef or chicken hotdogs. This is a typical side/snack served with beer in the evening. Serve with rice for a complete meal.
Ingredients
- 1 package quality hot dogs, slice at an angle, about ¼ inch thick
- 1 onion, diced
- ½ cup spring onions, chopped into ½ inches
- ⅓ cup fresh mint, chopped
- ⅓ cup fresh coriander leaves, chopped
- 1-4 green Bird's Eye chilies, chopped, to taste
- 1 large red chili, chopped
- 1 tablespoon lime juice
- 1 tablespoon fish sauce
- ½ teaspoon sugar
- water, as needed
Instructions
- Heat a medium size pot half full of water to boiling, then add the hotdog slices. Cook for 2 minutes to heat them through, drain, and place in a mixing bowl.
- Add to the mixing bowl the onion, spring onion, coriander, and chilies. Mix together.
- To the mixing bowl, add the fish sauce, lime juice, and sugar. Toss to combine.
- Serve on a large plate (family style) and sprinkle the mint over the top.
- Serve as a side dish with evening drinks, or with rice for a complete meal.
Notes
Low cost.
Thai Style Hotdogs
Thais love hotdogs, they have as many brands of hotdogs as they do brands of rice and canned fish. Now 90% of the Thai hotdogs are pure rubbish, but there is a few very good brands out there. Hotdogs are nothing more than sausages, however with modern processing and the poor choices of fillers and casings, the consistency in taste is quite lacking. For those in Thailand and the rest of the world, use good quality beef or chicken hotdogs. Thais do not normally eat hotdogs with a bun or bread, they are either grilled on a stick or deep fried. And the best hotdogs to use are the small ones labeled as cocktail hotdogs or sausages, there is no casings on these, bonus!
Ingredients
- 1 package quality hot dogs, or 2 small packages of cocktail sausages
- lard, or cooking oil for frying
- sweet chili sauce, for serving
Instructions
- Remove the casings on hotdogs, cut each hotdog into 3 equal pieces, then cut an X in each end, about ¼ inch deep. I used 2 packages of chicken cocktail sausages so just cut the X into each end.

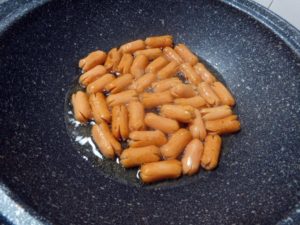
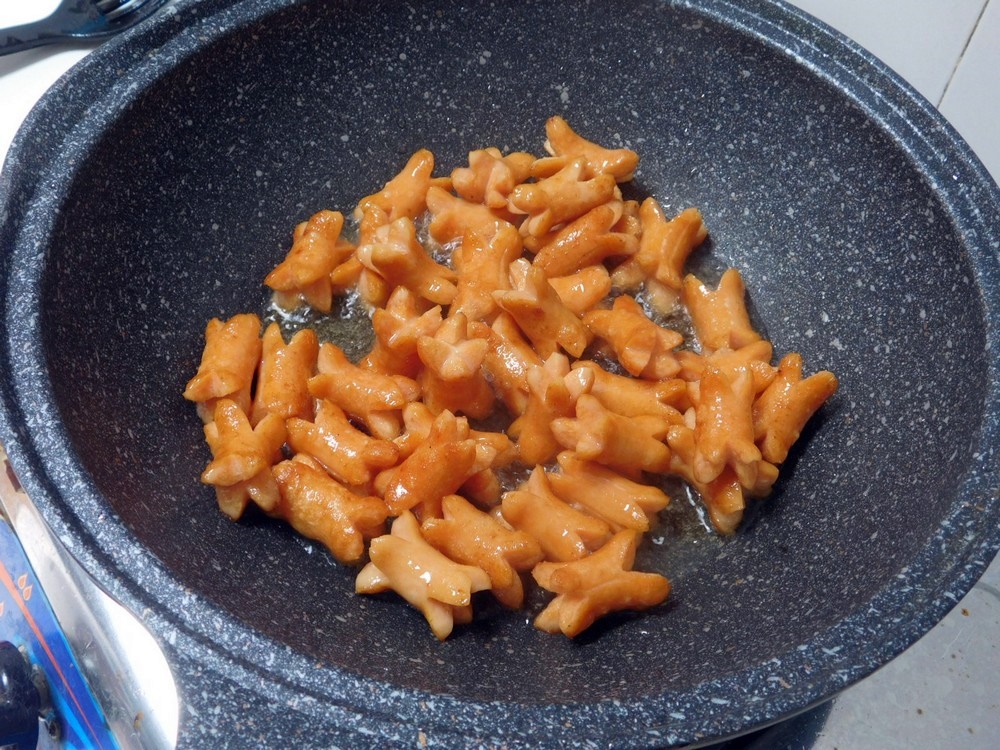
- Heat the lard or oil in a large deep pan, you are going to shallow fry them. When the lard is hot but not smoking, carefully add the hotdogs. Fry for a few minutes, basically stir frying but be careful of the oil.
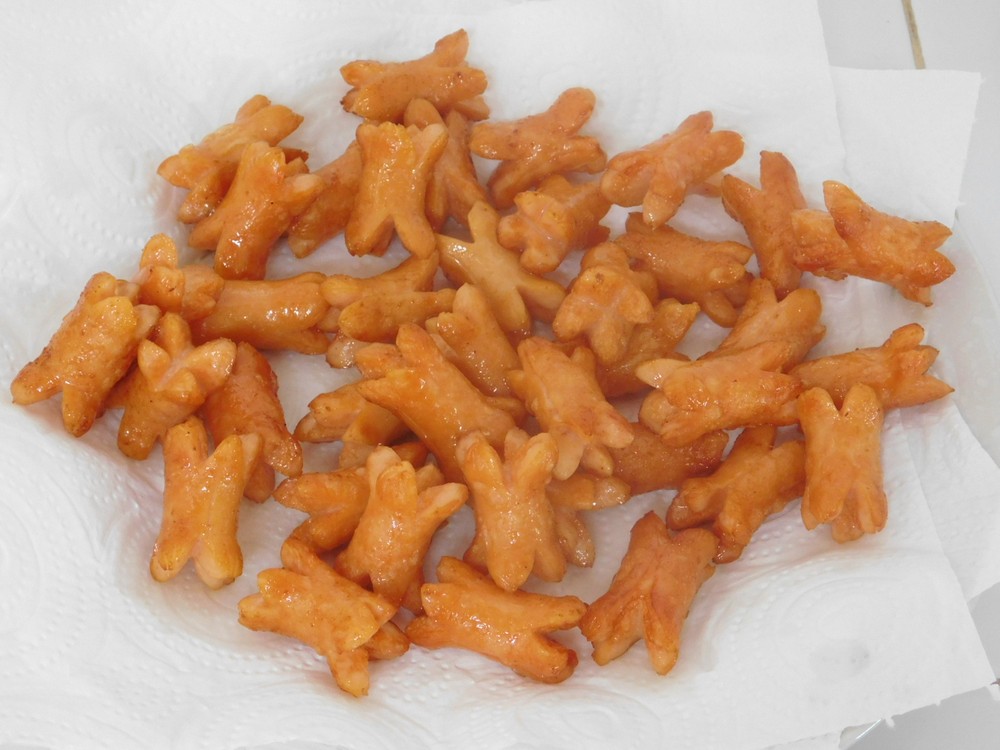
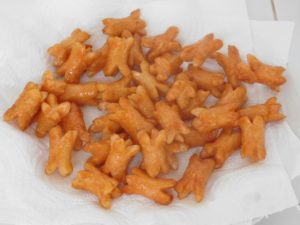
- As they fry, the ends open giving each hotdog more surface area, more surface area means more crispy. When lightly browned and crispy, remove to paper towels to drain.

- Serve with sweet chili sauce for dipping.


Notes
Low cost.
Homemade Pepperoni
Yep, I can already hear the Pepperoni Gods complaining about this recipe, but I have made this on 16 Jan 2017 and it is good. The end goal for this is to use on a pizza or three. This does not have the red color to it since no curing salt or nitrites were used, but the flavor is spot on. I will be making some pizzas later this week with this.
Equipment
- Oven
- Baking Sheet with Rack
Ingredients
- 1 kilo ground beef, you want fatty beef, (2 lb)
- 2 teaspoons ground black pepper
- ½ teaspoon liquid smoke, or 2 teaspoons ground cumin if no liquid smoke
- 1 teaspoon mustard seed
- ½ teaspoon fennel seeds, lightly crushed
- ½ teaspoon garlic powder
- 1 teaspoon paprika, or smoked paprika if you have it
- 1½ teaspoons salt
Instructions
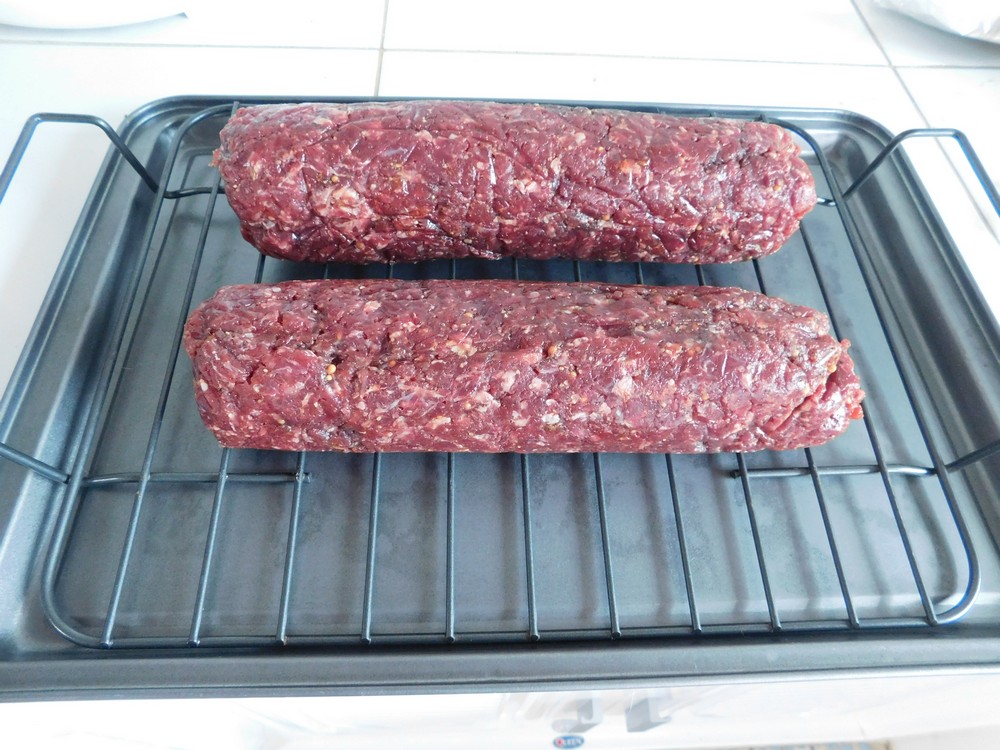
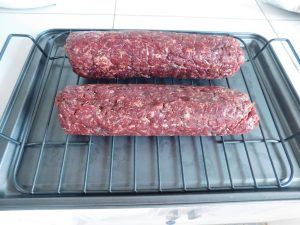
- Place all of the ingredients in a large bowl and mix them together with your hands. Divide the meat mixture into two portions and roll them into logs about 1½ inch diameter. Wrap the rolls in aluminum foil and refrigerate them overnight.
- Preheat the oven to 100° C (215° F). Place the rolls on a wire rack, without the foil and put the rack on a baking sheet. Bake the pepperoni rolls for 6 hours, turning them every hour. Remove the pepperoni from the oven and allow it to cool as the fat continues to drain. Store the pepperoni in the refrigerator and slice it as needed.
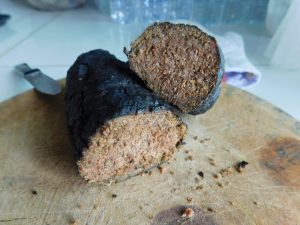
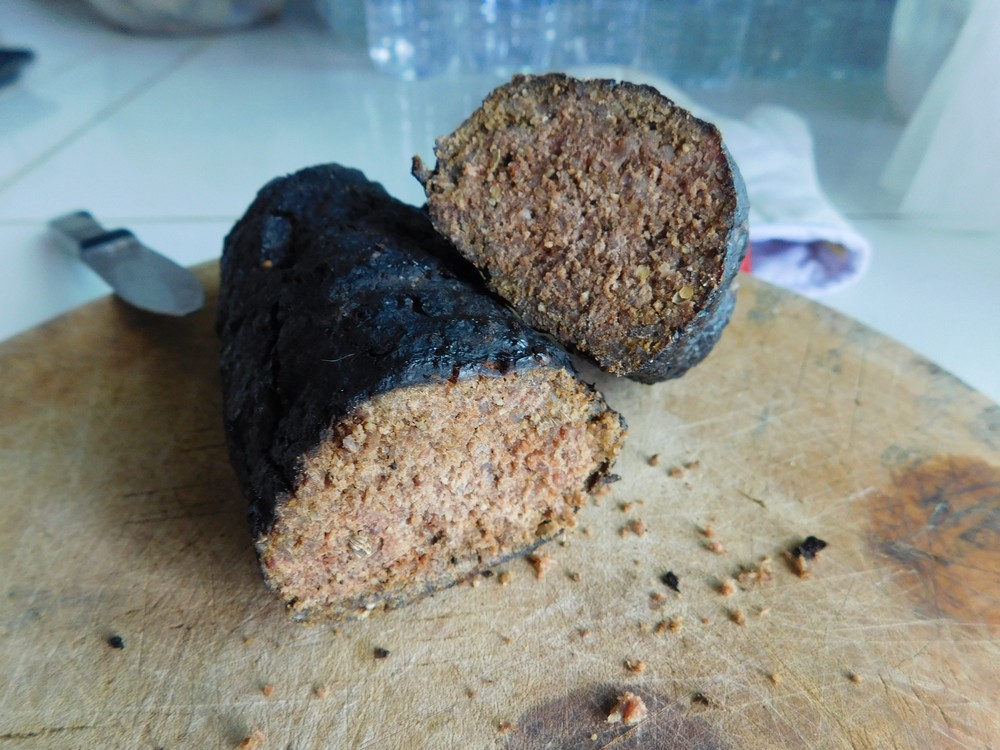
- Finished and cooling. There is no red color to this as there is no preservatives or curing salt used, bonus. Store in the fridge for about 3 days.
Notes
Ground beef, I am taking a good guess at 200 Baht/kilo. How much this makes for a pizza, I have no idea until I test this out.
Used in Recipes Listed on this Site:
- Pizza Pasta Bake.
- Pizzadillas, made it.
- Thin Crust Pizza, made it, GO-TO recipe.
Rustic Sausage Hotpot
Also know in the US as Sausage, Peppers, and Onions Skillet (no rice in the ingredients), this is a filling meal made with rice, served with a salad on the side, this is delicious and inexpensive.
Ingredients
- 2 onions, halved and sliced
- 1 cup chicken stock, fresh or from powder
- 2 cups brown Basmati rice, rinsed
- 1 can diced tomatoes
- 1 yellow bell pepper, cut into thick strips
- 1 red bell pepper, cut into thick strips
- 3¾ cups water
- 500 grams beef sausage, or sausage of your choice, (1 lb)
- 1 tablespoon olive oil
Instructions
- Heat olive oil in a large saucepan, add sausages and cook, turning regularly, for 5 minutes or until browned, you are browning, not cooking through. Remove from the pan and slice thickly. Reduce heat to medium on the pan.
- Add onions and peppers to the pan and cook, stirring occasionally for 3-4 minutes or until soft.
- Add rice, water, tomatoes, stock, and sausages. Stir to combine. Bring to the boil, then reduce heat to medium and allow to simmer, covered for 15-20 minutes.
- Remove from heat and set aside, covered for 15 minutes (this allows rice to complete cooking). Season with salt and pepper. Spoon hotpot into serving bowls, and a salad on the side.
Notes
Sausage produced in Thailand can be very inexpensive, pork sausage that is. At Makro we can get English Beef Sausage for about 200 Baht/kilo, we can also pick up smoked and spicy sausage for 200 Baht per 1 kilo, or 100 baht per this recipe. So this recipe meets the $1 or less per person per meal, even with a salad.